I am truly exited to be able to share this recipe with my readers and followers. As a kid I was sometimes involved in the making of hallacas during Christmas in Venezuela, but with very little responsibility; something like handing over a piece of yarn, or a spoon. Finally, eleven years after moving to the US, I can say that I have truly been involved in, and enjoyed the hallaca making experience. If you haven’t read my previous post regarding Venezuelan Christmas traditions, you can take a look here, to understand the full scope of a traditional Venezuelan Christmas Dinner, celebrations, traditions and dishes, but for this post I am going to limit myself to only explaining the hallacas.
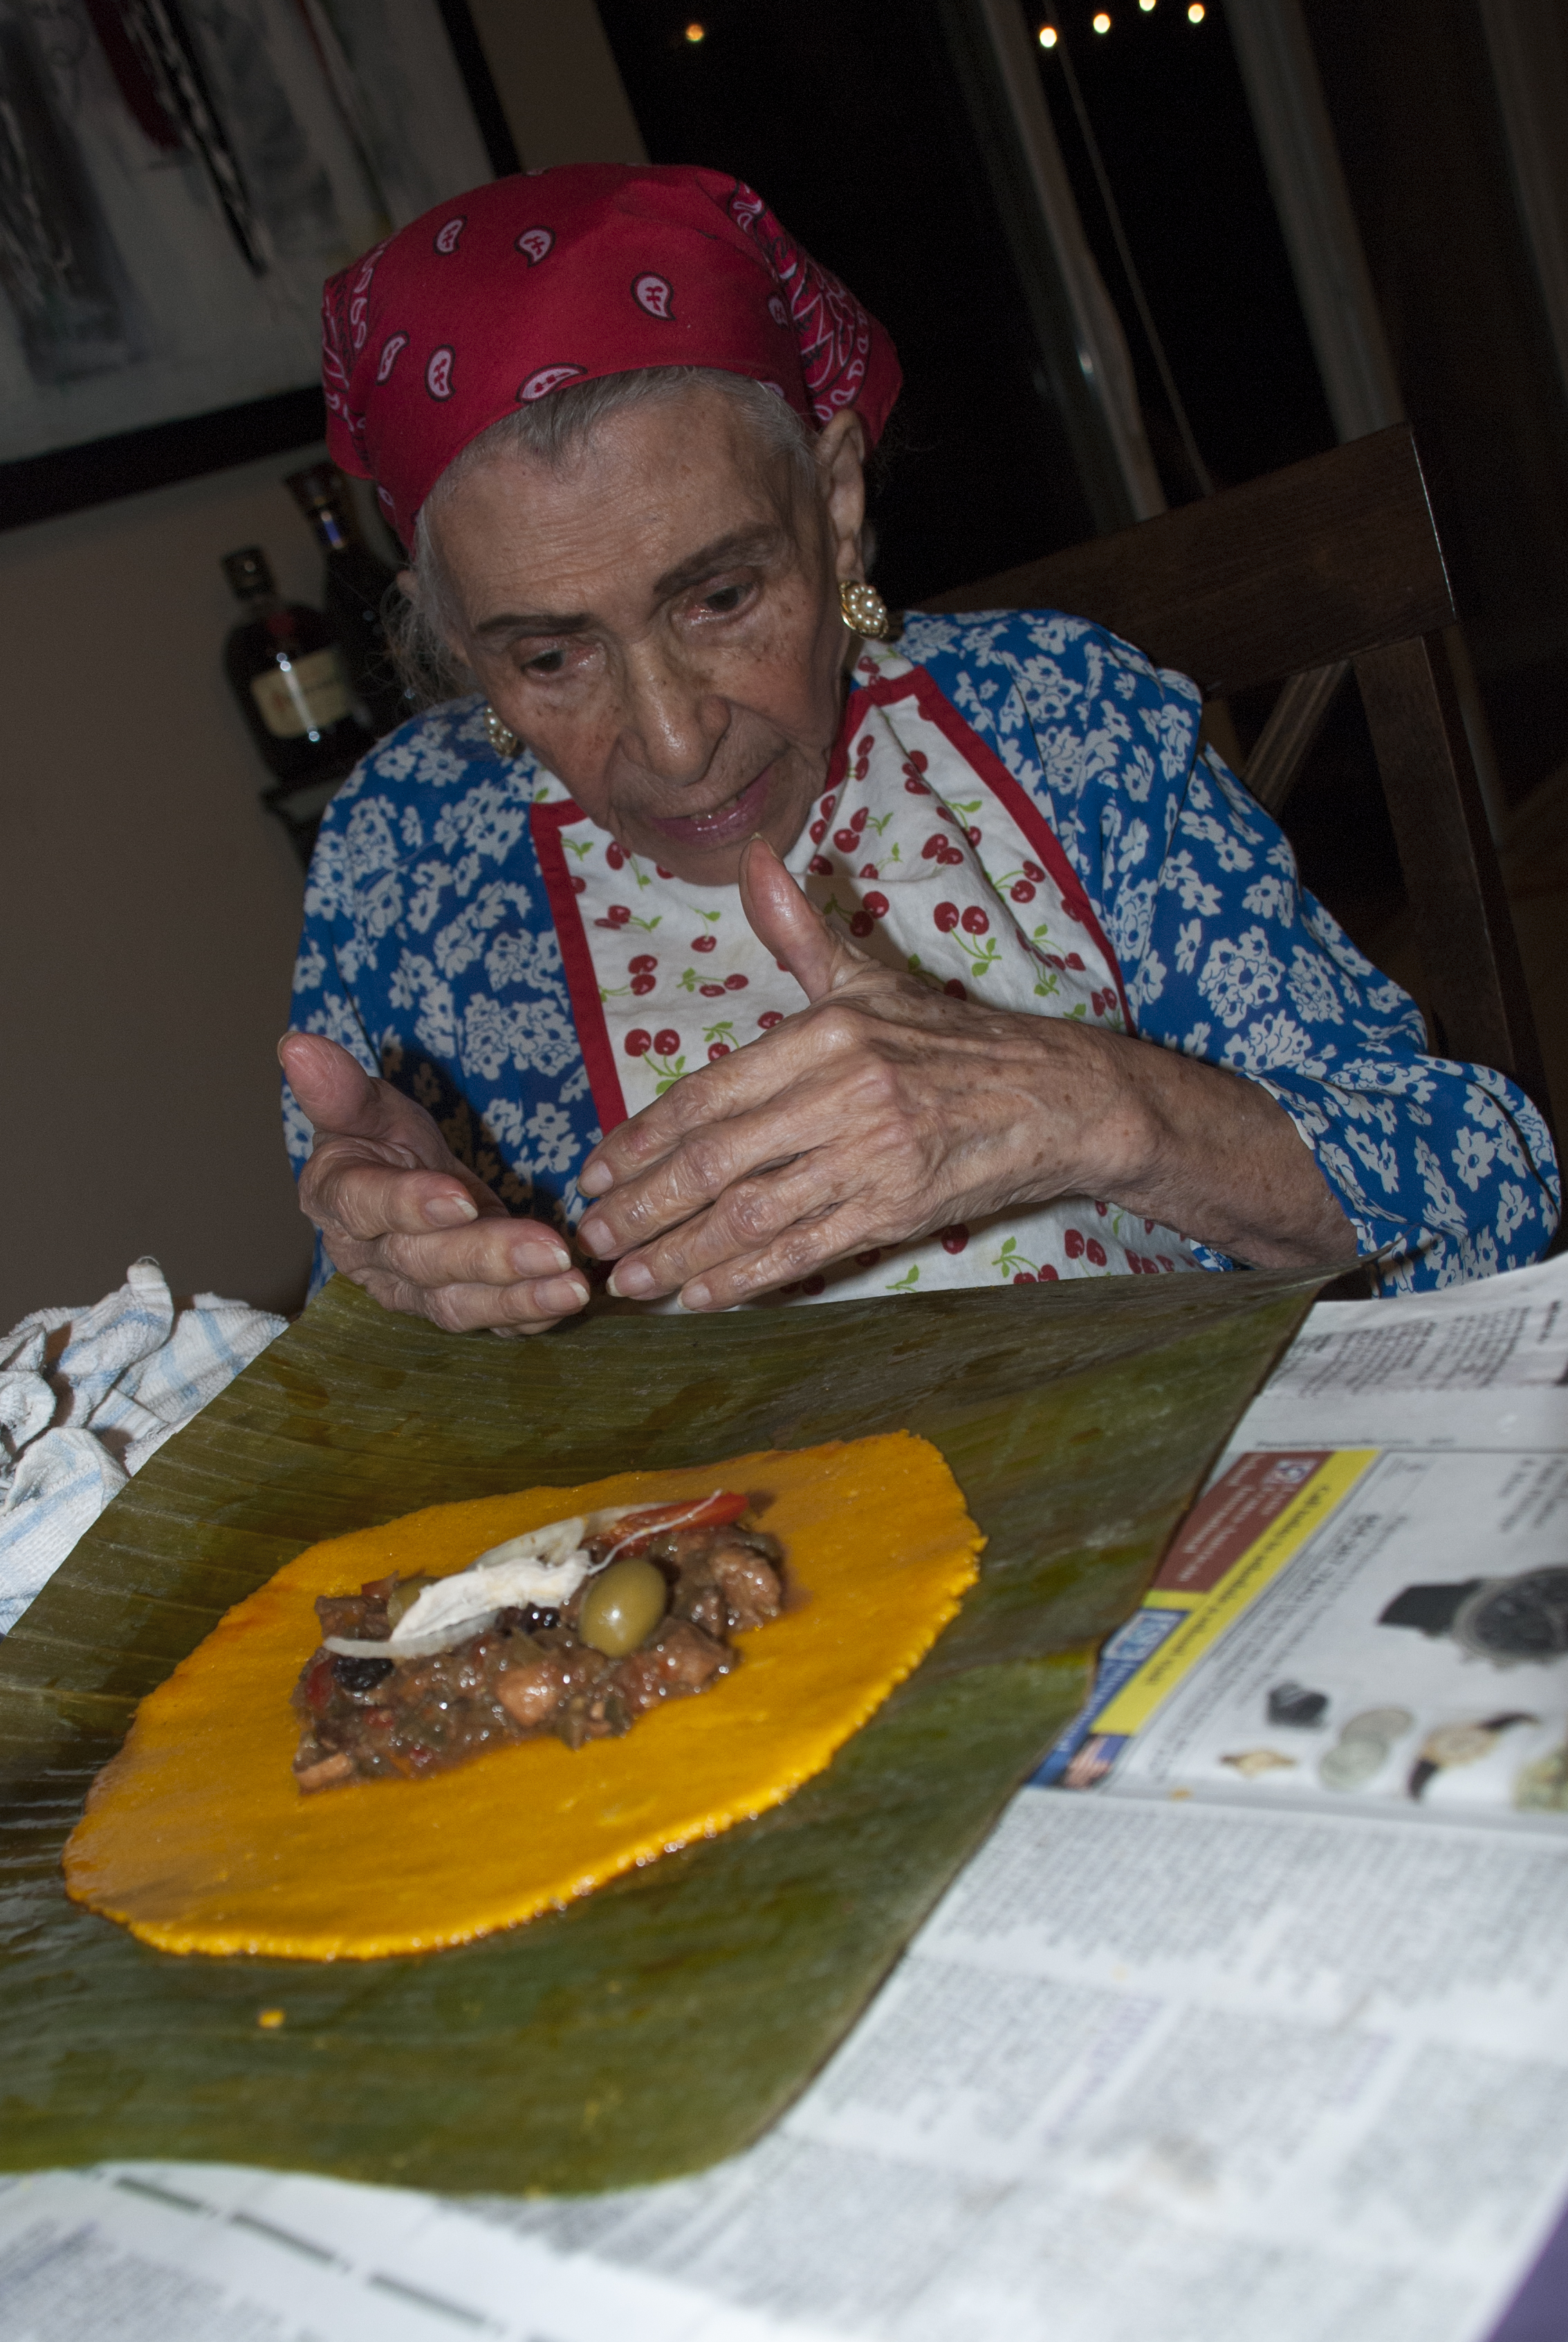
This past year (2014), my paternal grandparents came to spend Christmas here in Florida with the rest of my paternal family, which they usually do every year. However, this year was extra special because they didn’t come alone, they invited my great-grandmother (my paternal grandfather’s mother) to join us. My great-grandmother, la señora Nery Ruso (98), is my true role model and a great inspiration as a woman. From a very young age she was dedicated to working, studying, raising her children, and it paid off in a life filled with accolades, awards, medals, and the highest honors as an entrepreneur, writer, business owner, a true influential character in the Venezuelan society. Writing for the most important newspapers in the country, socializing with several presidents and their wives, marrying internationally recognized painters, founding recognized magazines and pageants. A true inspirational woman who worked hard to position herself into spots once only held by highly educated men.
As I was sitting there ready to learn how to make the traditional hallacas from my great-grandmother, my grandmother and my aunt, I asked my great-grandma, who we all call Bila (A nickname my dad gave her when he was a kid), if she knew where and how did the hallacas come from. Bila said the story she knows is the one I wrote on my previous post about Venezuelan Christmas. But the way she described it to me was even better. She said a long time ago there were the very rich families with European descendants and they used to have these giant parties with all kinds of dishes that their maids would prepare for them. At the end of the parties, the maids would clean up the tables and think what a waste to throw away such expensive ingredients like olives, capers, steaks, pork, chicken, and raisins. So the maids would chop up all the ingredients and make them into a stew, and since the corn dough was cheap they used that to make the outer envelope for the stew. She said eventually the rich people would come to try these inventions and they became what we know today as the hallaca.
The hallaca/hayaca (pronounced Ah-jac-kah) is an original traditional Venezuelan dish that we only consume during the month of December and during Christmas and it is the number one most important component for a true Venezuelan Christmas Dinner. The hallaca brings our families together even for the preparation, which can take up to 3 days and at the very least two people to make at least 50 Hallacas. The preparation itself is a reason to come together and celebrate, and create an assembly line with positions assigned, like the chopper, the cook, the dough kneader, the wrapper, and the knot maker. This year I was very fortunate to have these three women teach my sister and me how to make the hallacas. We made them over two days in the afternoons (because of my busy work schedule), at my aunt’s house, in the middle of her moving overseas. It was definitely a crazy experience, but all the fun we had and all the tips I learned were worth it. I felt blessed that there were three generations of experts each giving me their own tips and advice, at the end I was very tired, but the experience couldn’t have been any better and definitely worth it. Each person has their own way of making hallacas, each family has their own secret ingredient or traditions passed down from generation to generation, and techniques that are also improved upon generation to generation. For example, the flattening of the dough was and still is usually done by hand pressing with your fingers, but my aunt has a beautiful tortilla press (tortillera), which she bought in Mexico that she uses for hallaca making, and it makes it a lot faster and easier. Even tying the yarn can be a subject of debate. The funny part is my great-grandmother would want to teach me how to do it her way, my grandmother would want to teach me how to do it her way, and my aunt had her own way of doing it, which was different that both their ways. After taking in all that knowledge from those three generations I think I am confident in making hallacas on my own next year and sharing all this knowledge with you so you can also make them at home this year, or next year. Each family and each region in the country has their own recipe and their own way of making the hallacas, but the process is basically the same.
A Few Tips Before We Begin
This is basically a summary of all I learned while making hallacas with my great-grandmother, my grandmother and my aunt.
a) The entire process is time consuming and it takes a toll on you physically. Be sure to set aside at least two entire days for making hallacas, and enlist the help of a couple of friends or family members. However, as my great-grandmother said… “Muchas manos en la olla ponen el caldo morado” – Too many hands on the pot, make the broth turn purple.
b) You will need a large area for the ‘assembly line’. You can use your dining table if you have a large enough one, but be sure to cover it either with newspaper, a tablecloth you don’t care about damaging, a plastic table cloth, or some other protective surface. Be sure you don’t have a carpet or rug you don’t wish to damage or stain either.
c) On that note, come prepared with a change of clothes that you don’t mind staining, or aprons…and some hairnets, or if you want to be cute and fancy like us, you can wear bandanas. You just want to make sure that hair doesn’t become an ingredient.
d) Be sure one of your helpers is the person in charge of cleaning up. You don’t want to wait until the end of the night when you are tired and have a mountain of dishes to wash. Be sure your helper is washing everything as you go, because sometimes you might need to use the same tool twice.
e) Be sure to gather all the tools and ingredients necessary at least a day before you begin, so you don’t have to send someone out to get them and loose a pair of helping hands. Also be sure the tools are nice and clean and ready to be used.
f) Be sure to empty out your fridge because you will need a lot of space to store the hallacas when ready. And also be sure you don’t make the hallacas way to far in advanced, otherwise you will have to freeze them, and they are better when they are not frozen. The weekend before Christmas is good enough.
g) Kitchen Tools. There are a few kitchen tools that would make your job a lot easier. You don’t have to buy the expensive brands, and you may even be able to borrow some of these from someone else. A tortilla press or tortillera is not something you would probably have in your home, but there are a few cheap wooden ones you can get online, like the ones from the IMUSA brand. They have a round cast iron one for $20 at Bed Bath and Beyond, but I am not sure if those are large enough. You are better off with a large rectangular one, which you can buy online from a Mexican store, on etsy or ebay. You could also make your own as shown here… or you could just use your hands or a rolling pin, or even a large heavy Pyrex baking pan. You will also need several cutting boards, sharp knives and keep your knife sharpener handy, several bowls and Tupperware containers to keep all the ingredients you have to chop beforehand, large stew pots and large pans, several clean wash cloths and scissors, extra large bowls for mixing the dough and keeping the stew, strainers, latex gloves, measuring cups, and measuring spoons.
What you need for 50 Hallacas:
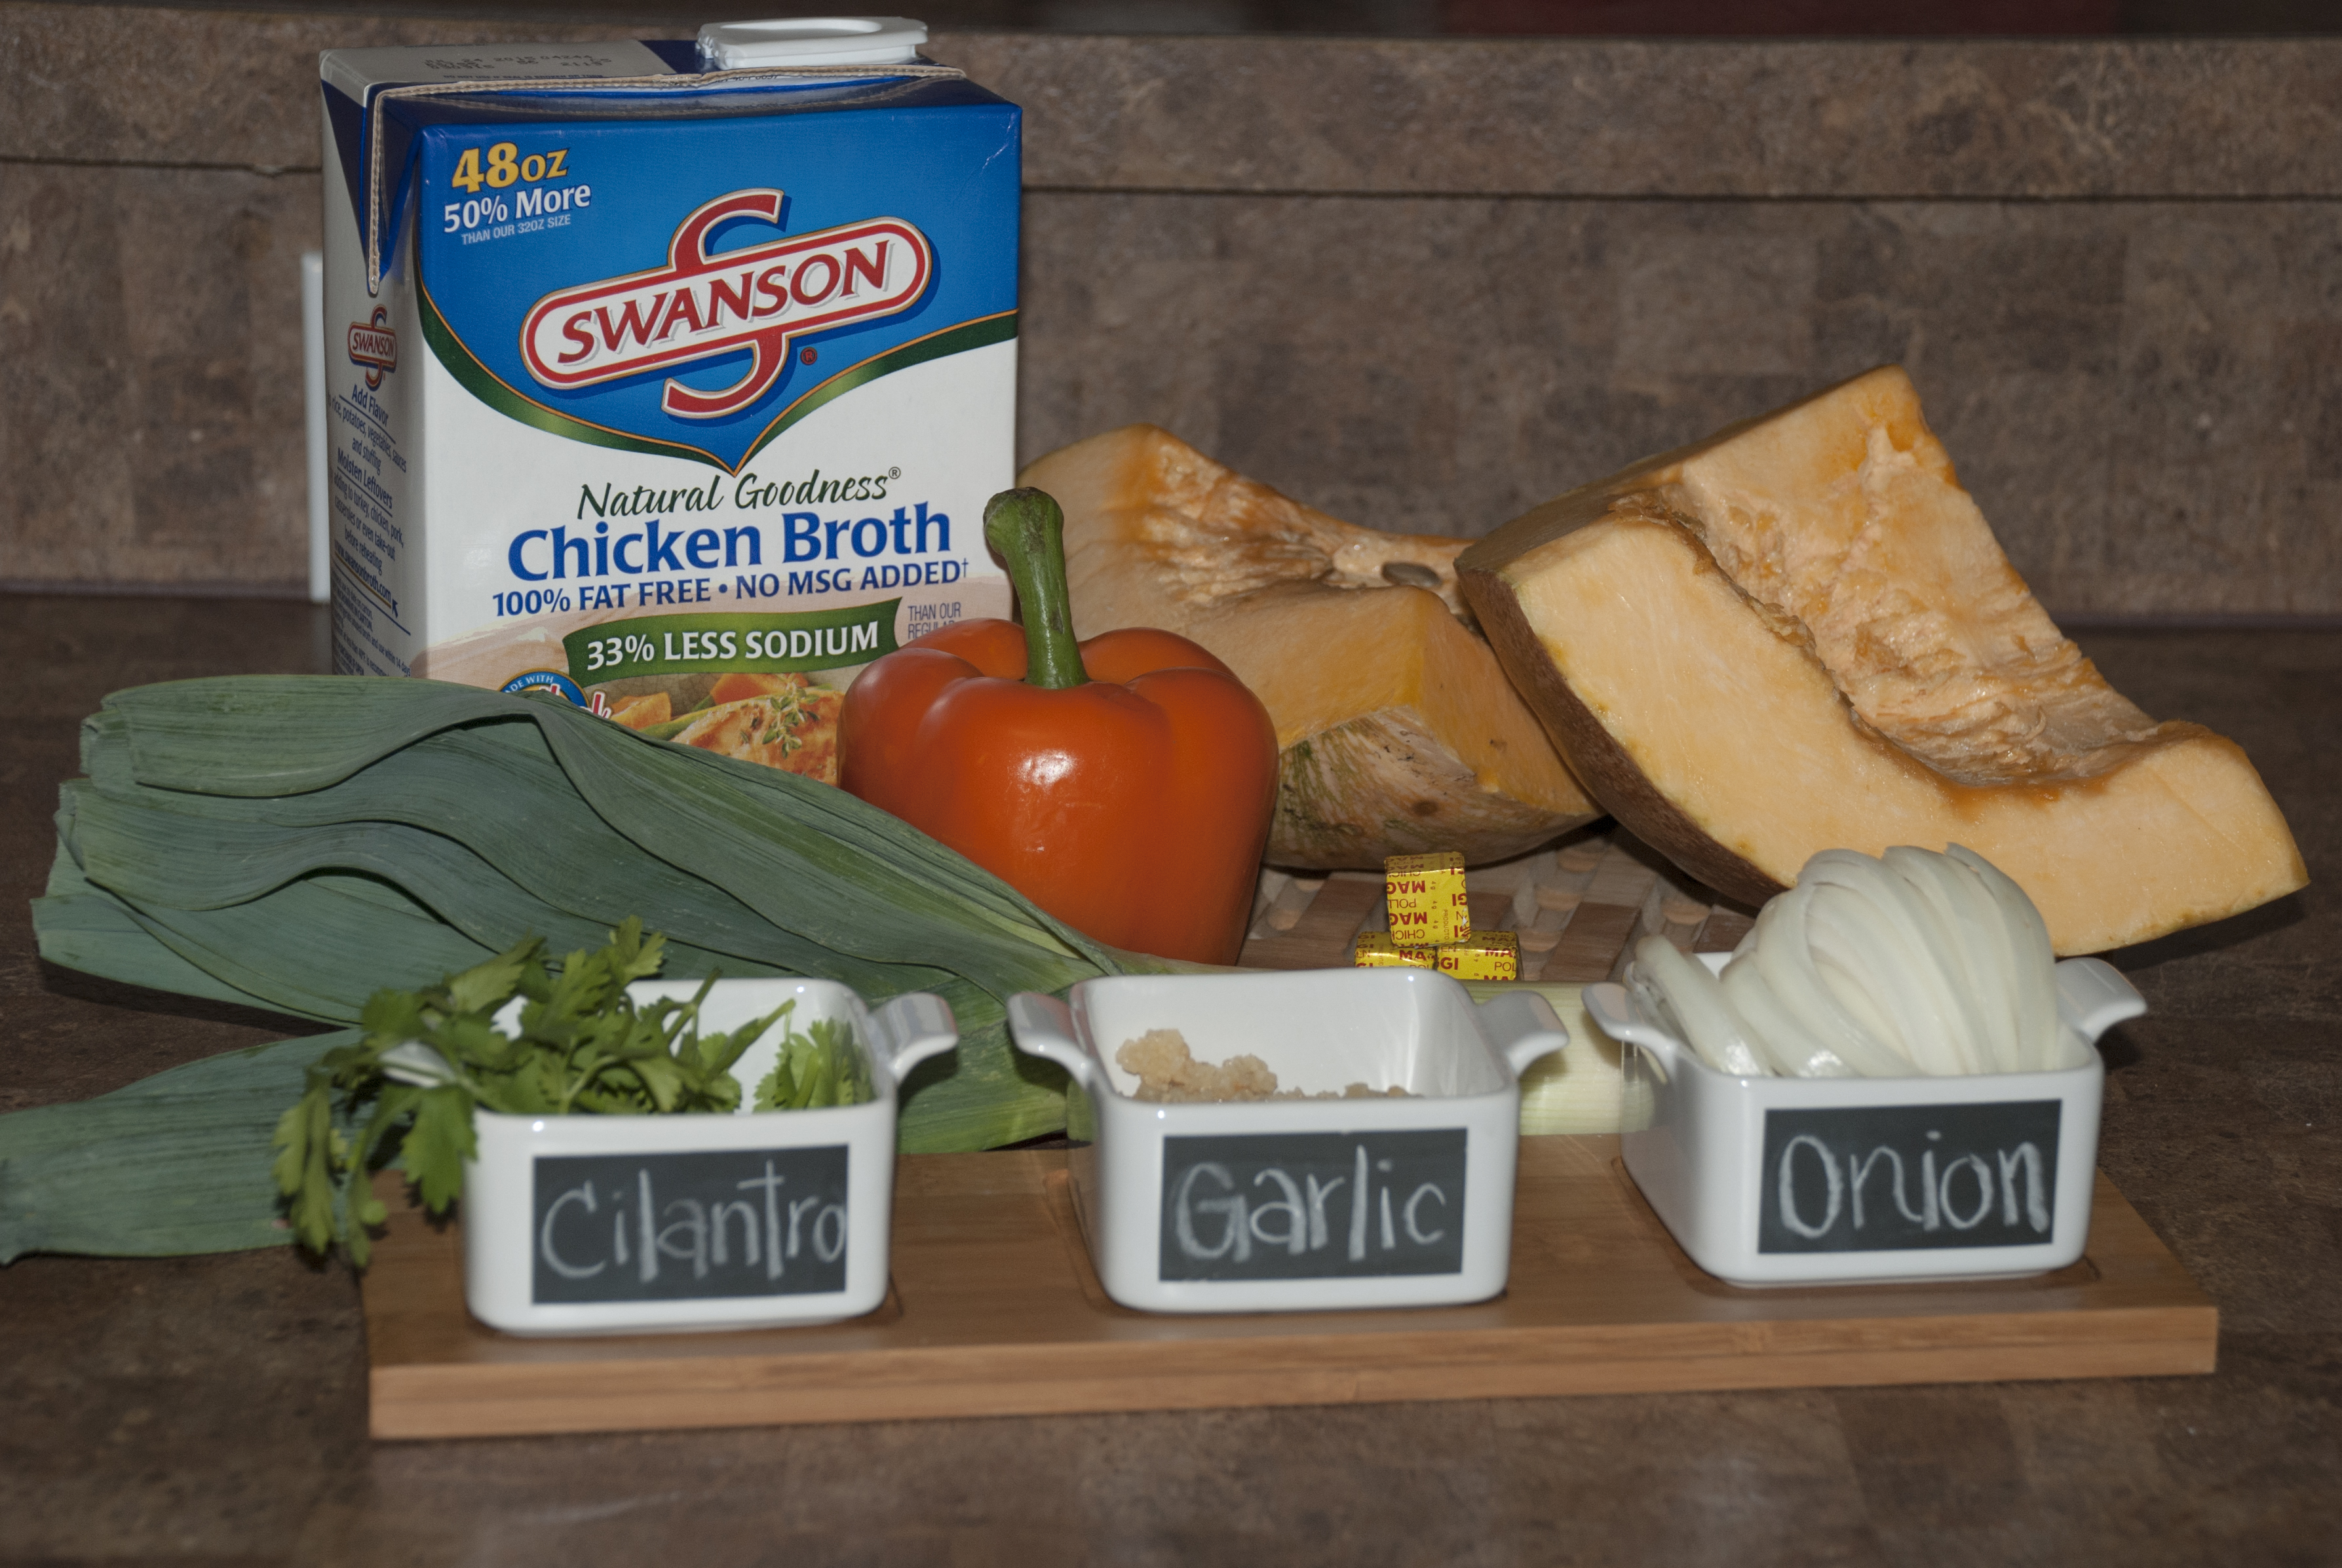
Guiso | Stew (Filling):
– 5.5 lbs. Sirloin Tip Roast
– 3.5 lbs. Chicken Breast With Rib (No Skin)
– 2.5 lbs. Rib End Boneless Pork Roast
– 1 lb. Bacon
– 5 Lemons Cut In Half
– 1 Cup Vegetable Oil
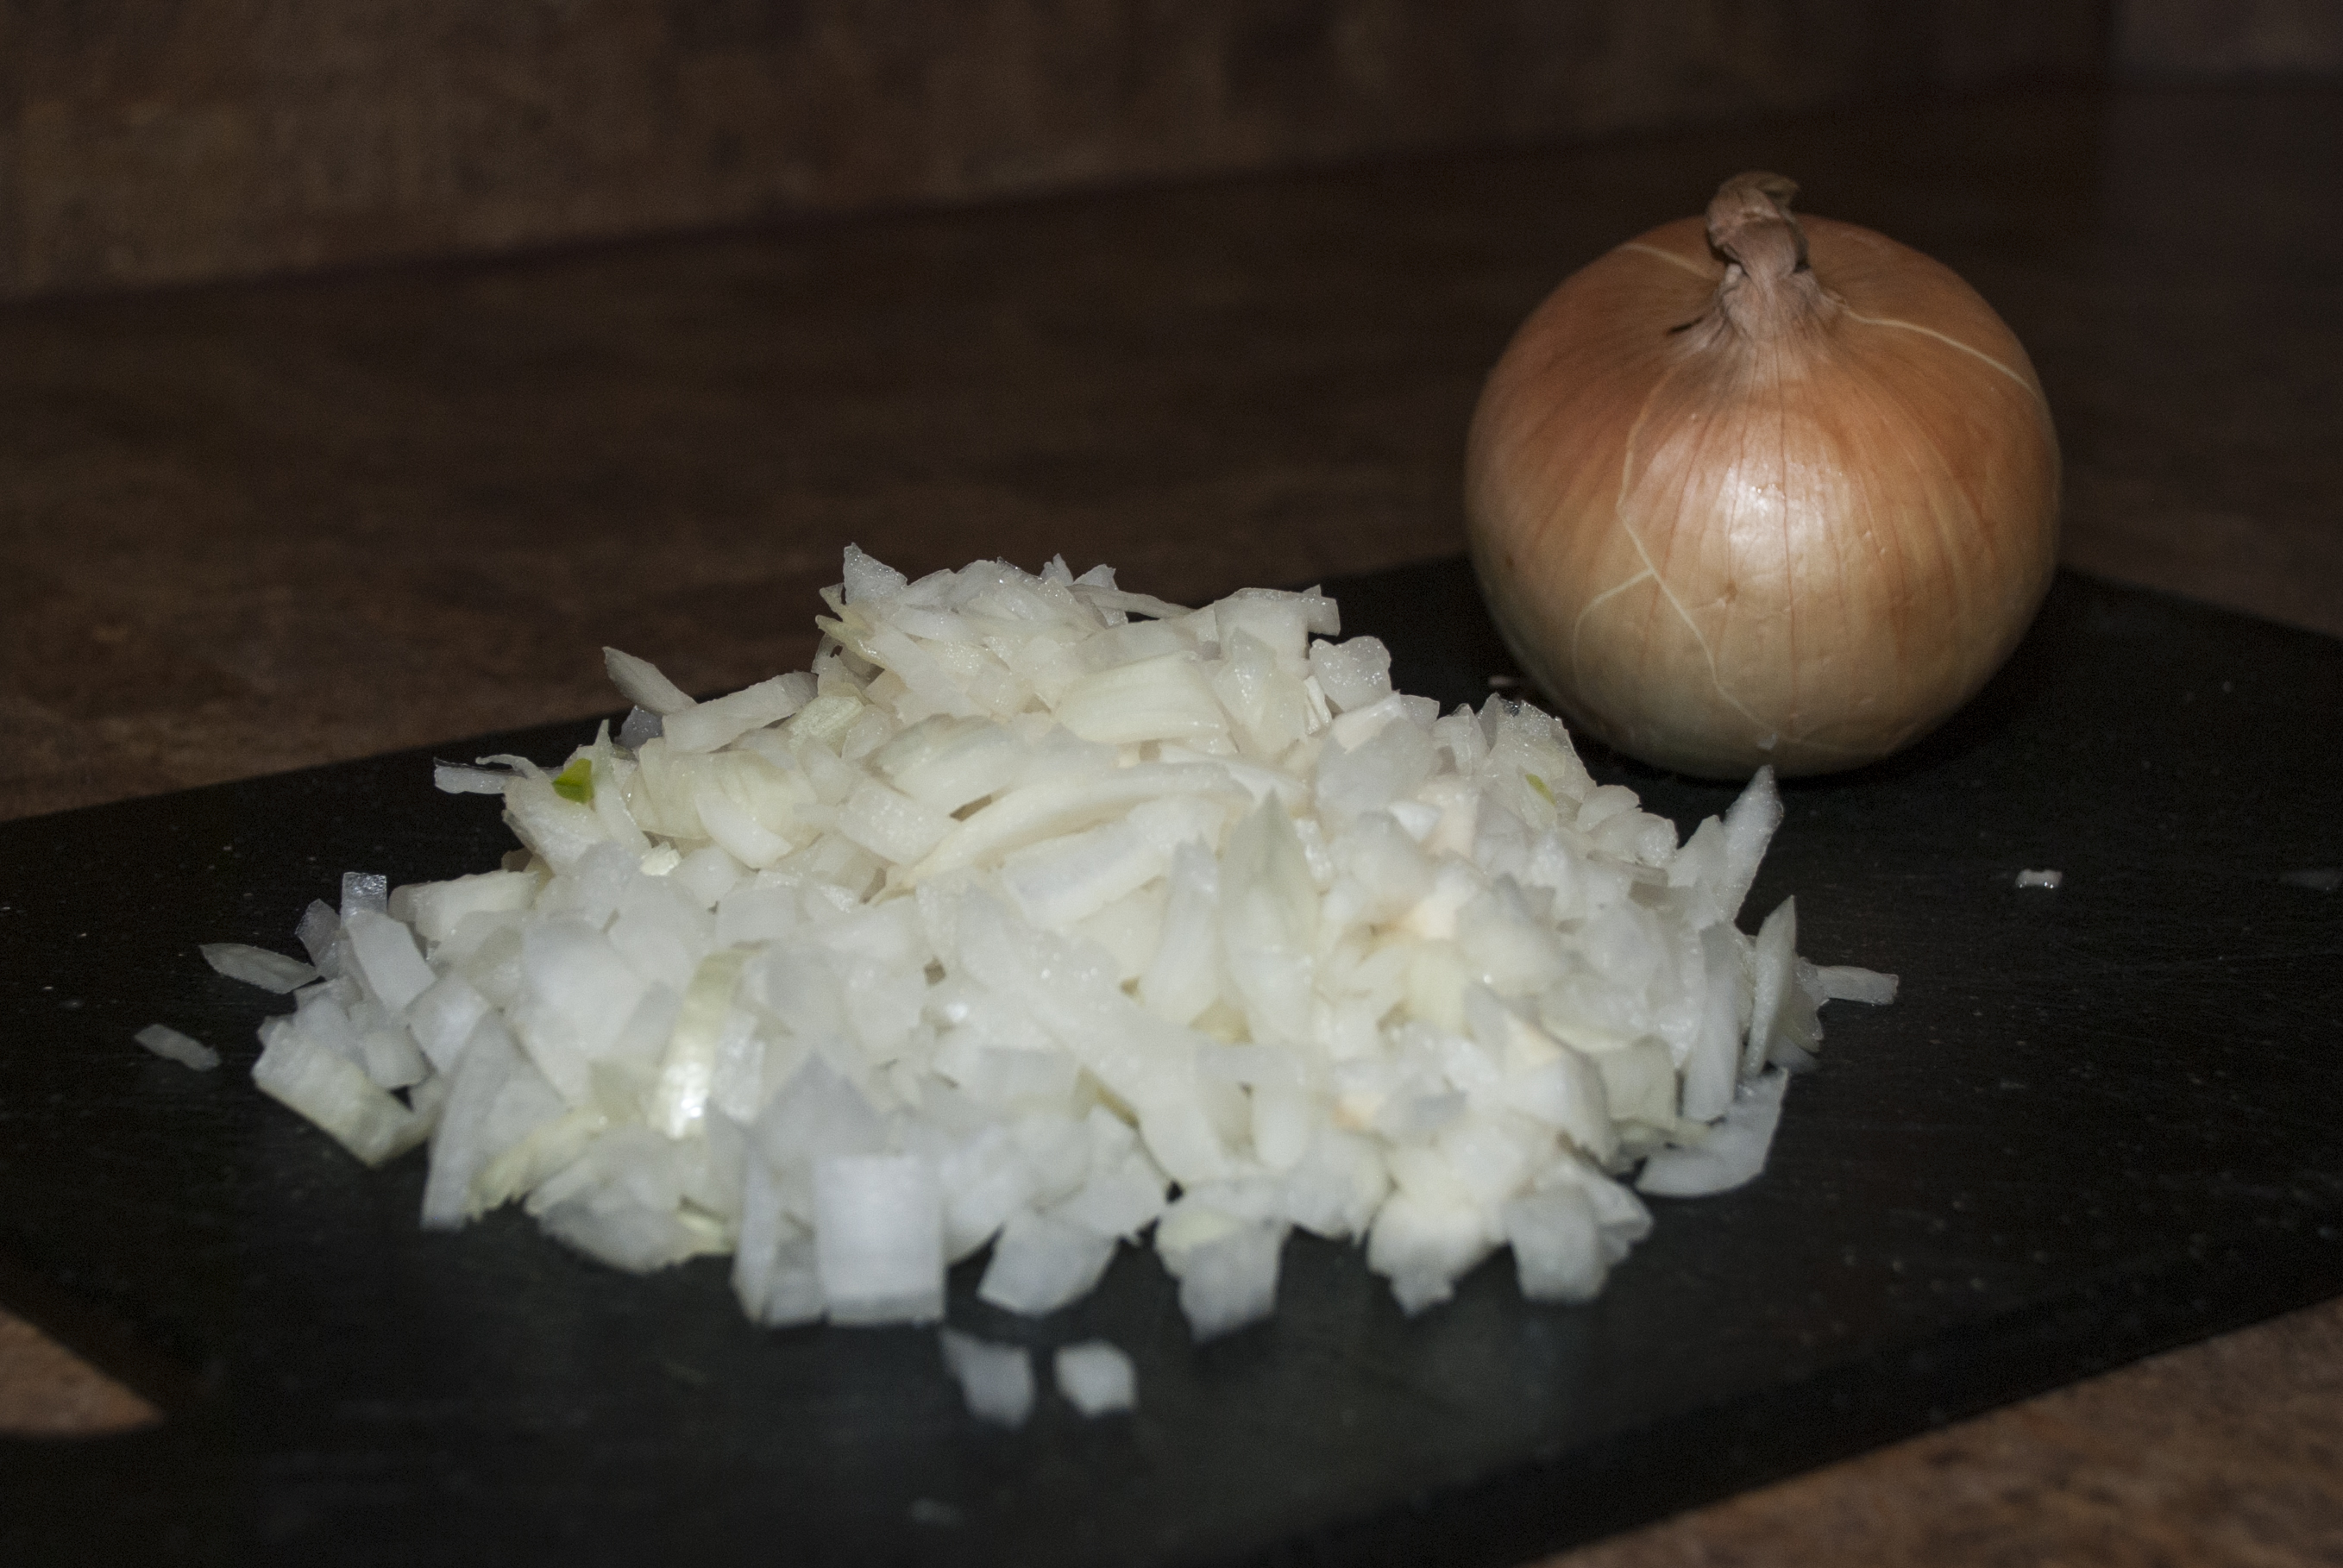
– 6 Cups Chopped Onions
– 4 Cups Chopped Leeks
– 2 Cups Chopped Green Onions
– 3¼ Cups Minced Garlic
– ½ Cup Capers in ½ Cup Chicken Broth
– 2.5 lbs Red Bell Pepper, Grated without skin or seeds
– 5 Cups grated Tomatoes (No Skin or Seeds)
– 4 Chopped Sweet Peppers (Ají Dulce)
– 1 Cup White Wine
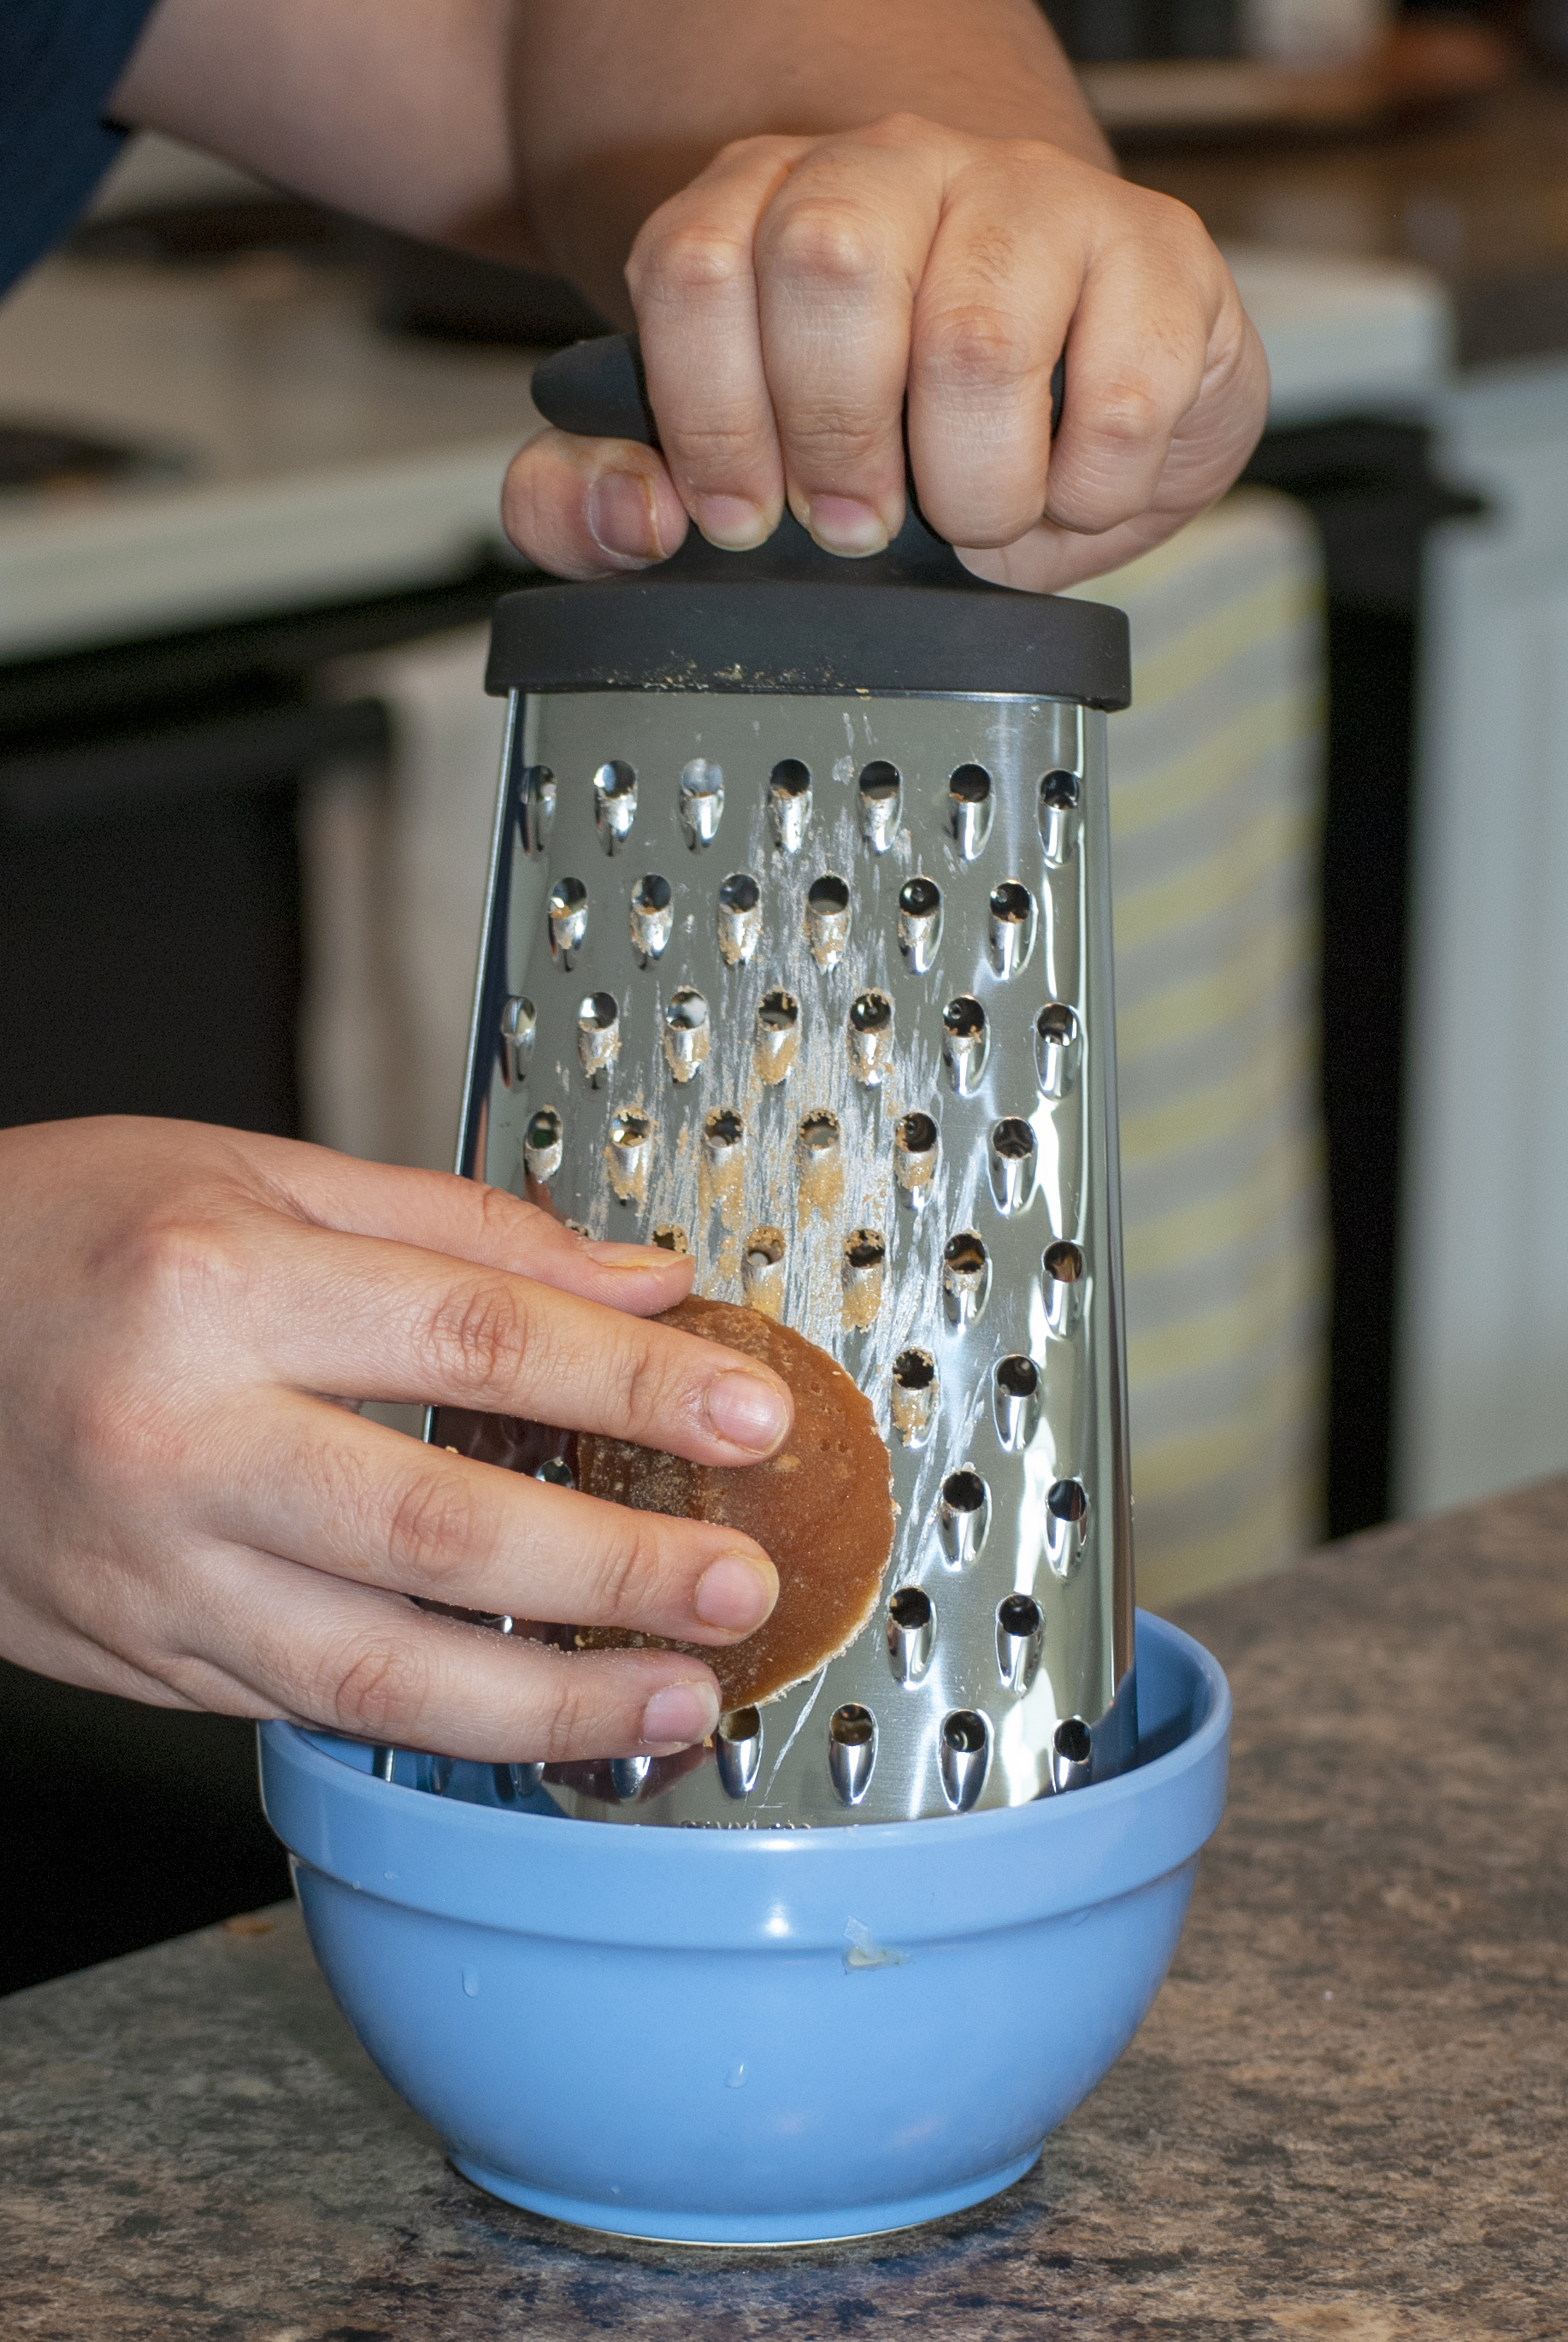
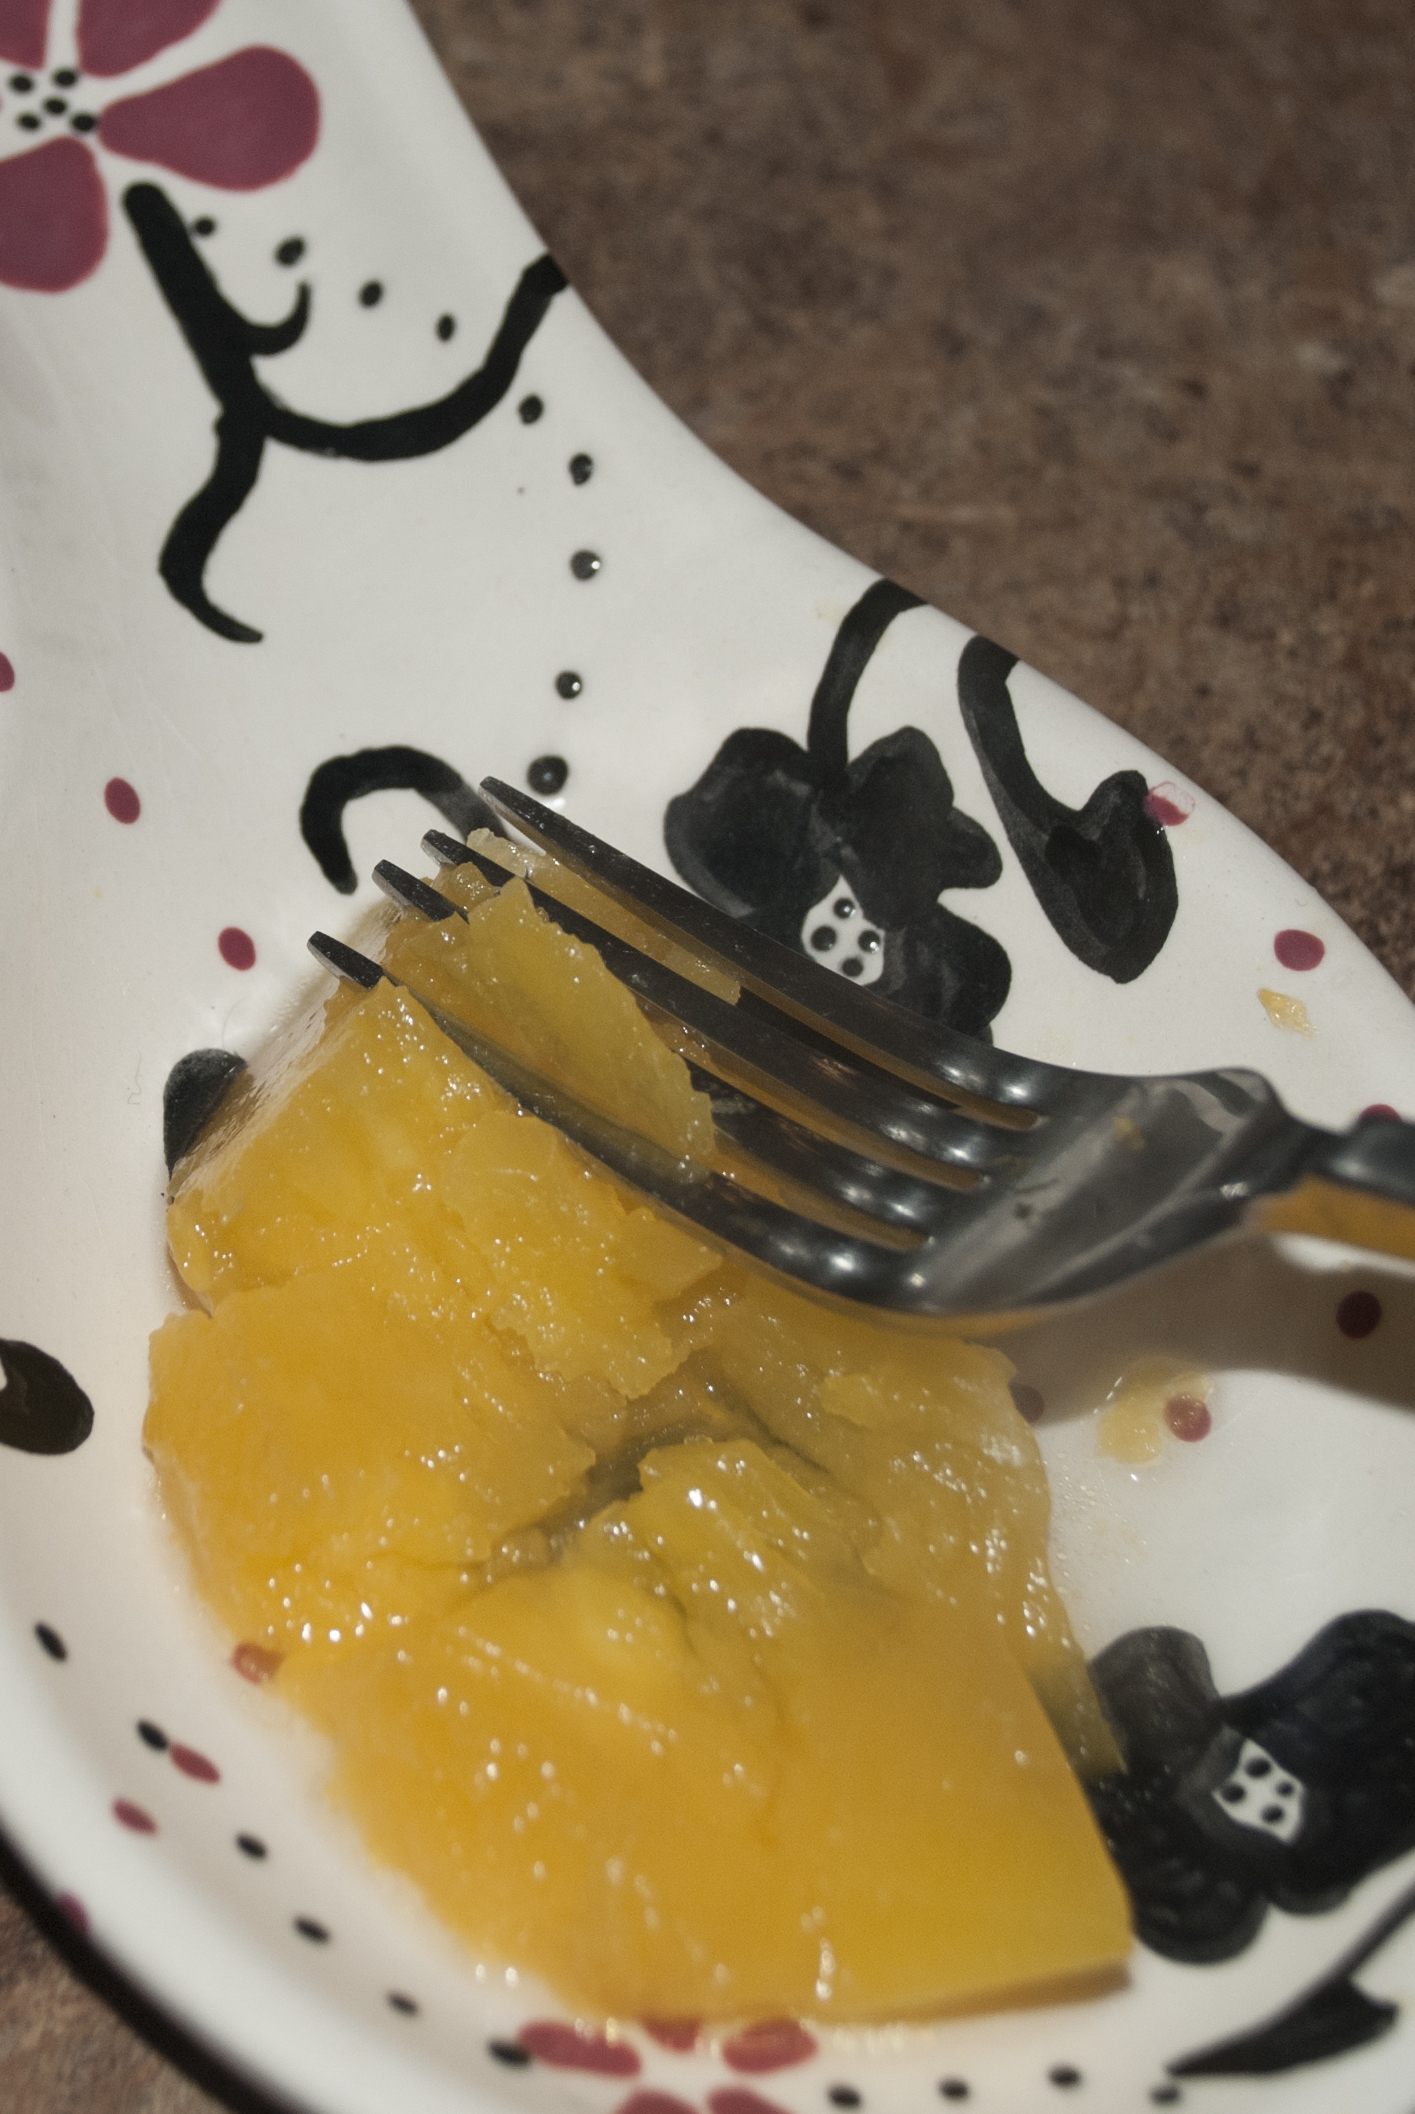
– ½ lb. Papelón Rallado (Grated shredded sugar cane blocks available in Latin stores)
– 1 Tablespoon Ground Black Pepper
– 2 Teaspoons Paprika
– 5 Tablespoons Salt
– ½ Teaspoon Mustard
– 2 Cups Chicken Broth
Masa | Dough:
– 9 lbs. Harina P.A.N.
– 4½ Cups Chicken Broth
– 17 Cups Water
– 5 Cups Oil
– 6 Tablespoons Annatto Seeds
Adornos | Garnish:
– 1 lb. Bacon (Same one that was cooked with the pork cut in long slices)
– 2 lb. Red Bell Peppers (Cut in long slices without skin or seeds)
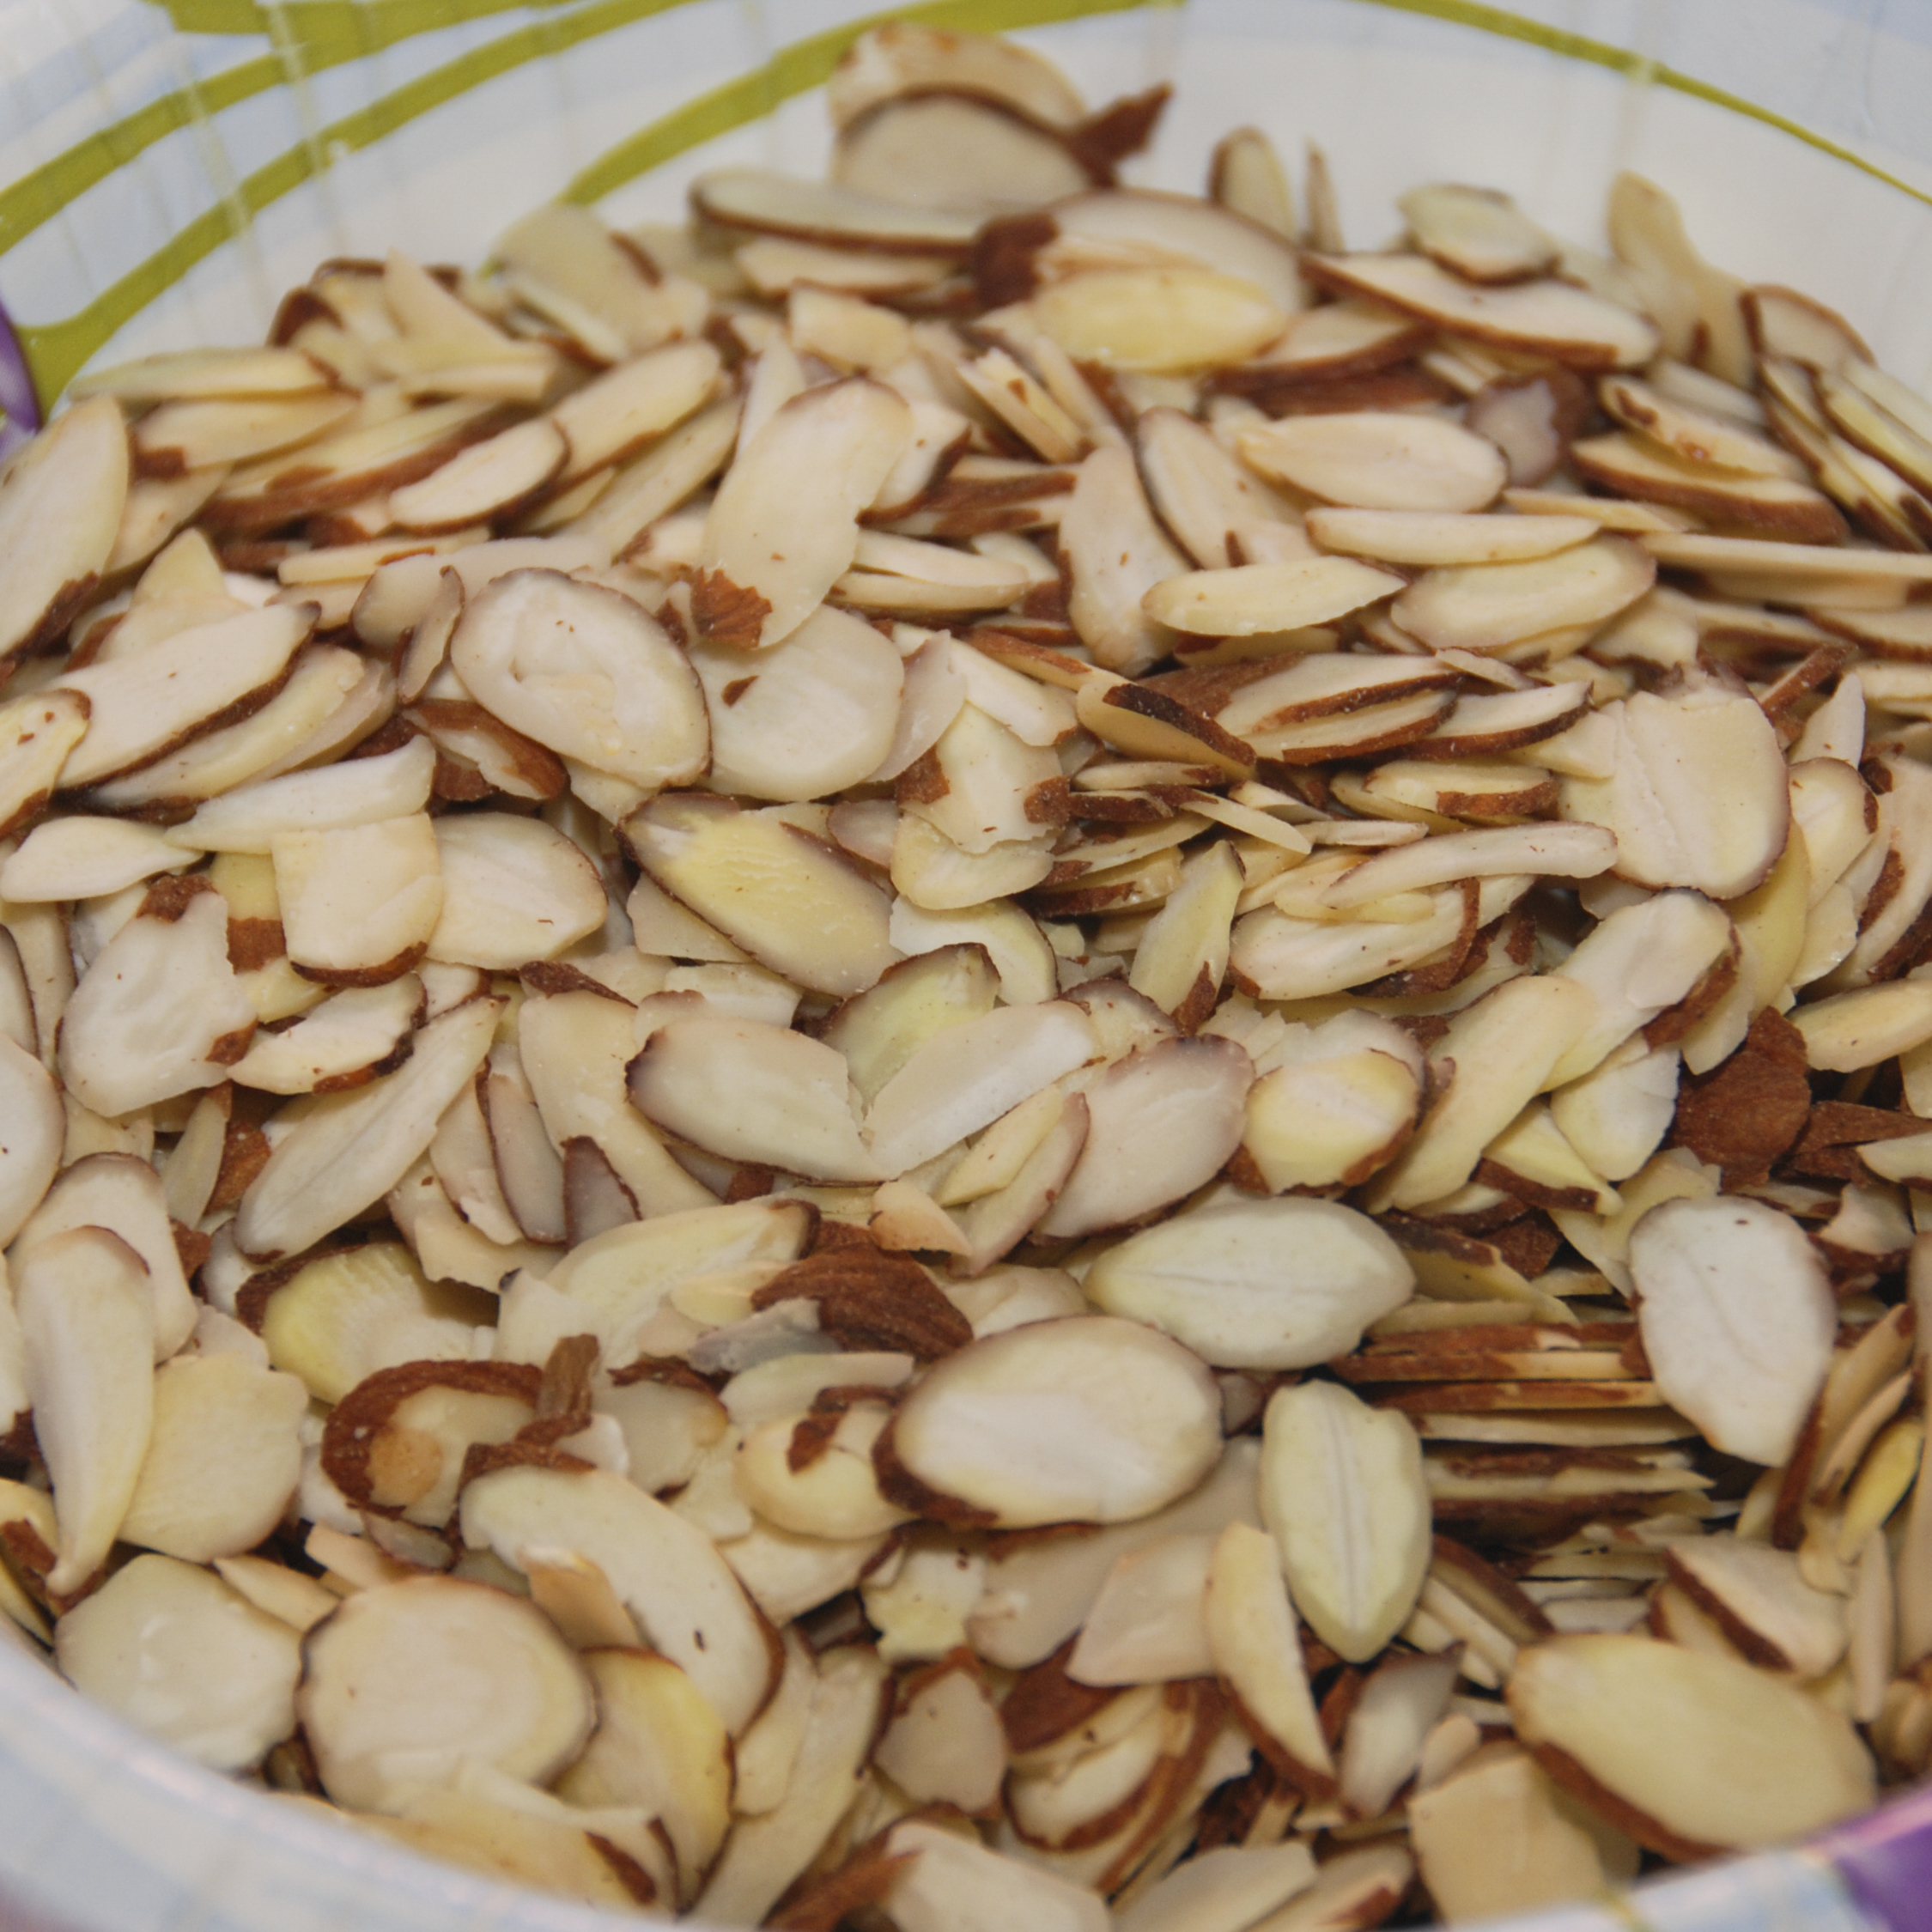
– ½ lb. Sliced Almonds
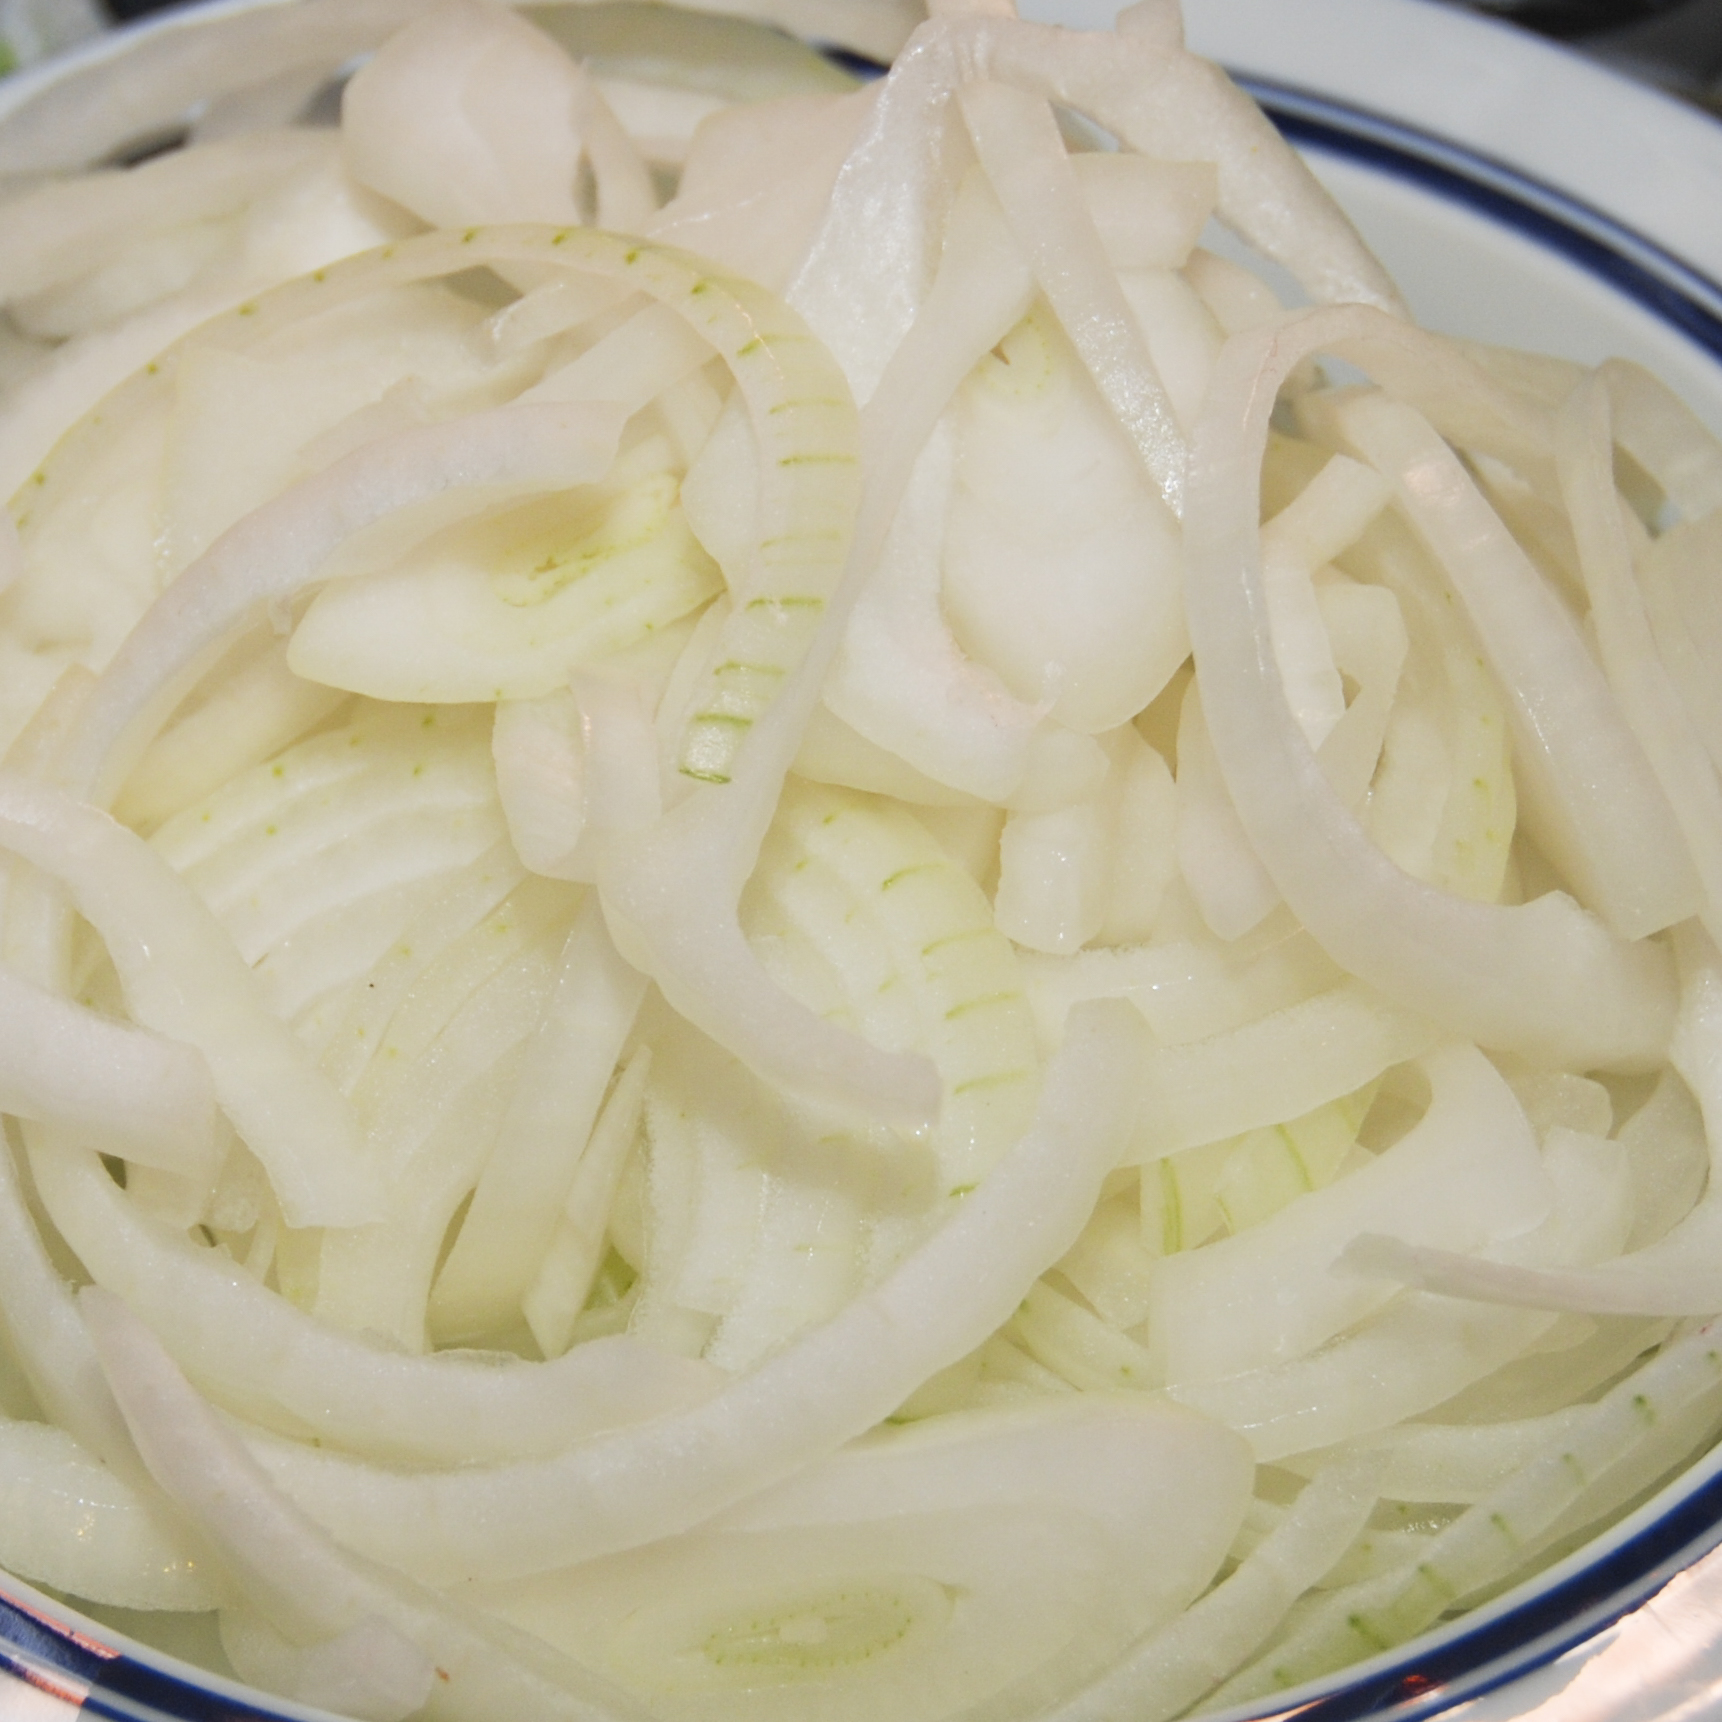
– 1 lb. Medium Onions, cut in long rings or long slices
– ½ lb. Small Drained Capers
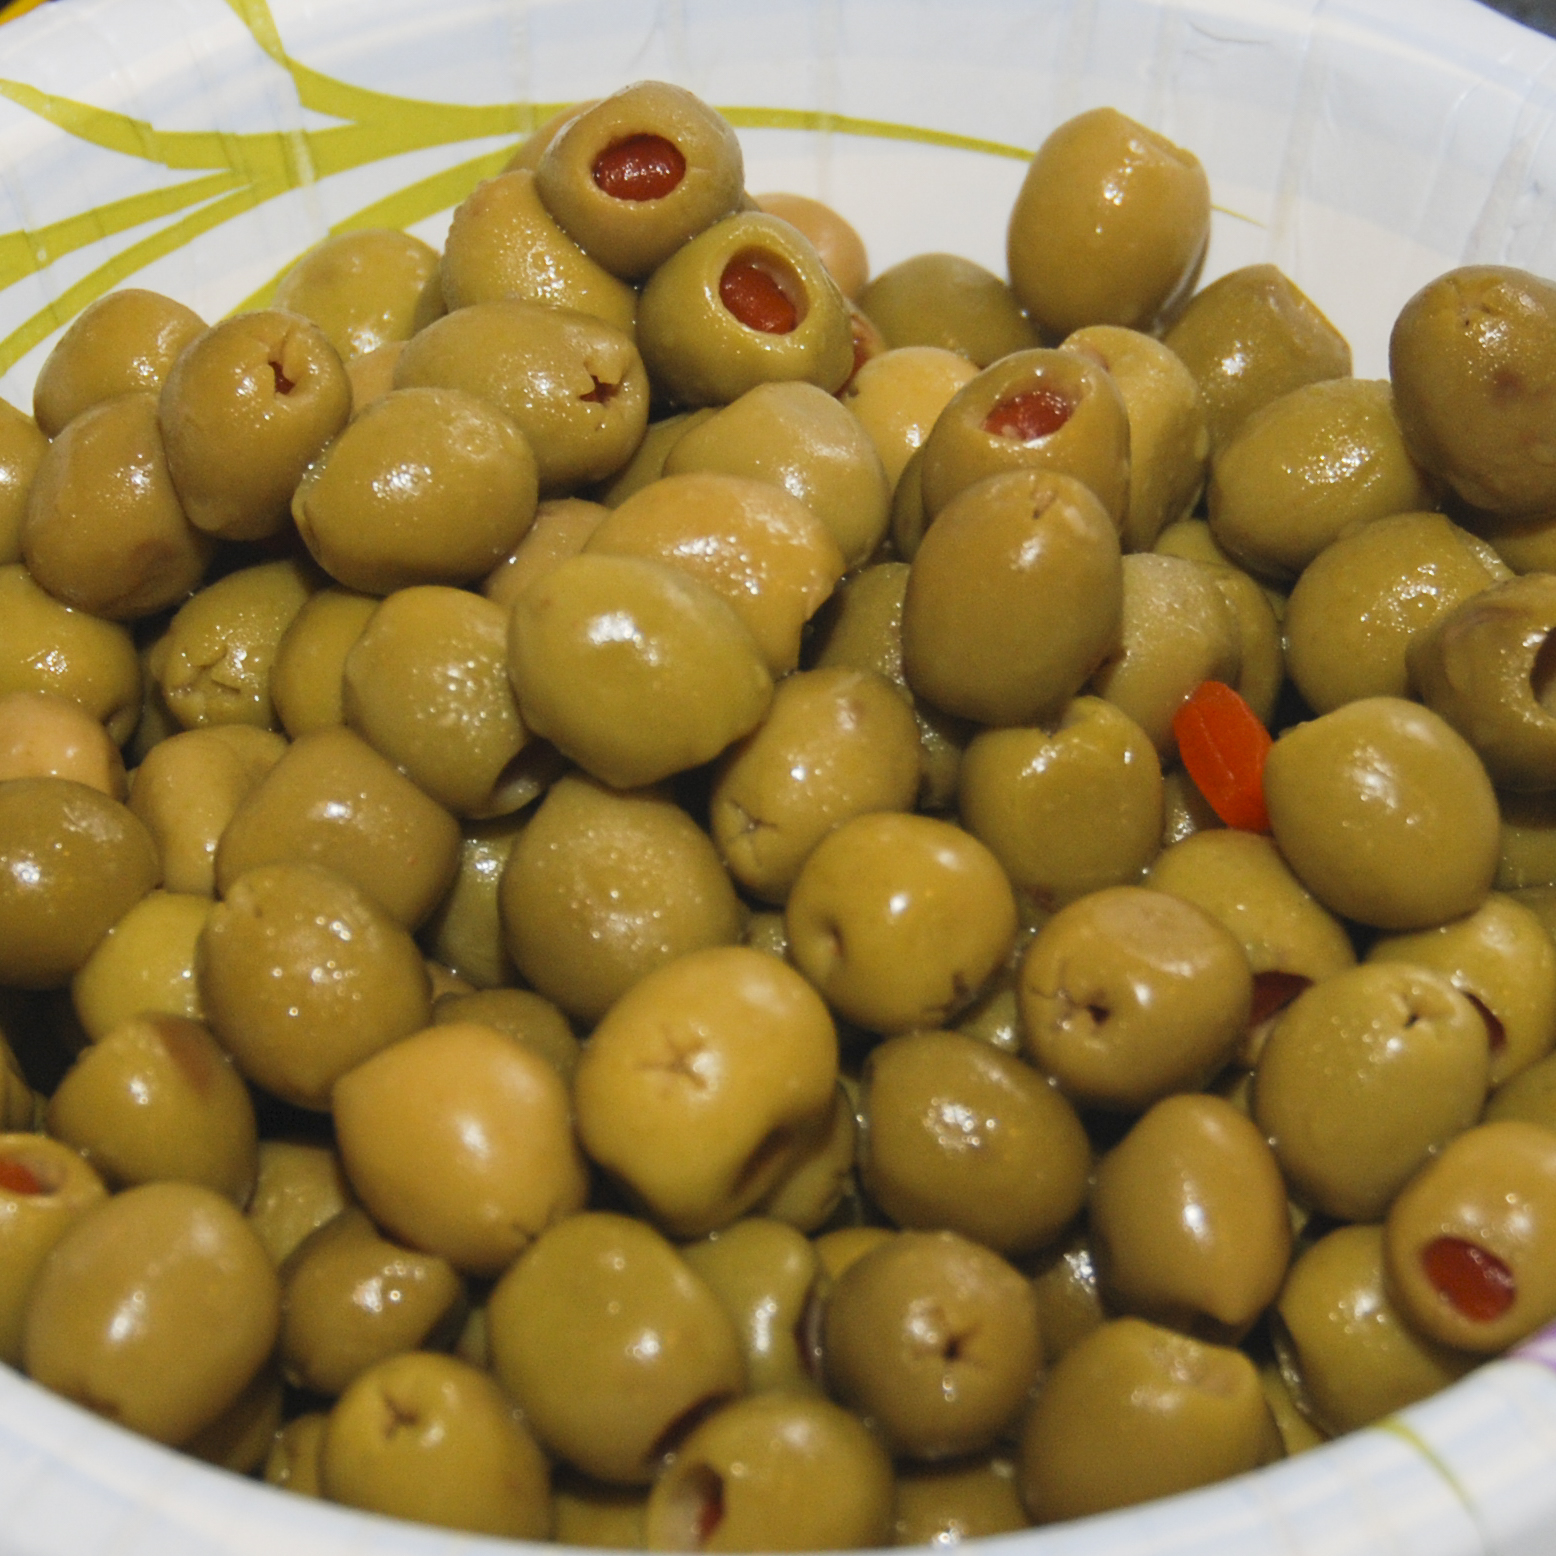
– 1 lb. Medium Pitted Green Olives, Drained
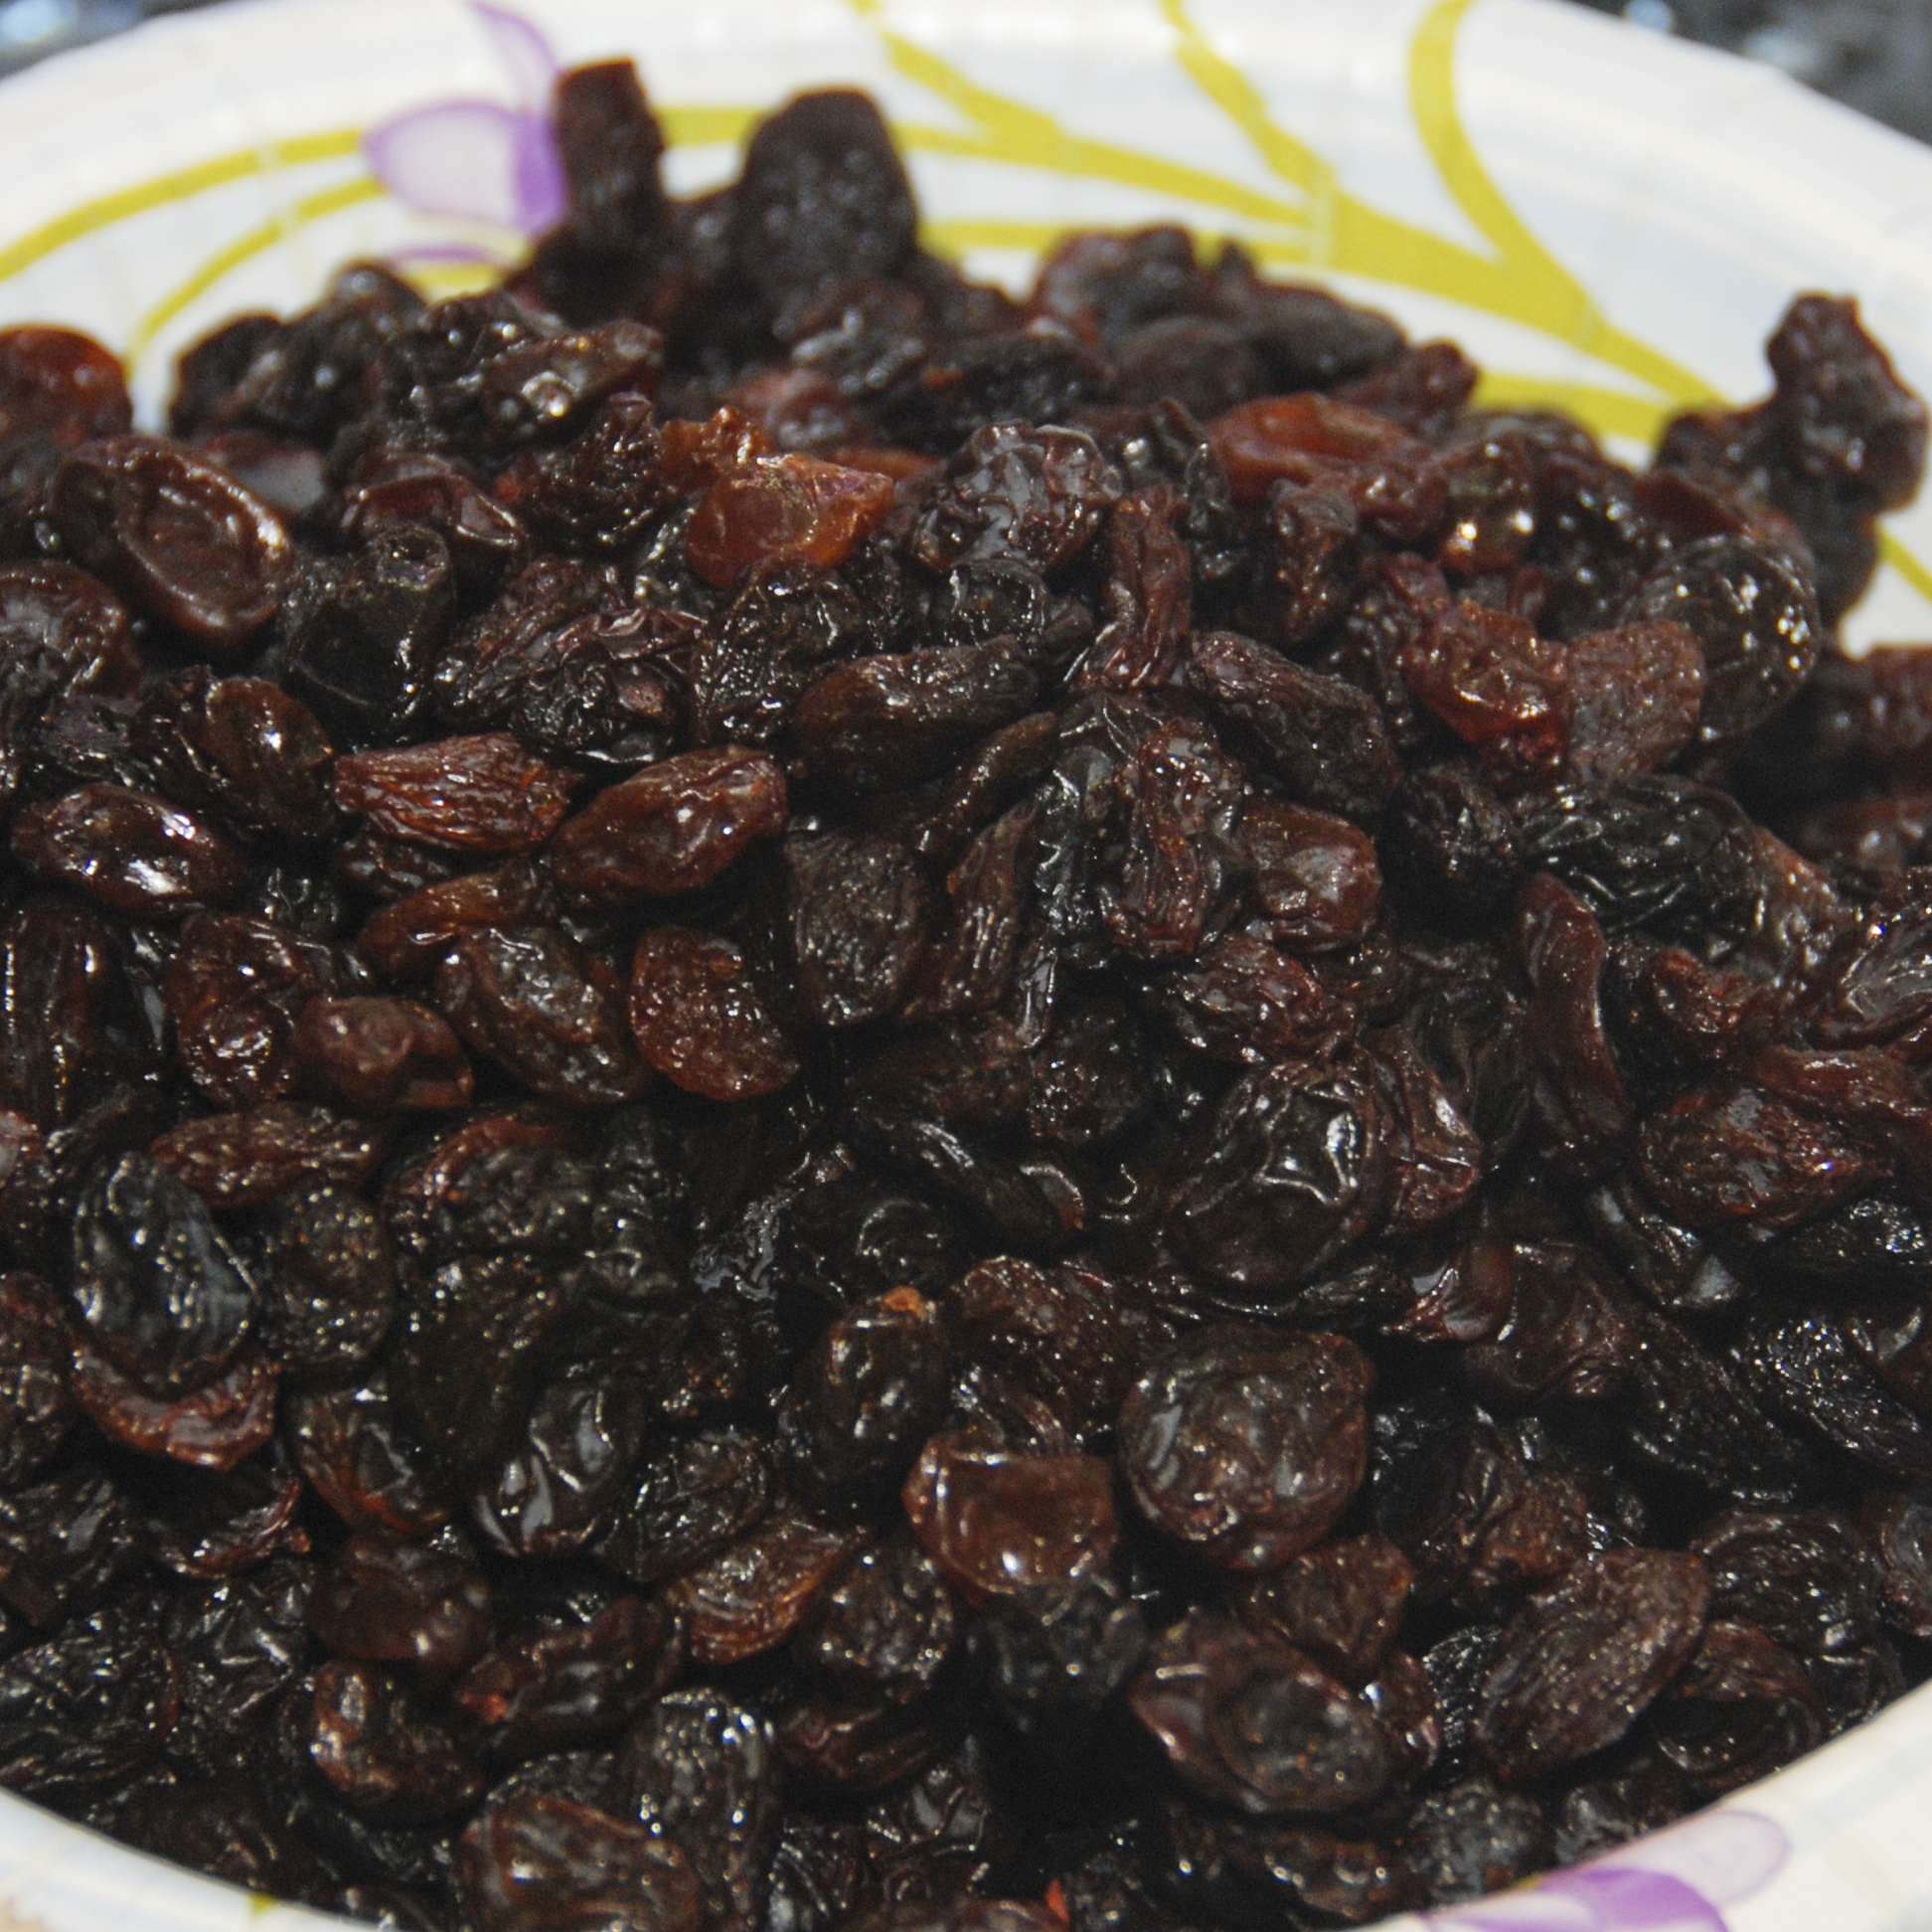
– ½ lb. Raisins
Envoltura | Wrapping:
– 10 lbs. Plaintain Leaves (about 10 bags)
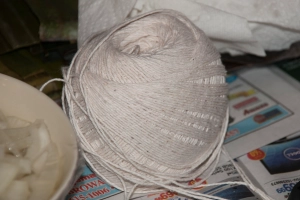
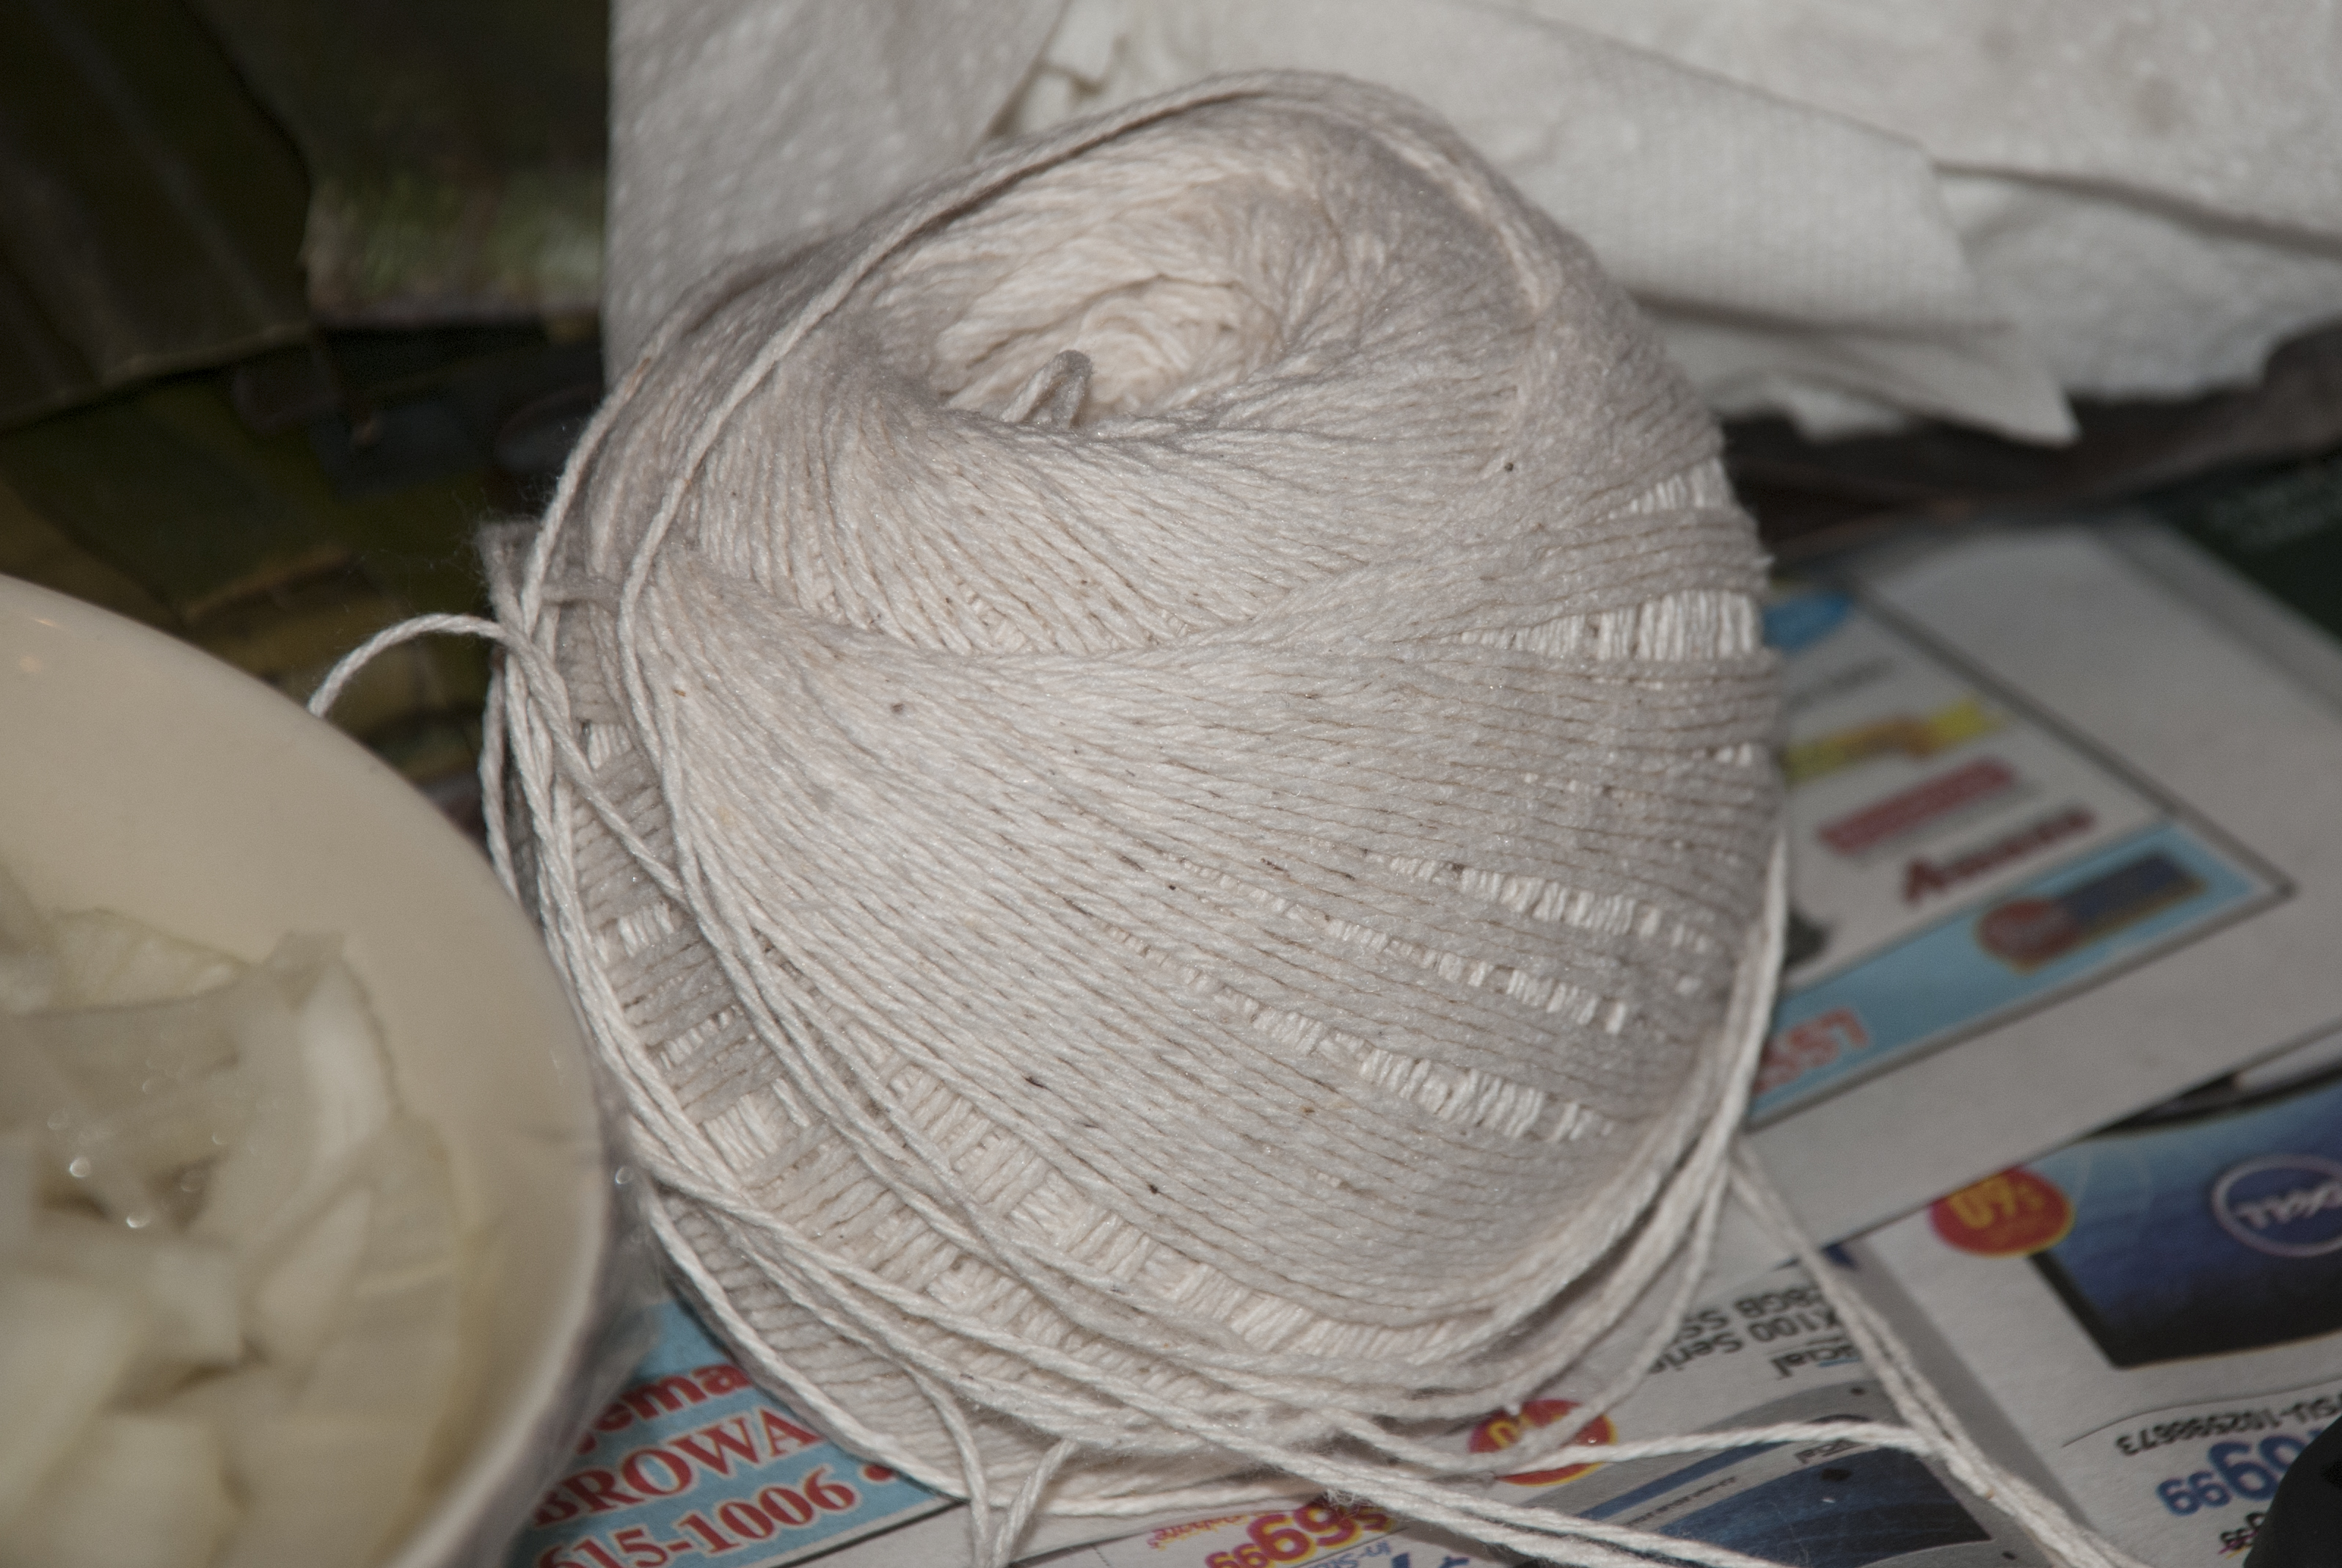
– 2 rolls of Pabilo (Cotton Yarn, Butcher’s String, Kitchen Twine, etc)
Preparation:
DAY ONE
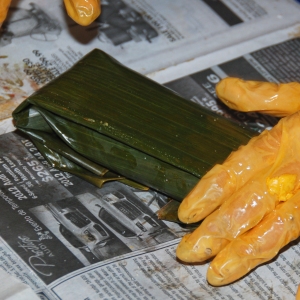
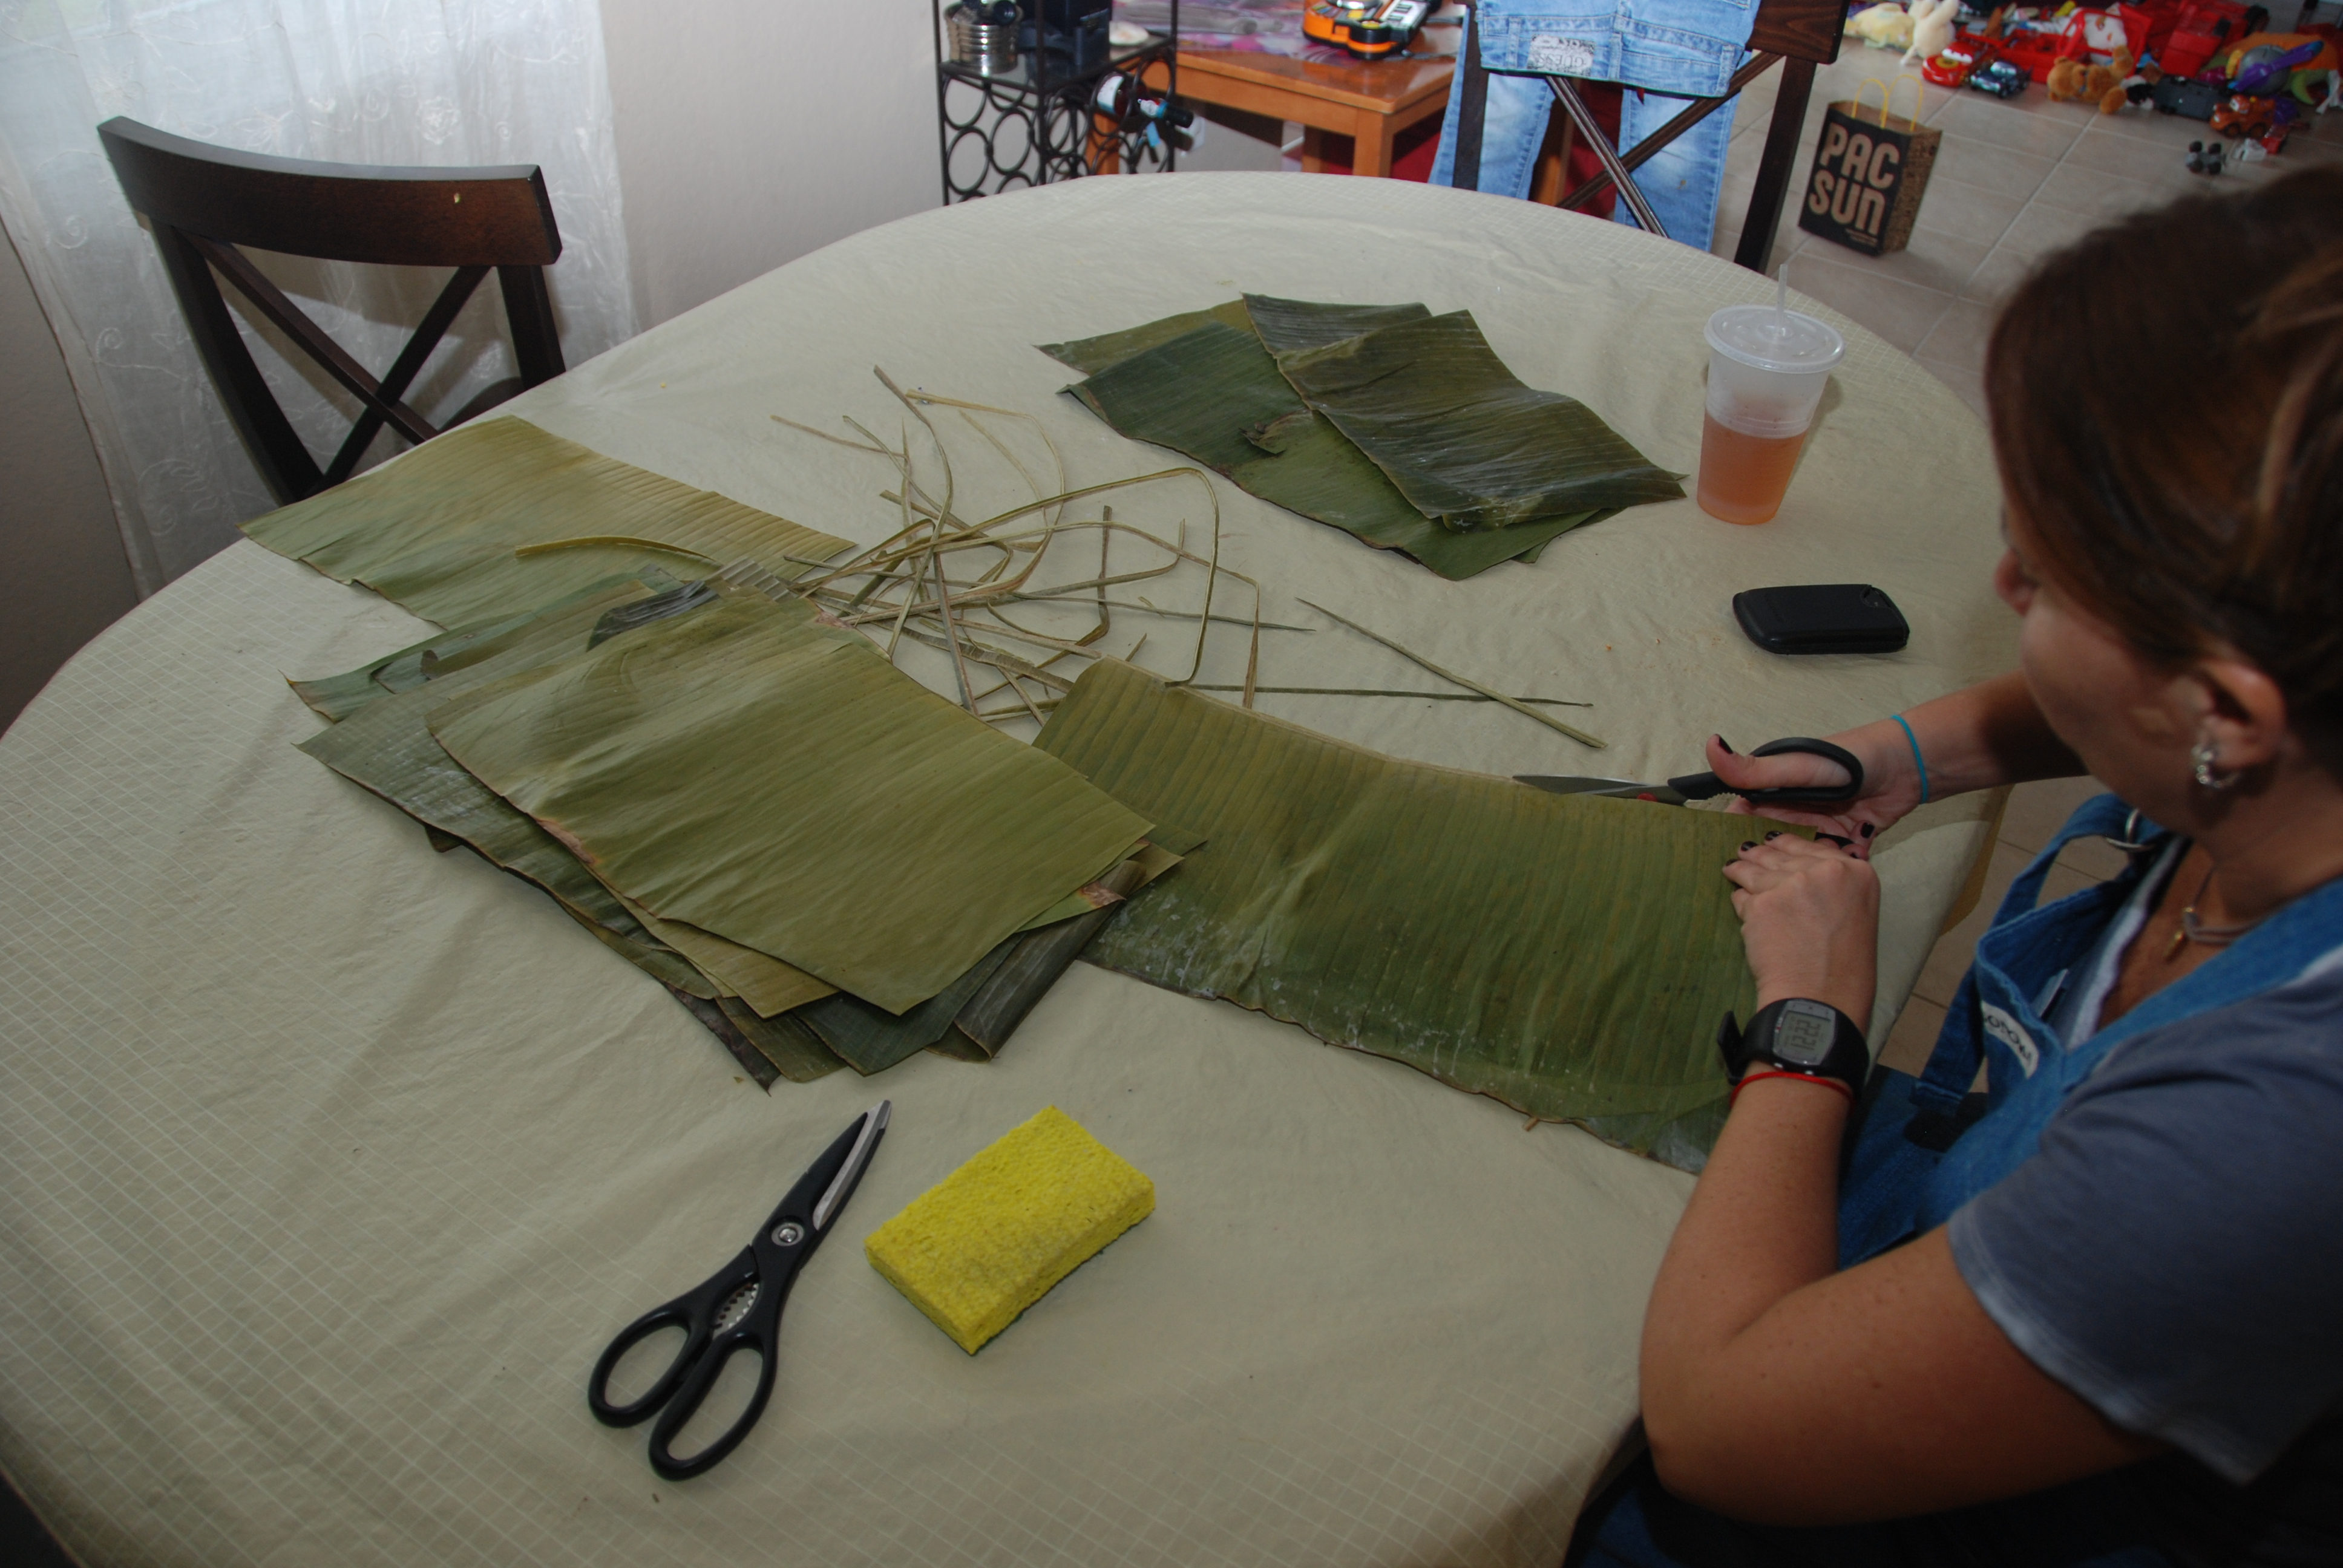
1. The first thing you want to do is prep and clean all the plantain leaves, cut them and separate them by size. As I mentioned before, this recipe can take up to three days in the making and you want all your assembling parts to be ready on the final day. Therefore, you can begin by prepping the plantain leaves on day one. You can even do it before day one, or you can do it while the stew is on the stove. Either way you should do it before you are ready to assemble the hallacas. Here in the US, it is fairly easy to find plantain leaves. There are a couple of brands that sell plantain leaves in a bag, in the frozen section. They sell them as Hojas de plátano or Banana Leaves, although the real translation should be plantain leaves. They have Goya, La Fe, La Nuestra, El Sembrador, etc. You can buy either one. My aunt bought El Sembrador and La Fe brands. The plantain leaves are really large and they come all folded together inside the bag, and they are pretty cold when you handle them because they are frozen. Its best if you leave them out to thaw a bit before you begin this process, because they will be easier to handle.
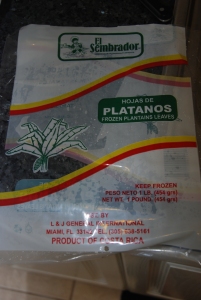
Hojas de Plátanos | Plantain Leaves | Banana Leaves
If you look at the leaf, you can tell it has a main vein or central nerve, which is where it is attached to the tree, then a lot of little lines perpendicular to the vein/nerve that go from the nerve to the edge of the leave, lets call them little veins or little nerves. When you are working with the leaf, whether it is cleaning it or cutting it, you should always keep the side where these little veins or little nerves are most visible protruding, side up. And also lay them with those lines going away from you (you would see them vertically) and the line where the main nerve is, or used to be closest to you. Don’t worry I will illustrate all of these complicated terms below for you.
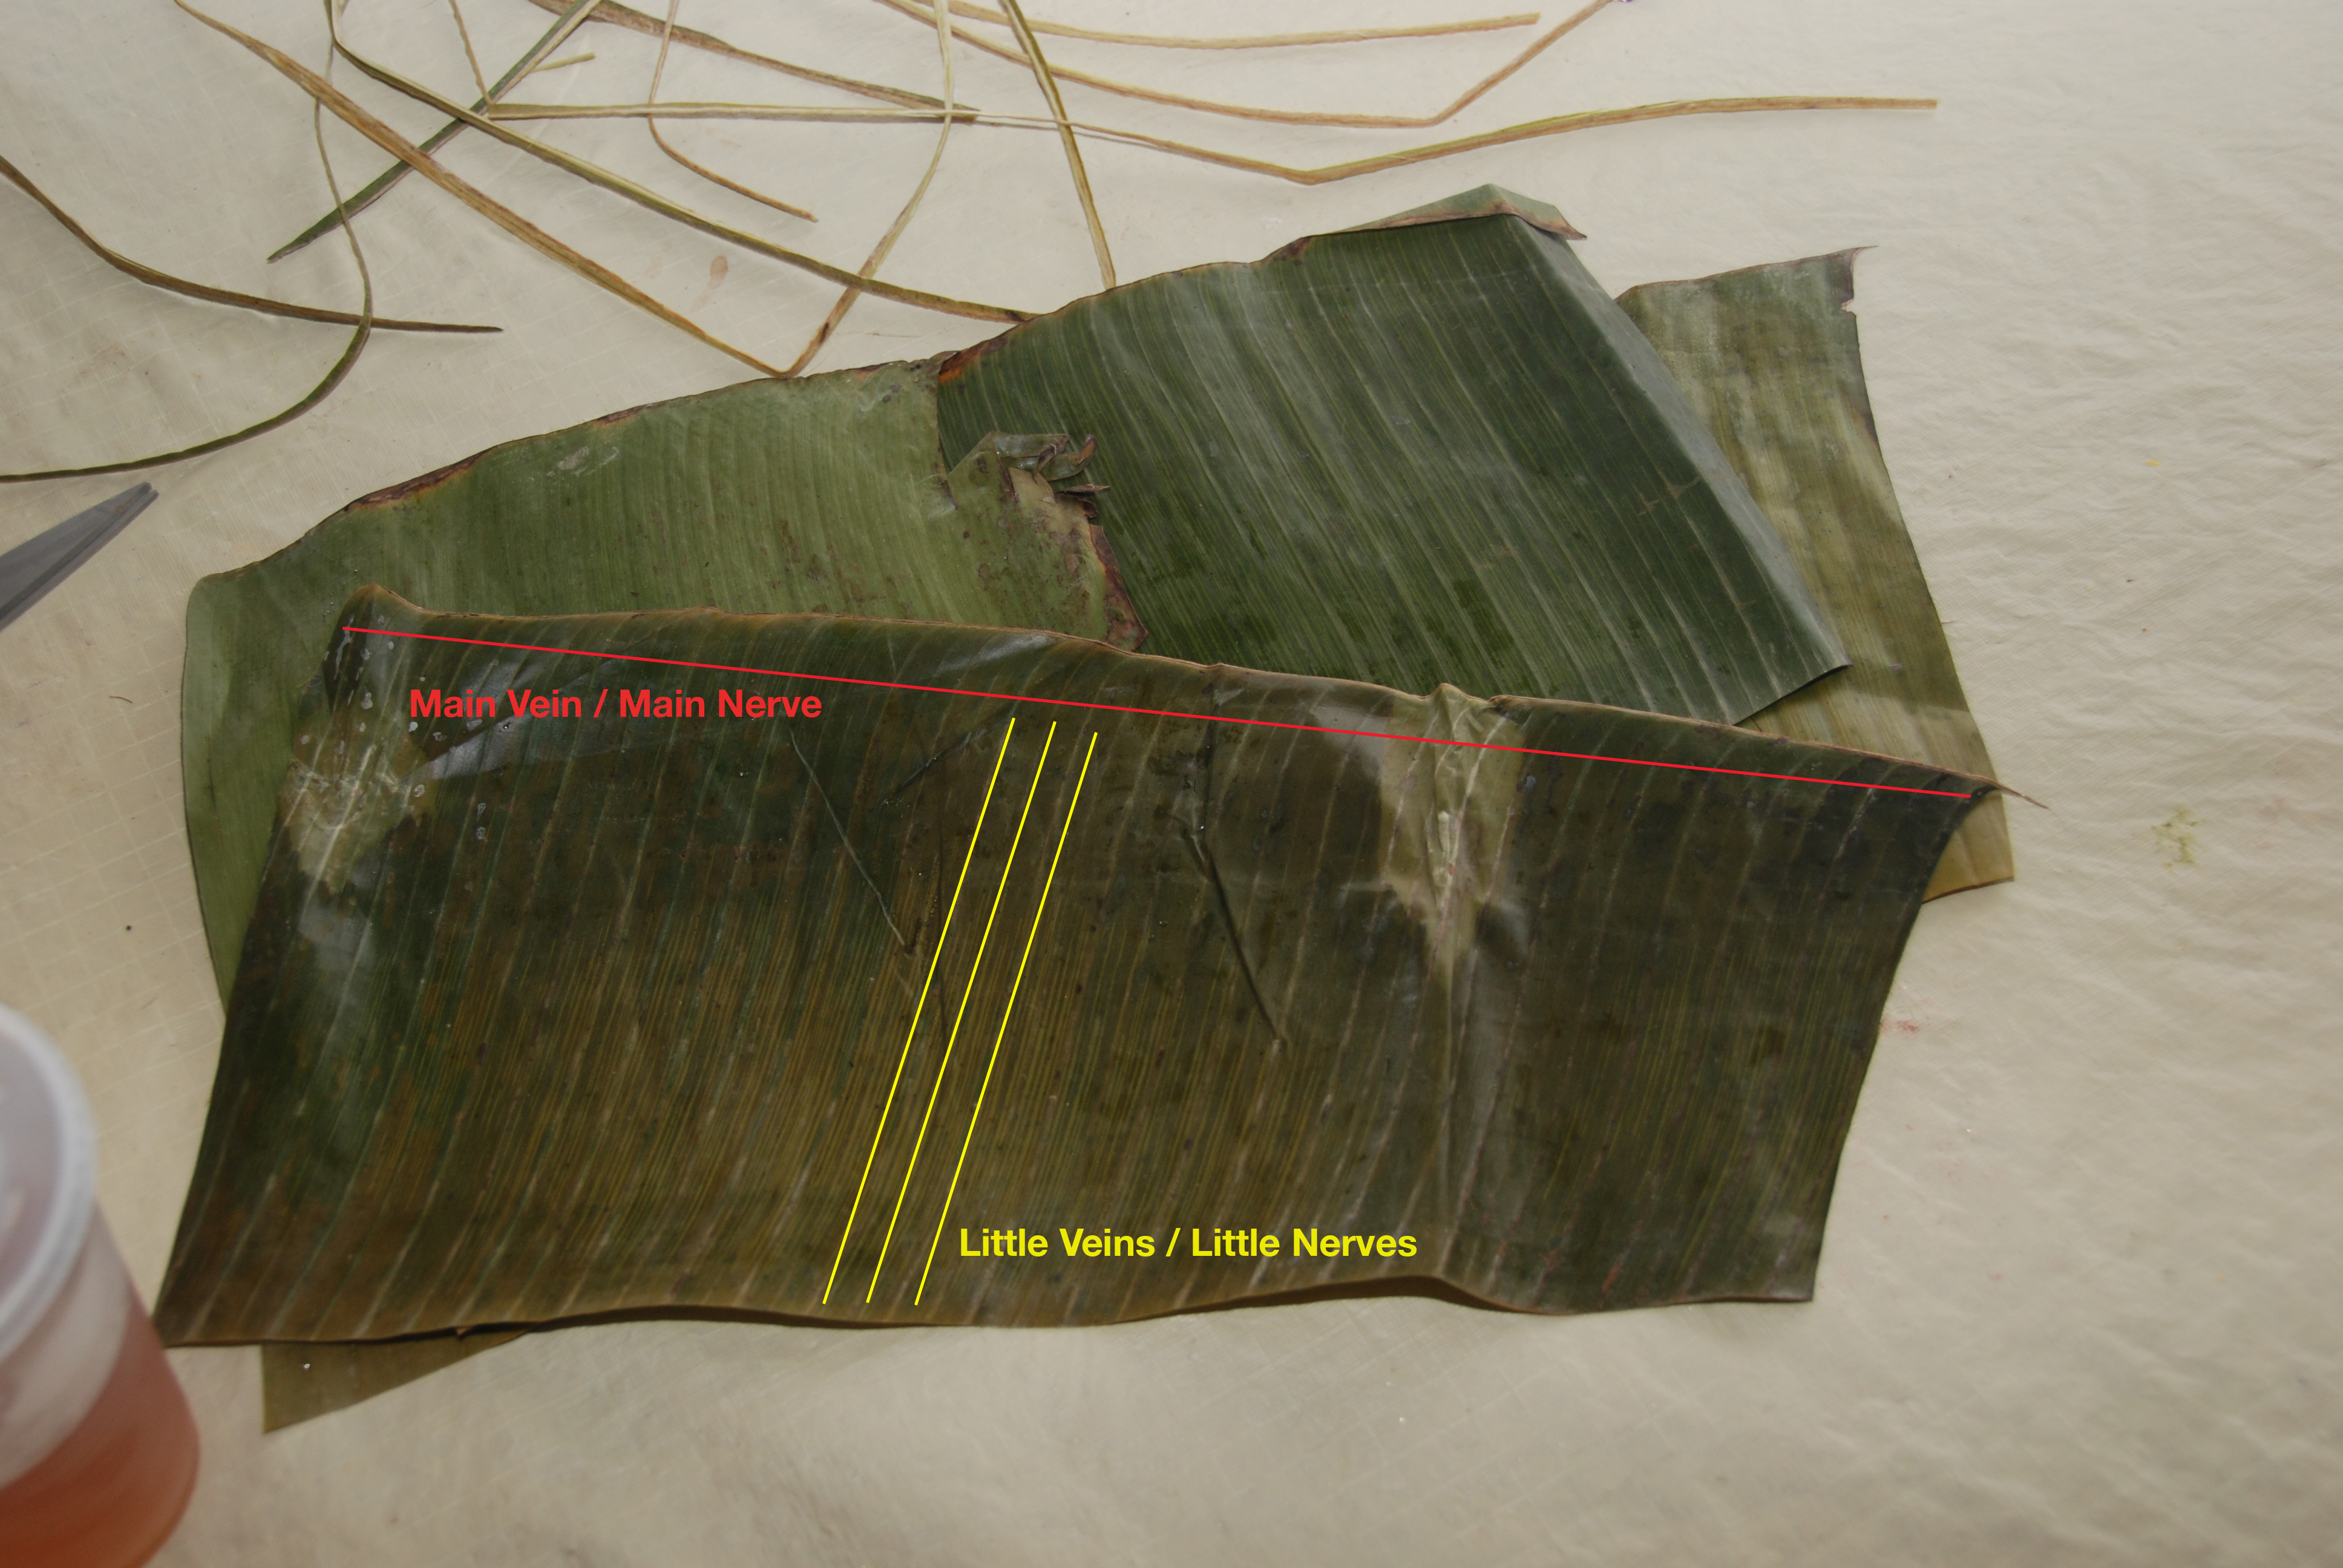
Plantain Leaf Parts
2. First you should open the bags and lay them all opened and flat on a large table. They are supposedly already cleaned, but you should clean them anyways with a wet kitchen towel or cloth. They are easily broken and torn in half so it is better to clean them all first and then proceed to cut the veins and cut them into all the different sizes you will need. Clean the leaves with a wet cloth and then dry them with a dry cloth.
3. Once you have cleaned them and dried them all, you can proceed to cut the vein or central nerve if you will. If you lay the long plantain leaf vertically in front of you, you will notice one side has a thick vein (the side that is most straight). You can proceed to cut the whole vain, which is only about half an inch from the edge.

Cutting the veins of the plantain leaves
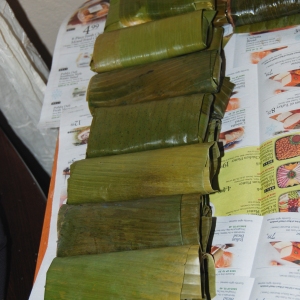
4. Once you cut all the veins from all the leaves, you can proceed to classify and cut them into all the different shapes and sizes you will need. You can also proceed to tear apart the pieces, which are already torn, because if they already have a tear, they will eventually tear all the way.
5. The different pieces you will need are:
– La camisa | The Shirt: This is the main piece which is used to directly place the dough on. They can be roughly about 15” x 10” rectangles. You want to pick the best pieces for this category. You want them to be flexible and without any torn edges. These will also be used as the second piece, which goes on top of the shirt to prevent much water to getting into the shirt, which holds the hallacas itself. But this second piece will not be directly in touch with the dough, its just a second cover (I guess we can call it the jacket, lol… just kidding, that is not the official name)
– La Tapa | The Cover: These leaves are a bit smaller than the shirts, they are usually about 8” x 10” rectangles. They are used are a cover or top for the main ones. The more you cover up your hallacas, the less water will get into them.
– The faja | The Belt: These leaves are 3” to 5” wide times whatever width of the original plantain leave. They are used, as their name describes it, simple to hold in the hallacas and all those previous leaves together right before it is ties up with the thread.
*From one good entire plantain leaf you can probably get one or two shirts, a cover and a couple of belts.
*Someone asked me if they could make Venezuelan Hallacas without using the plantain leaves, the answer is no. As you will understand by the end of this post, the plantain leaves are essential to the making of Venezuelan Hallacas, and they even give the that distinctive smell and taste.
DAY ONE (Continued) OR DAY TWO
Guiso | Stew (Filling):
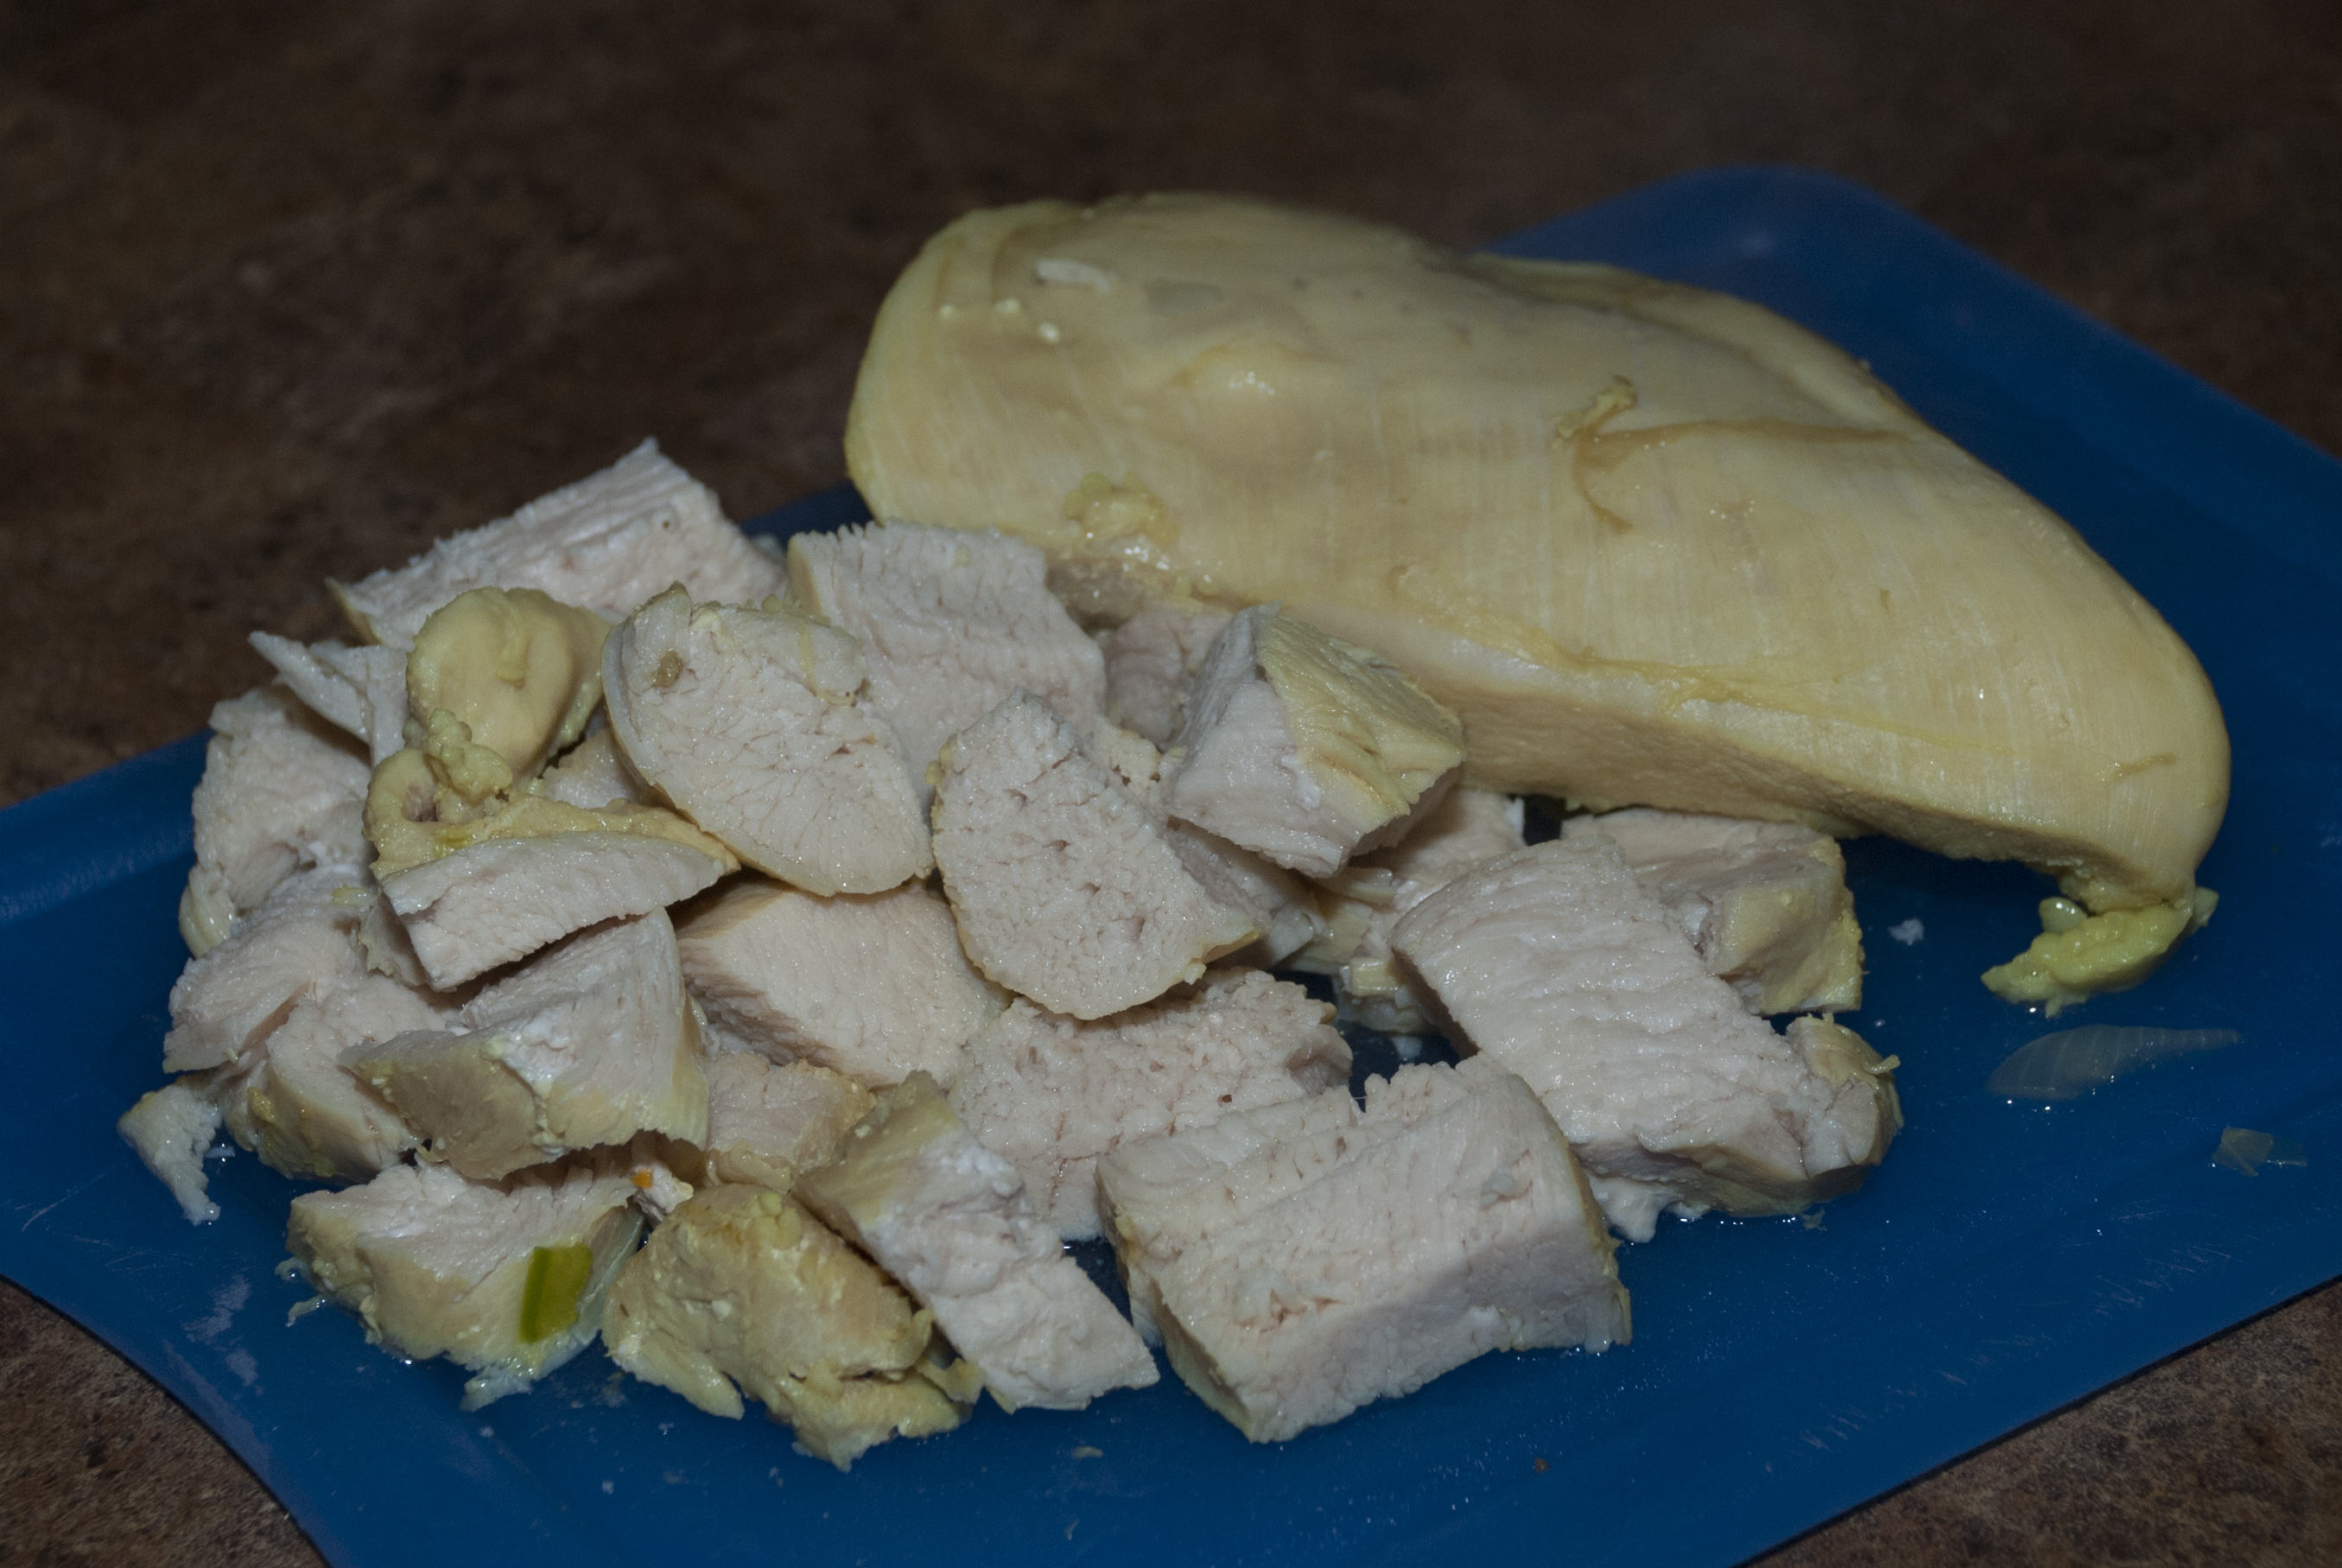
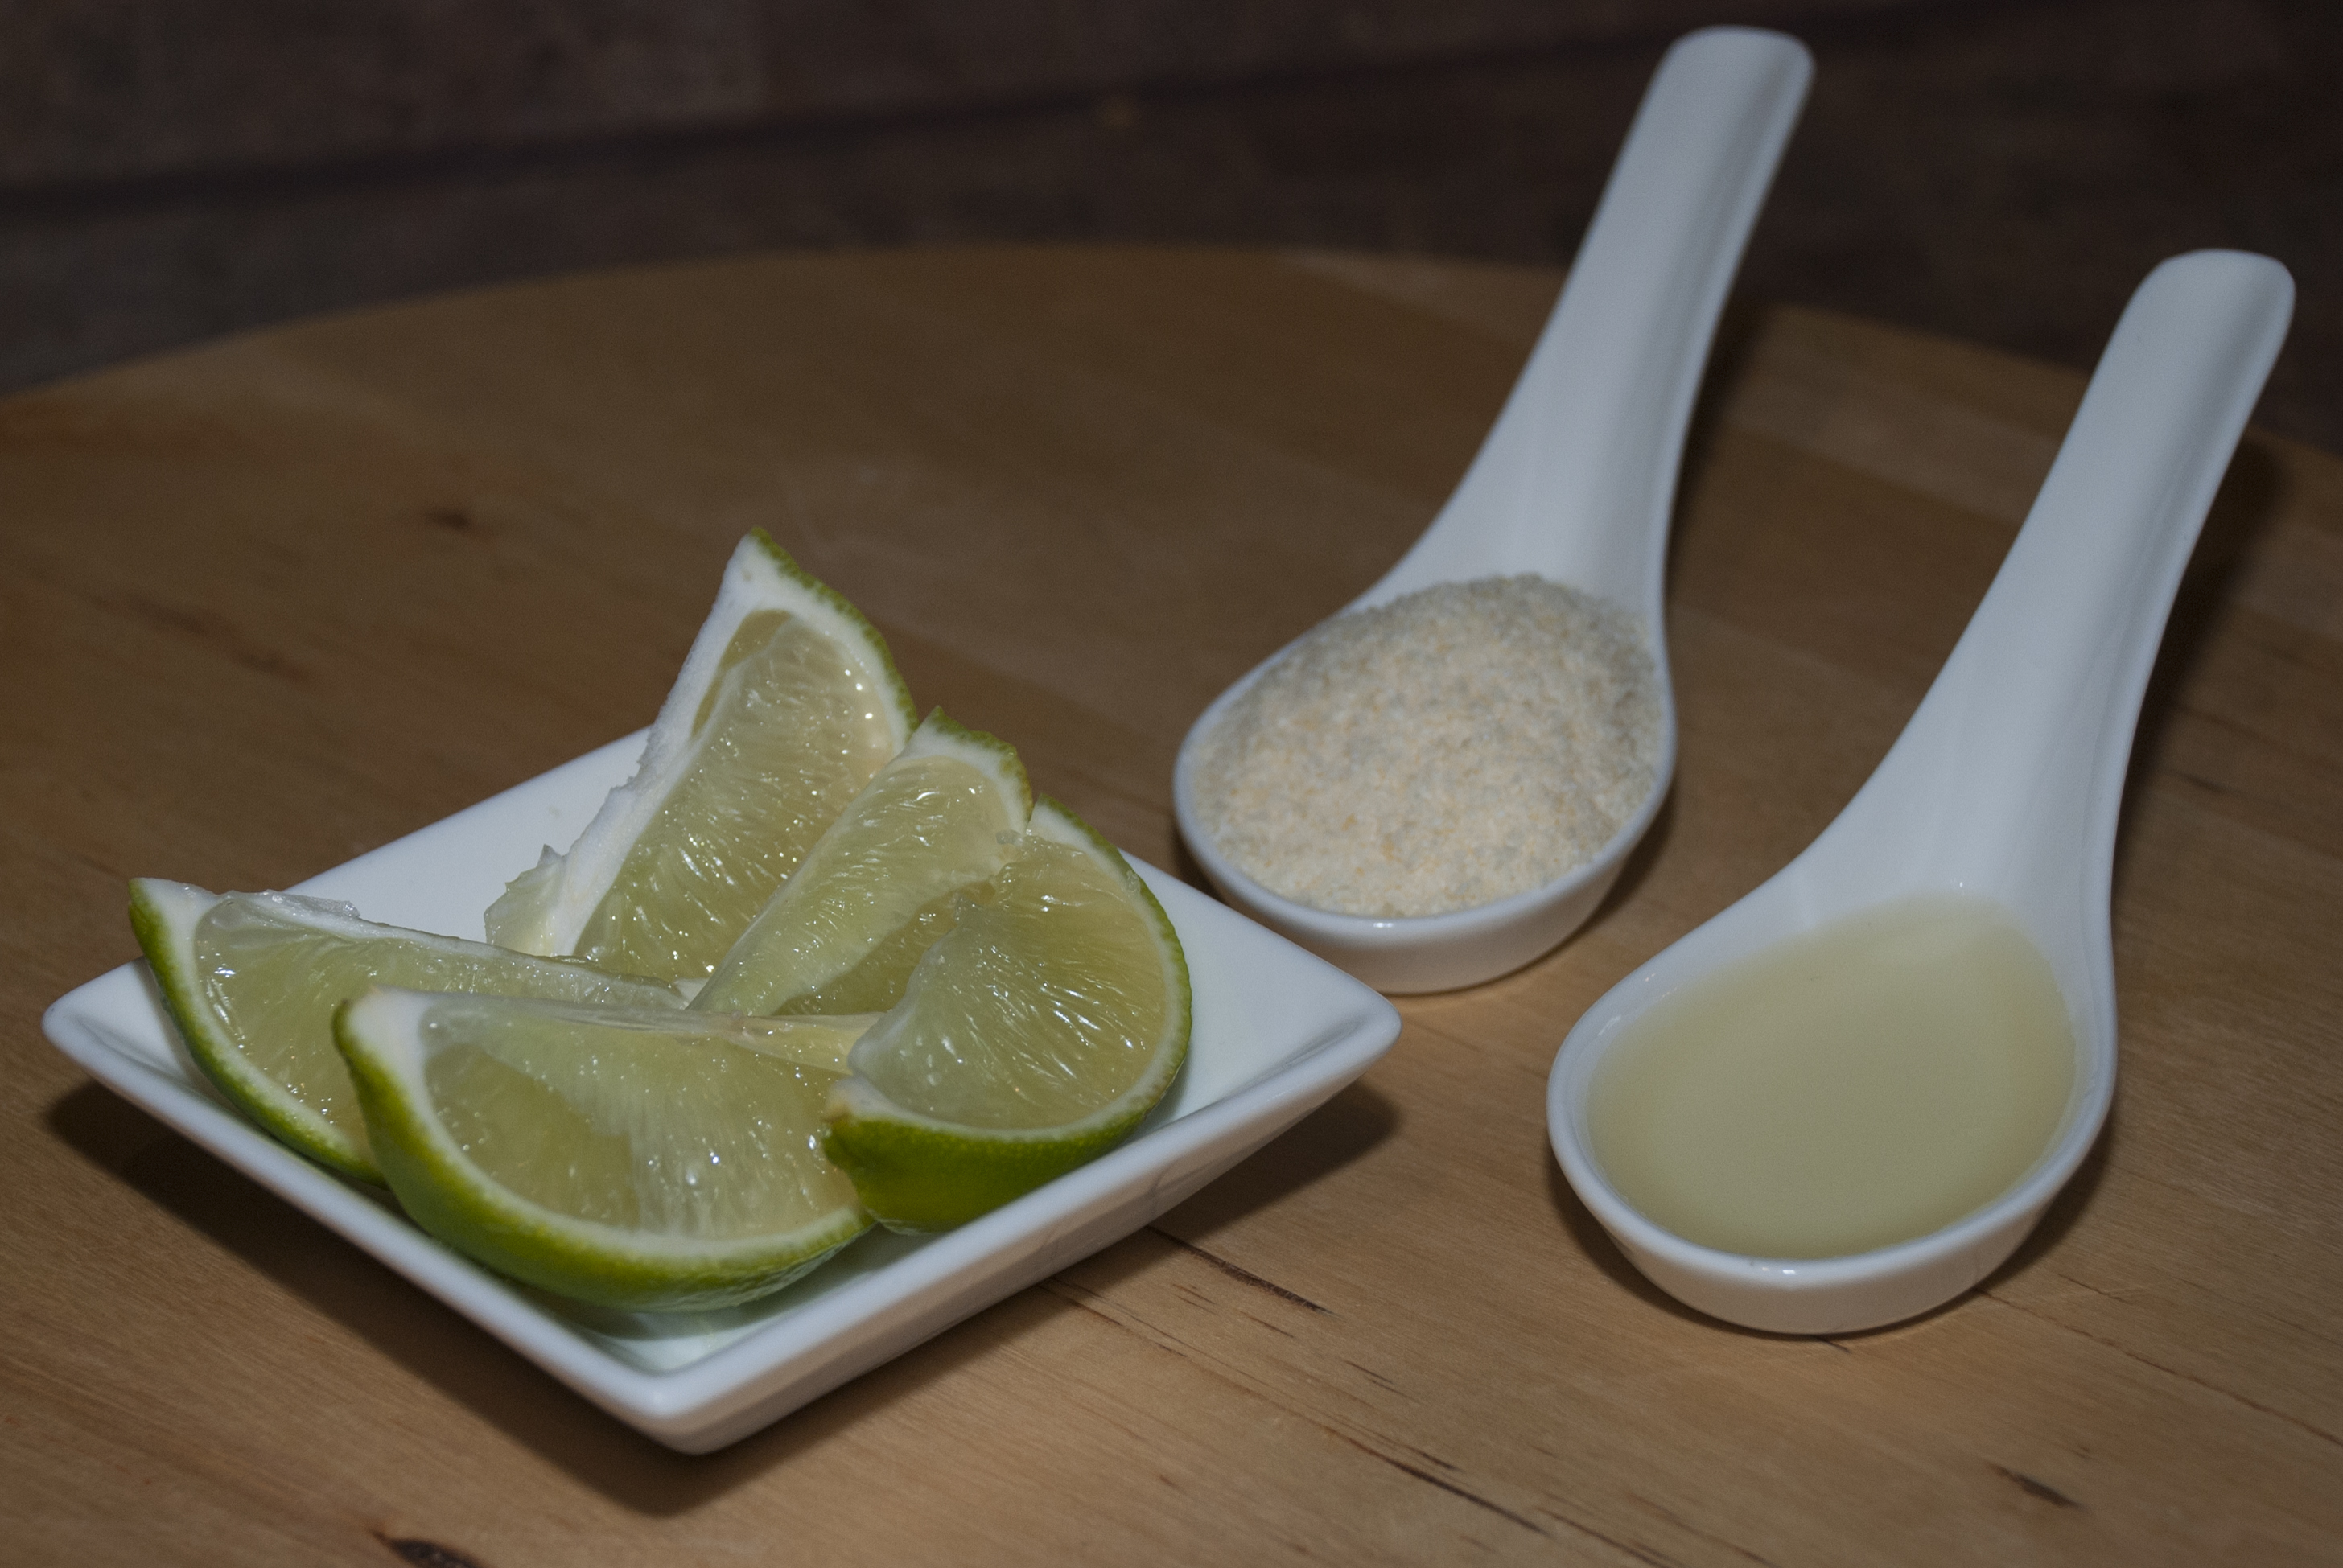
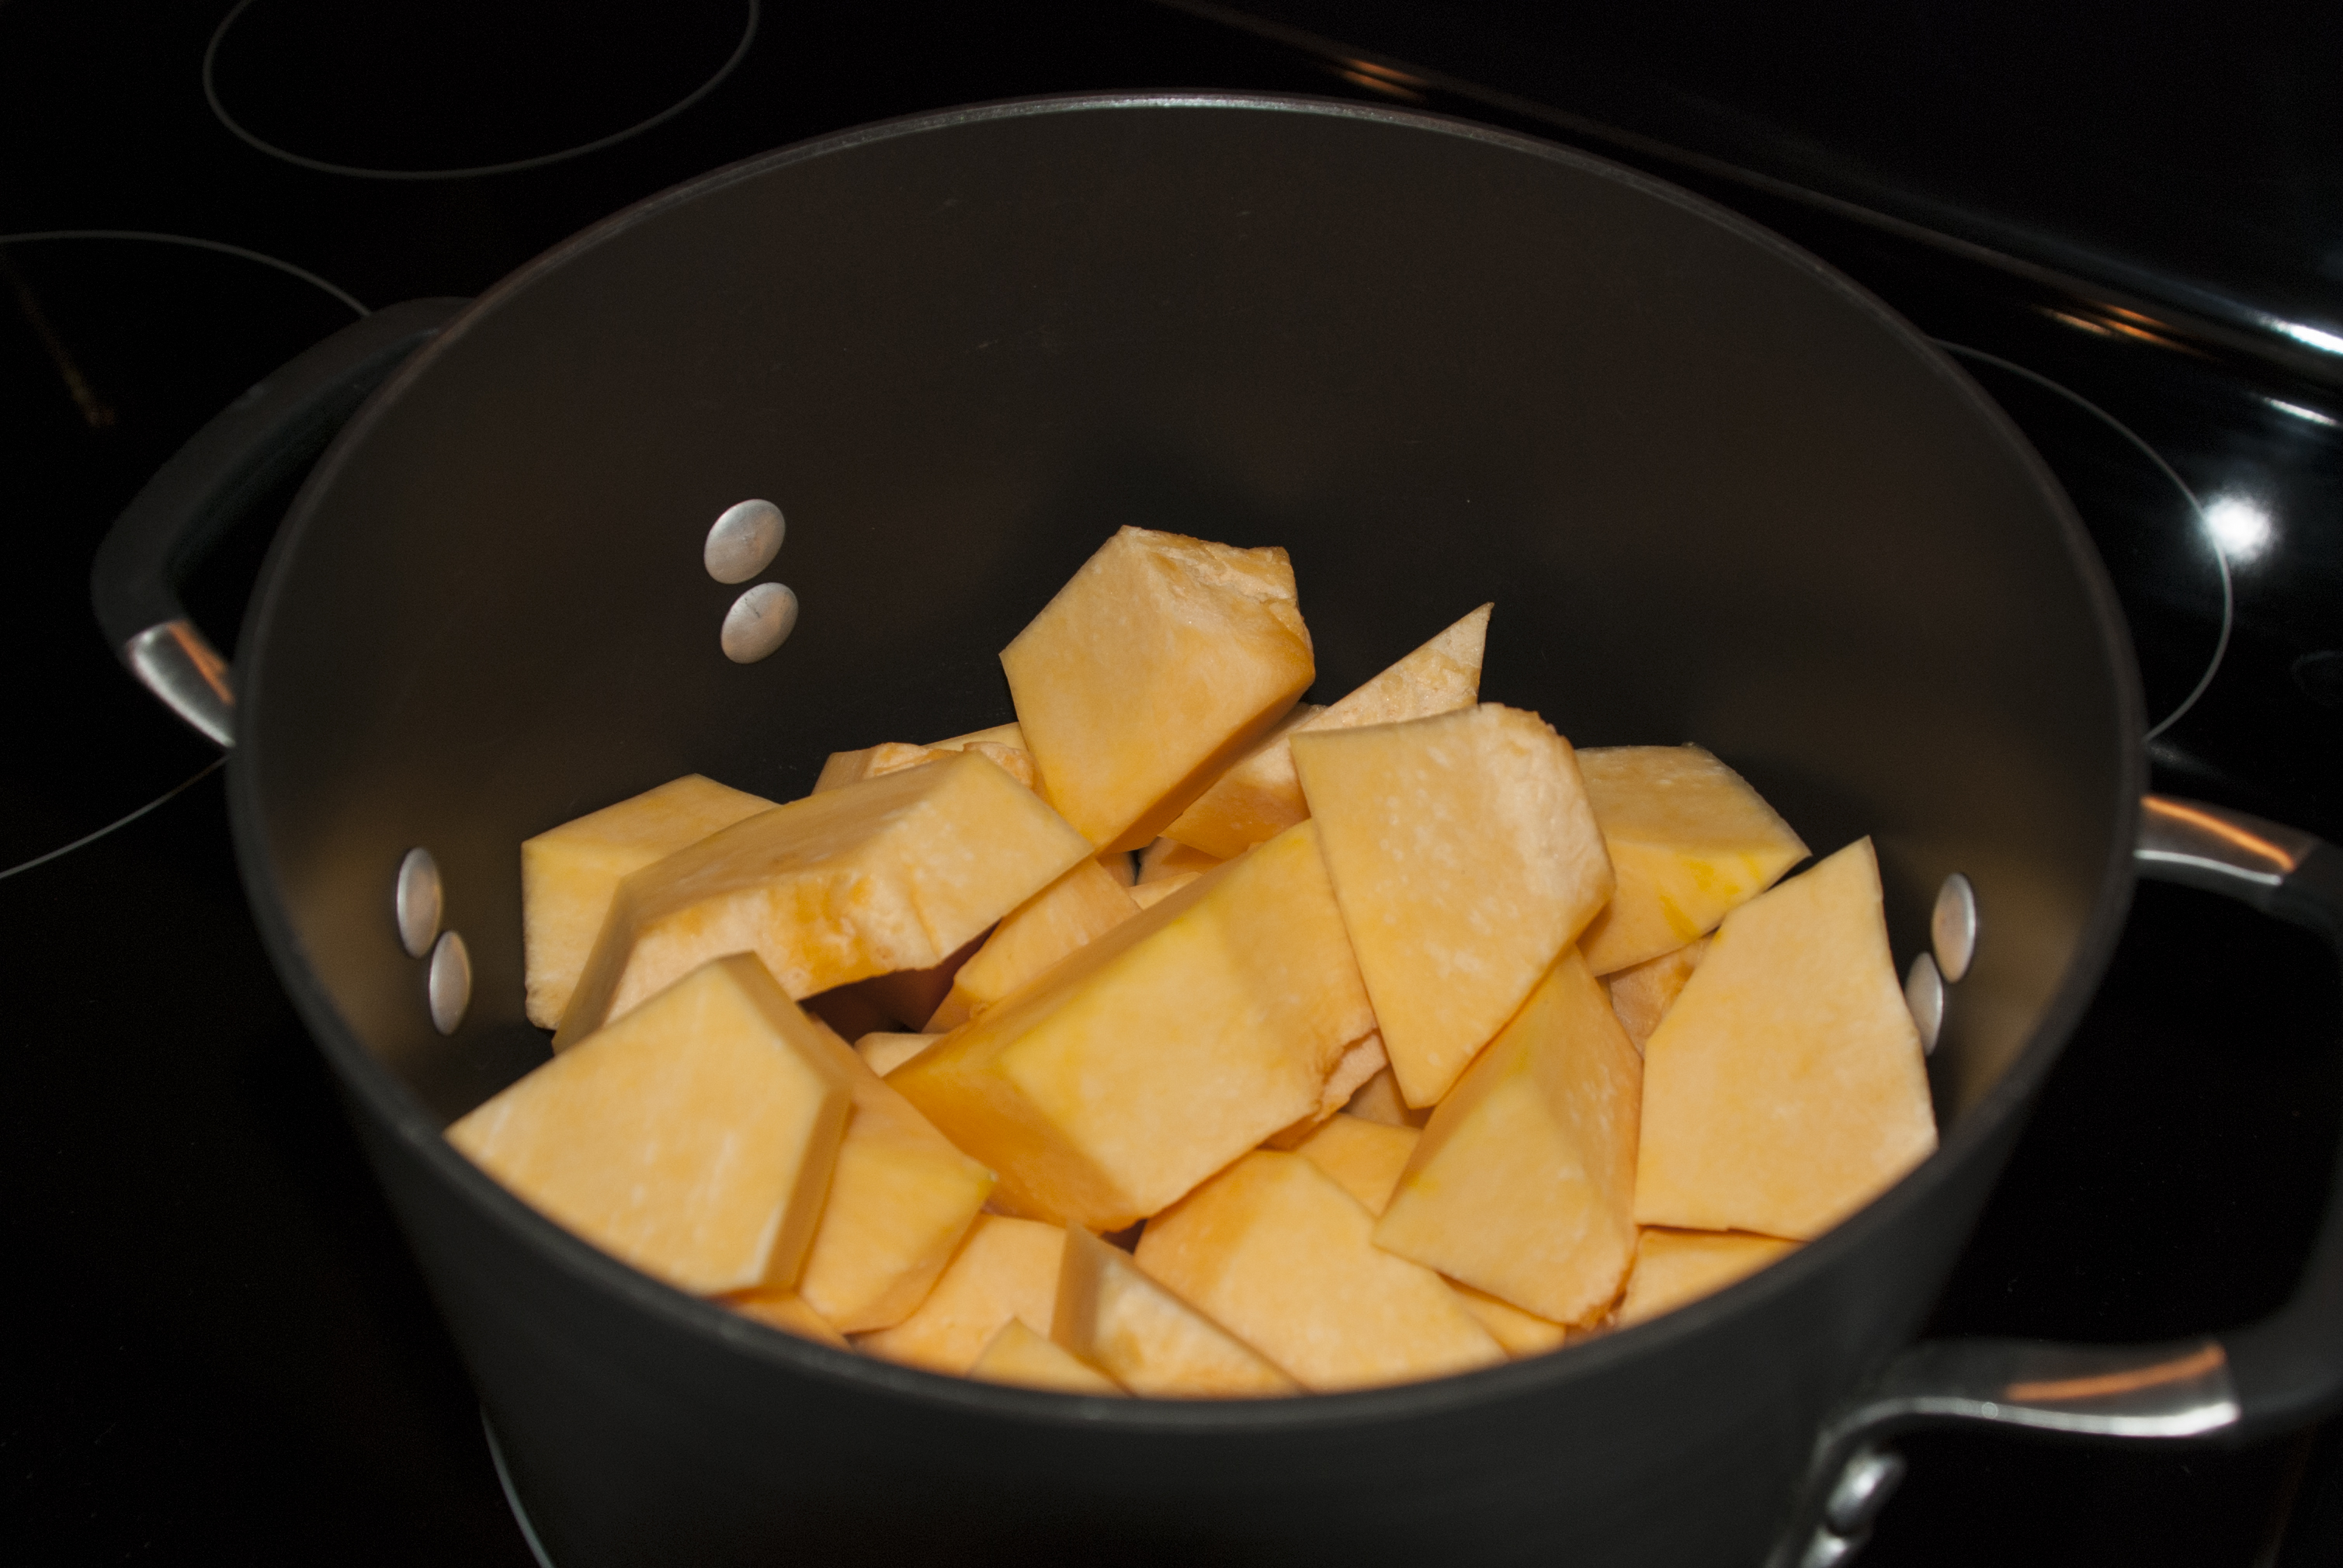
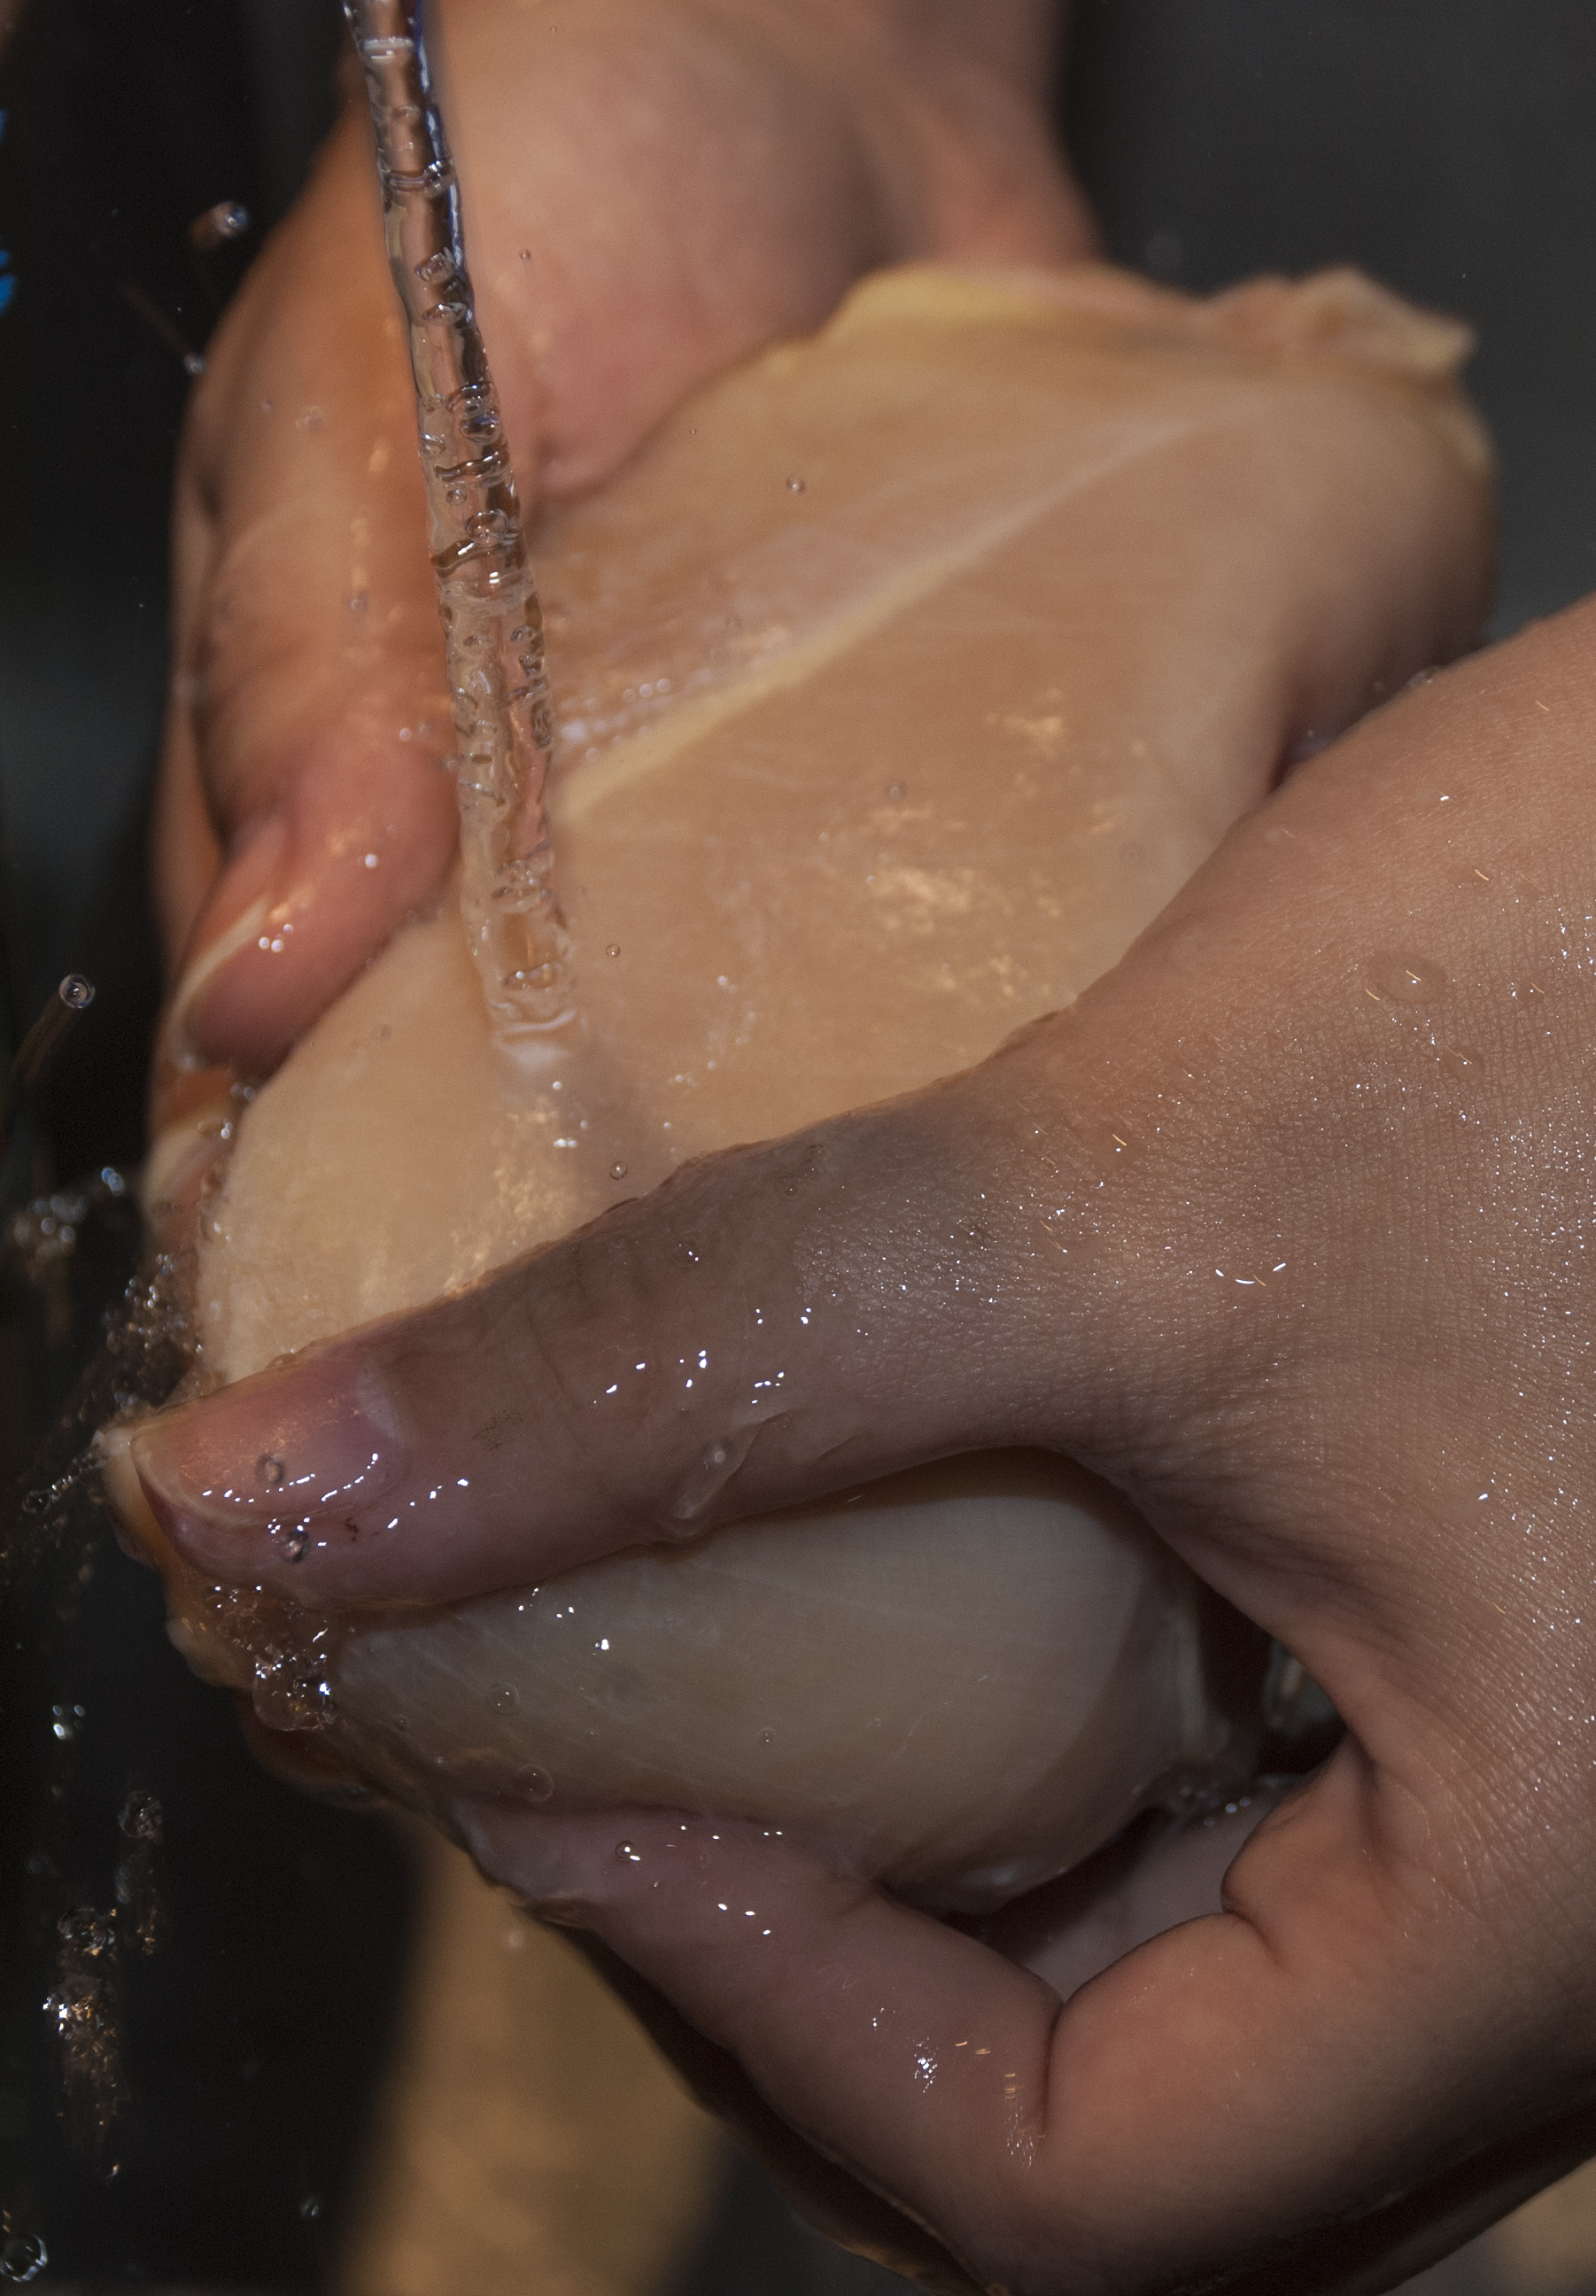
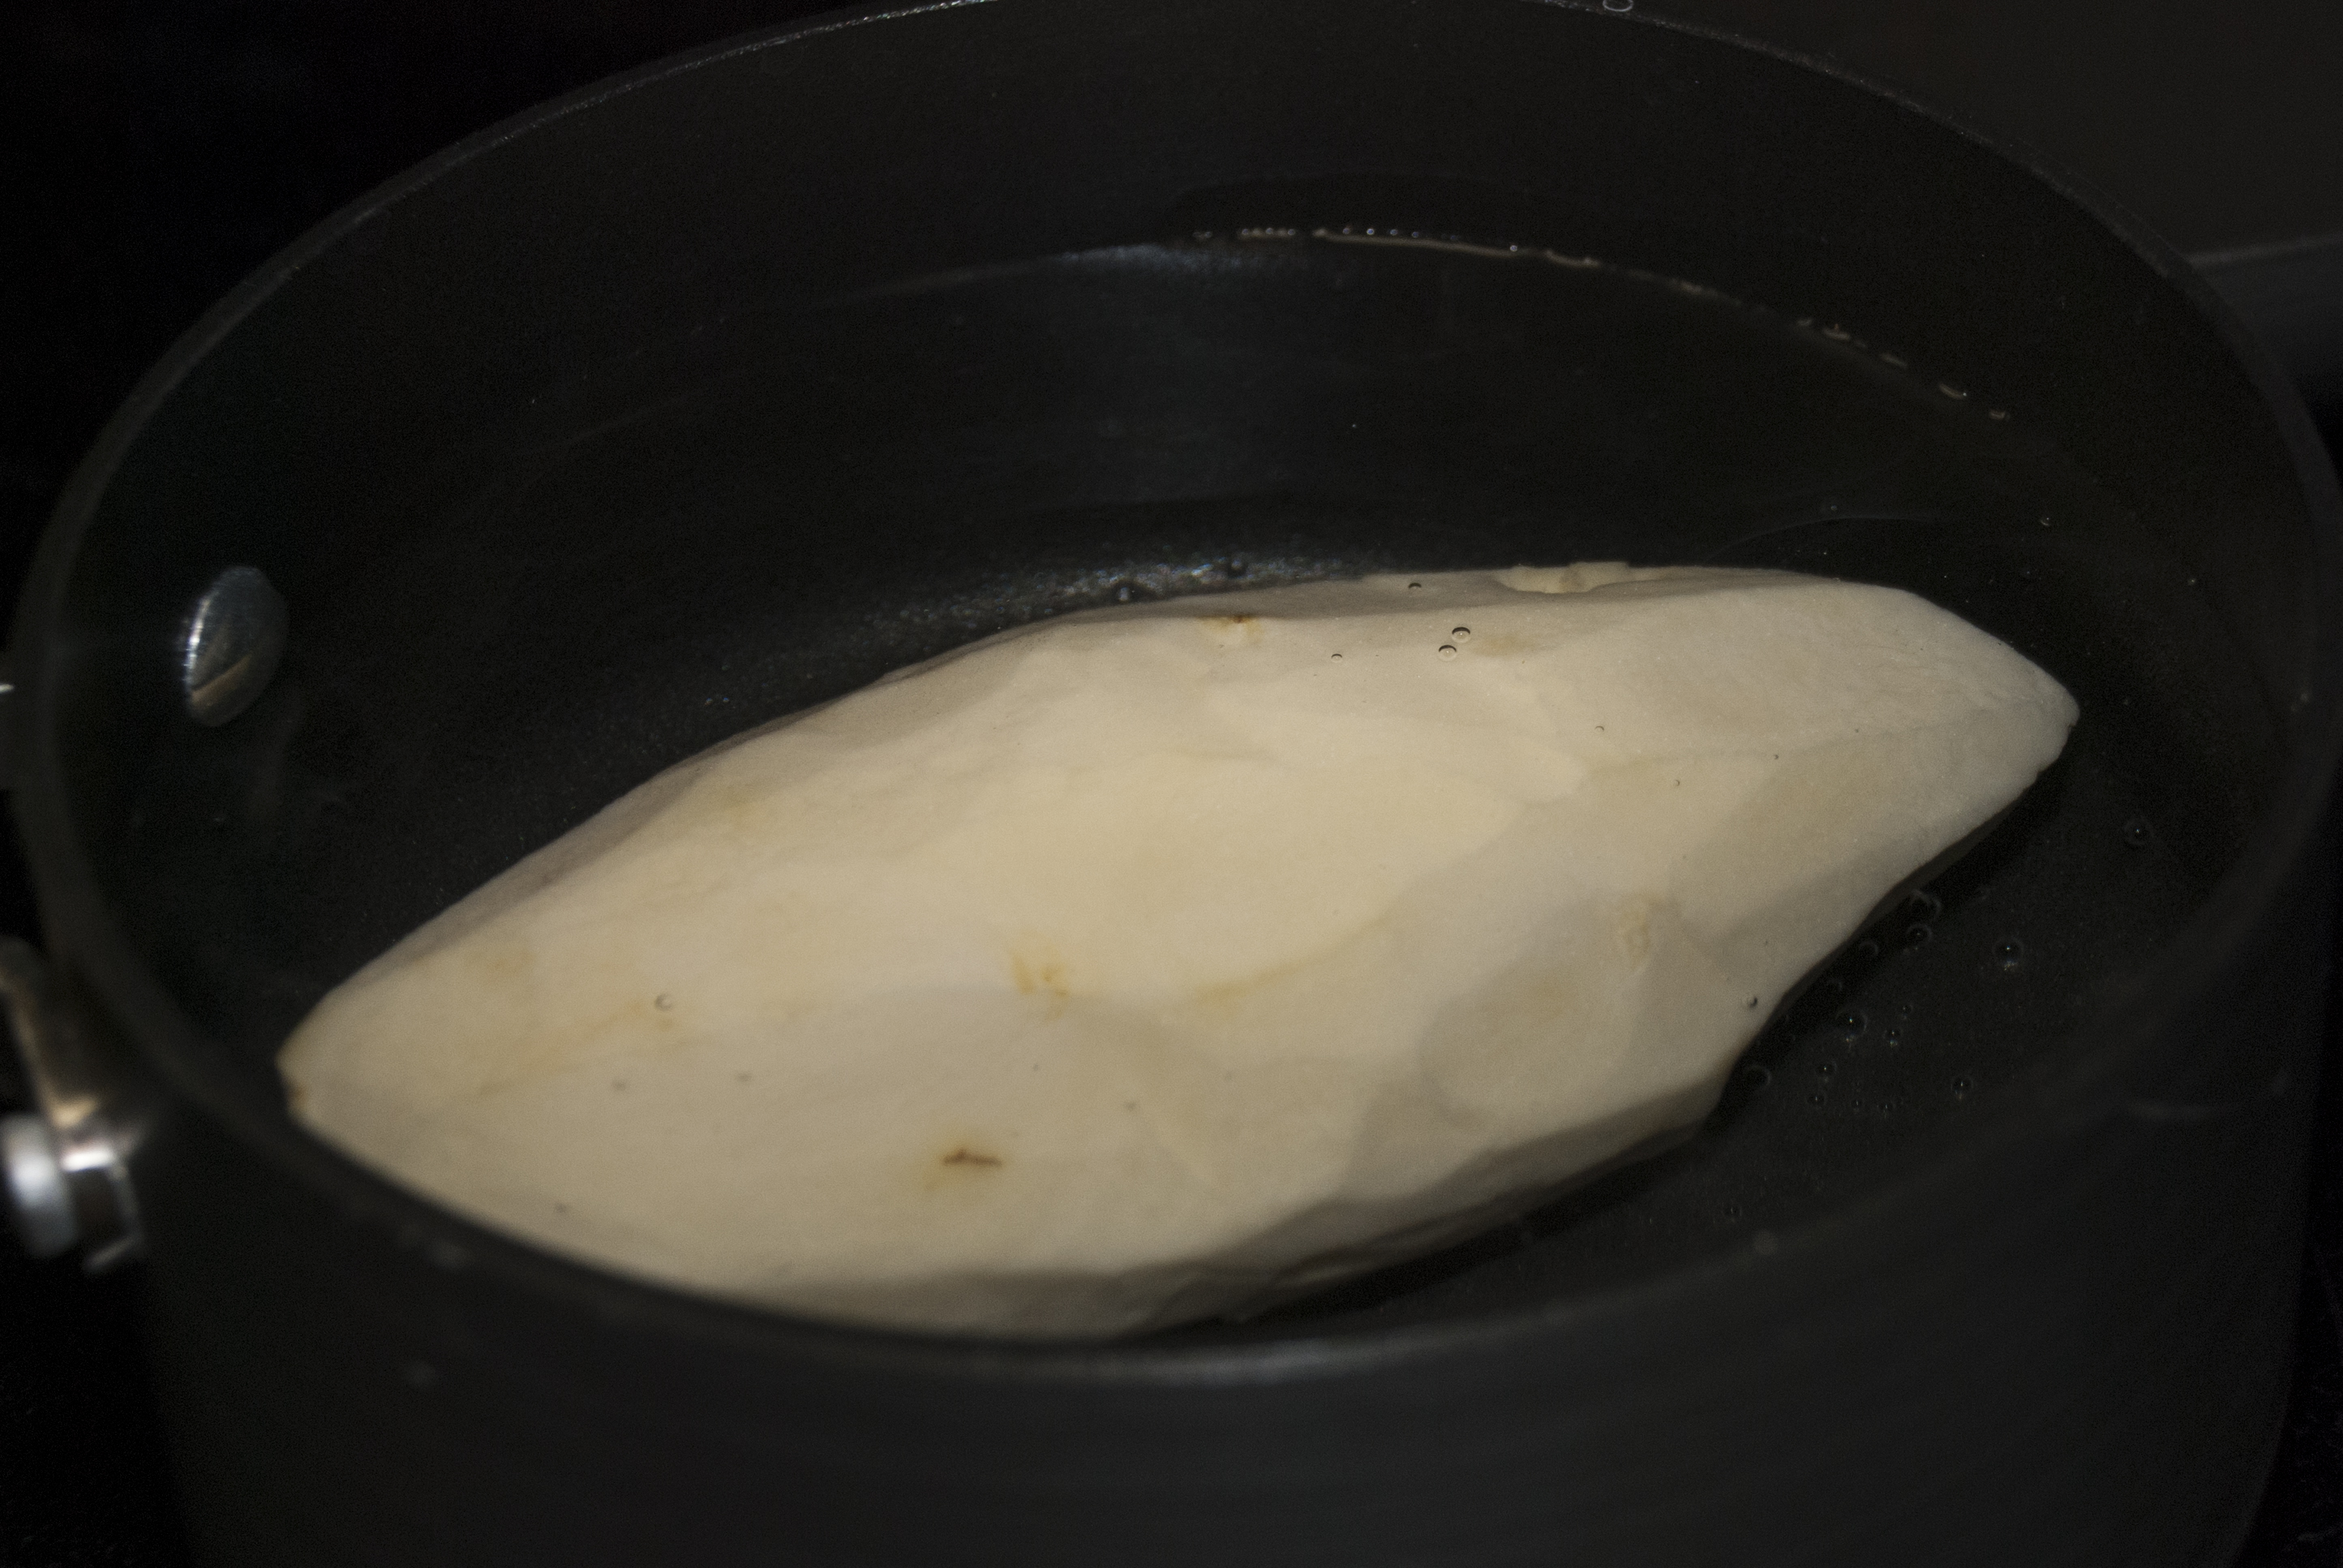
1. Clean the pork and the chicken rubbing them with the lemon halves and then rinsing thoroughly with enough water.
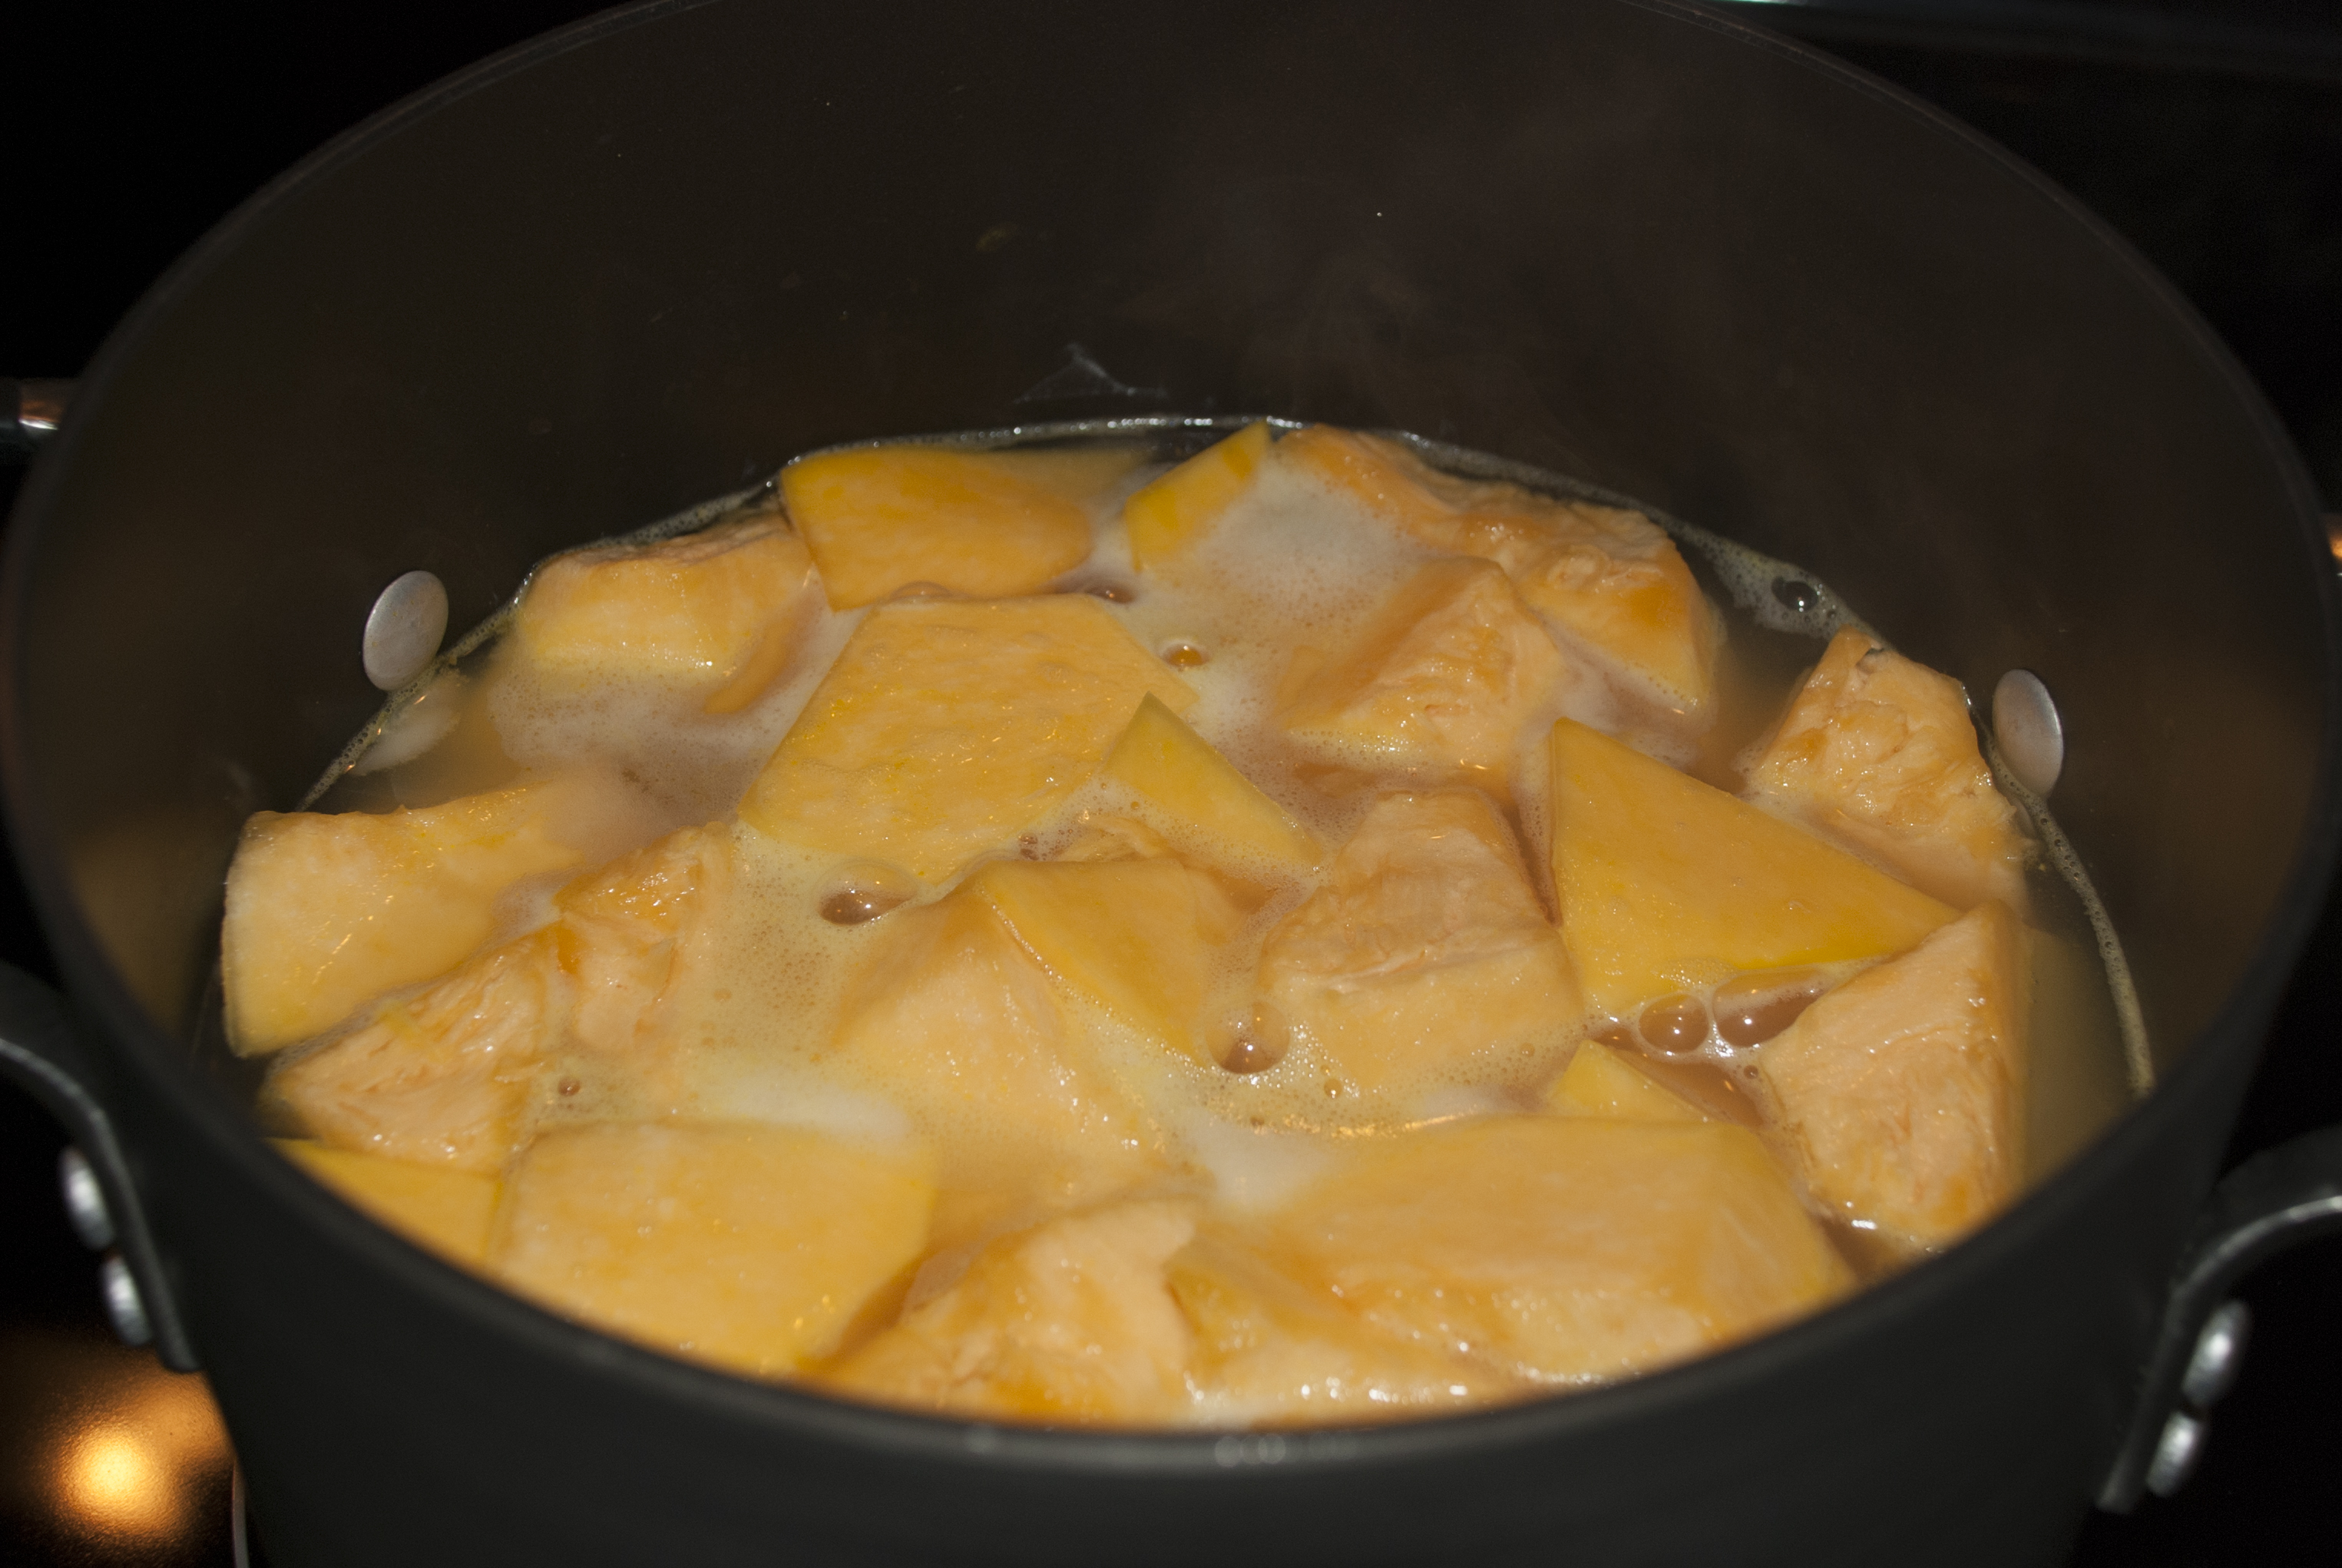
2. In a large enough stewing pot with hot boiling water, cook the pork and the bacon on medium heat for 10 minutes. Remove from the pot and drain the meats (you can get rid of this liquid). Set the pork aside to cool down so it can be cut into small square pieces of about ½ an inch to ¾ of an inch. Cut the bacon in long strips and reserve it for the adornos | garnish.
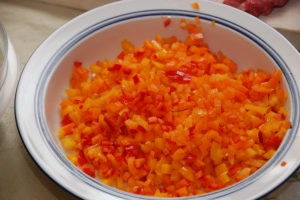
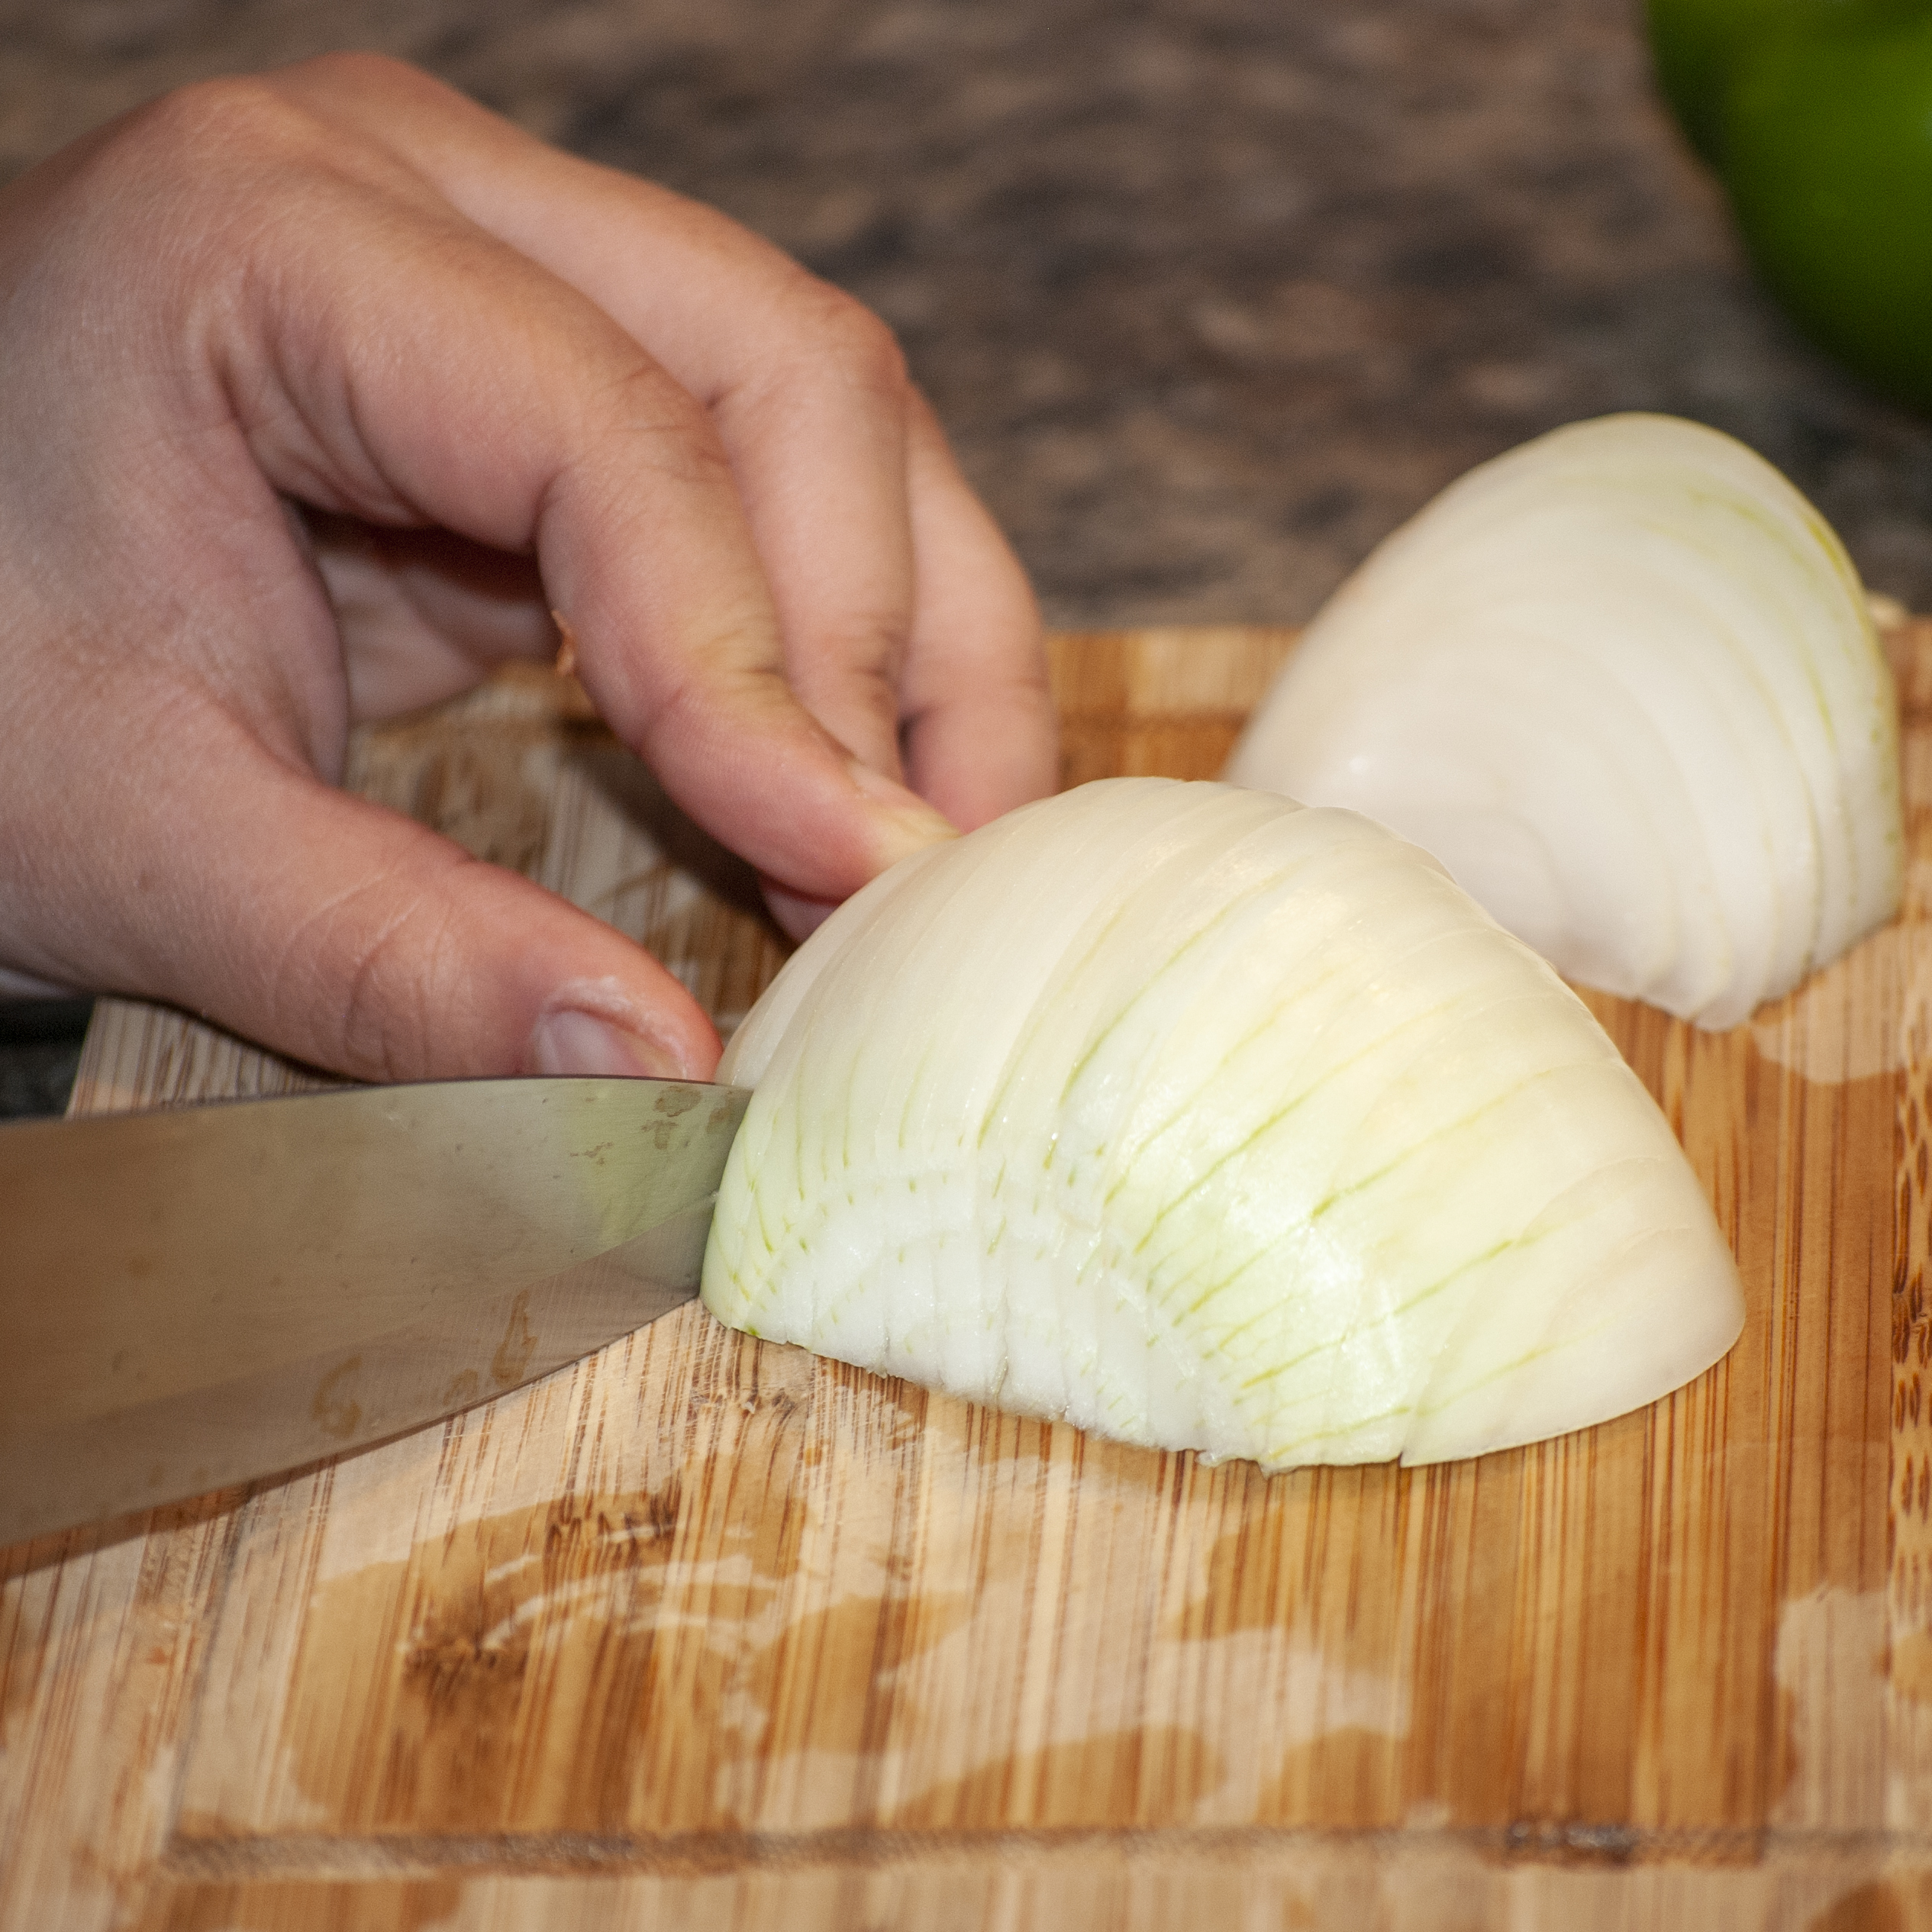
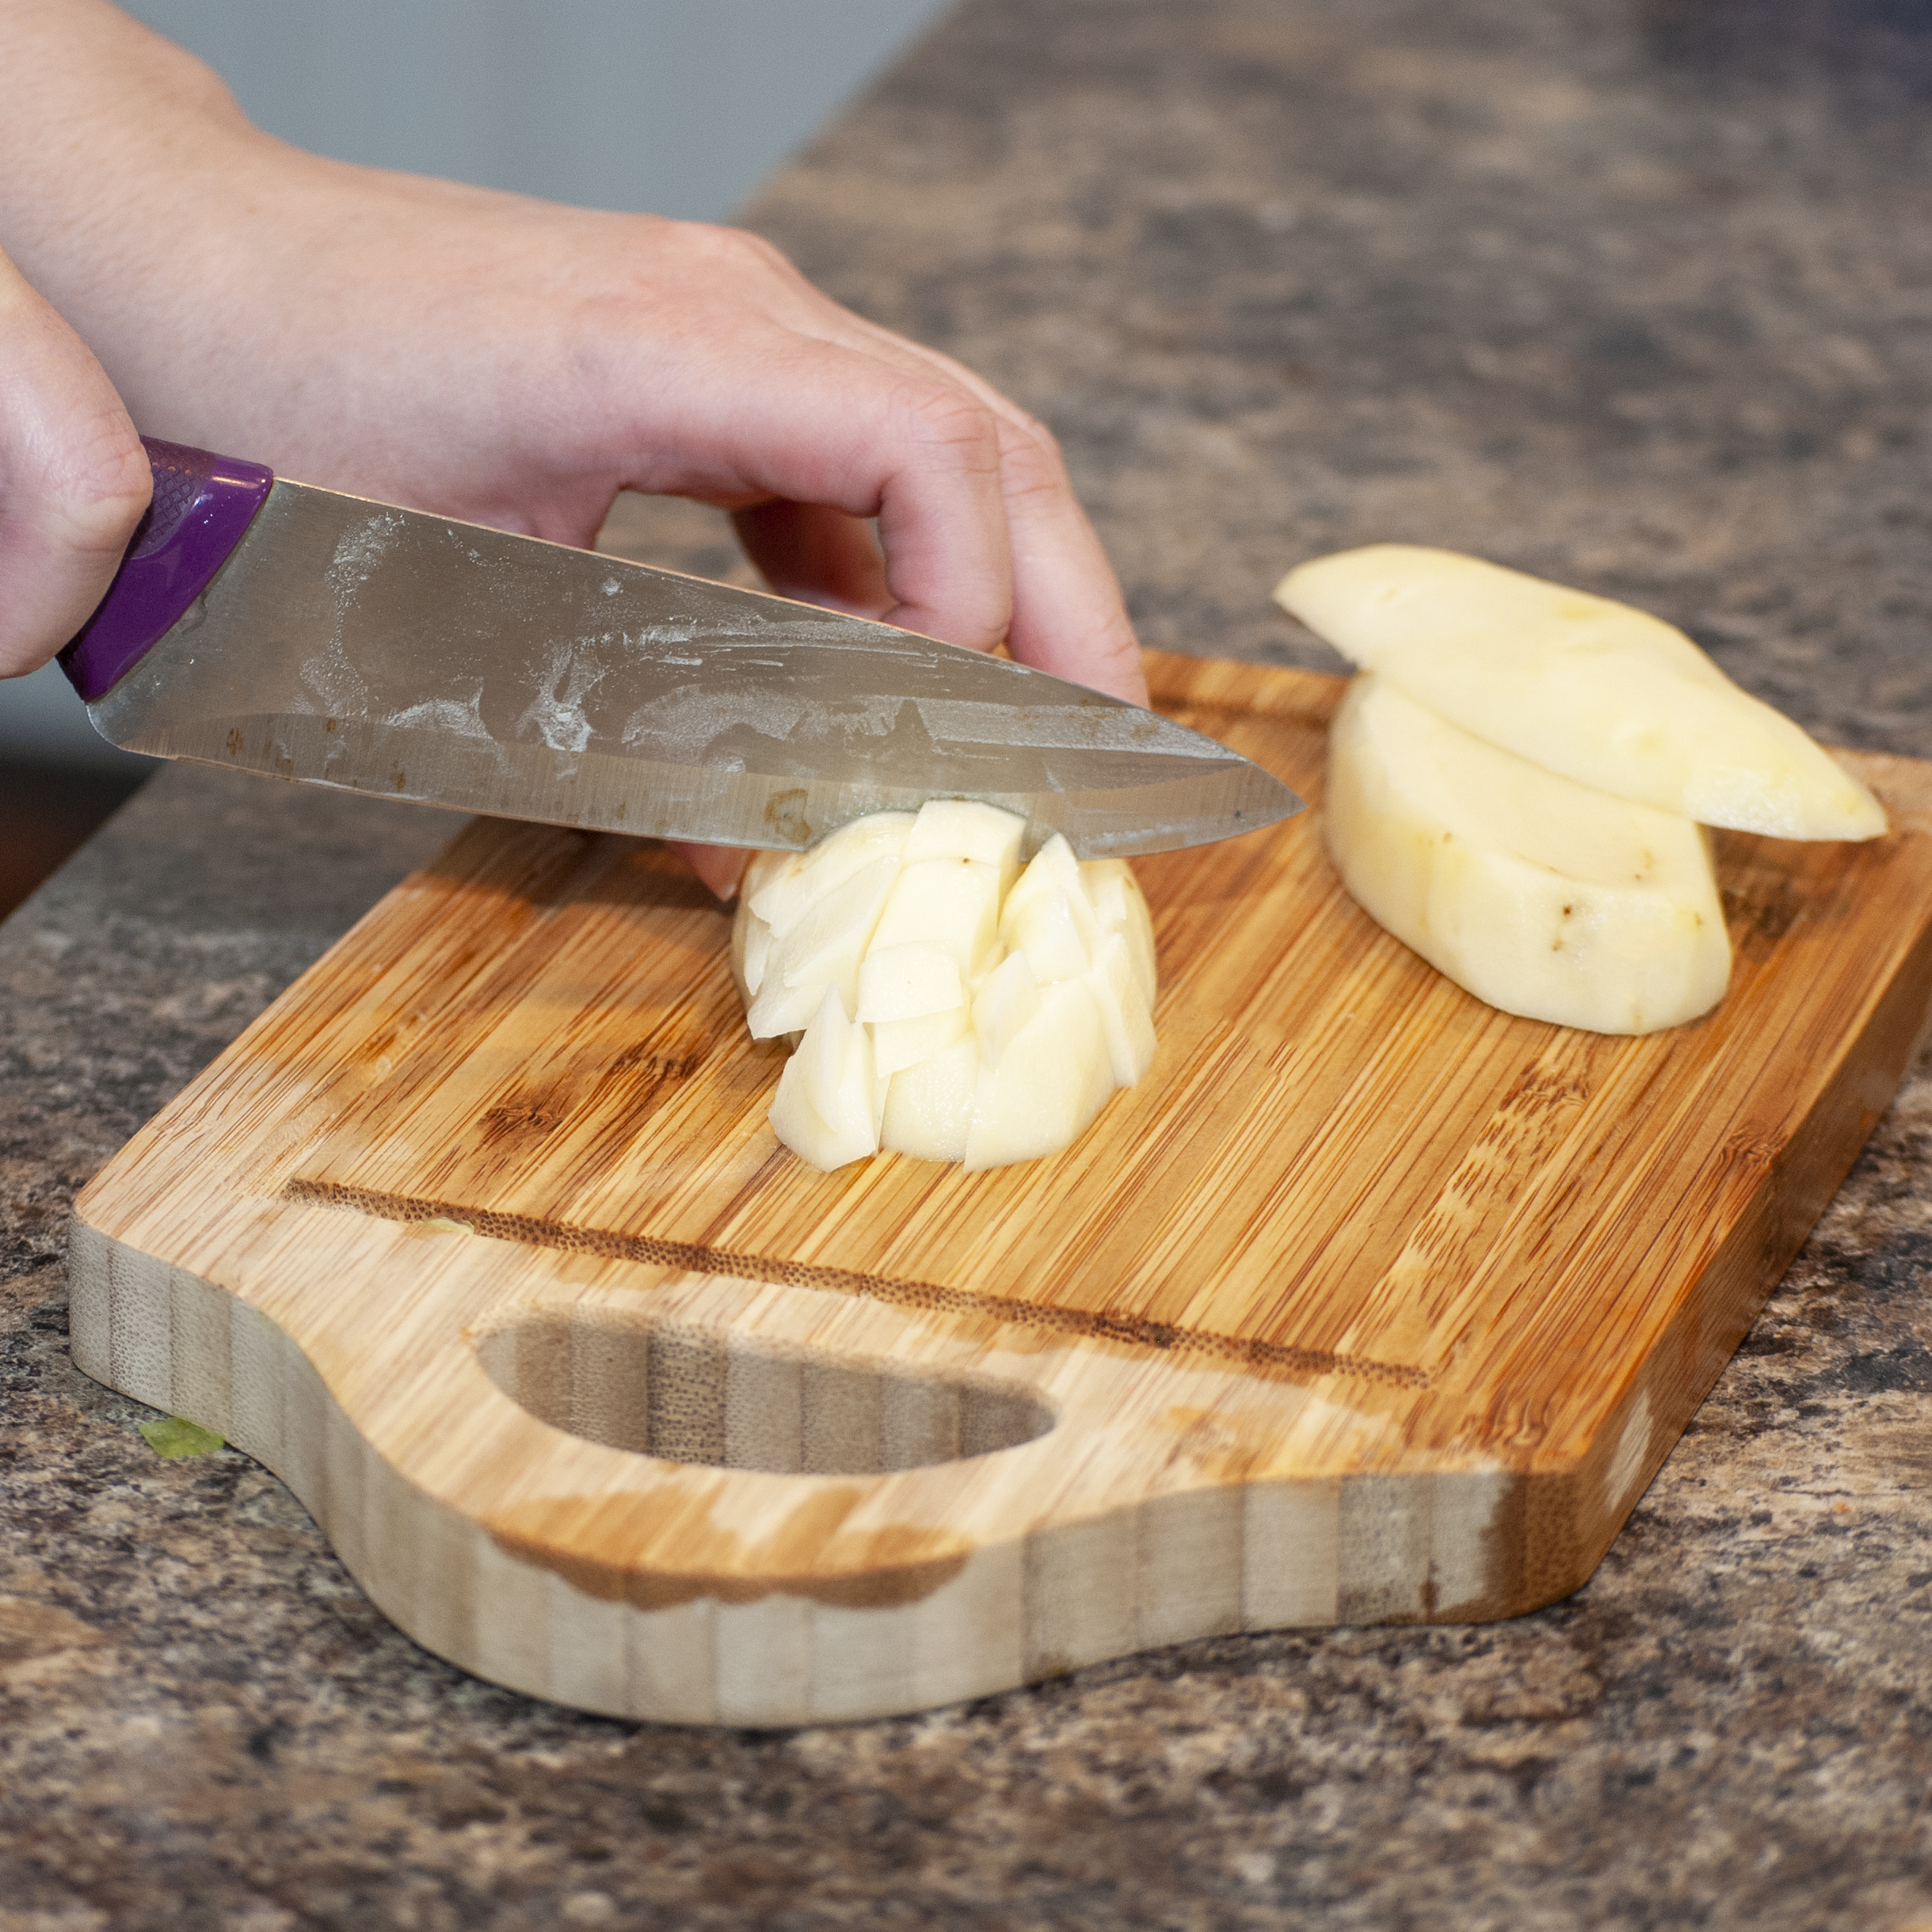
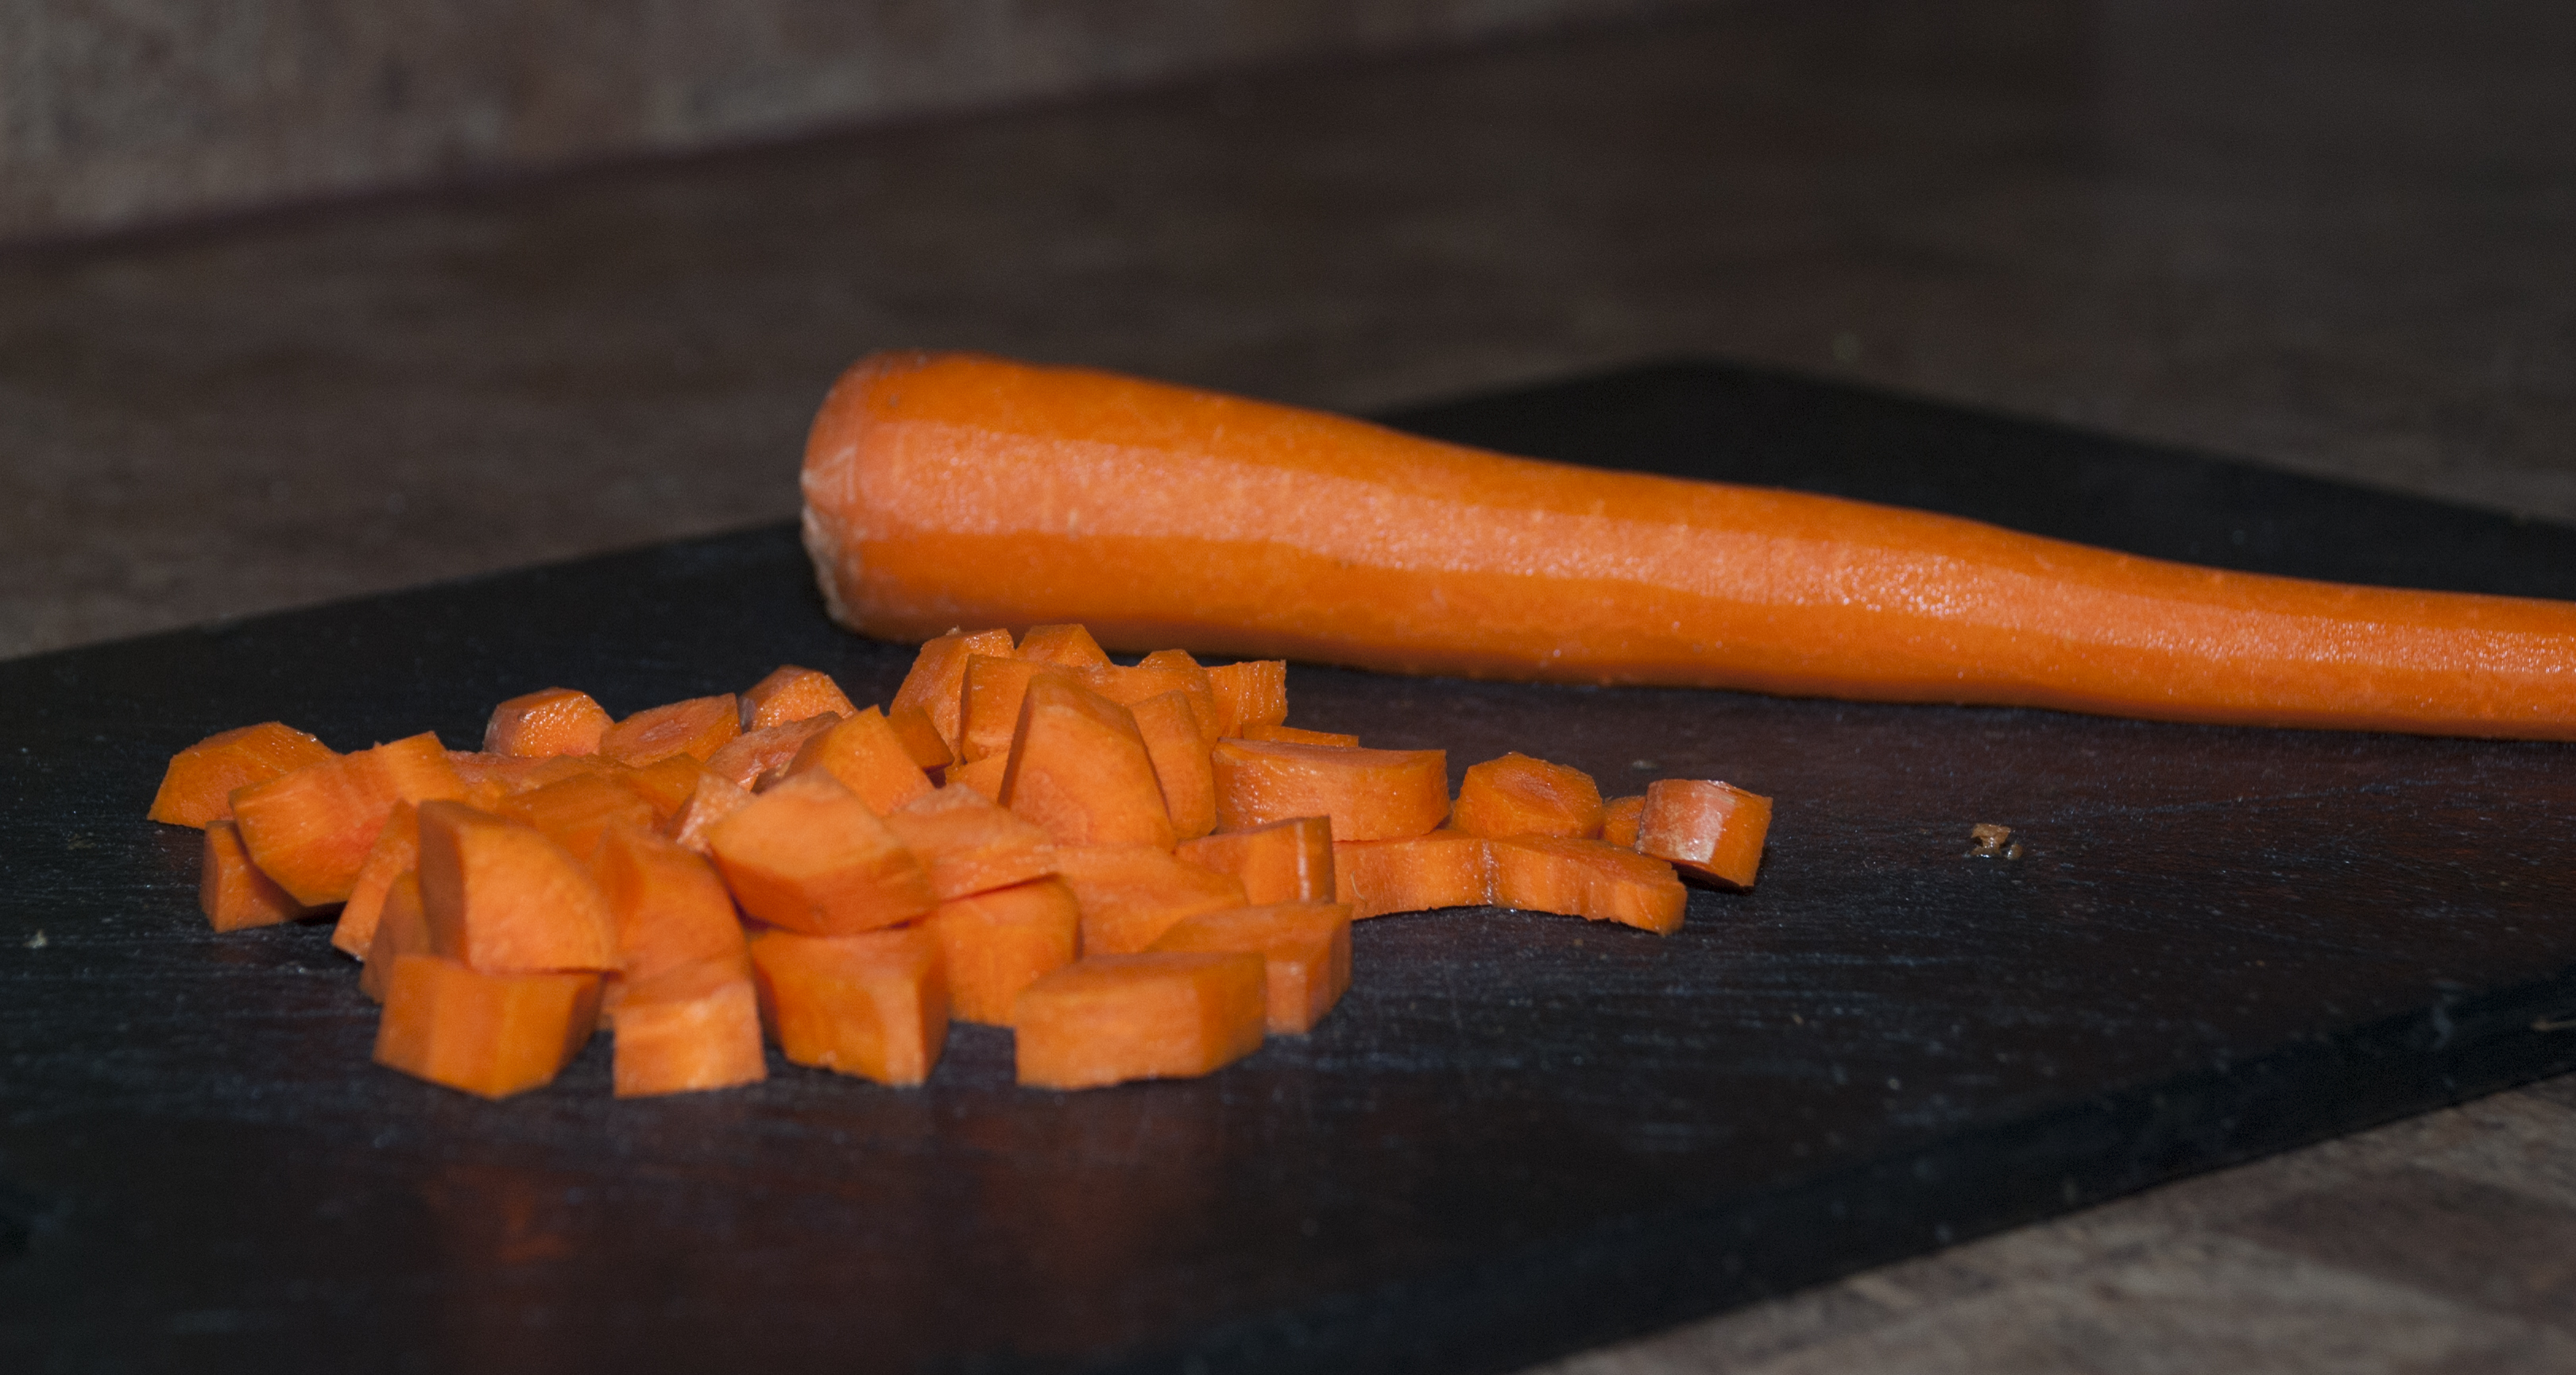
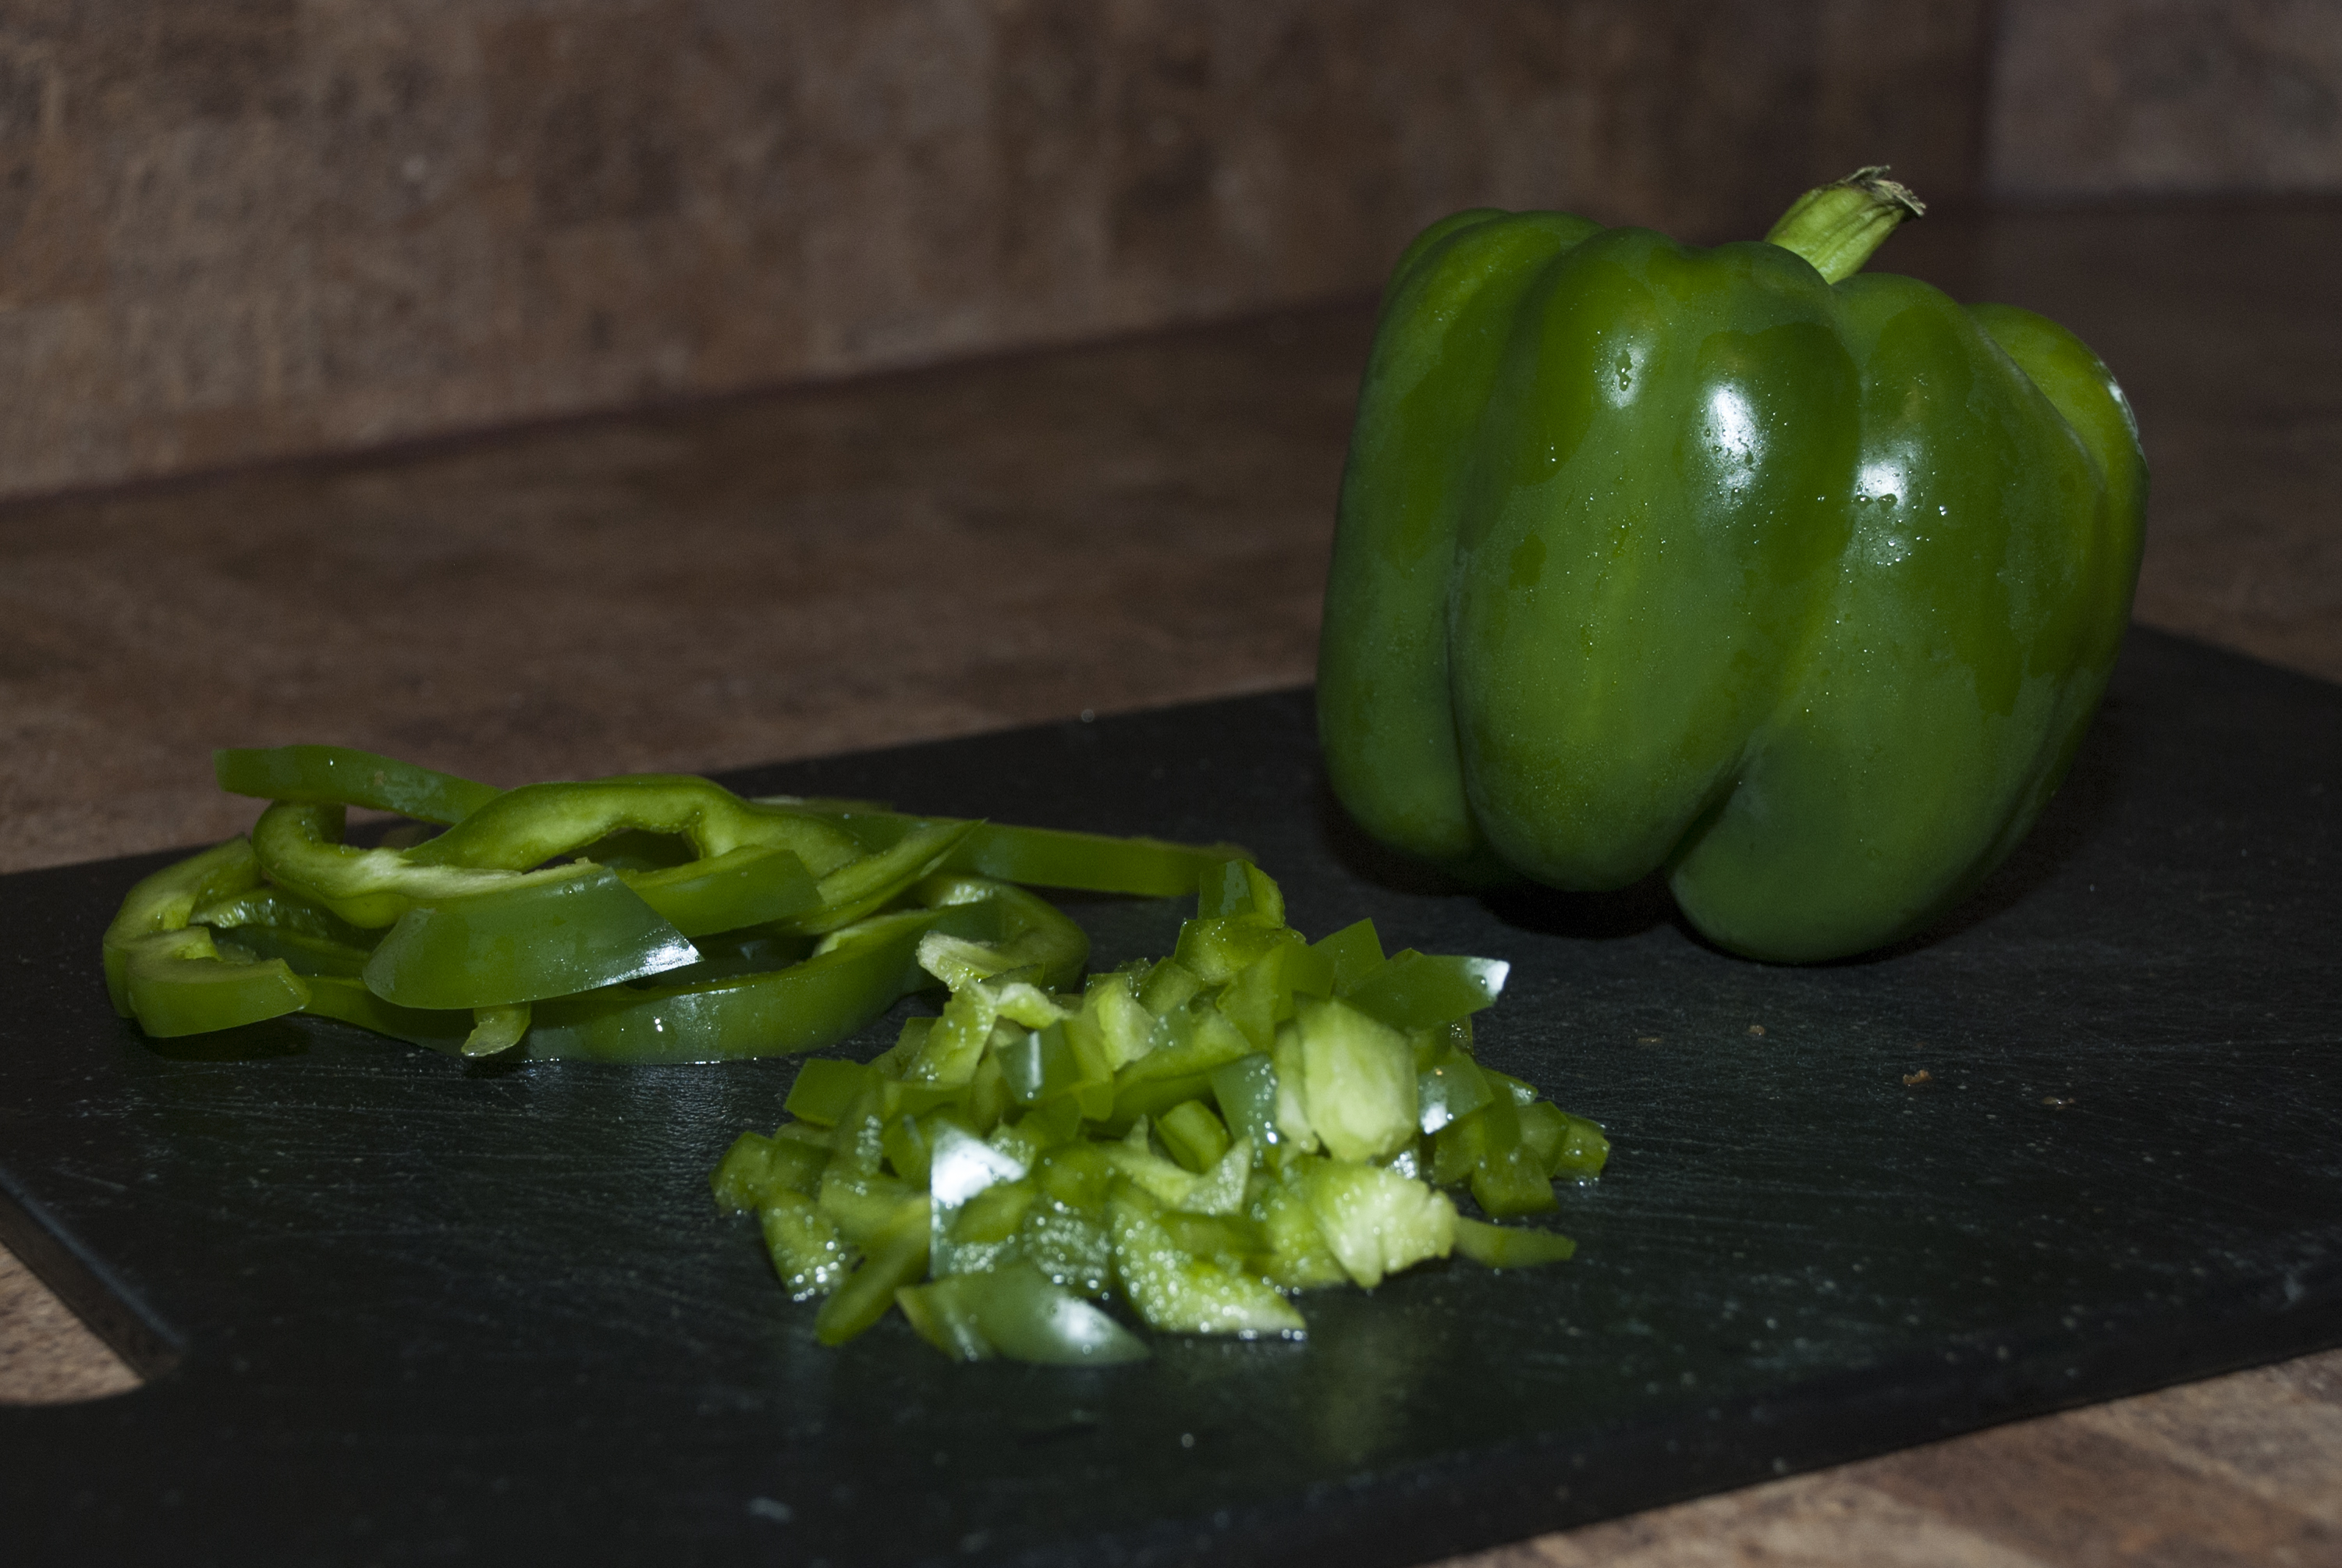
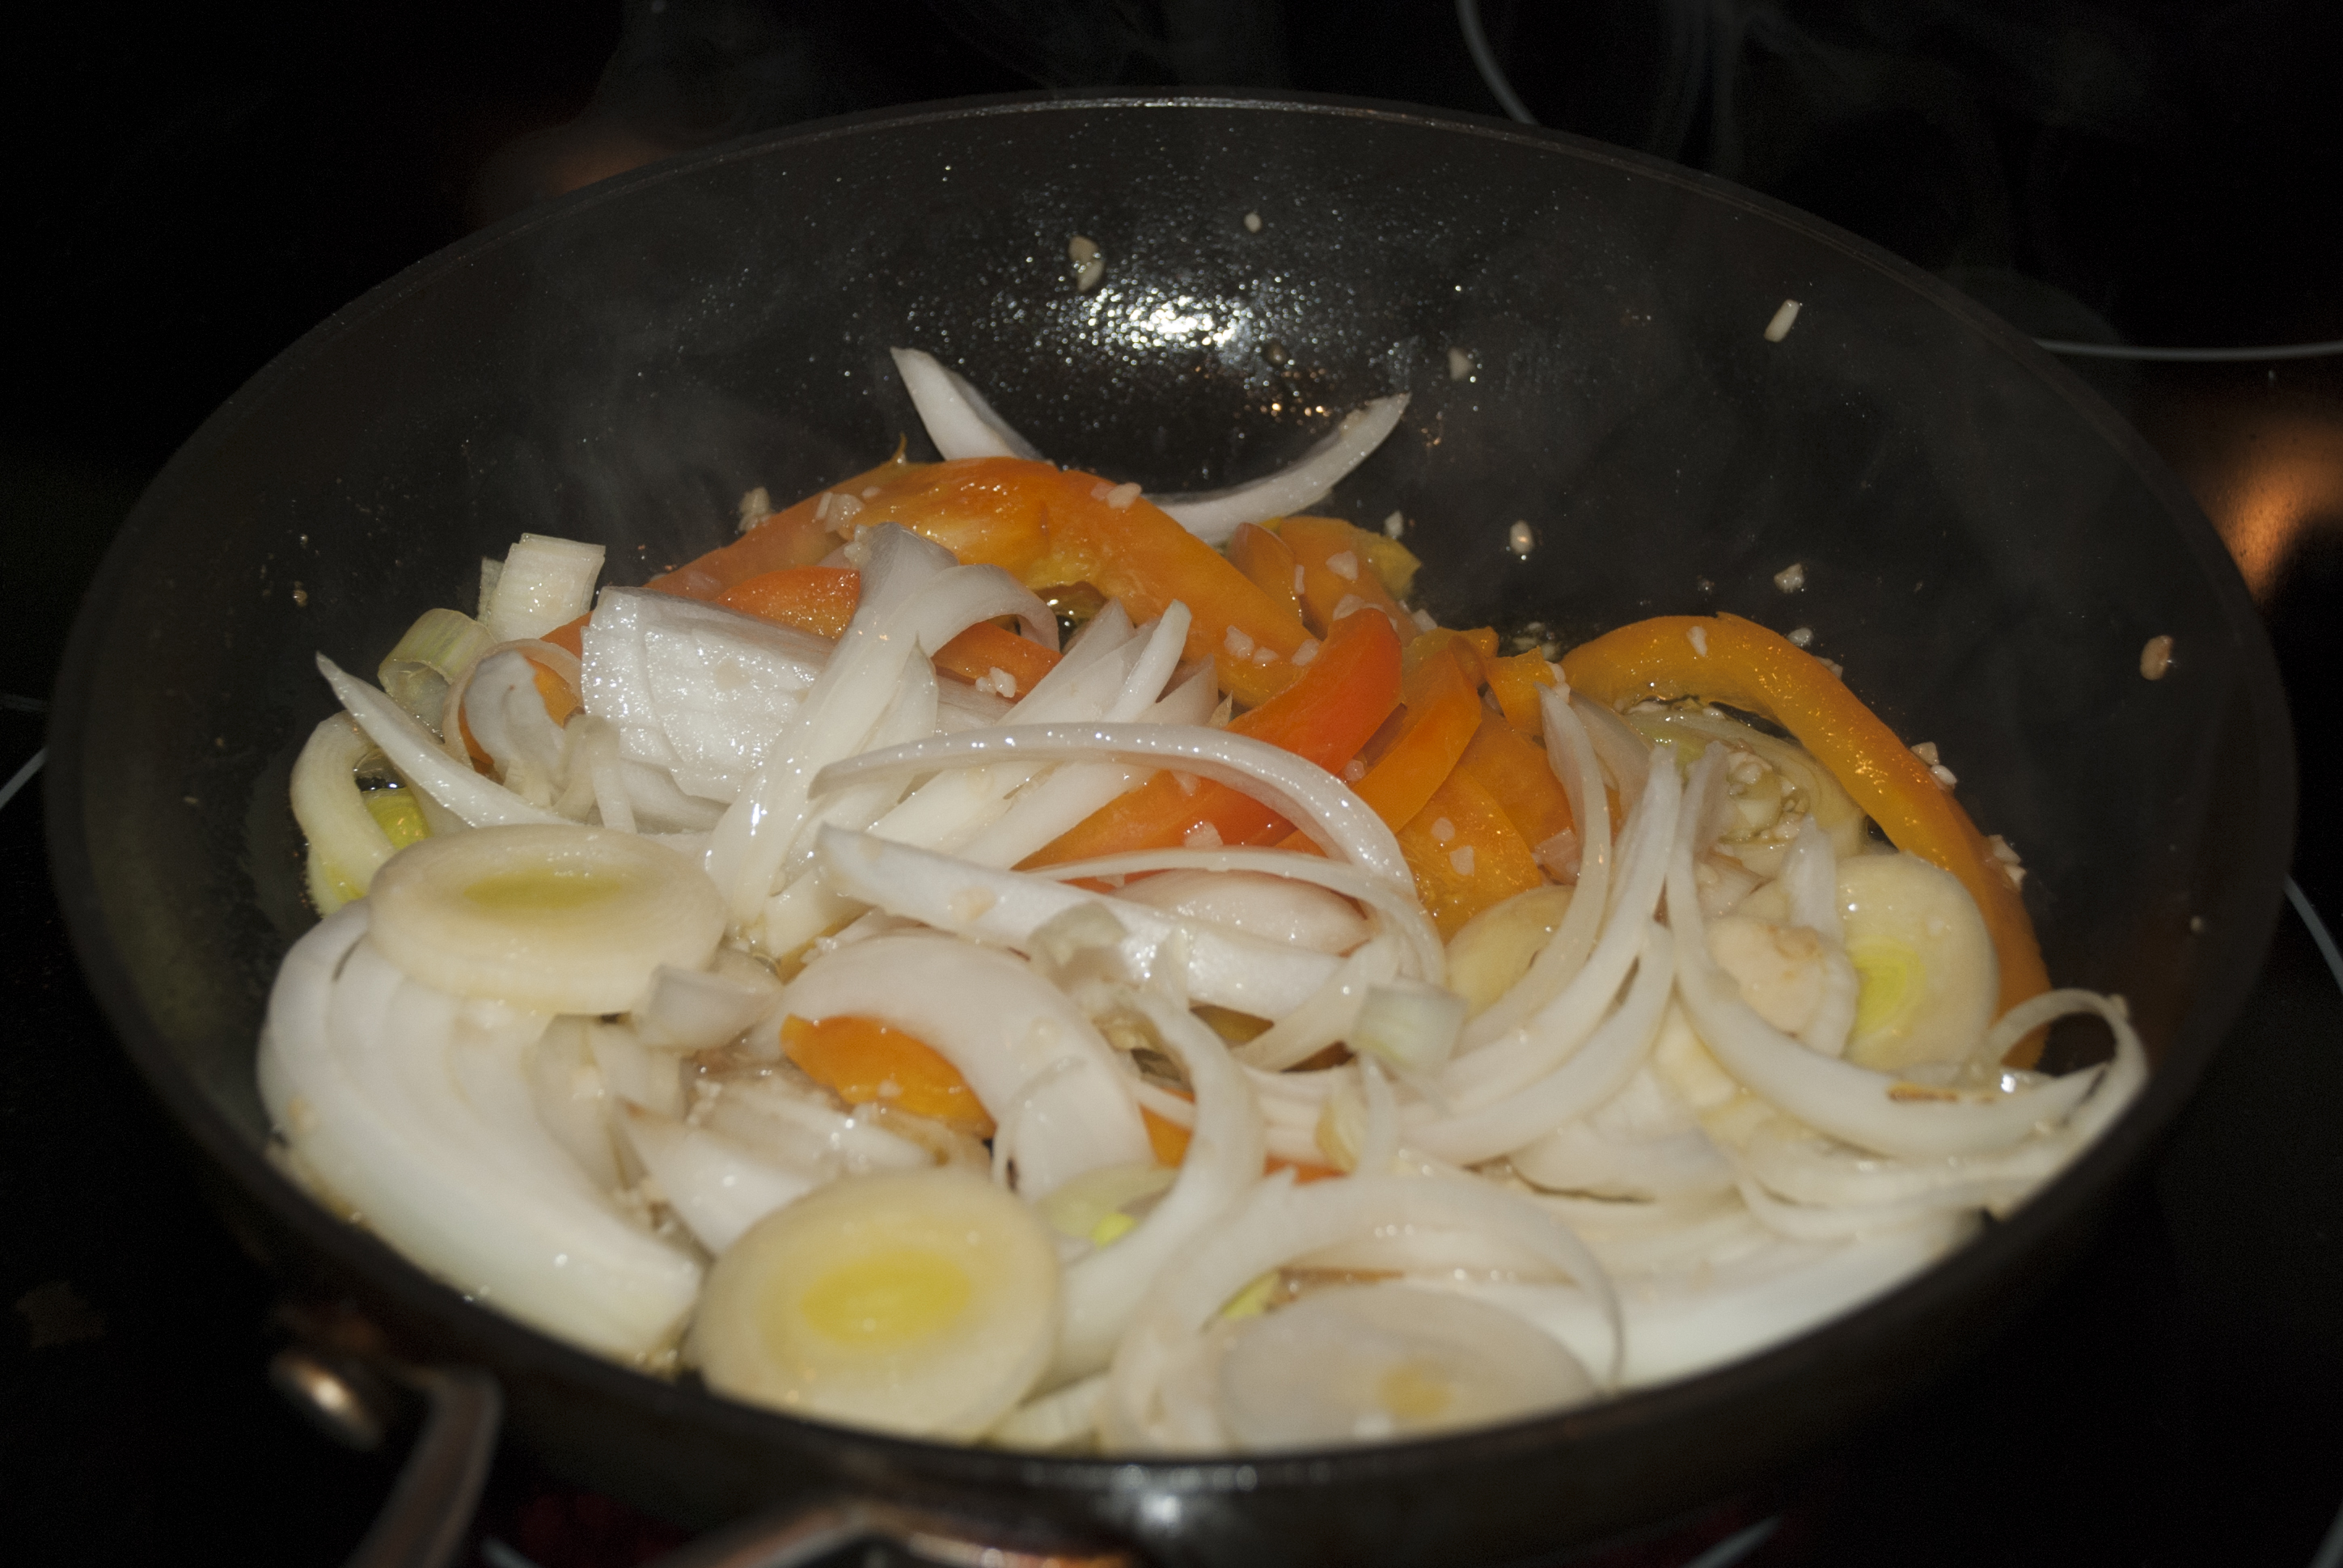
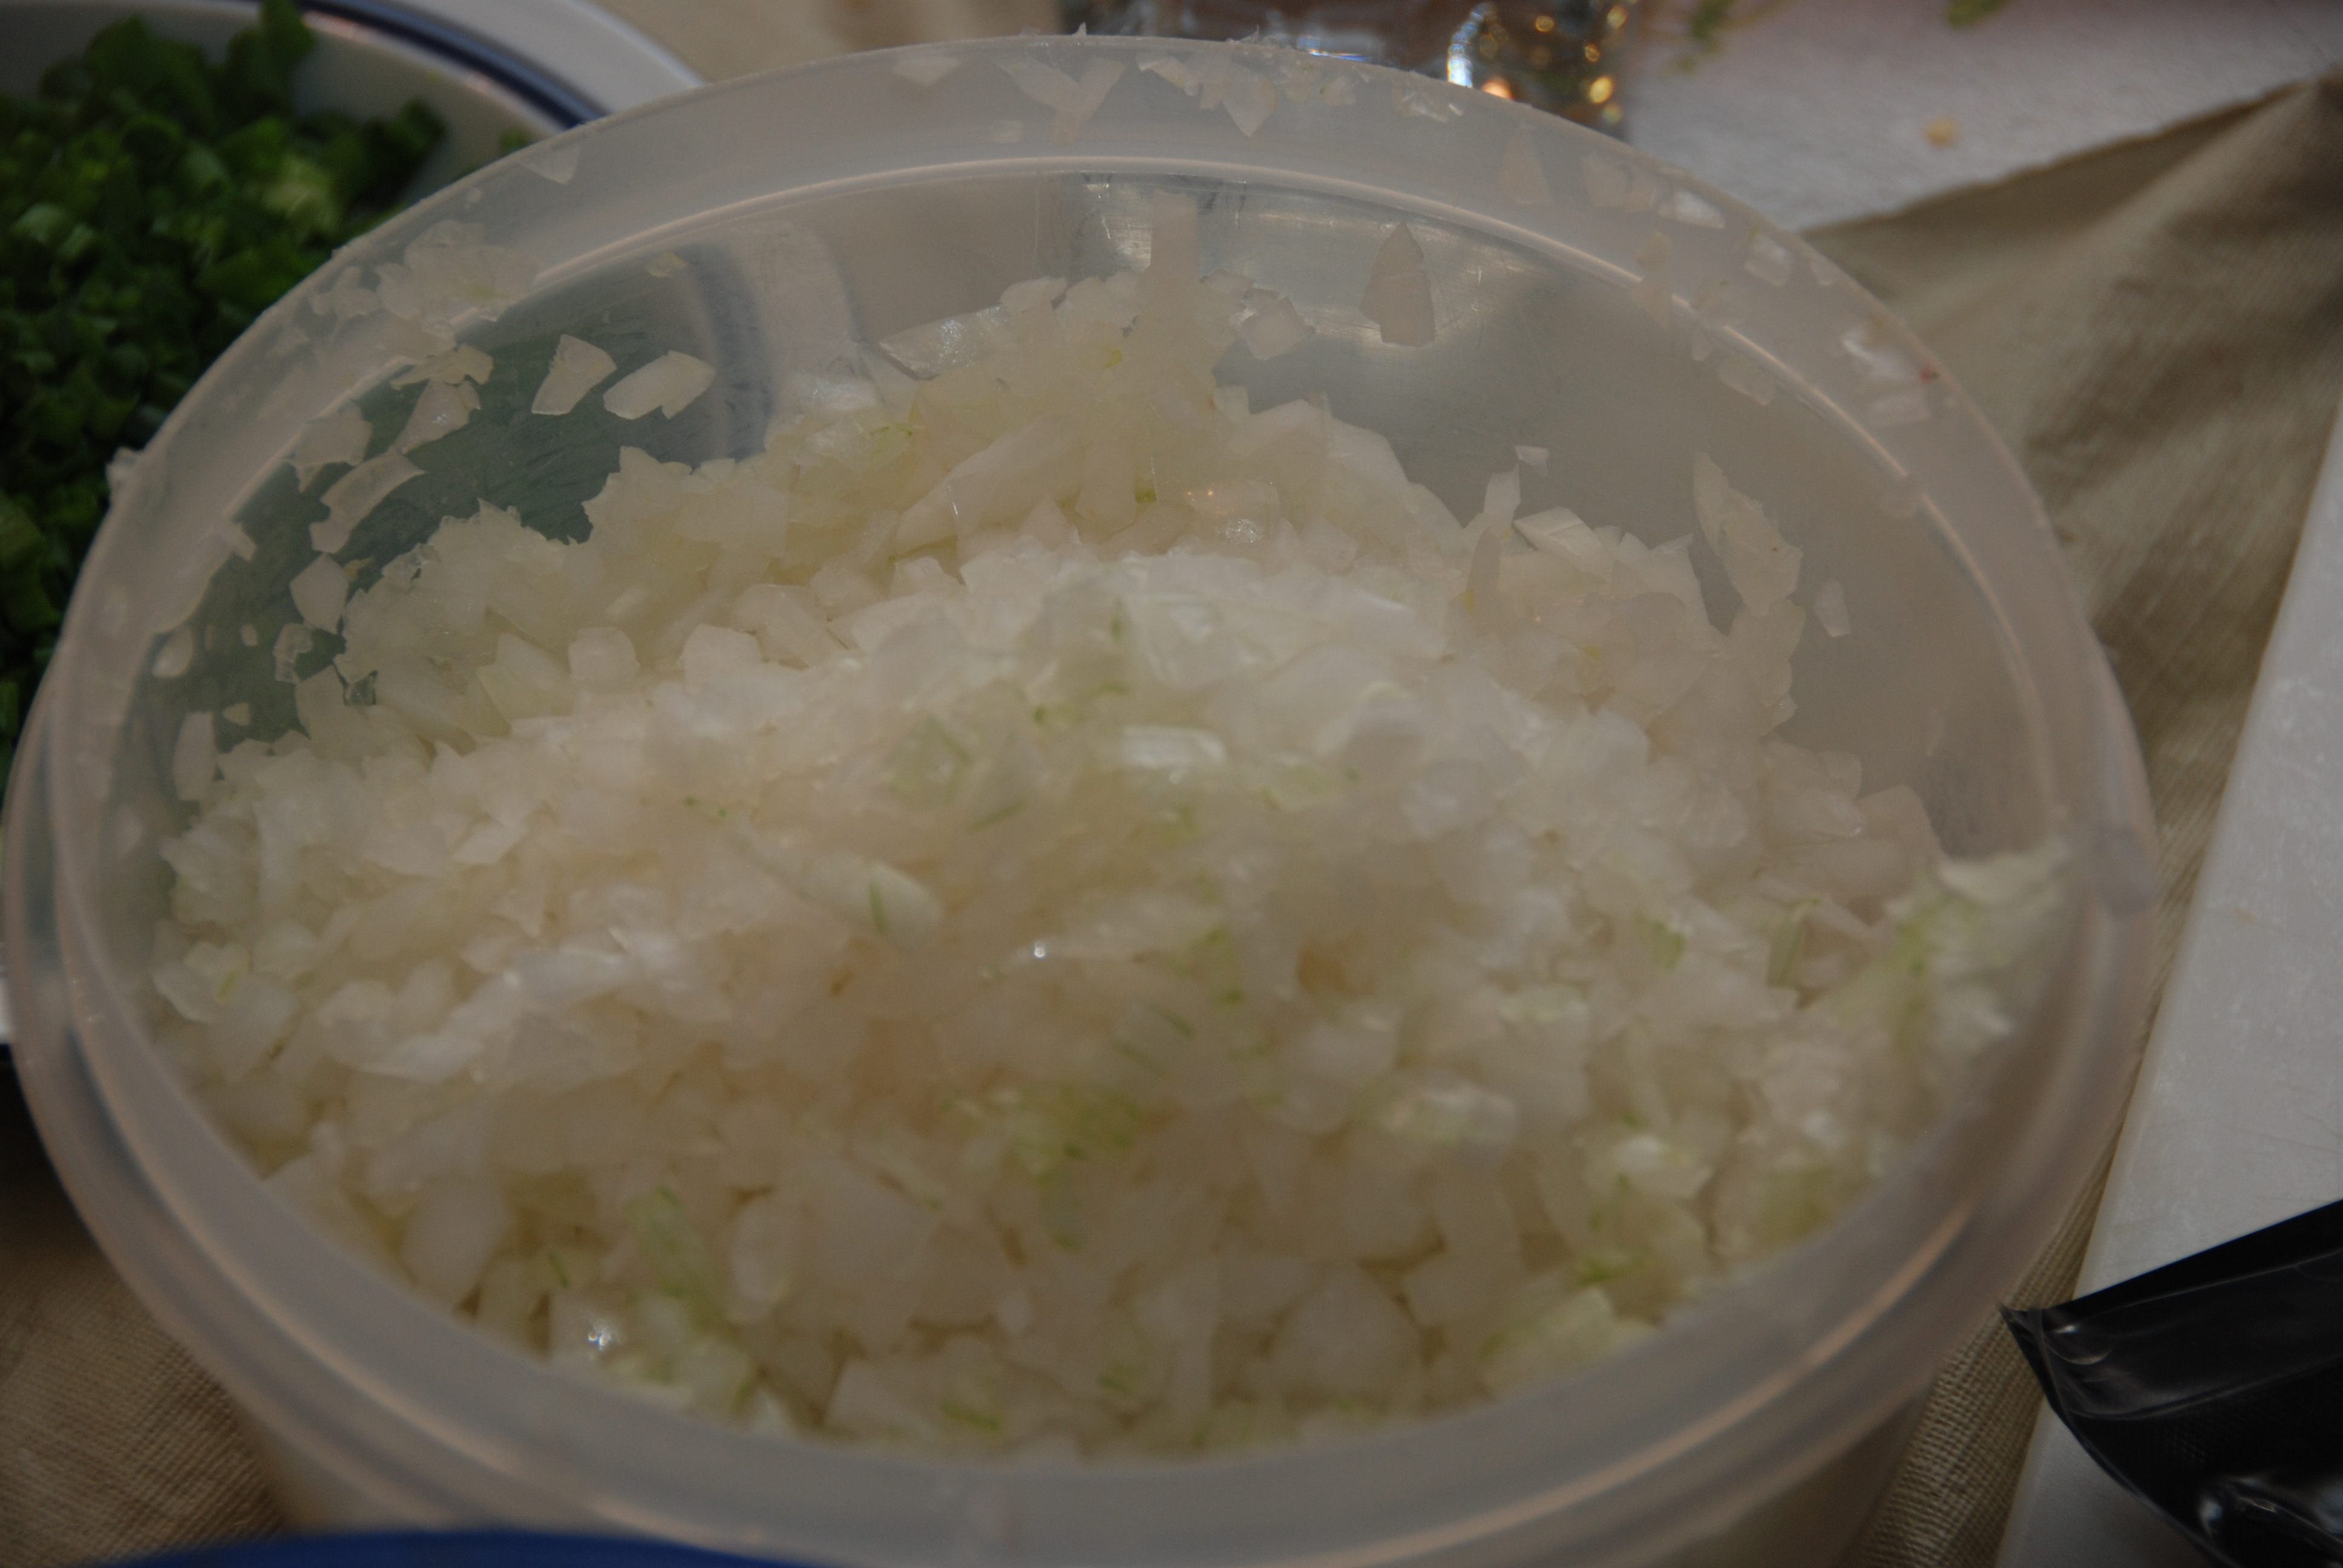
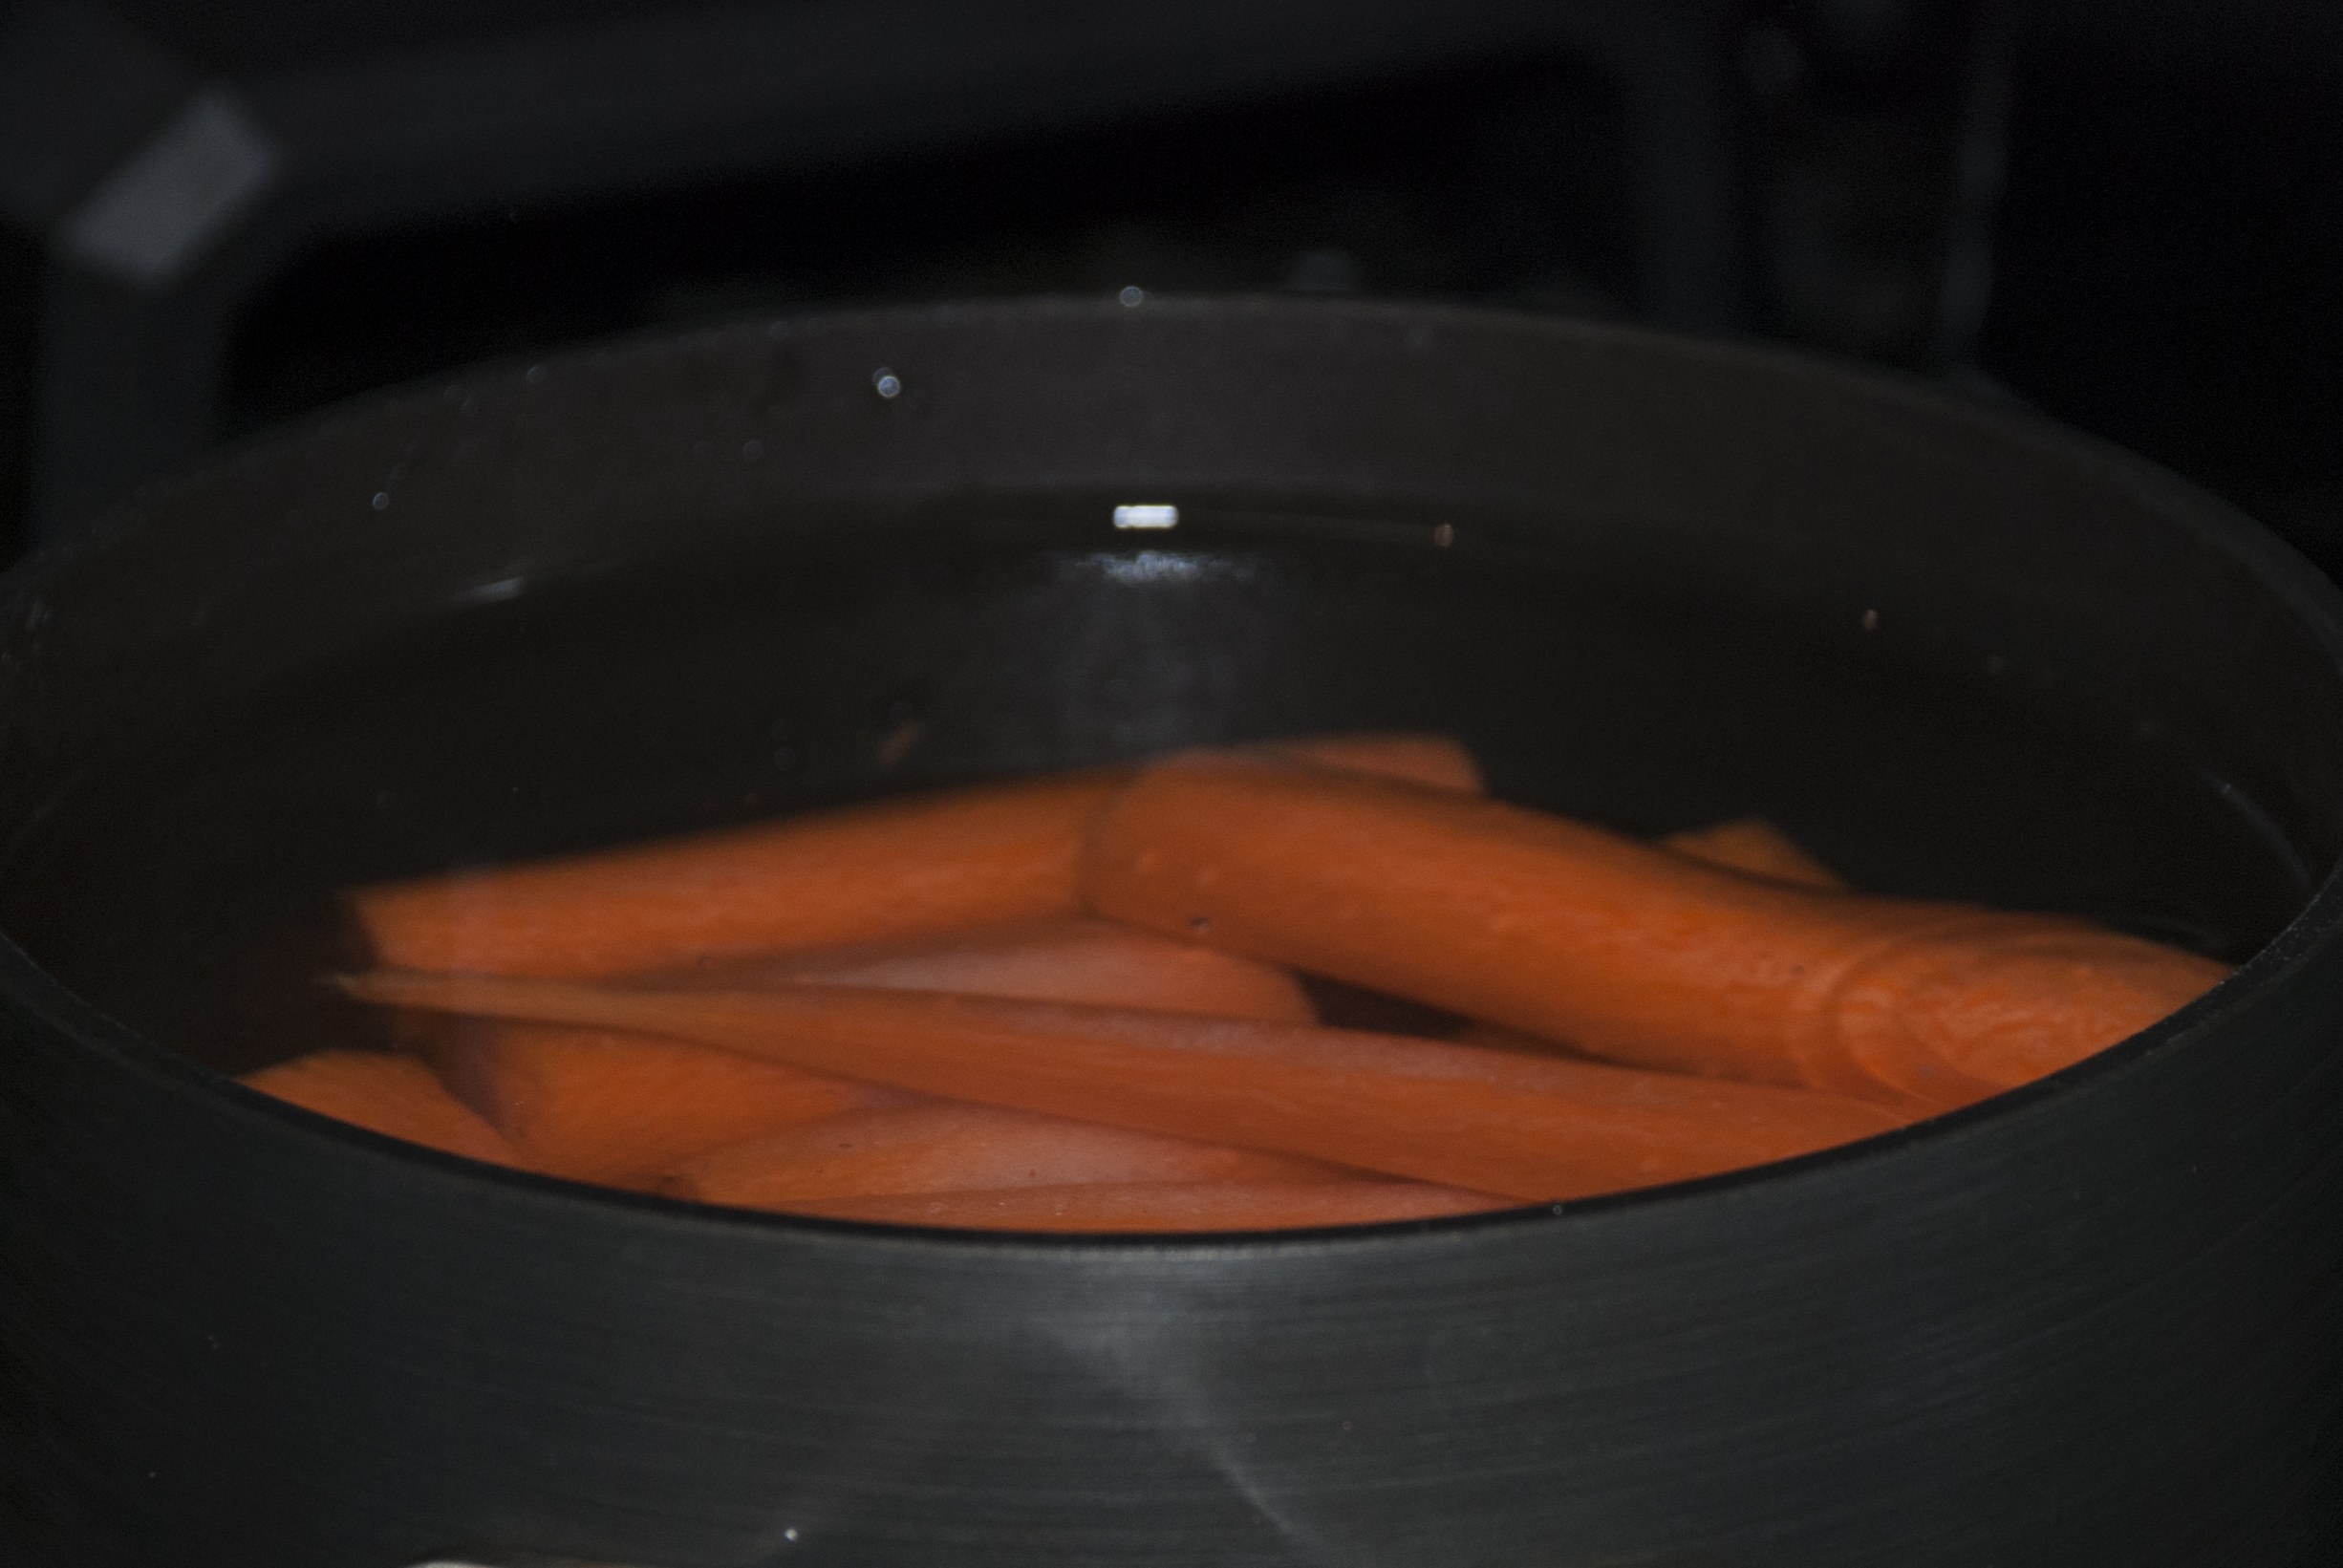
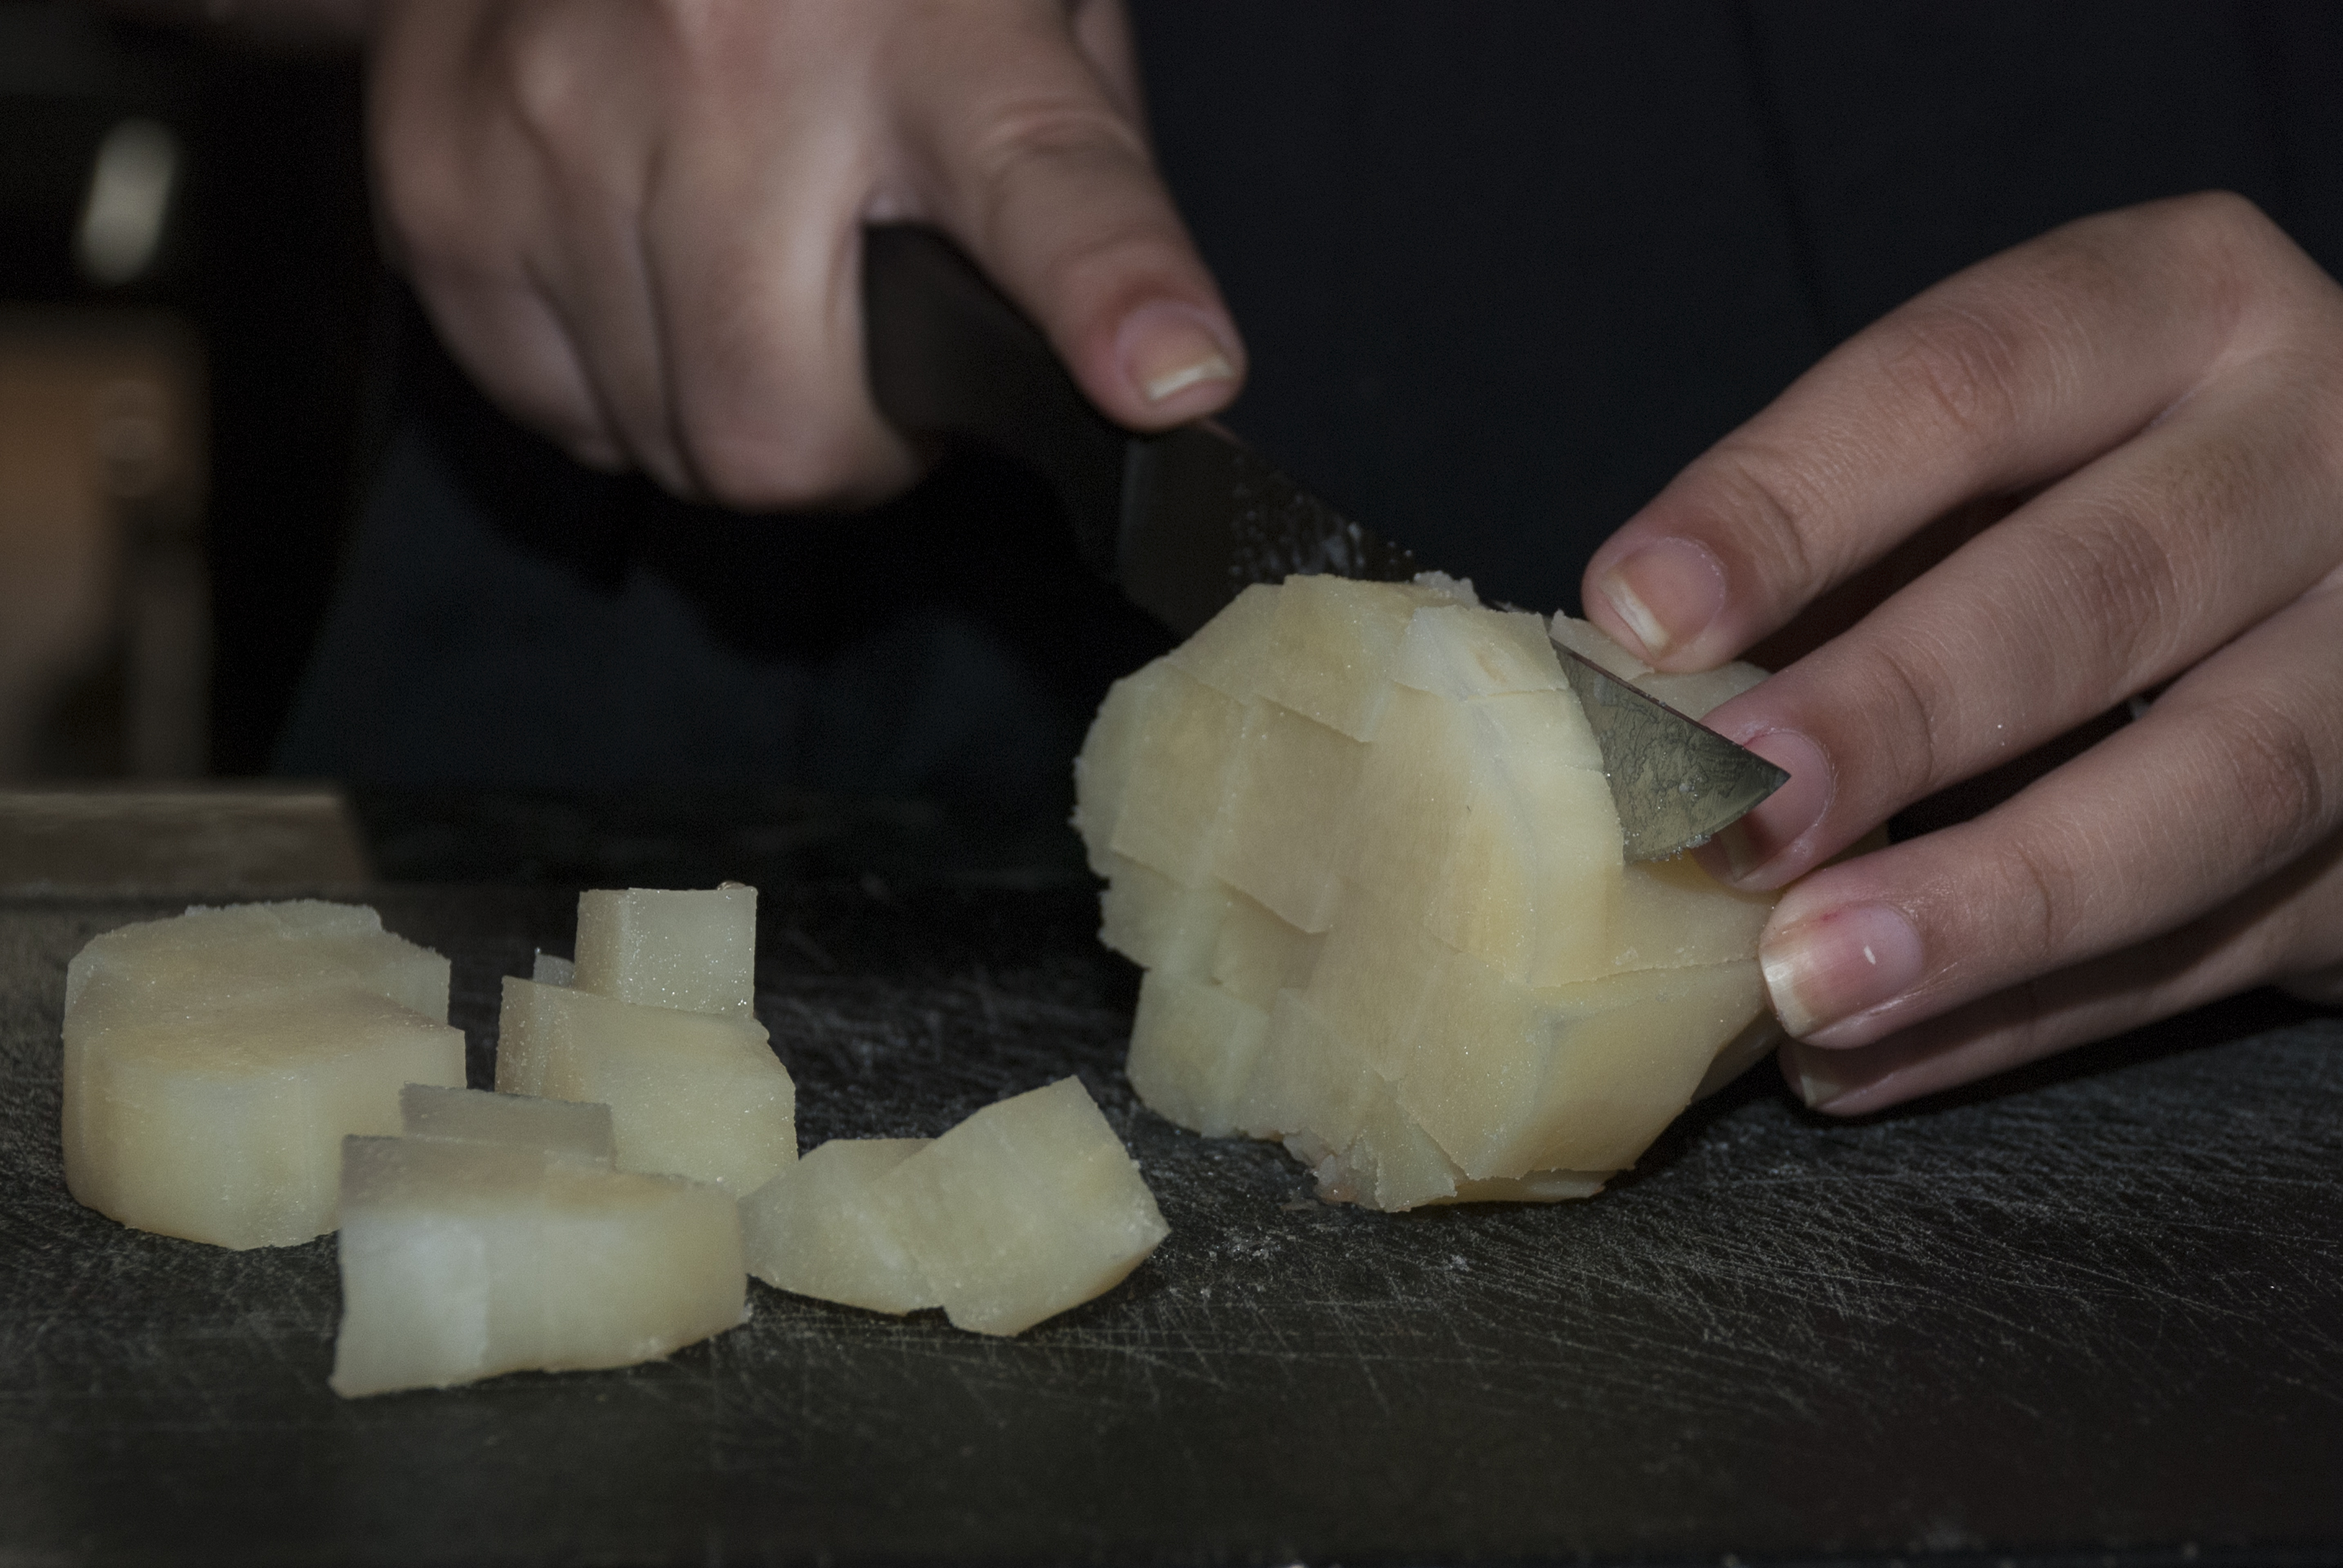
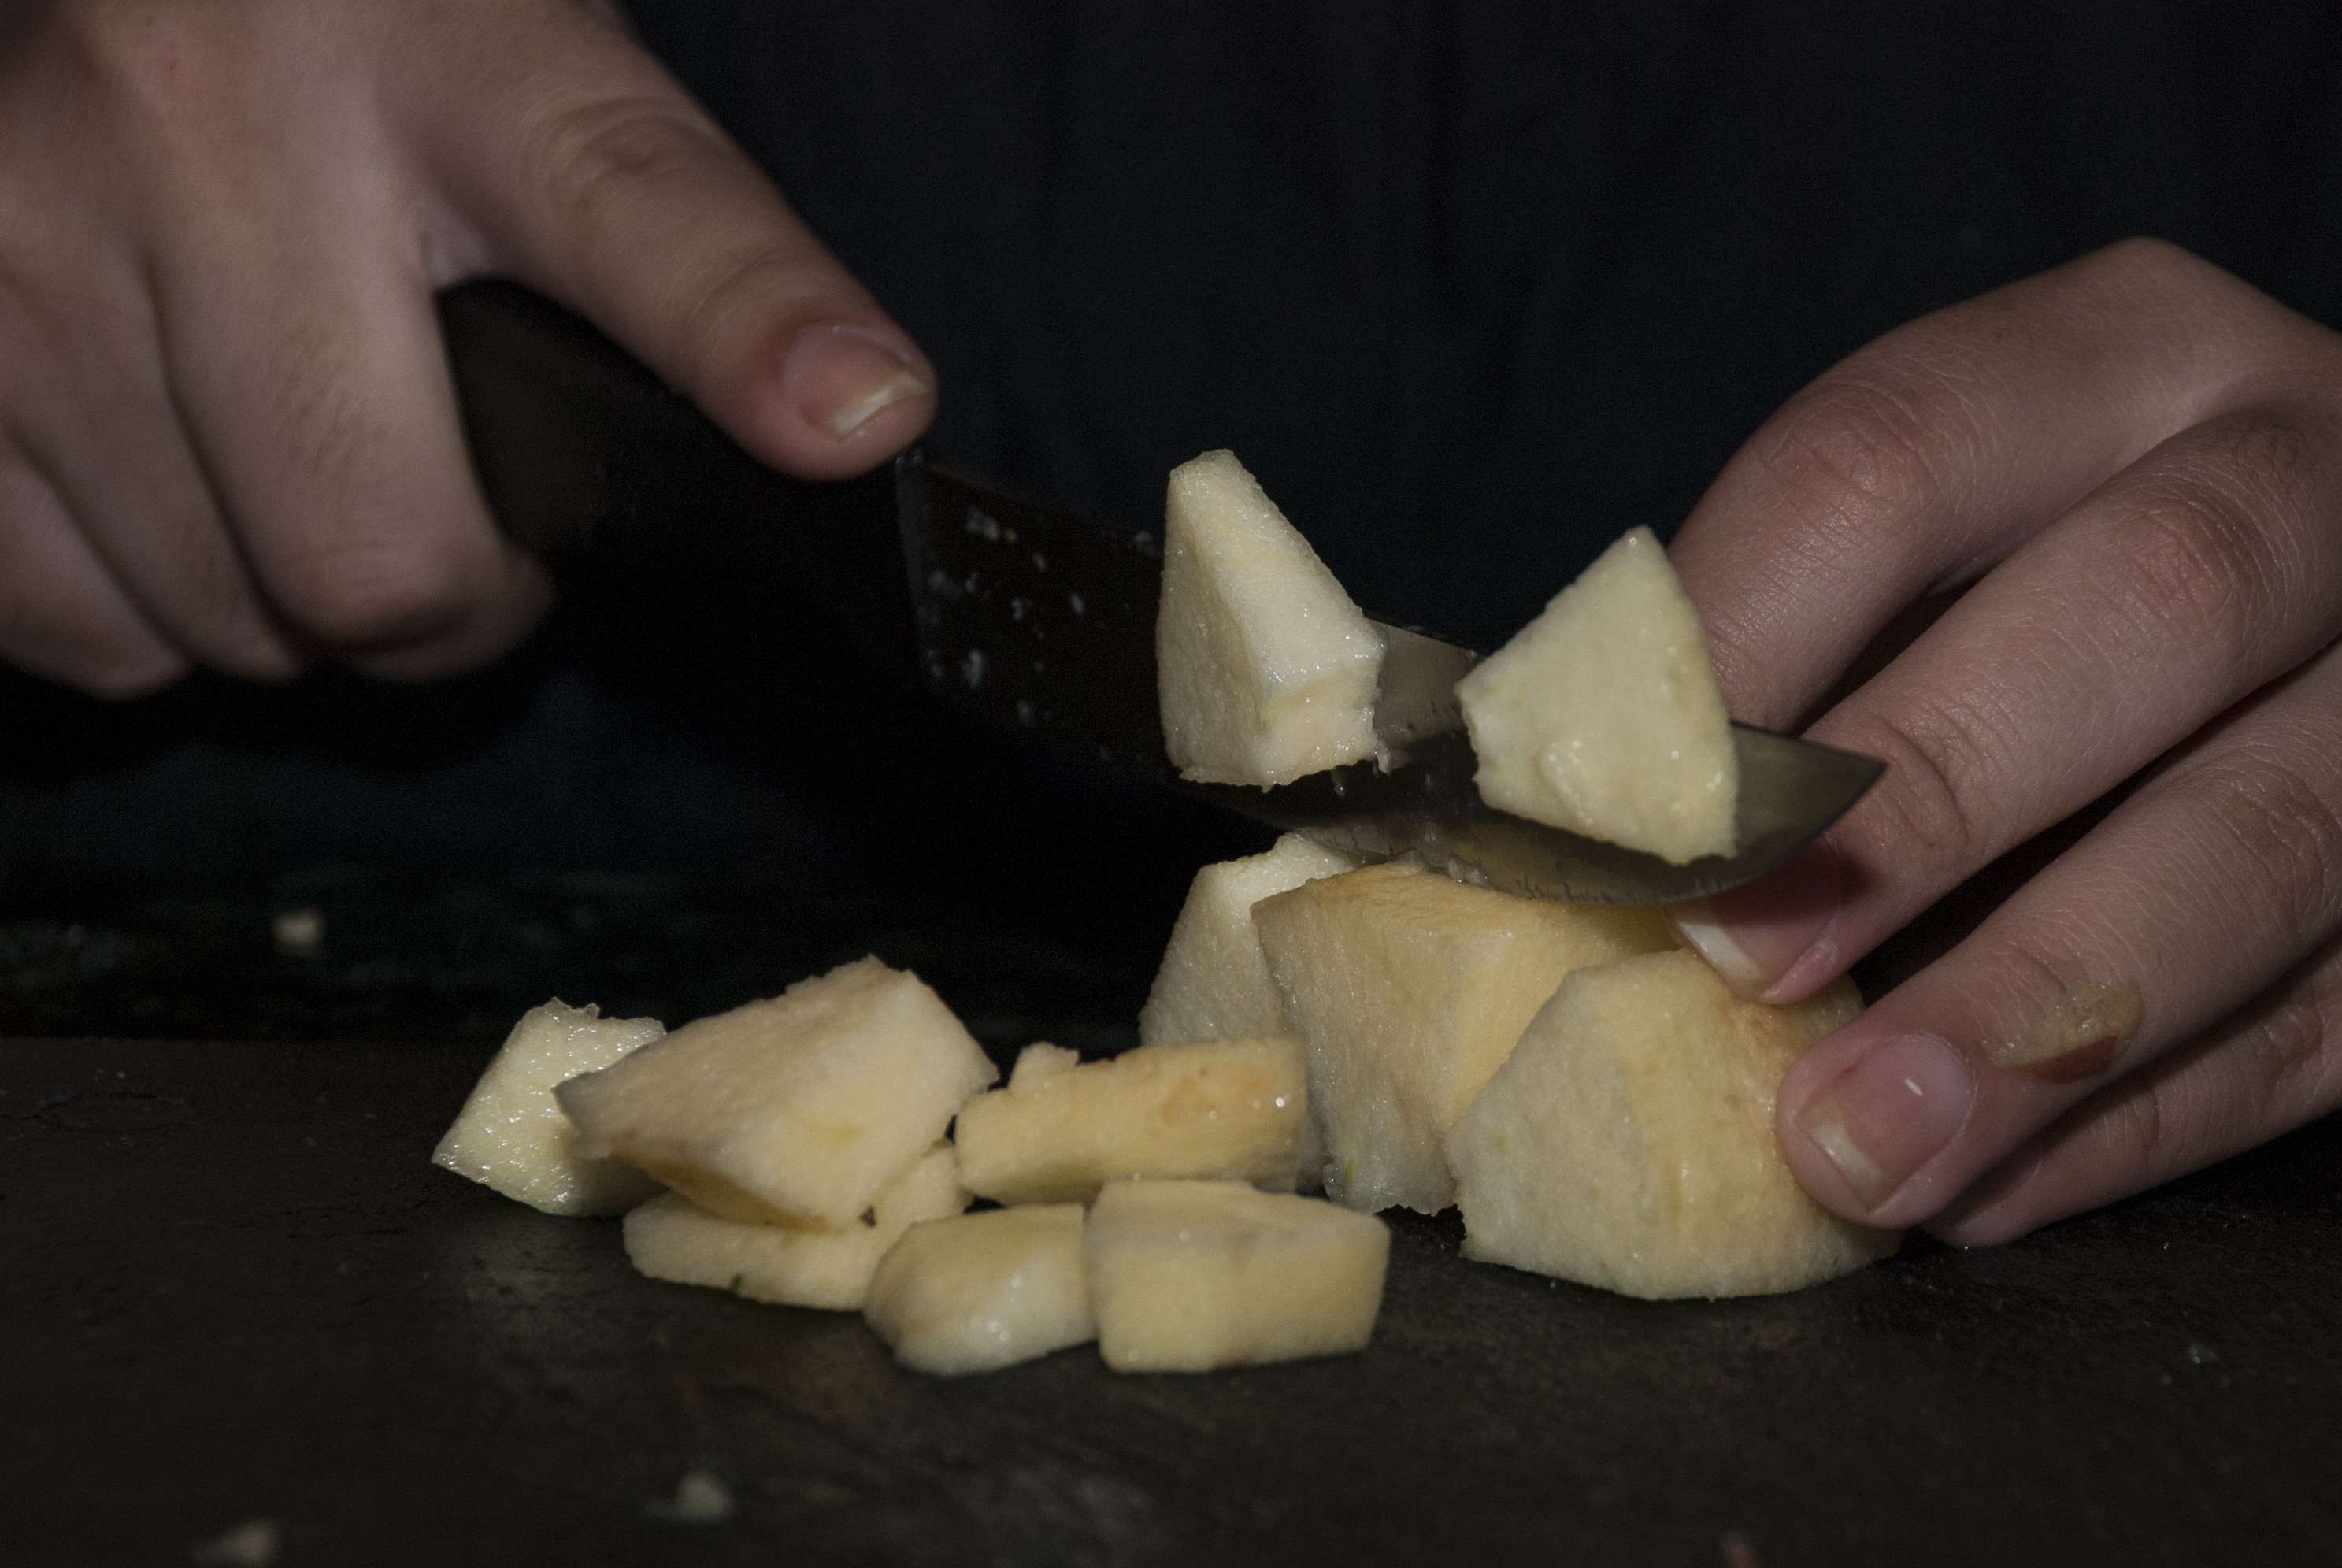
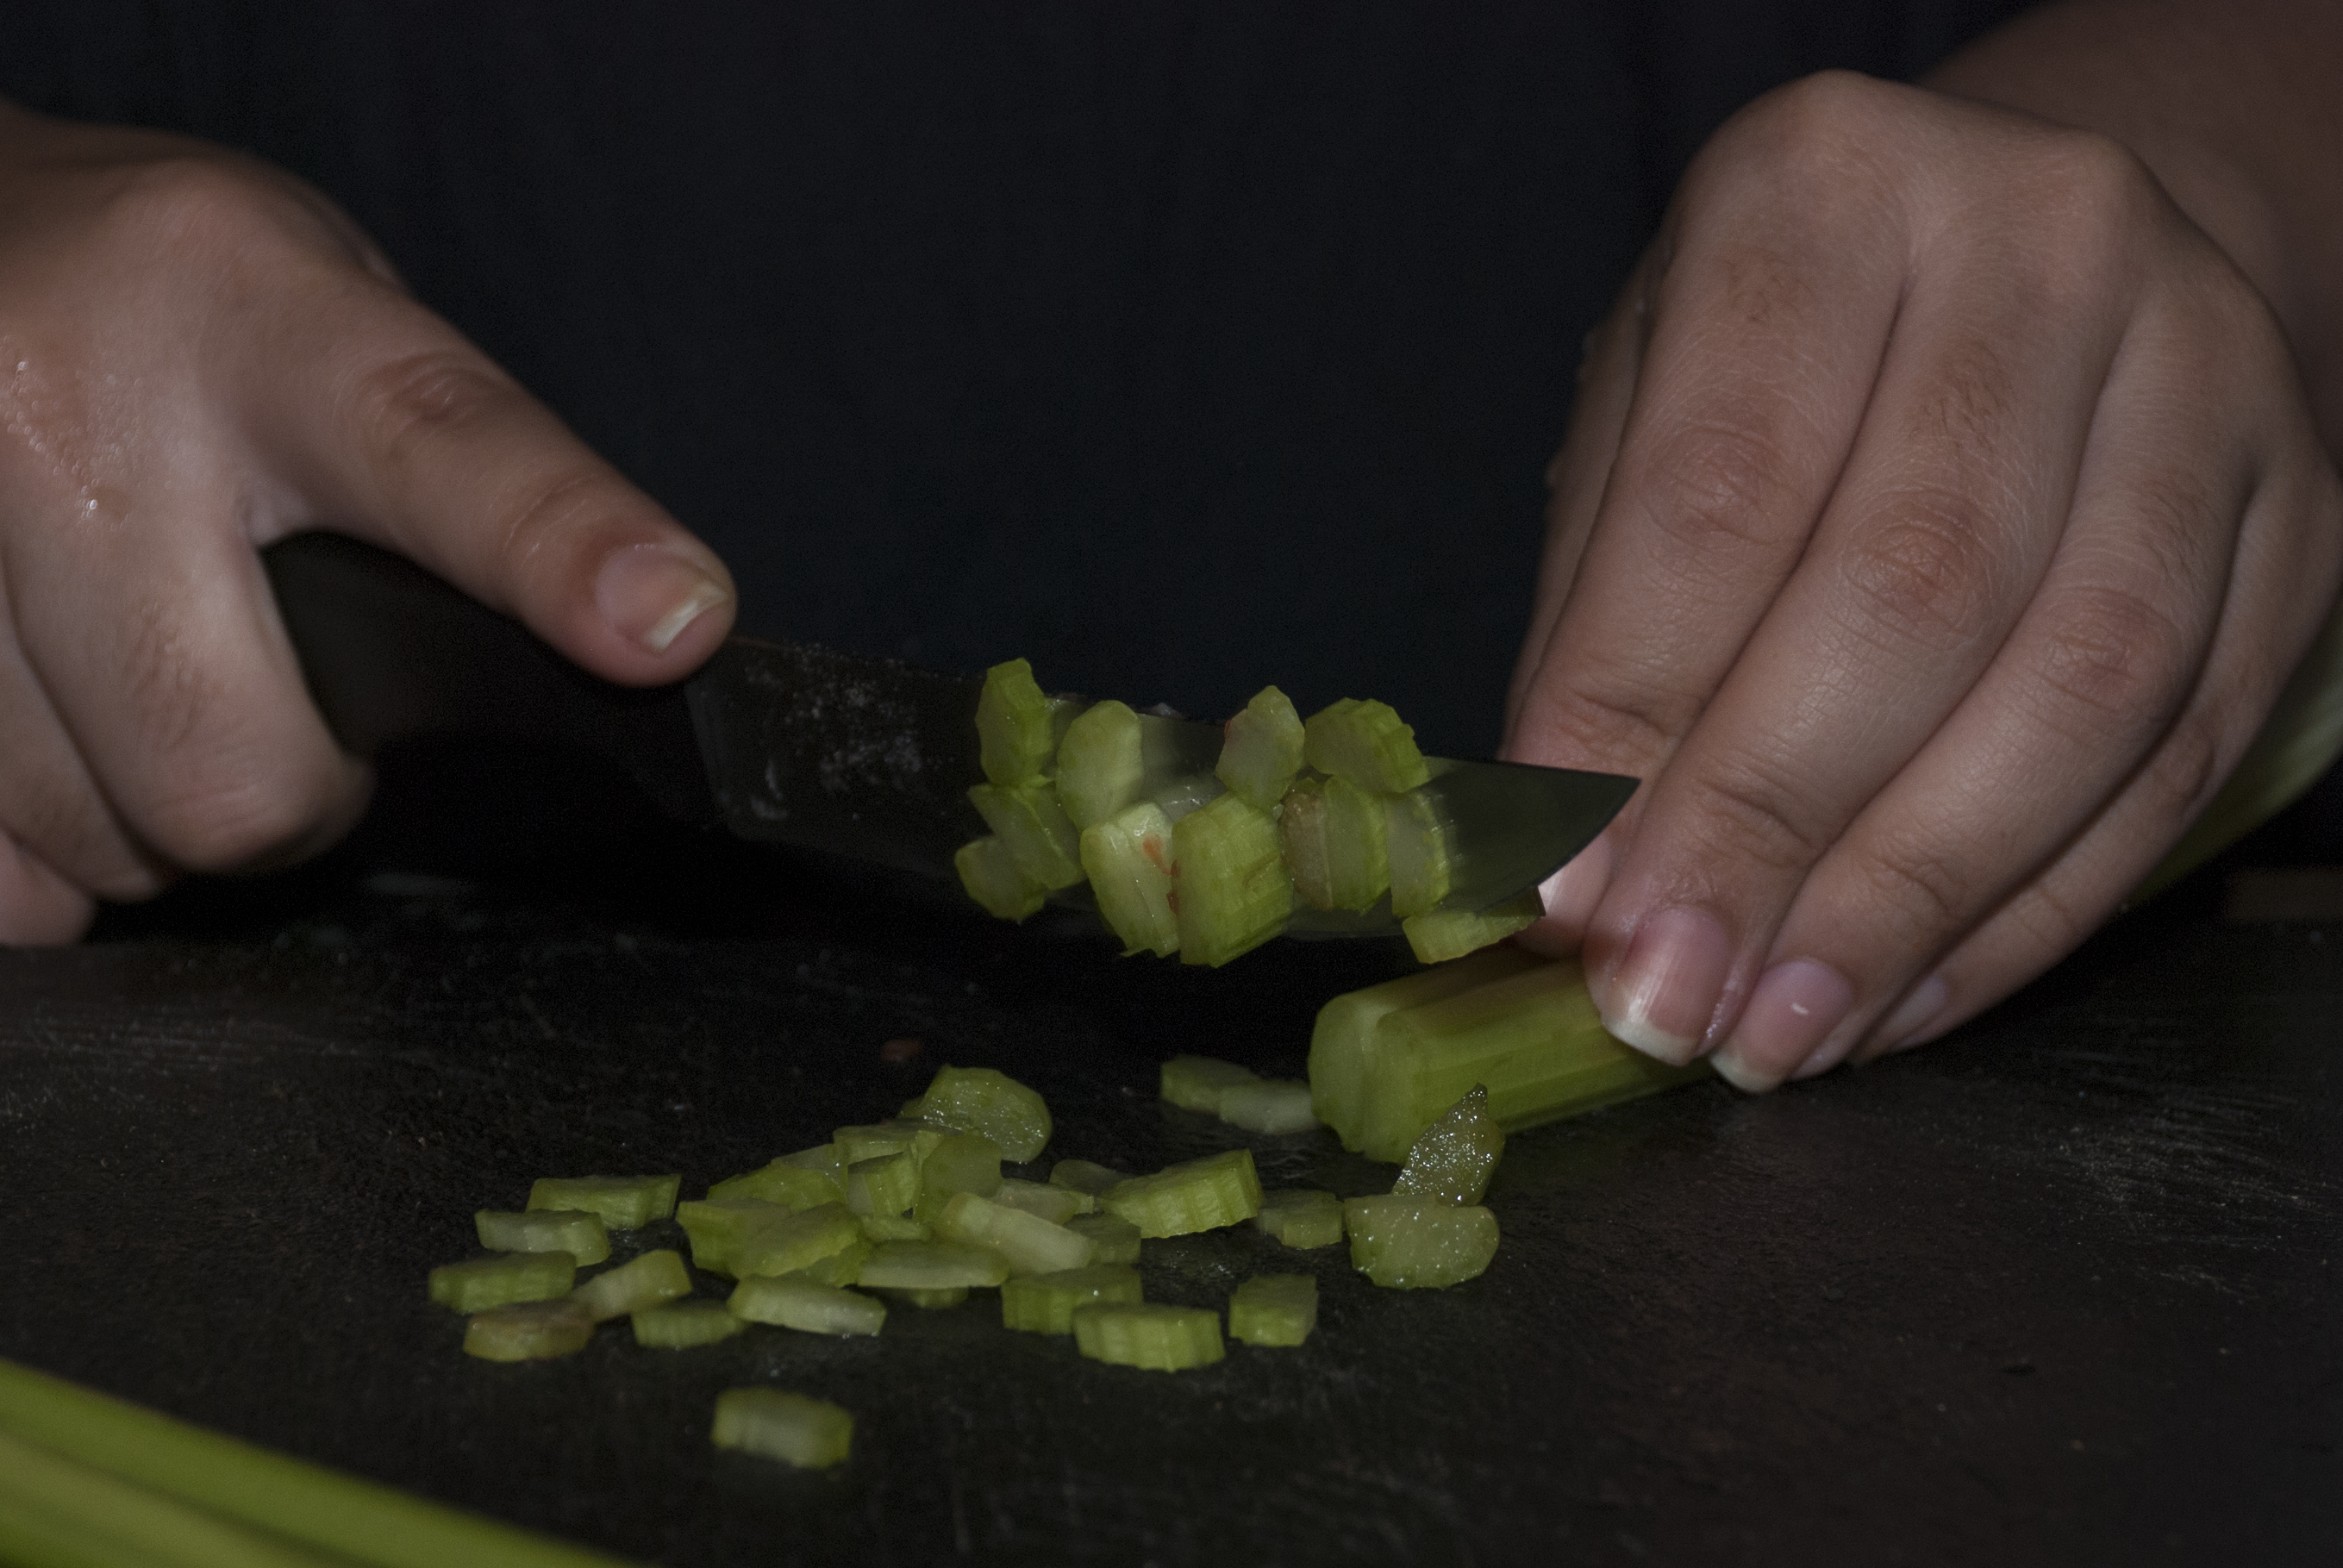
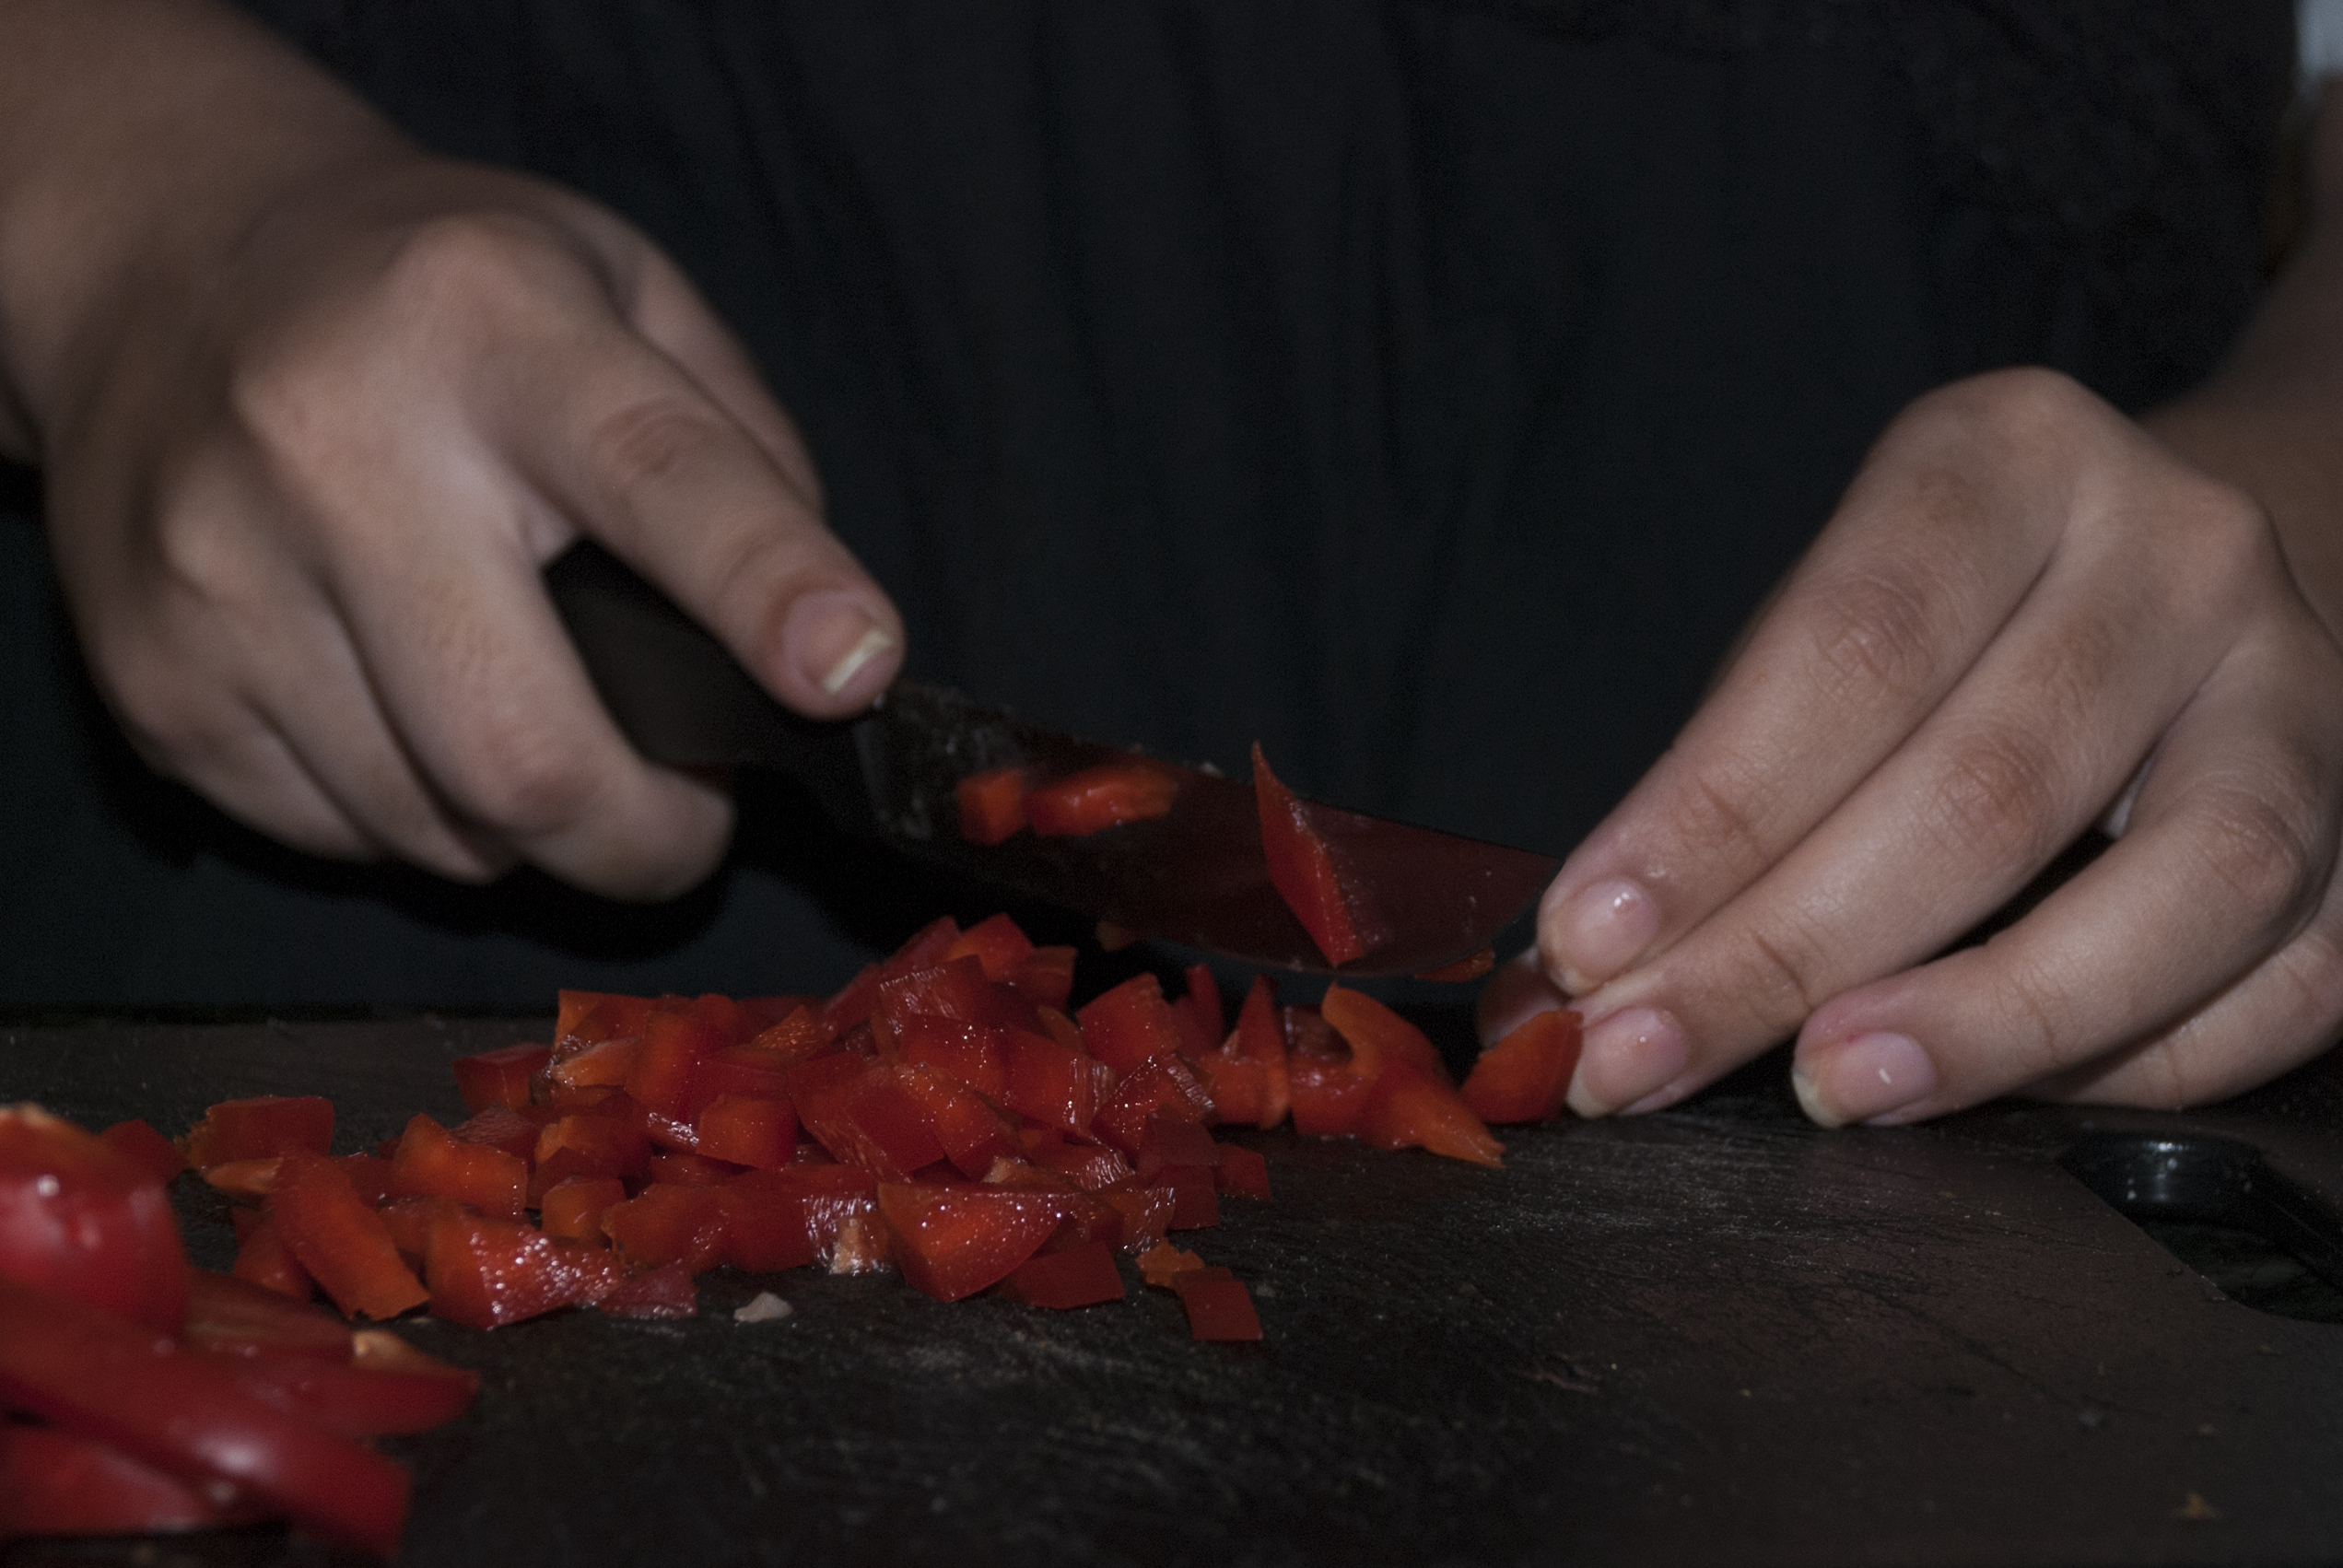
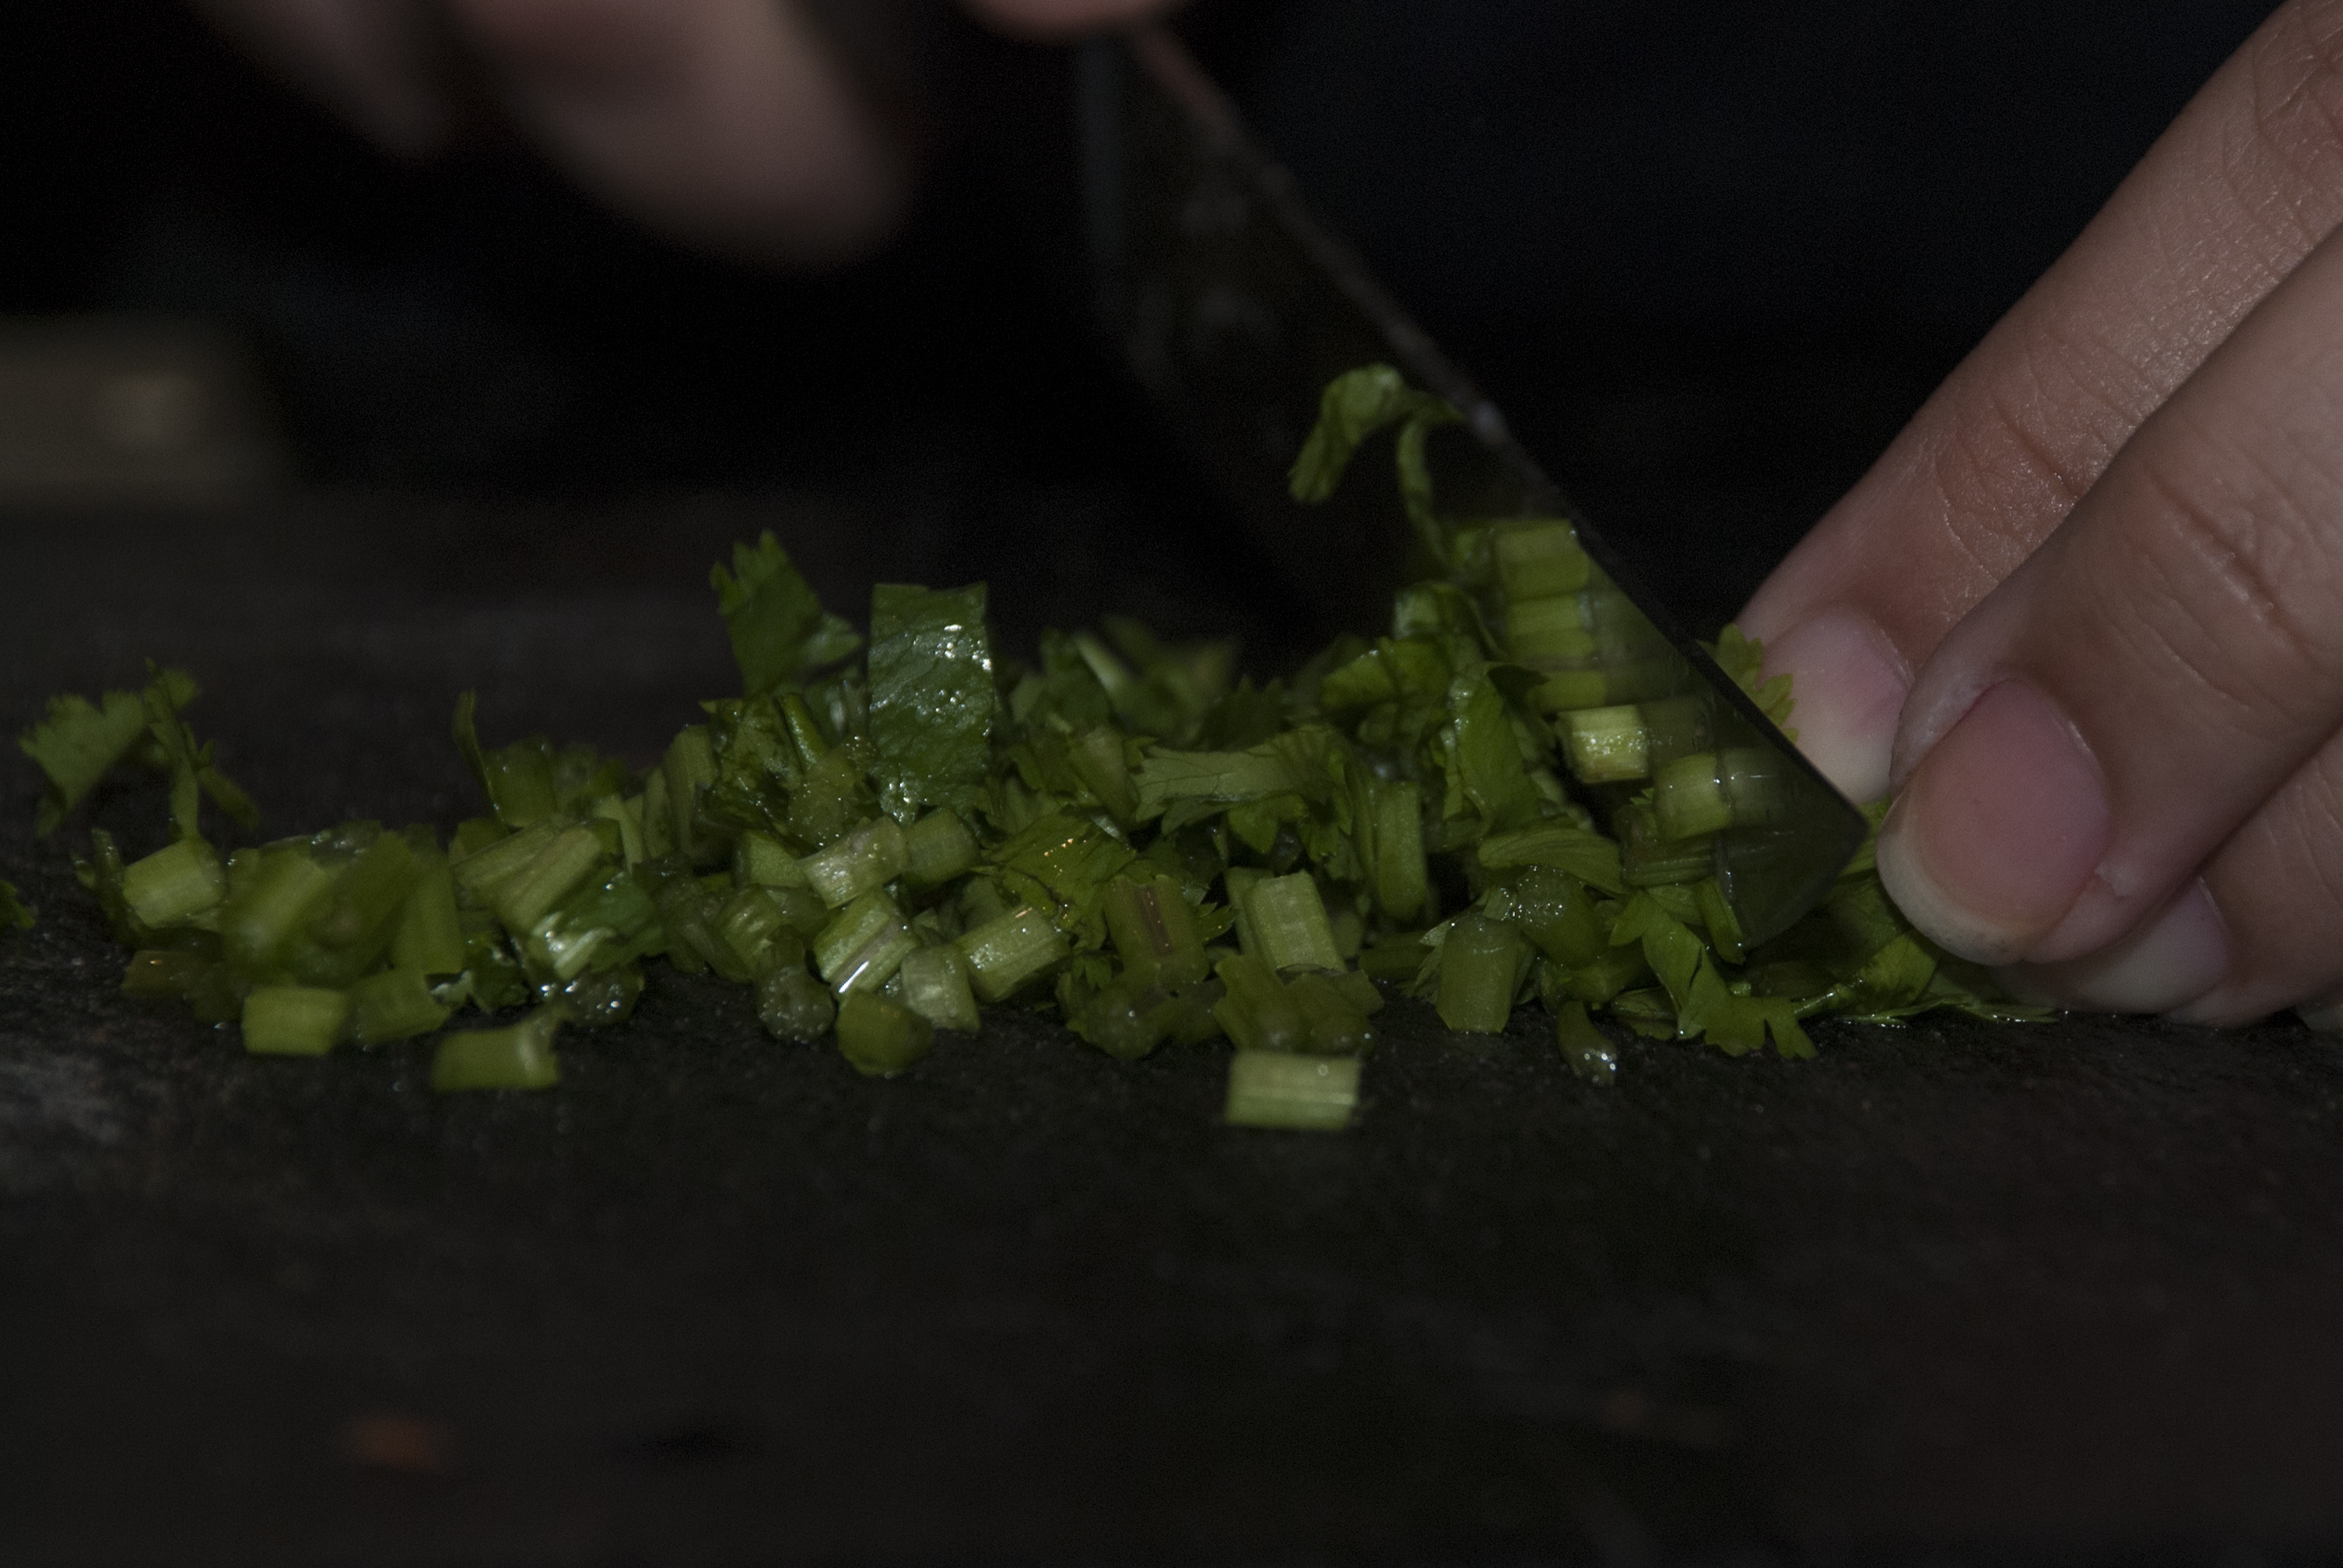
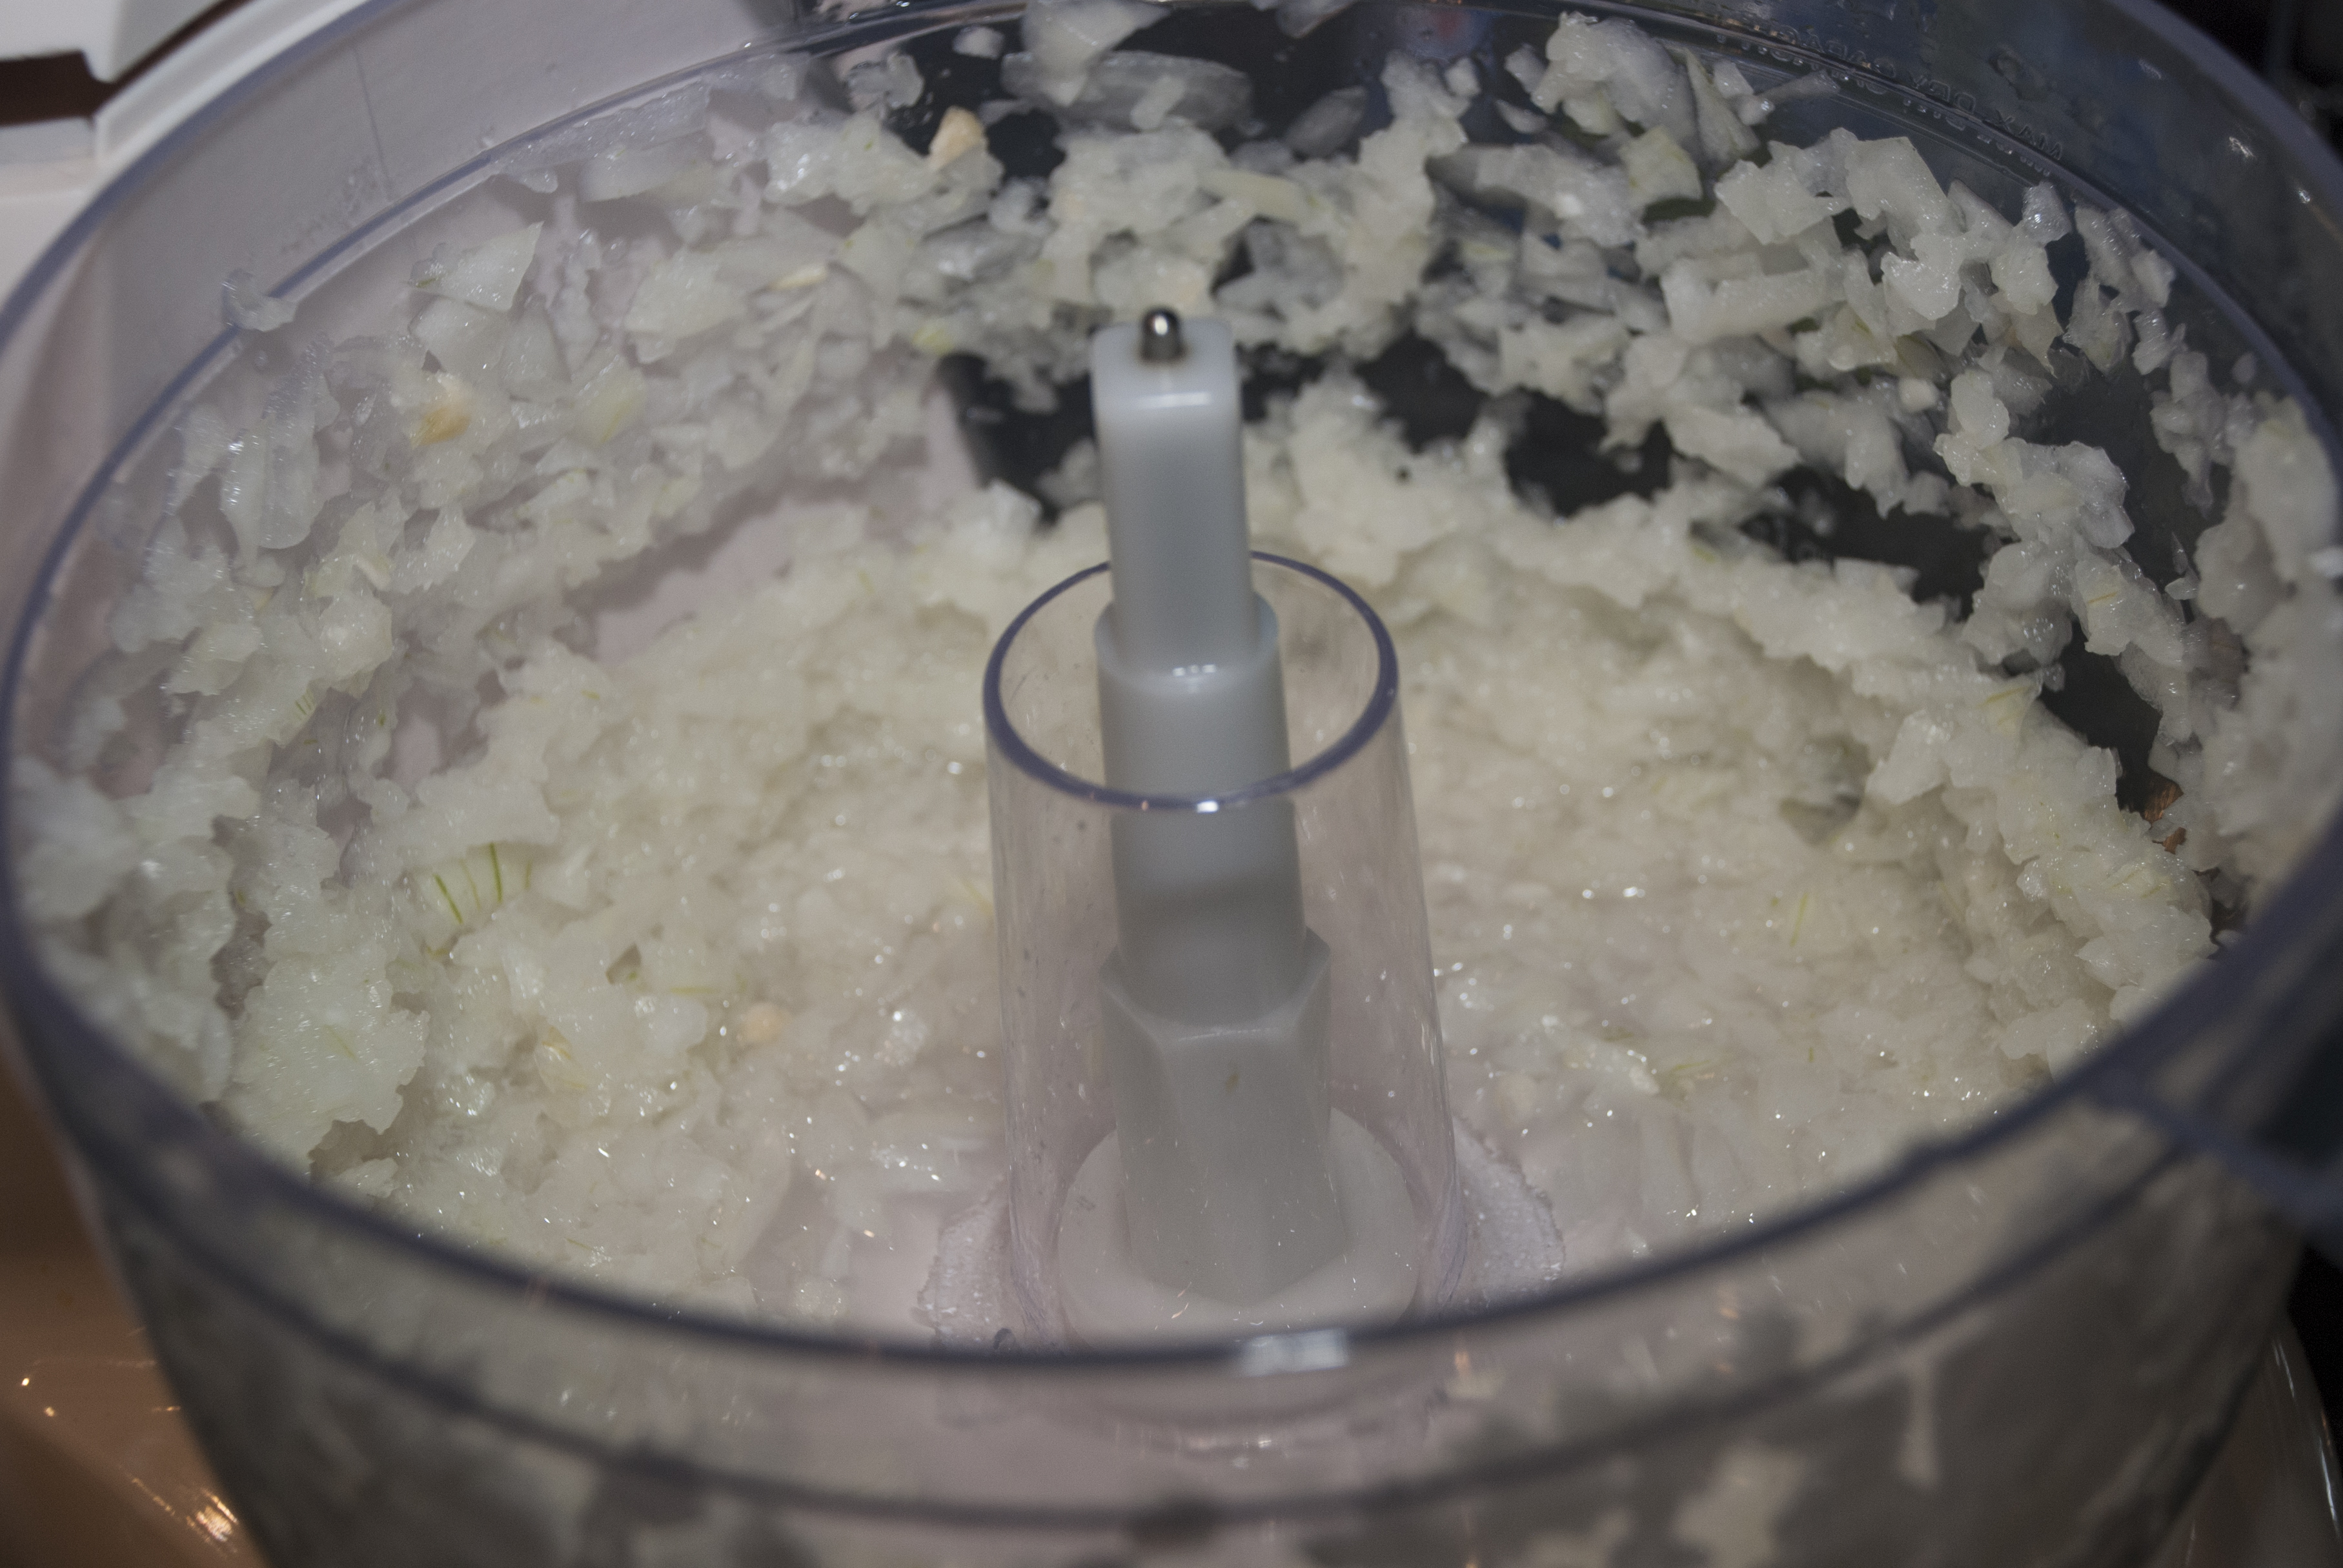
3. In the meantime you can begin to chop up, de-skin, de-seed, and grate all the rest of the ingredients for the stew (filling), like the onions, leeks, green onions, garlic (mince it), red bell peppers (grate), tomatoes (grate), sweet peppers, sugar cane (grate), all in small little pieces.
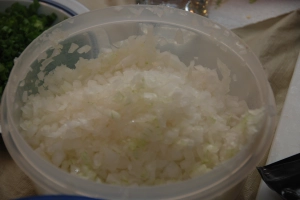
Chopped Onions
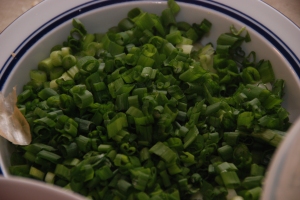
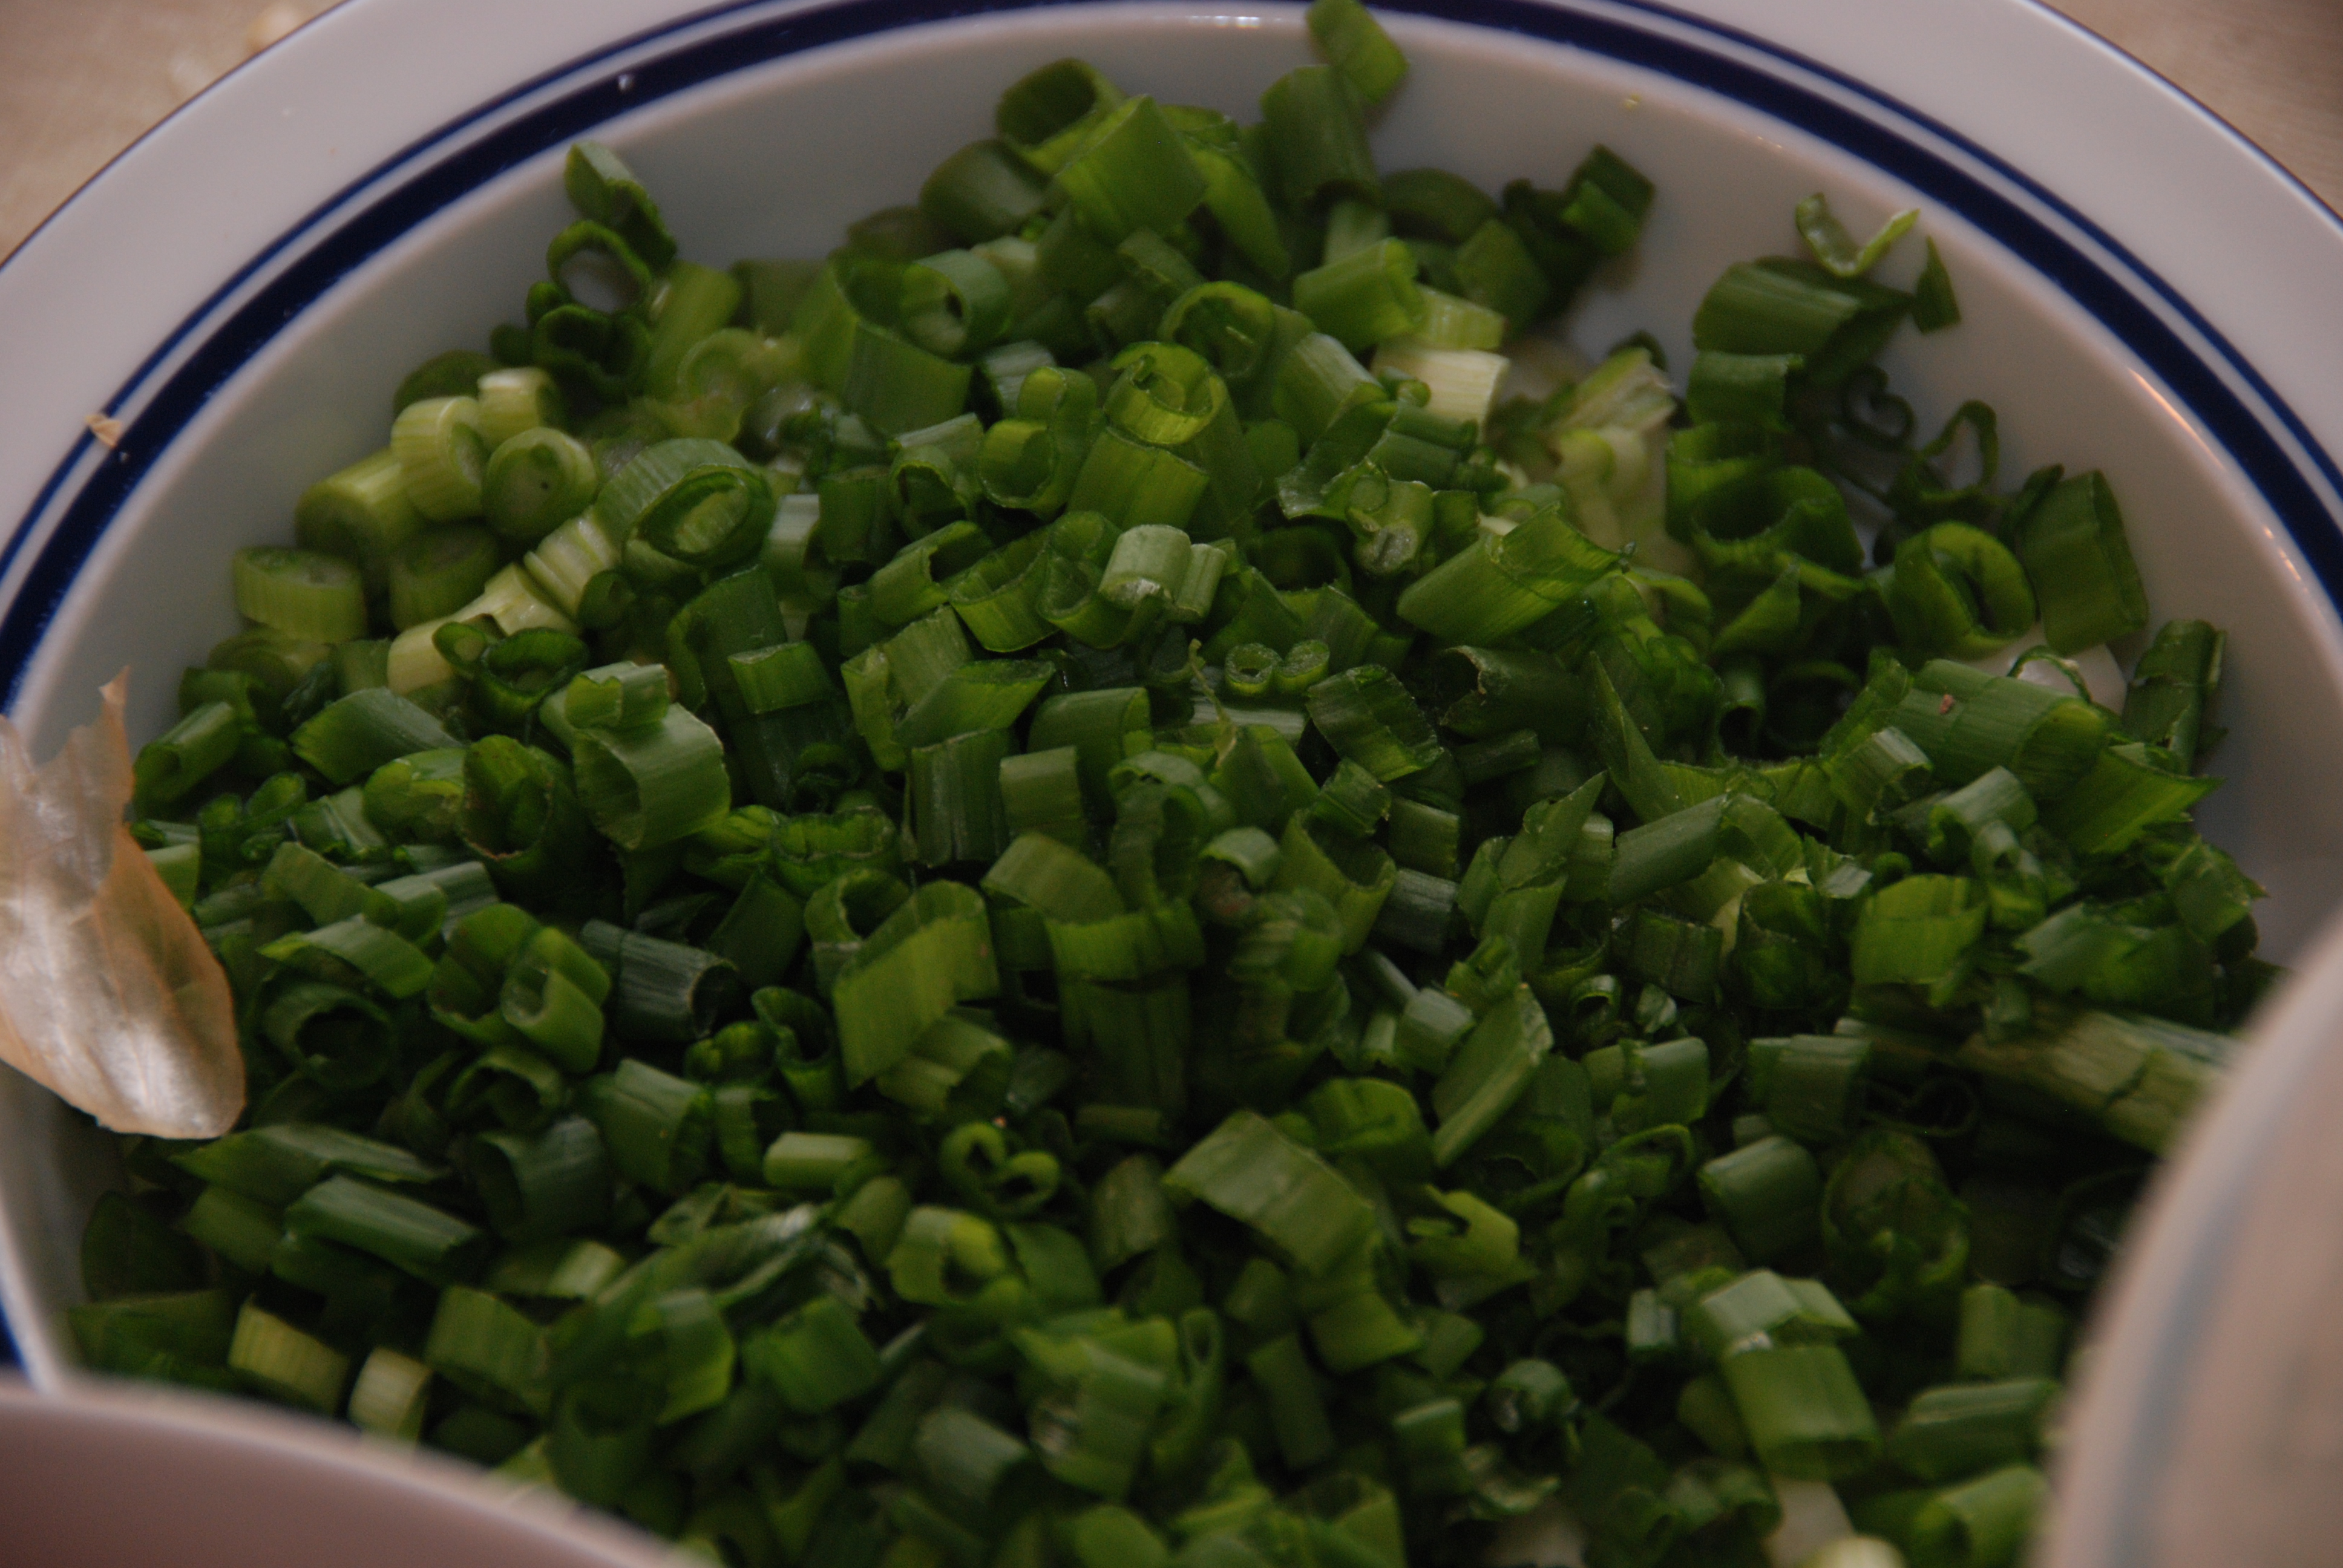
Chopped Green Onions
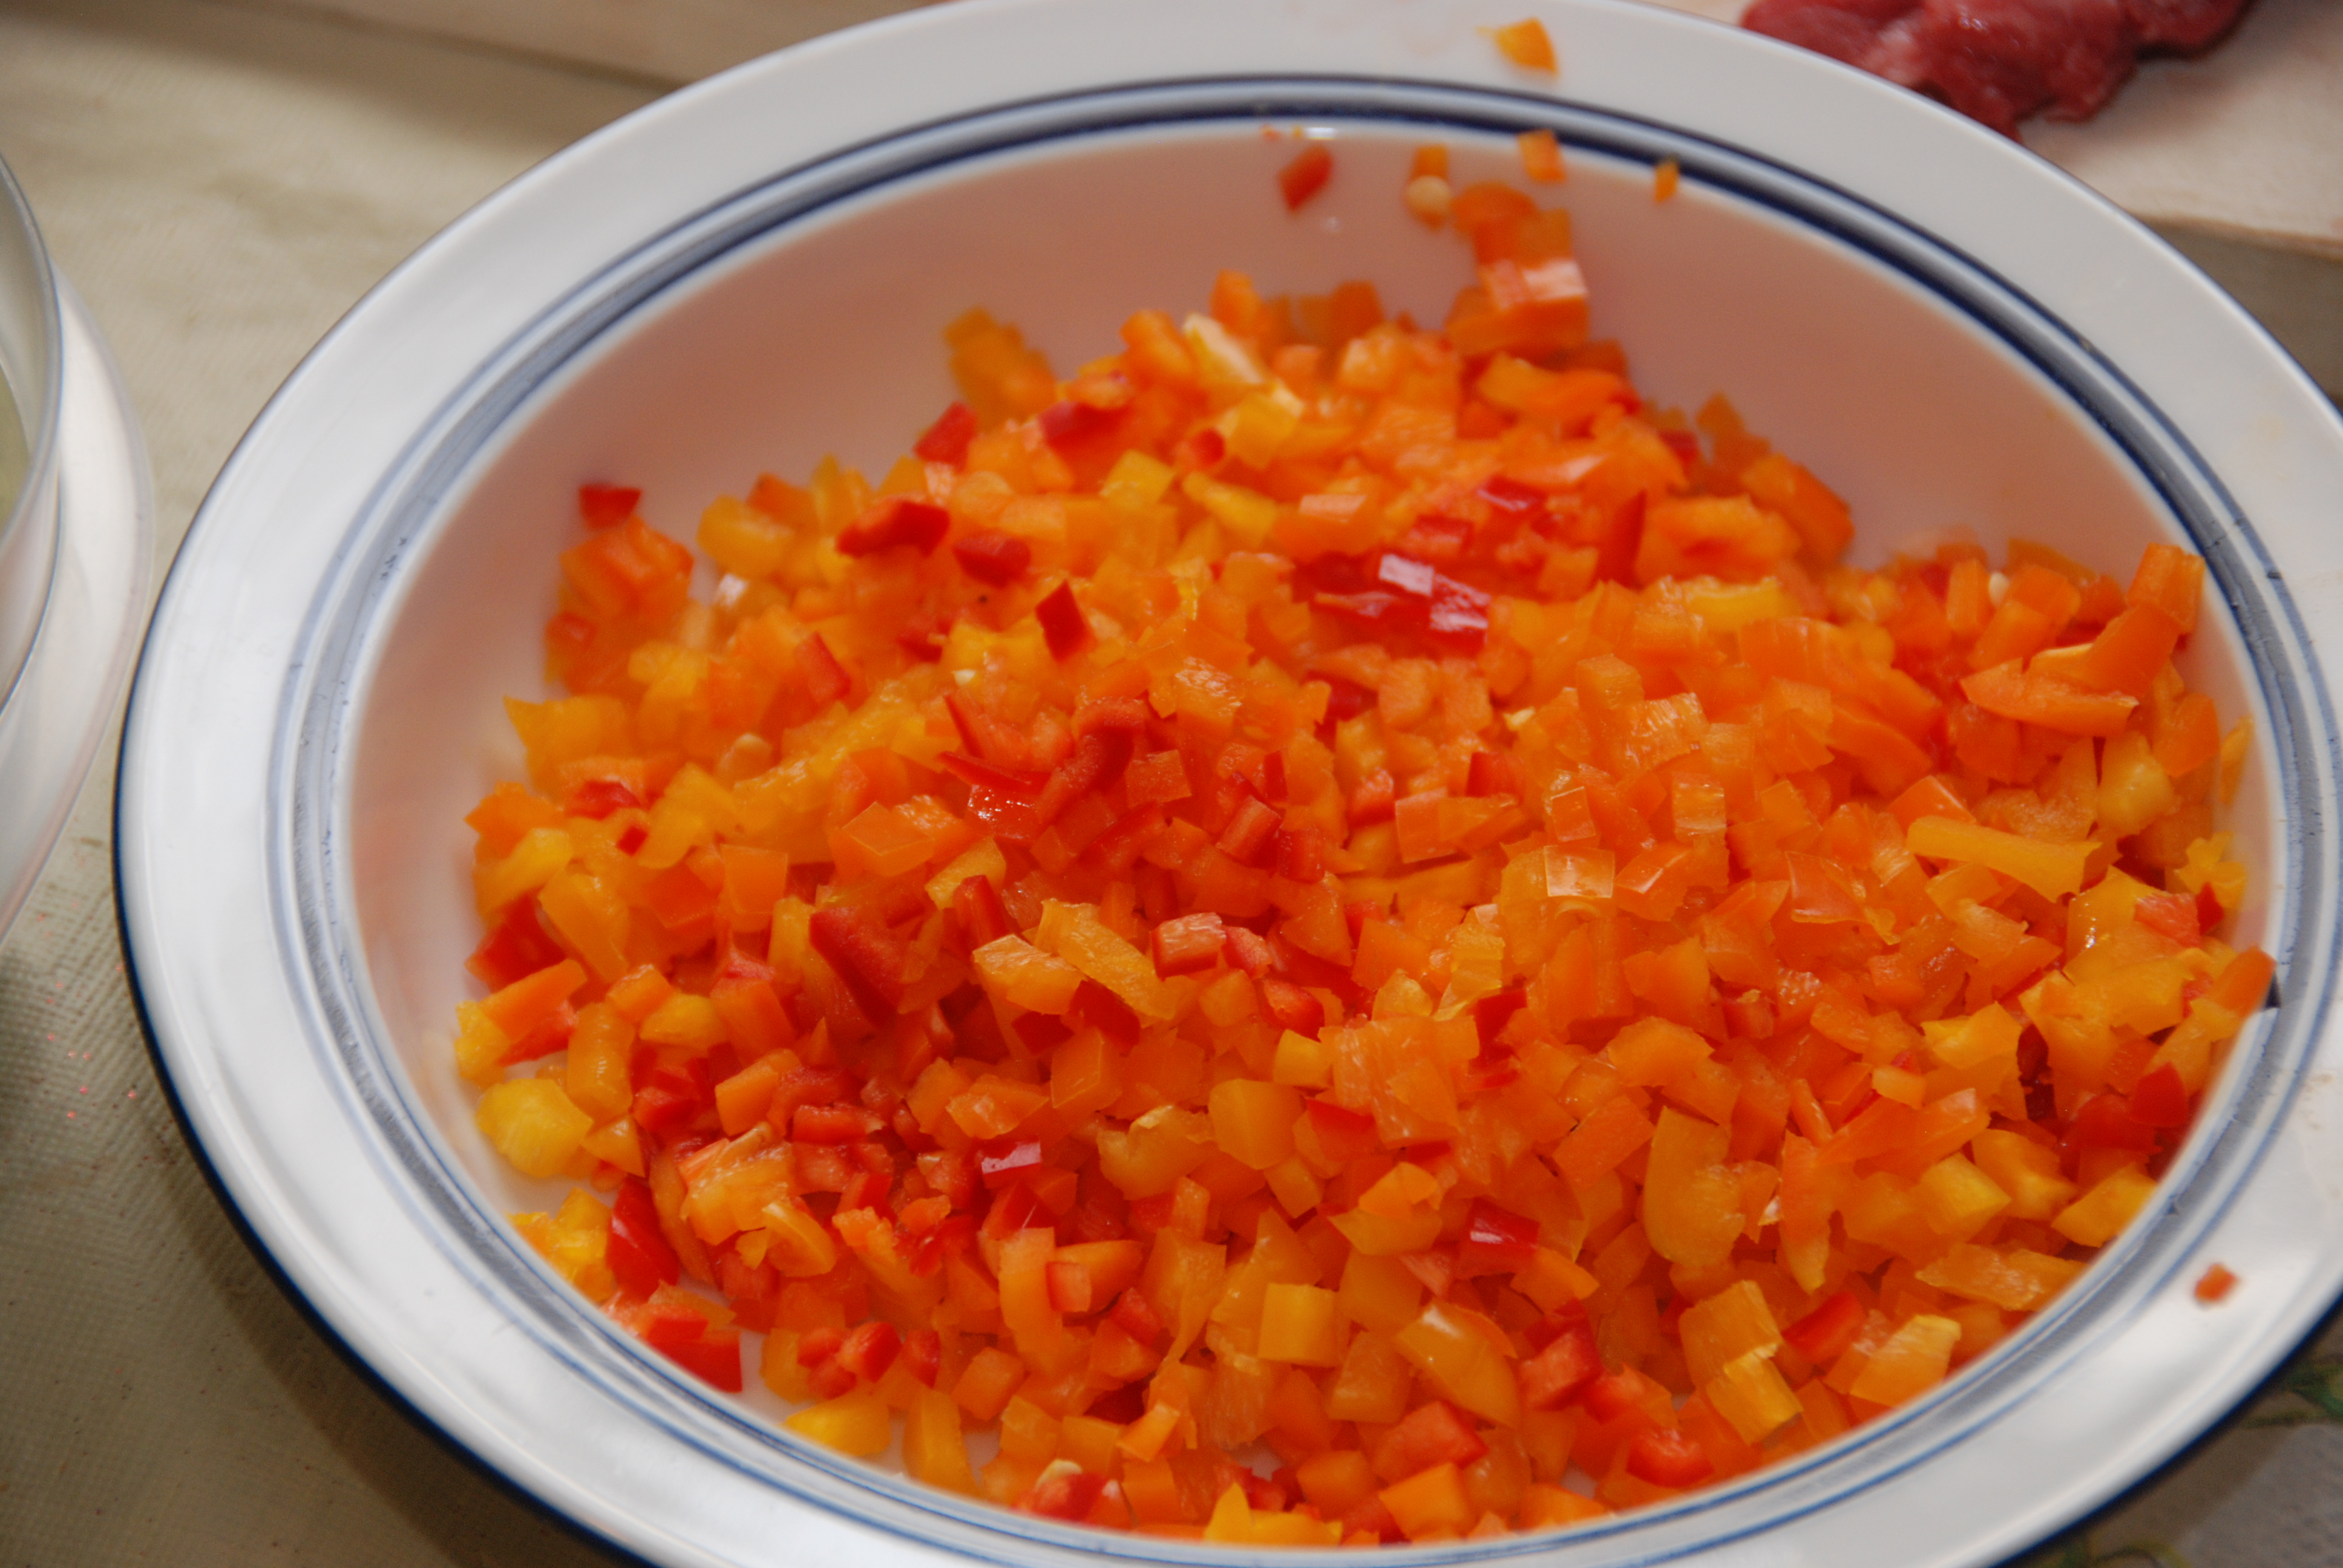
Chopped Ají Dulce | Sweet Peppers
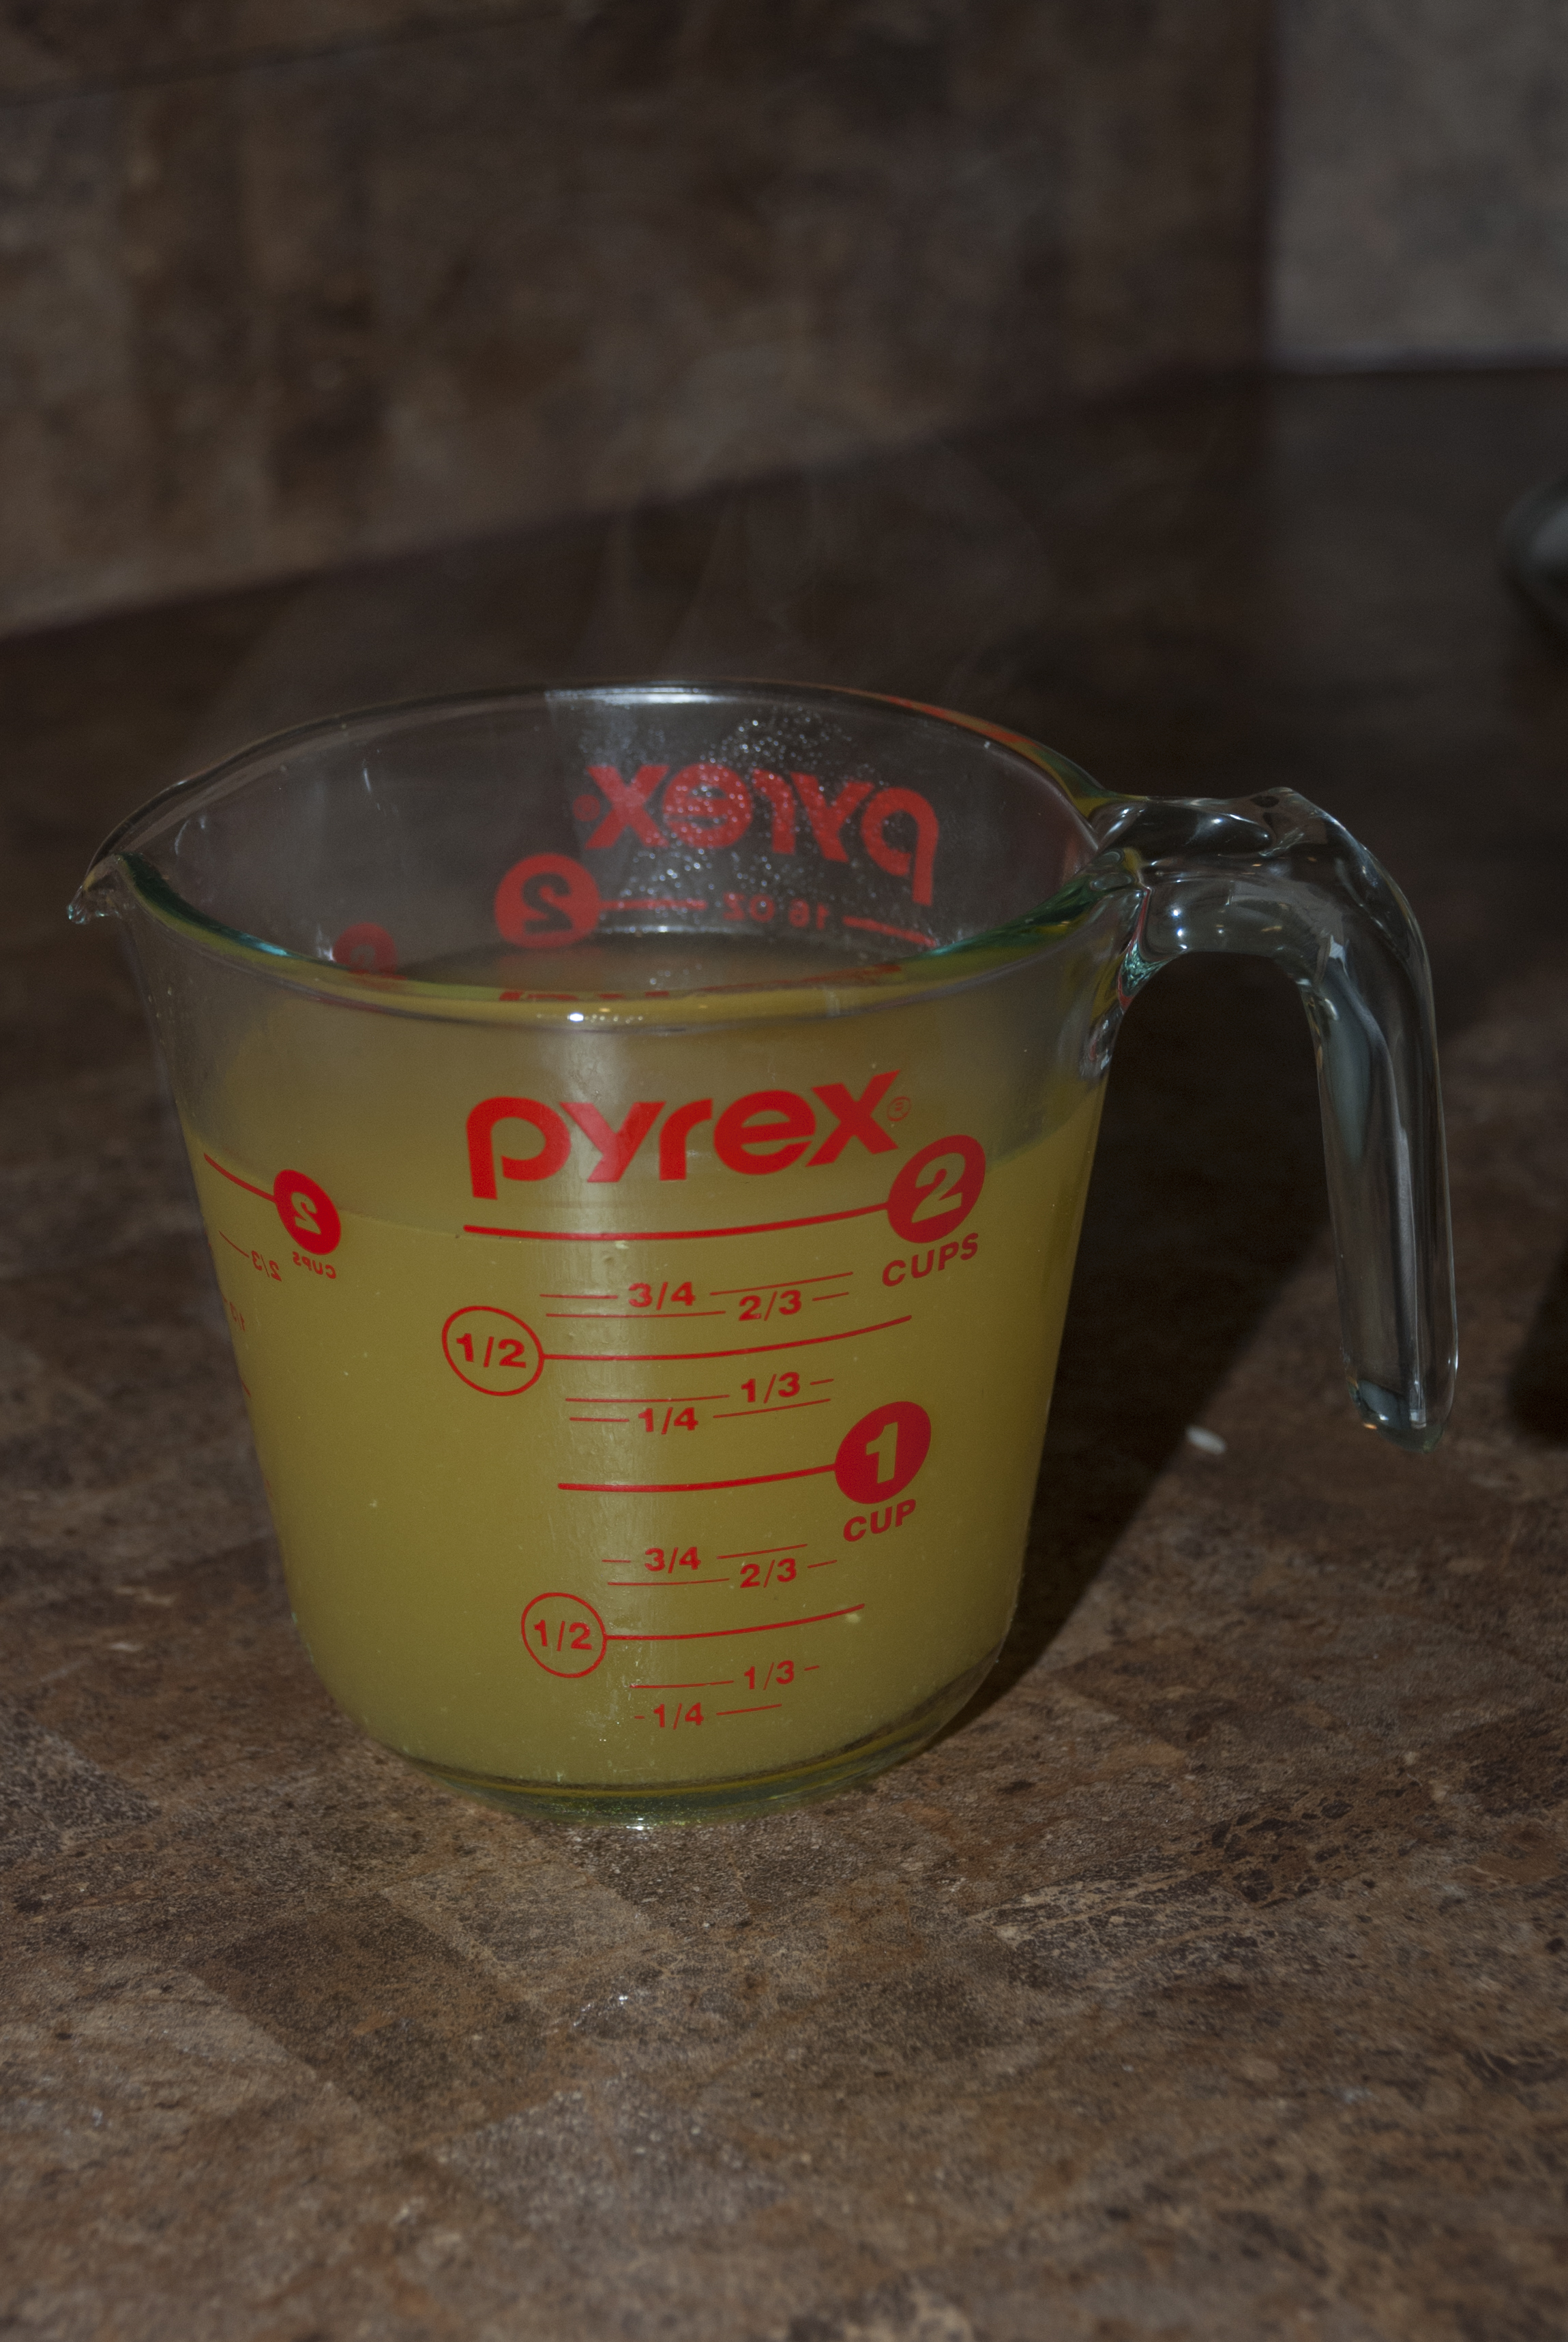
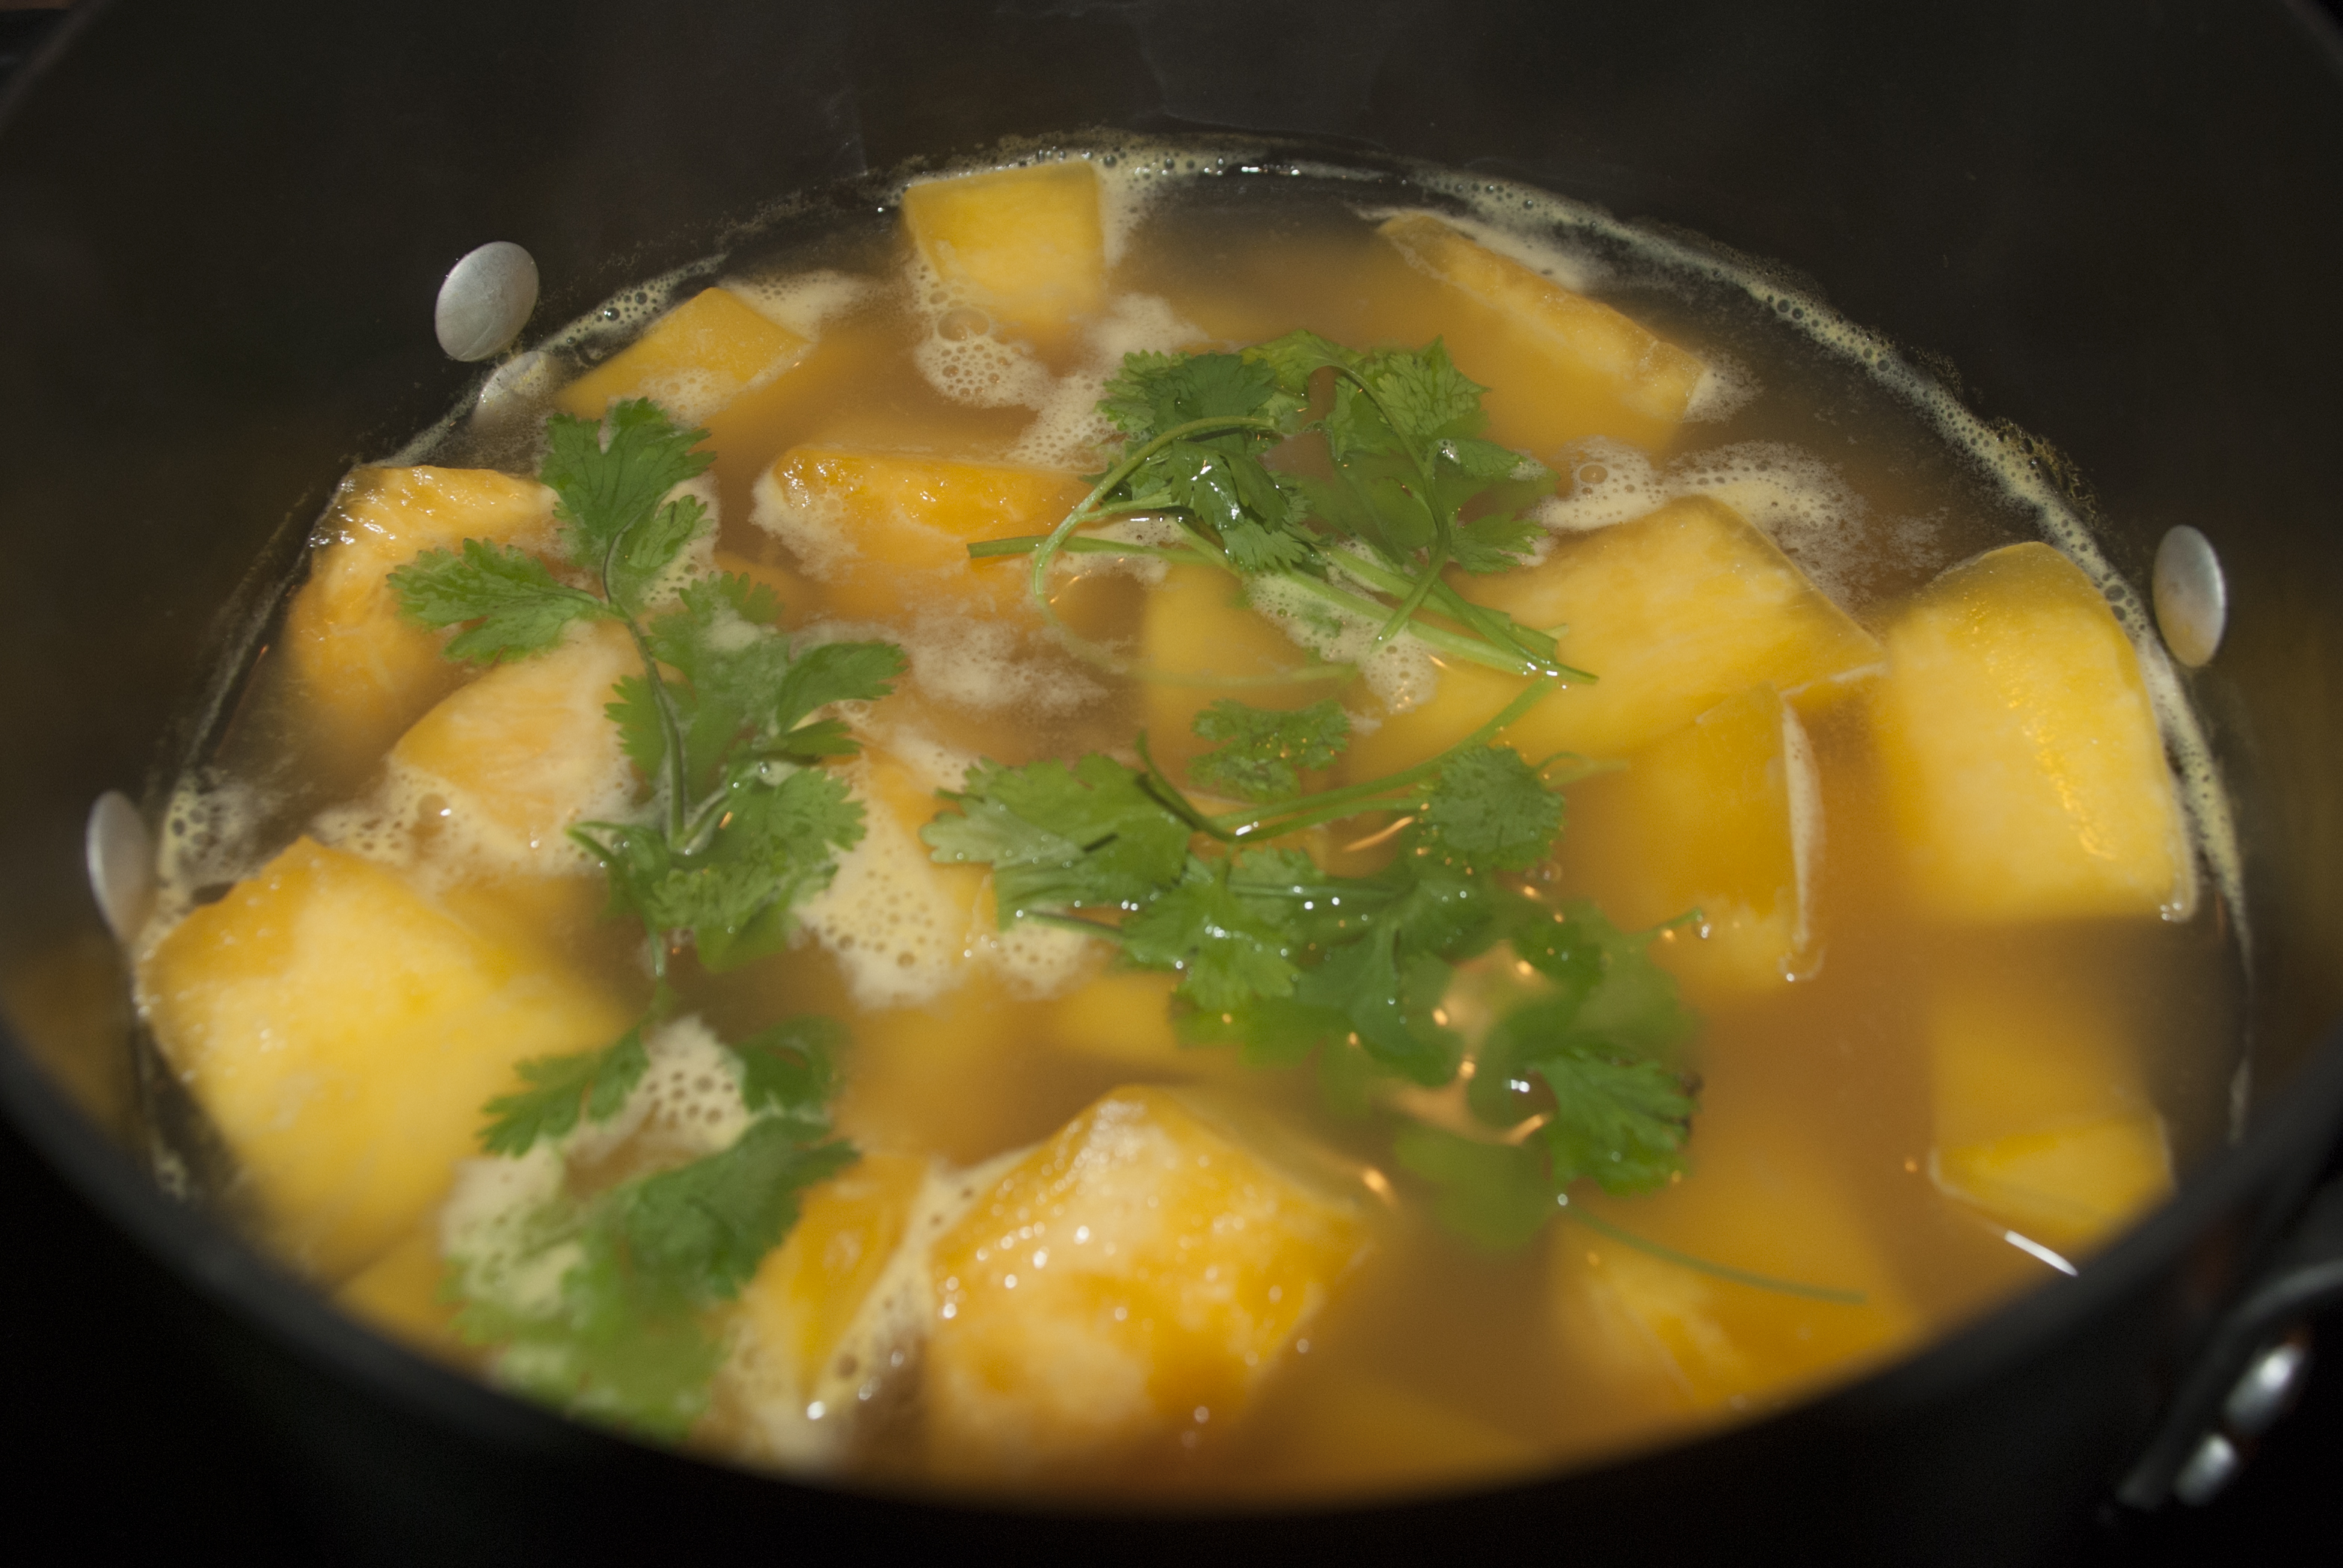
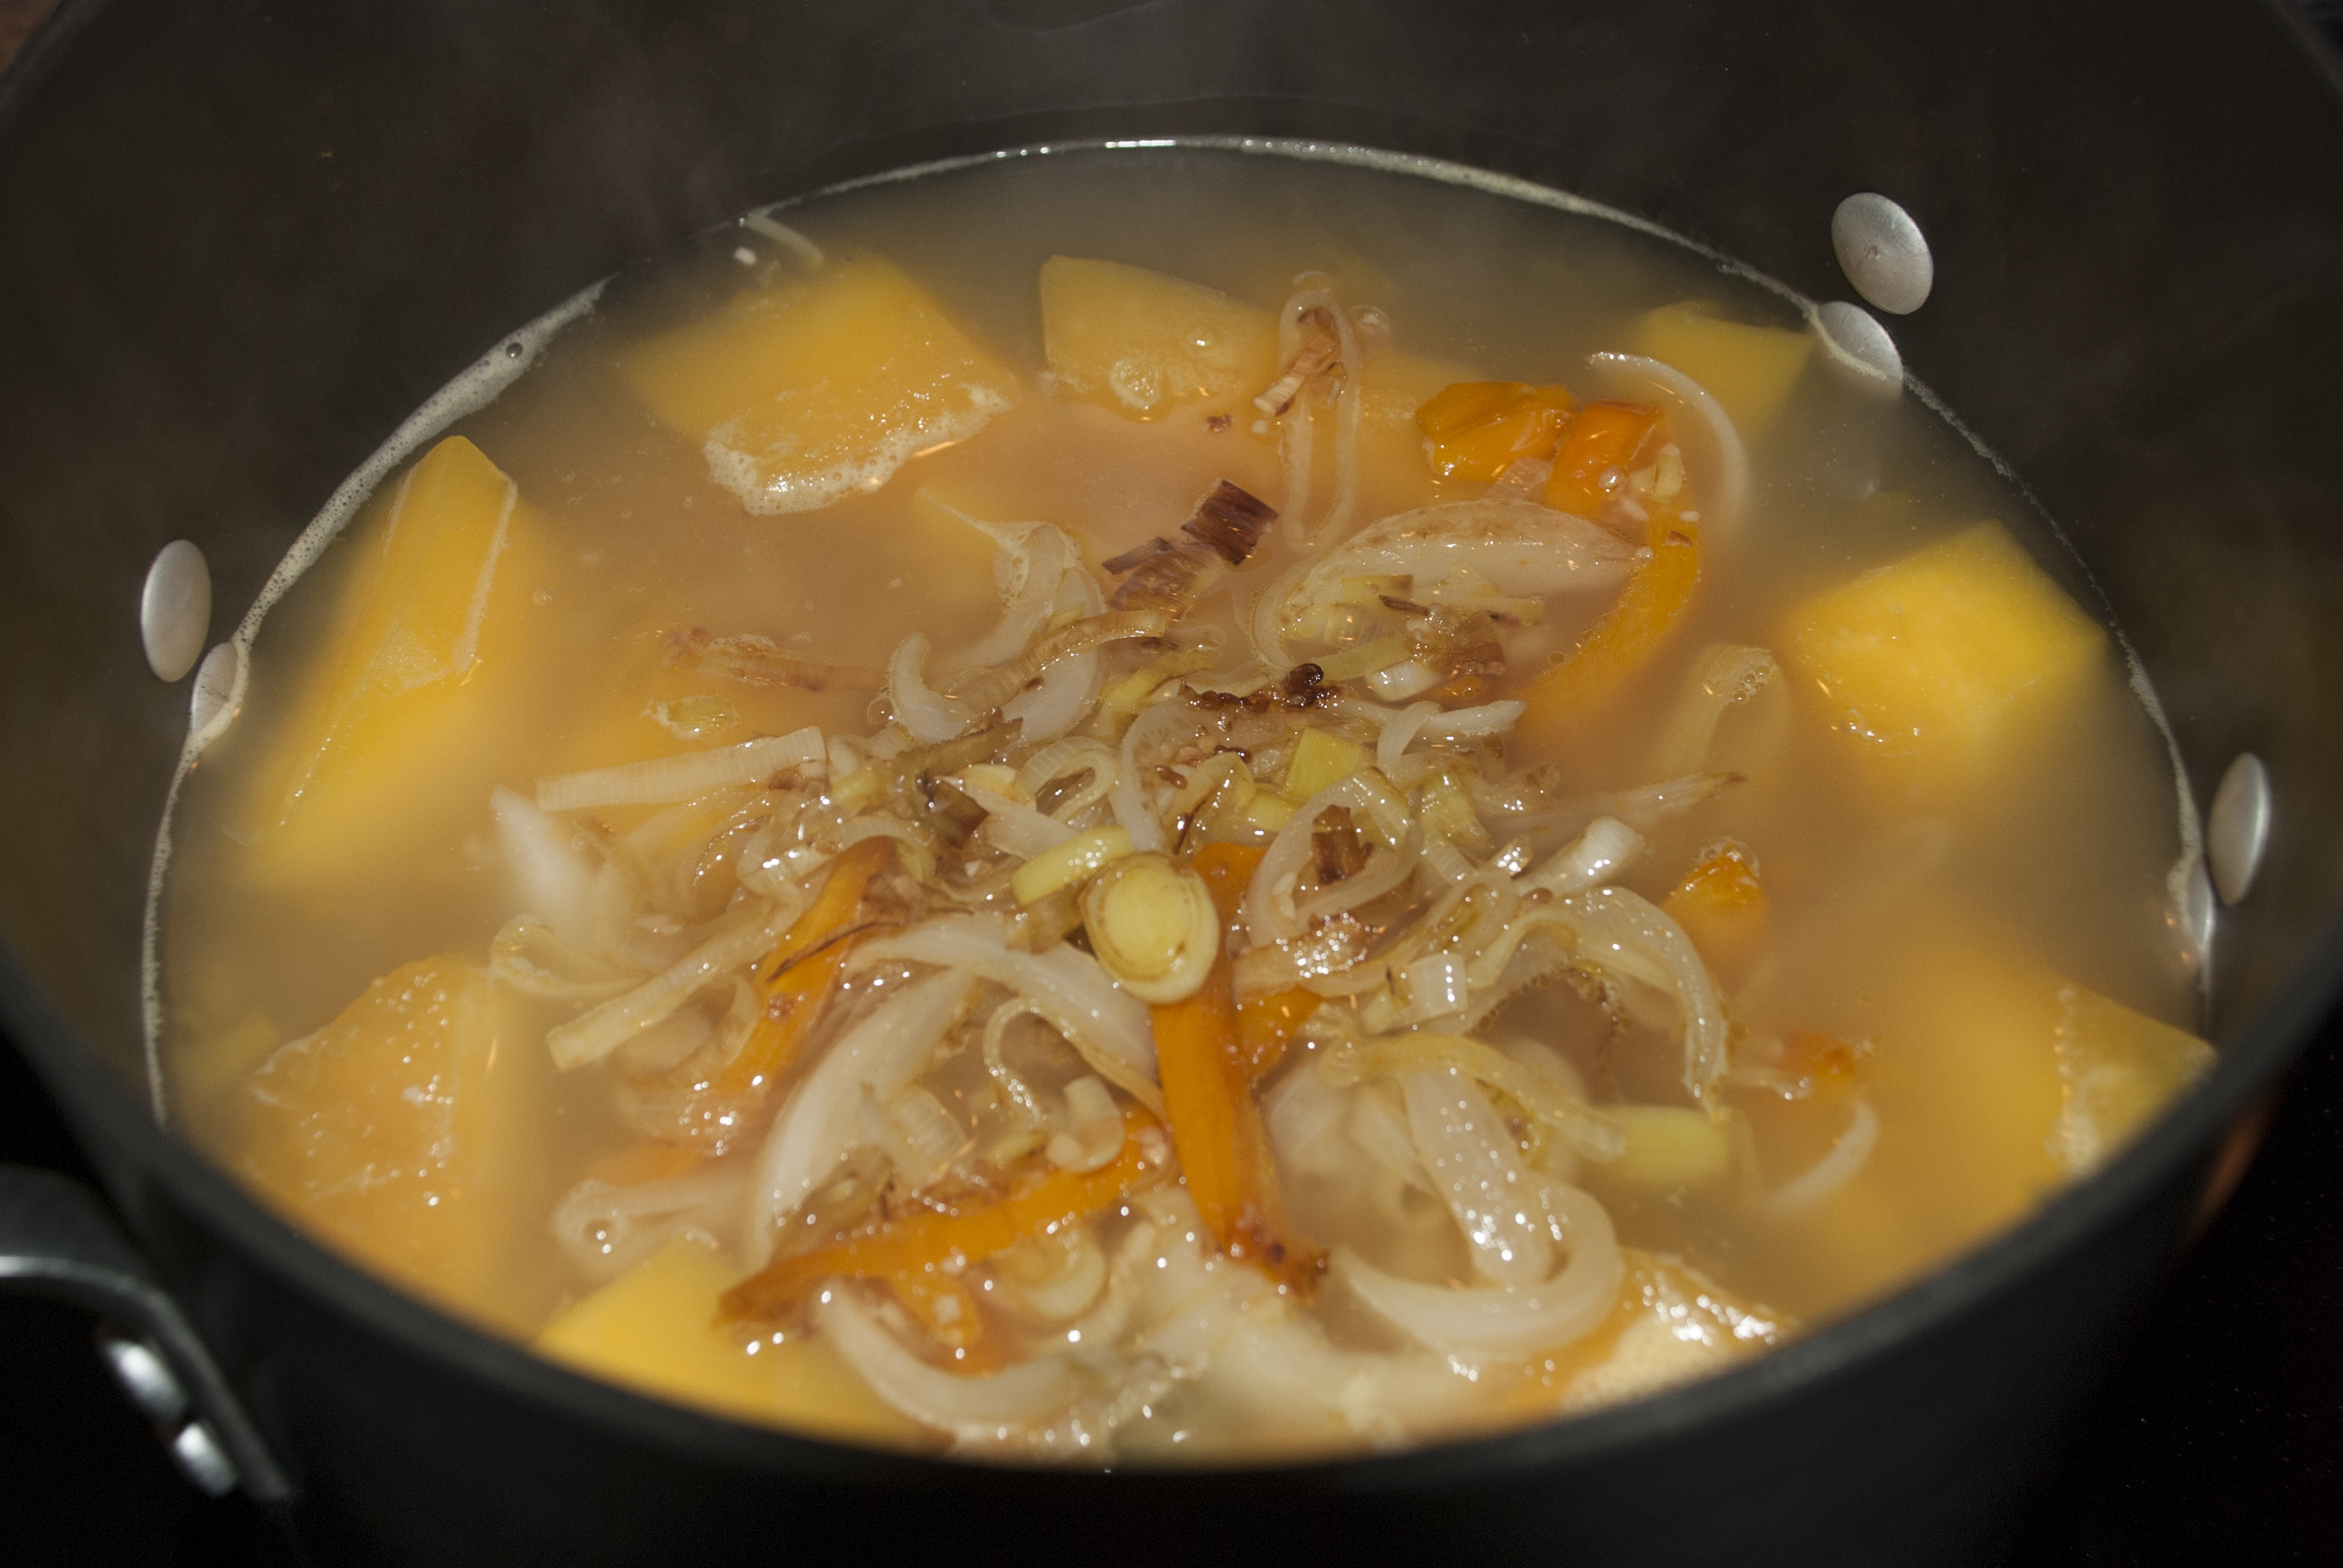
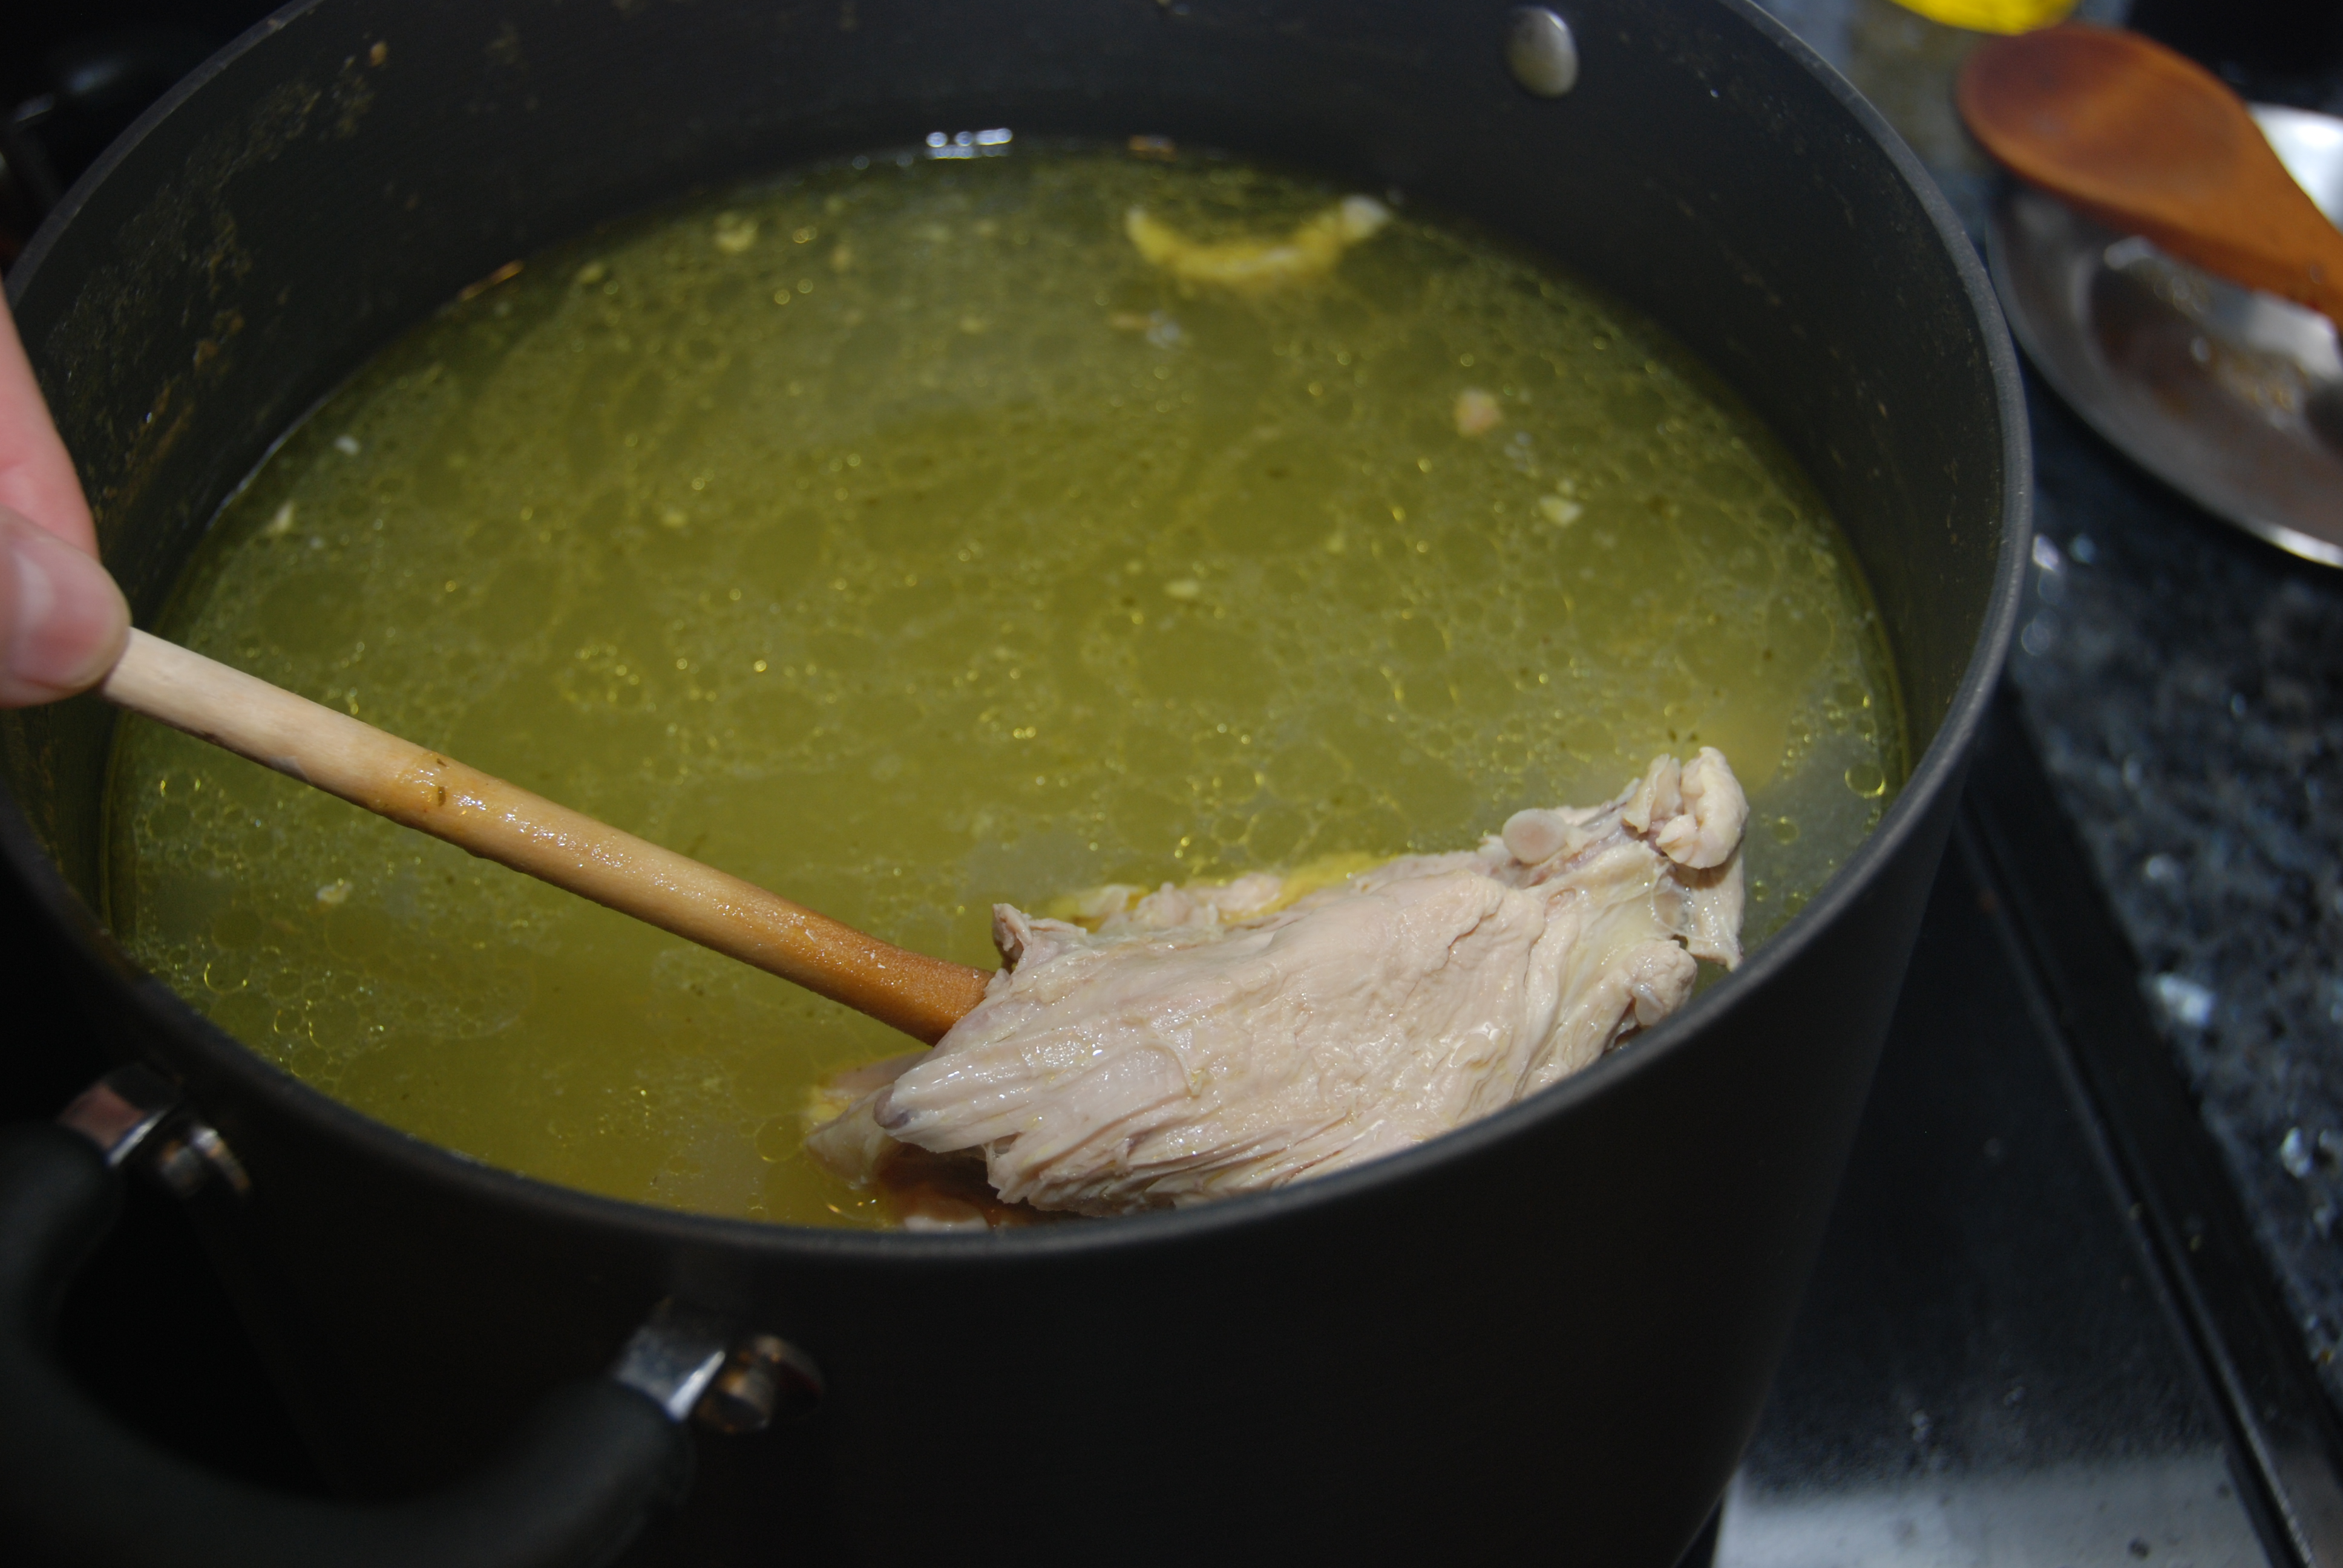
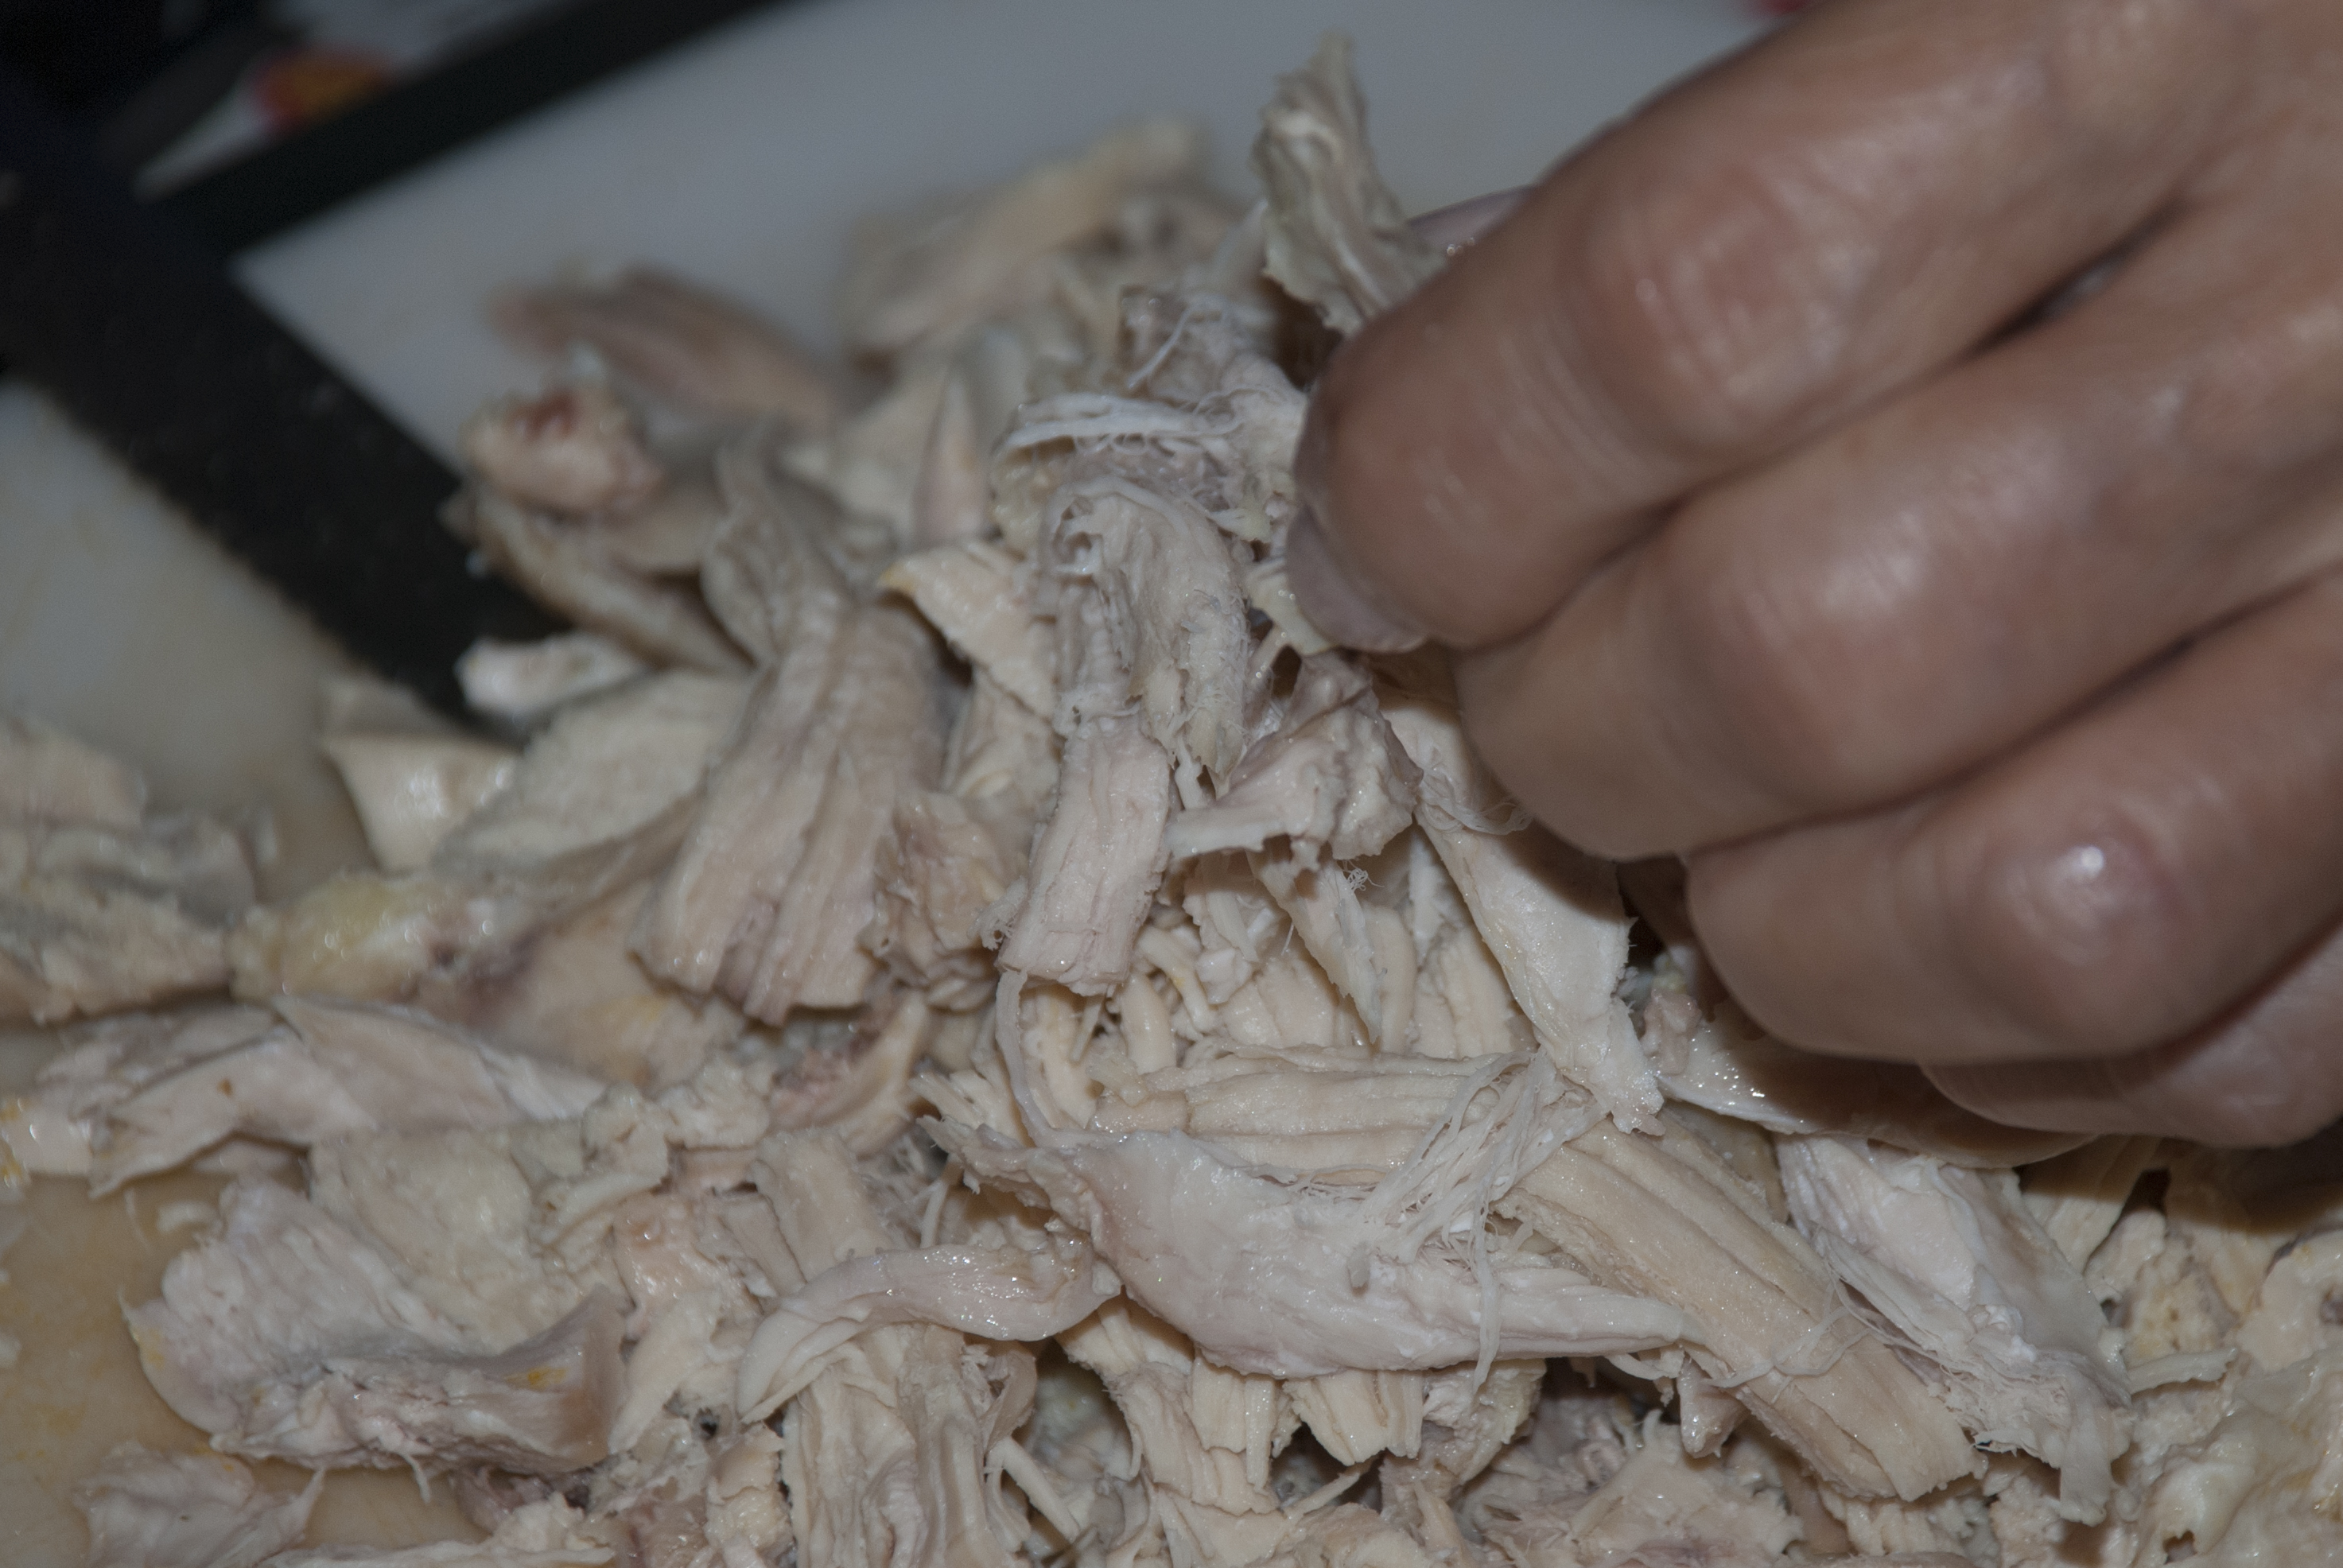
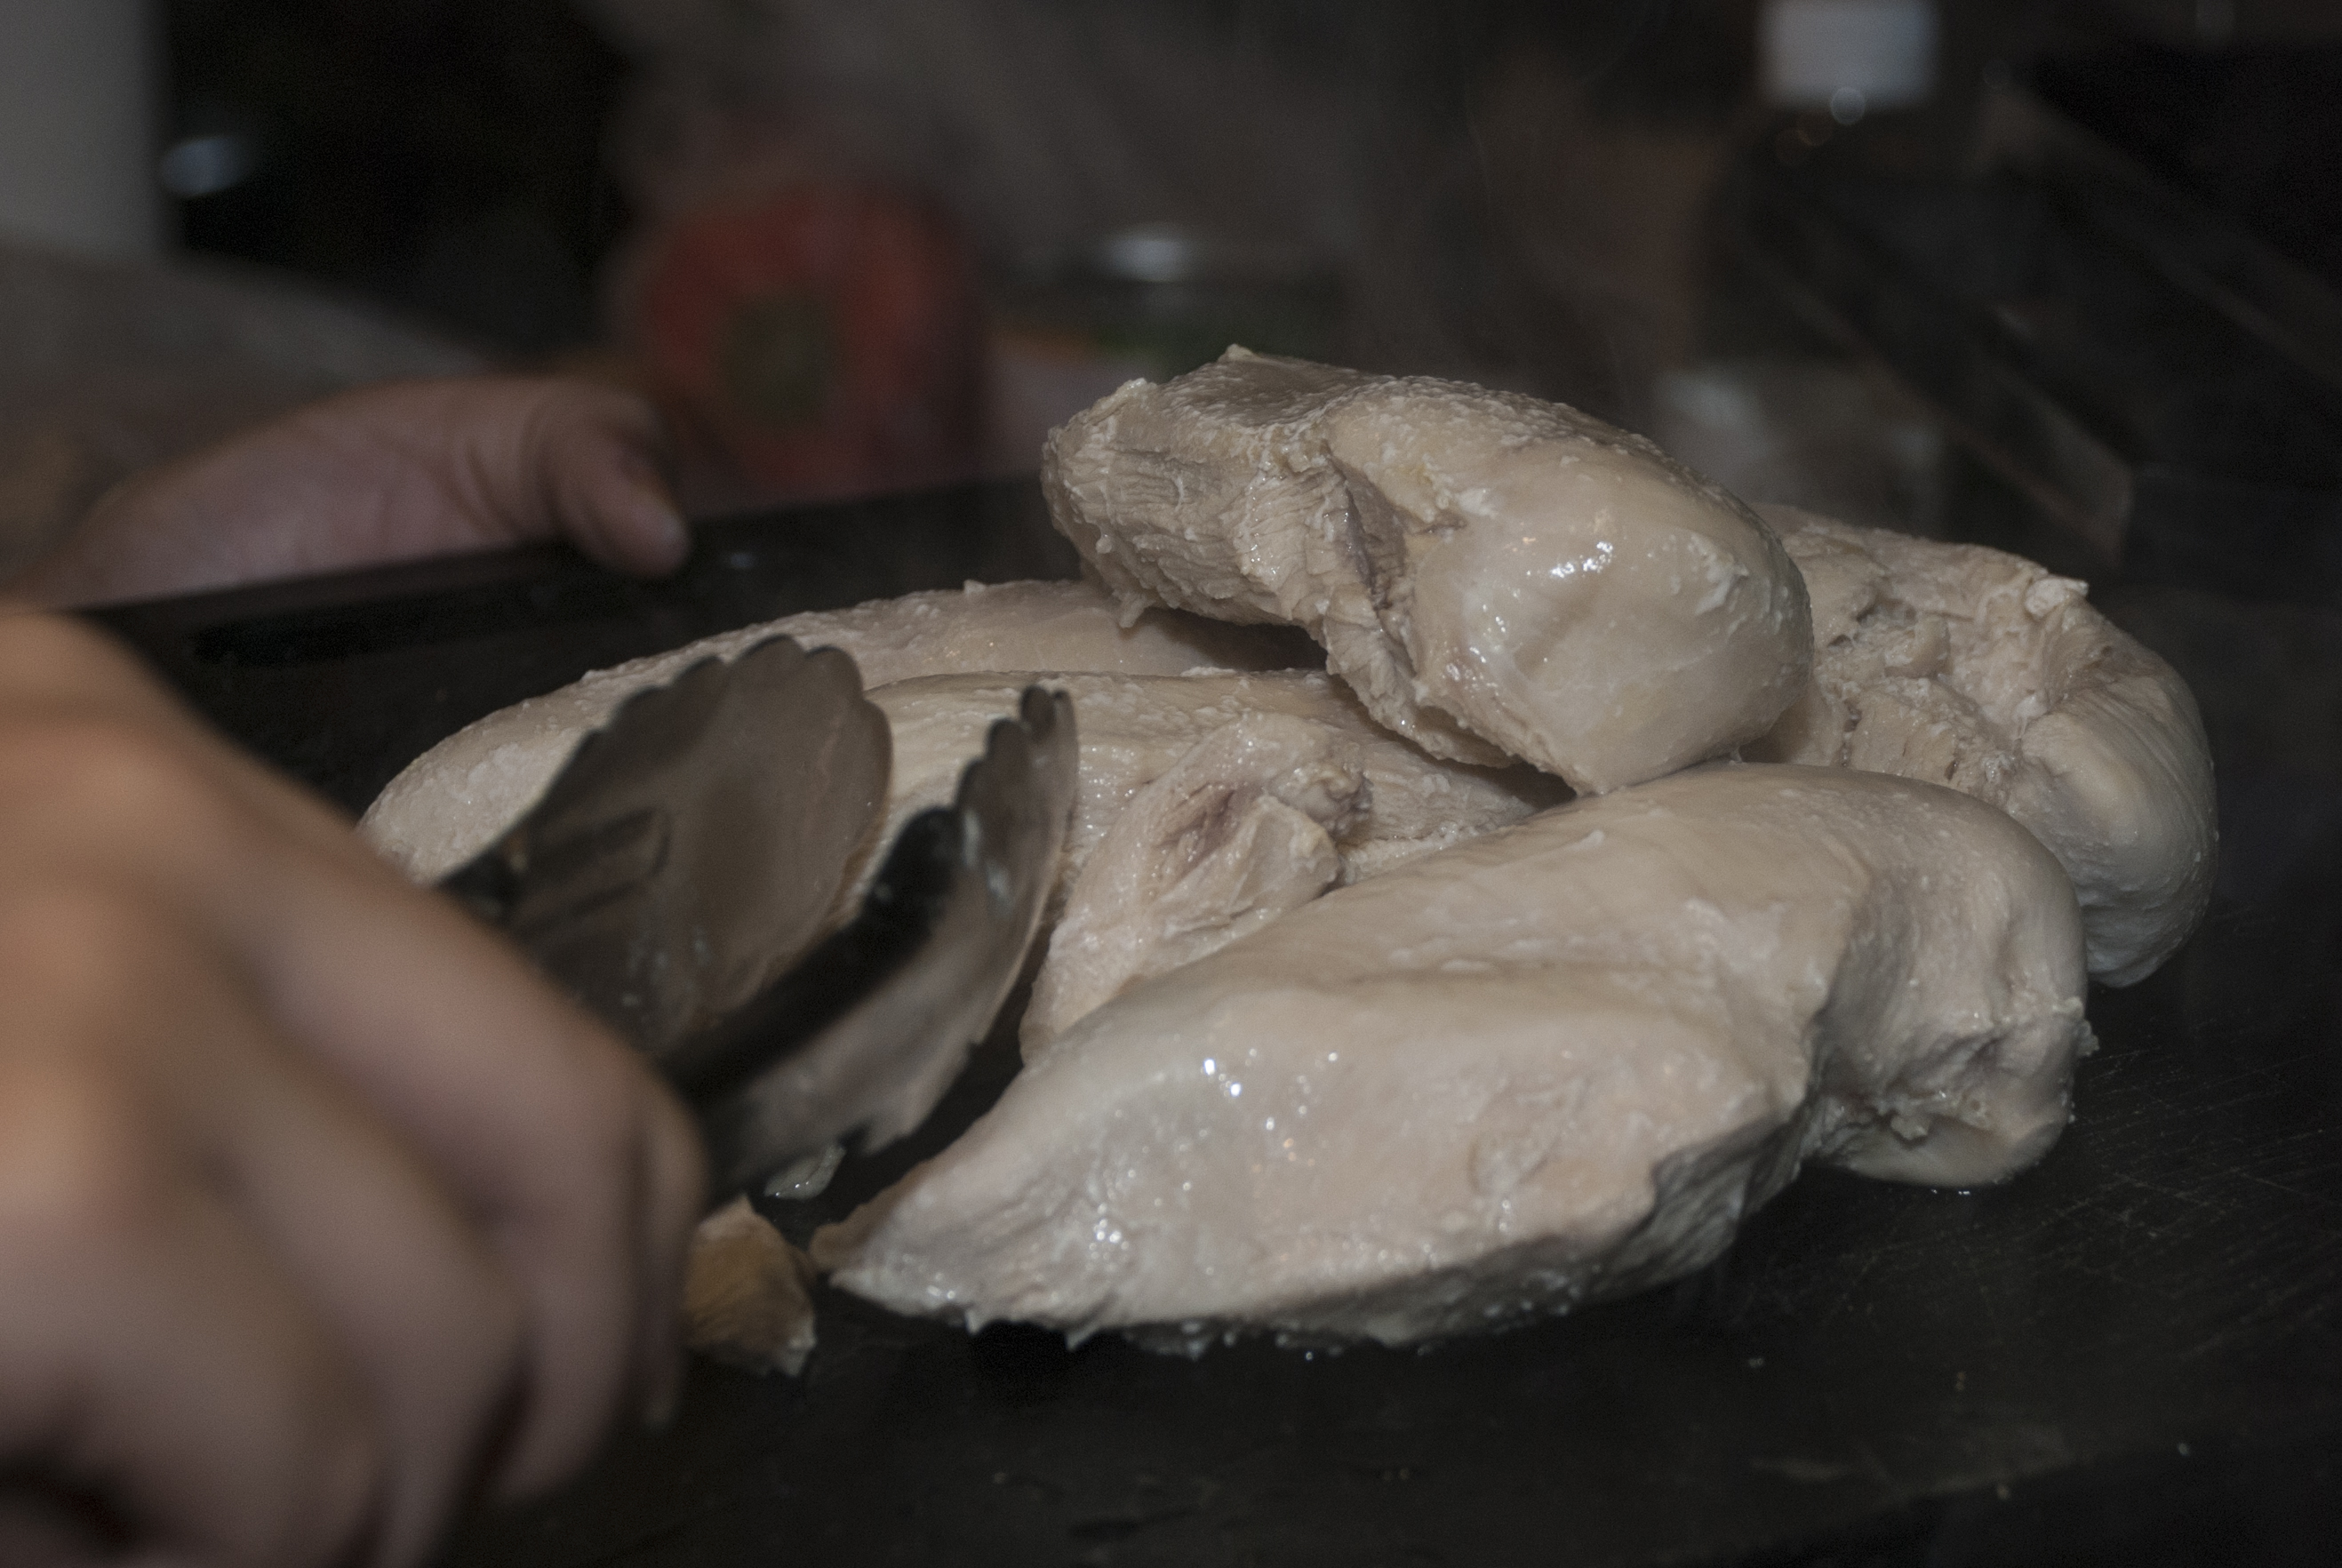
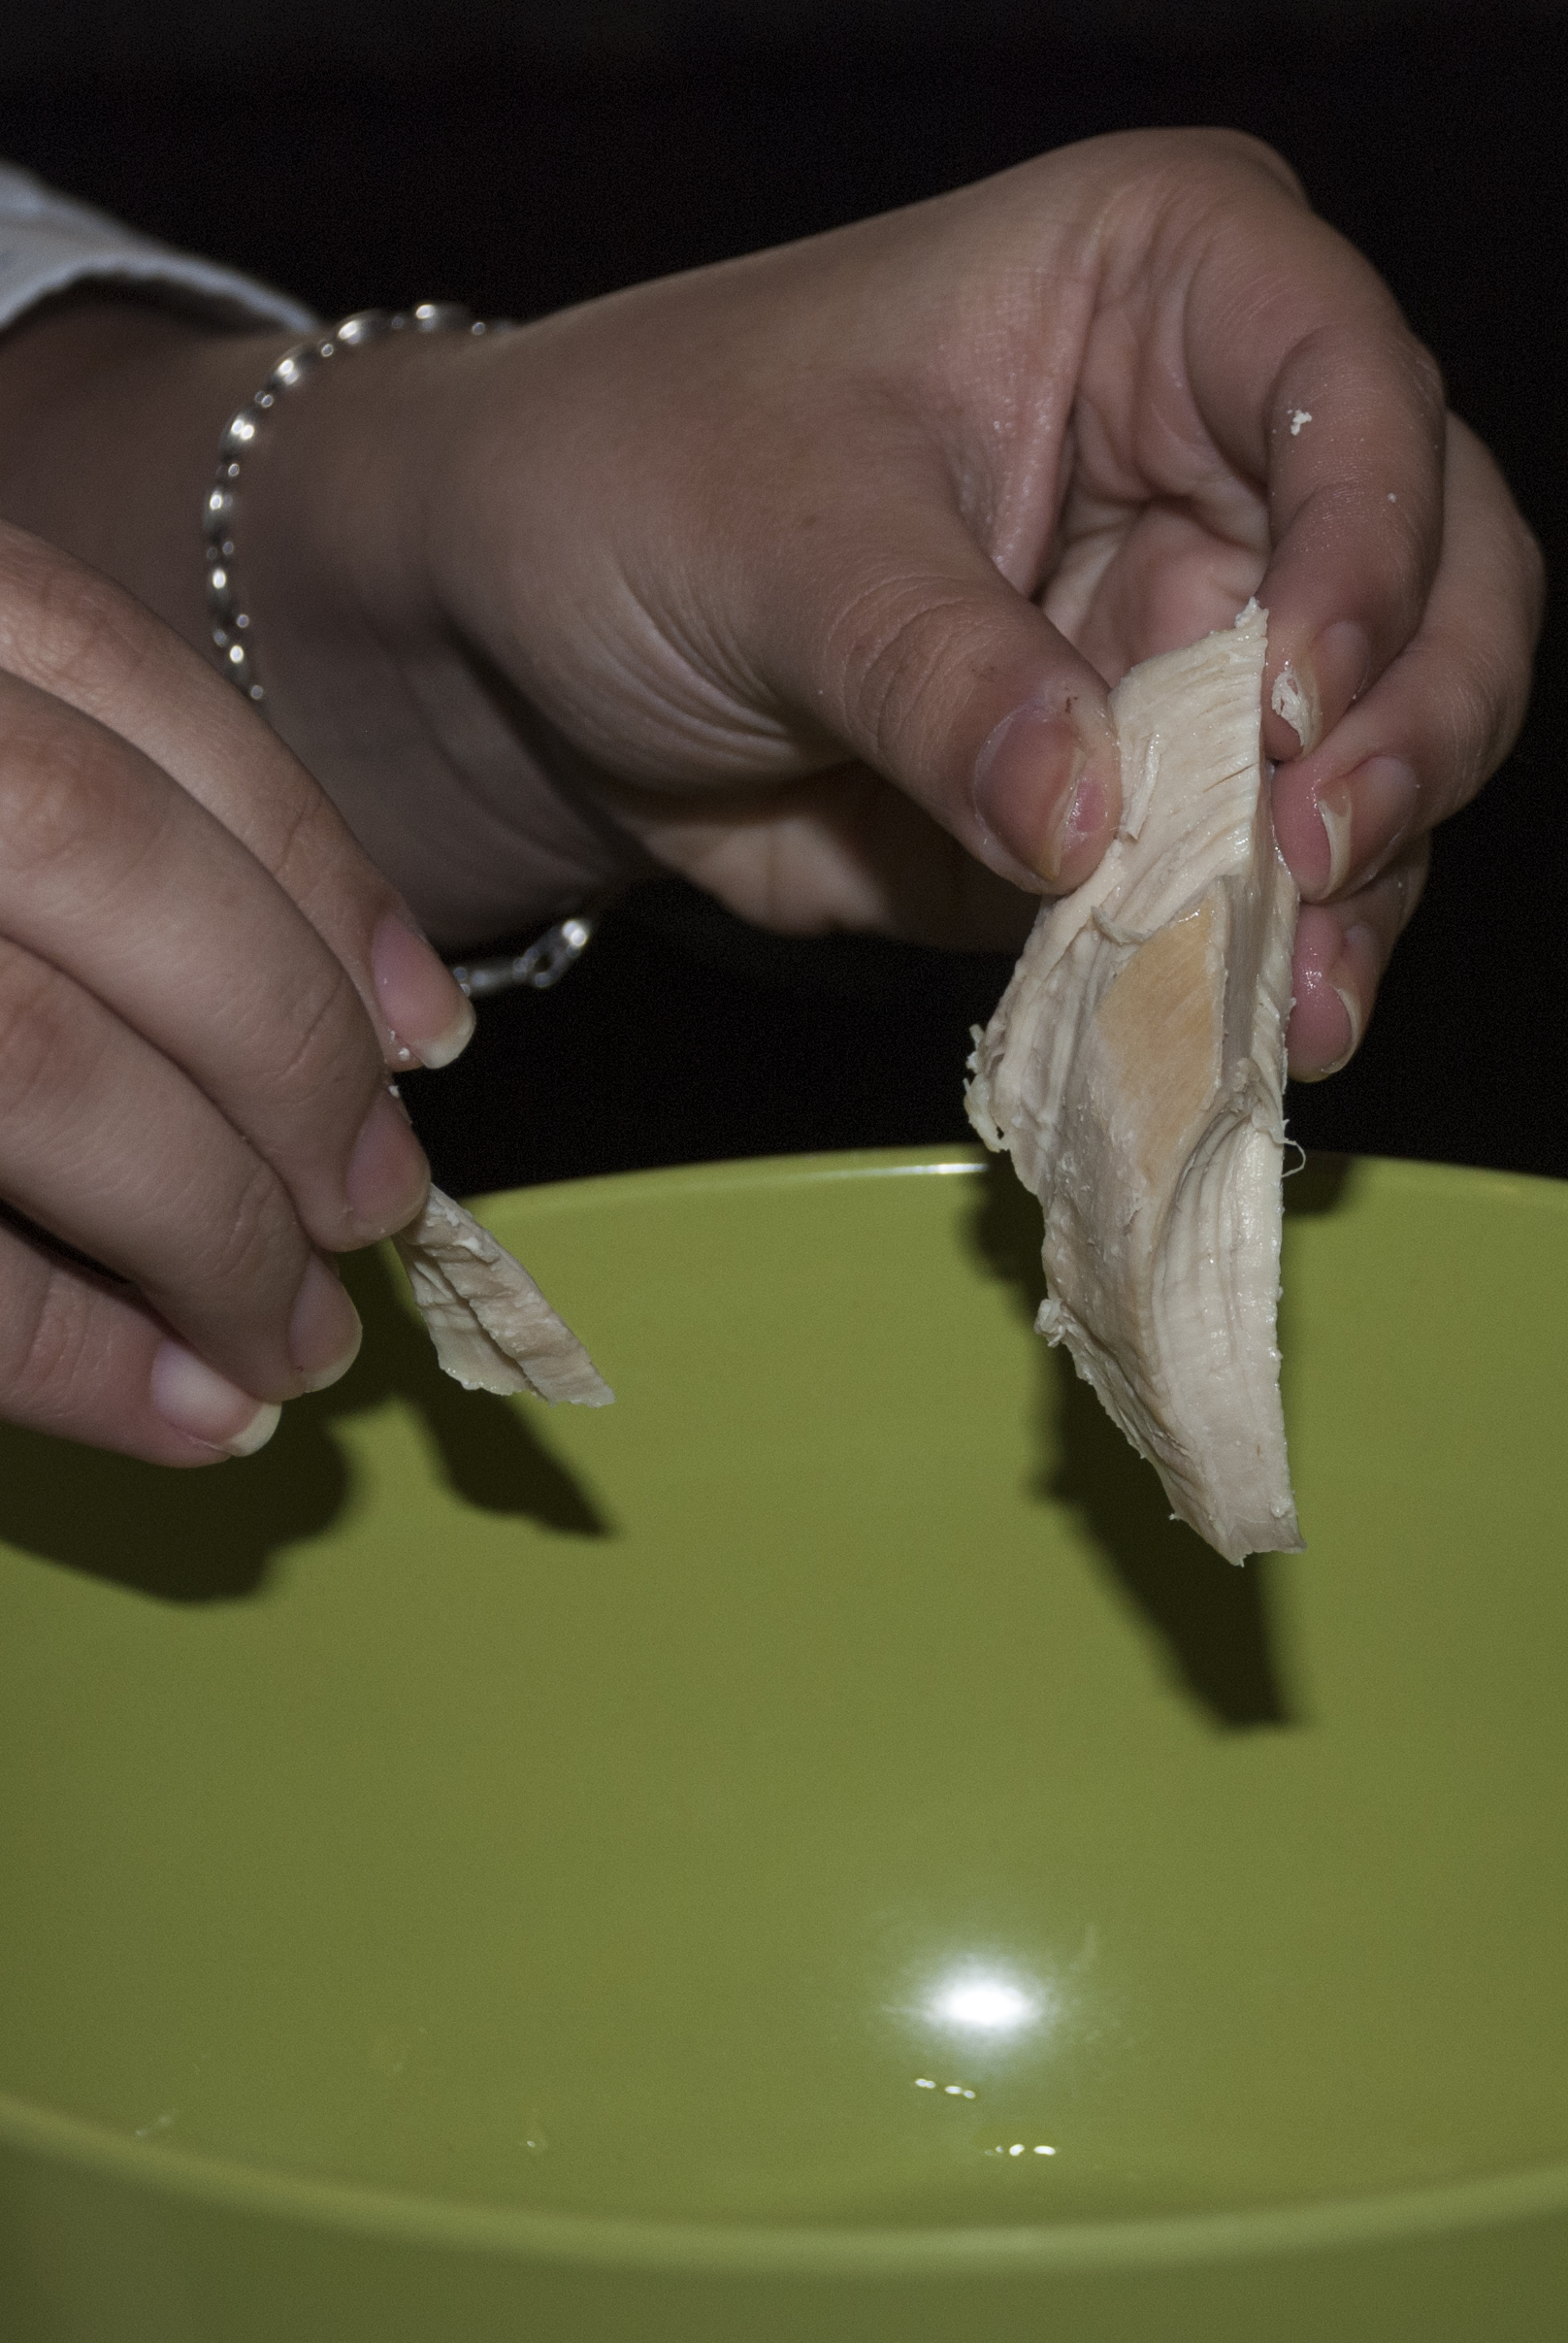
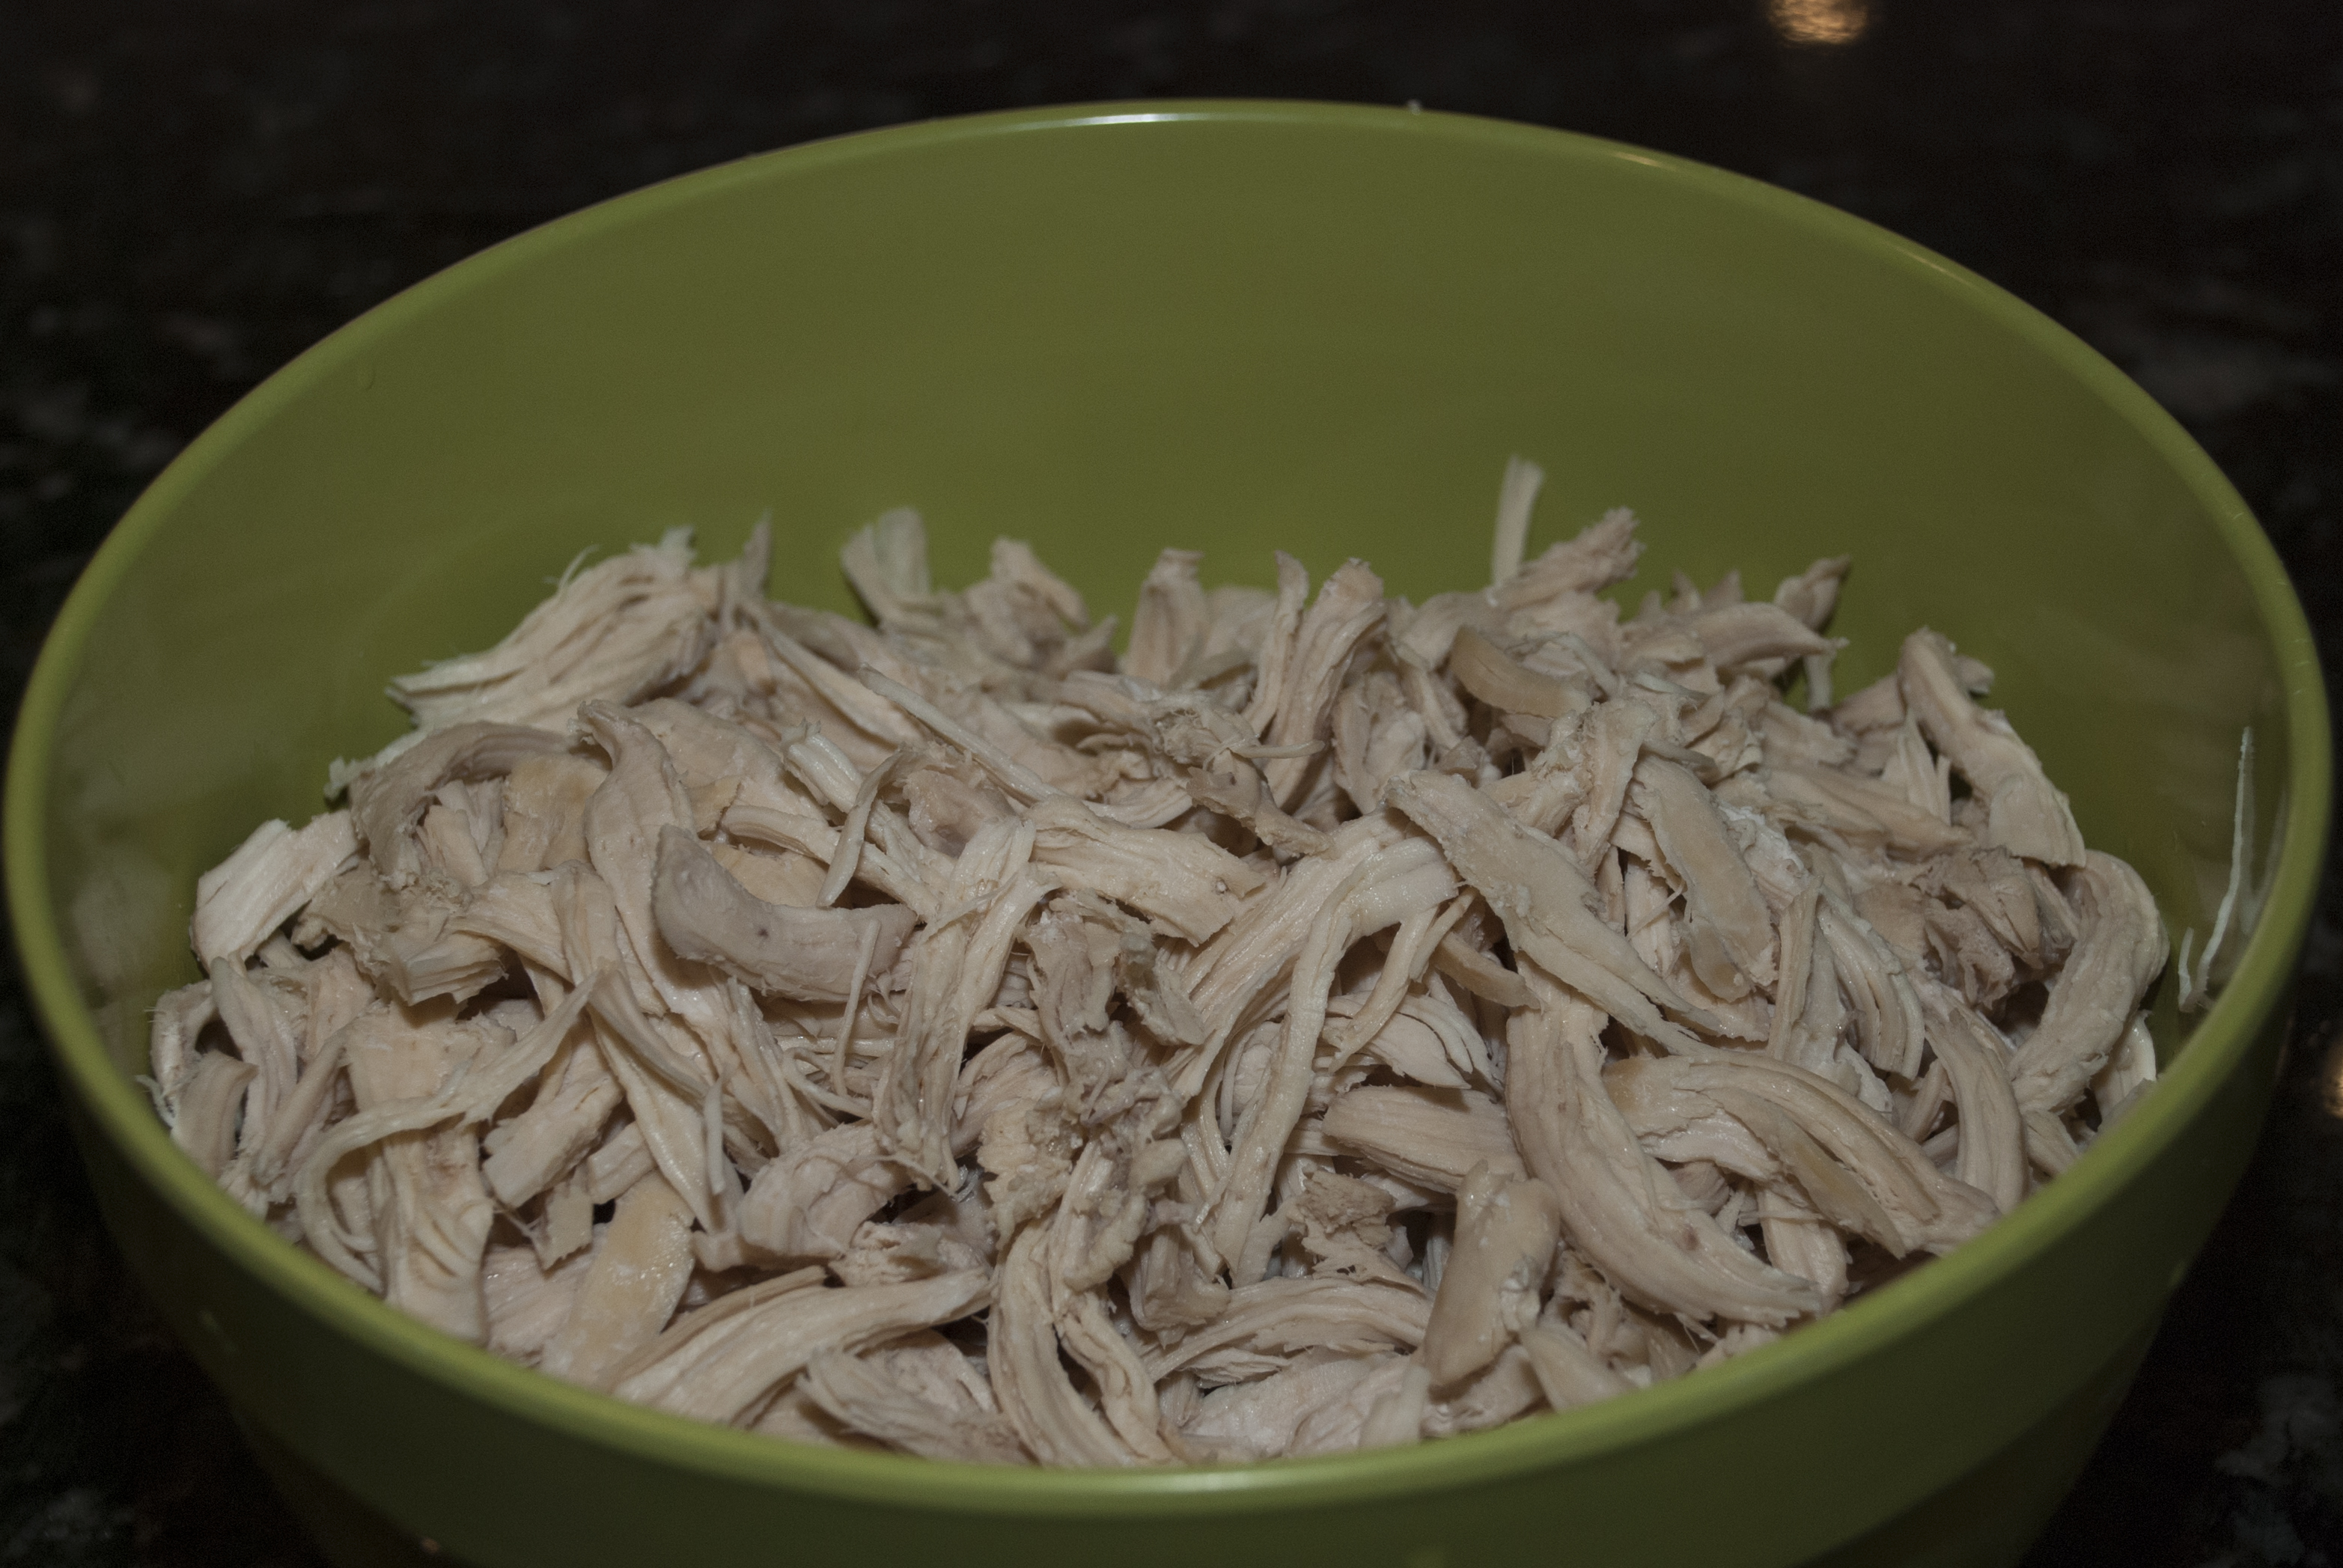
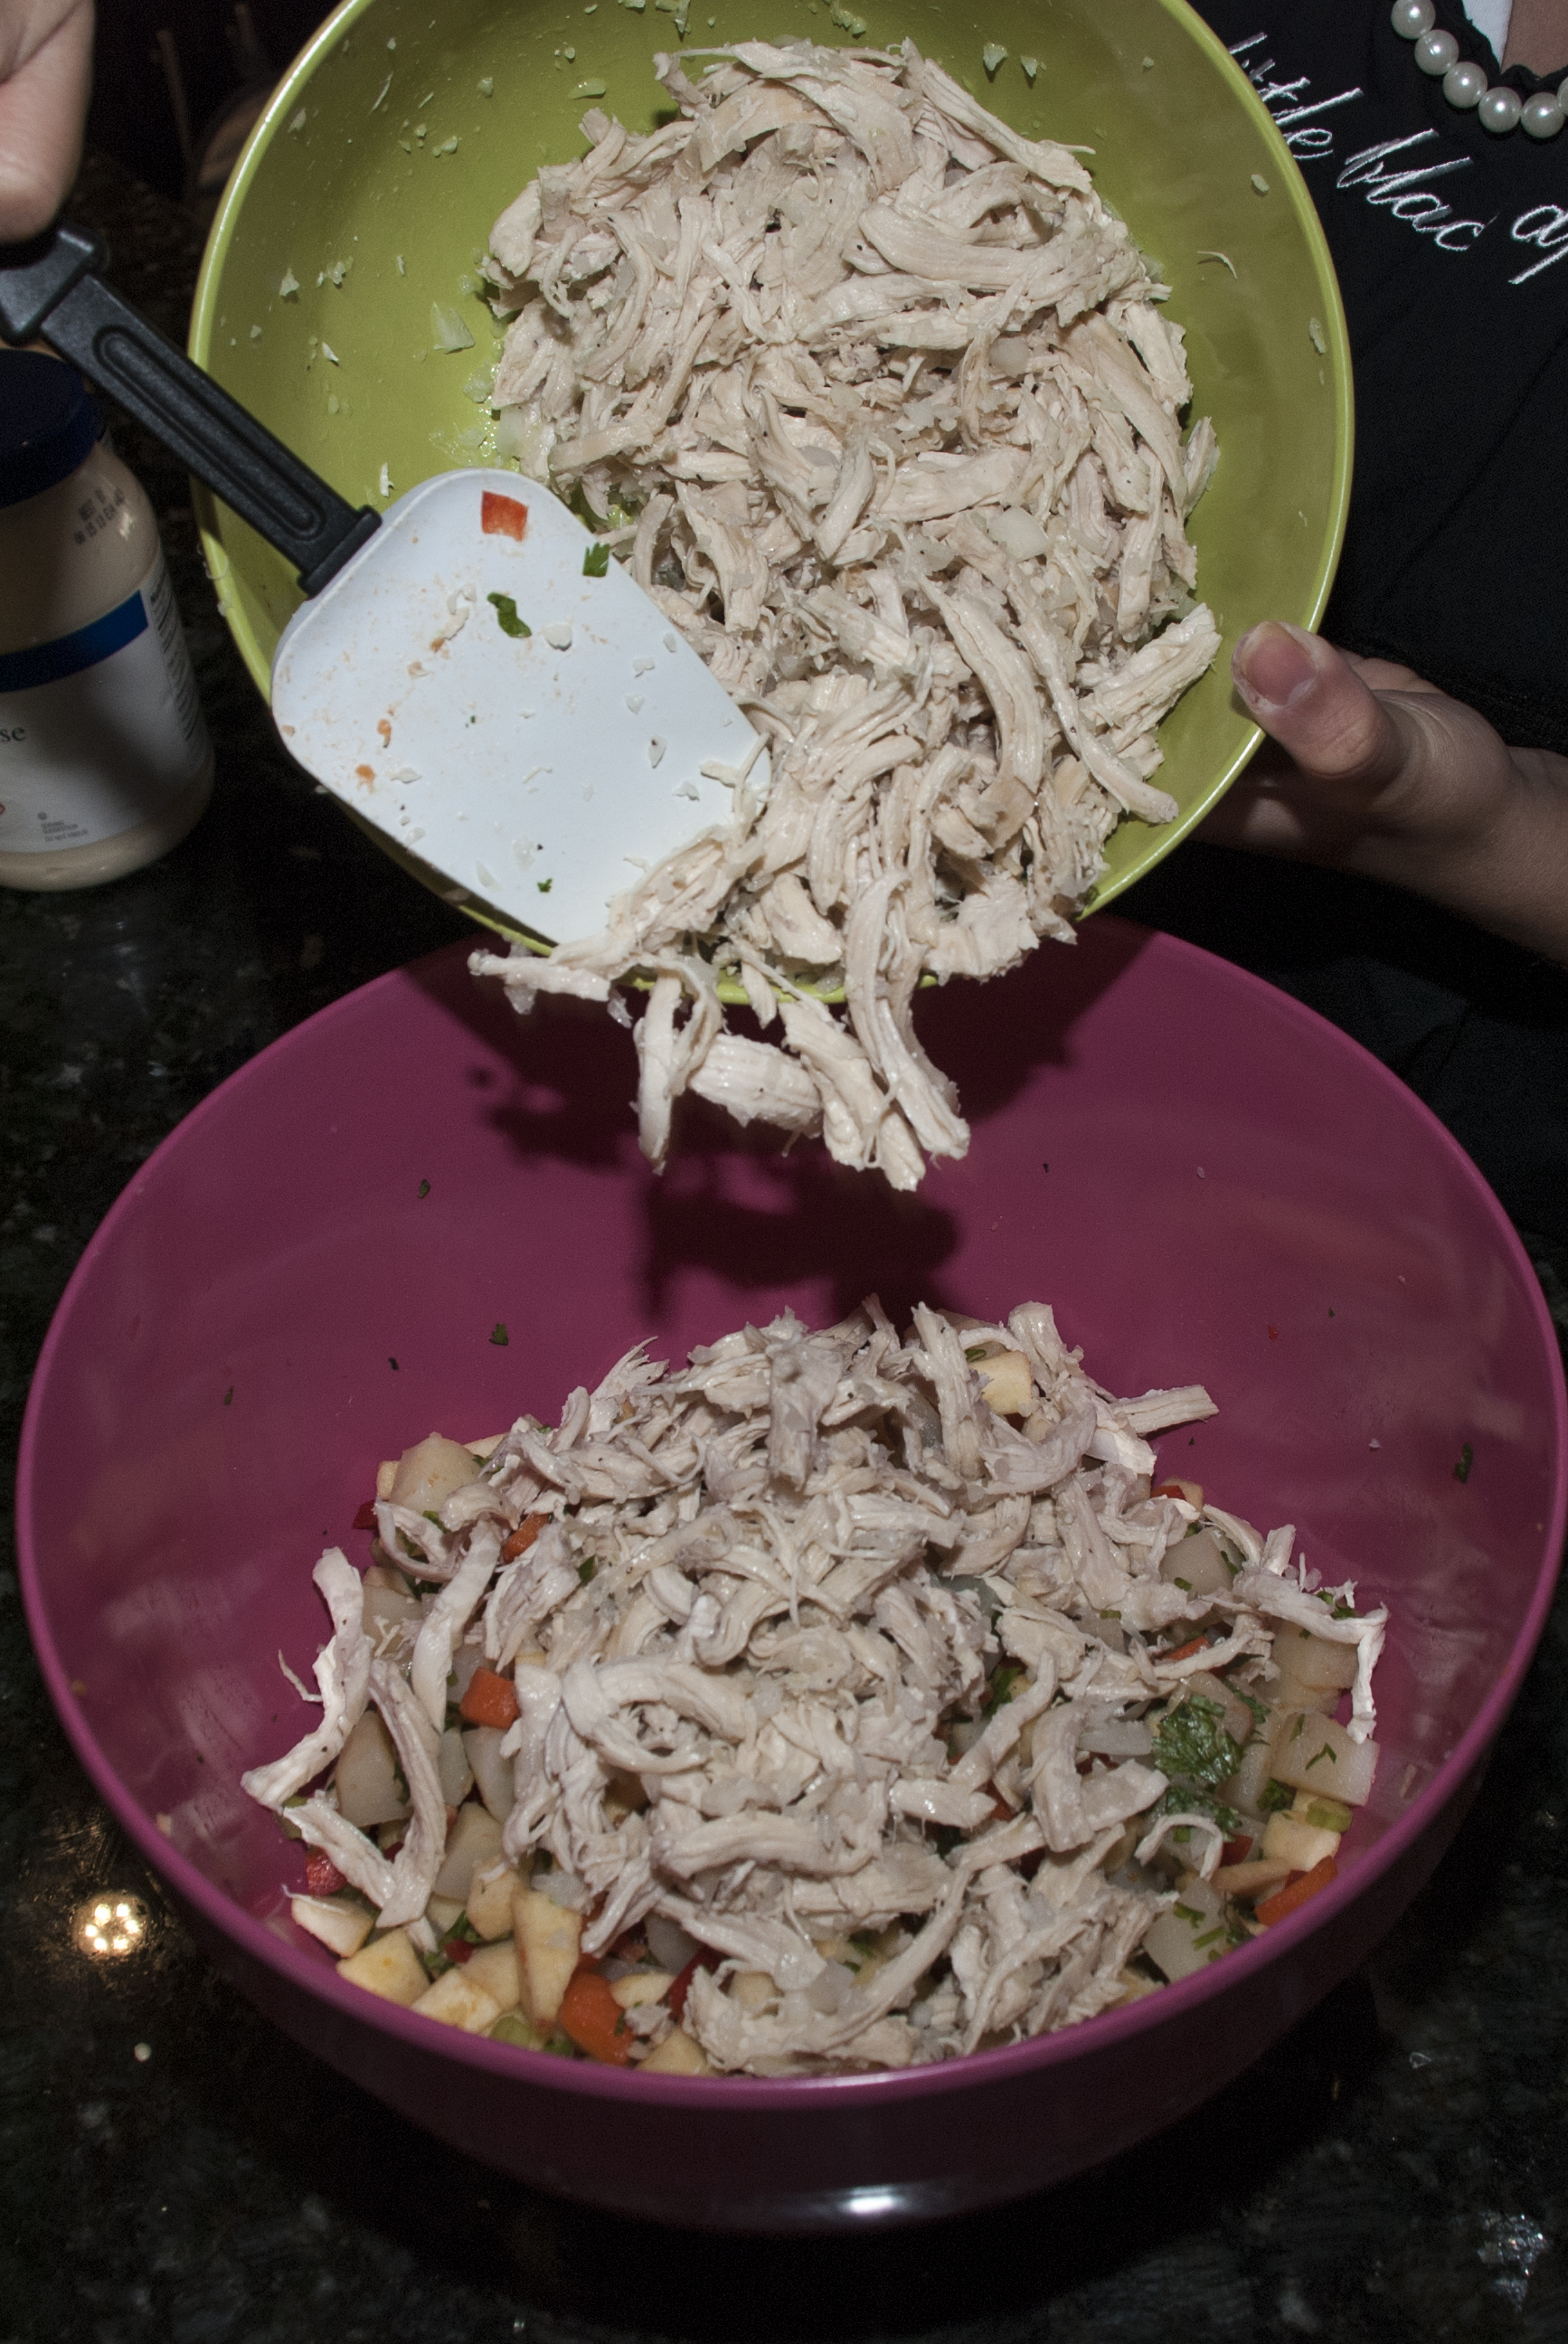
3. In a different pot with enough water, cook the chicken at medium heat until it is thoroughly cooked, but not too long. Remove the chicken from the broth, and drain the broth and let it cool (we will be using it later). Take ½ Cup of this broth and put all the capers in it, save the rest of the broth. Let the chicken cool down and once it is manageable, shred only half of it into long strings of about 2 to 3 inches long.

Chicken Broth & Chicken
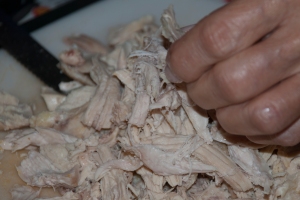
Shredding the Chicken
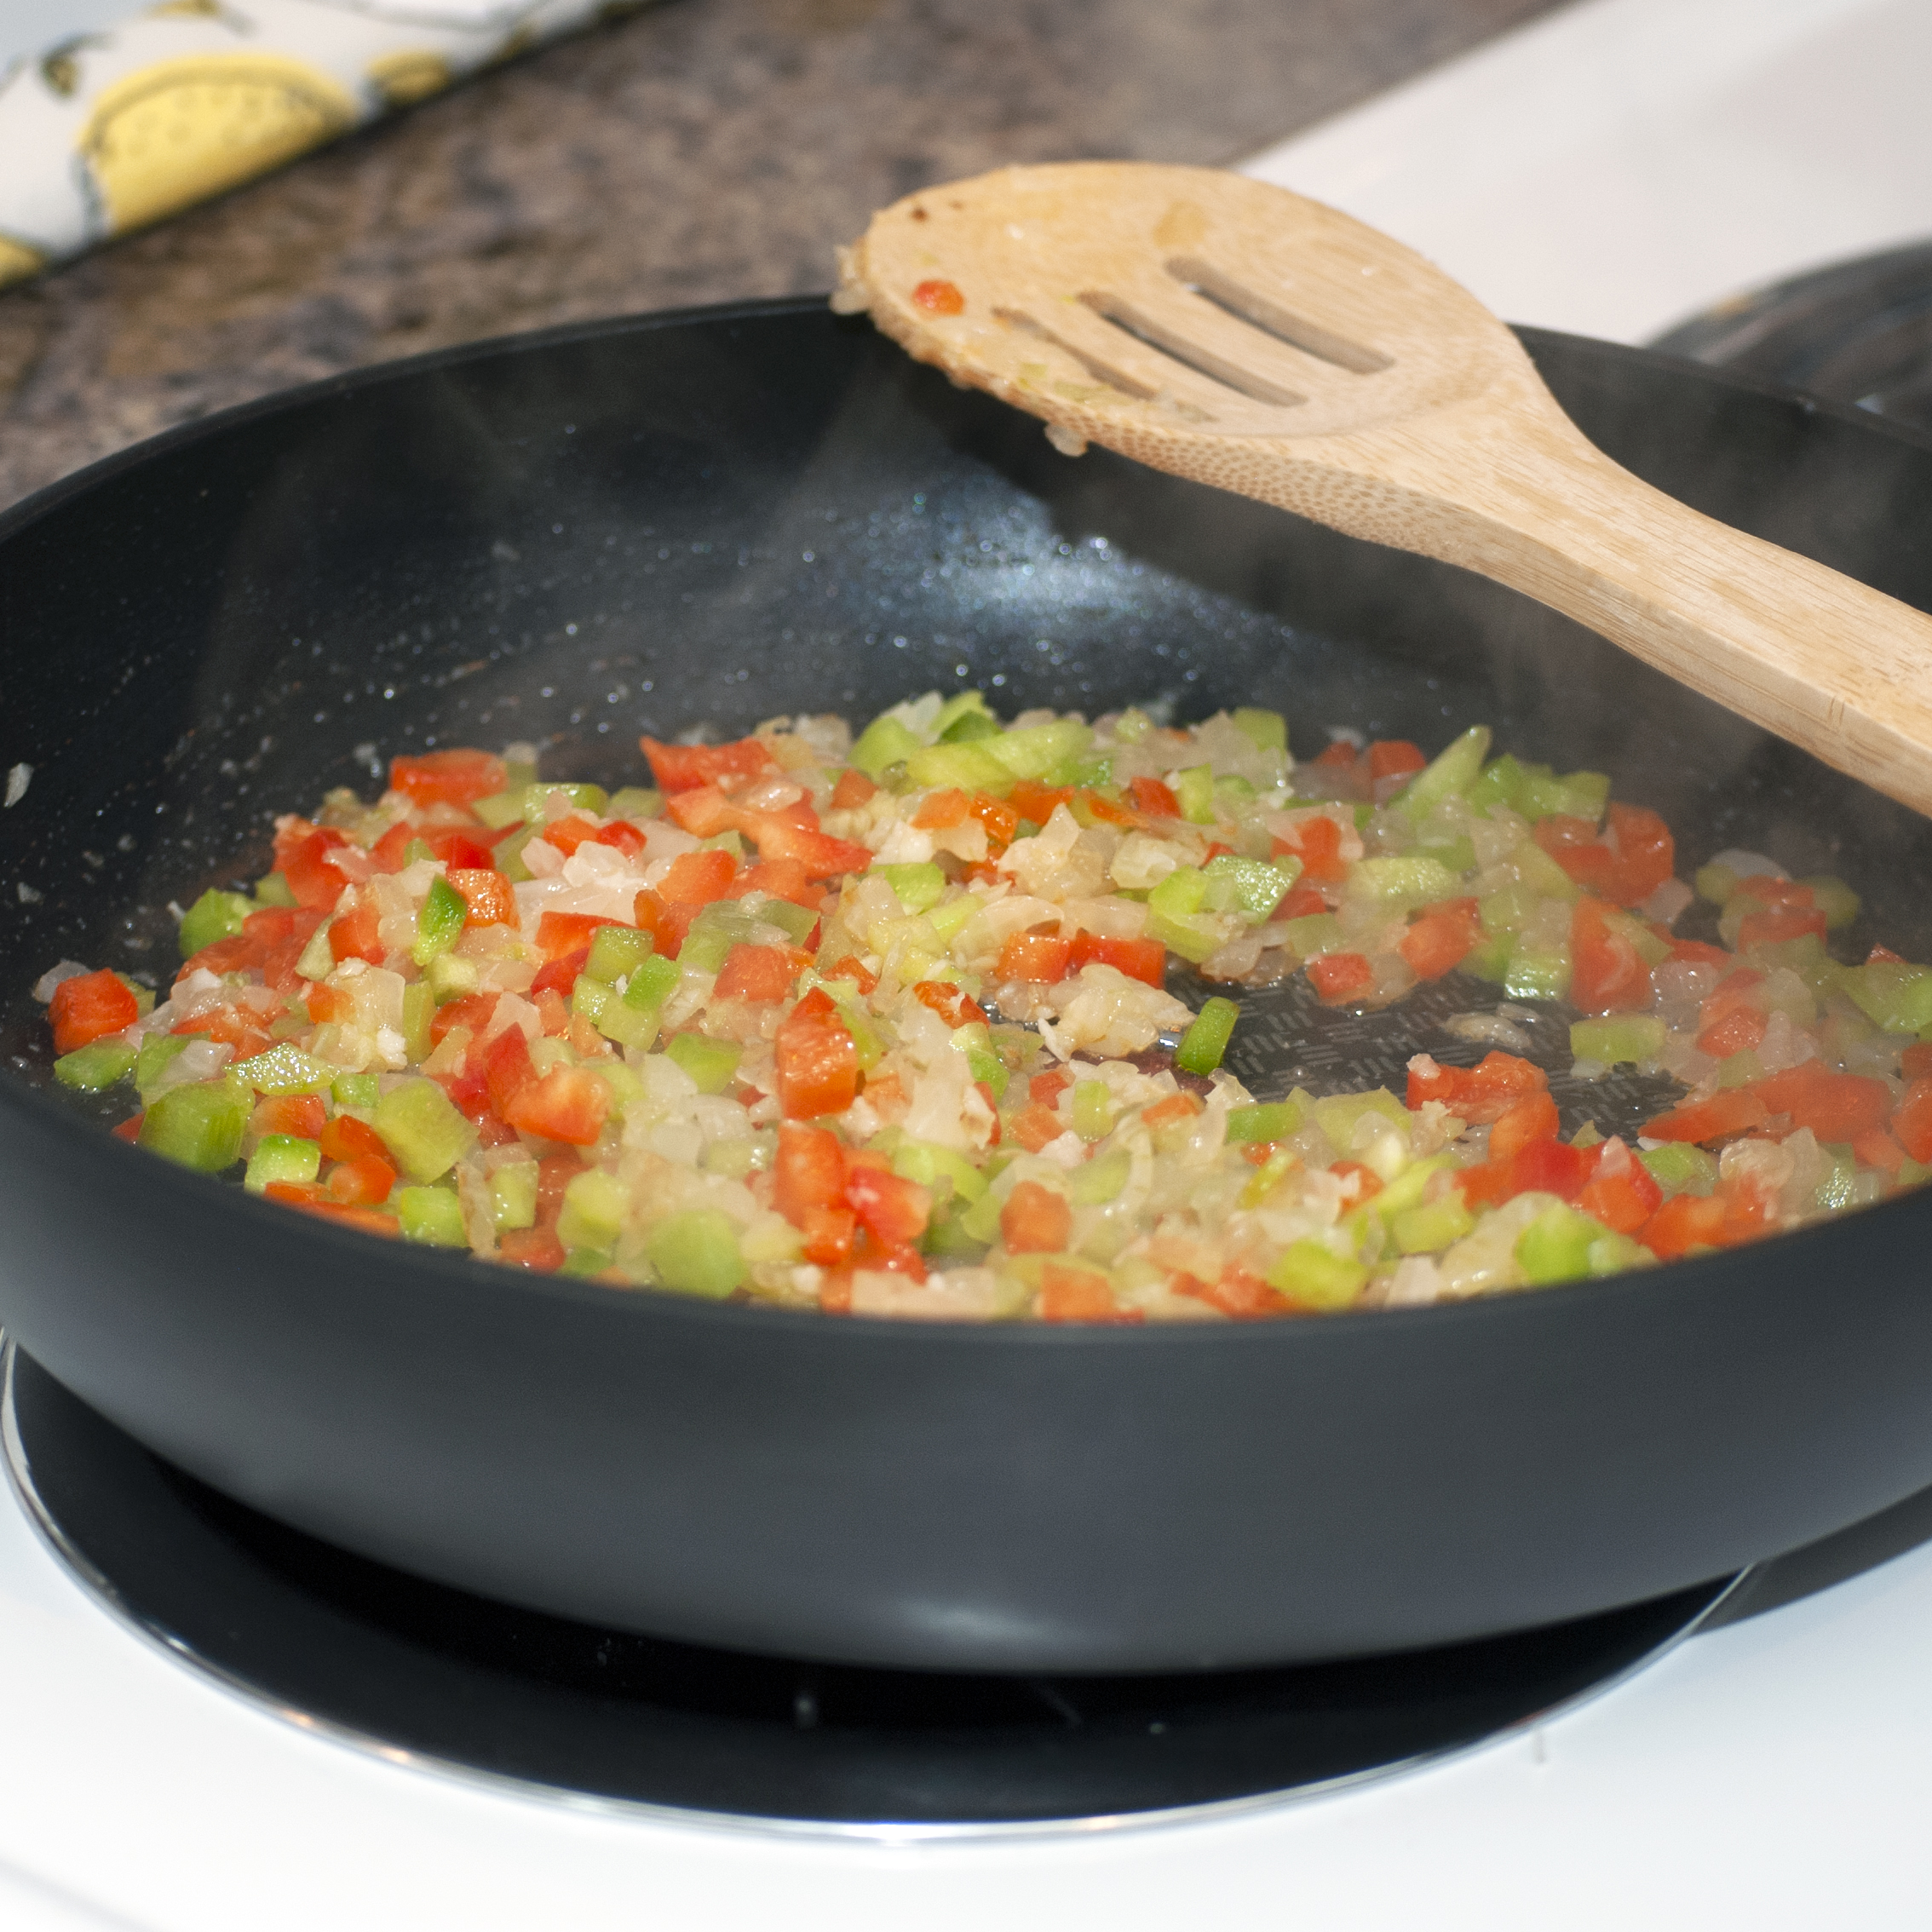
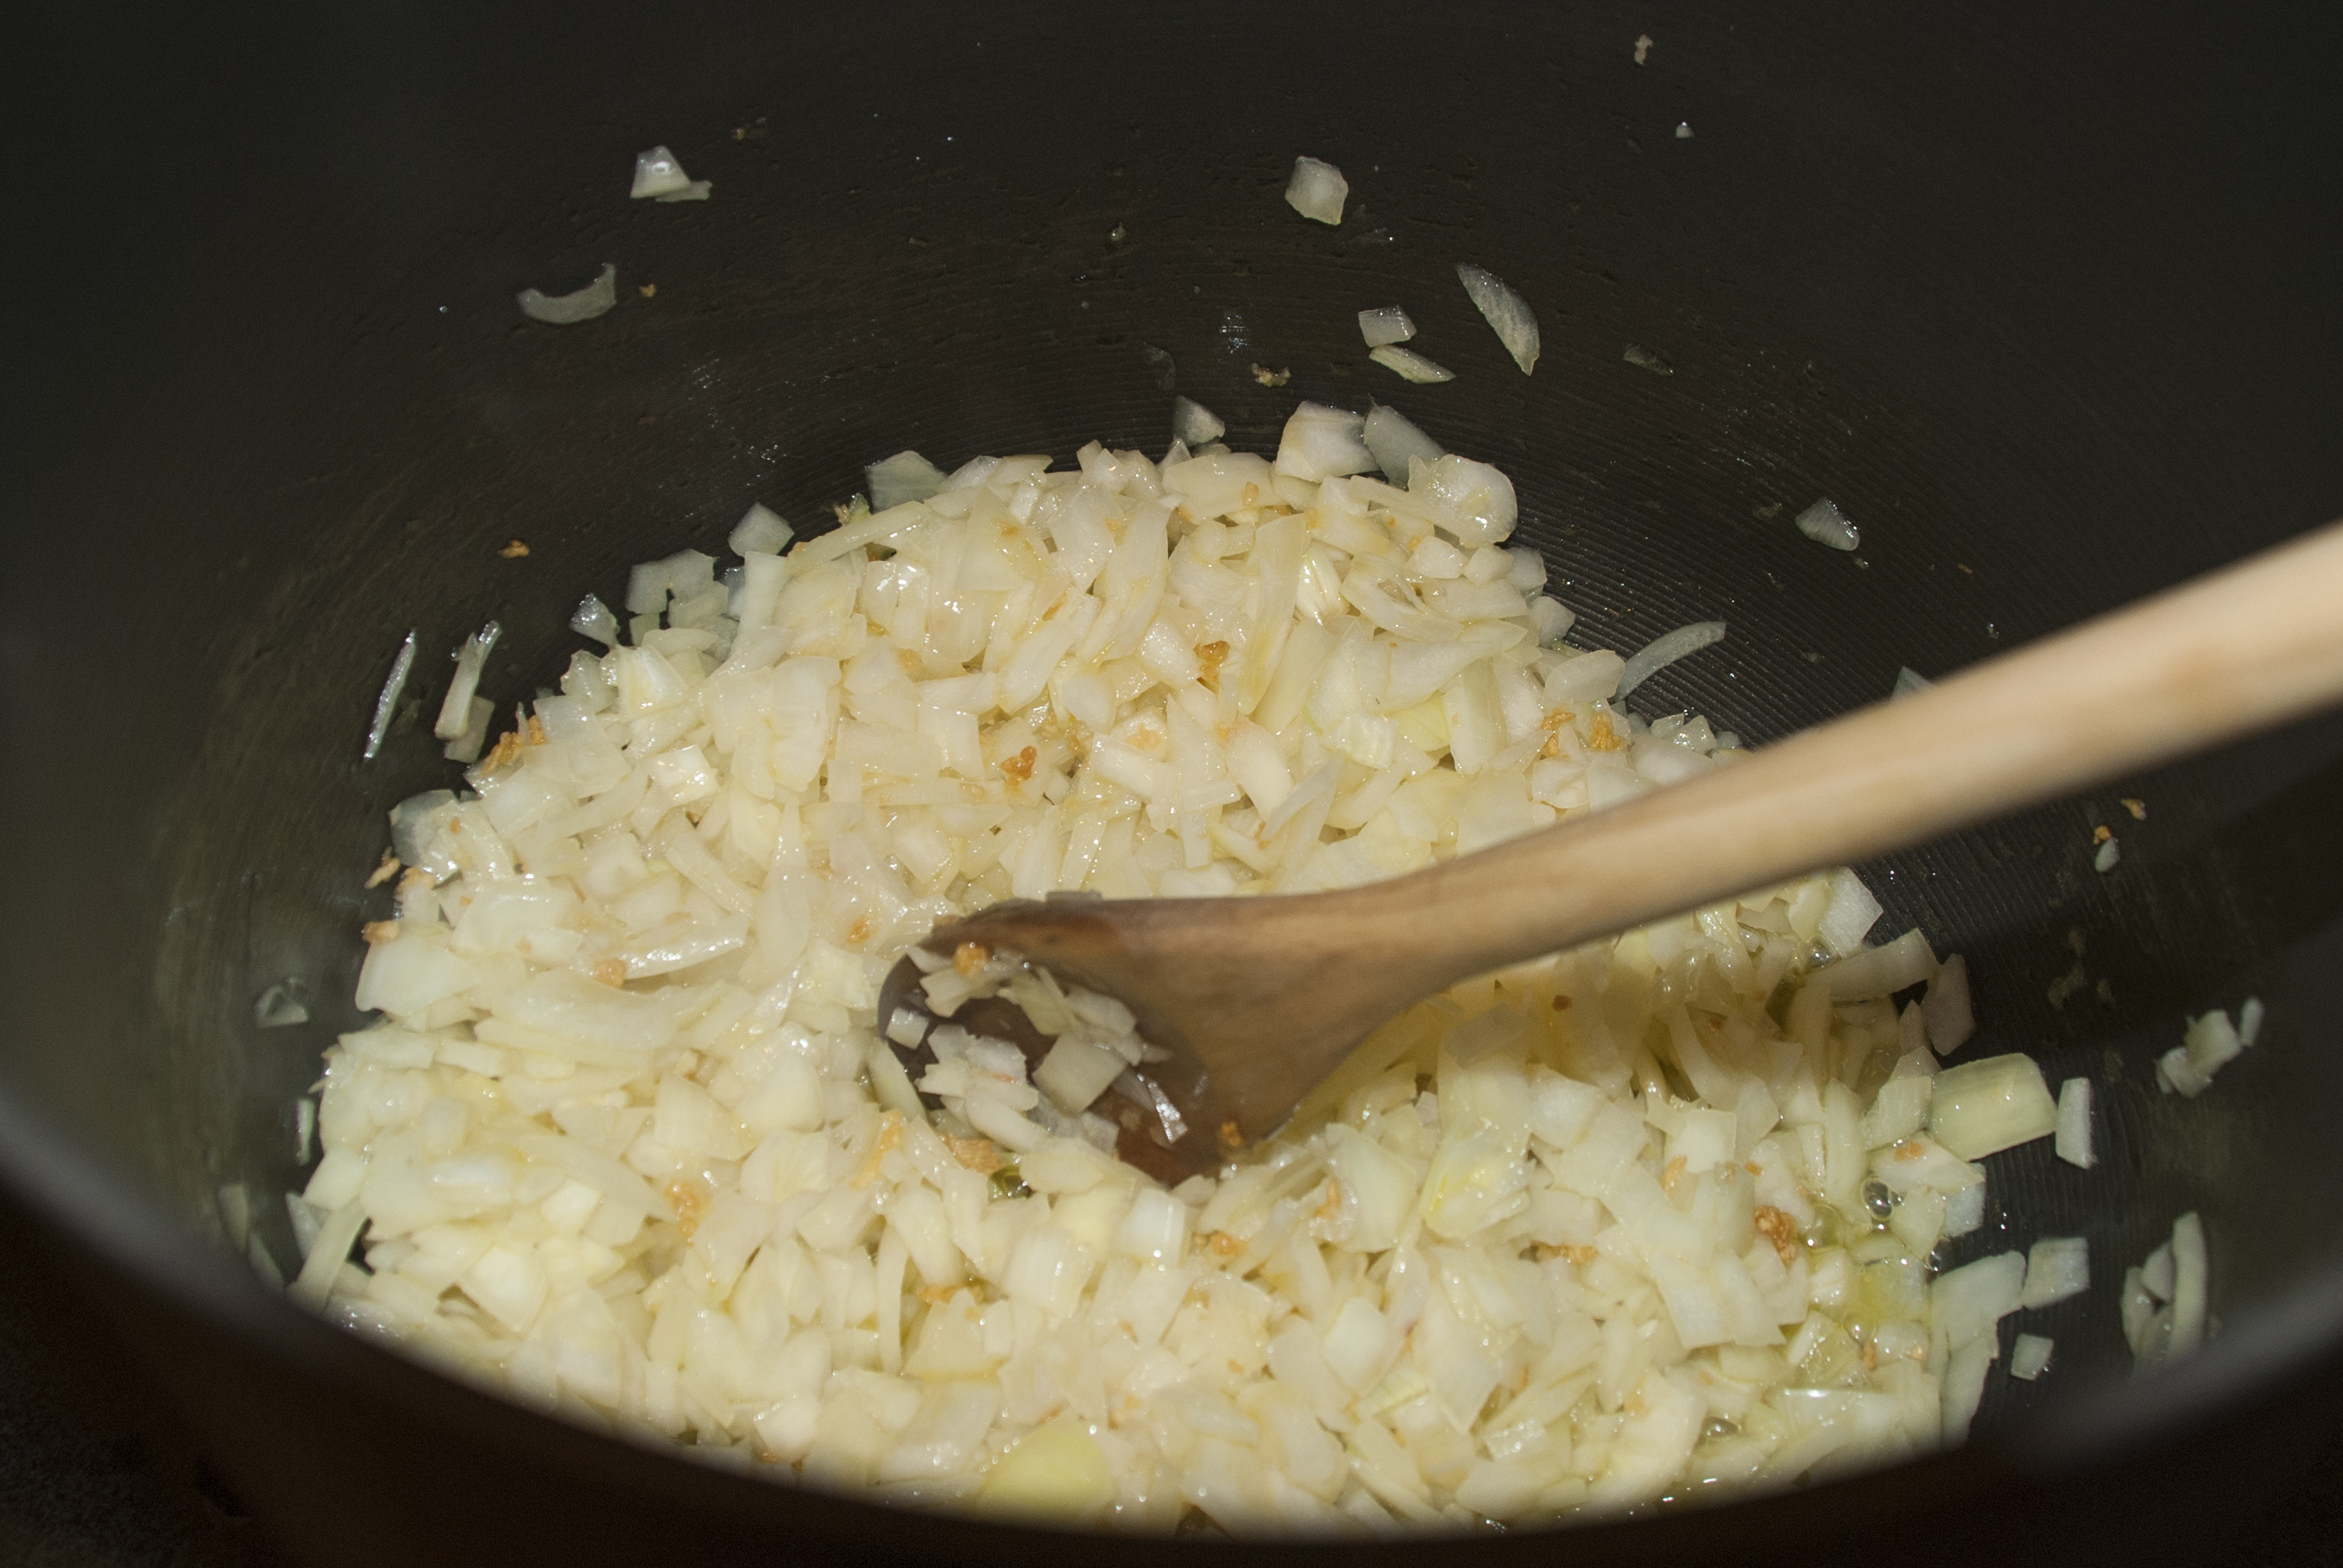
4. In yet another large pot, add the oil and stir-fry at high heat the onions, leeks and green onions for about 5 minutes or until they brown. Add the garlic and the capers along with the chicken broth they have been soaking in, and cook at medium heat for about 15 minutes or until it begins to boil.
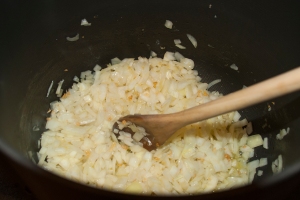
Frying the Ingredients
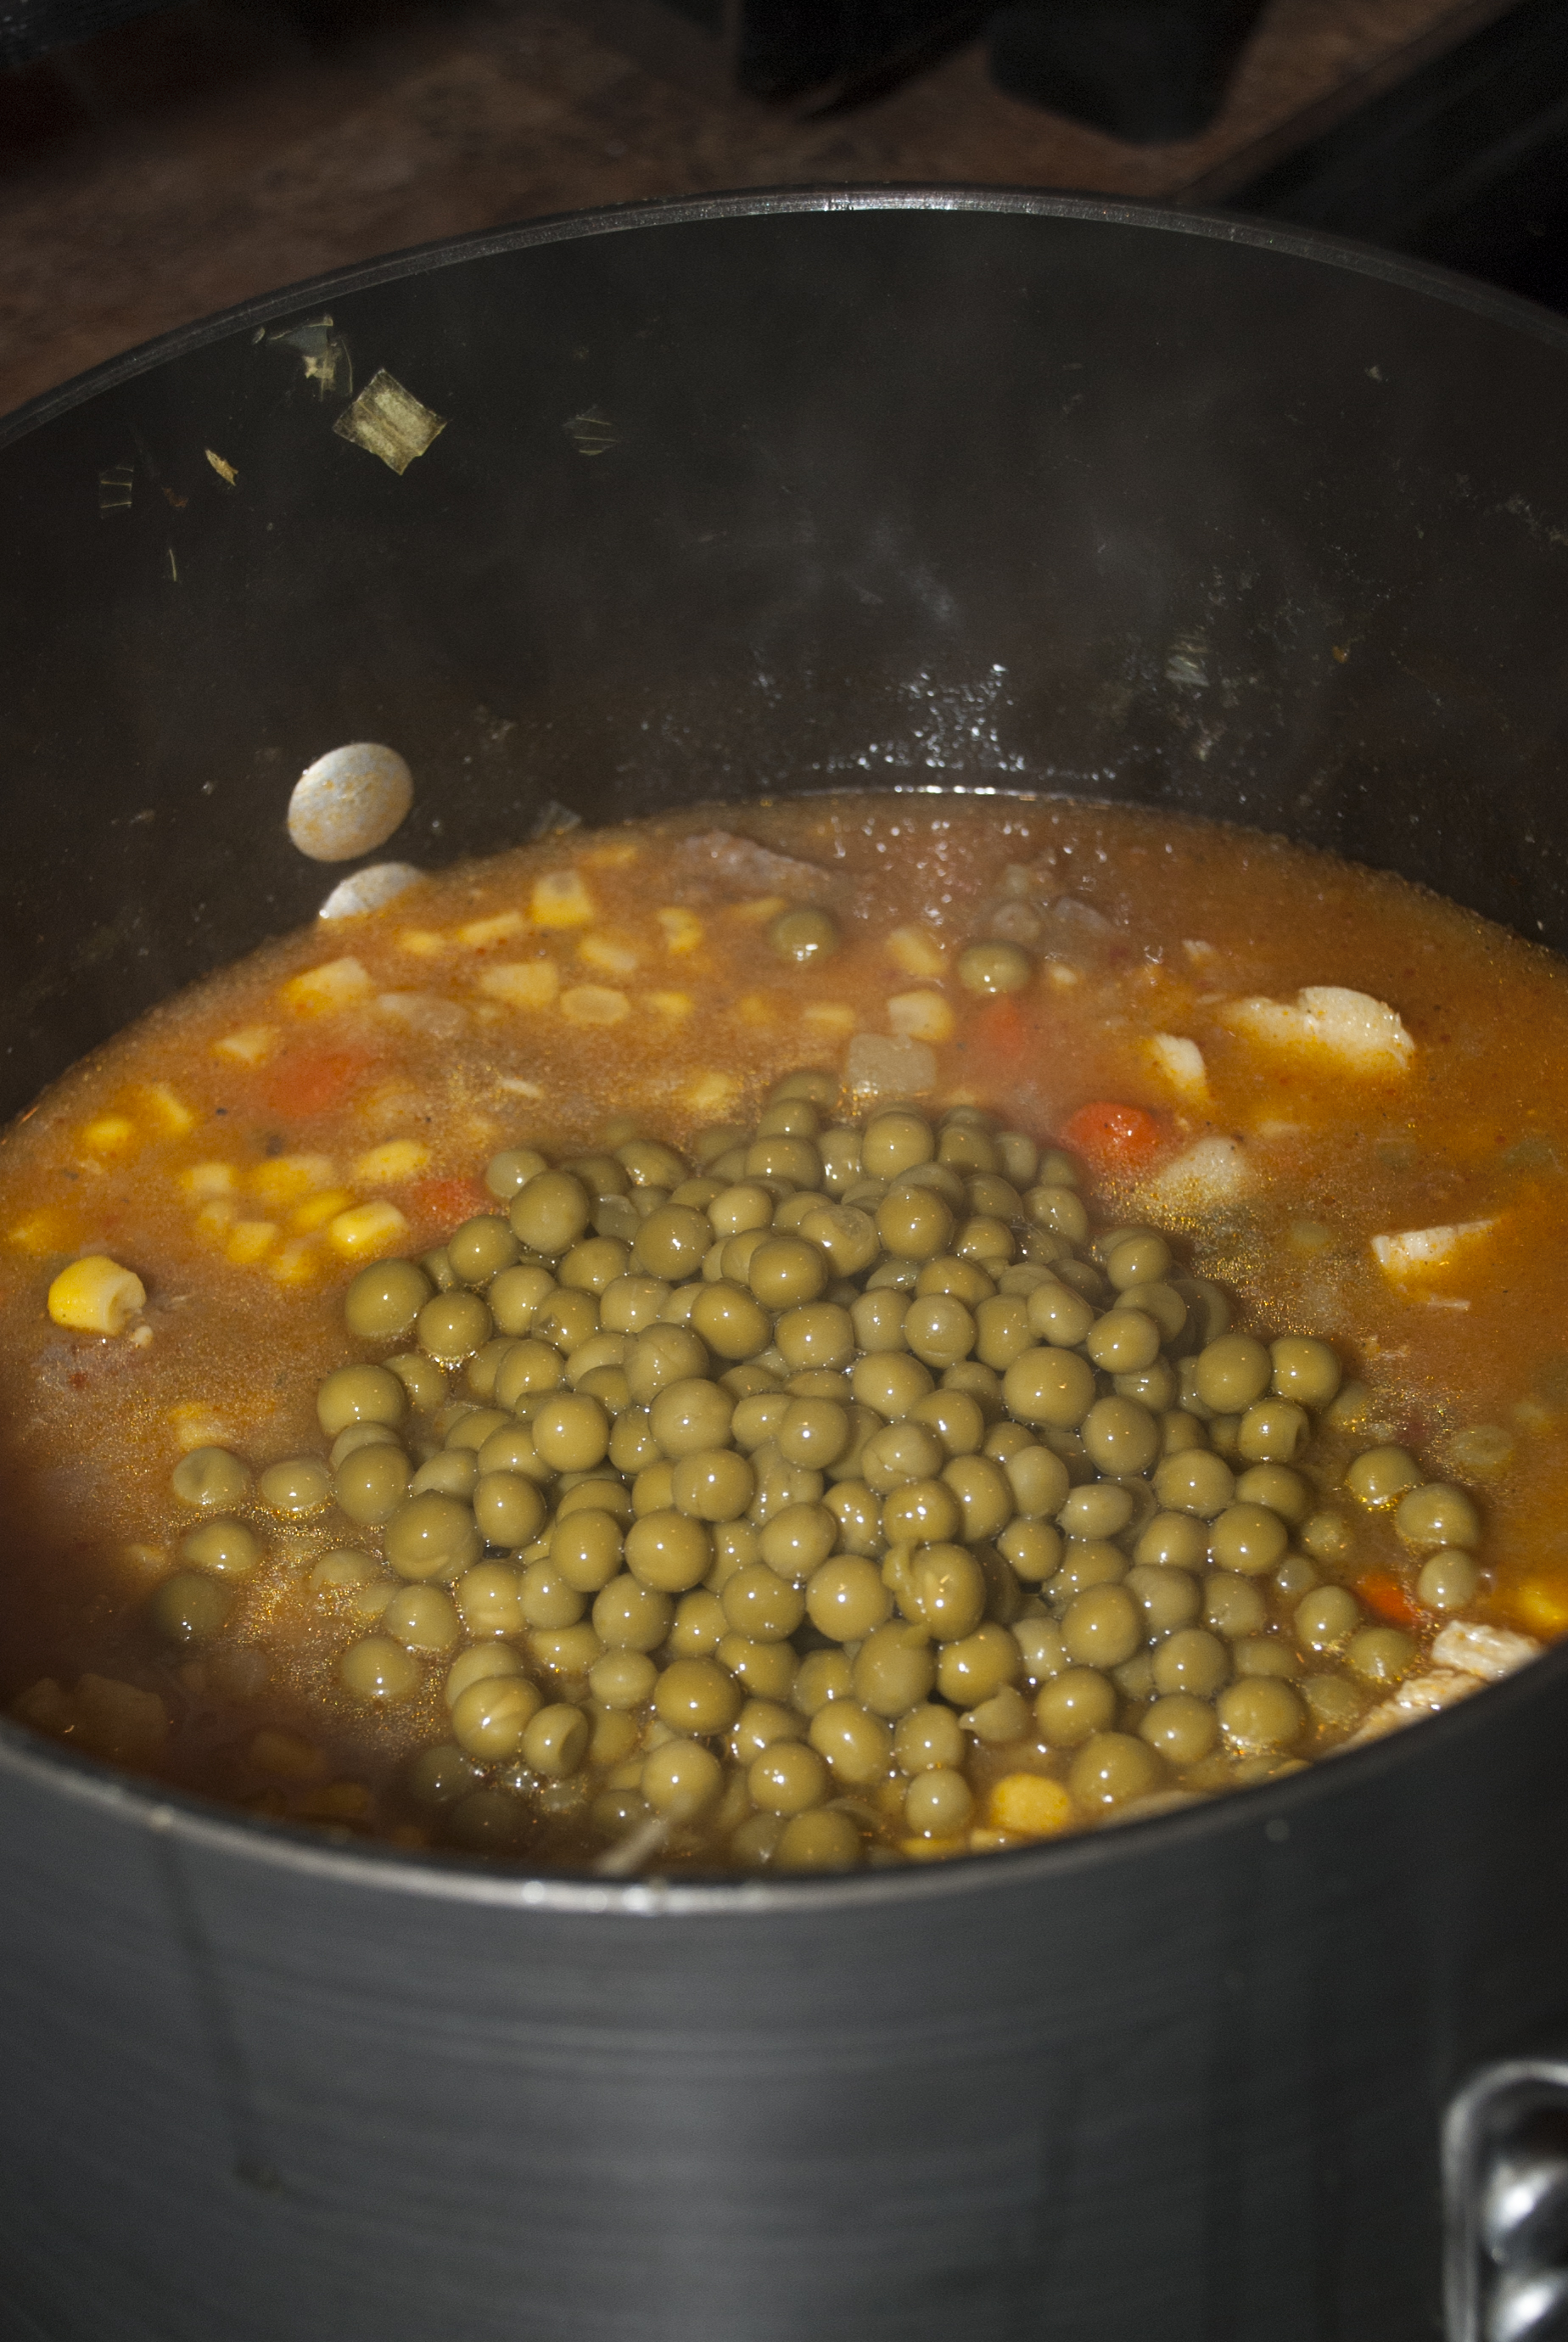
5. Add the bell peppers, tomatoes and sweet peppers and let it cook for 10 more minutes at medium heat.
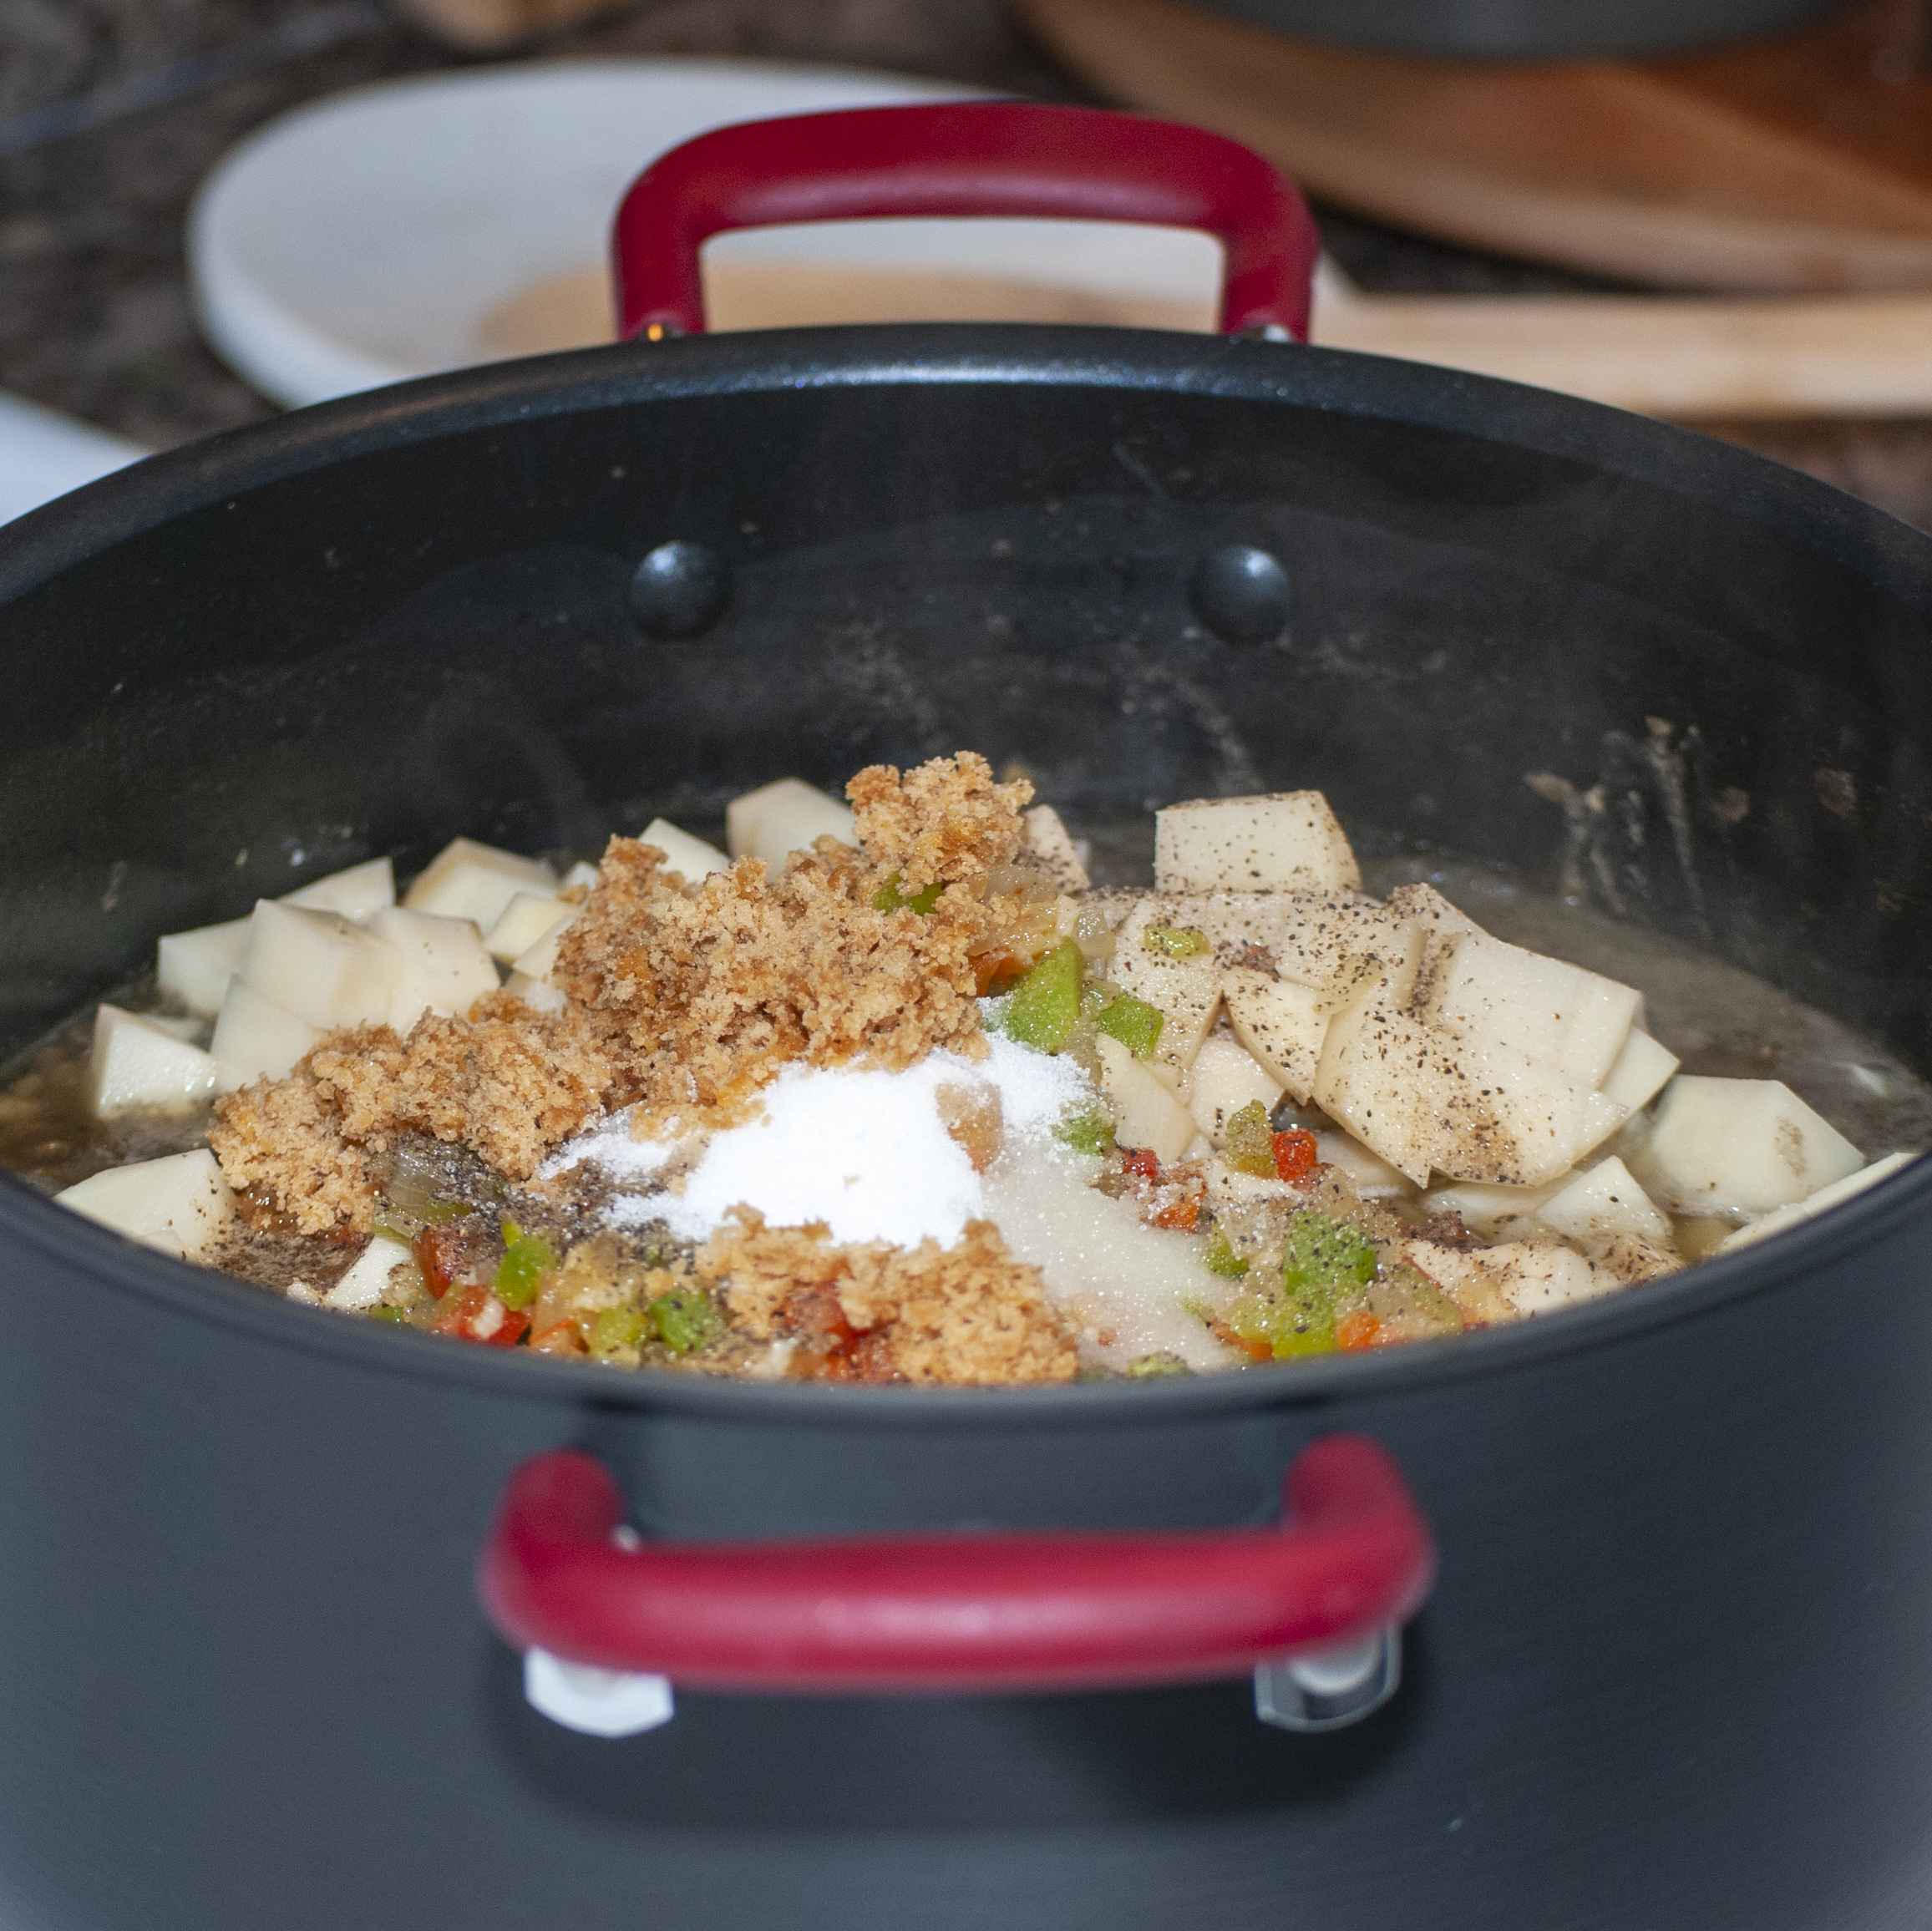
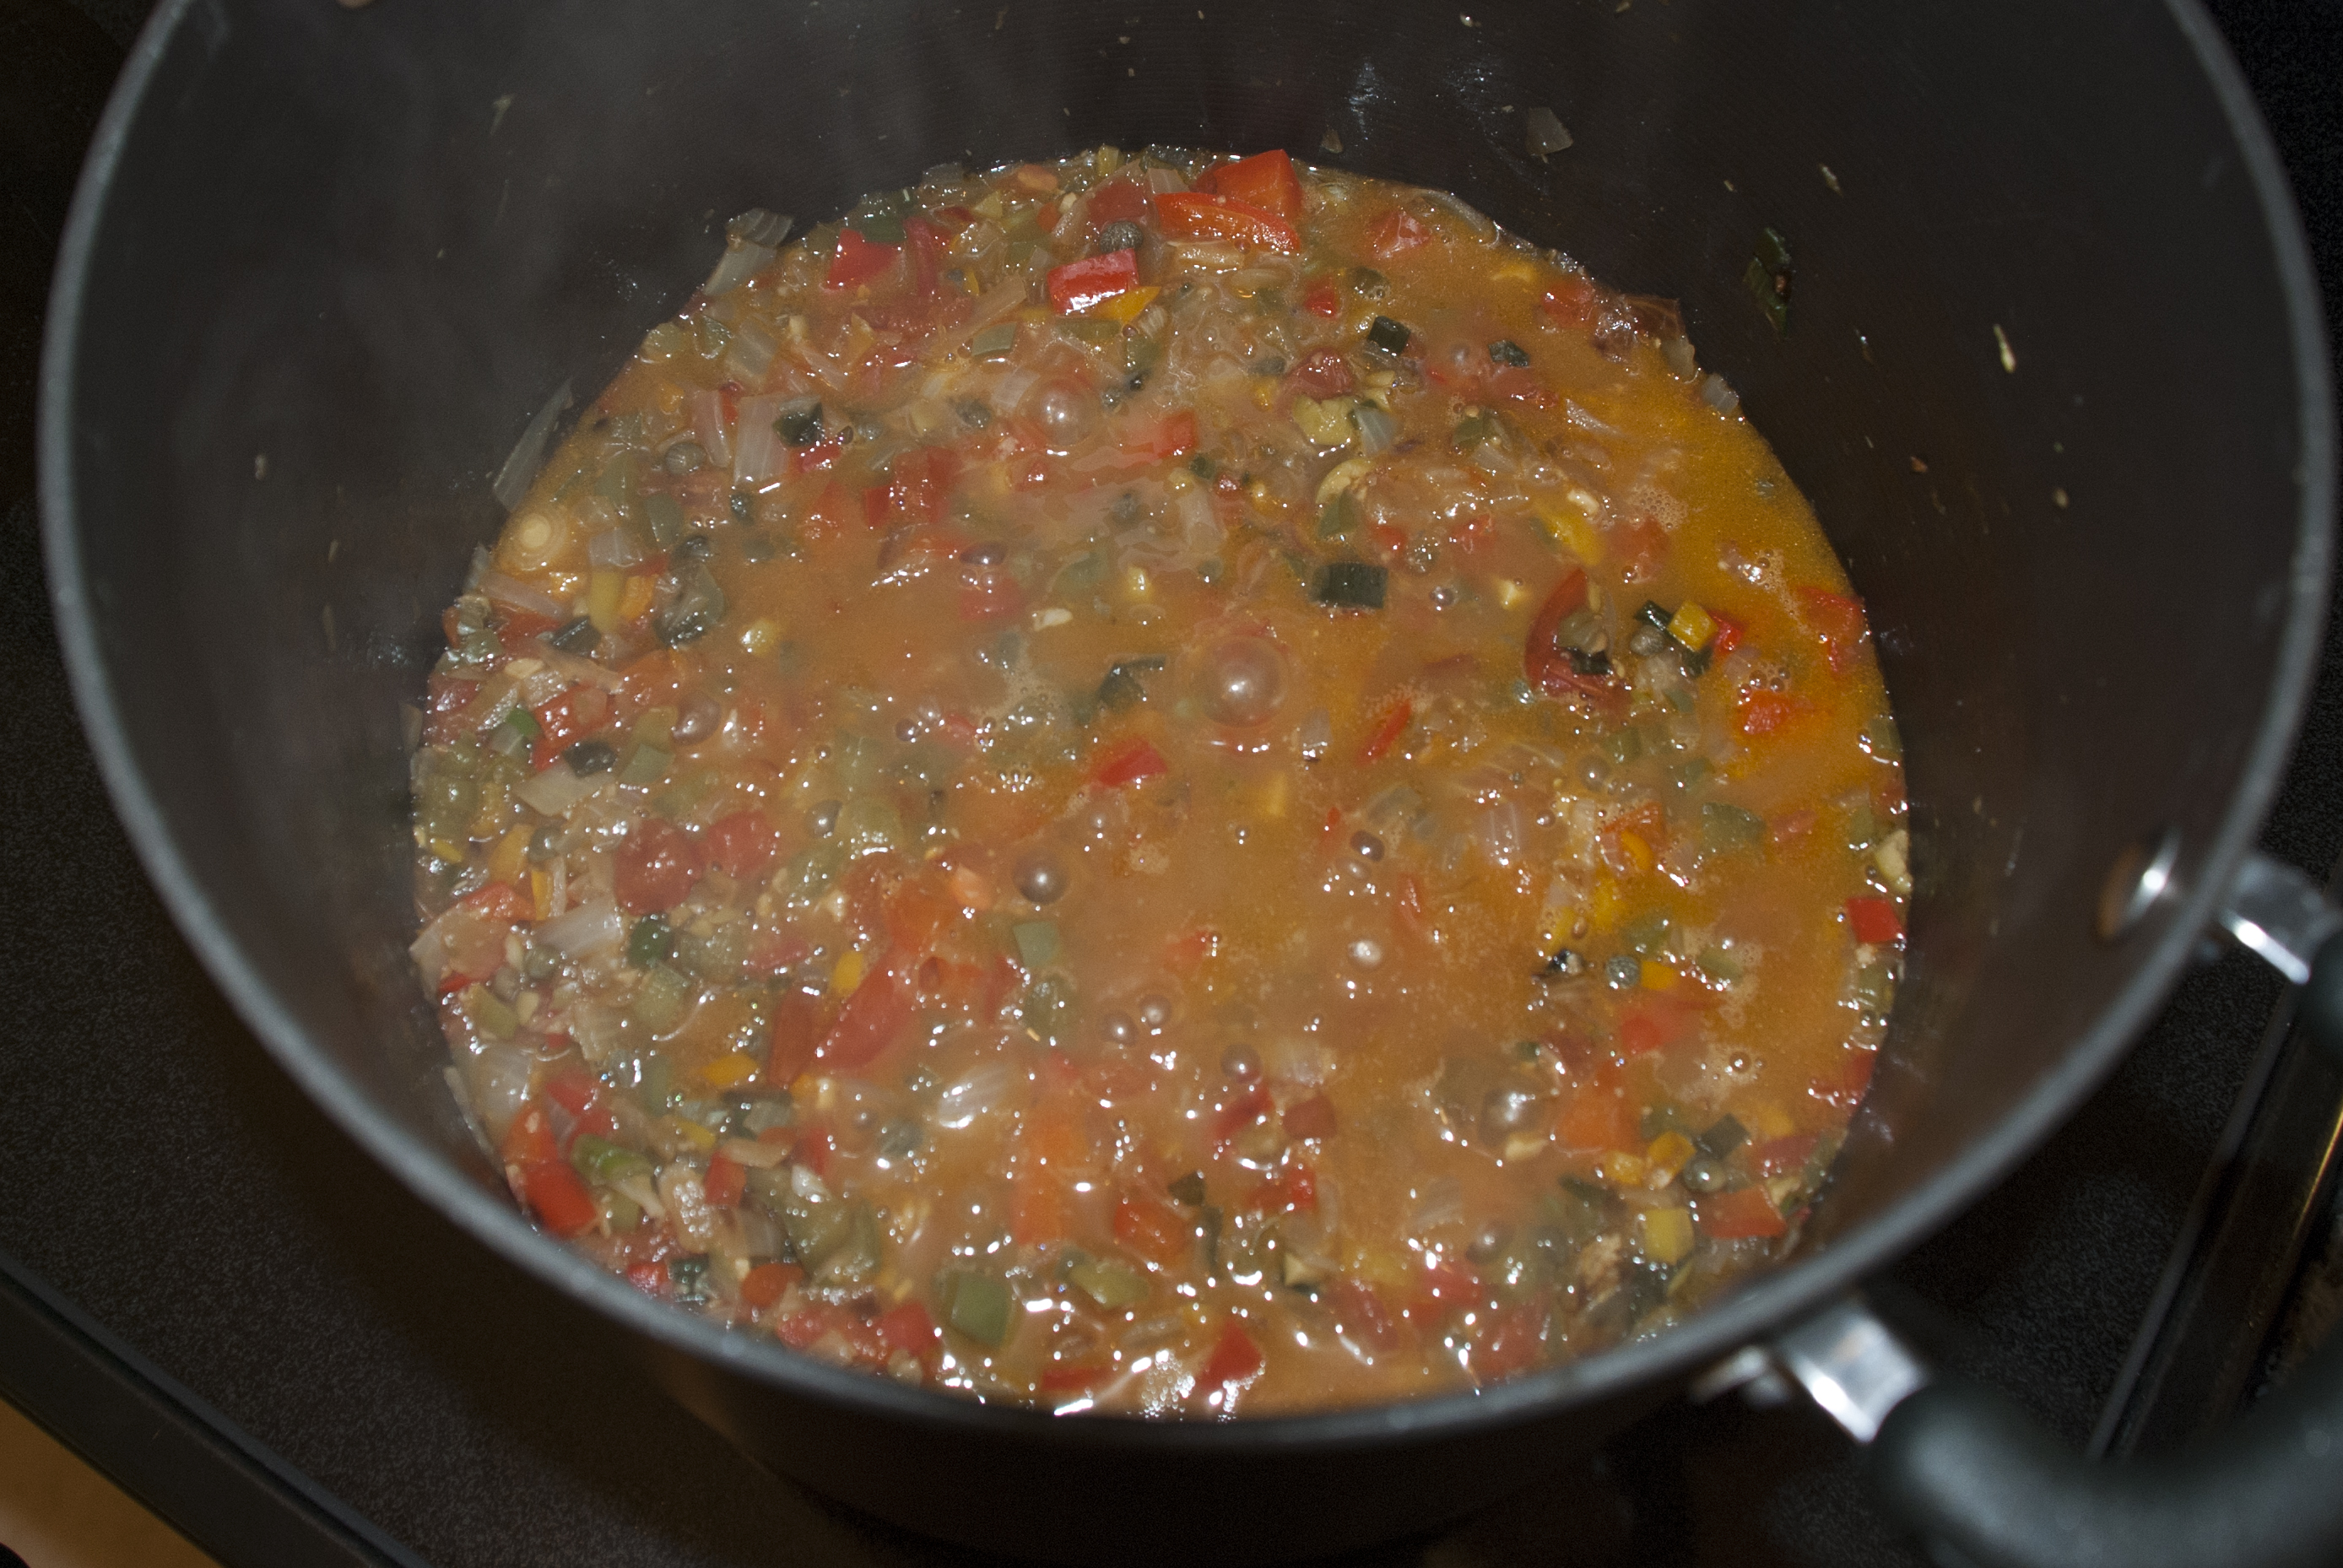
6. Add the wine, sugar cane, pepper, paprika, salt, mustard, 2 cups of the chicken broth we saved earlier, and cook at medium heat for 15 minutes or until it begins to boil.

Adding the liquids
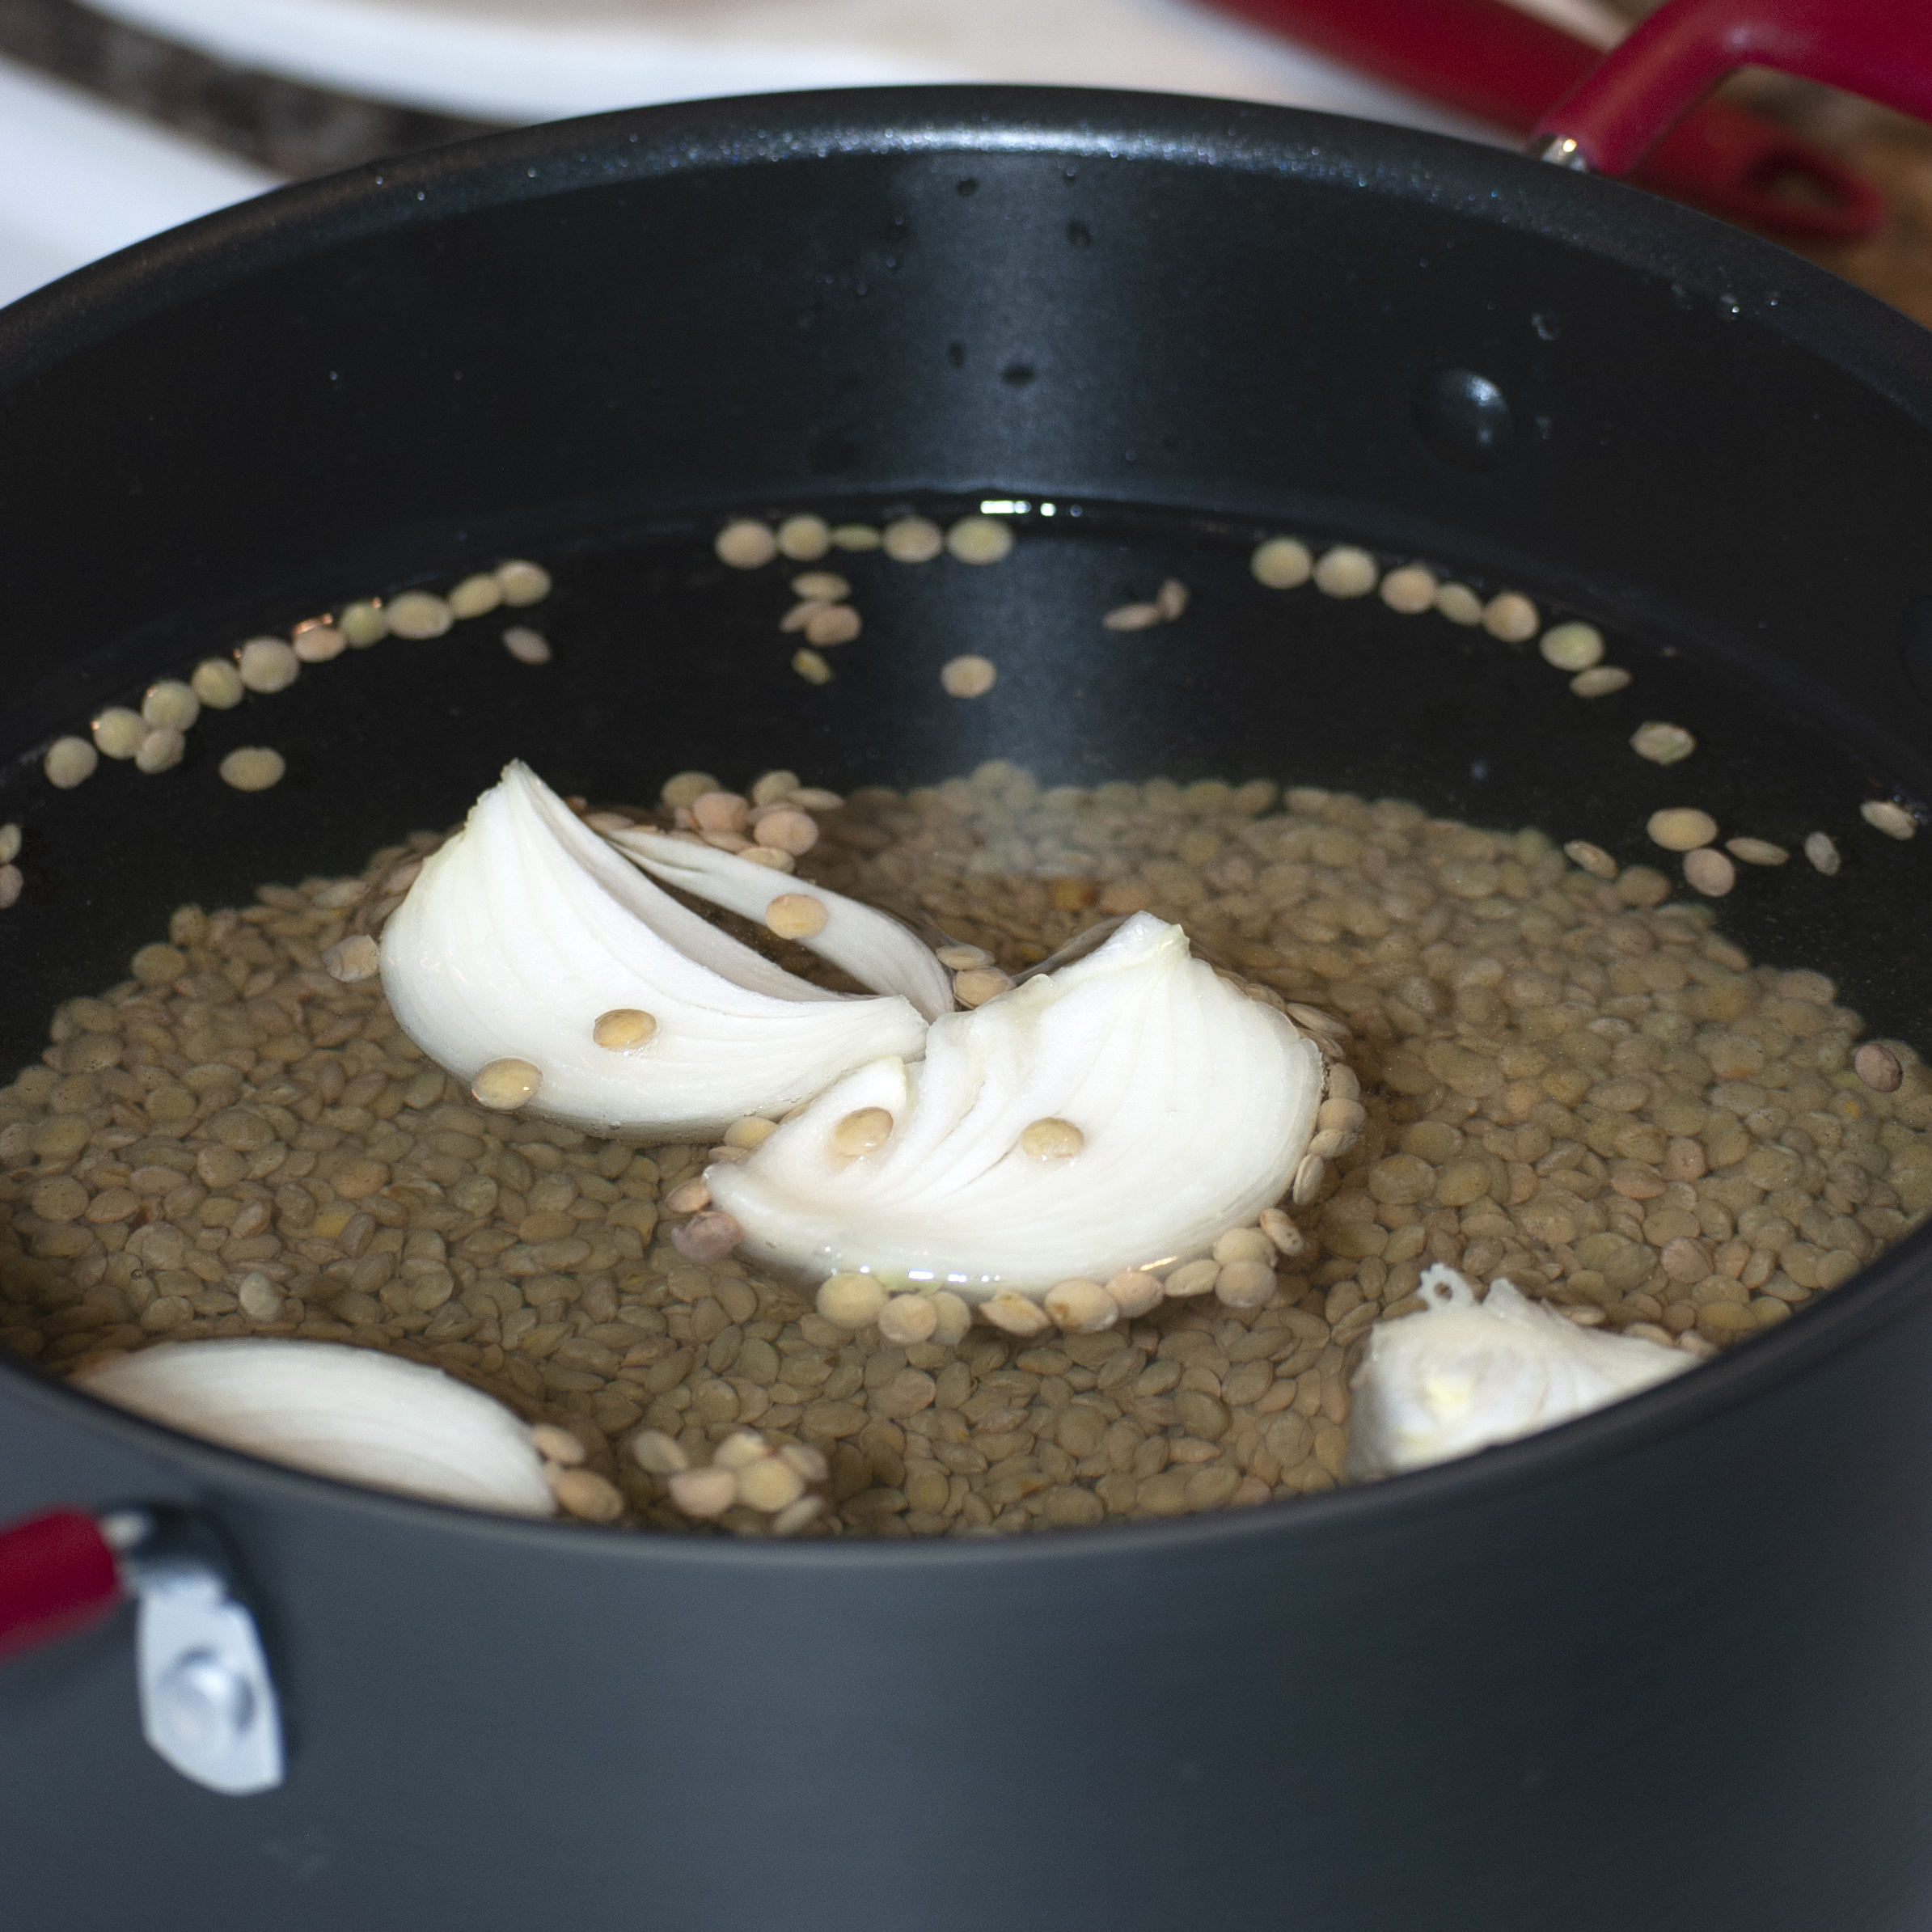
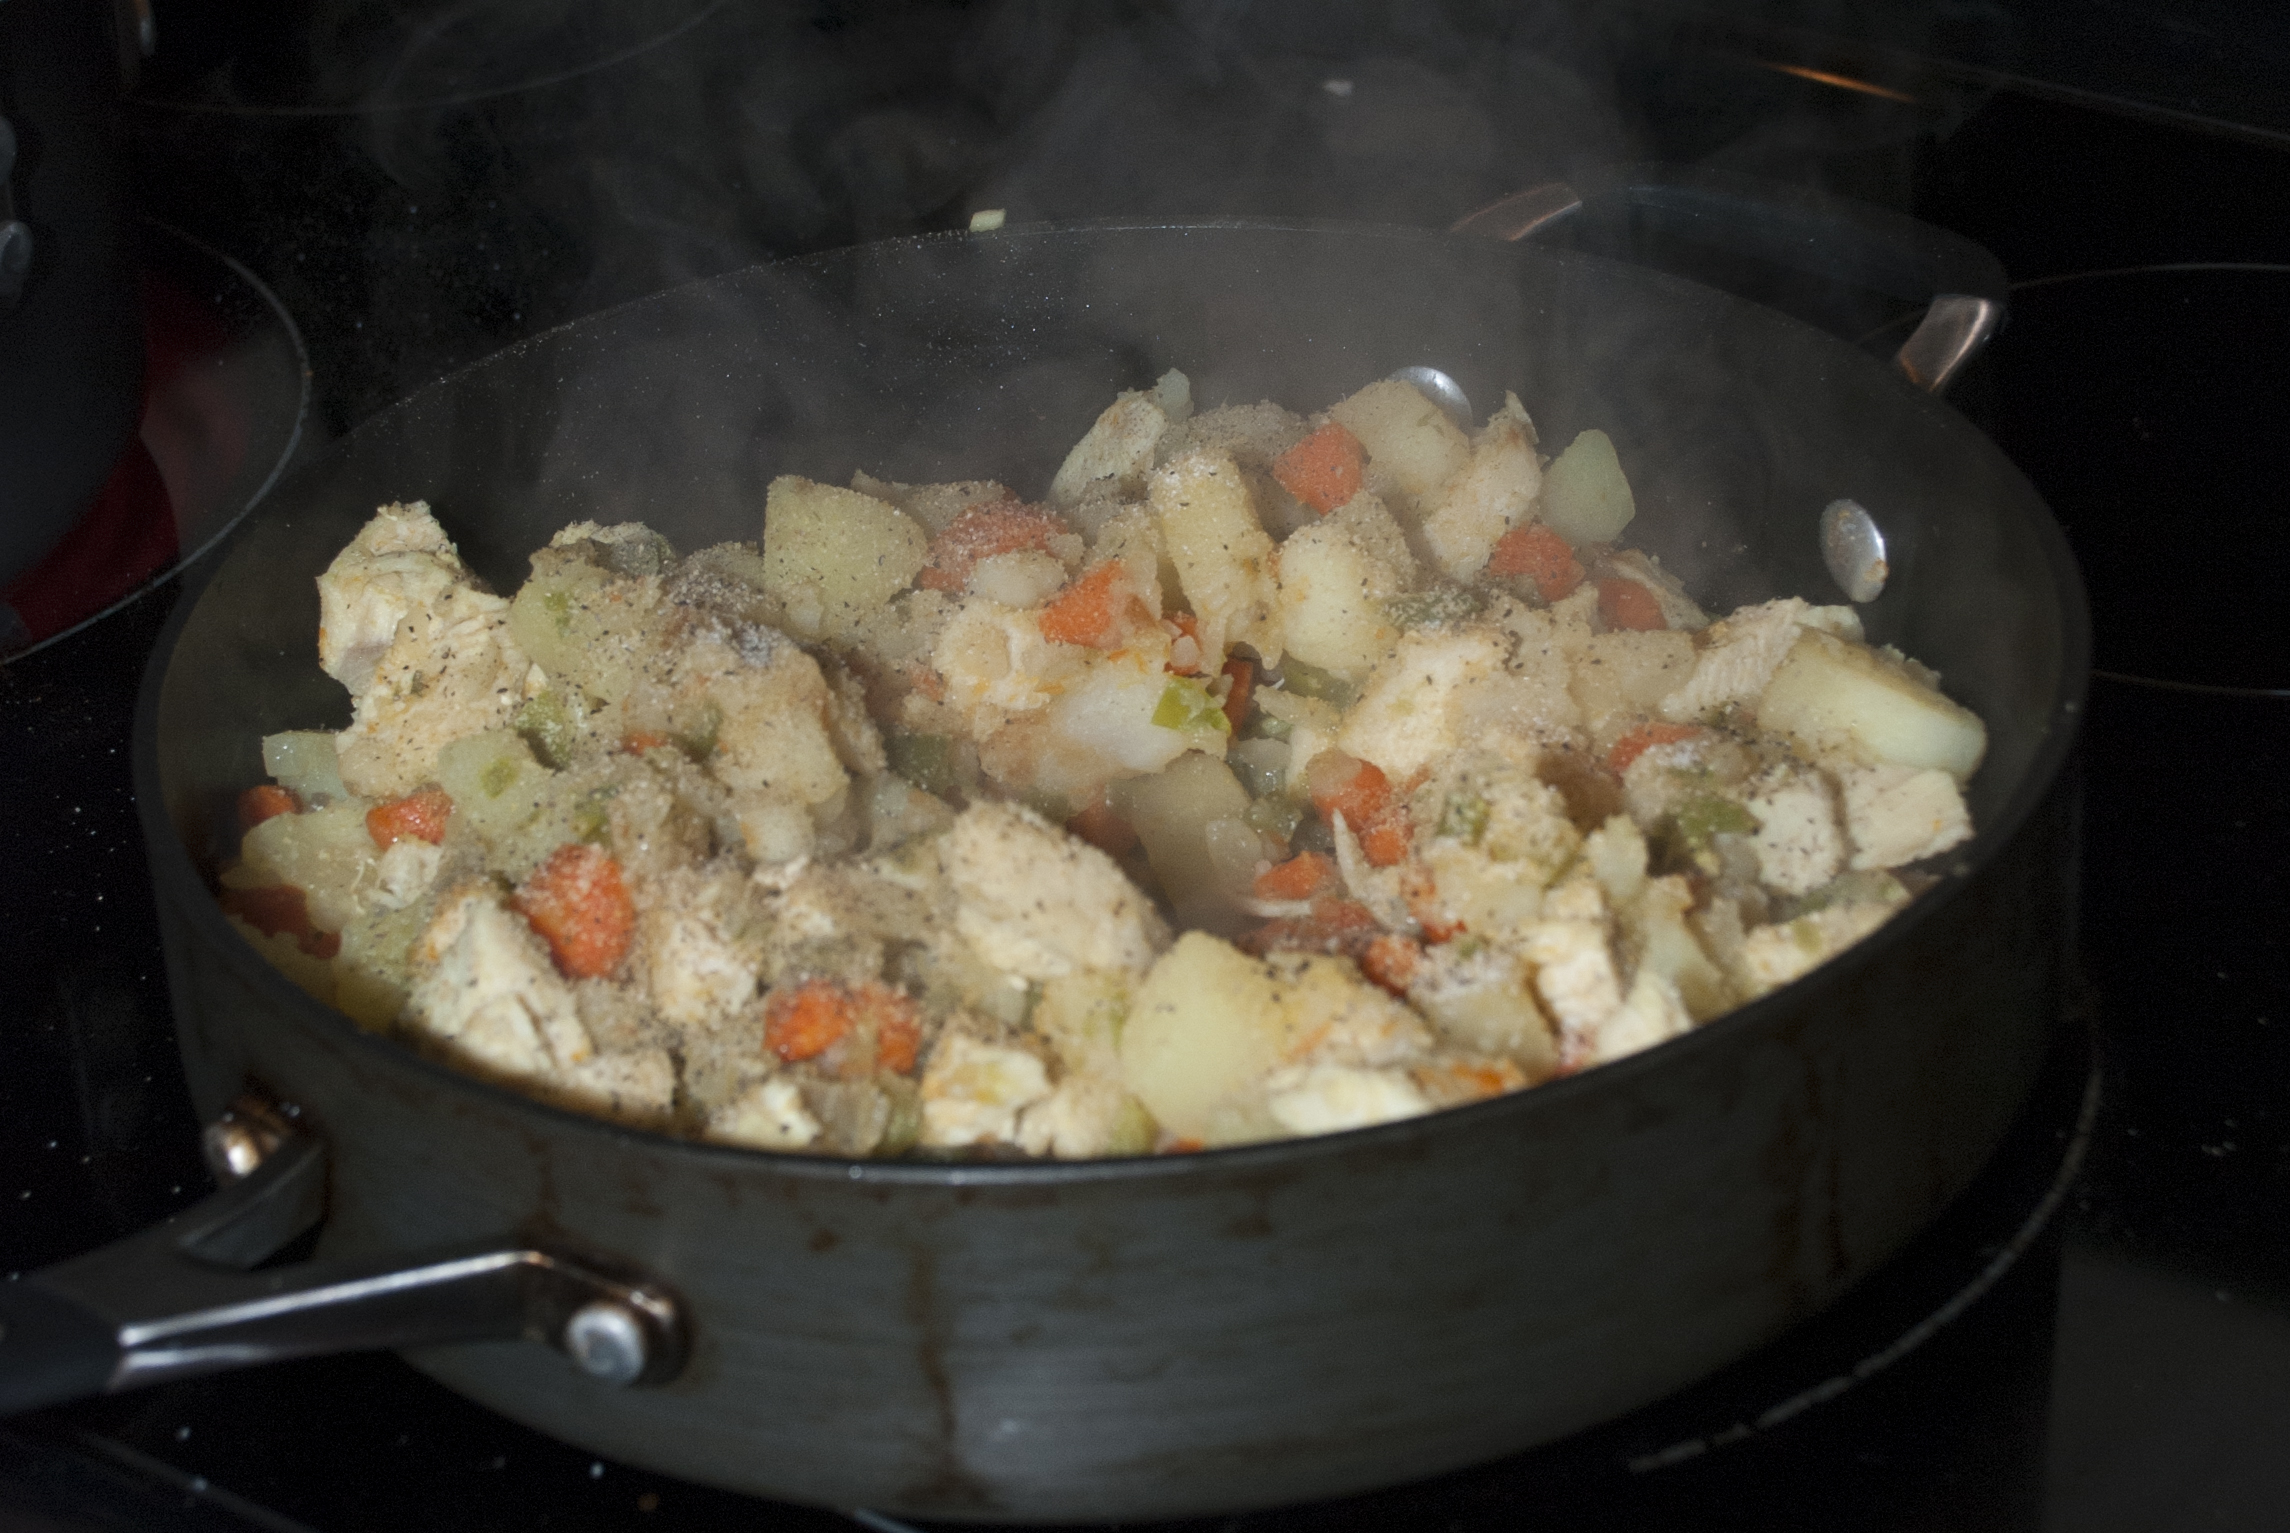
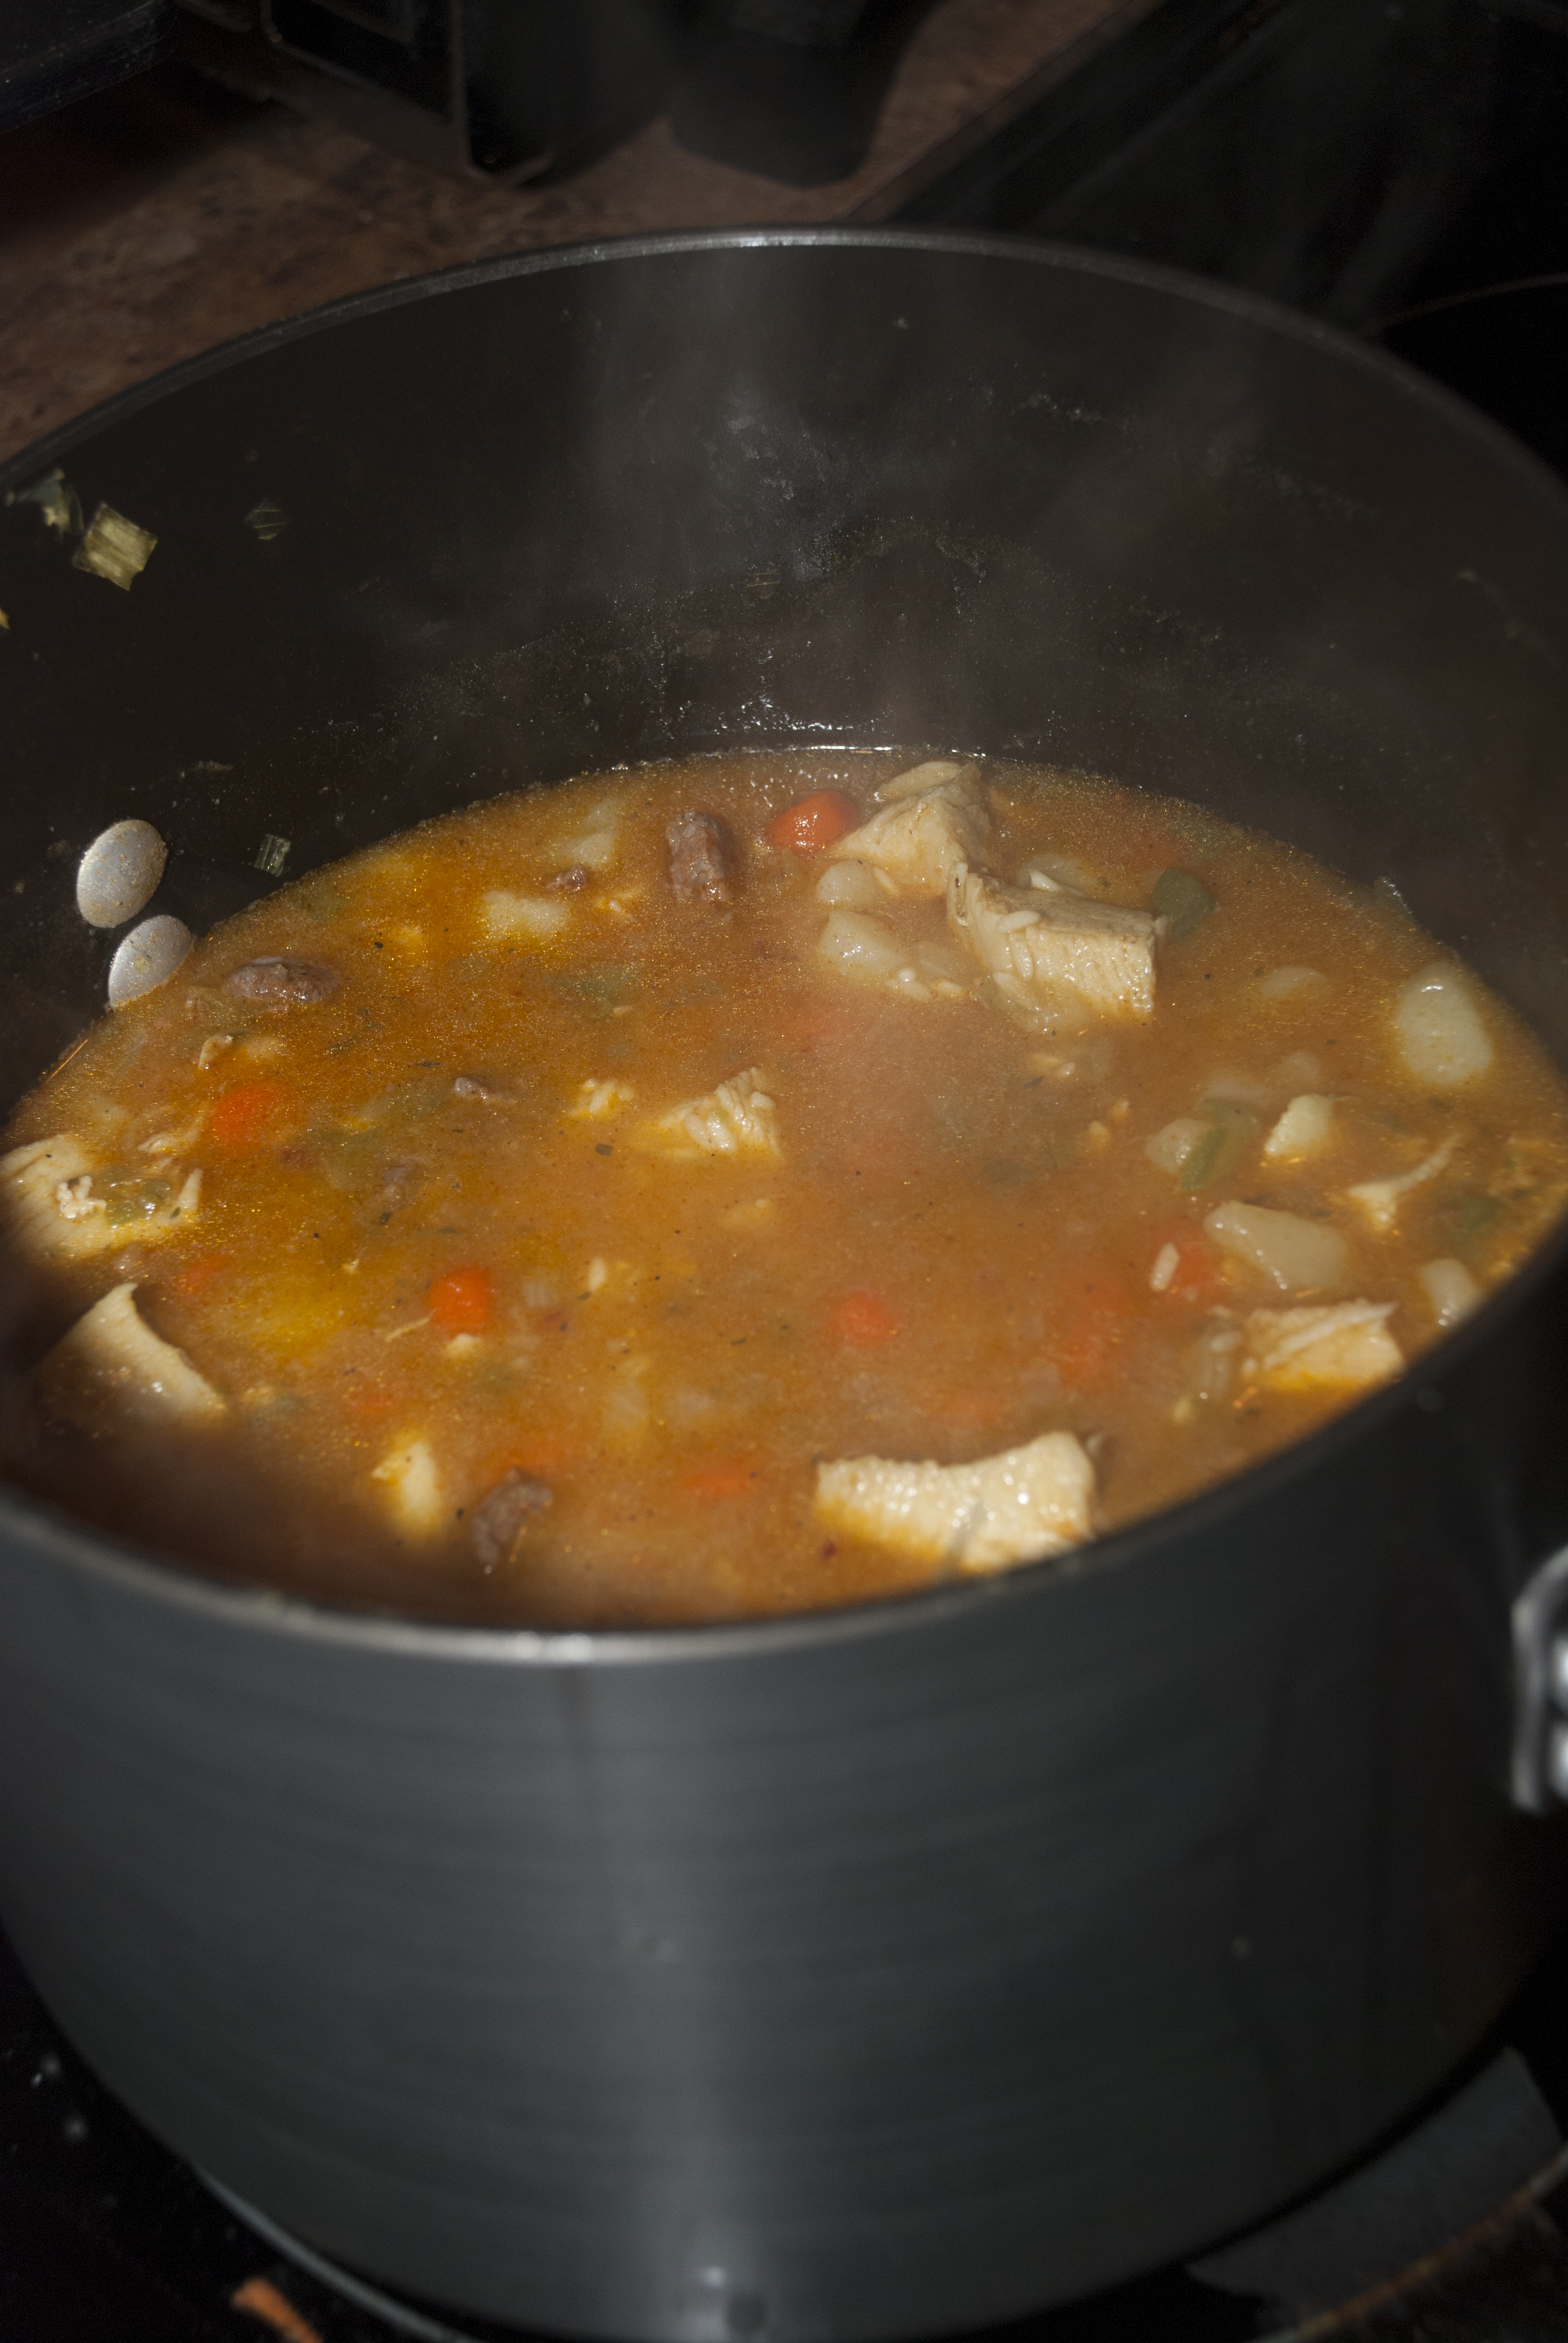
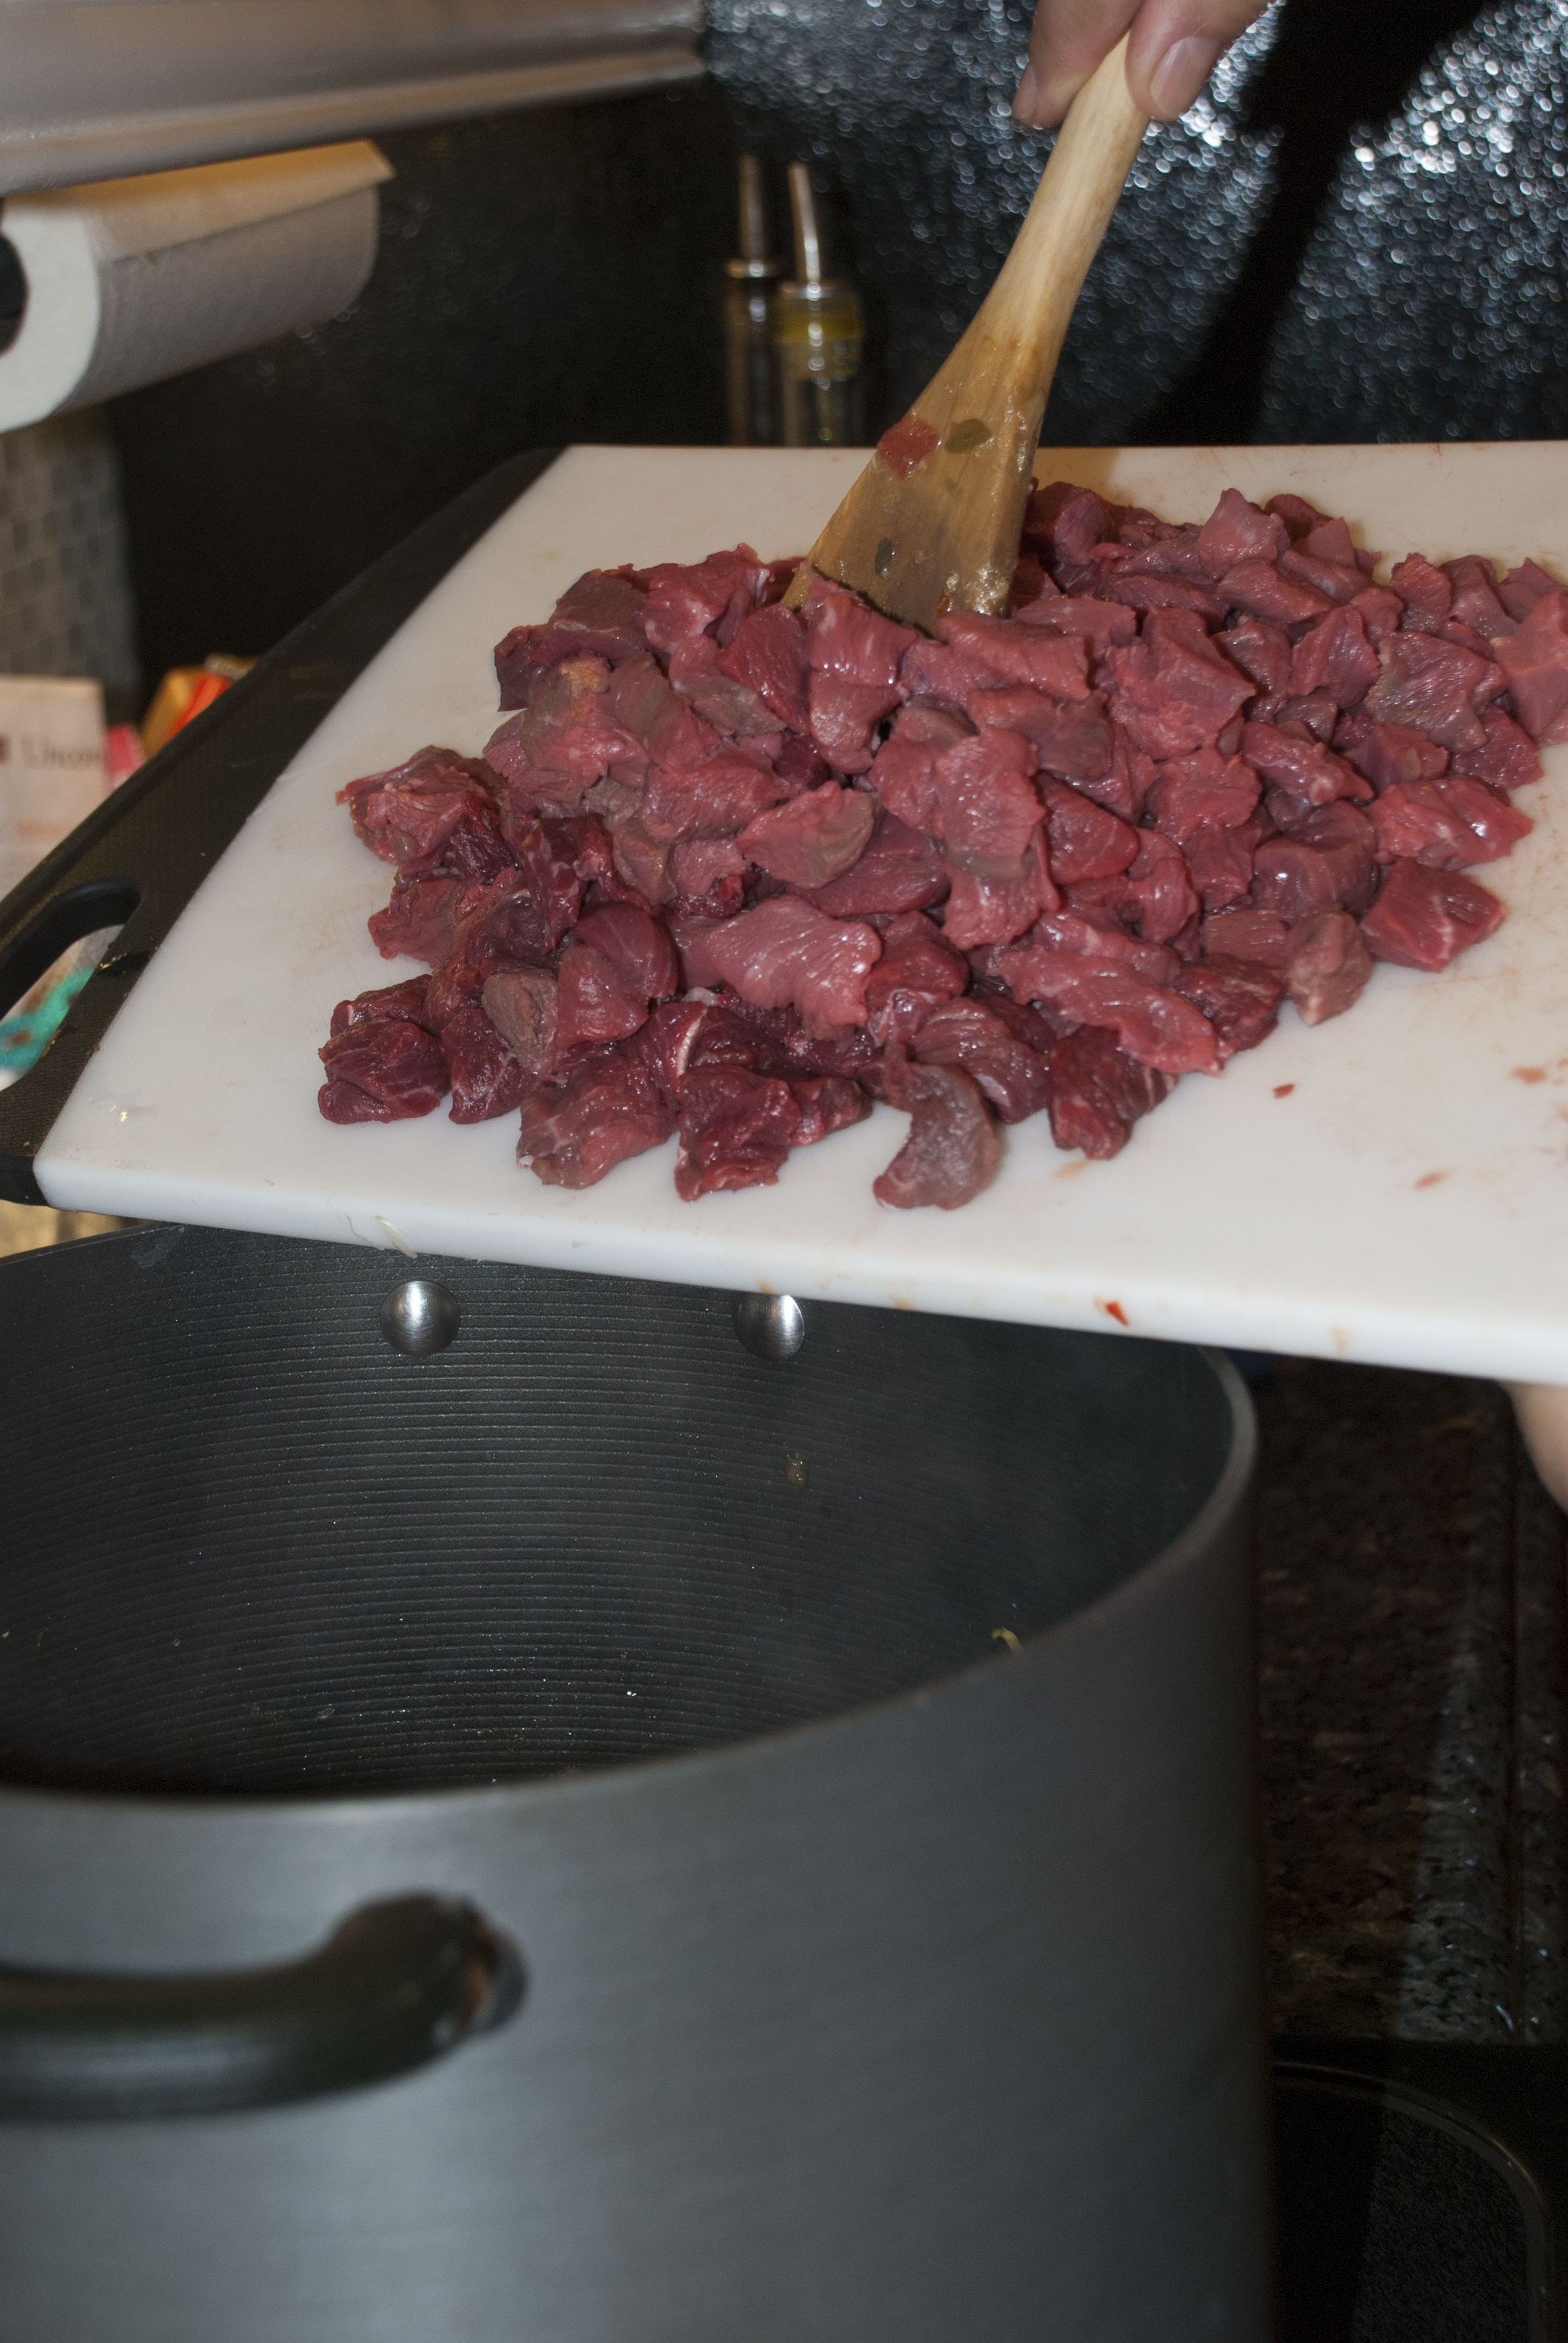
7. Add the beef and the pork we cooked earlier, cover, and continue to cook at medium heat for 40 minutes.
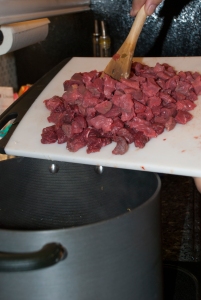
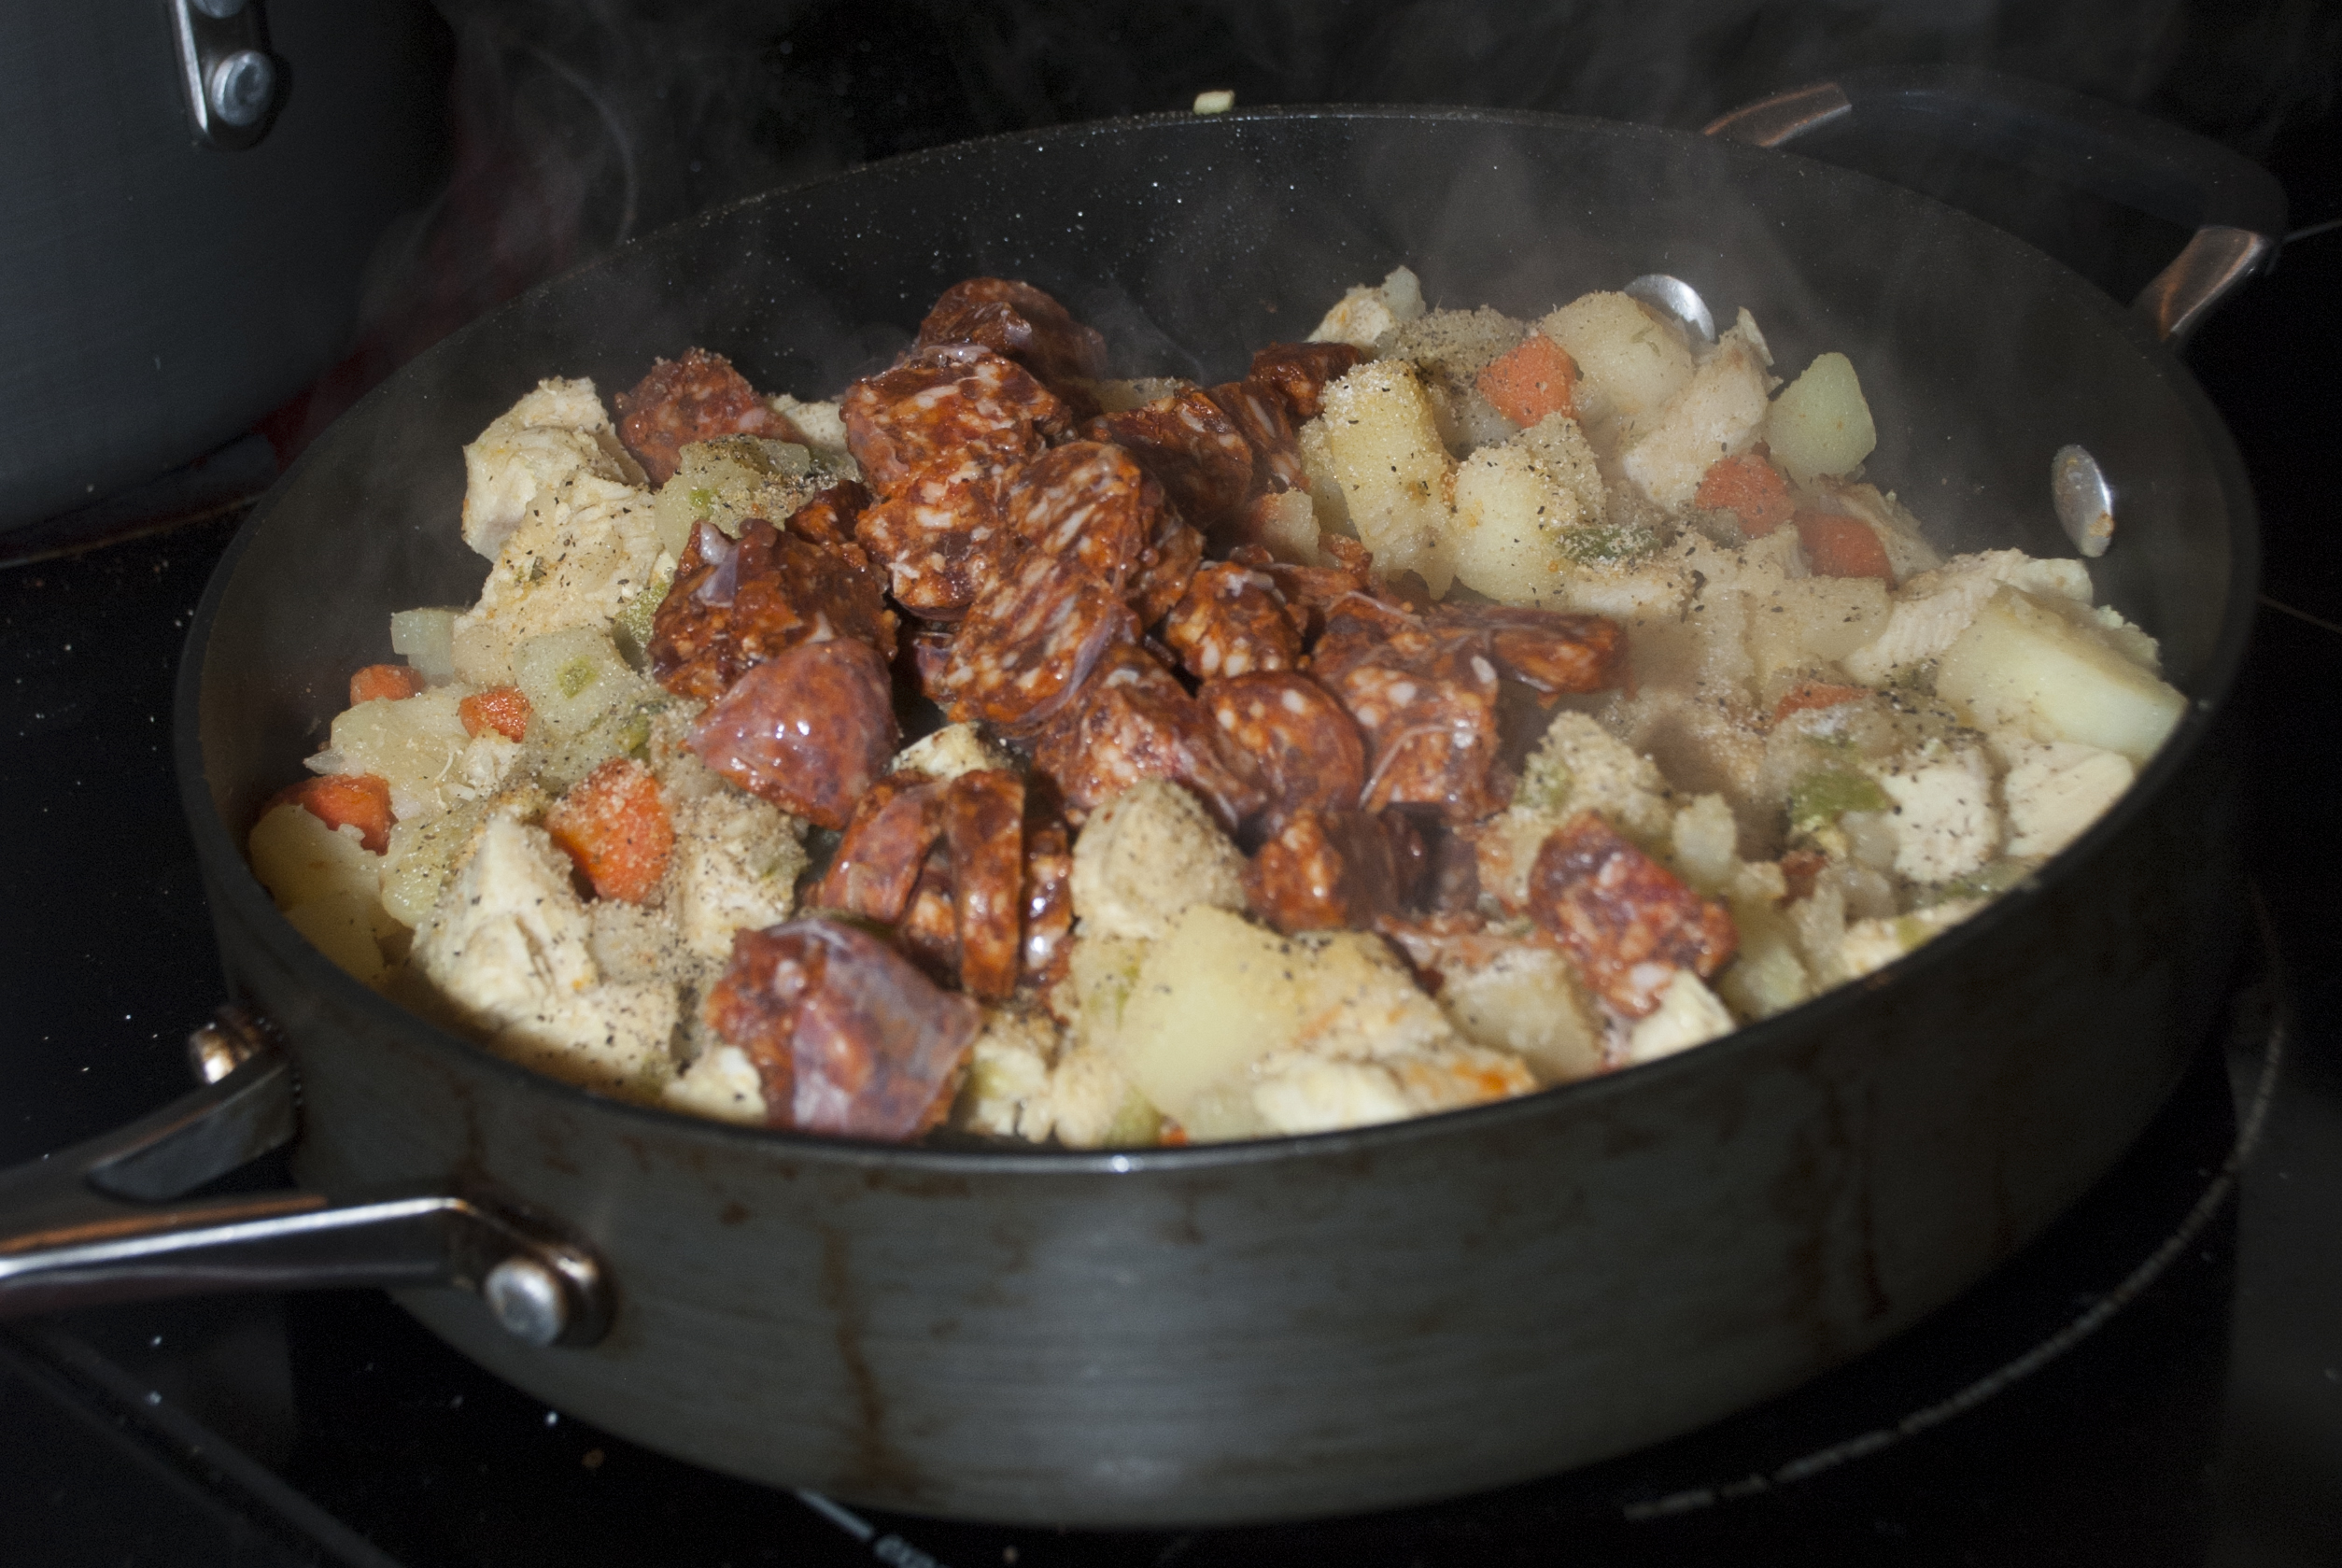
Adding the Beef
8. Add the half of the chicken you didn’t shred before and continue to cook for 15 more minutes making sure the meats are not disintegrating and they are still in small pieces.
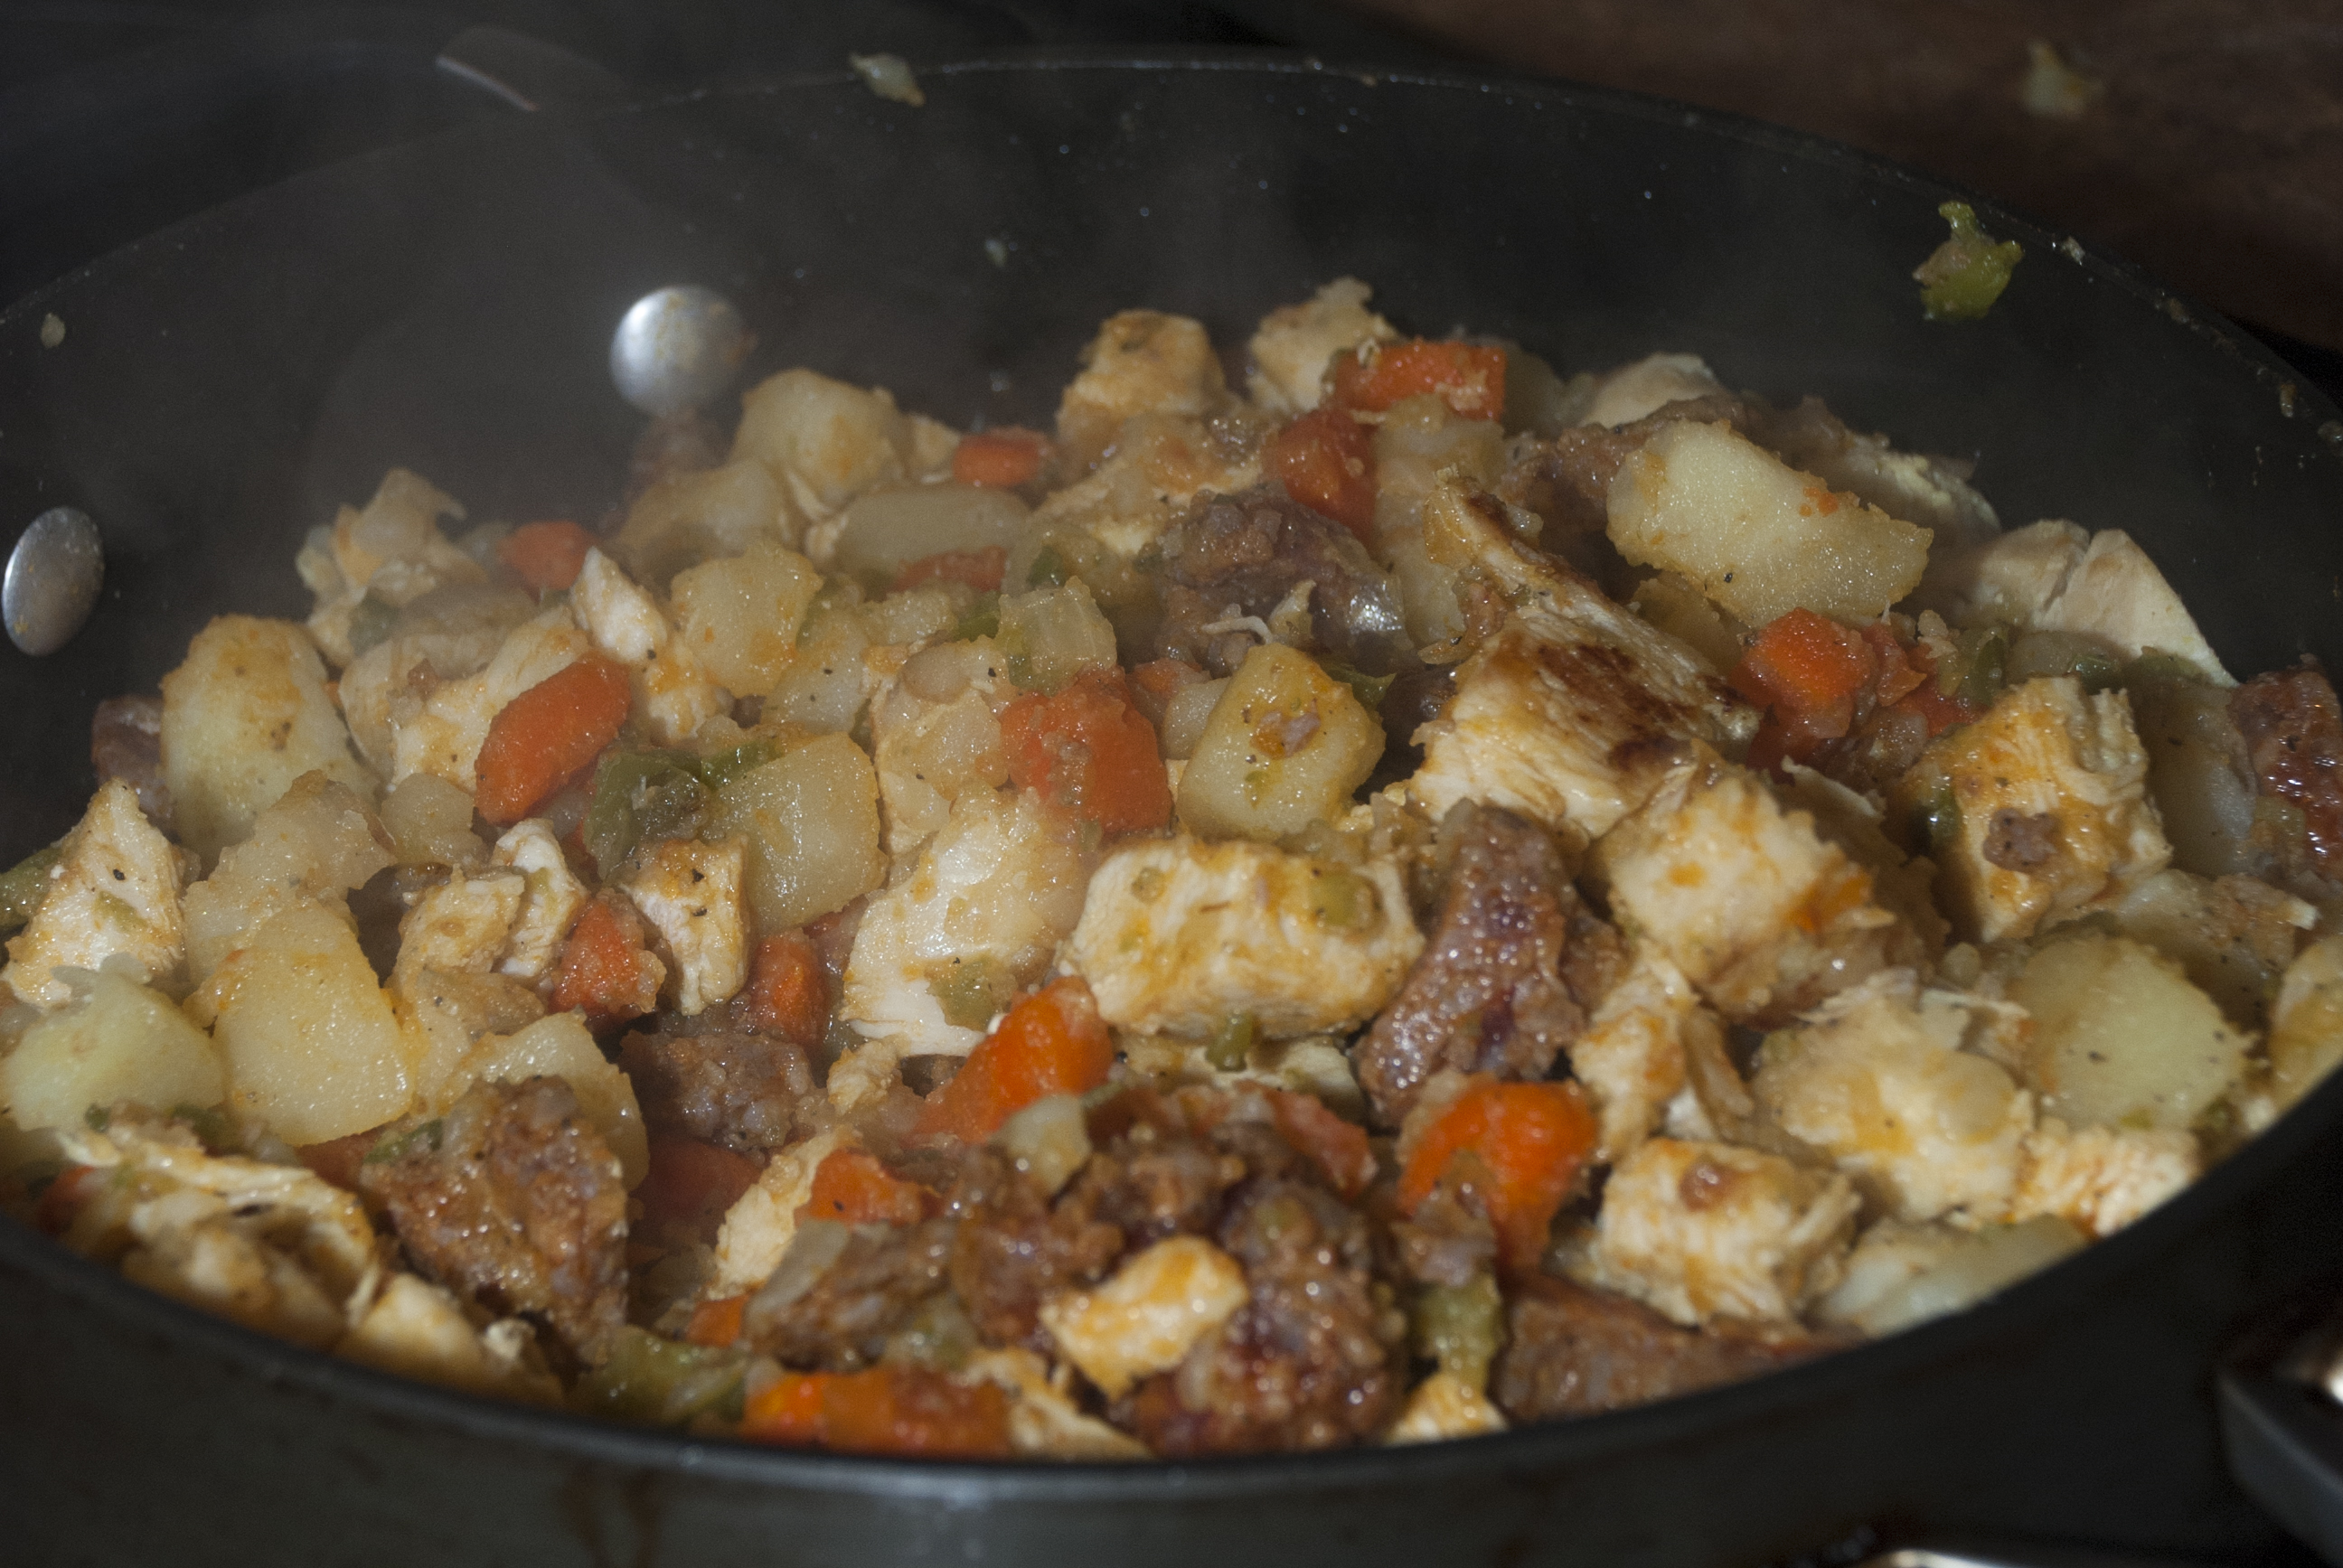
9. Taste the stew and add more salt if necessary.
Add Salt To Taste
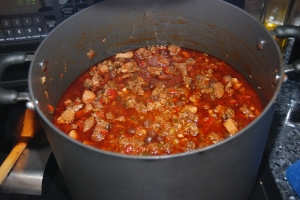
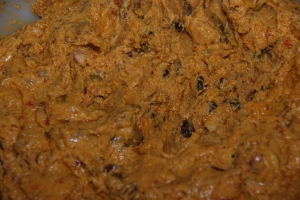
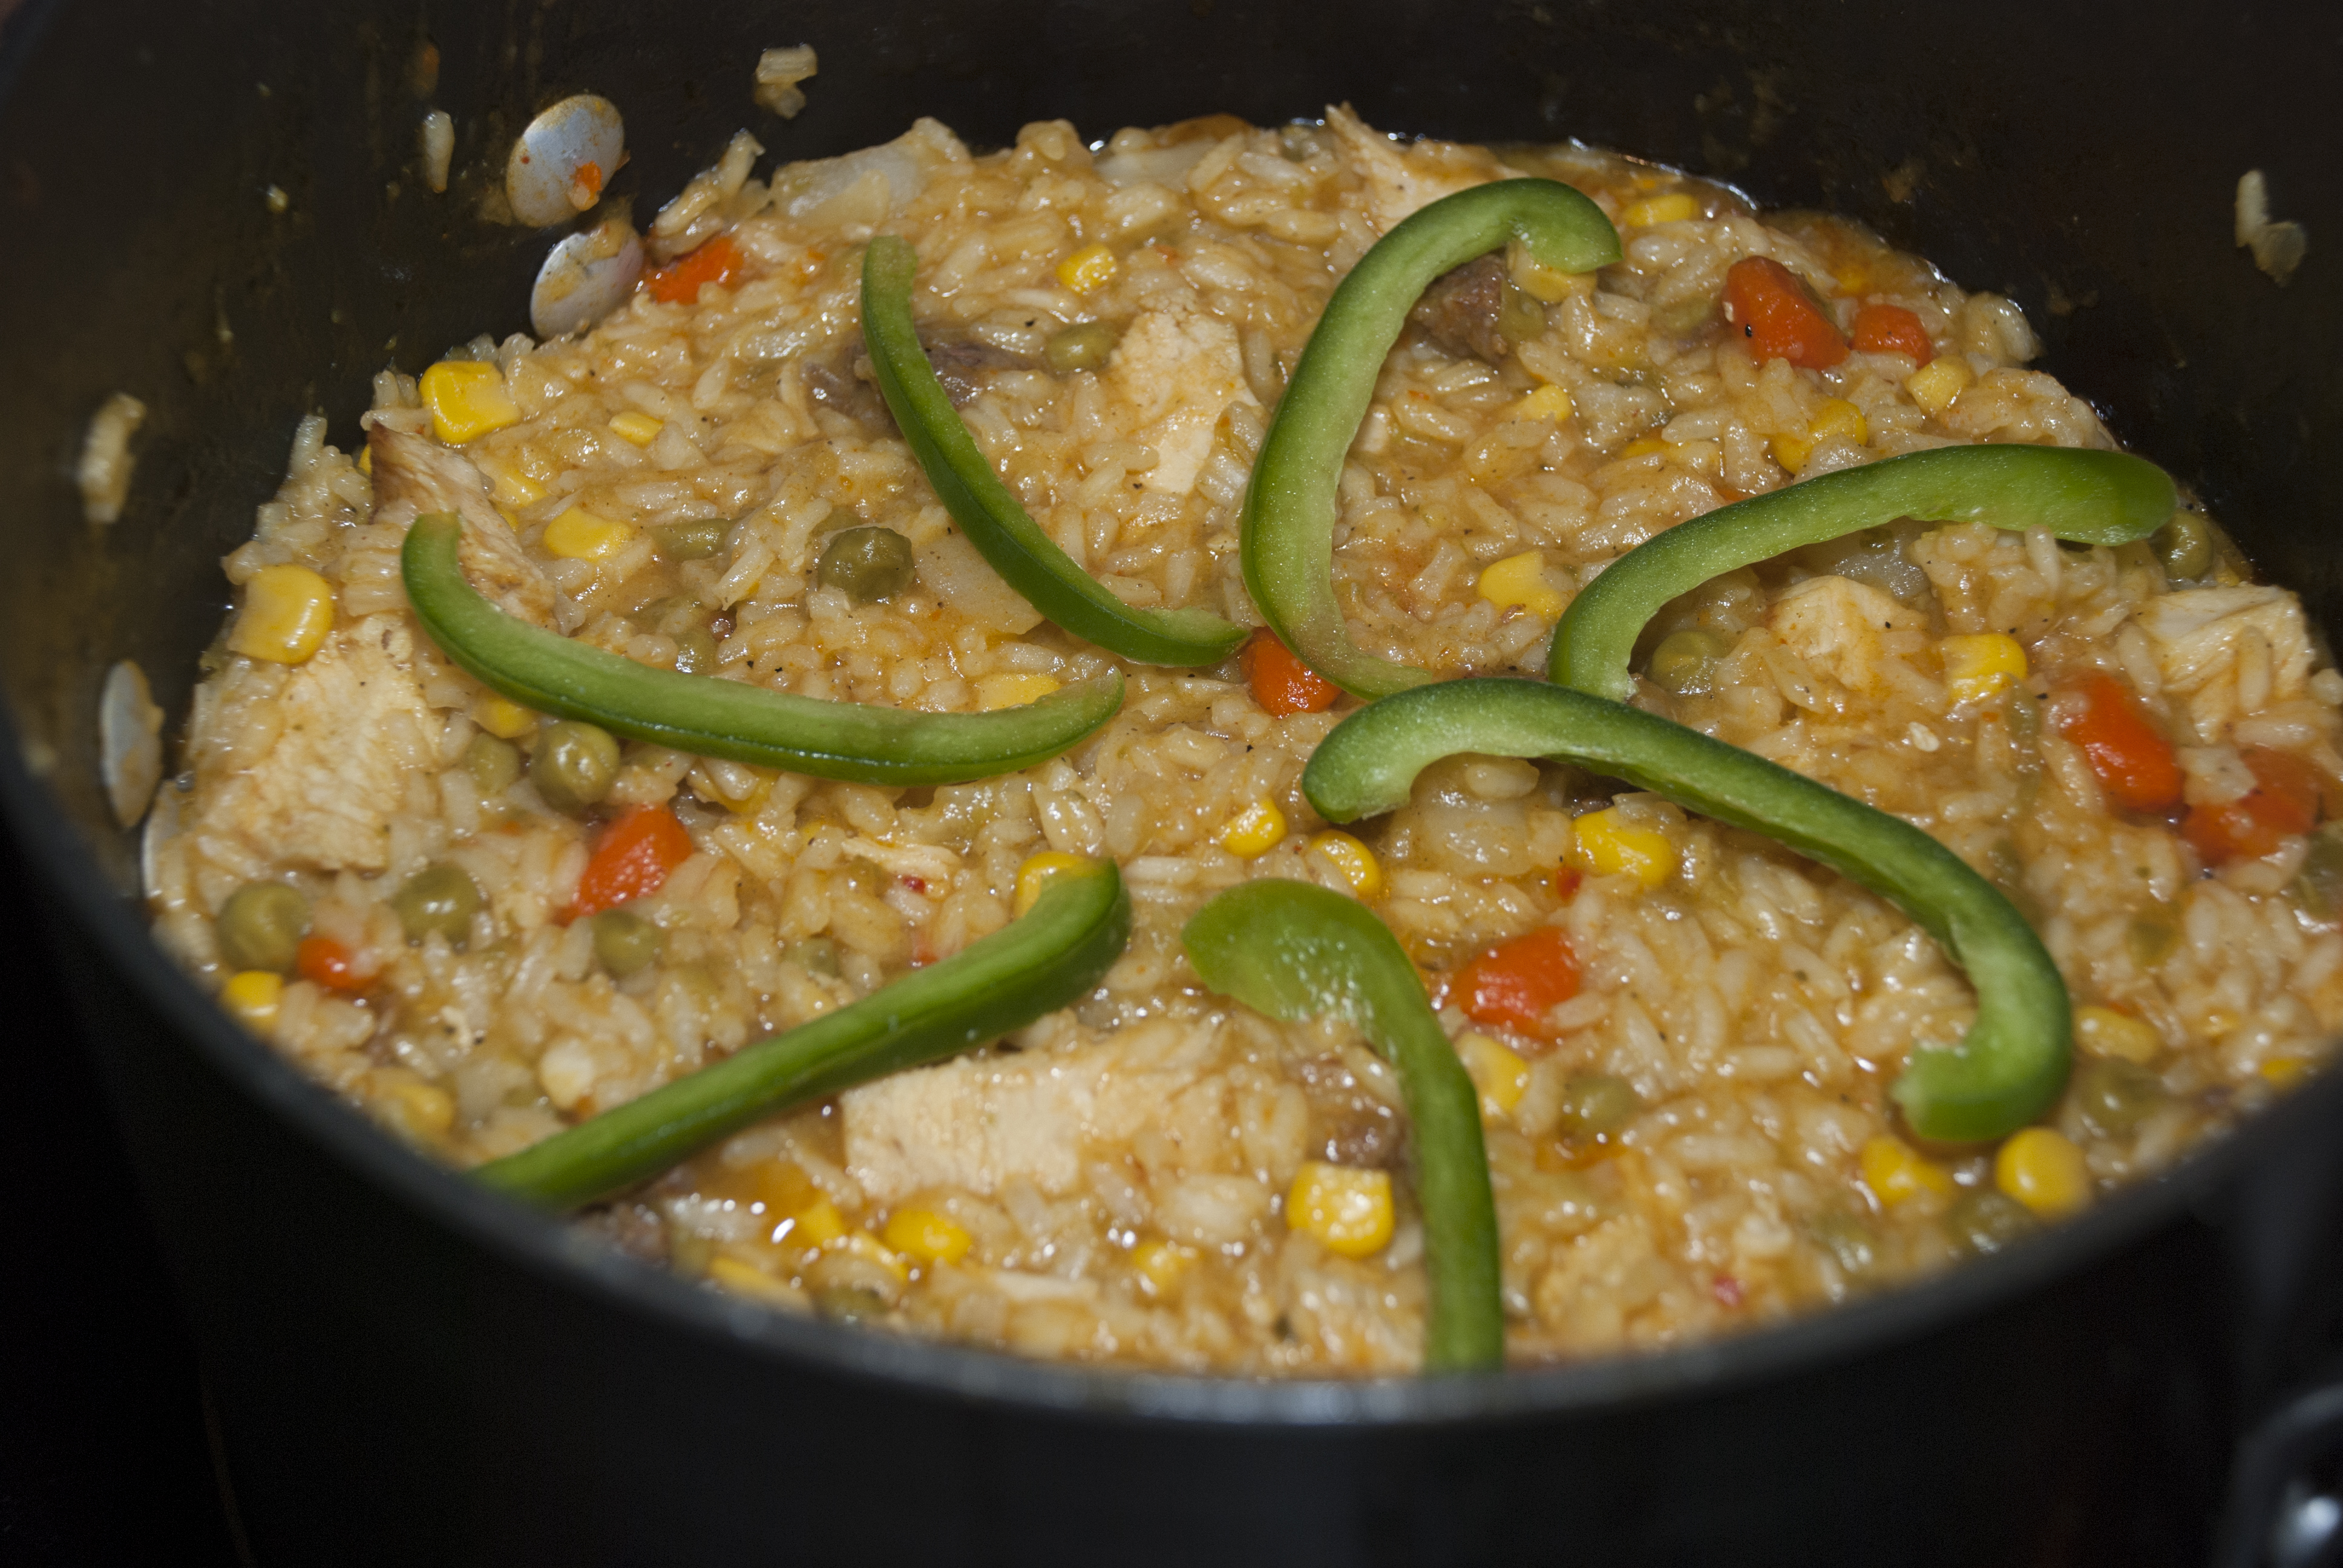
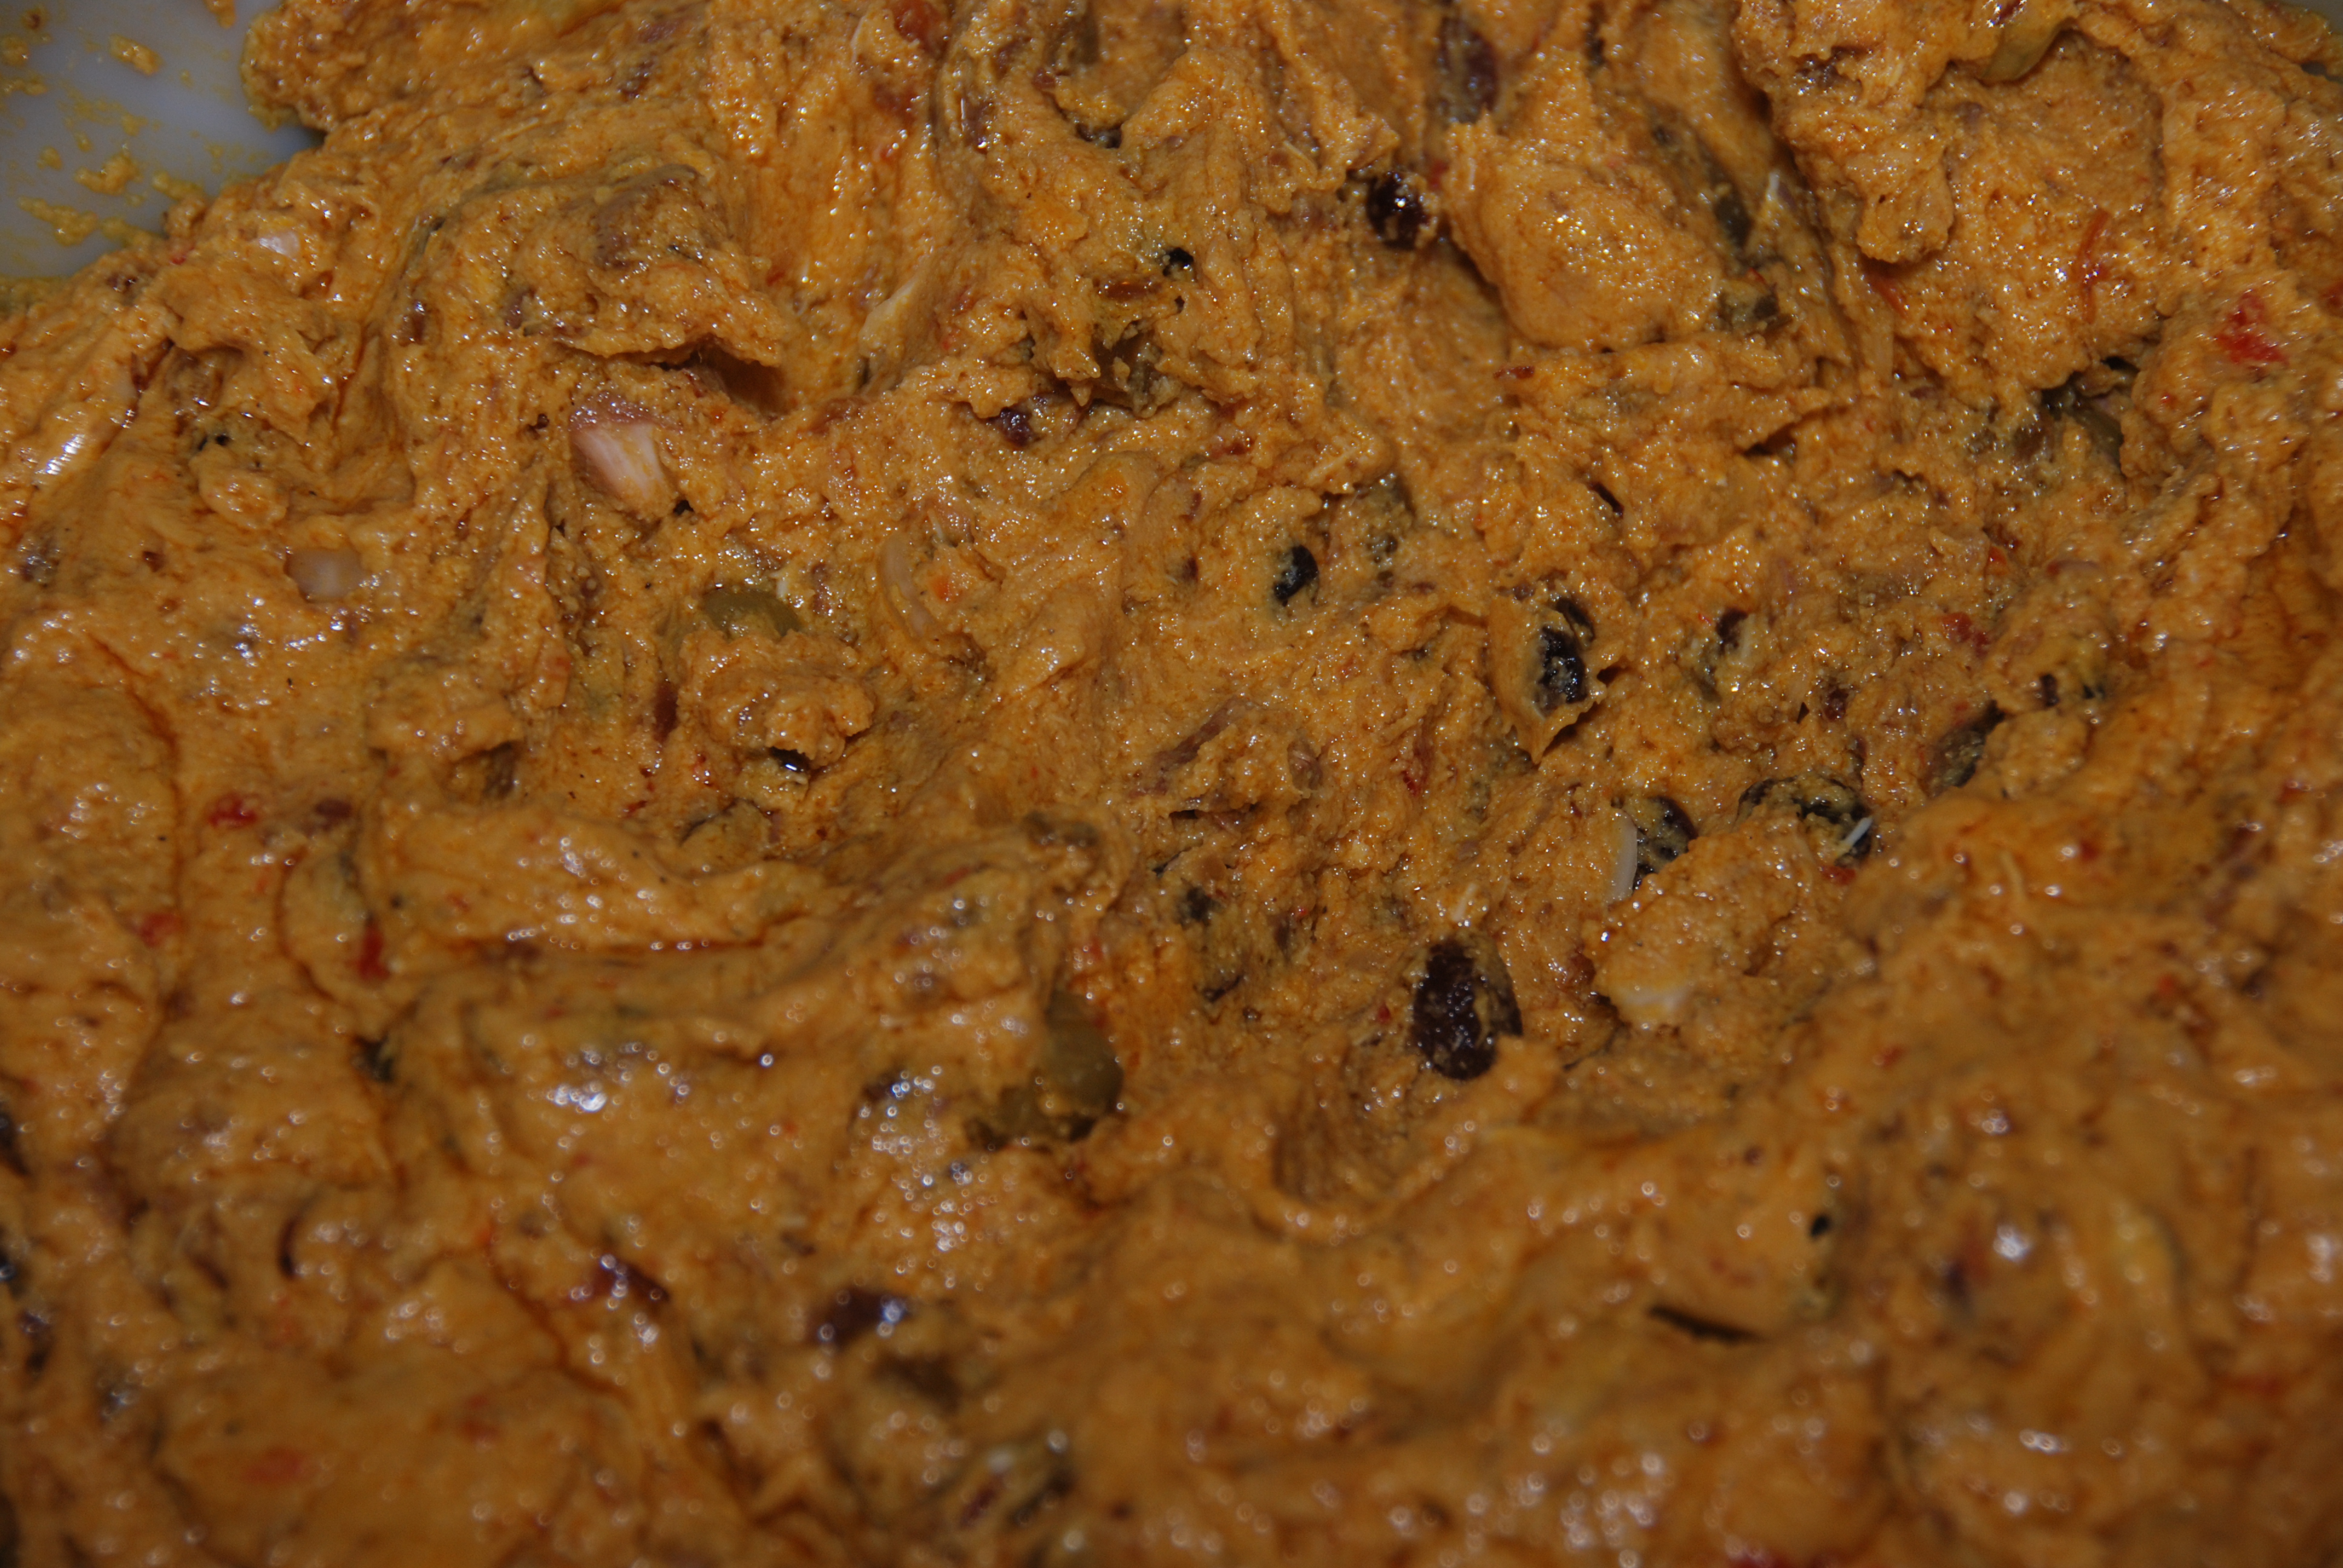
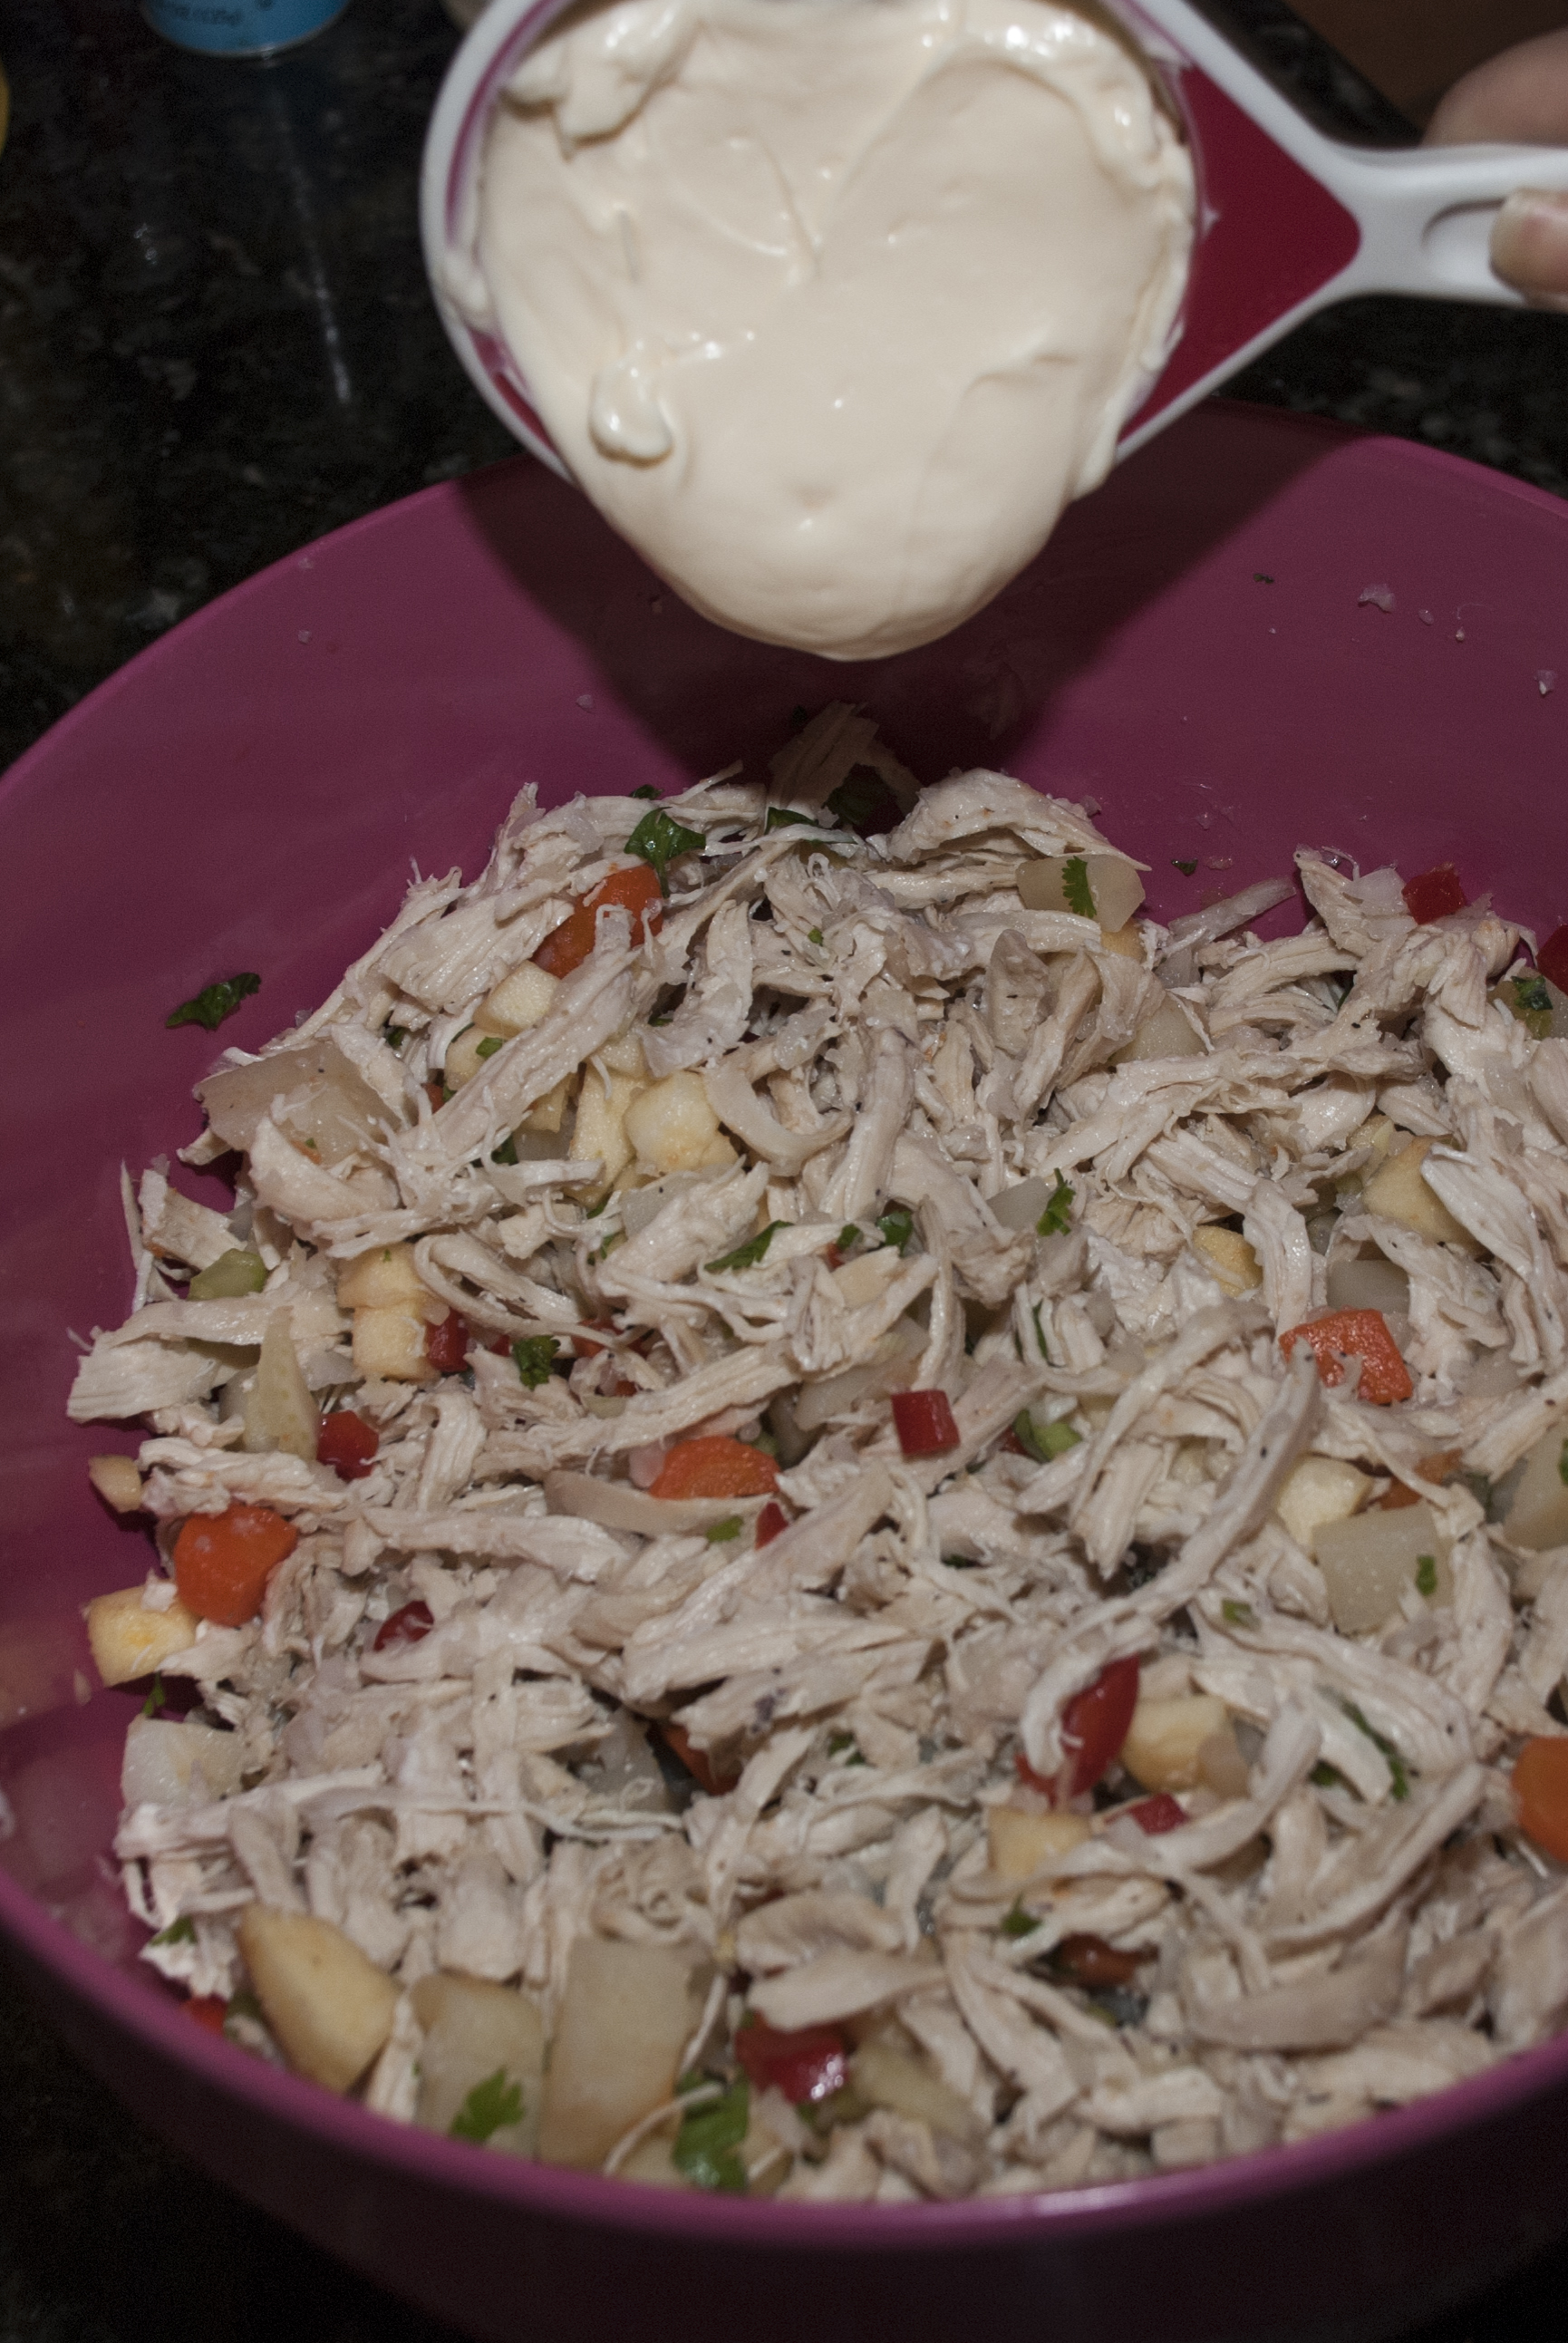
10. Remove from the heat and let it cool down. If your stew if too liquid, you can thicken it by adding one tablespoon of Harina P.A.N. dissolved in water. Add as many as necessary to get the right consistency.
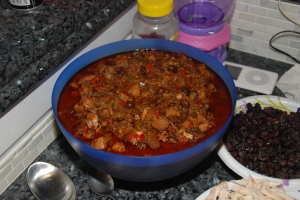
The Stew Is Ready
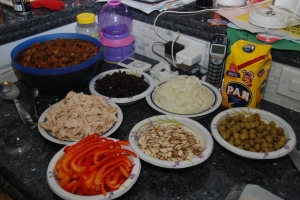
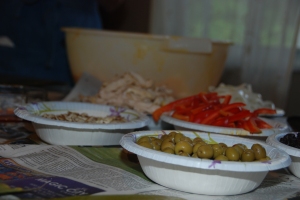
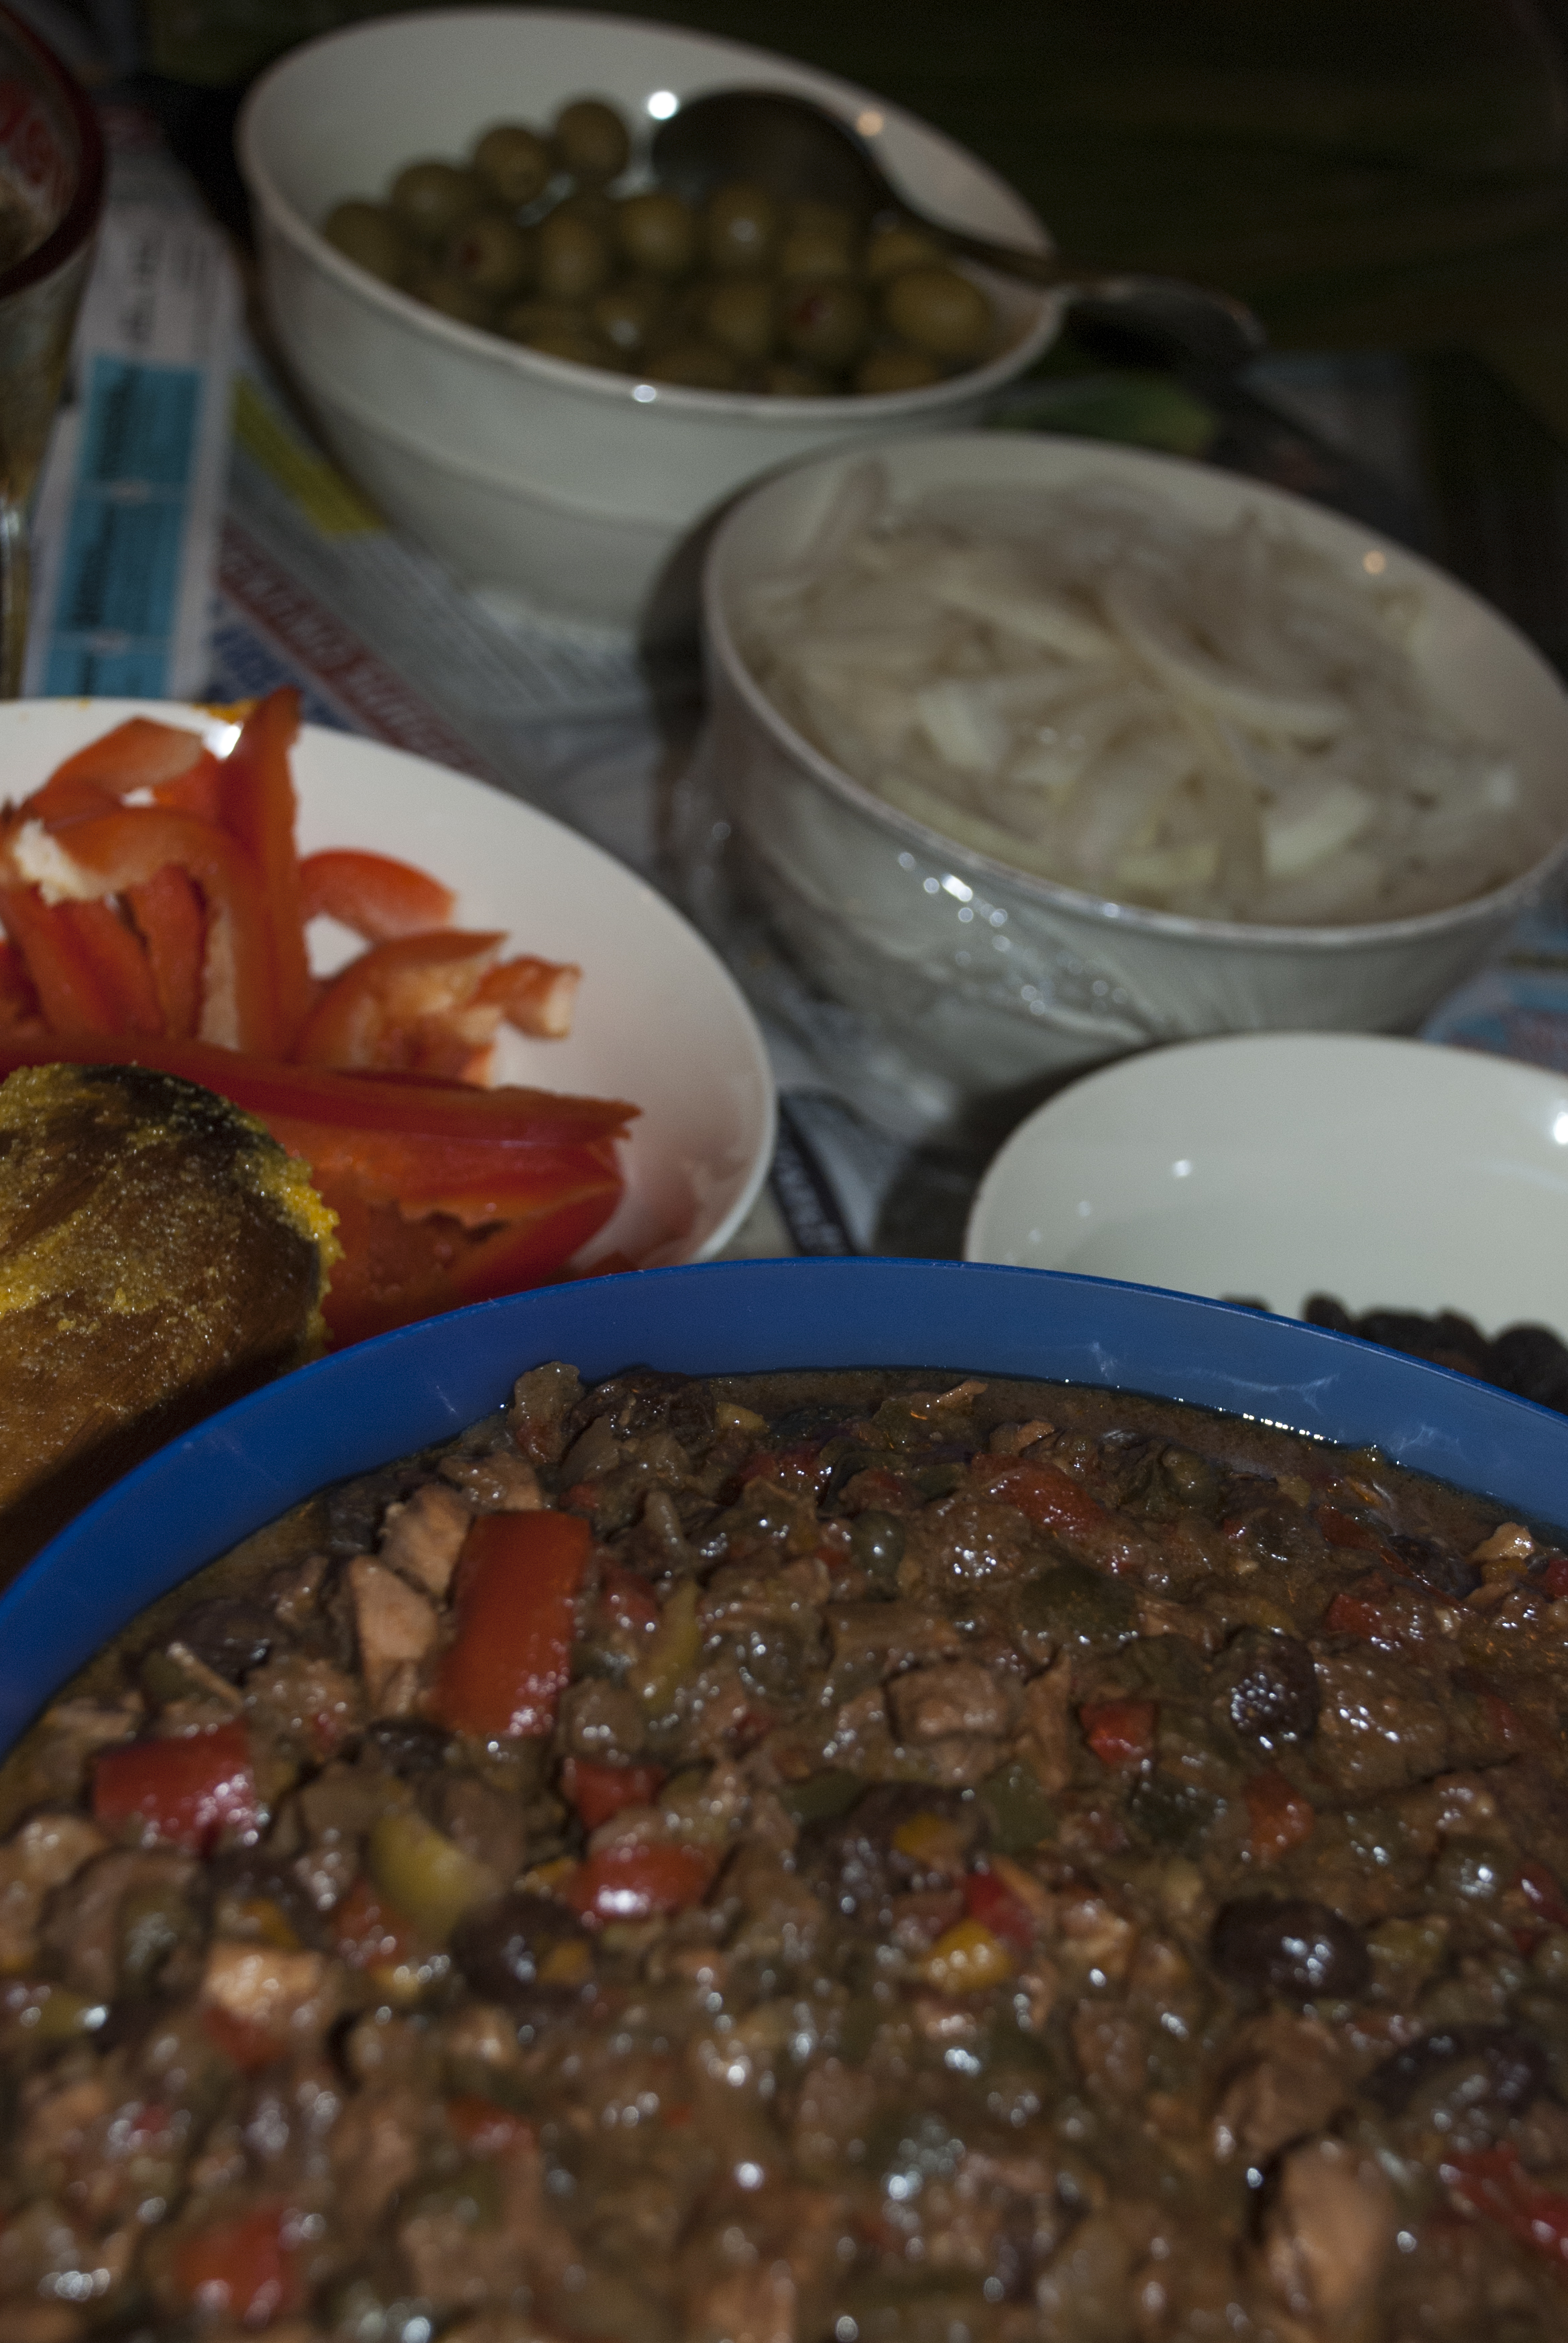
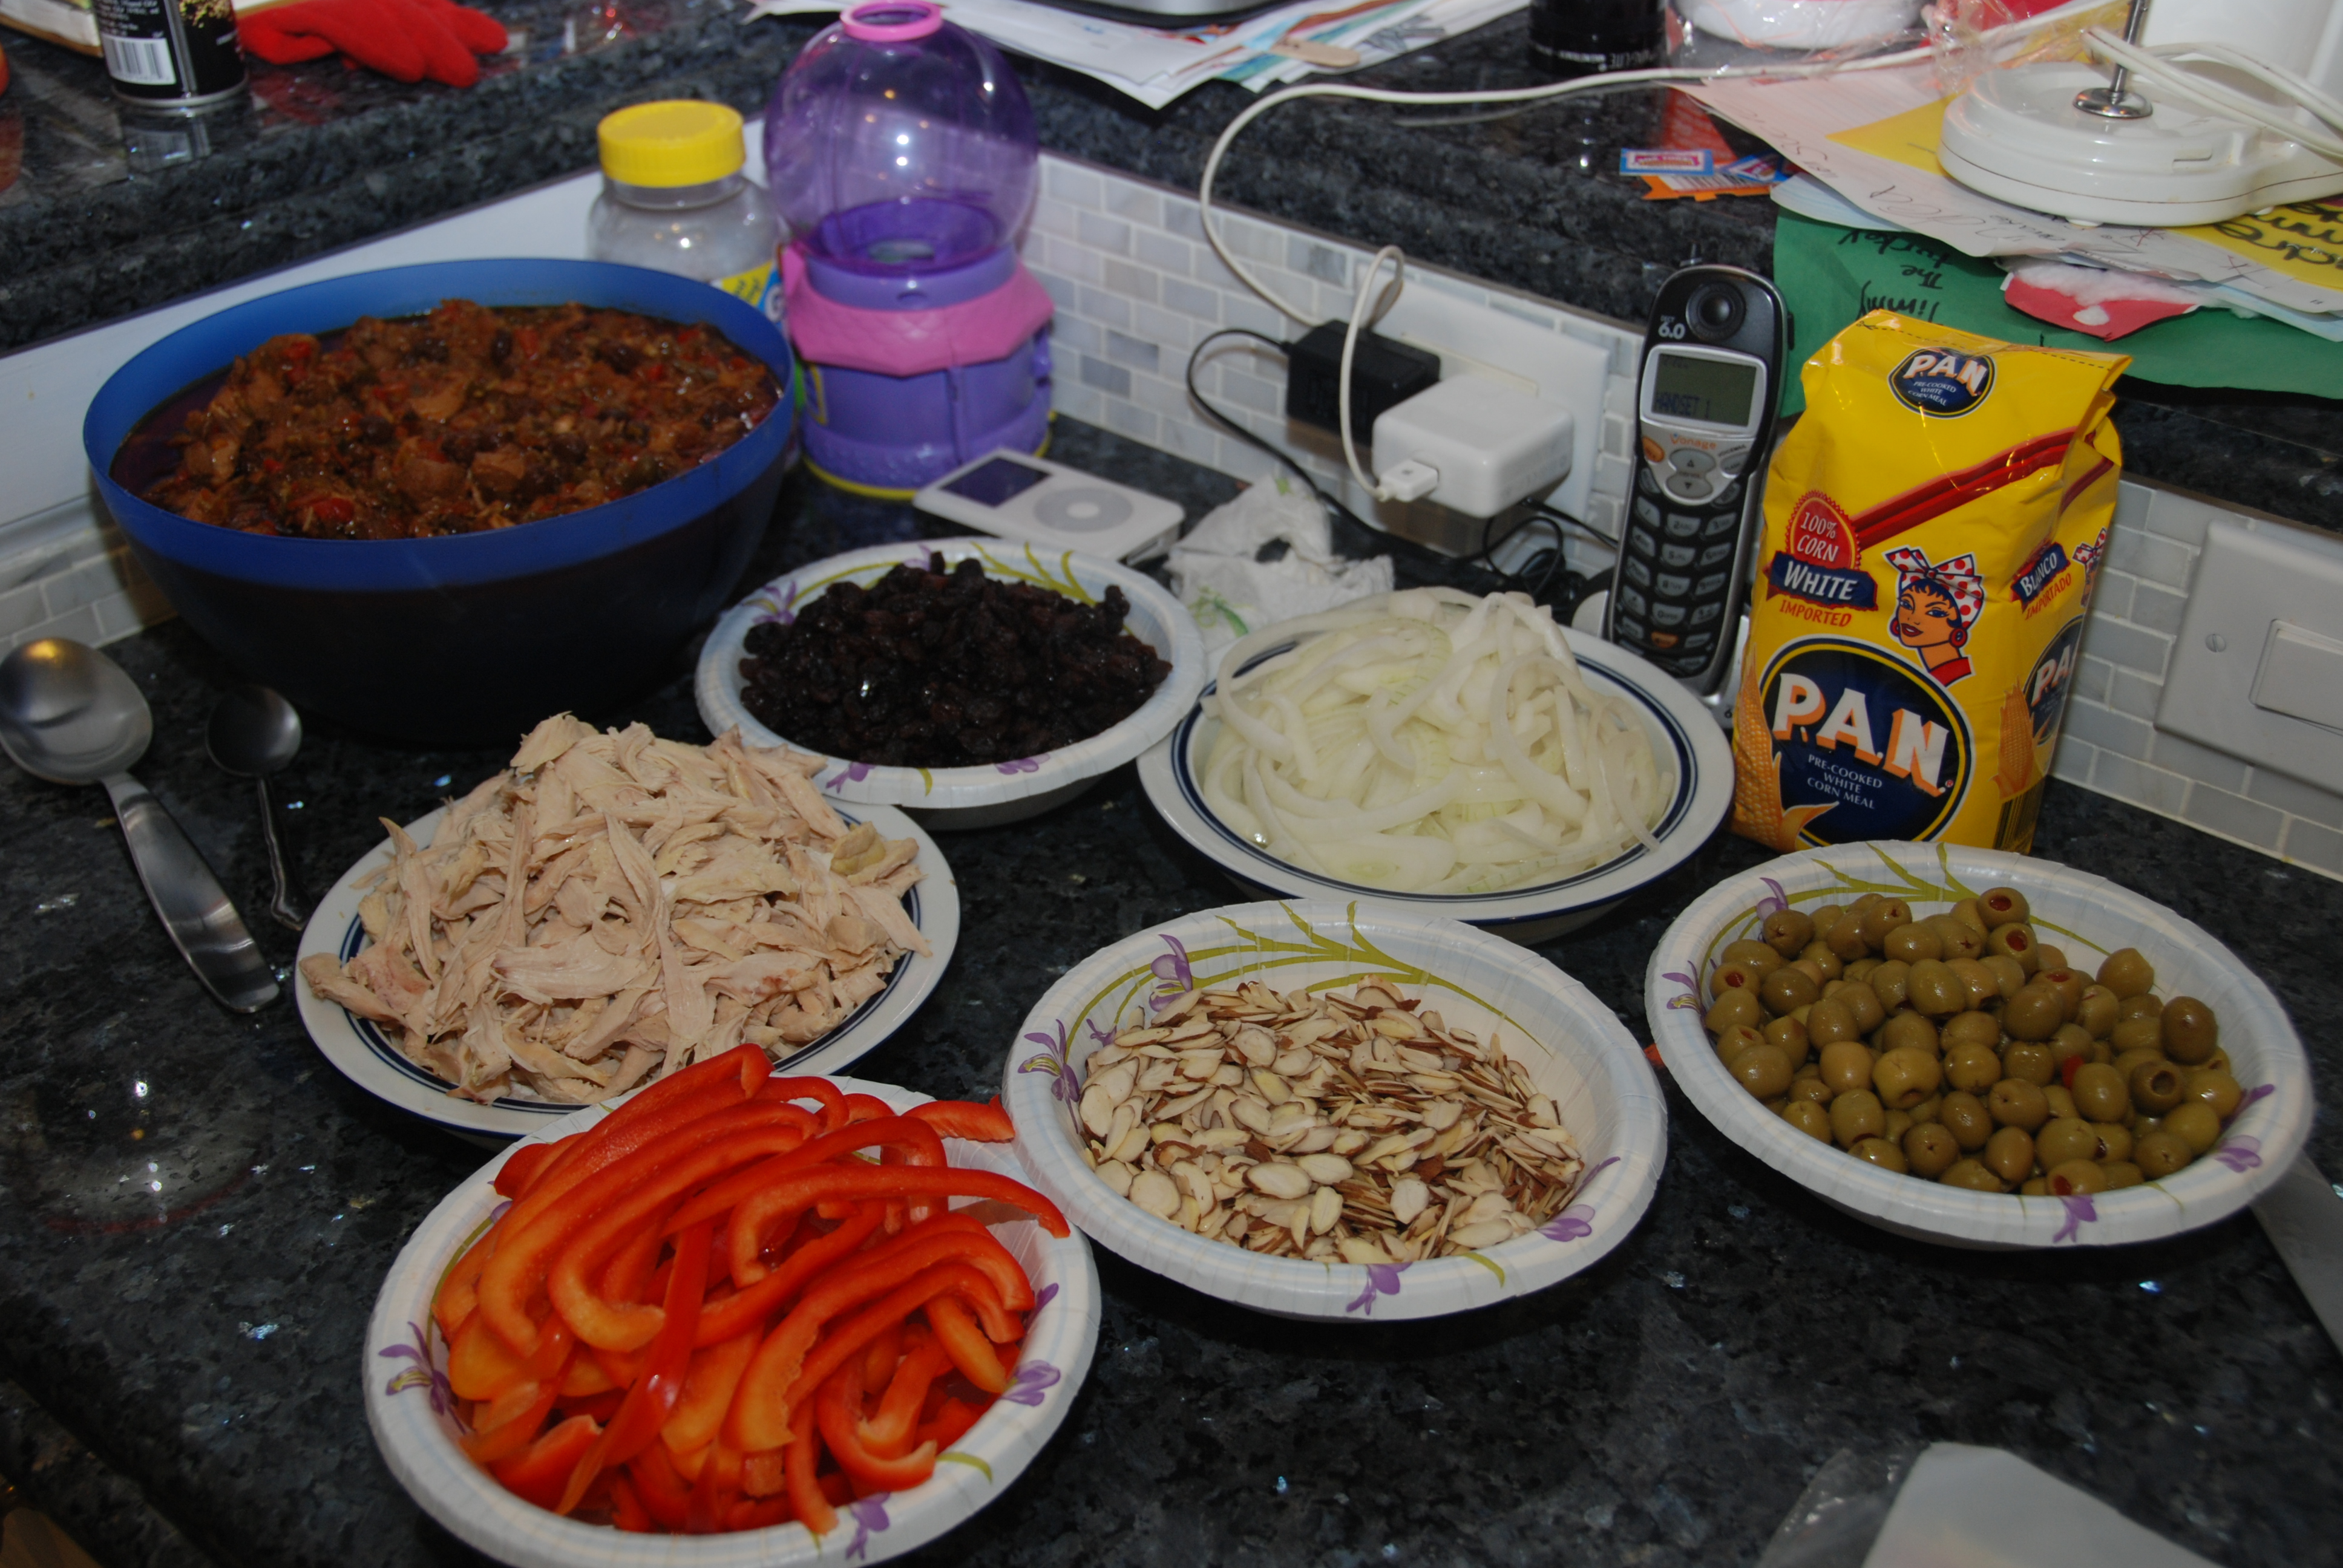
11. You can cut and prep all the garnishes while you are cooking the stew so you have them ready before you begin with the next step.
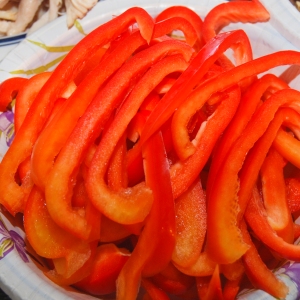
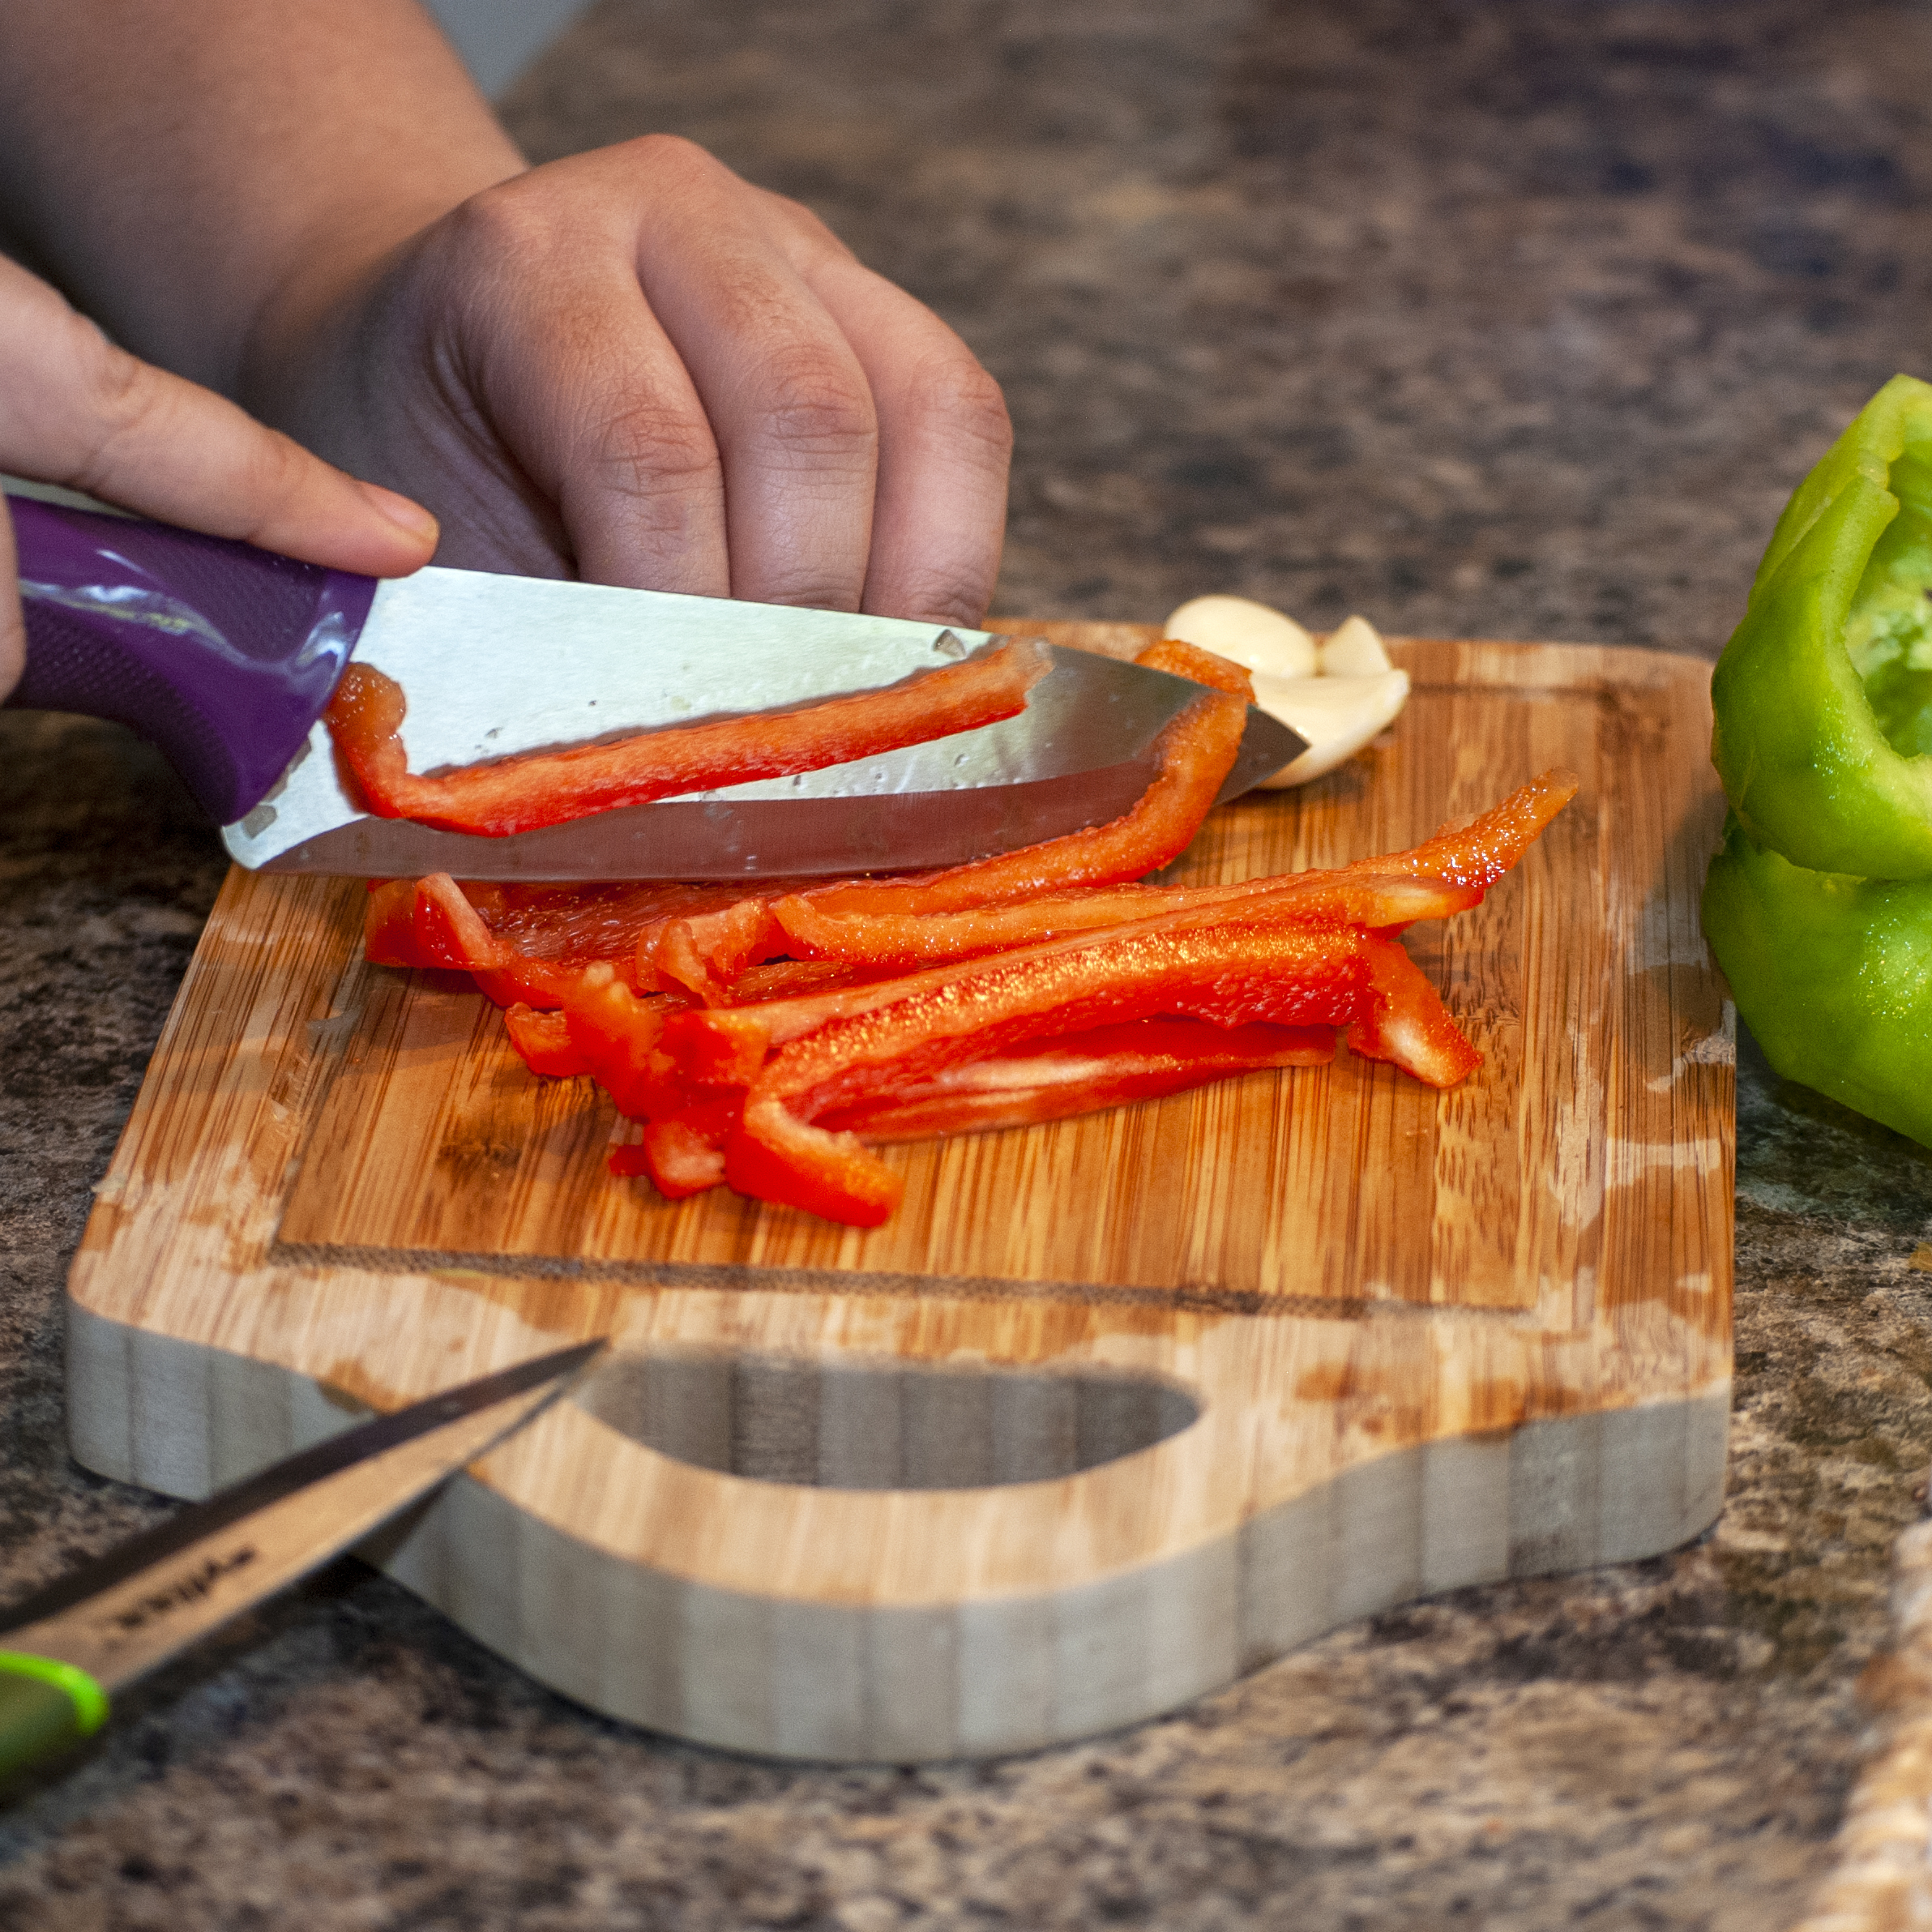
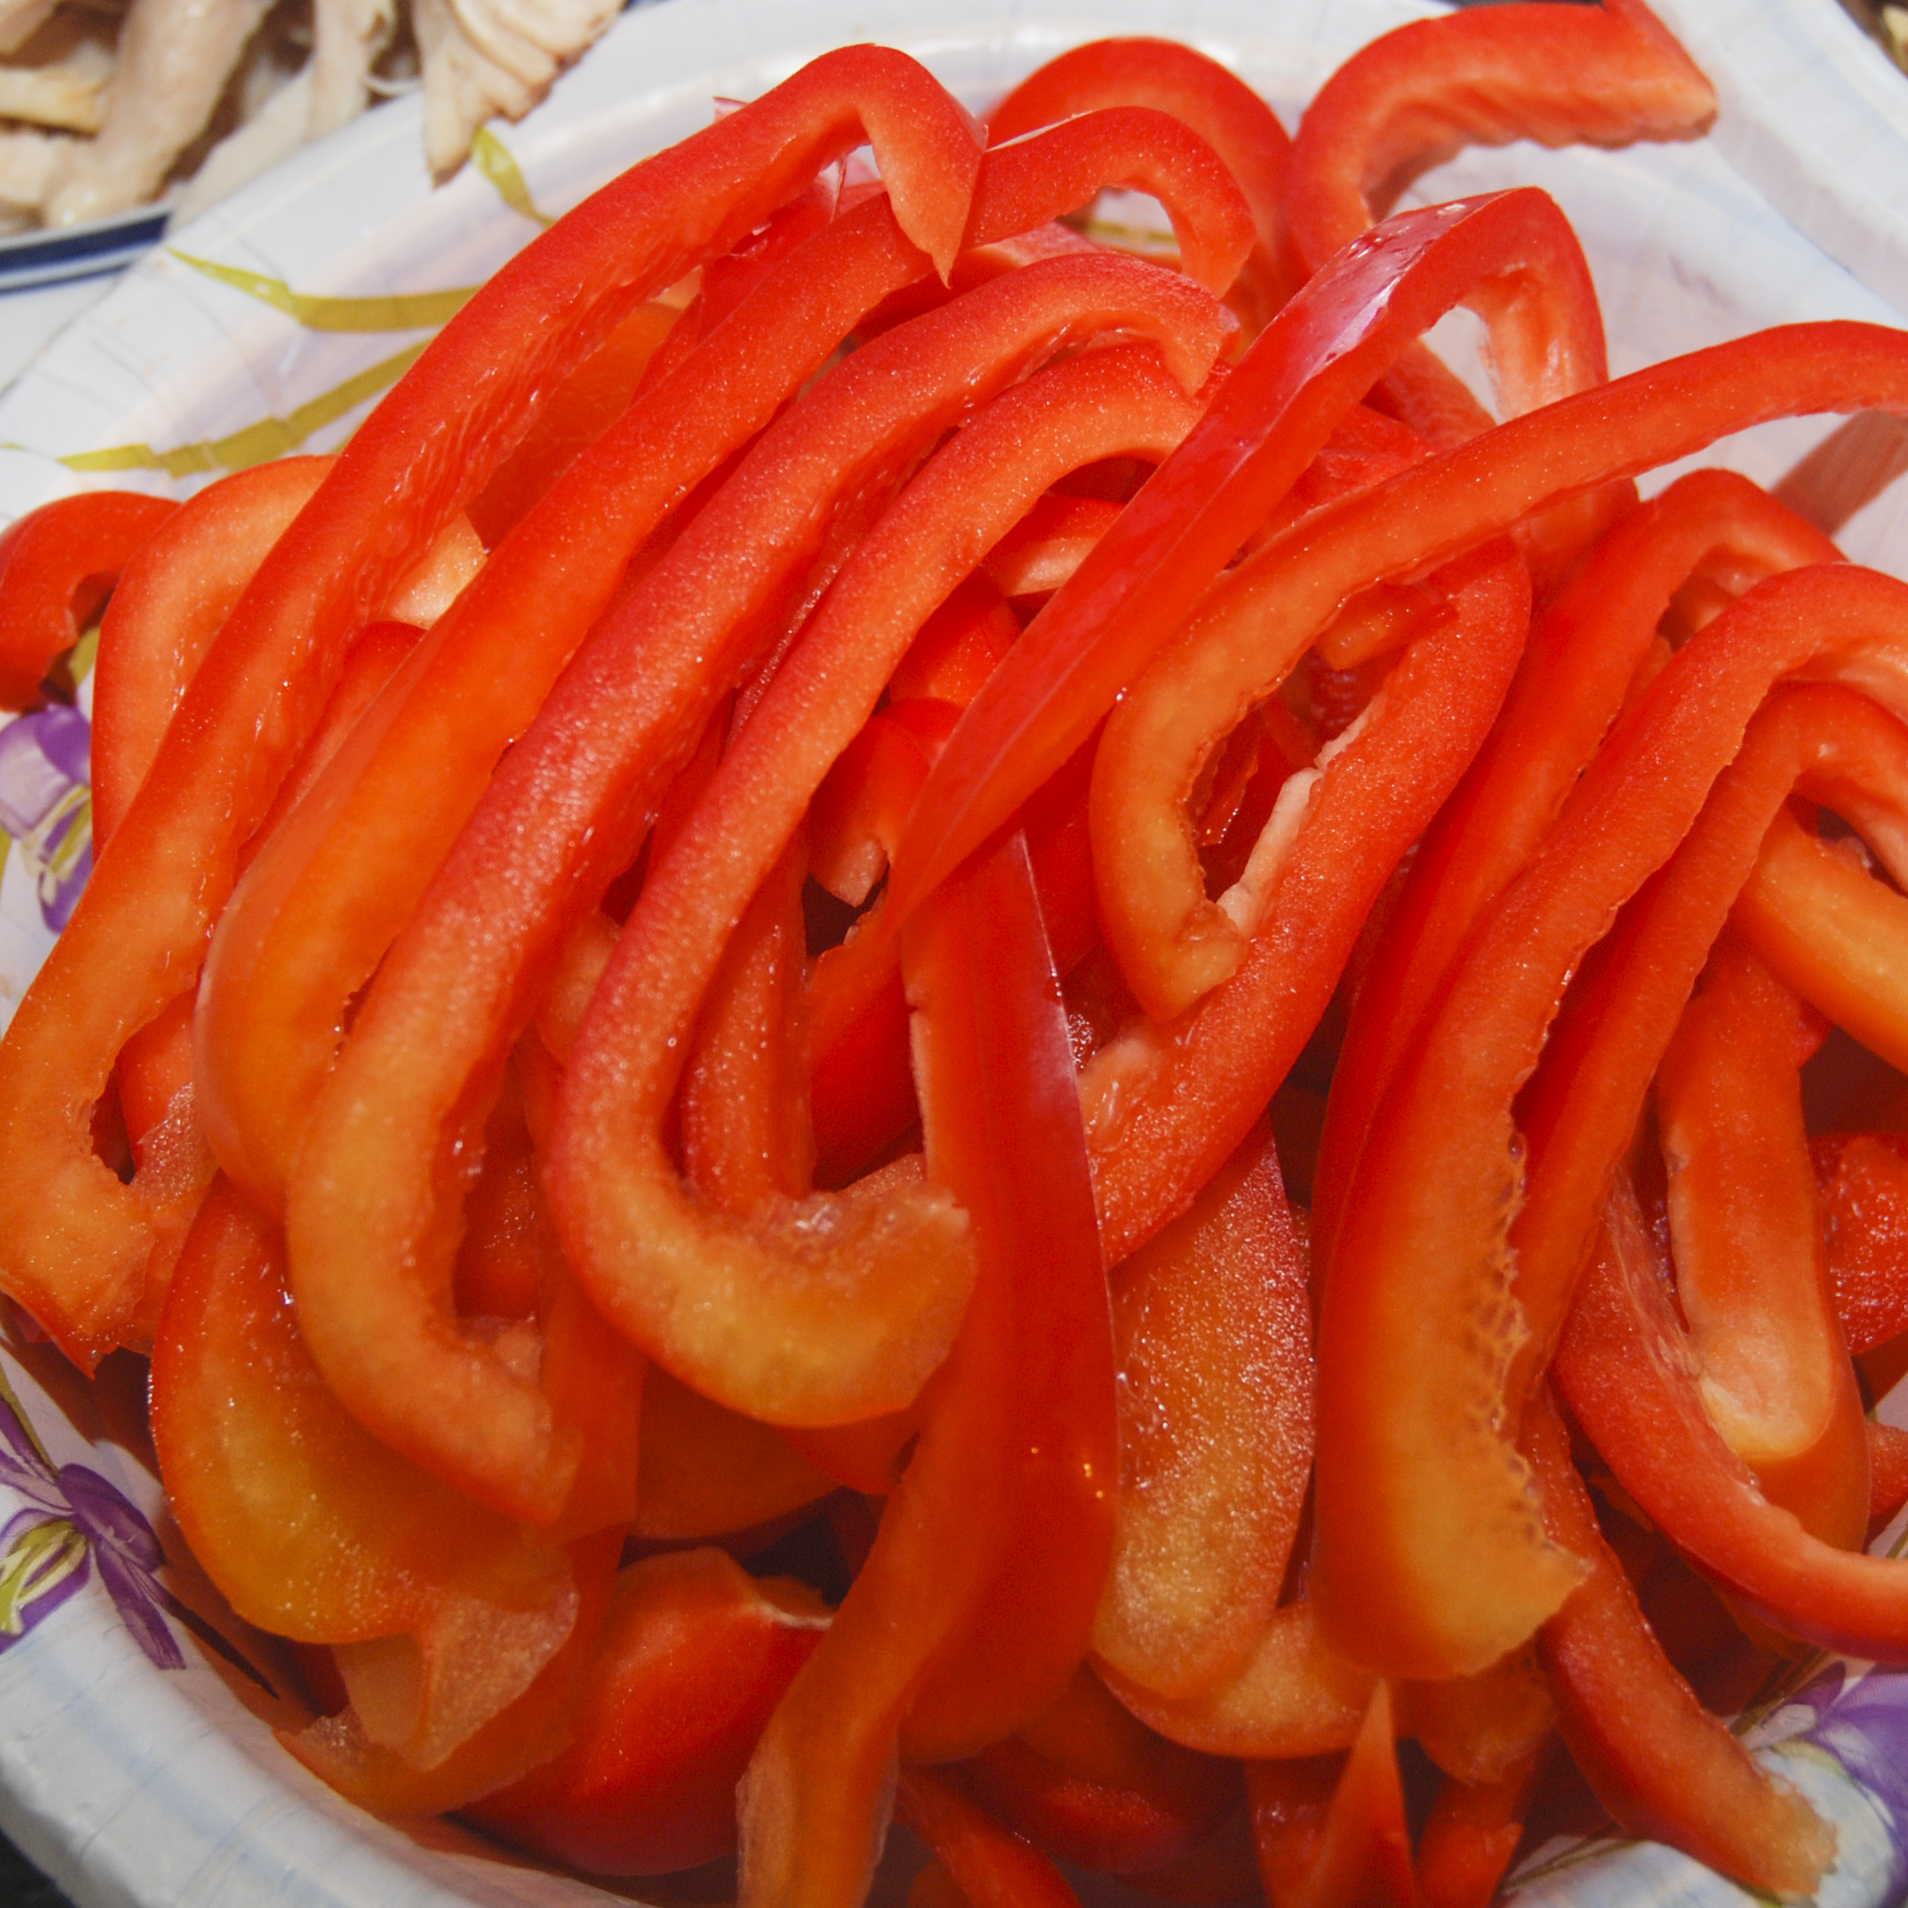
Garnish : Red Bell Peppers
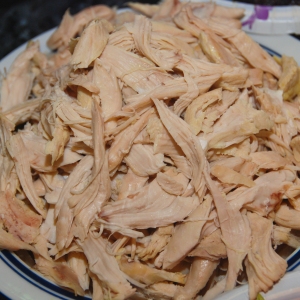
Garnish : Shredded Chicken
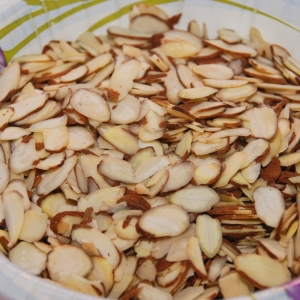
Garnish: Almonds

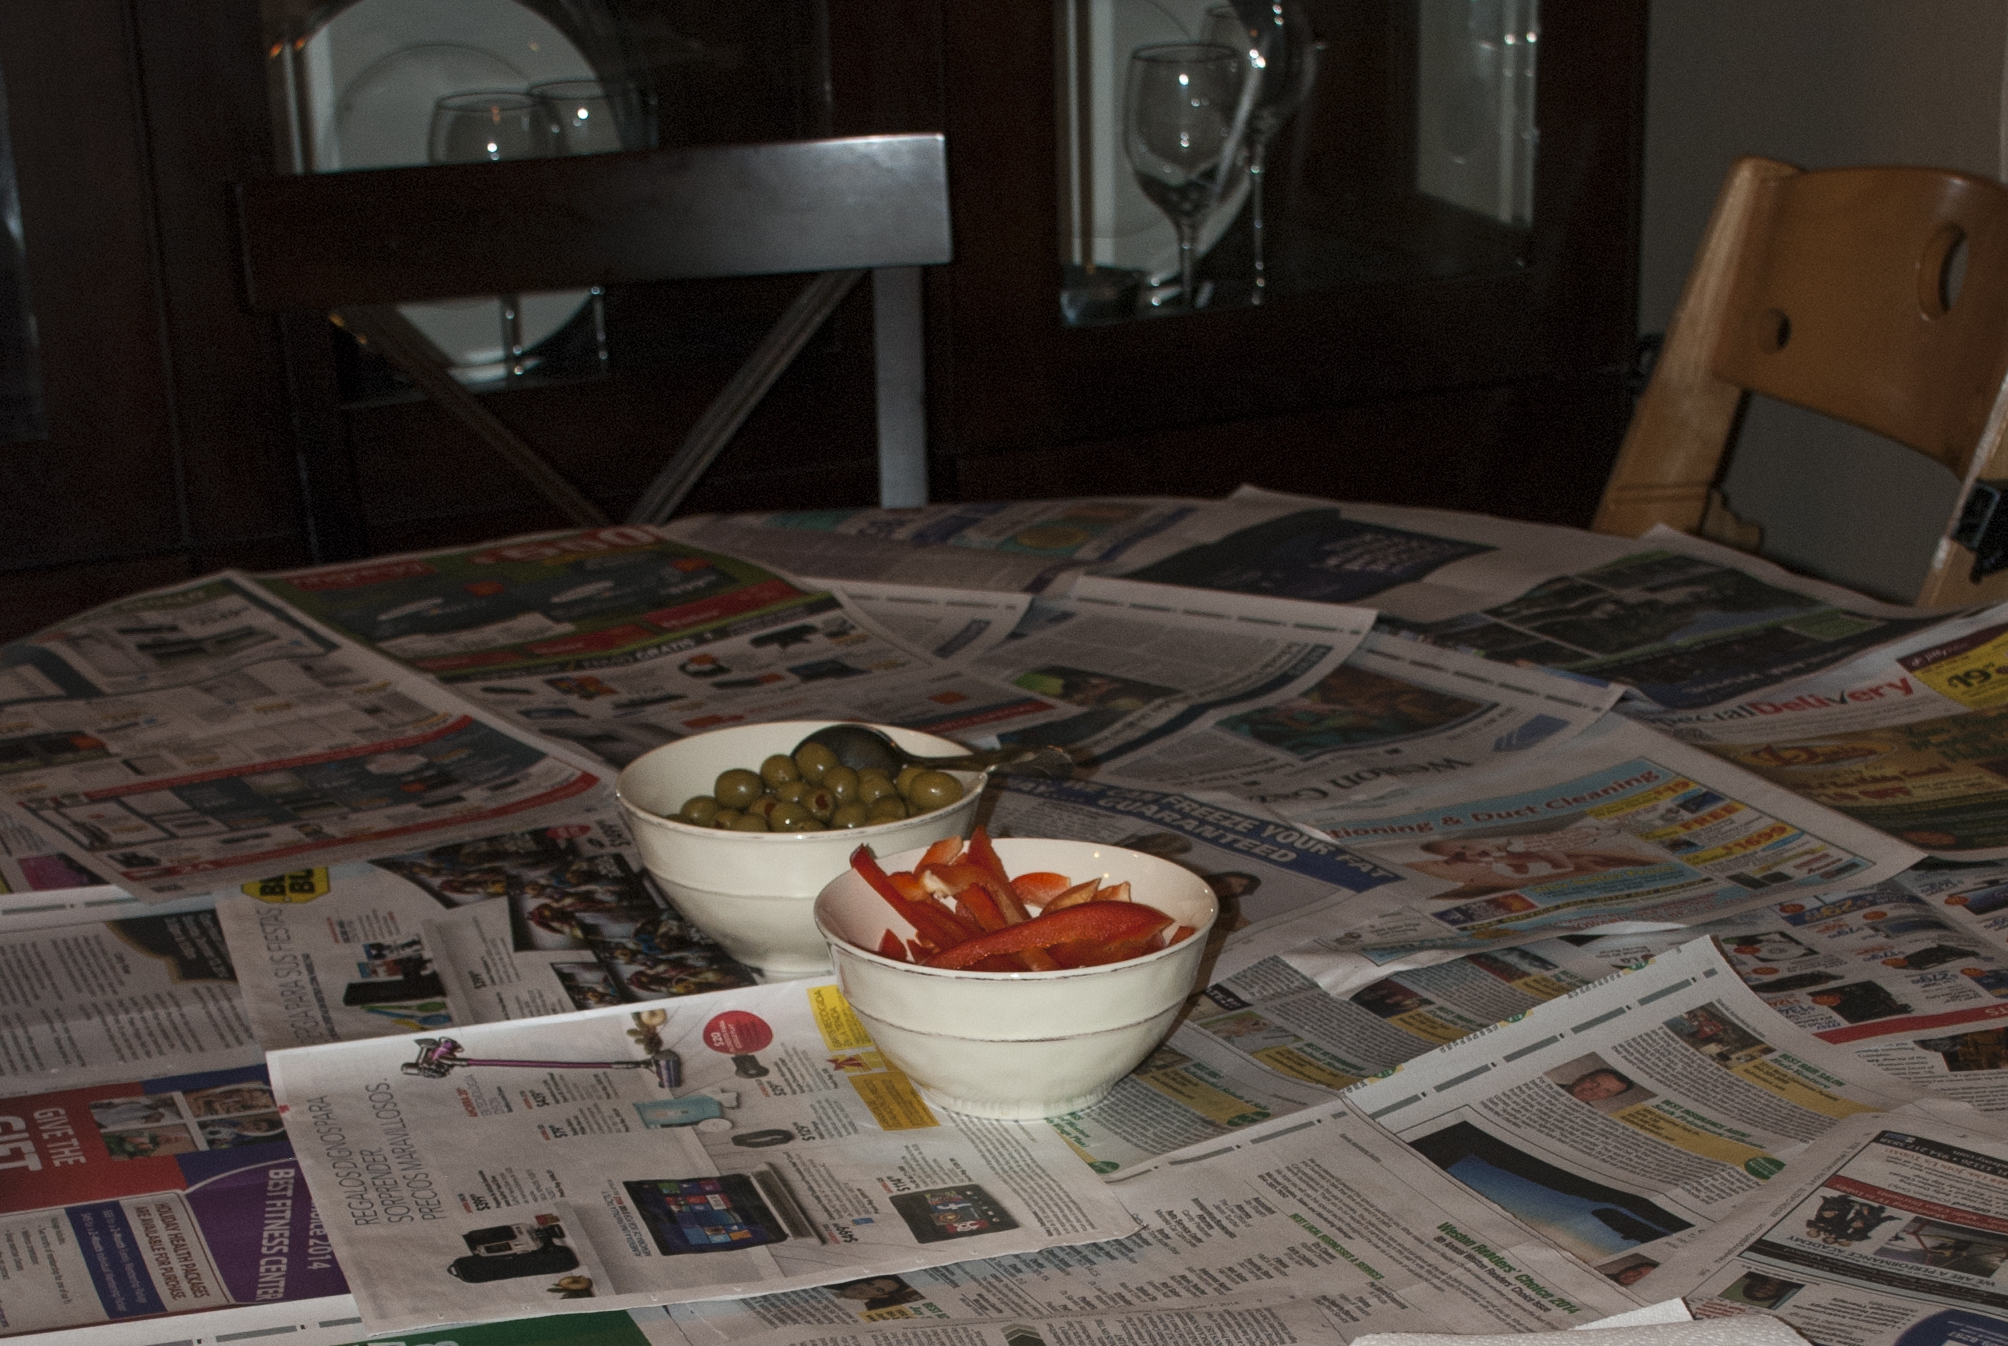
Garnish: Olives

Garnish: Onions
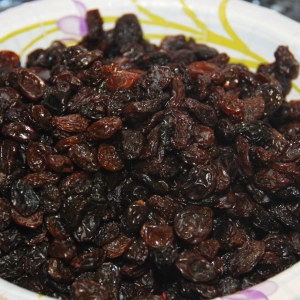
Garnish: Raisins
DAY TWO OR THREE
Masa | Dough:
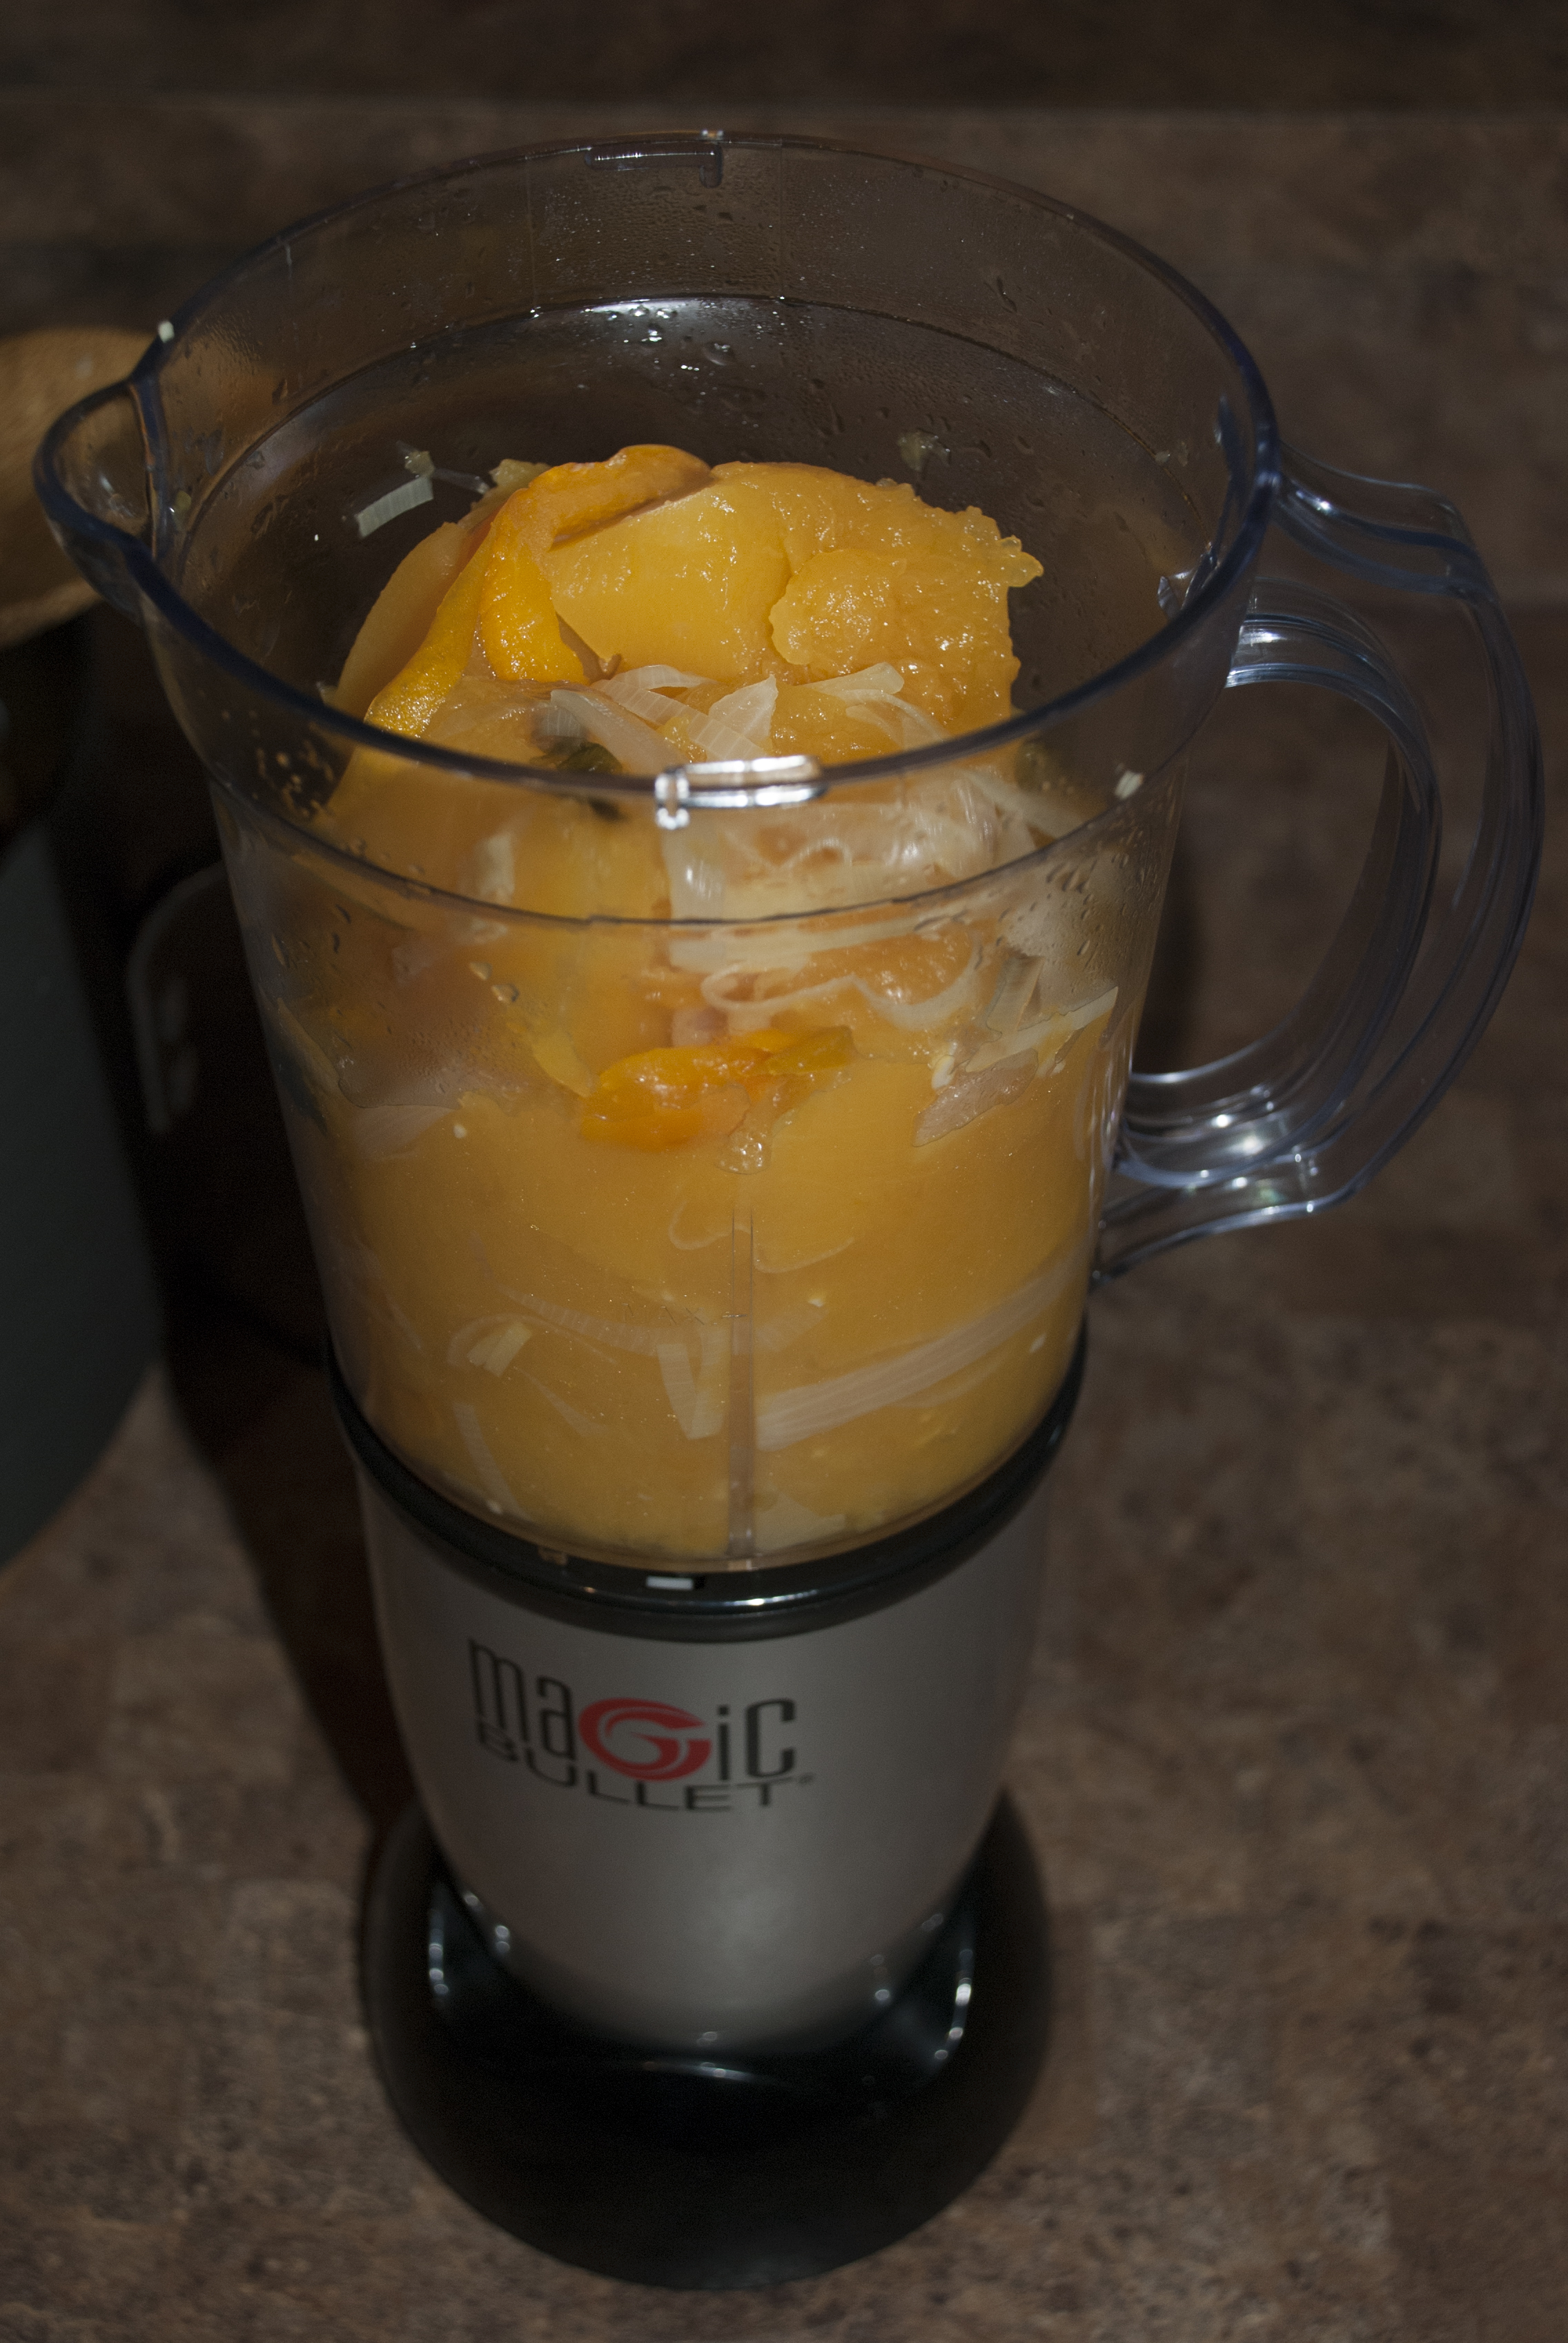
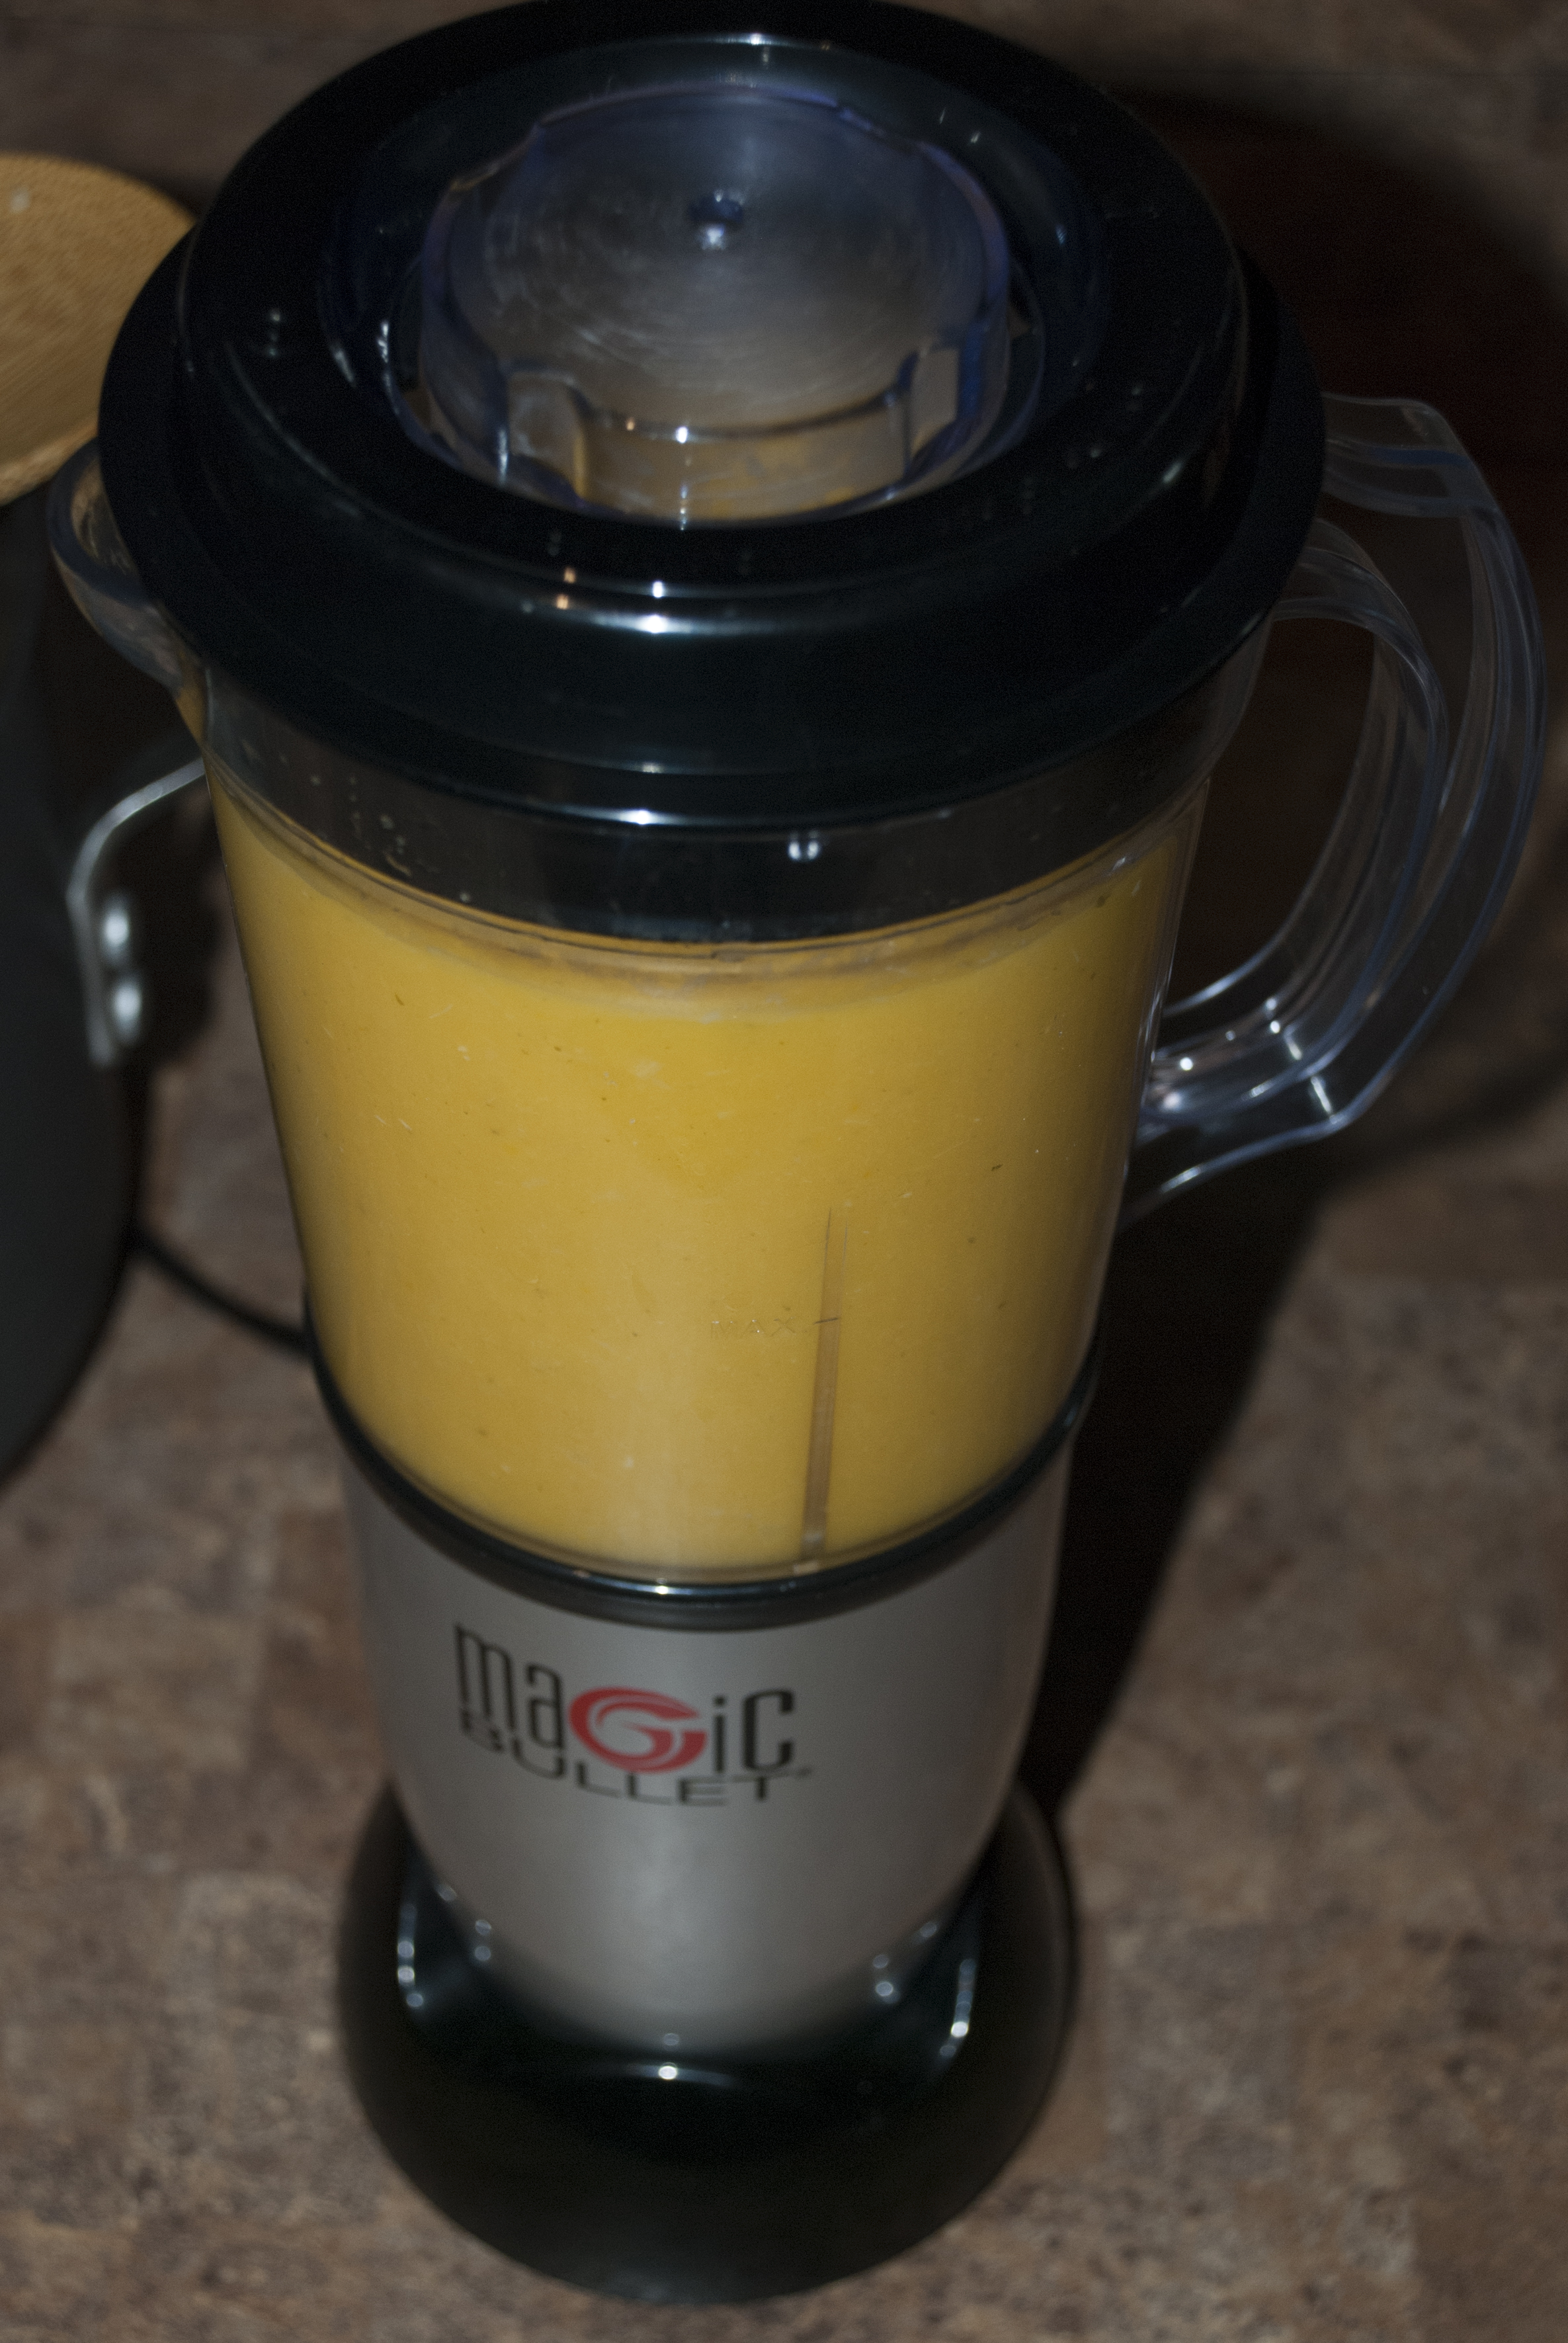
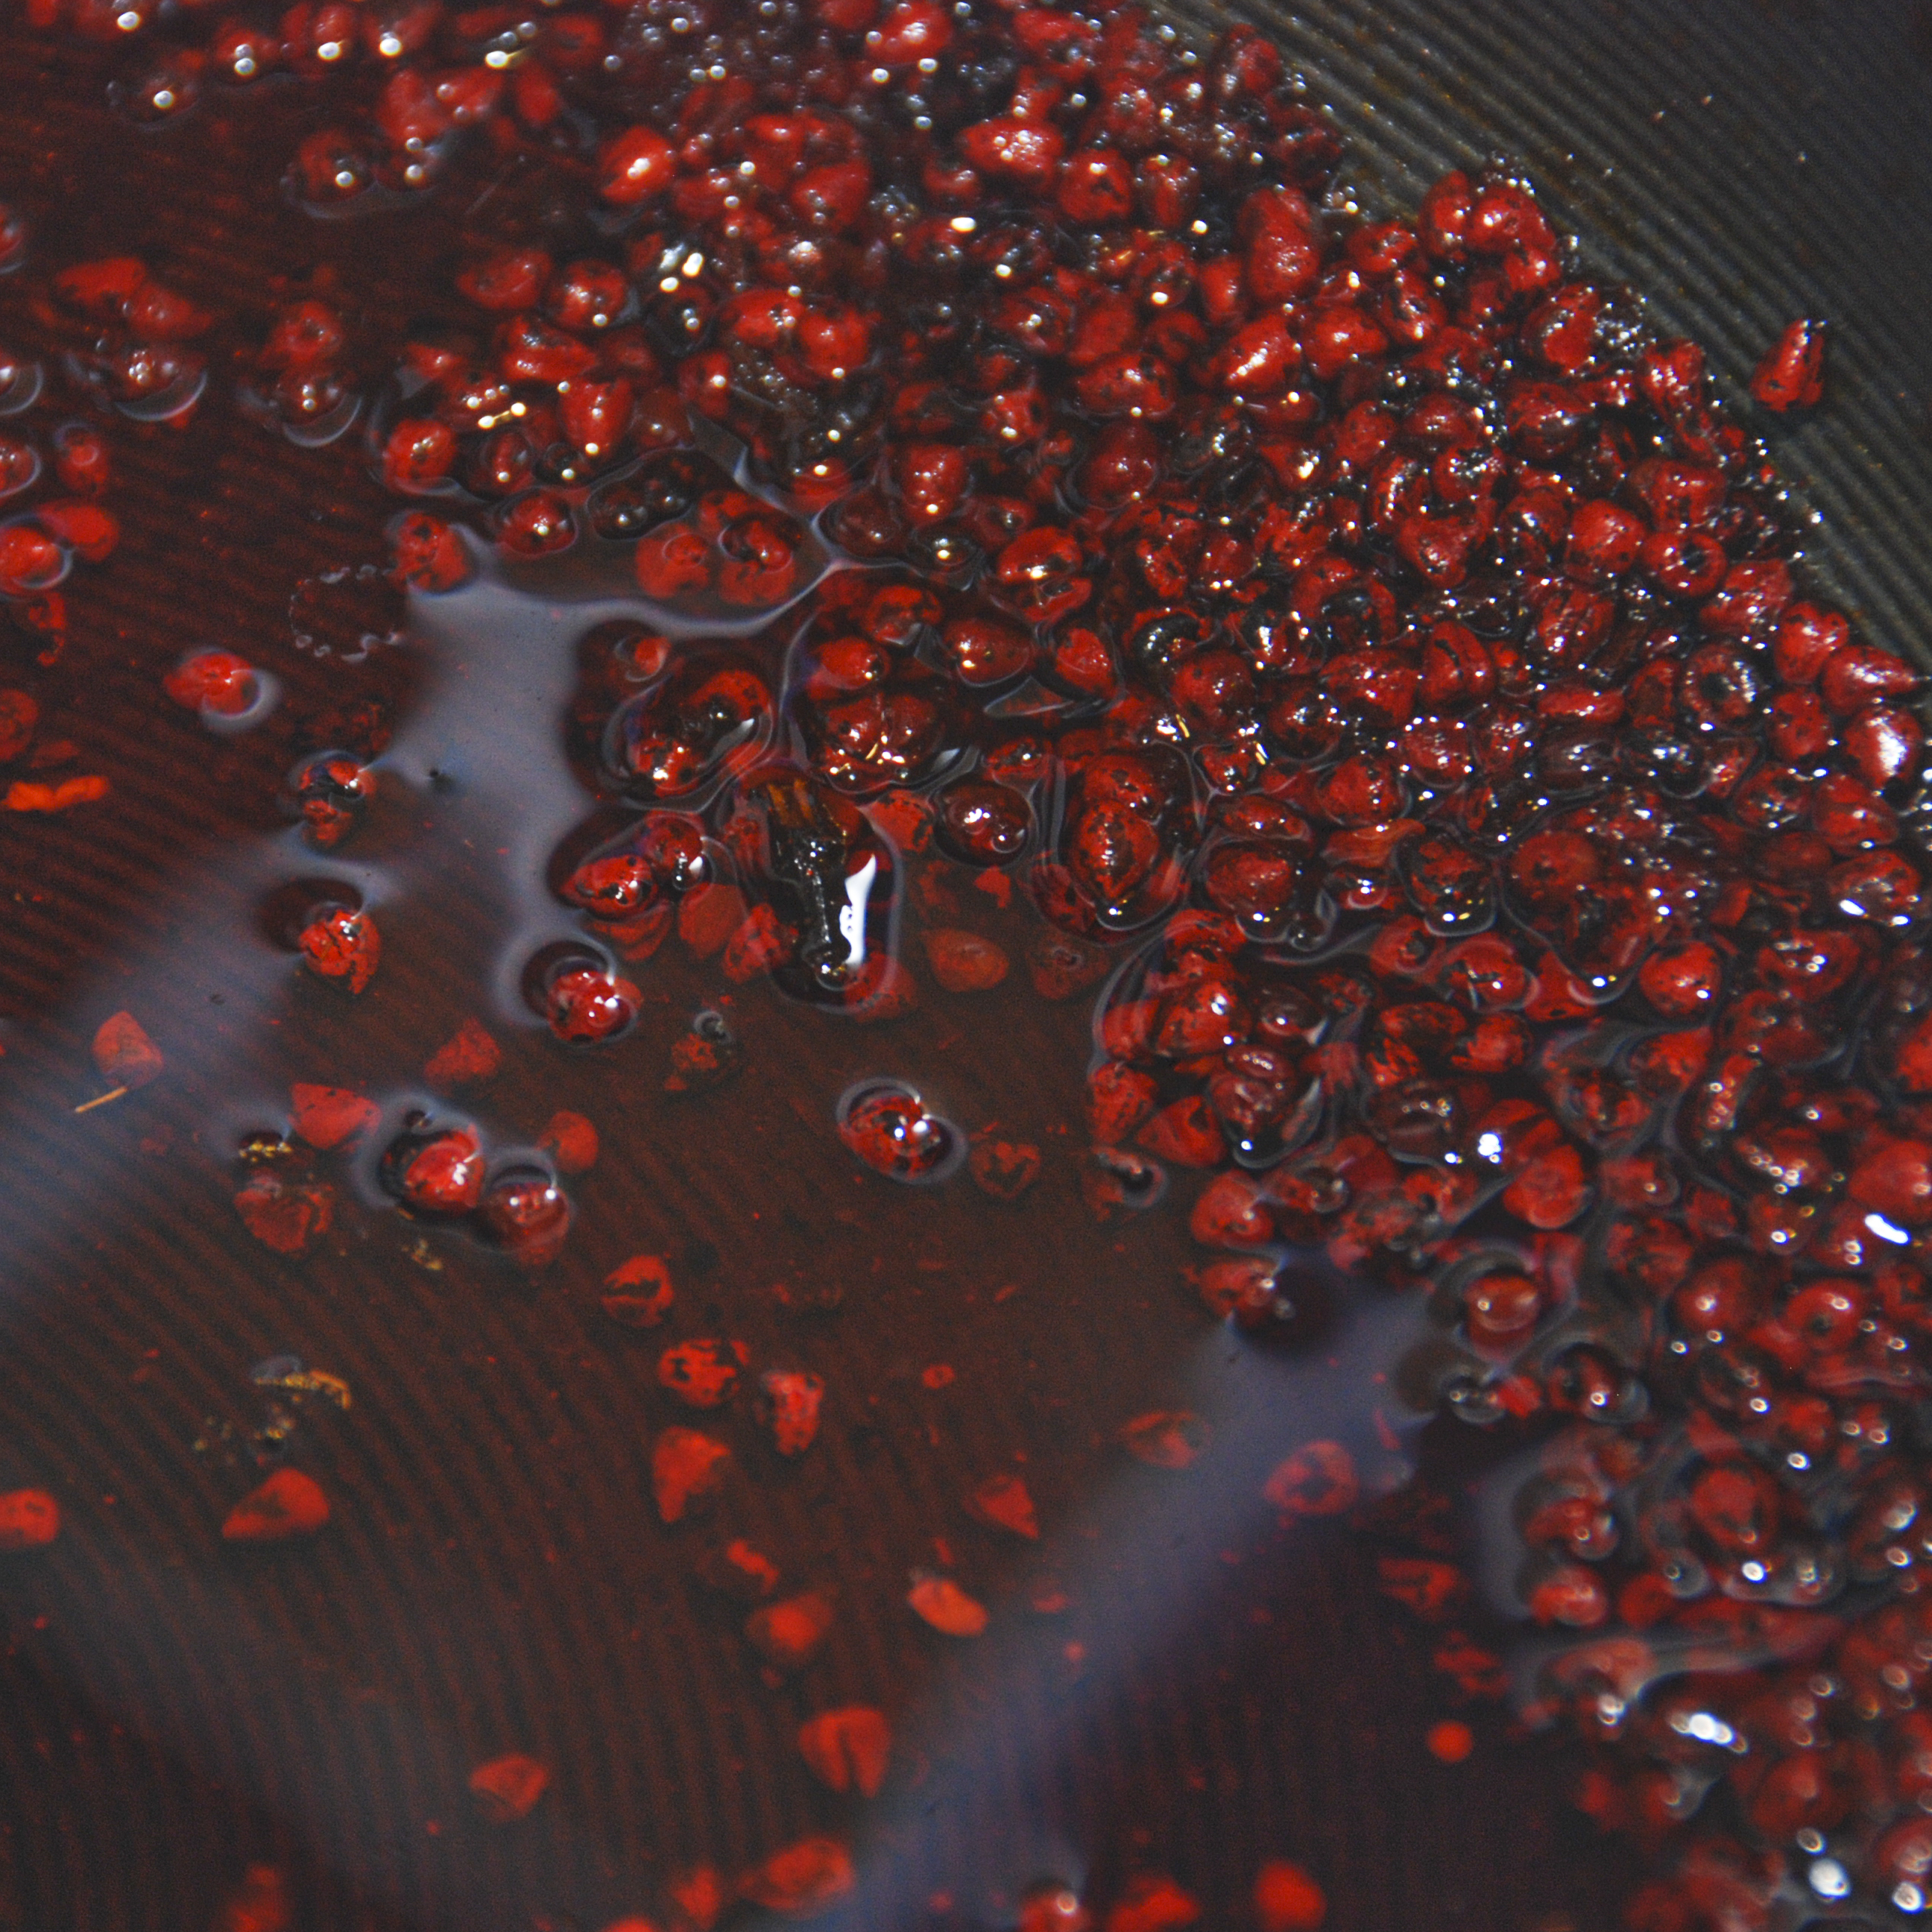
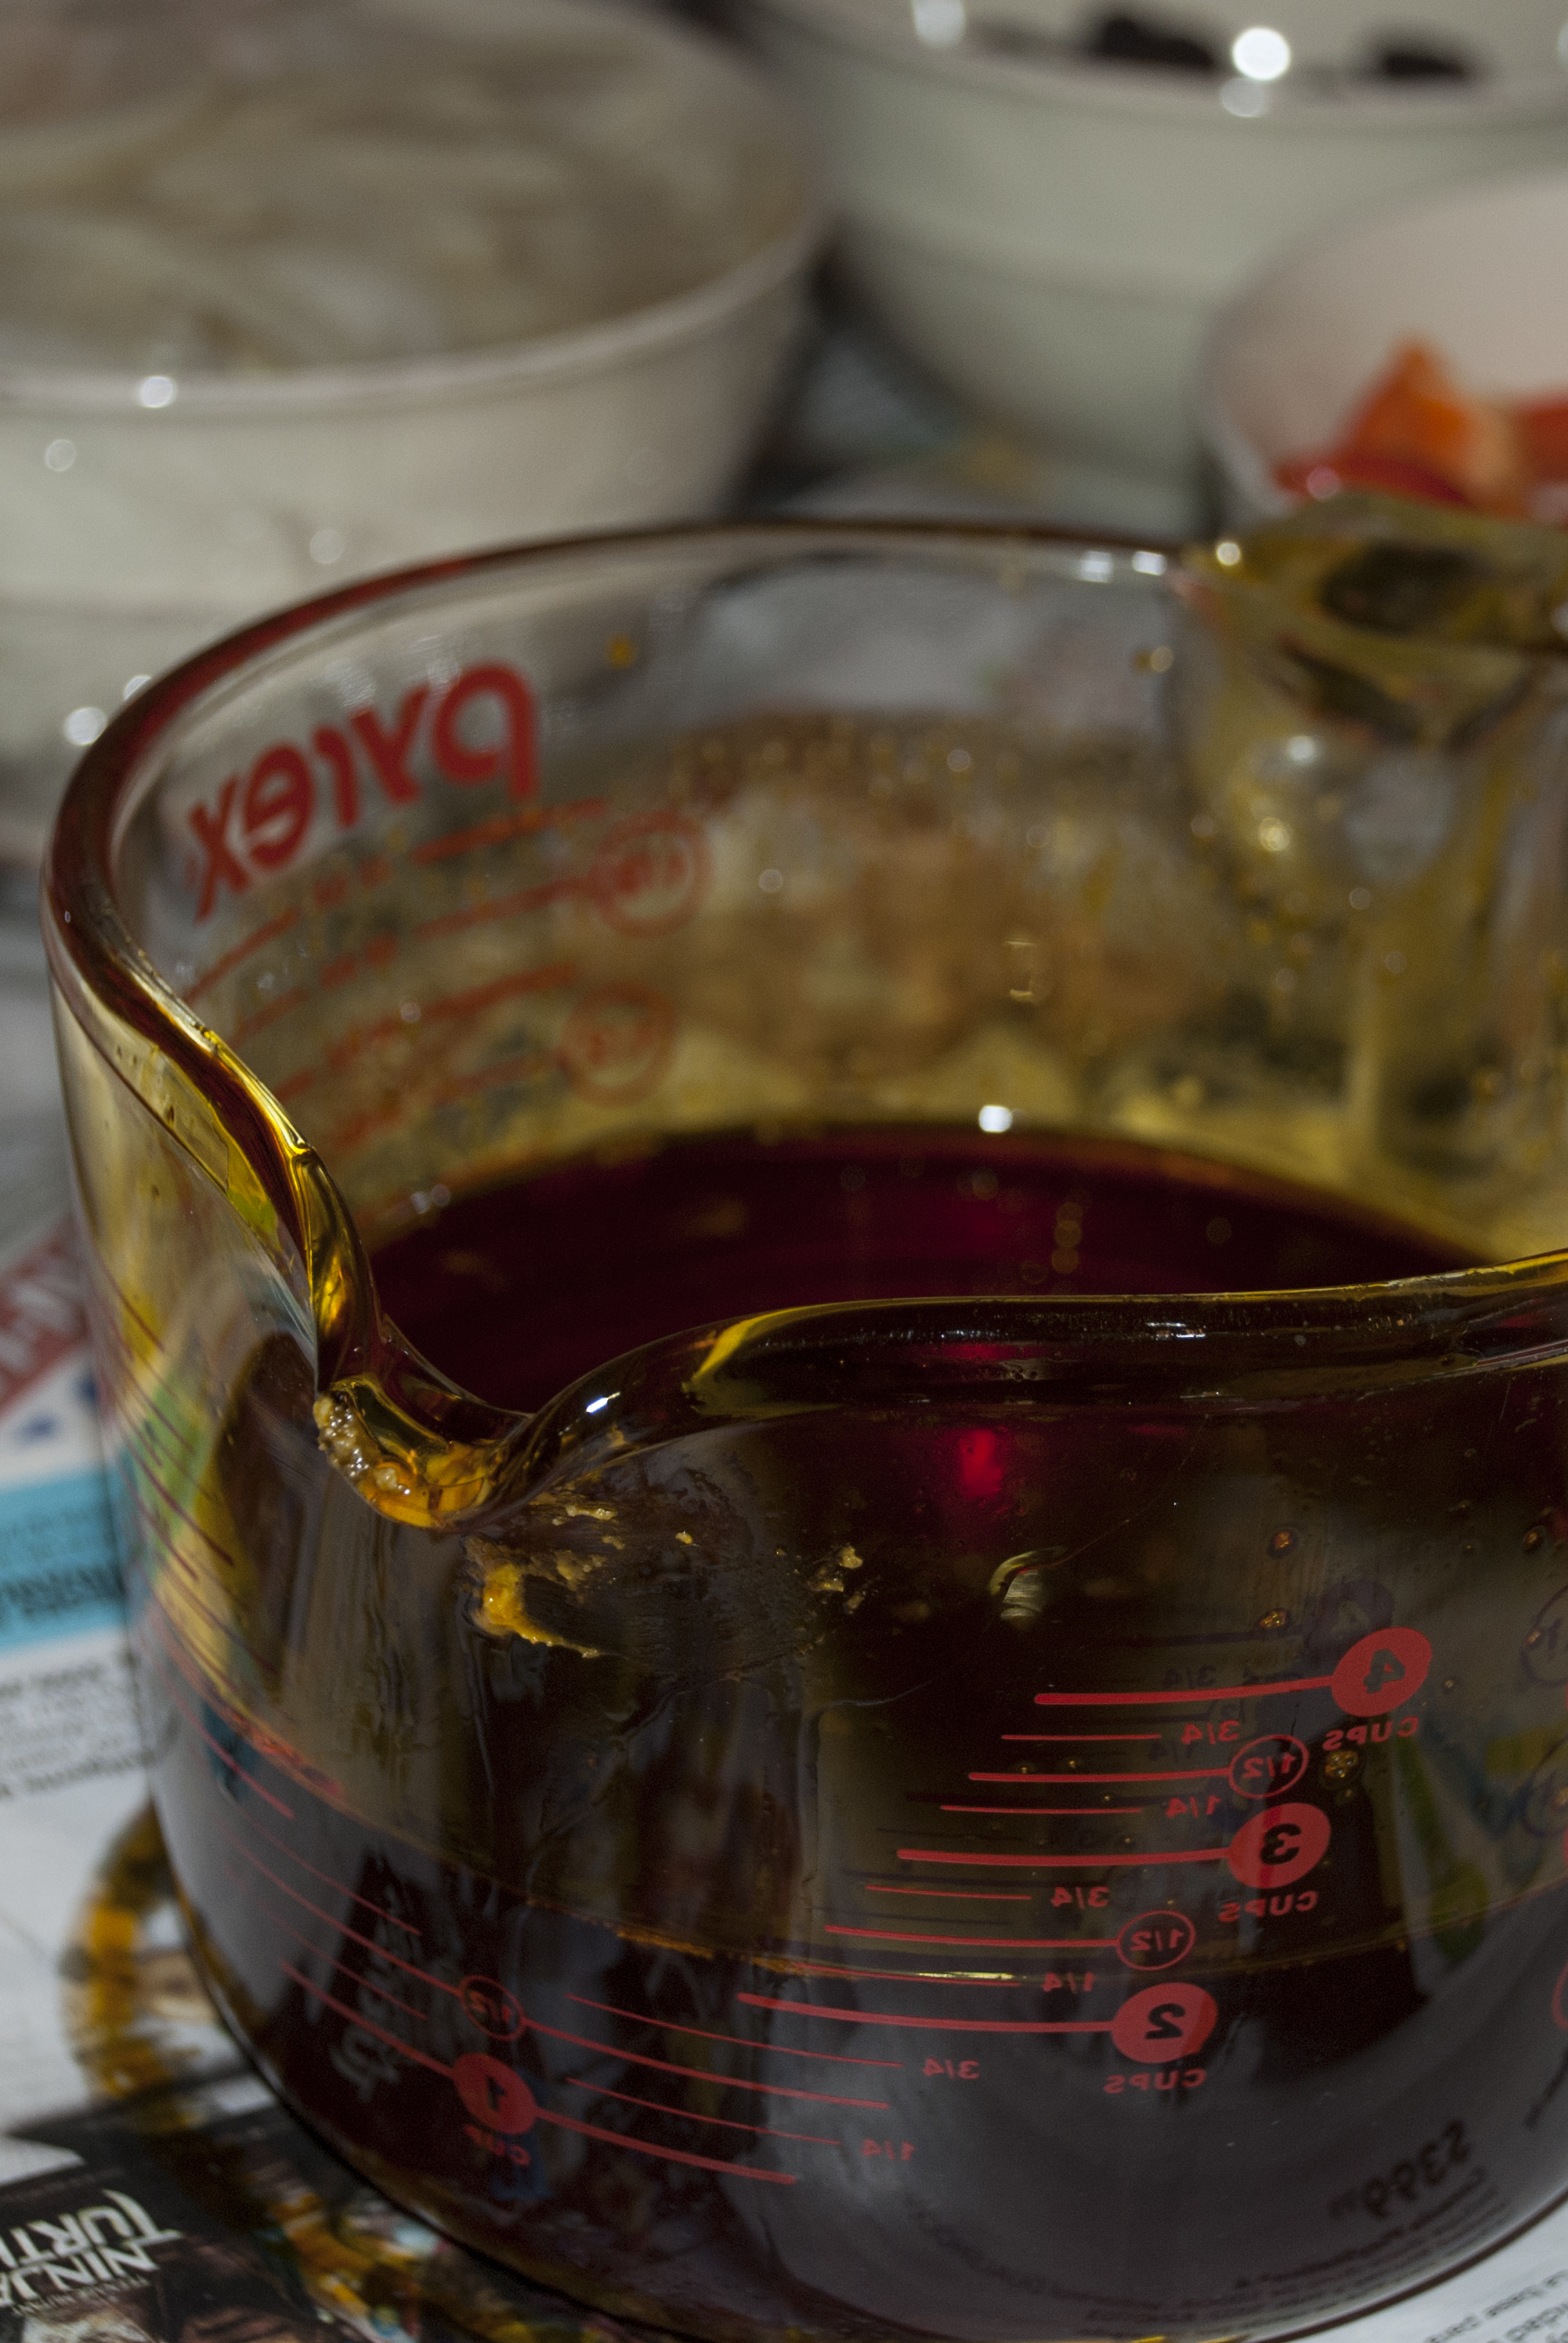
1. In a large pan, heat up the oil and the annatto seeds at low heat. This step is the process by which we are tinting the oil to the necessary color we need to give the hallacas its famous color. The annatto seeds are the ones that give this reddish caramel color to the oil, and the oil then turns the dough its bright orange/yellow color. Once the oil is tinted it can be placed in a measuring cup, making sure to drain all the annatto seeds from it first. Let it cool.
Making Annatto Oil
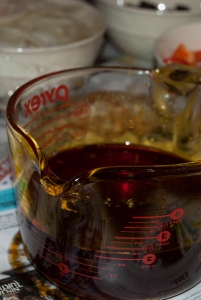
Annatto Oil
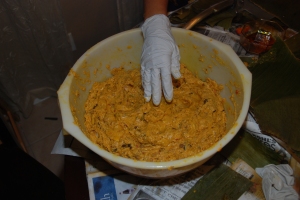
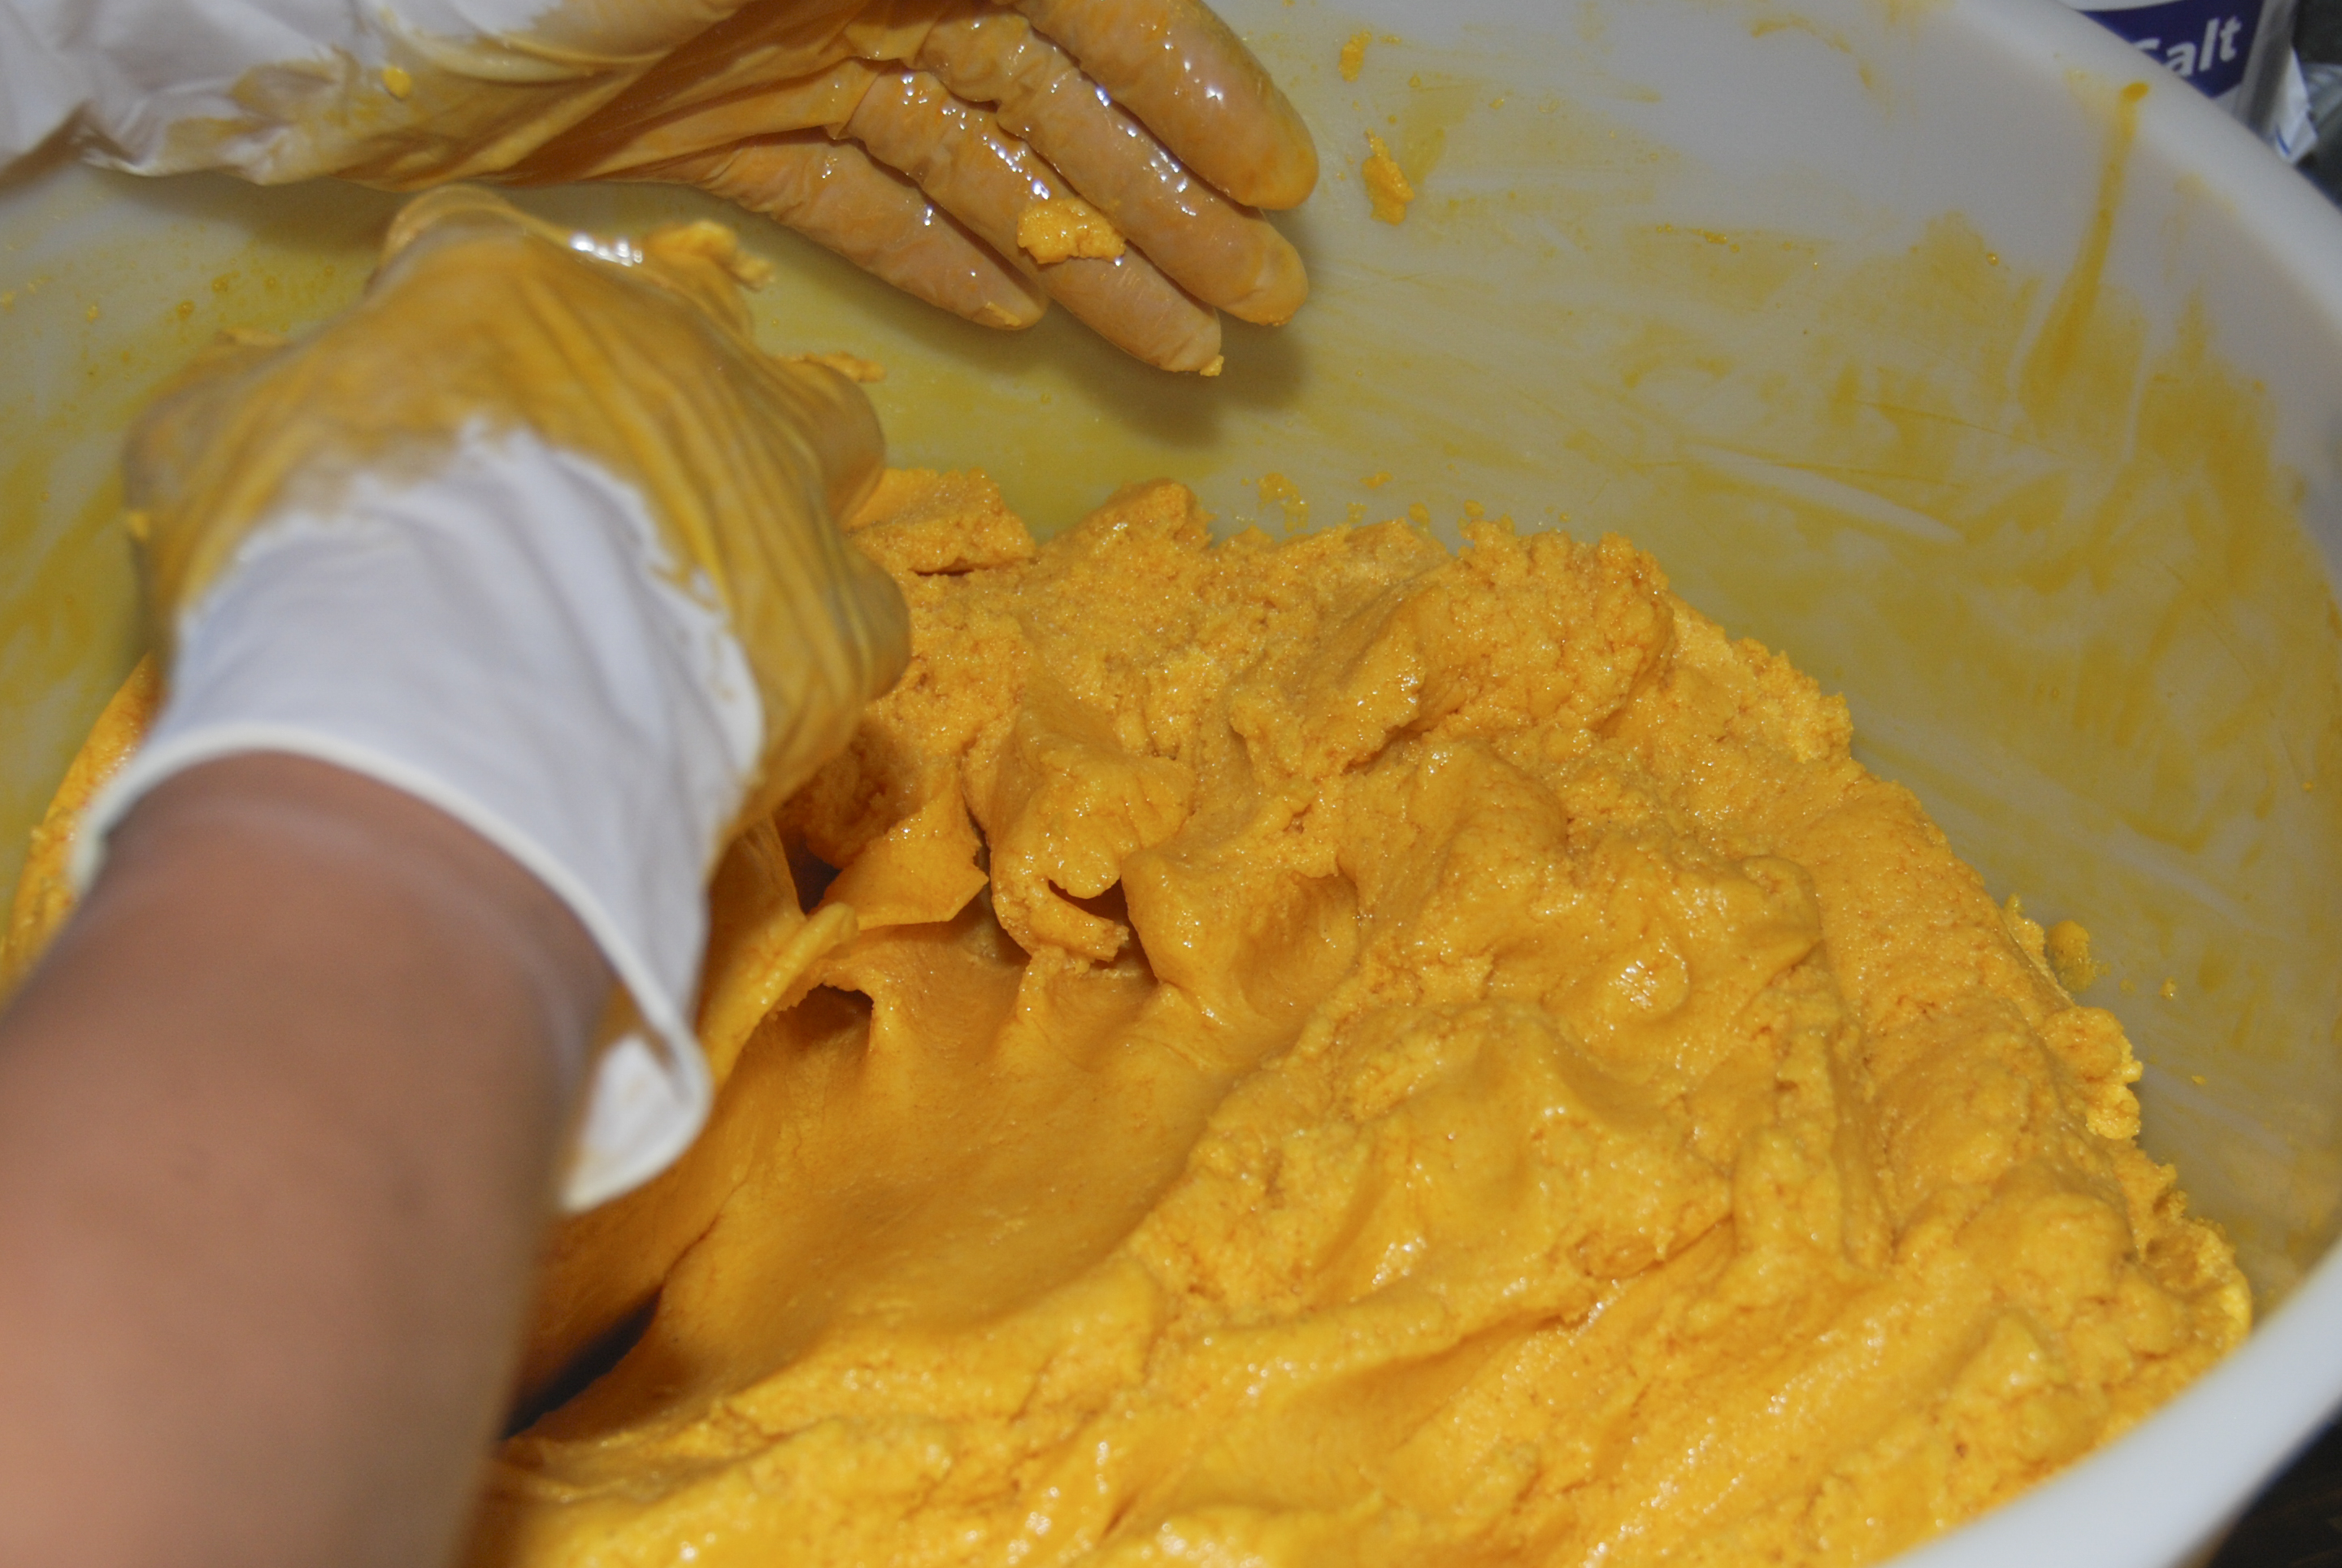
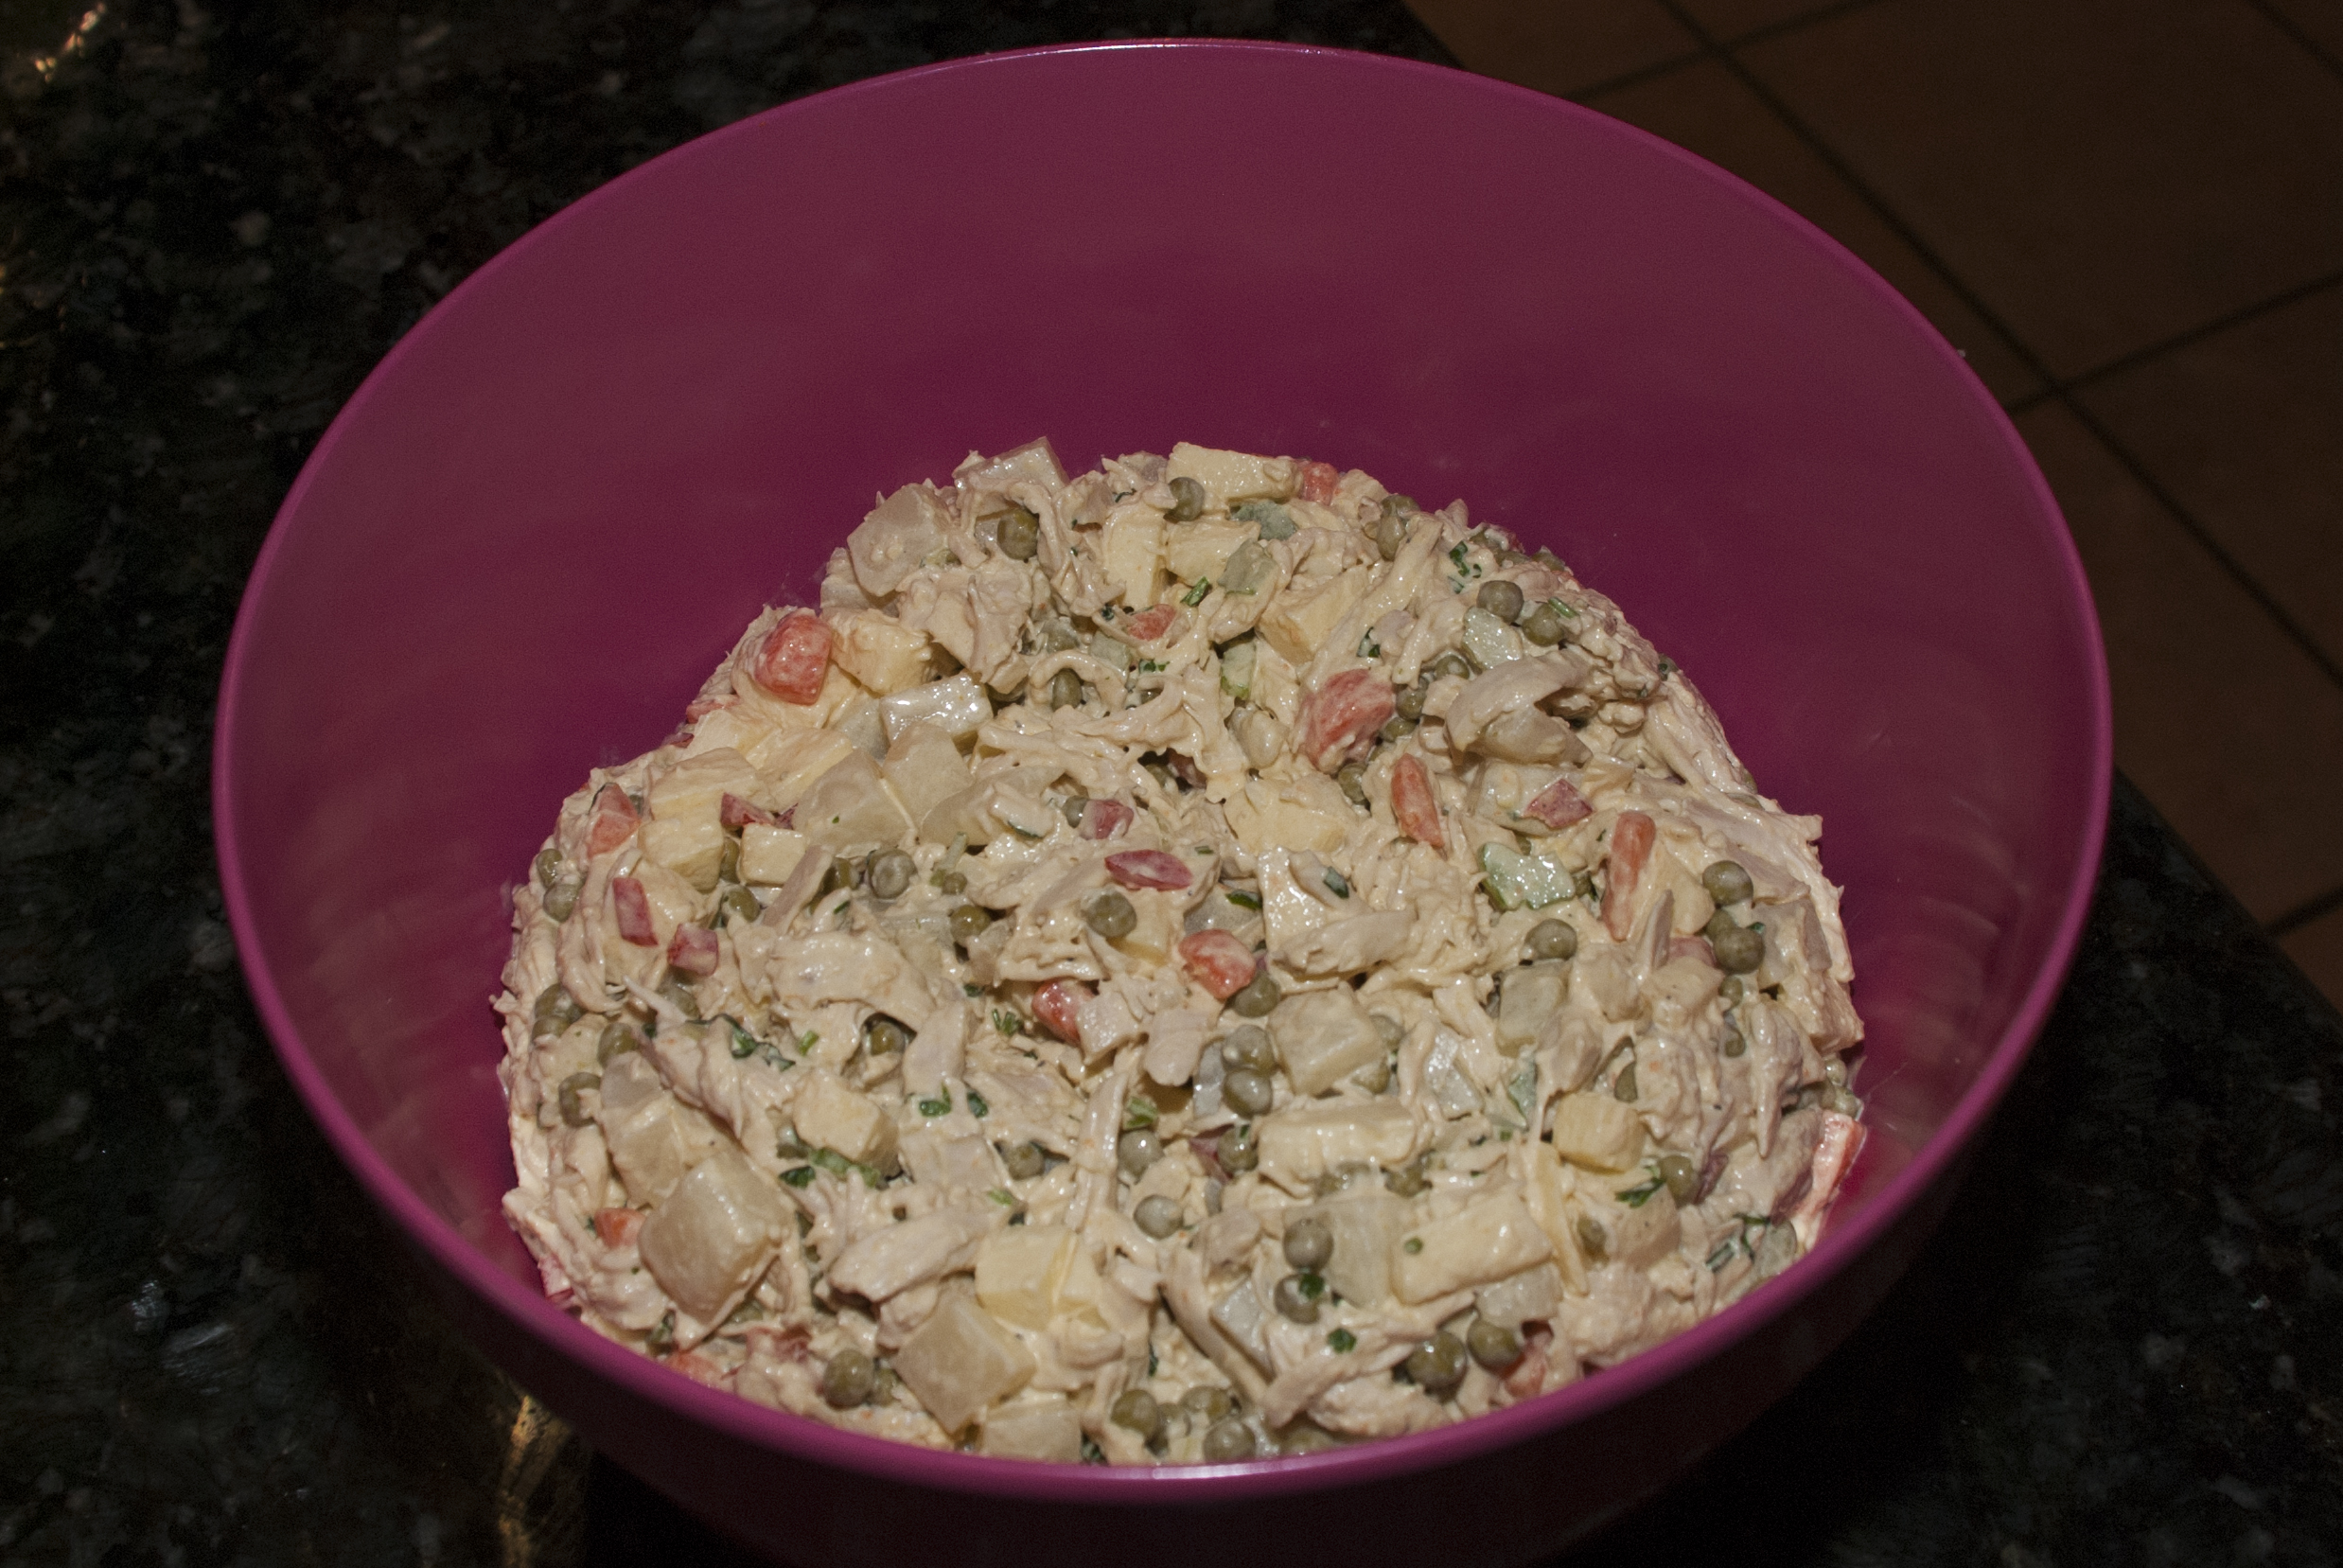
2. In a very large bowl, like extra extra large mixing bowl, add the Harina P.A.N. and add one cup of oil and two cups of the colored/tinted annatto oil we just made. Add the chicken broth that we saved, and add the salt and water, and mix in together with both hands until you have a fine and soft dough, that is easily manageable. It is a bit softer than your usual Harina P.A.N. mix for arepas, because it has oil in it.
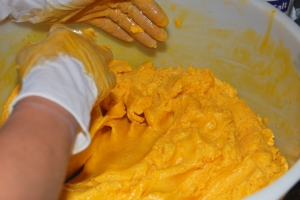
Making The Dough
Making The Dough
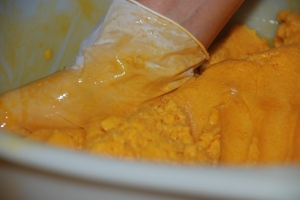
3. You can add more Harina P.A.N. more salt, or more annatto oil to make it just the right consistency or the right color. You can also divide all the ingredients in half and make two batches at a time instead of the whole batch at once.
4. Divide the dough into small little balls the size of a small orange, or two to three inches in diameter.
The Set Up:
1. Now that you have everything you need ready, you need to set up your assembly line in a large enough table. What you will need (in this order) is:
– Plantain Leaves: The Shirts
– The rest of your annatto oil (you should have some left over, but if you don’t you can make some more, following the steps above, it’s pretty easy)
– The dough
– The Stew
– All the garnishes ready in different little bowls
– Plantain Leaves: The covers and The Belts
– The Thread
Setting Up The Work Area
Setting Up The Work Area
Setting Up The Work Area
Setting Up The Work Area
Setting Up The Work Area

Setting Up The Work Area
Setting Up The Work Area
Envoltura | Wrapping (The fun part):
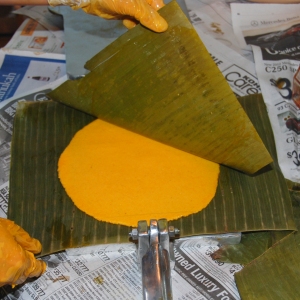
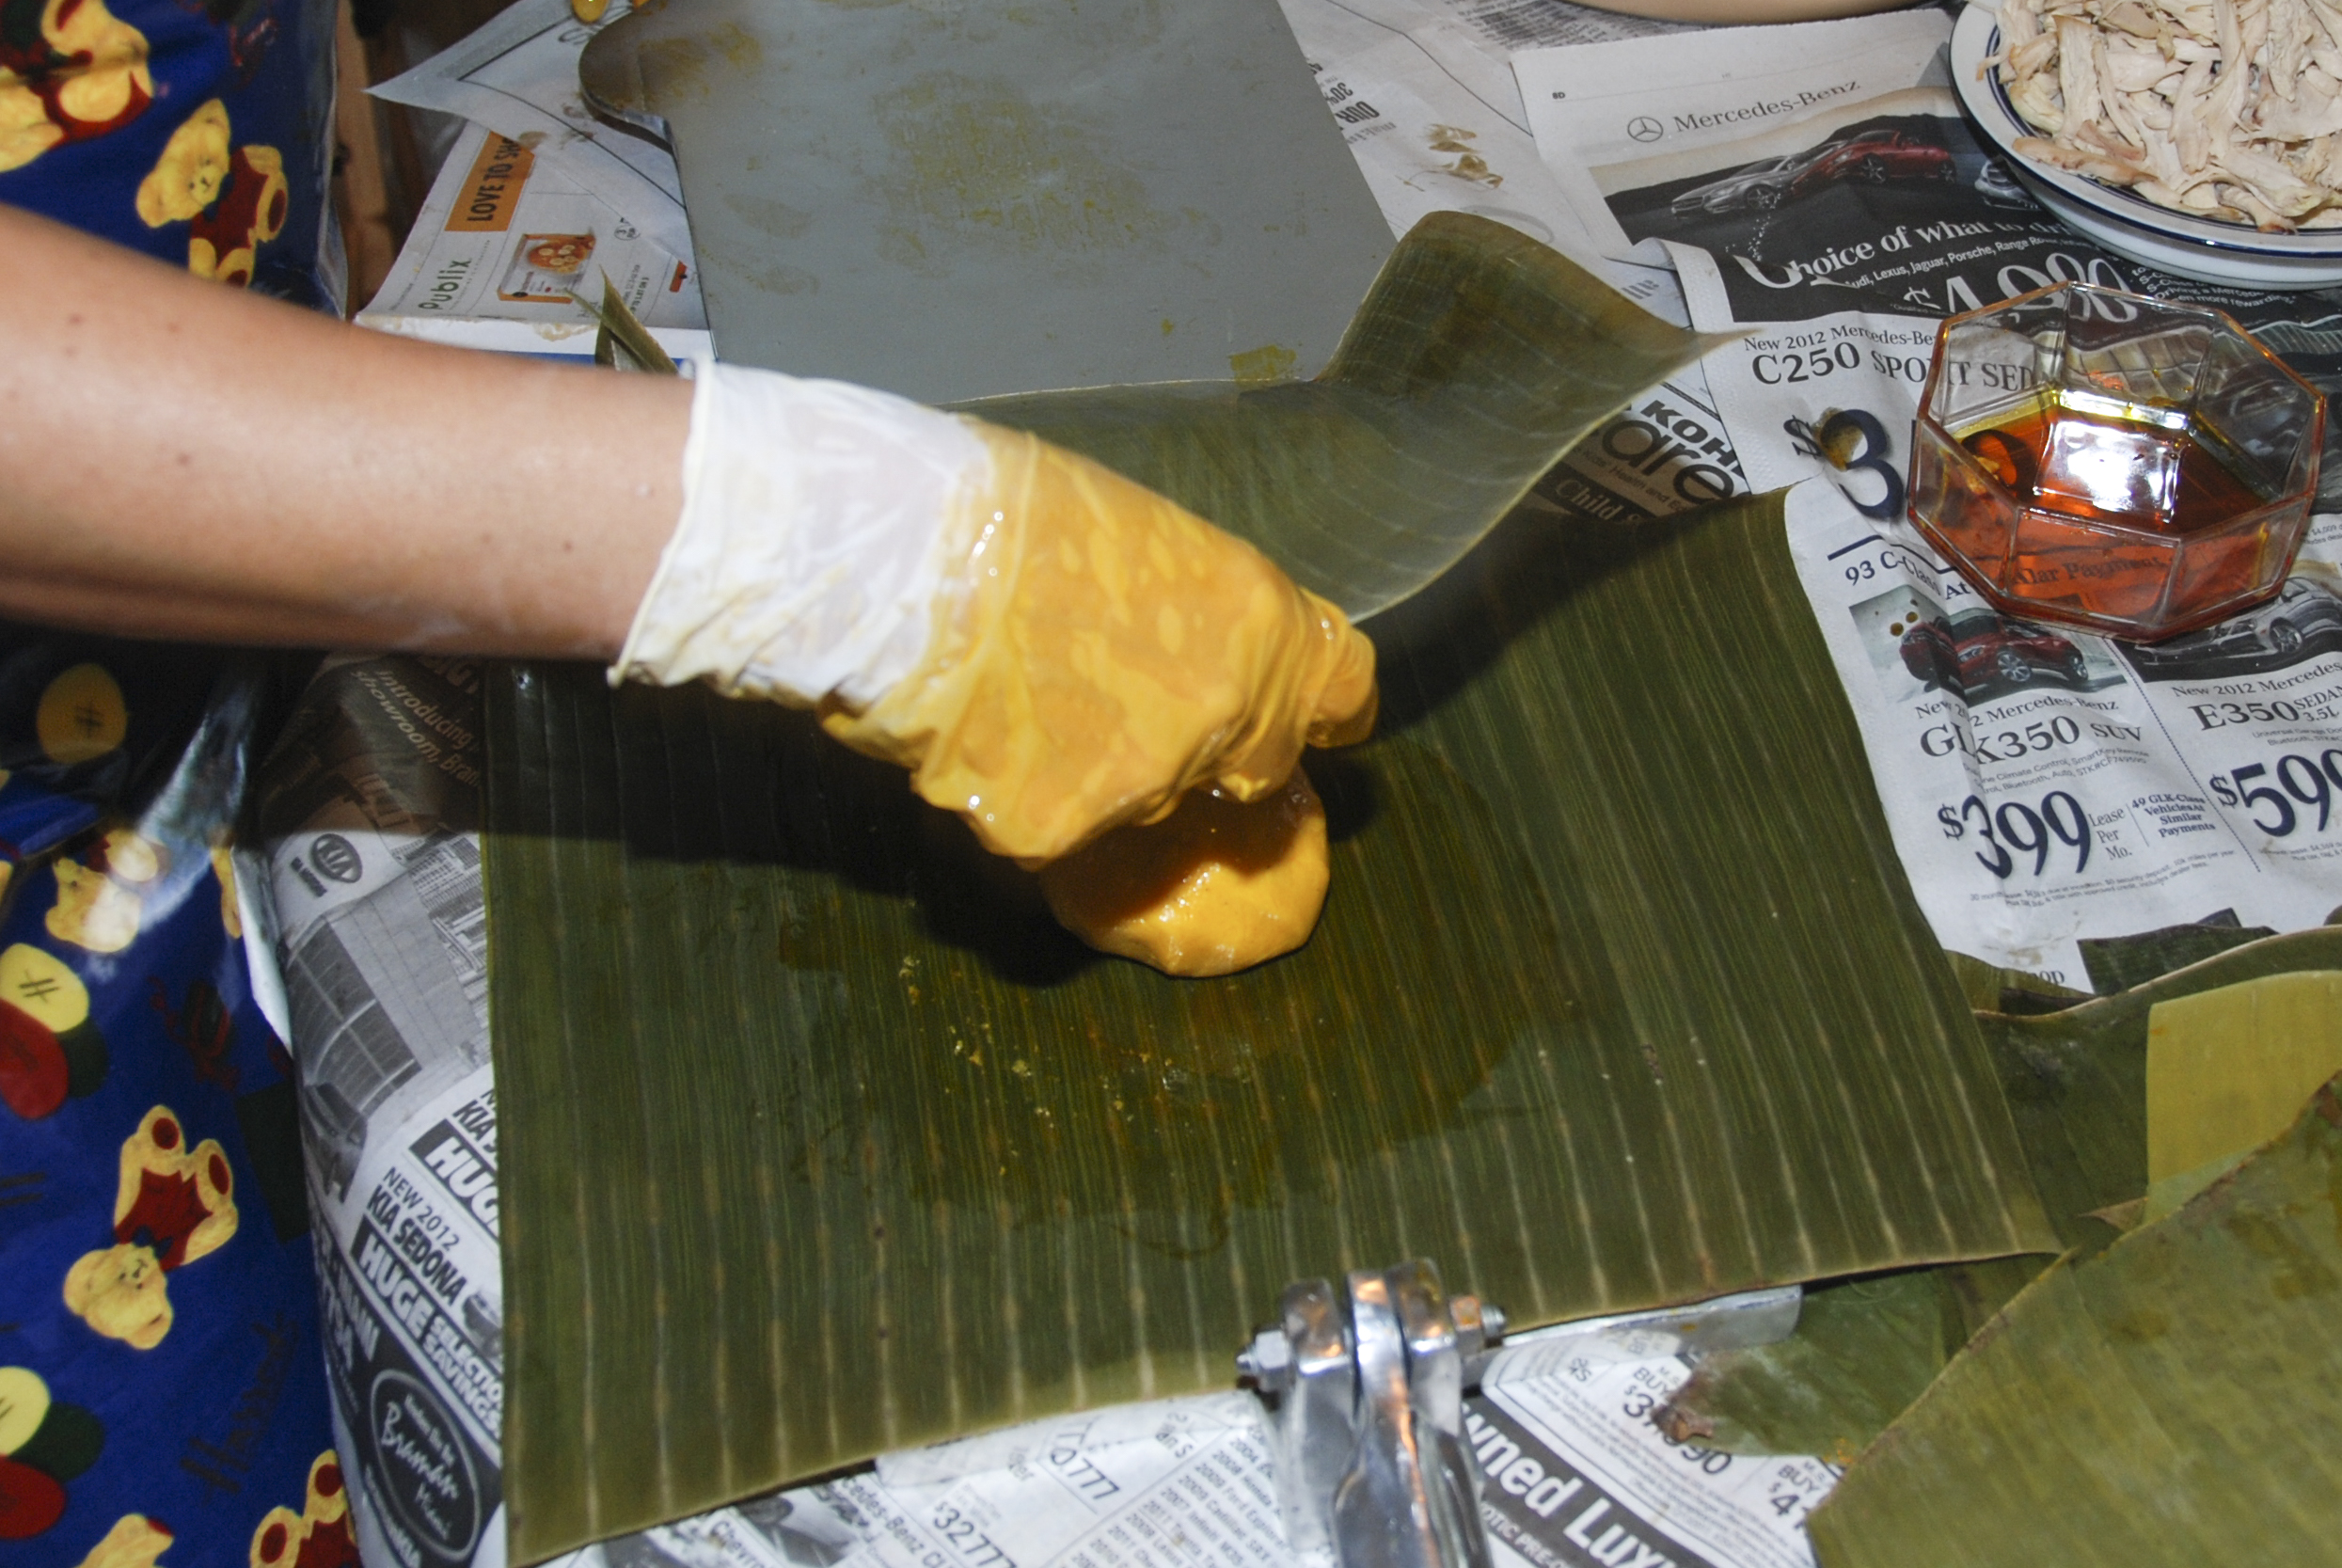
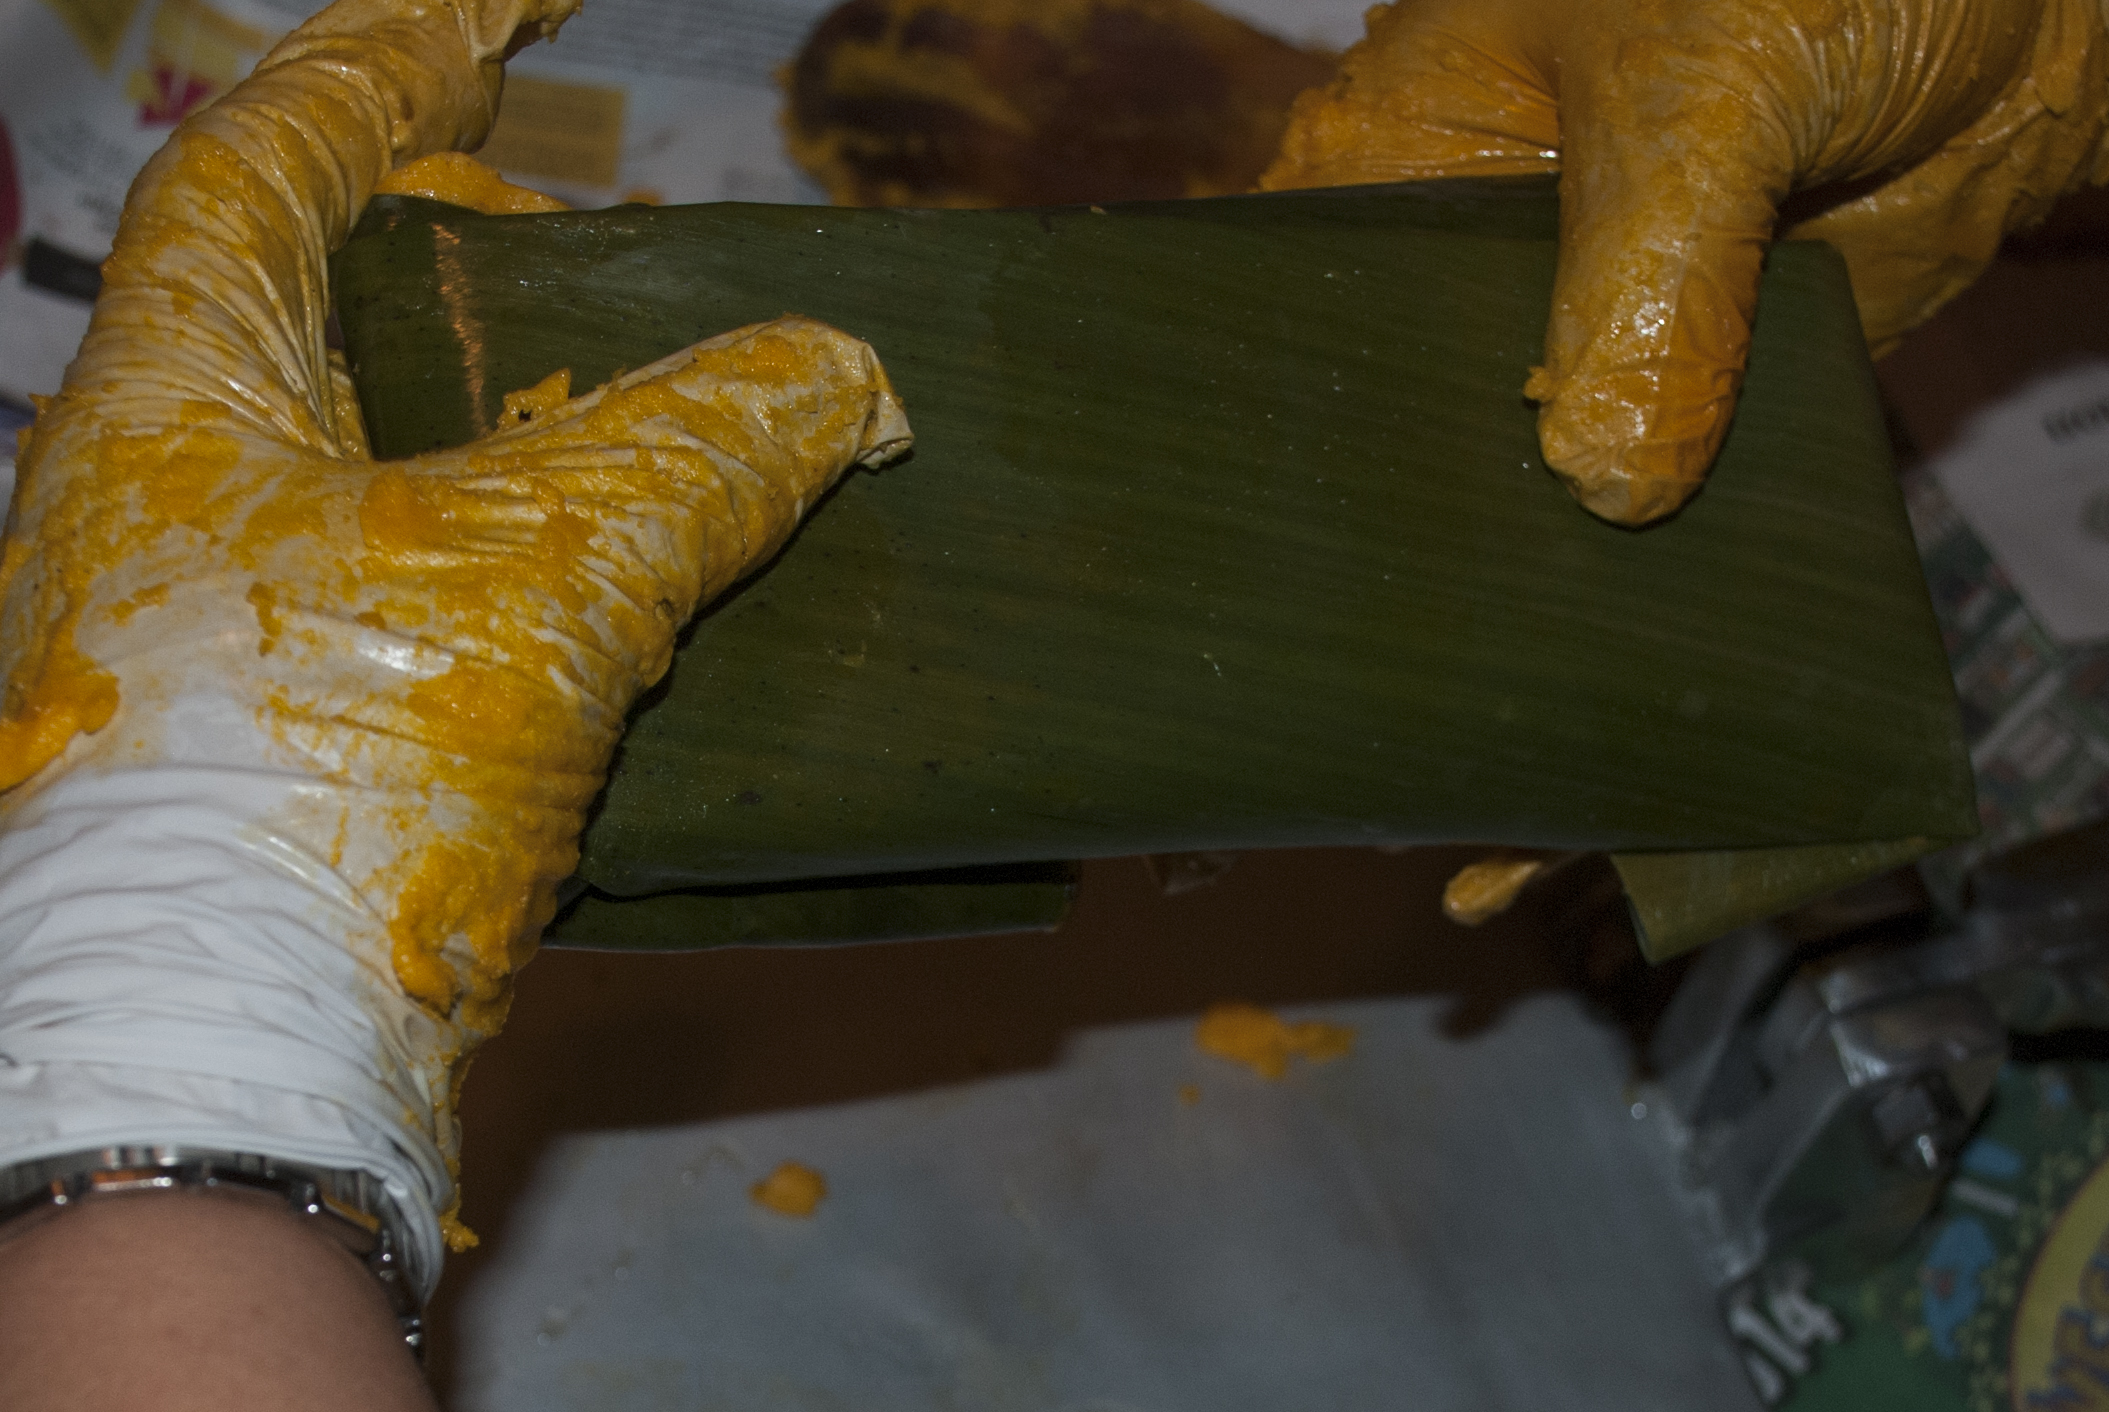
1. Now that everything is set up and ready to go, we can begin assembling each hallaca. The first step is to grab one plantain leave (the shirt) and lay it flat in front of you. Be sure to place the leaf with the lines going vertically from side to side in front of you, and the protruding and most visible parts of the little veins or little nerves side up.
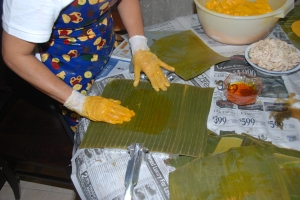
Start with an empty shirt
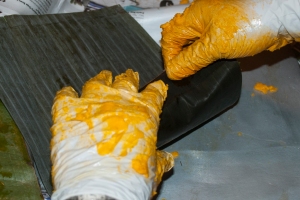
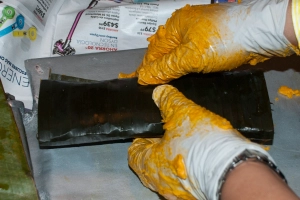
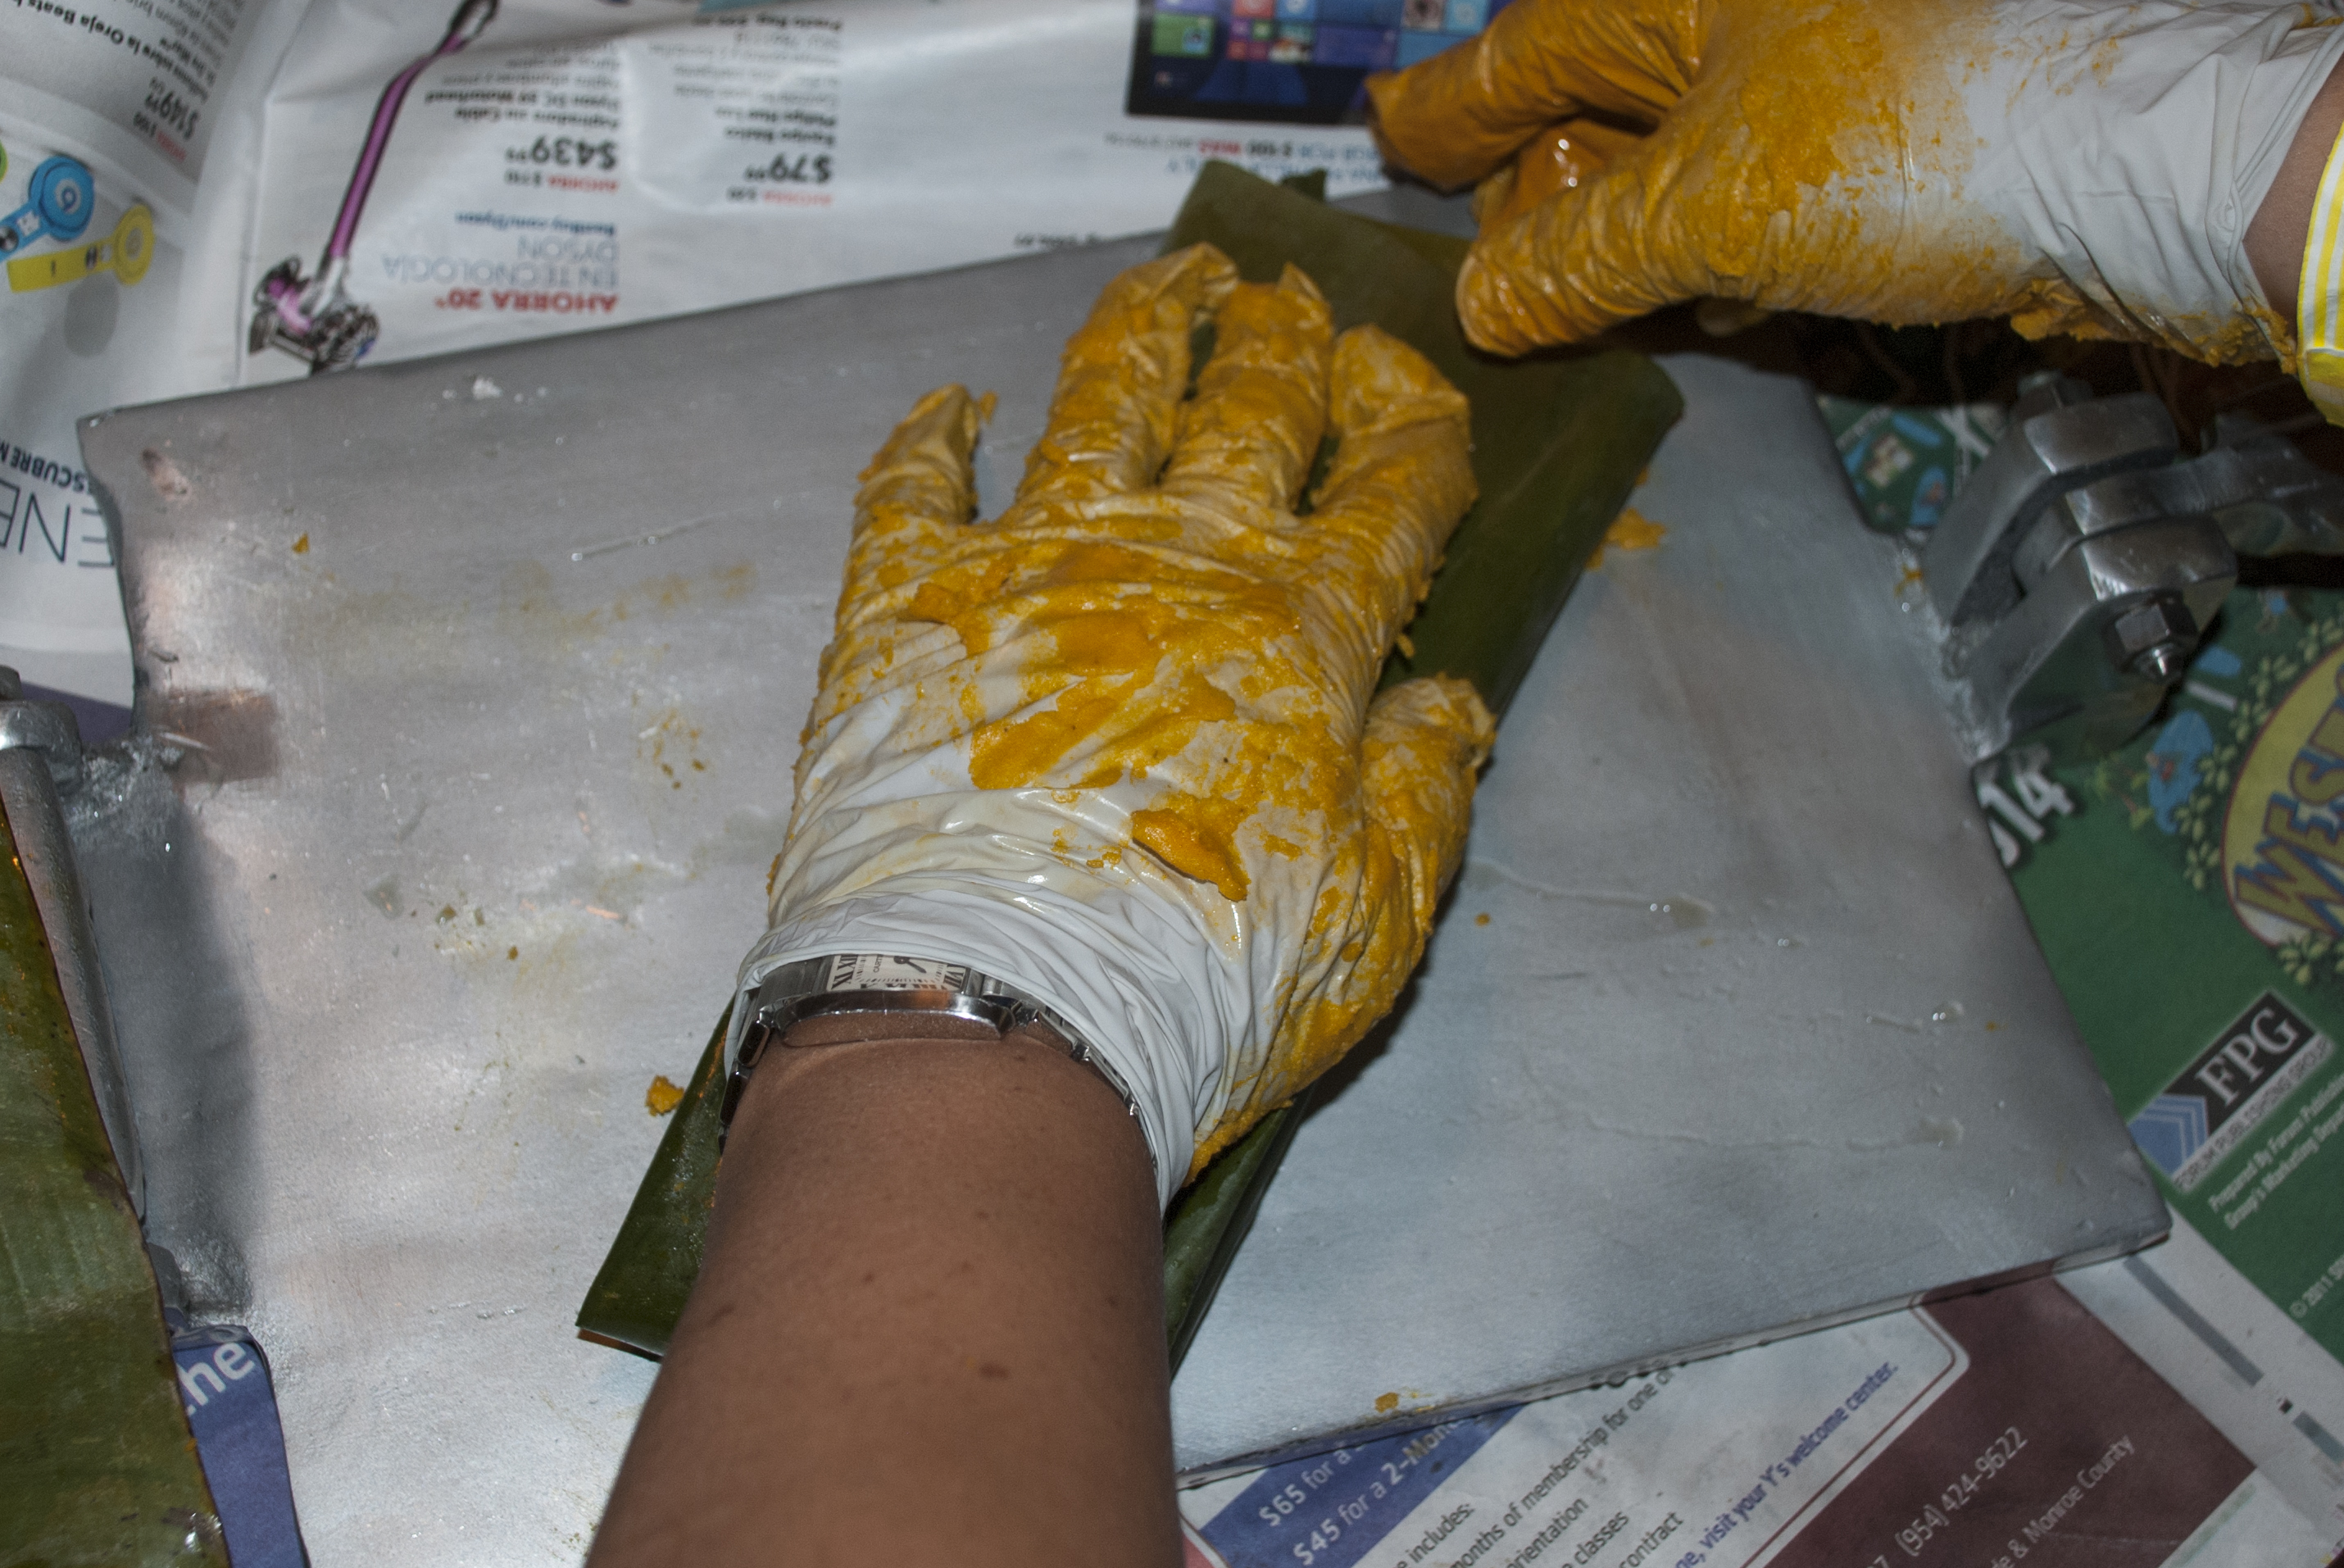
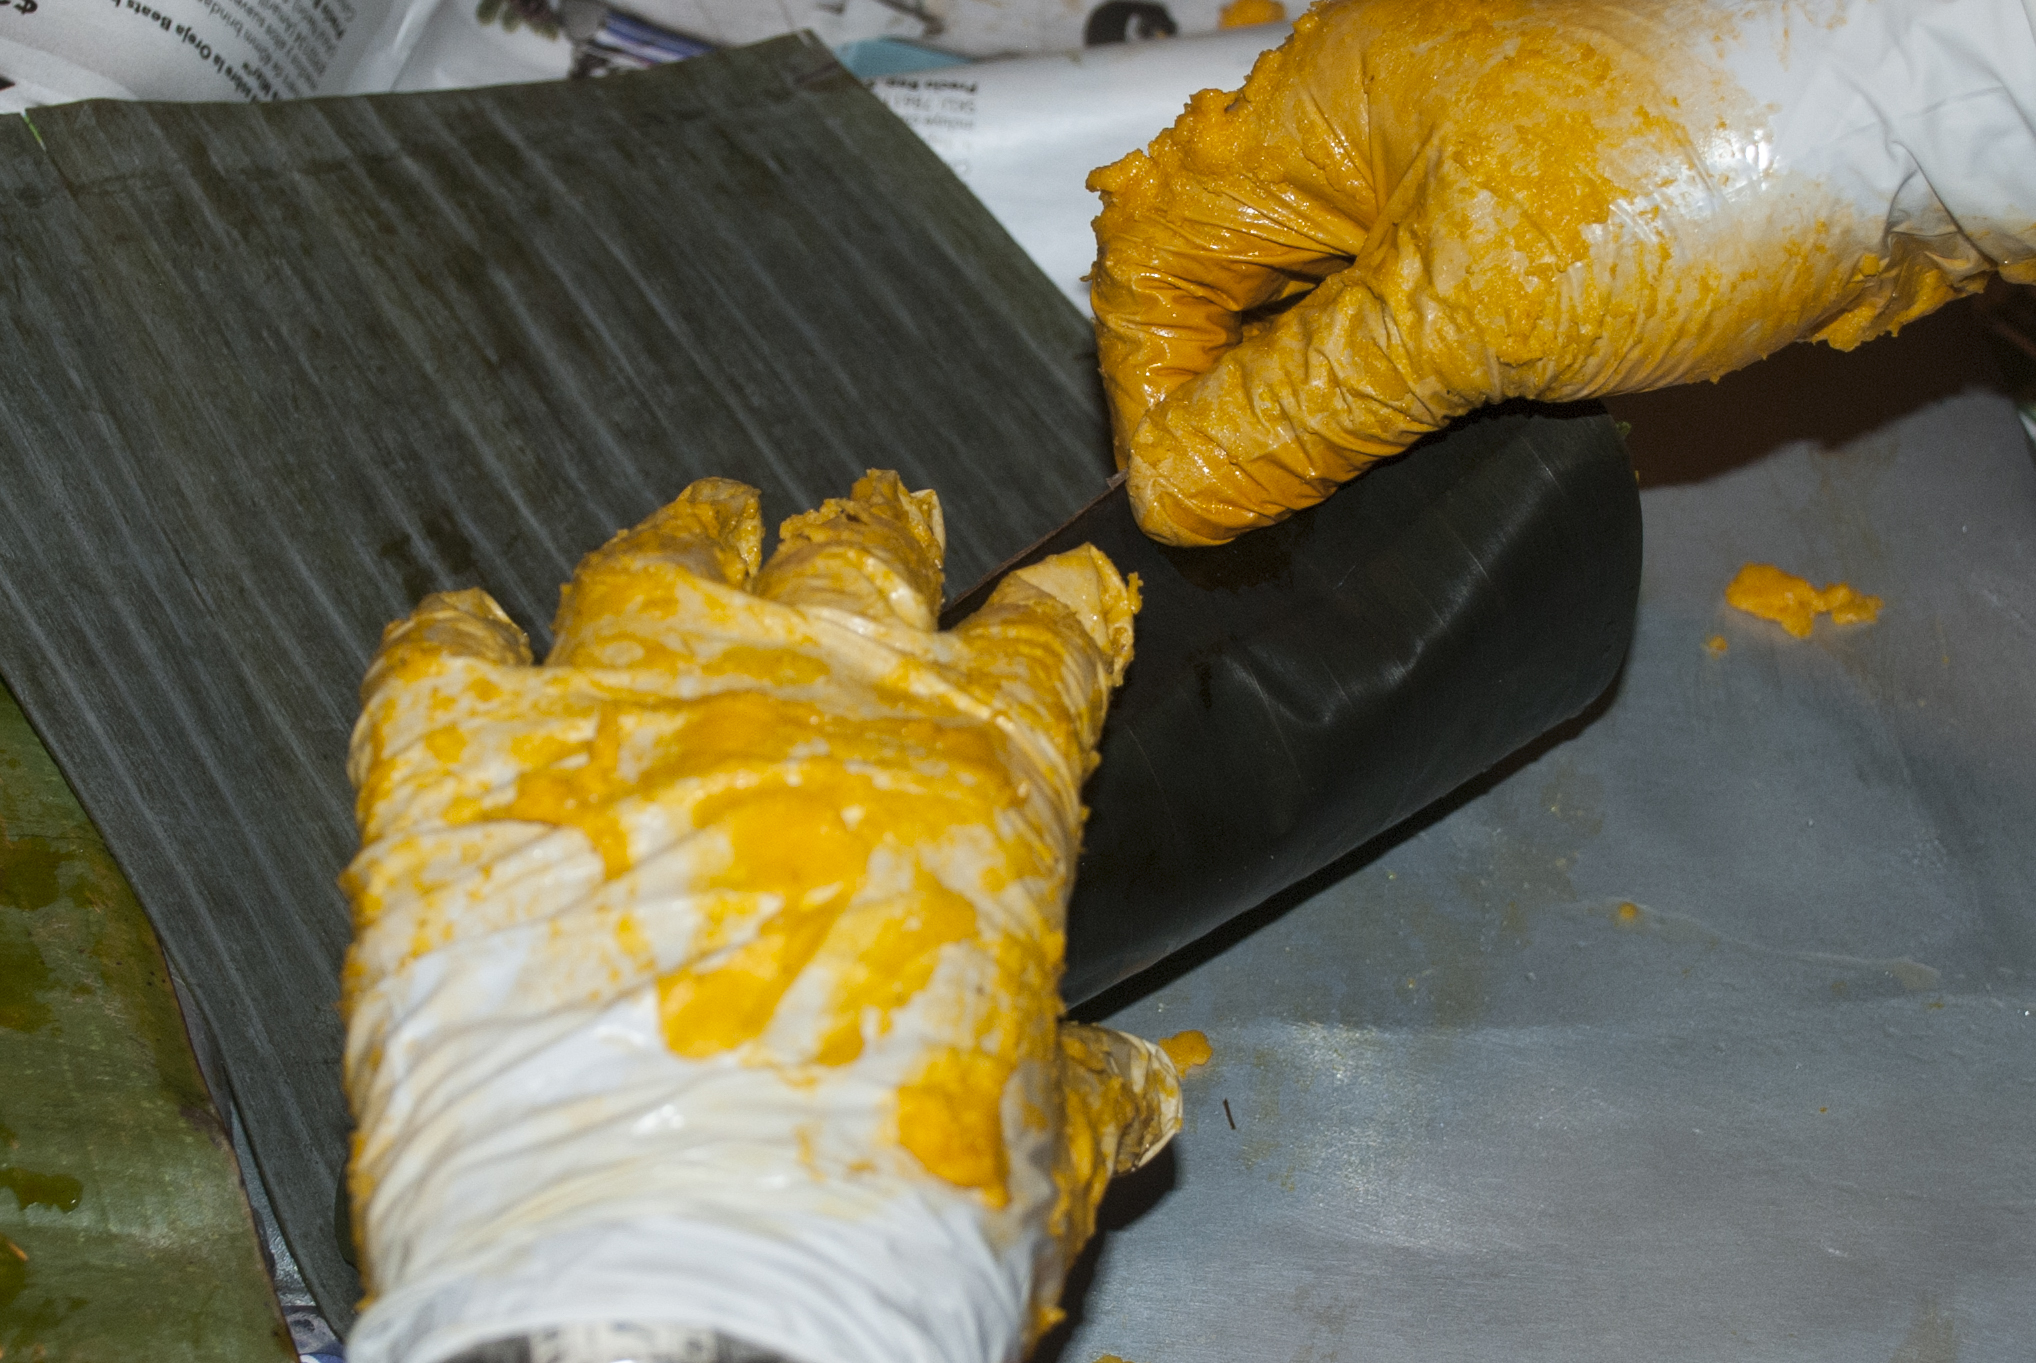
2. With a small clean kitchen rag or towel (I used my hands because I was wearing gloves, remember I told you, you will need gloves for all this), grab some annatto oil and spread it in a circular motion on top of the leave.
Add Annatto Oil
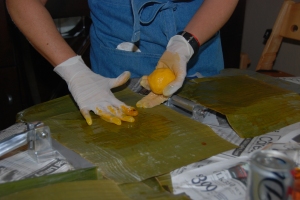
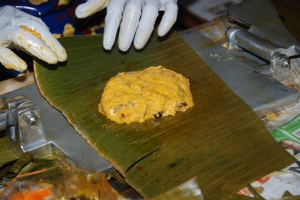
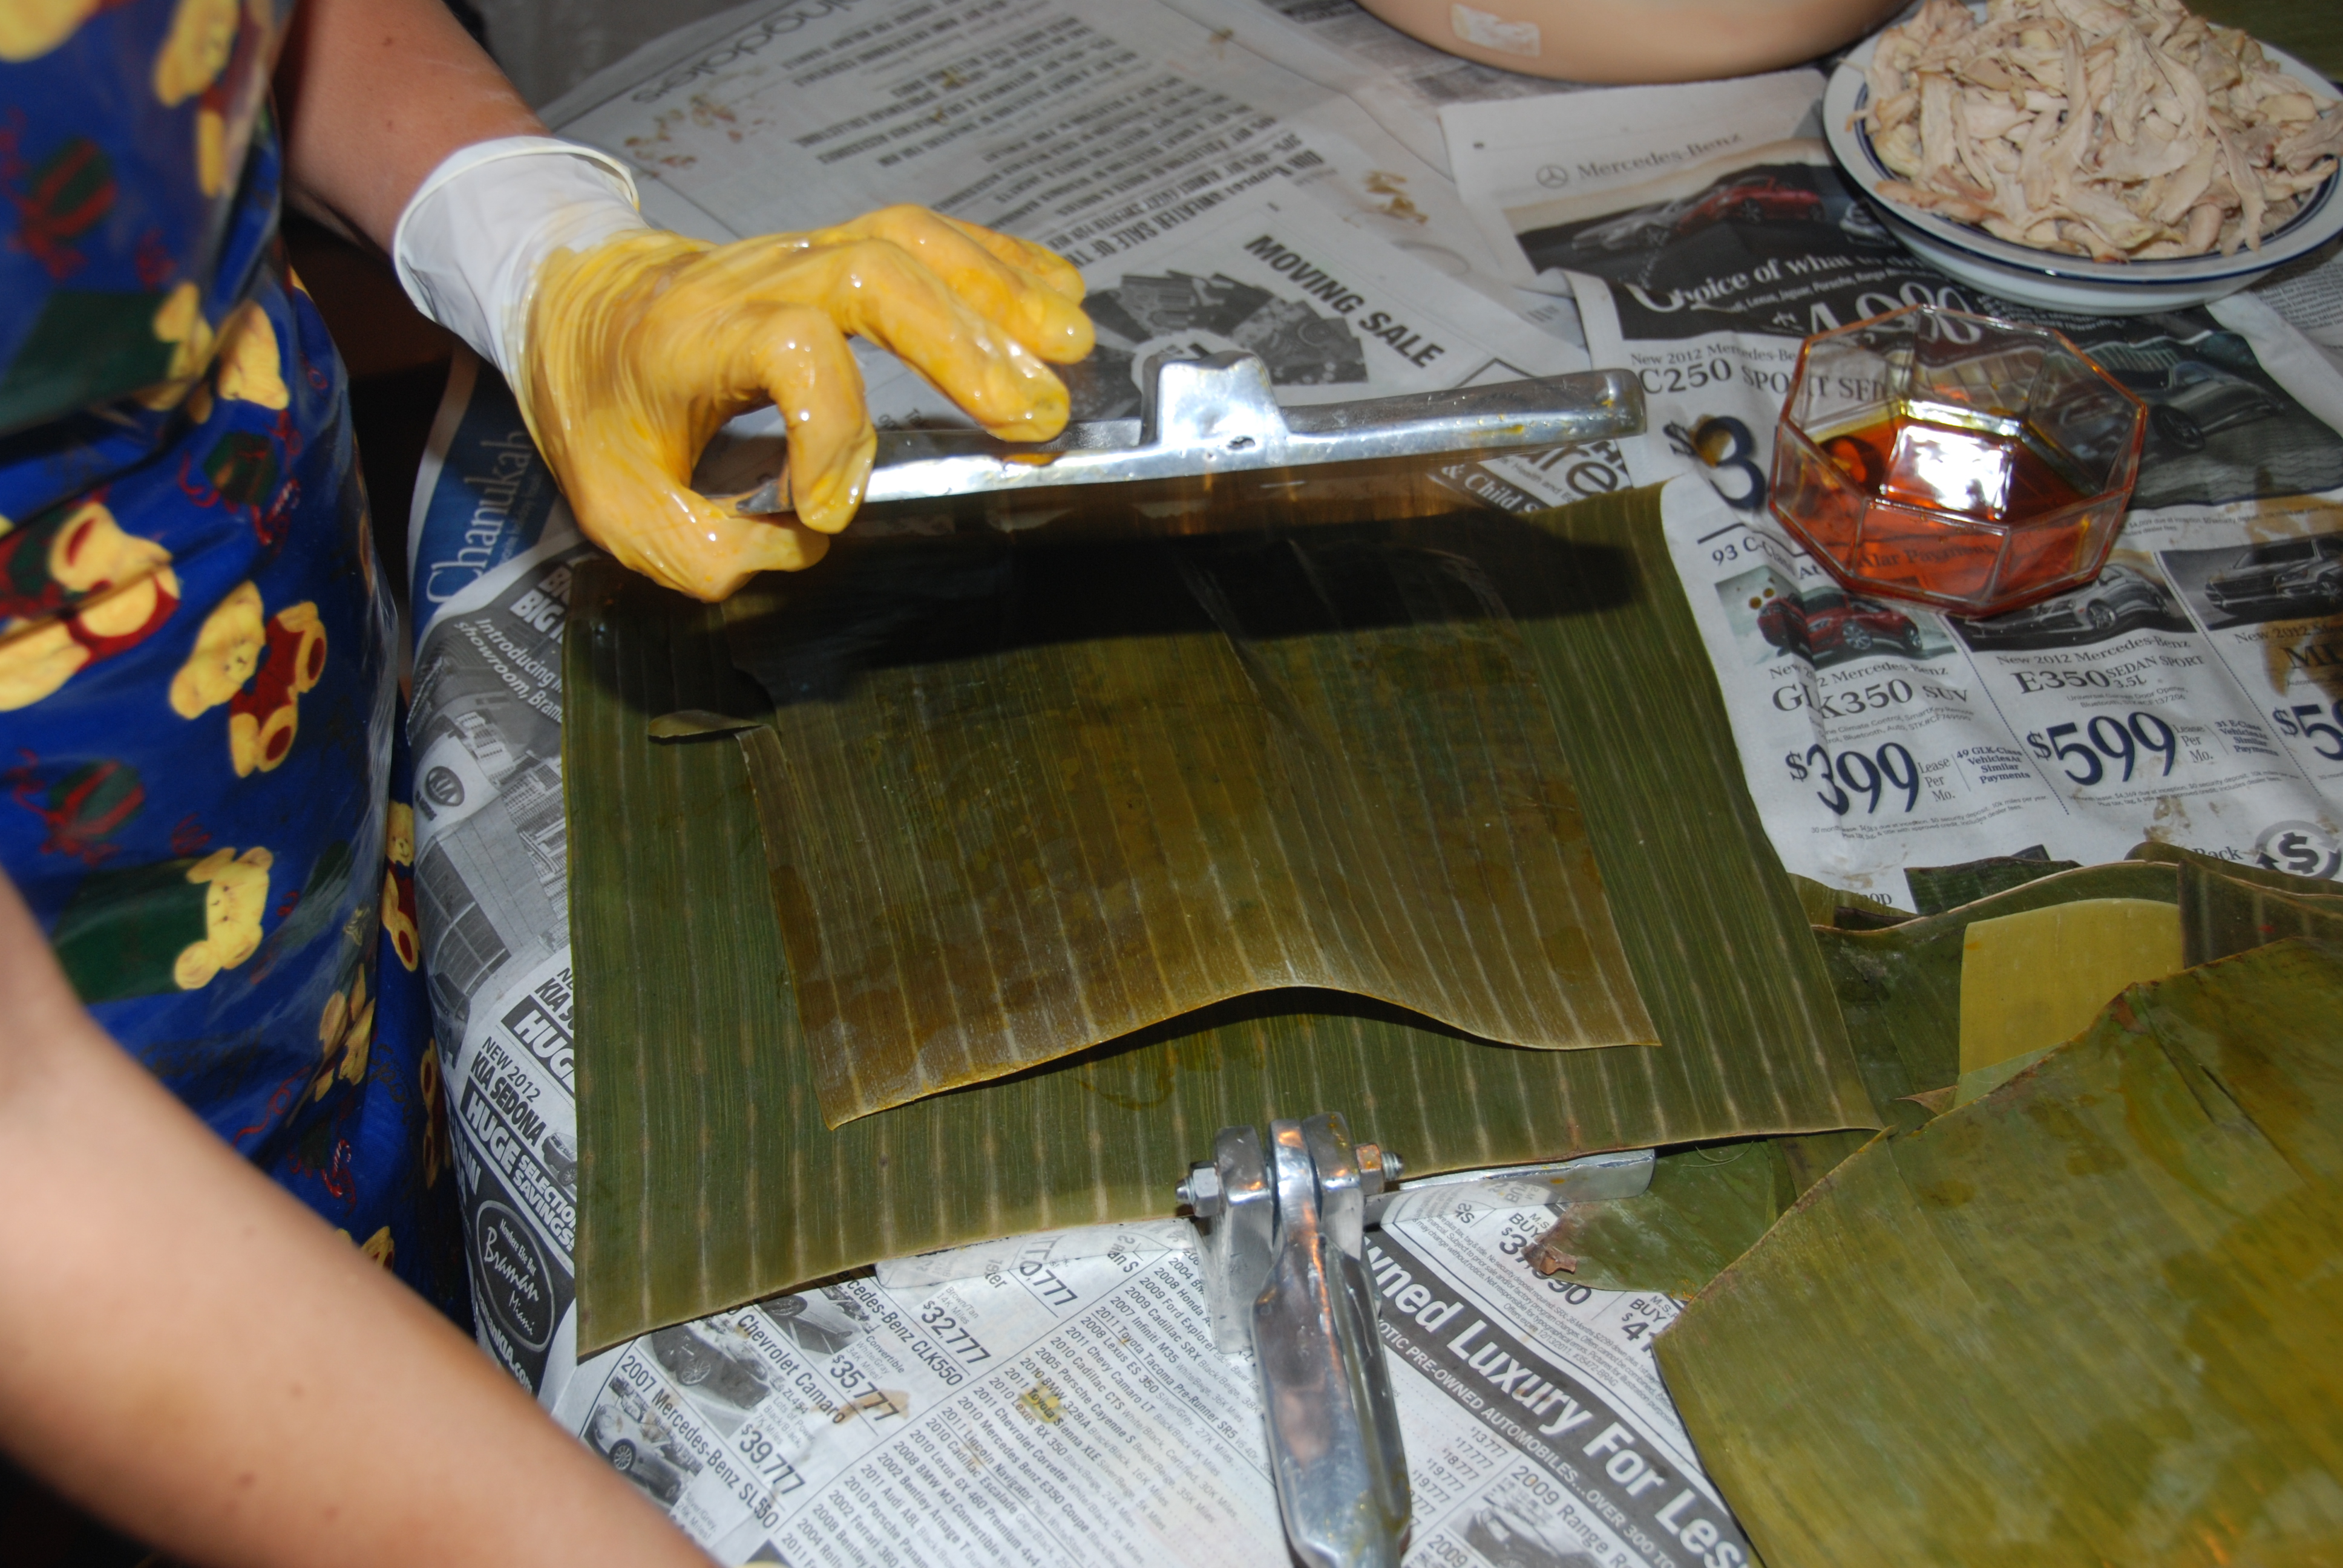
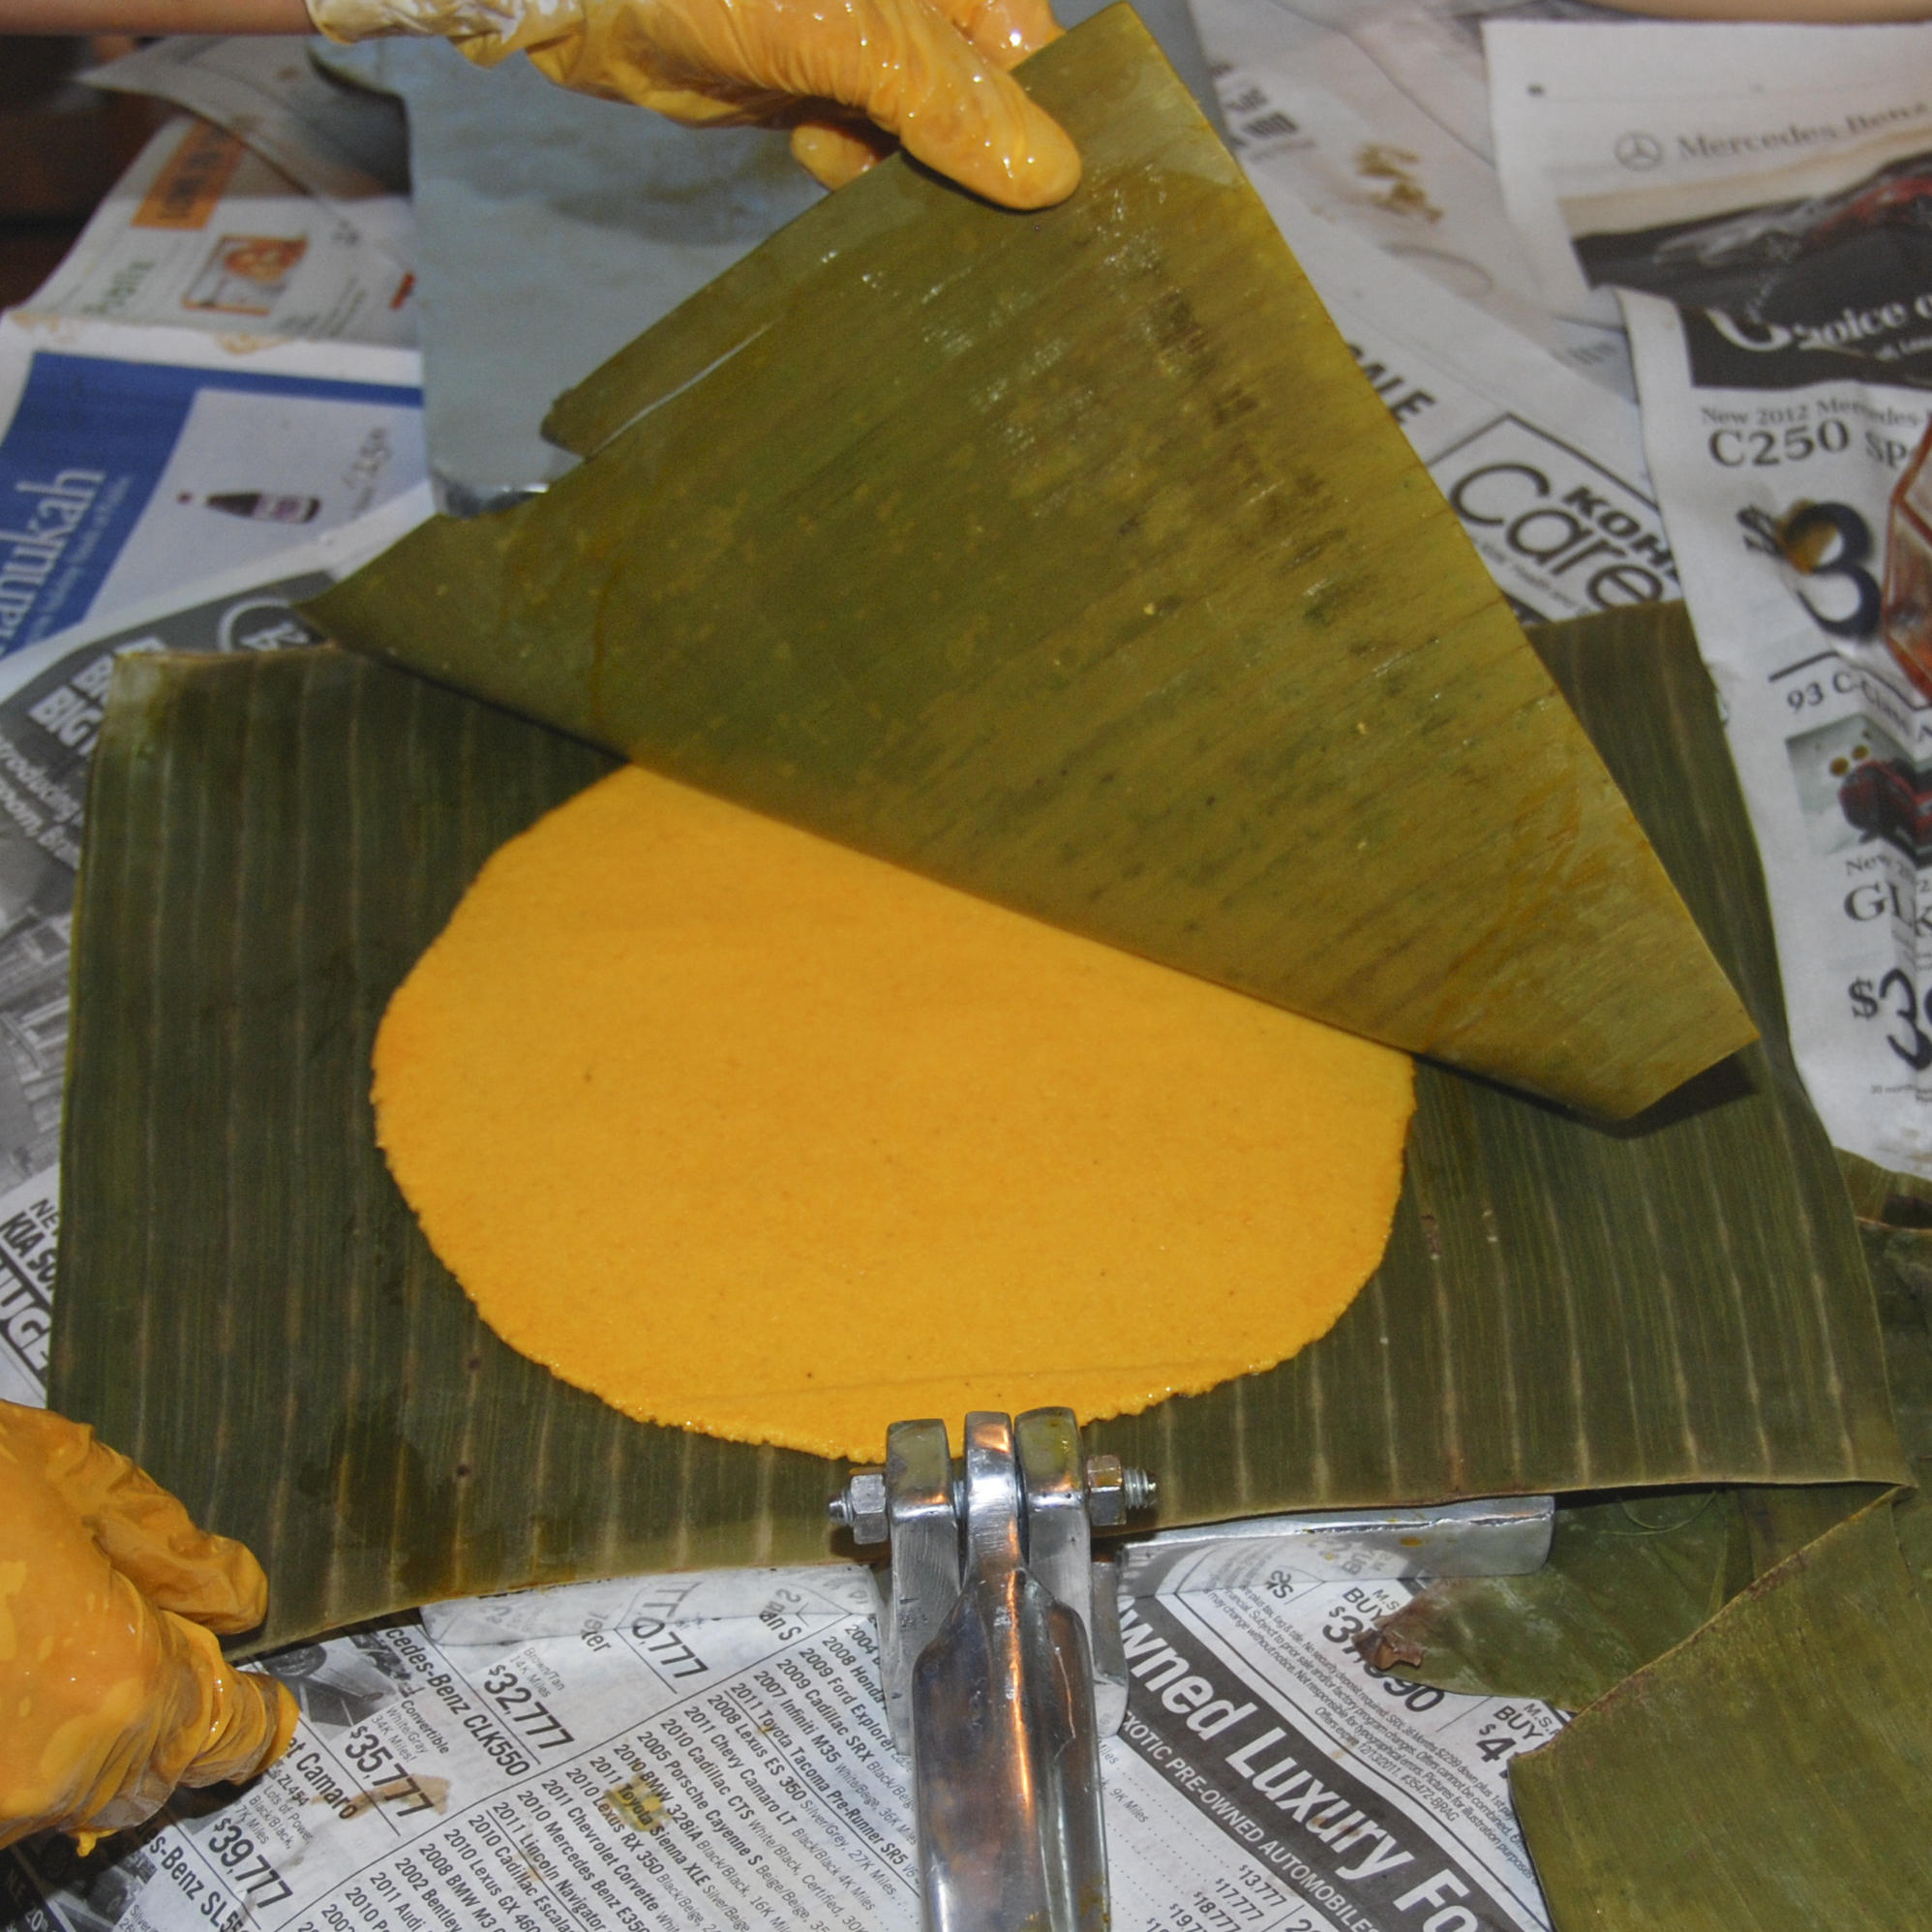
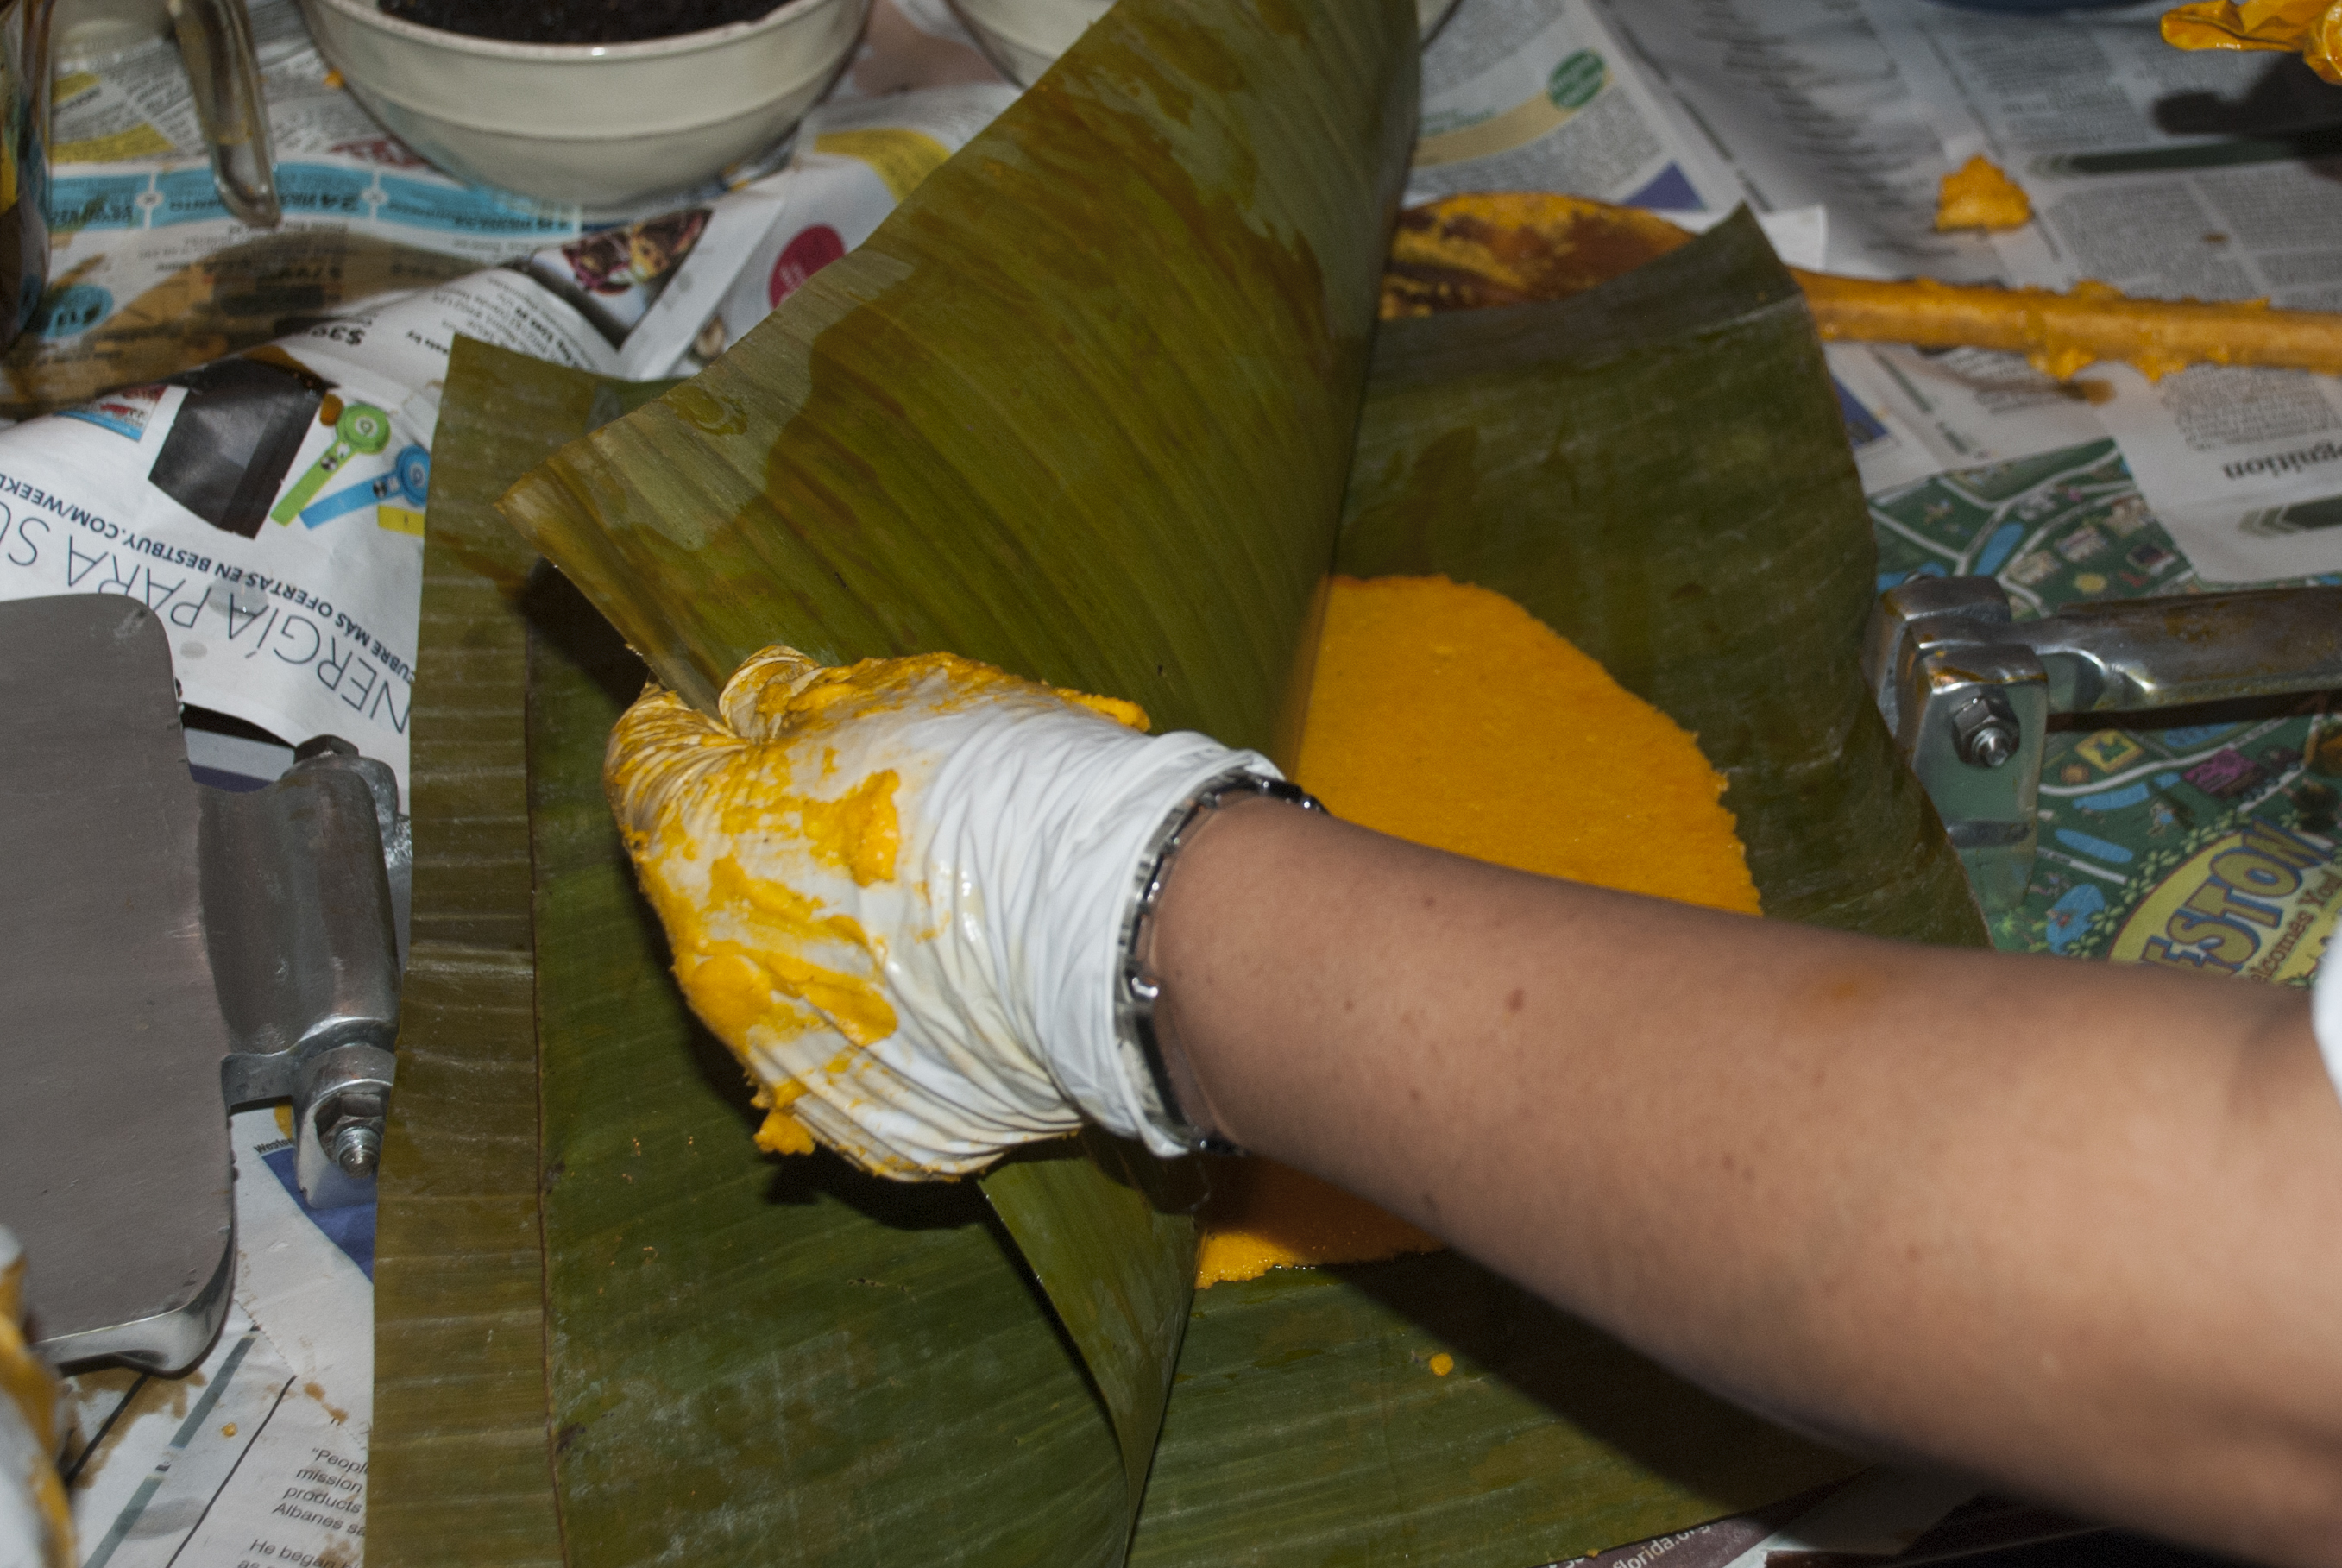
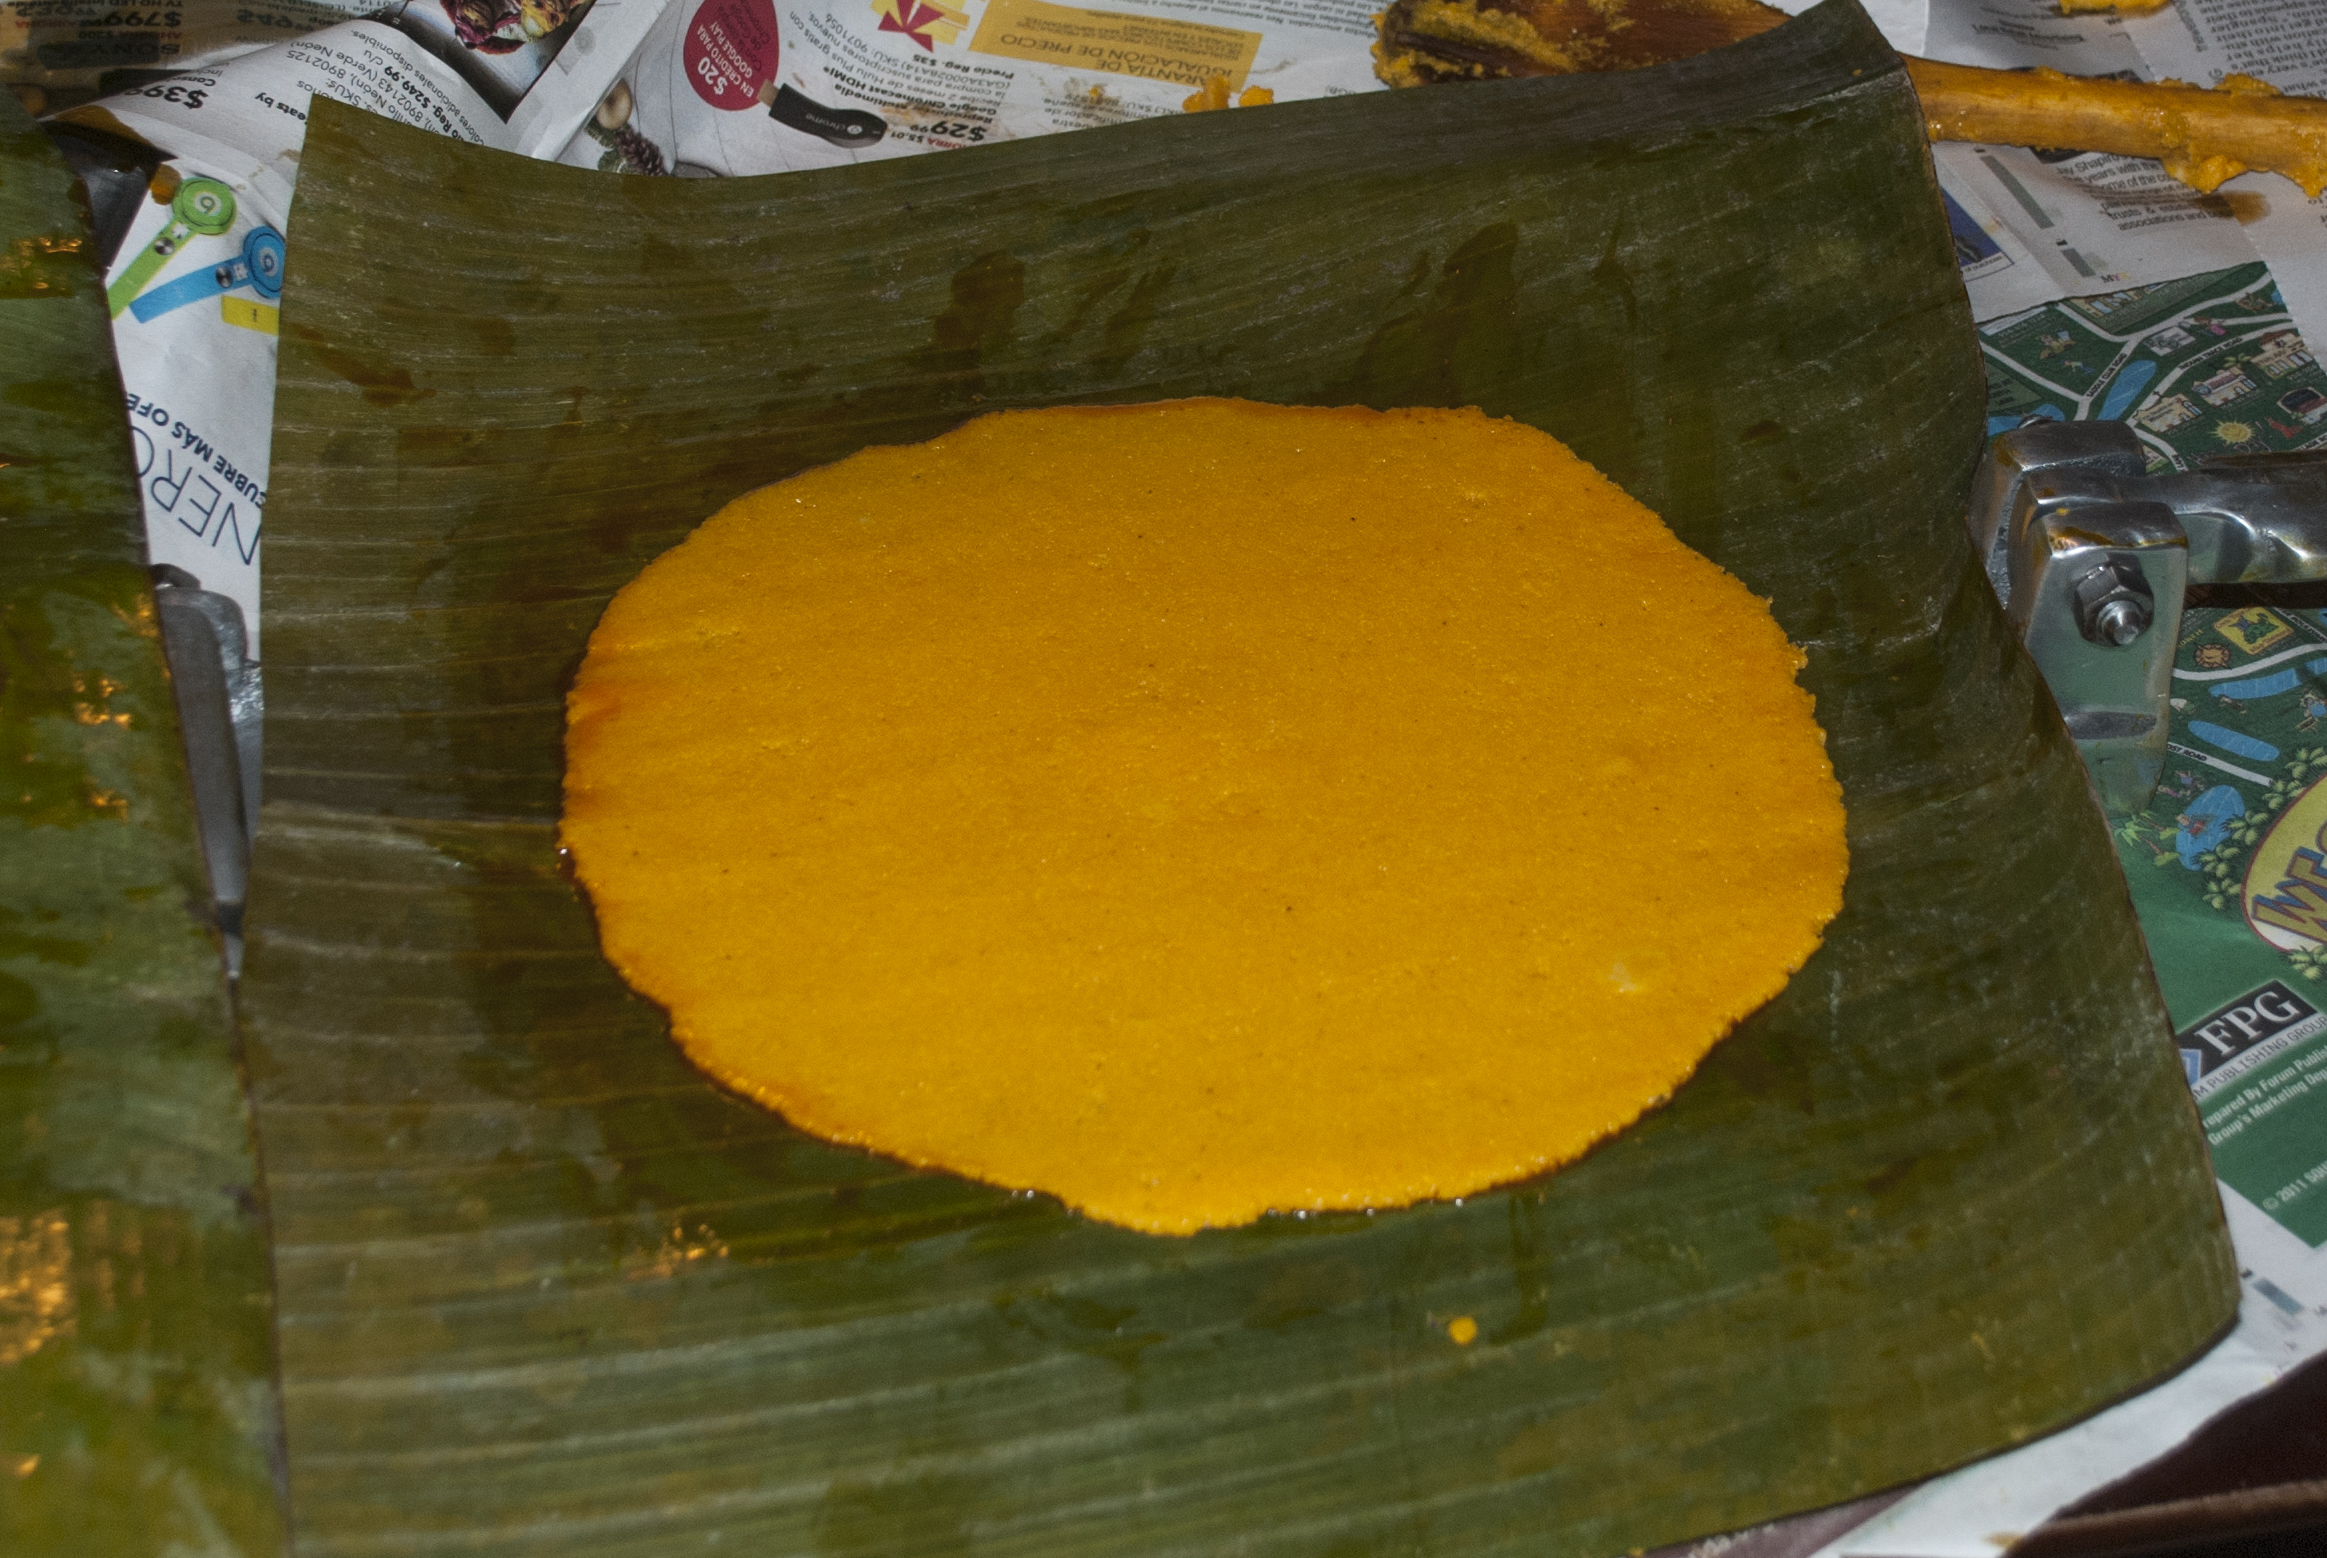
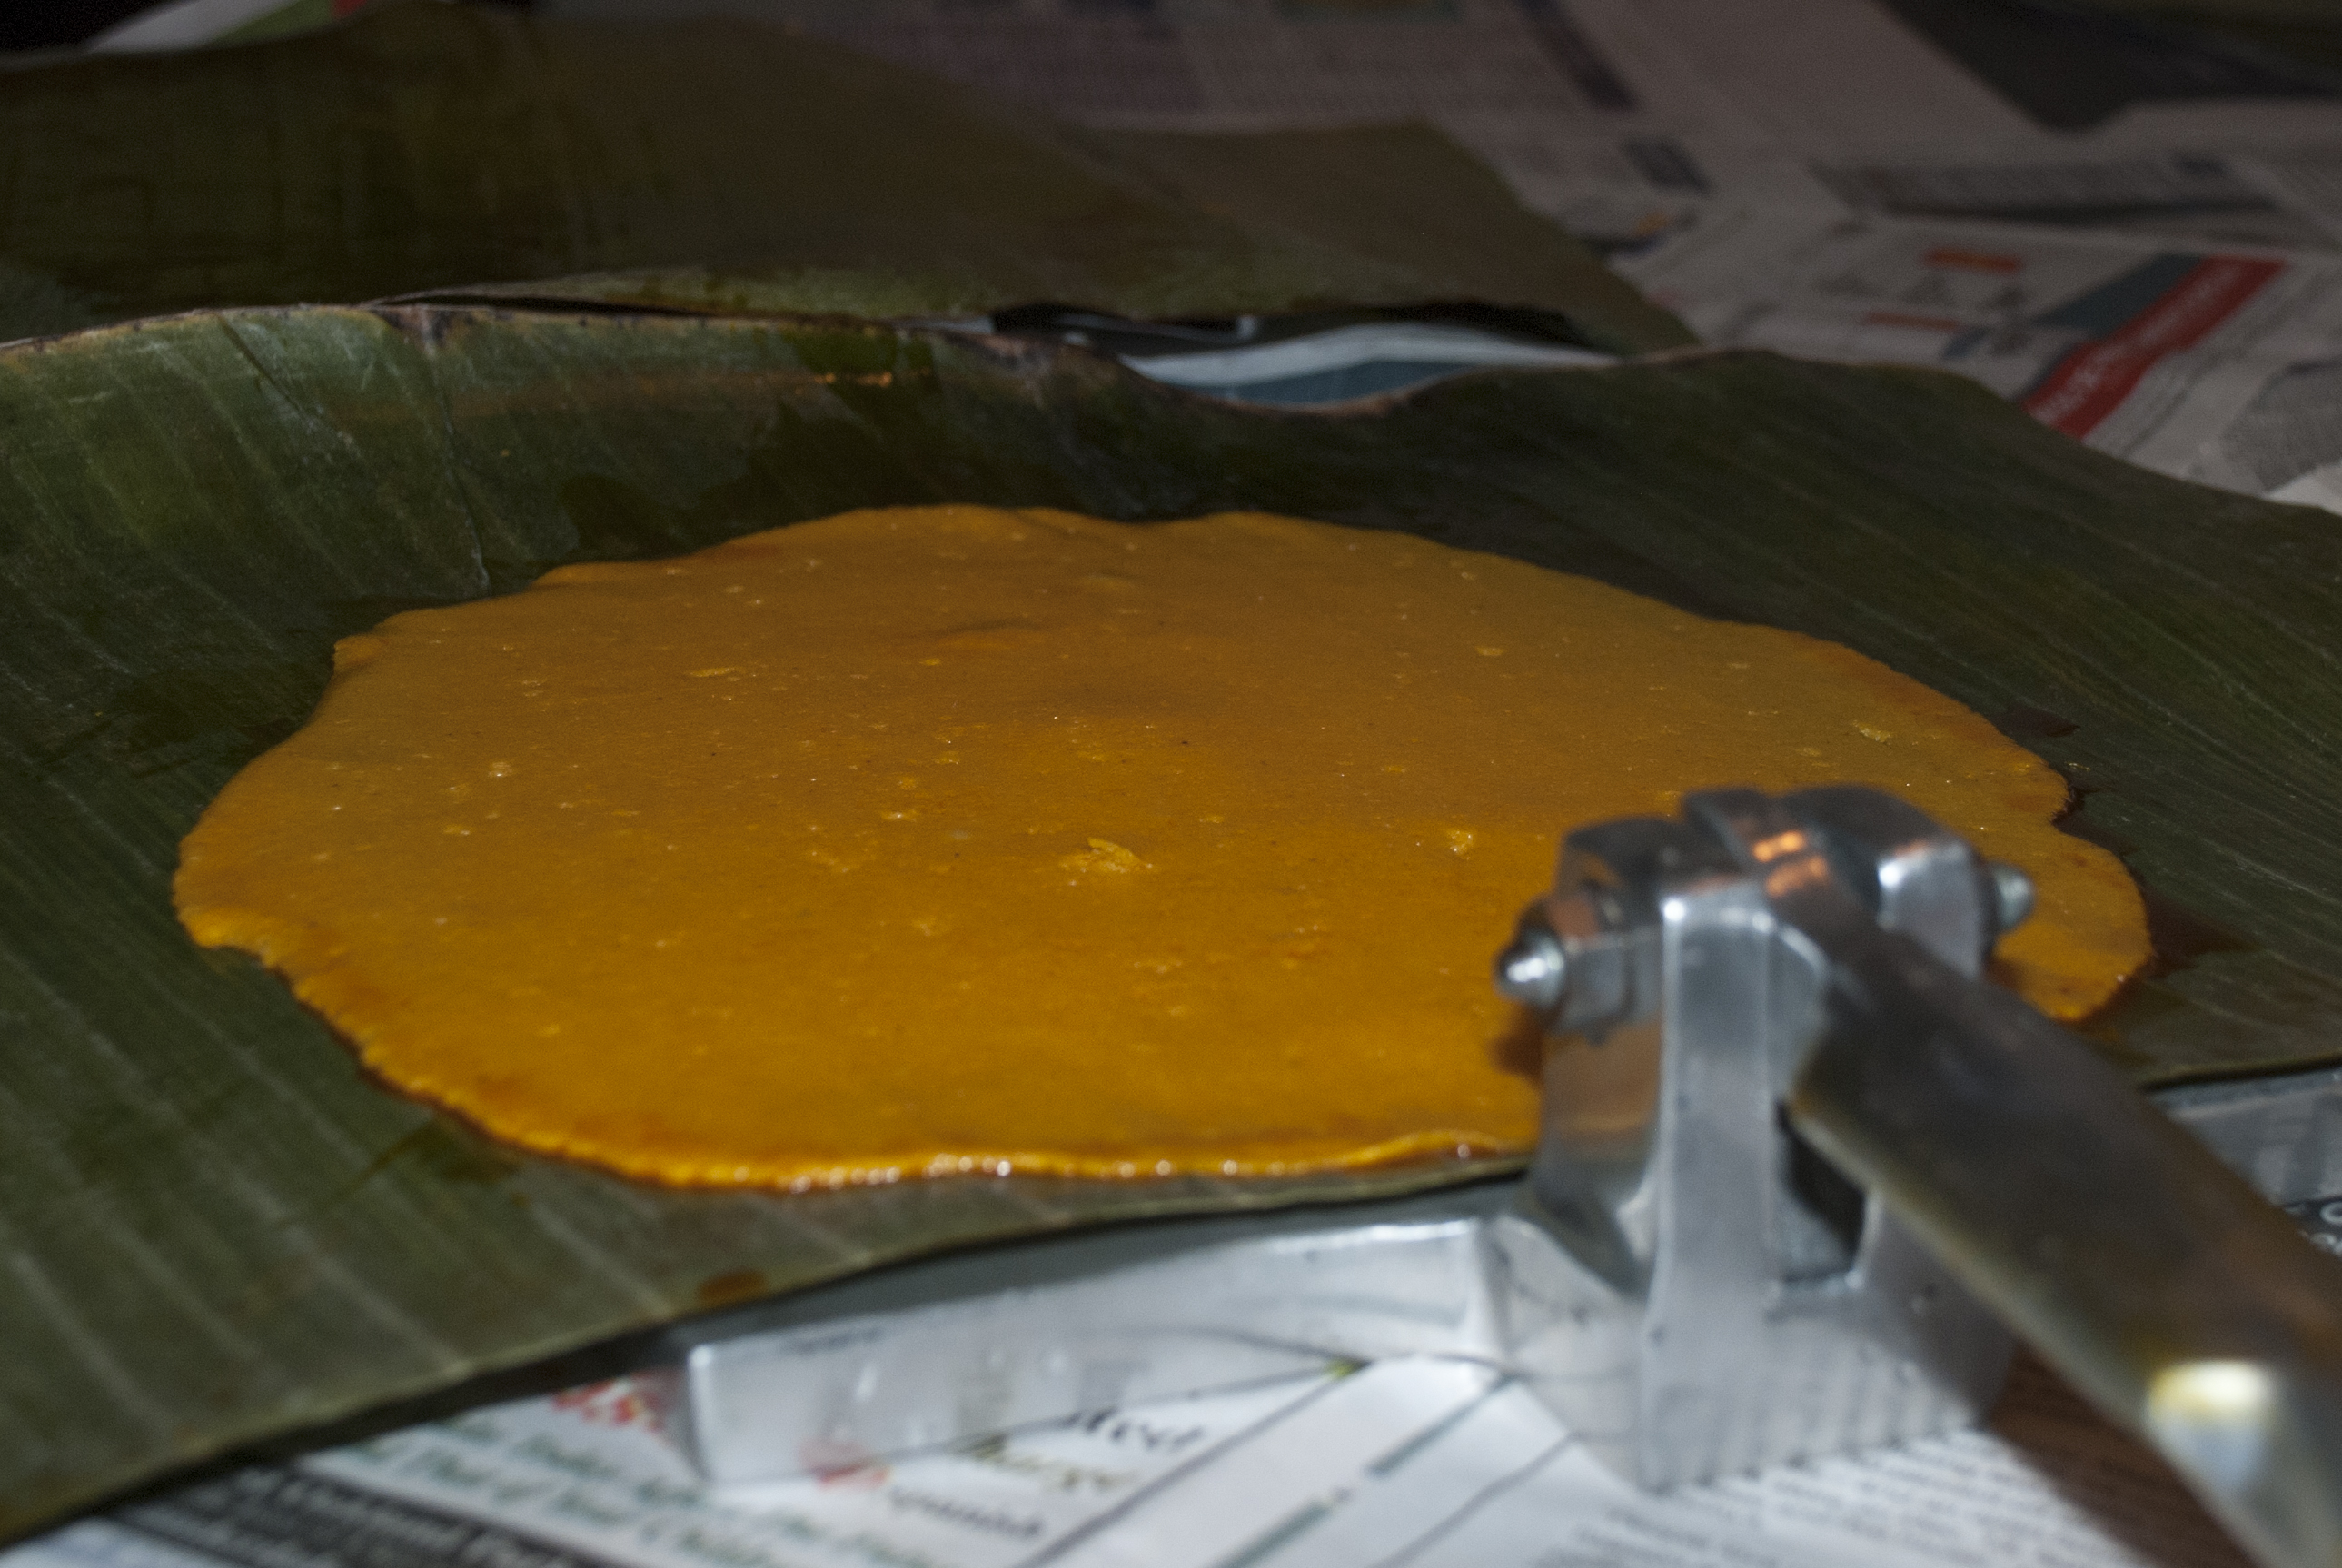
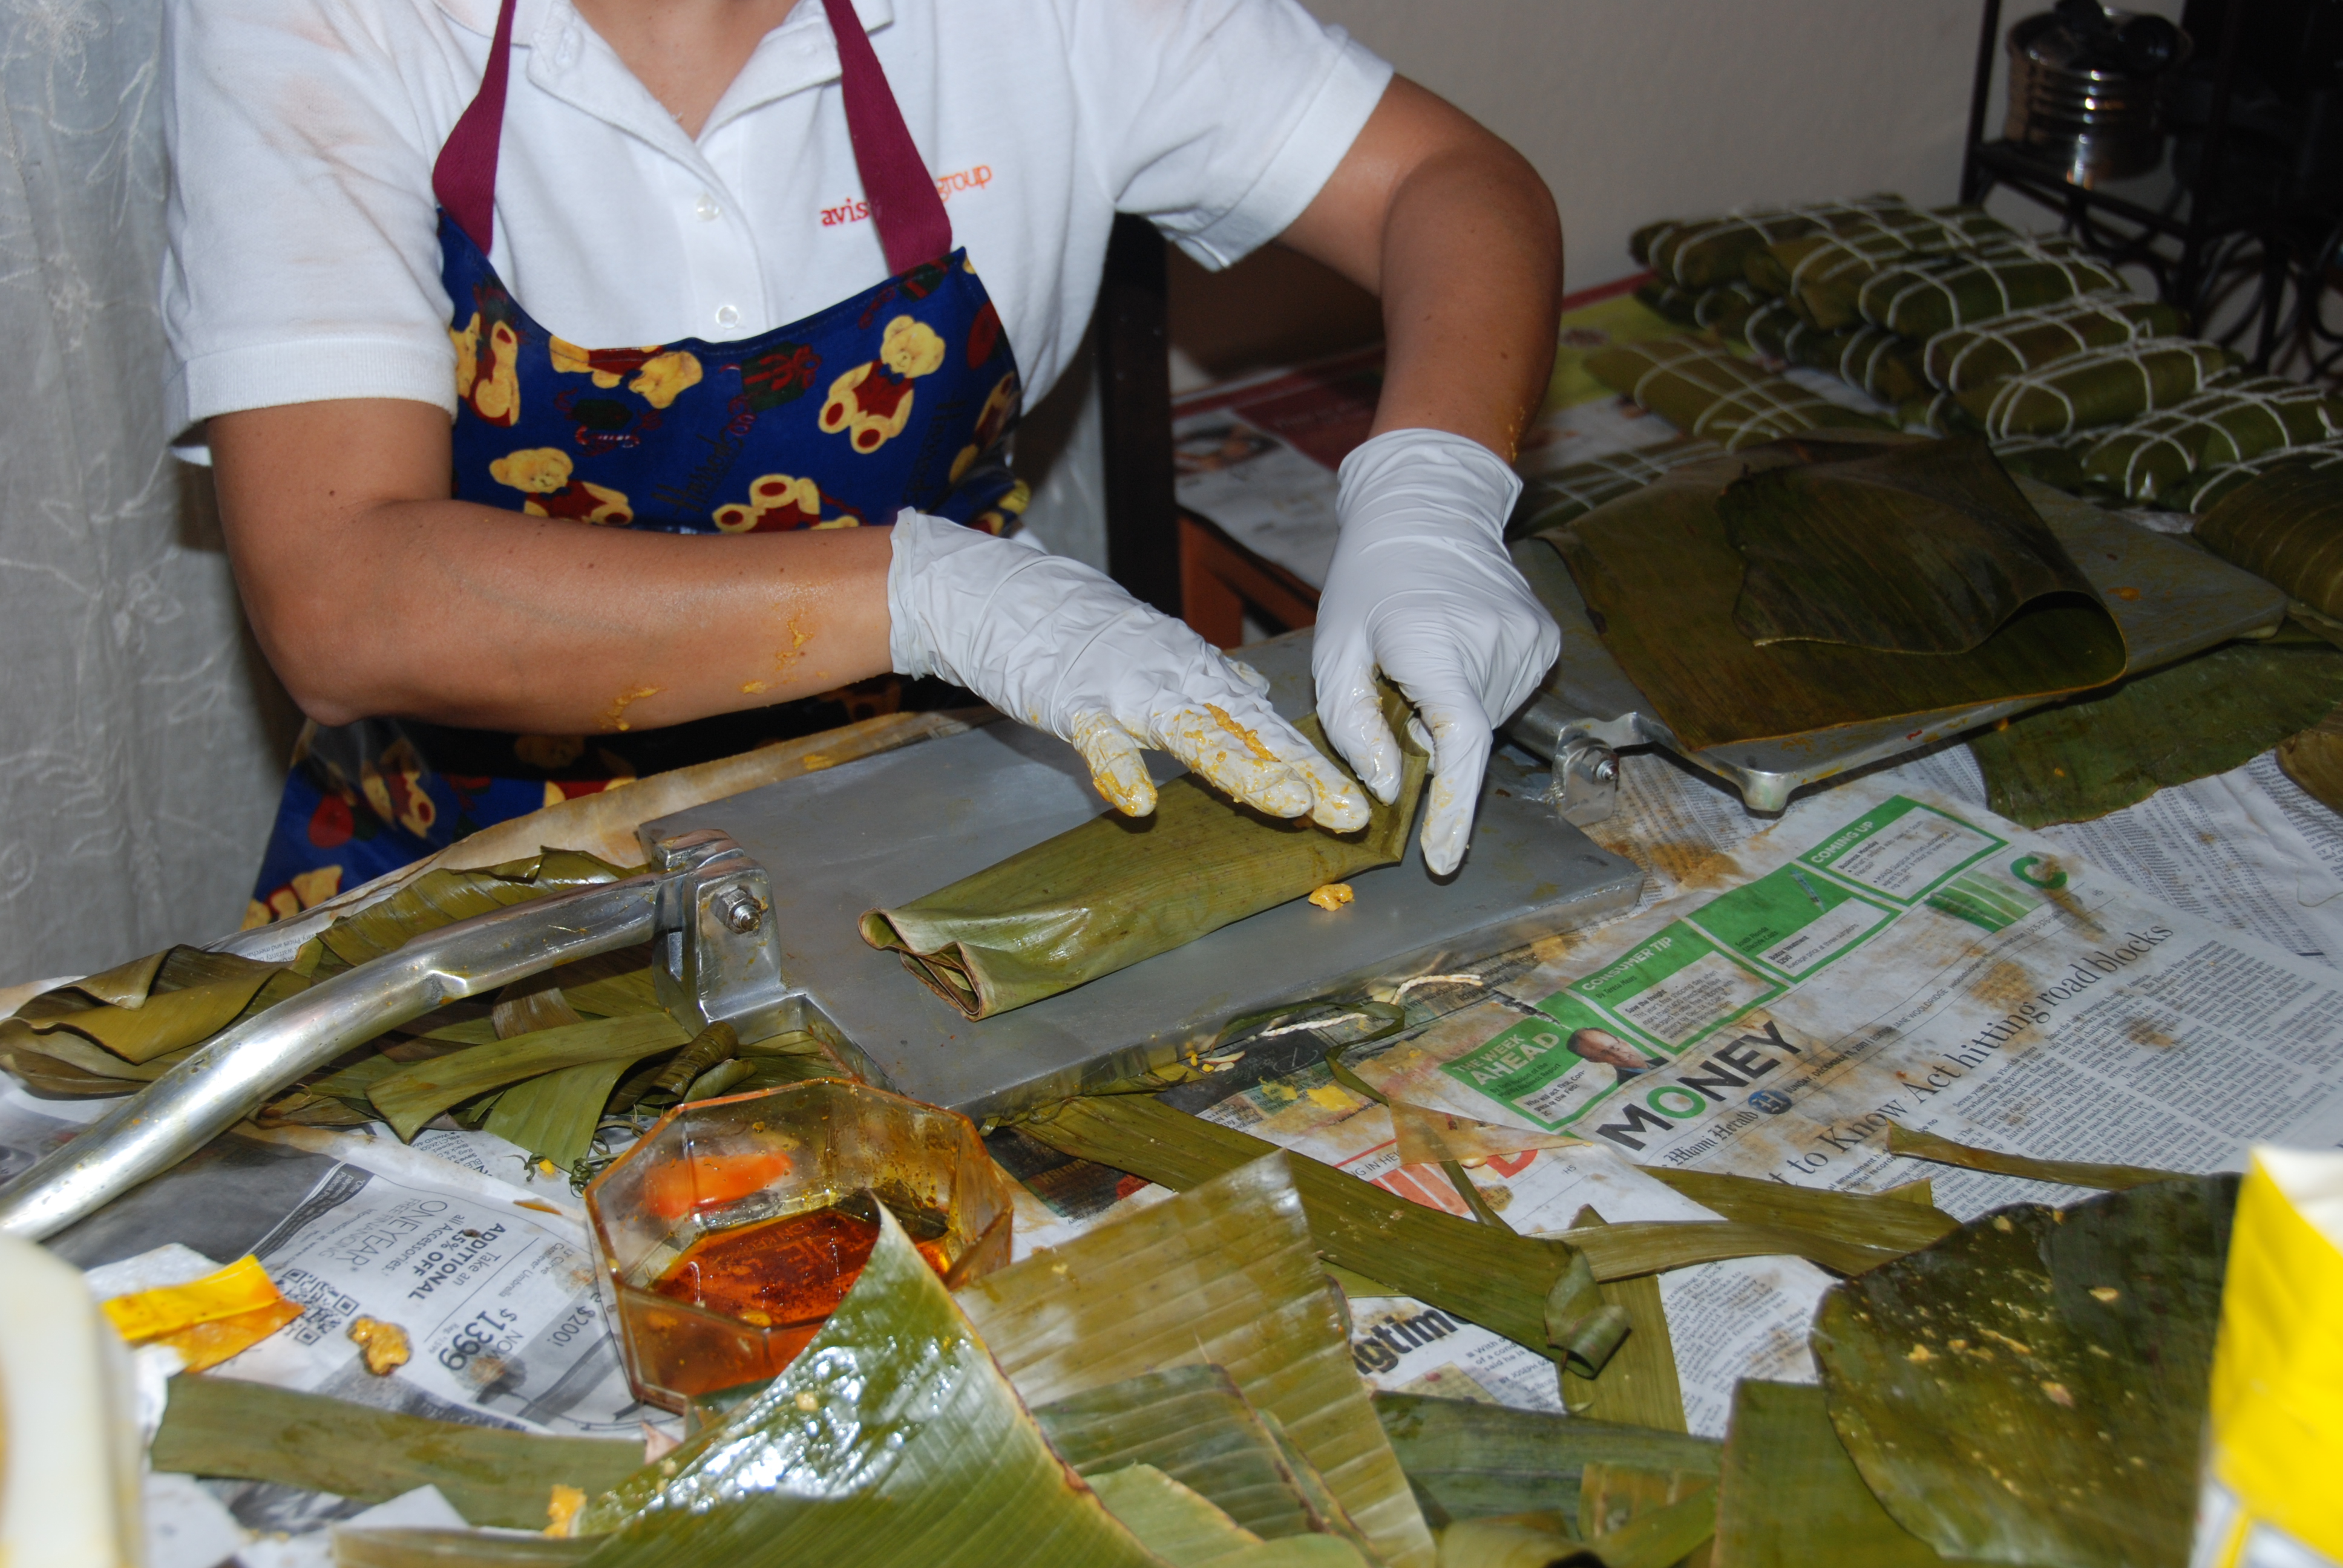
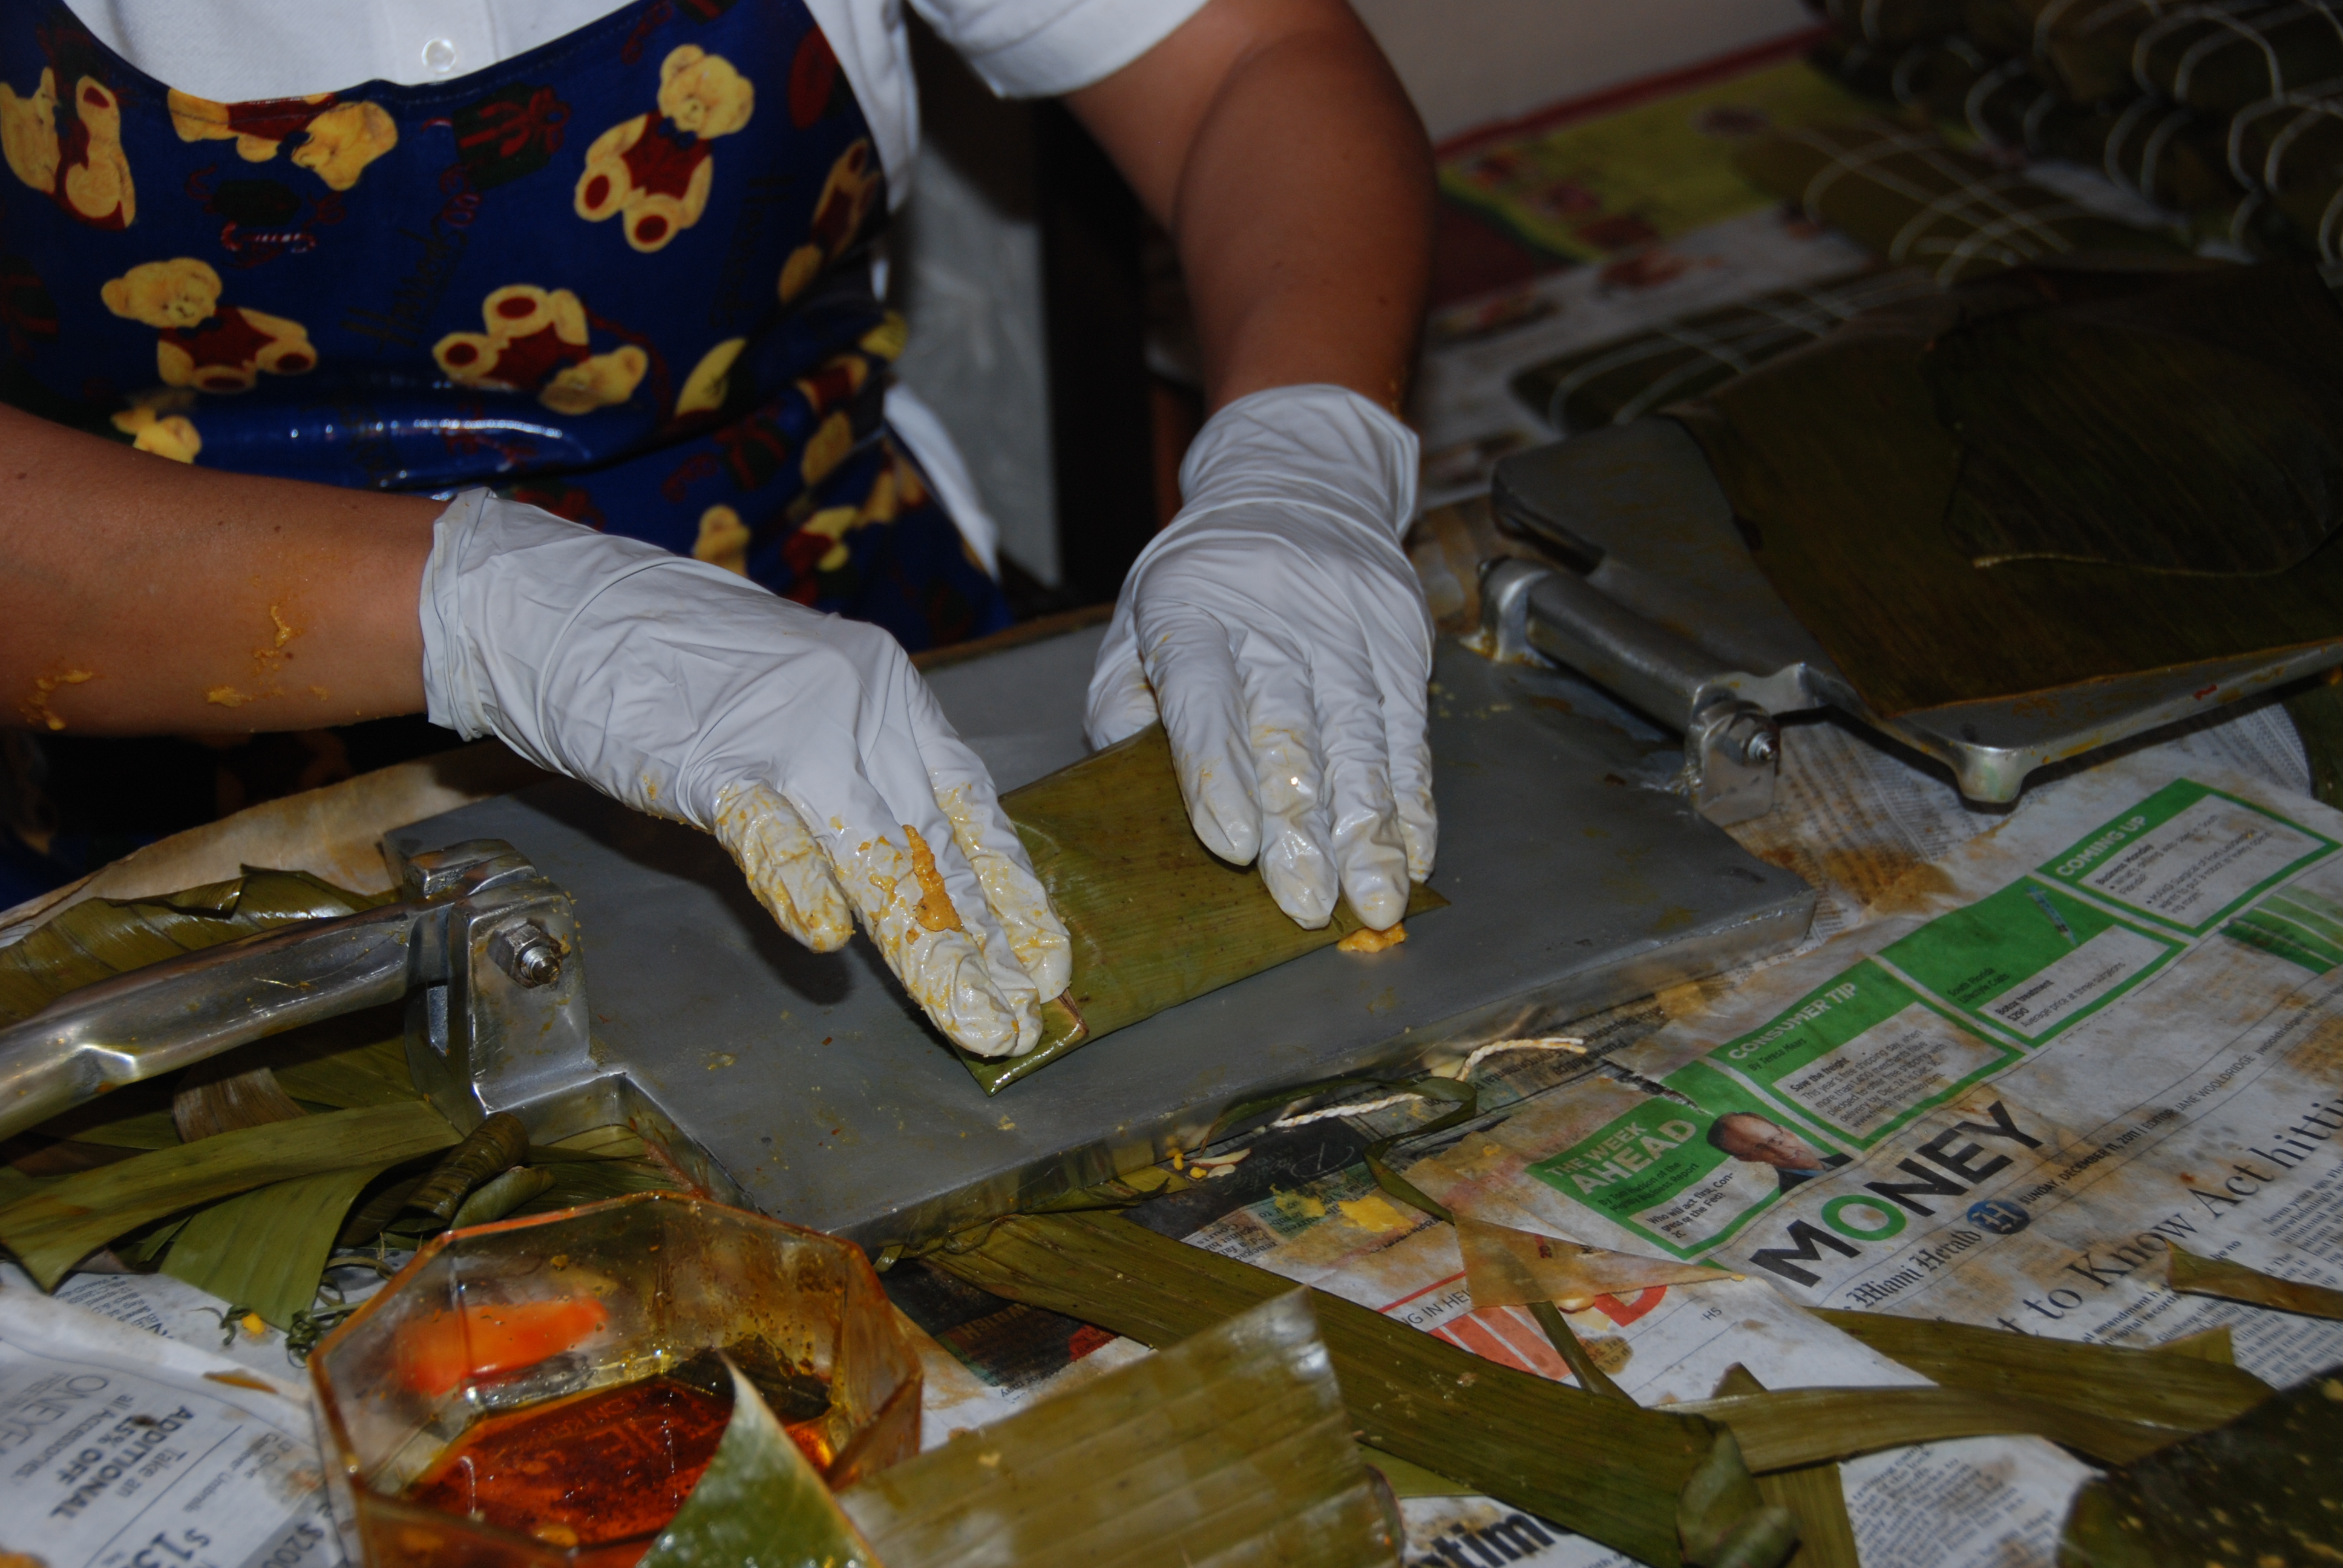
3. Grab one of the balls of dough and place it in the middle of the leaf. If you have an awesome tortilla press like my aunt has, just press it and voila! If not you have to press the dough lightly with your fingers until its flat. You can also use a heavy plate or any other way you can come up with to flatten the dough faster and easily. Use another shirt on top of that one covered with annatto oil if you use any other method other than the manual method to flatten the dough. The flat dough should be about 4 millimeters thick and be flattened in a circular shape.
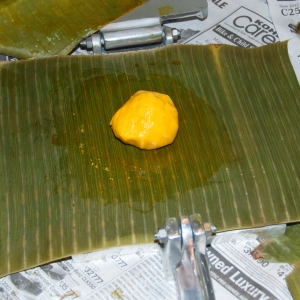
Set a ball of dough in the center

Cover with another plantain leave with annatto oil on it

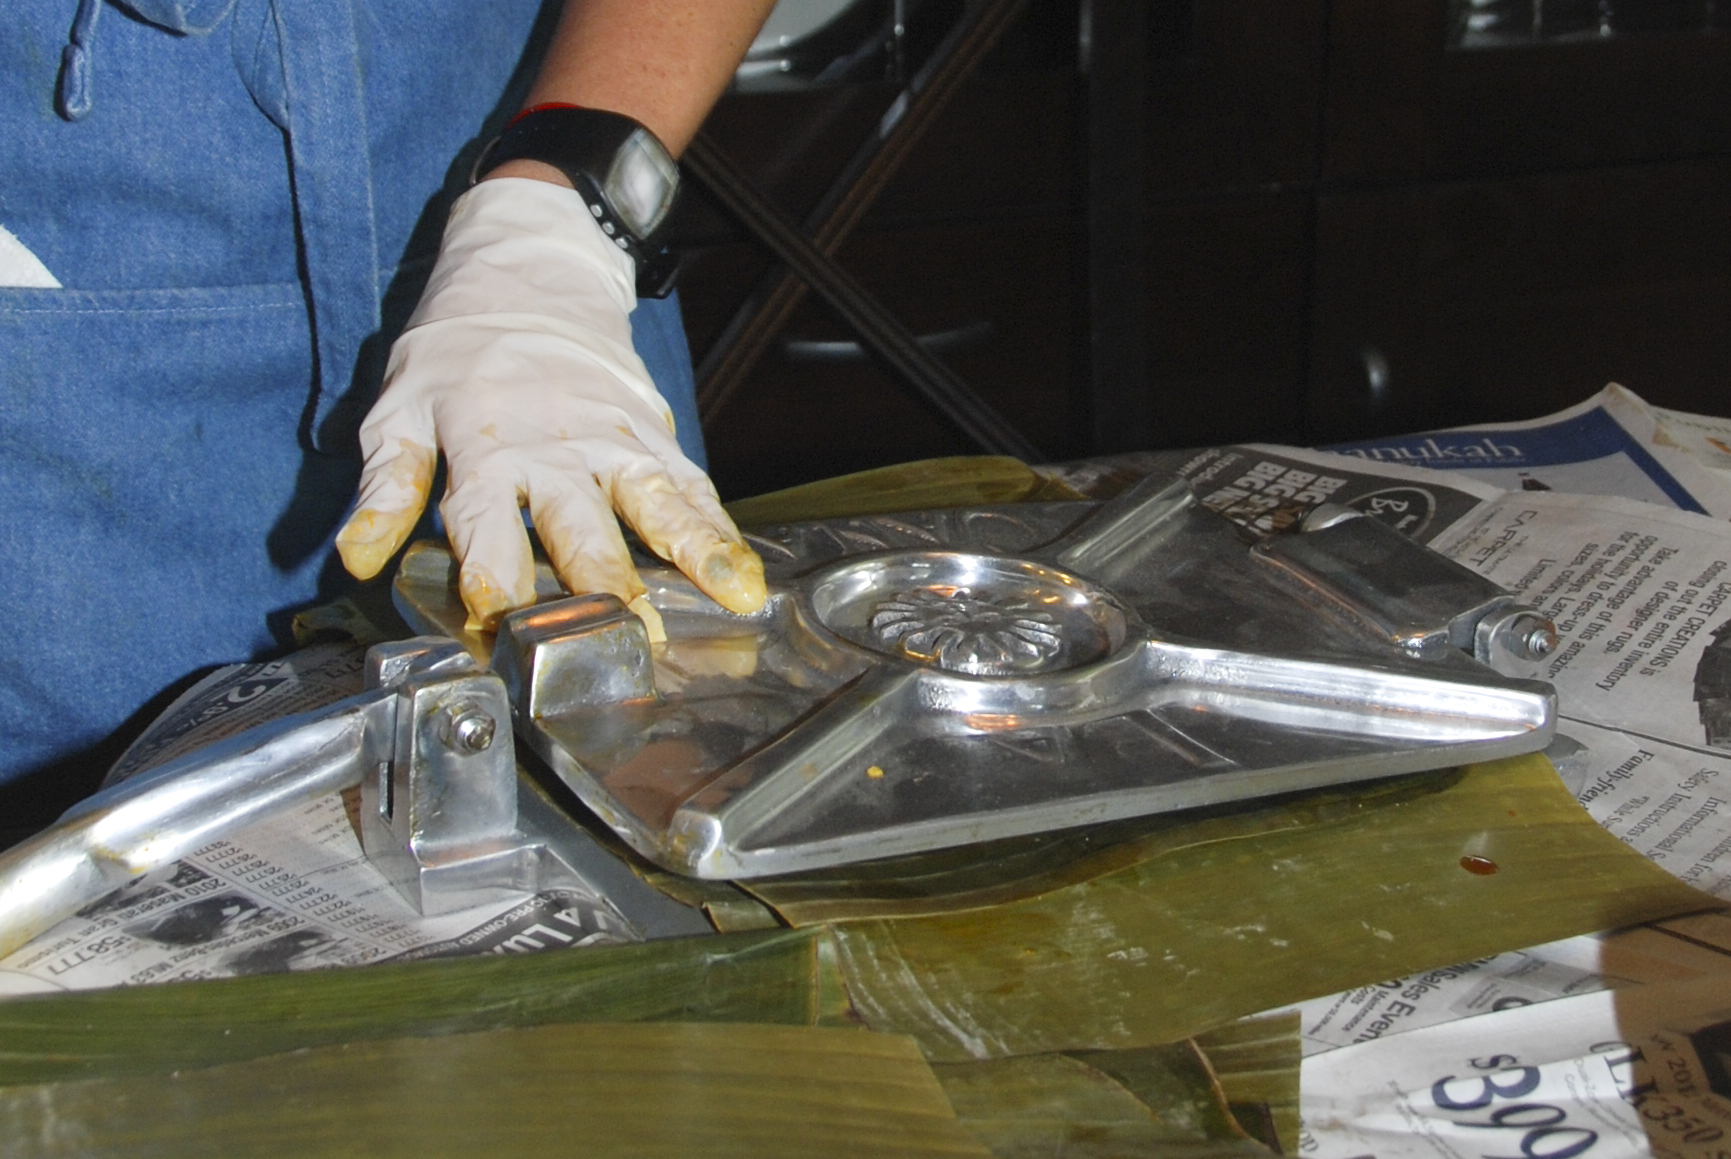
Close the press
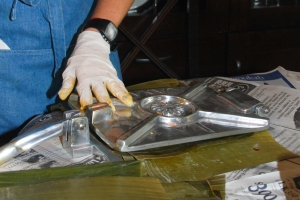
Press down a bit
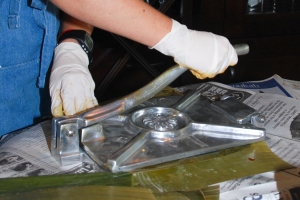
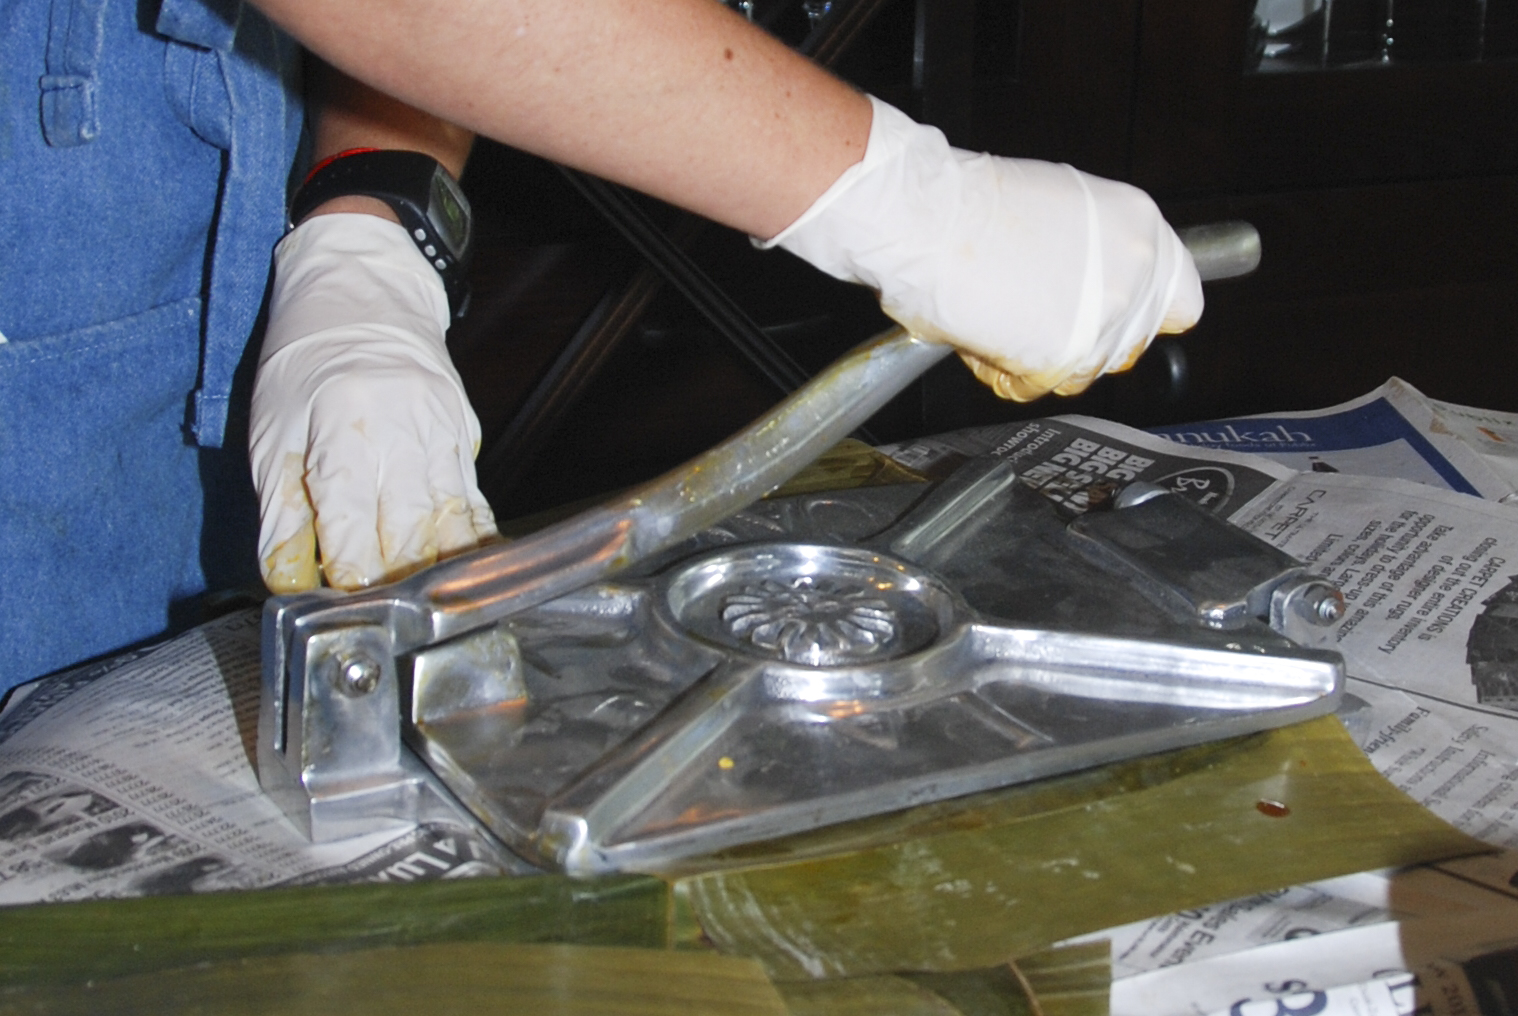
Press down fully, but not too much
Open the Press and Remove the top leaf
Easy as Pie
Voila!
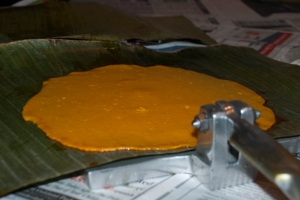
Beautifully pressed hallaca dough
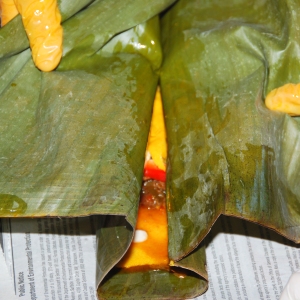
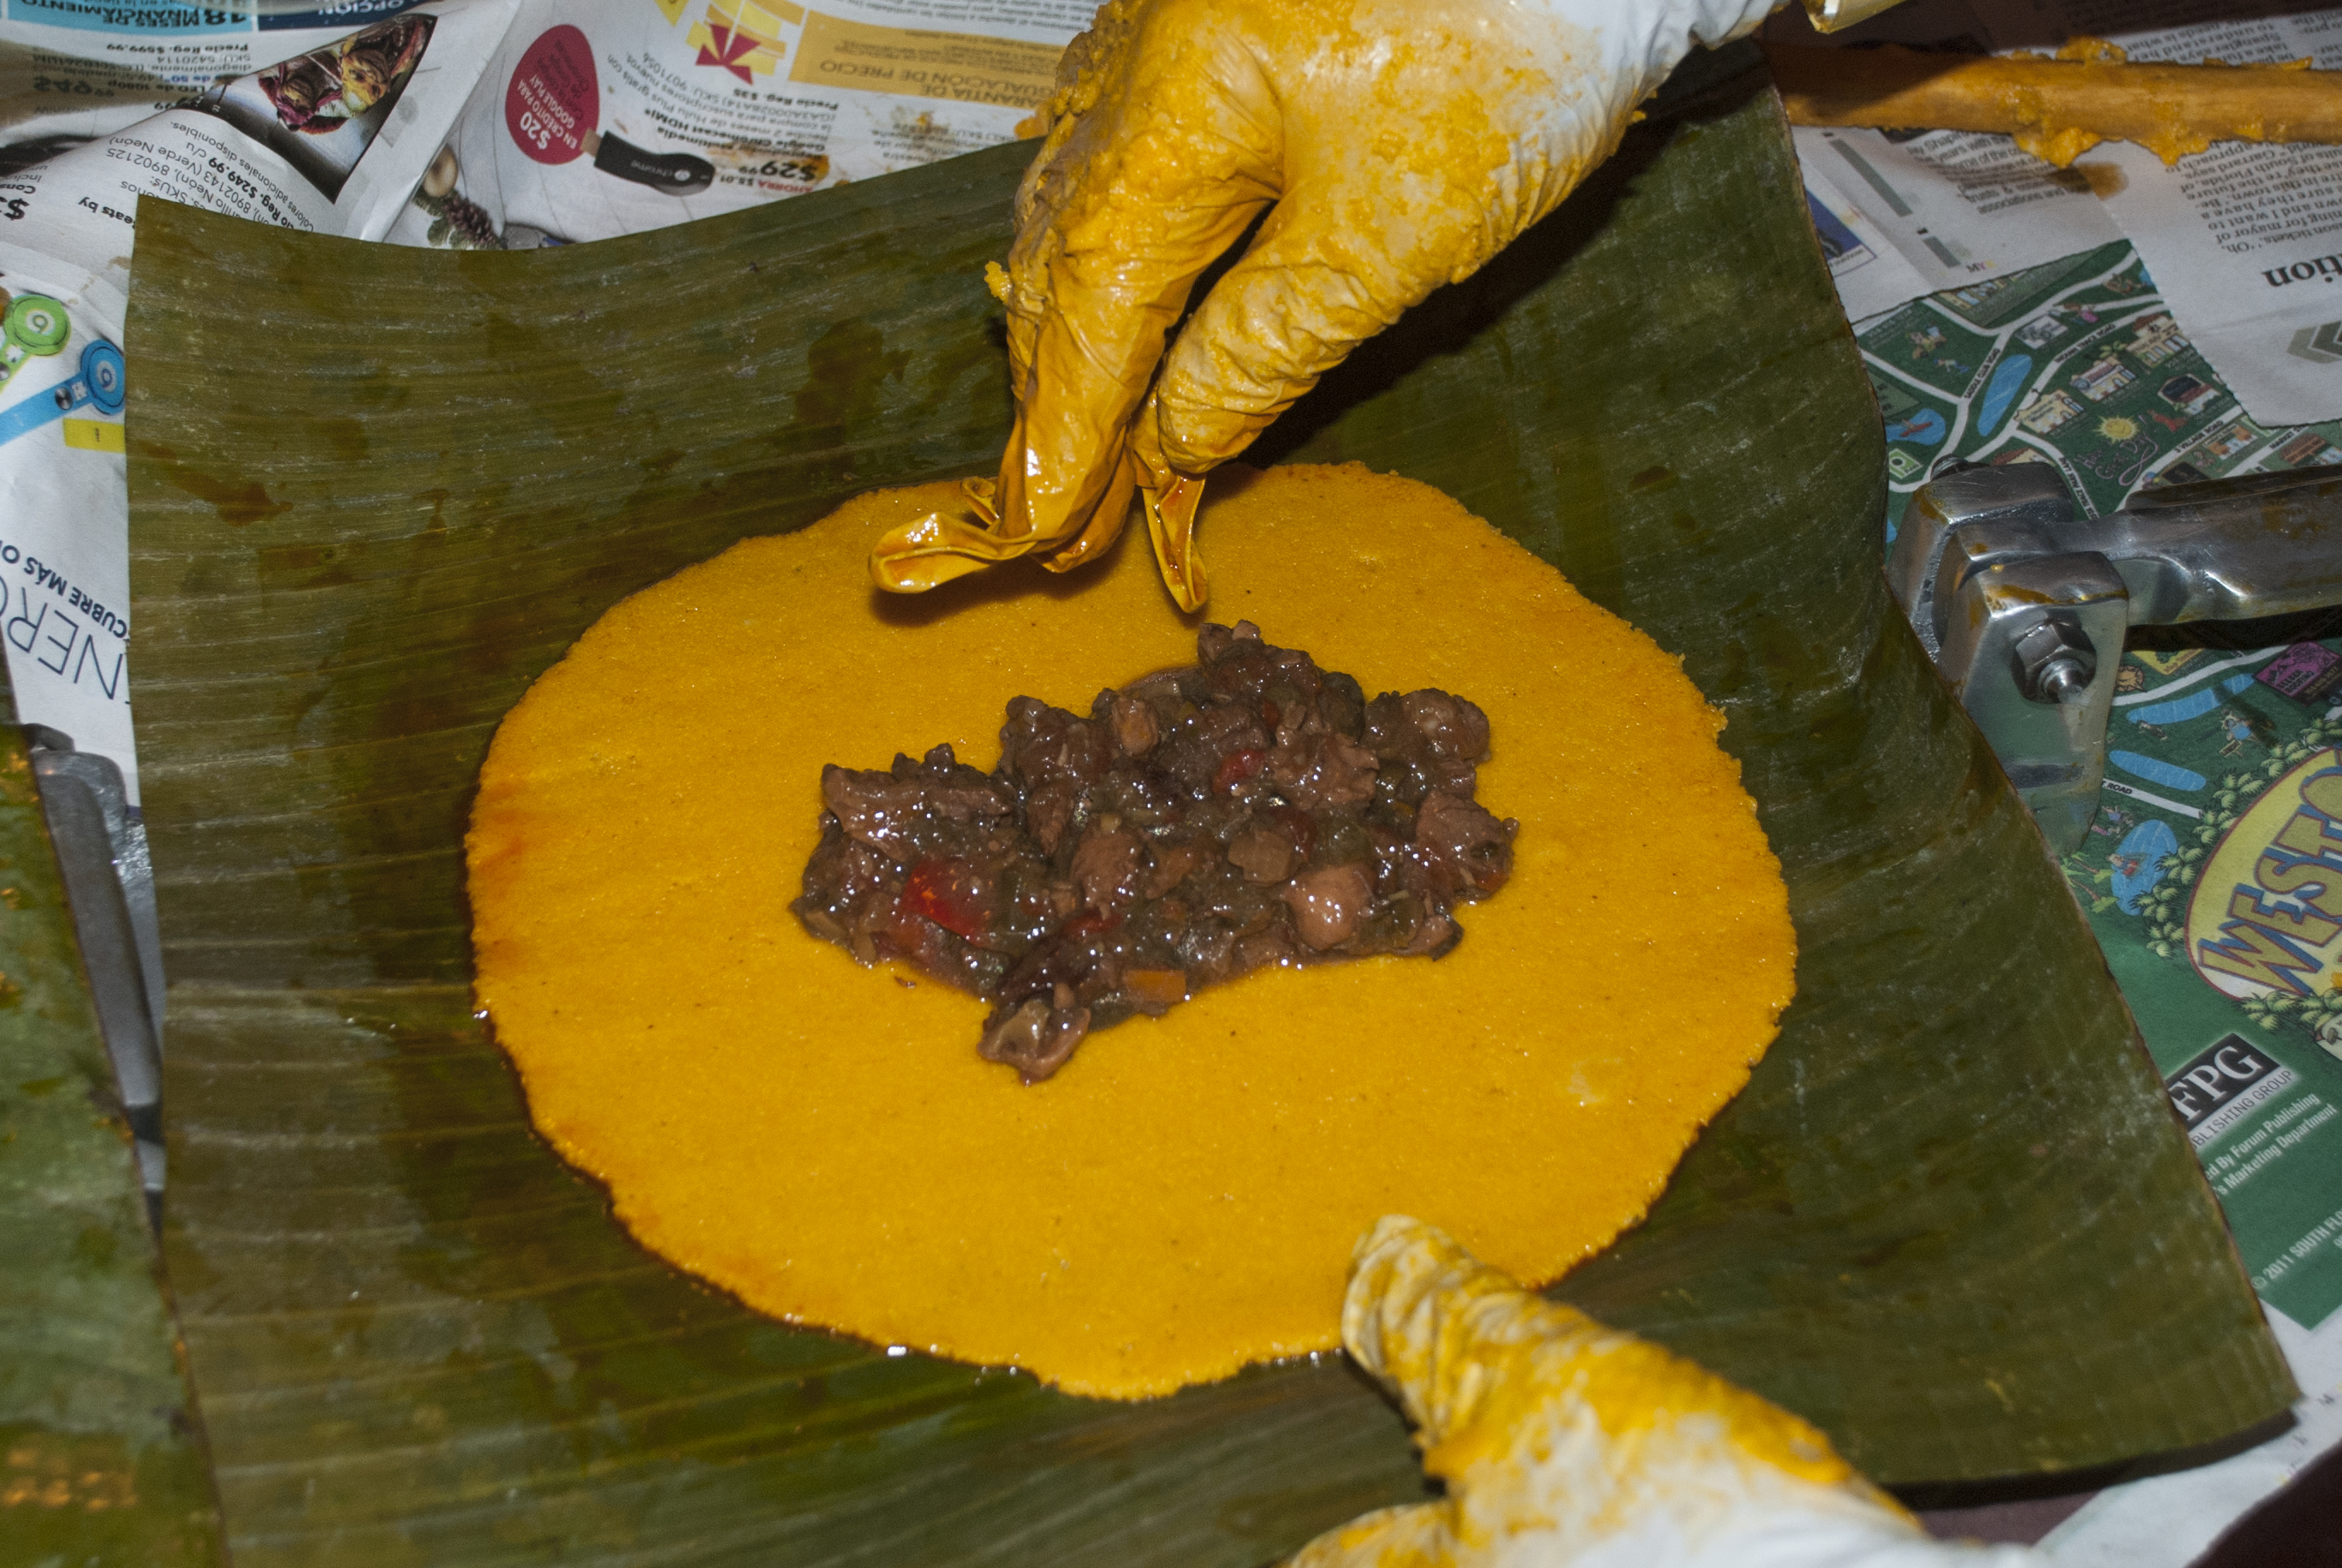
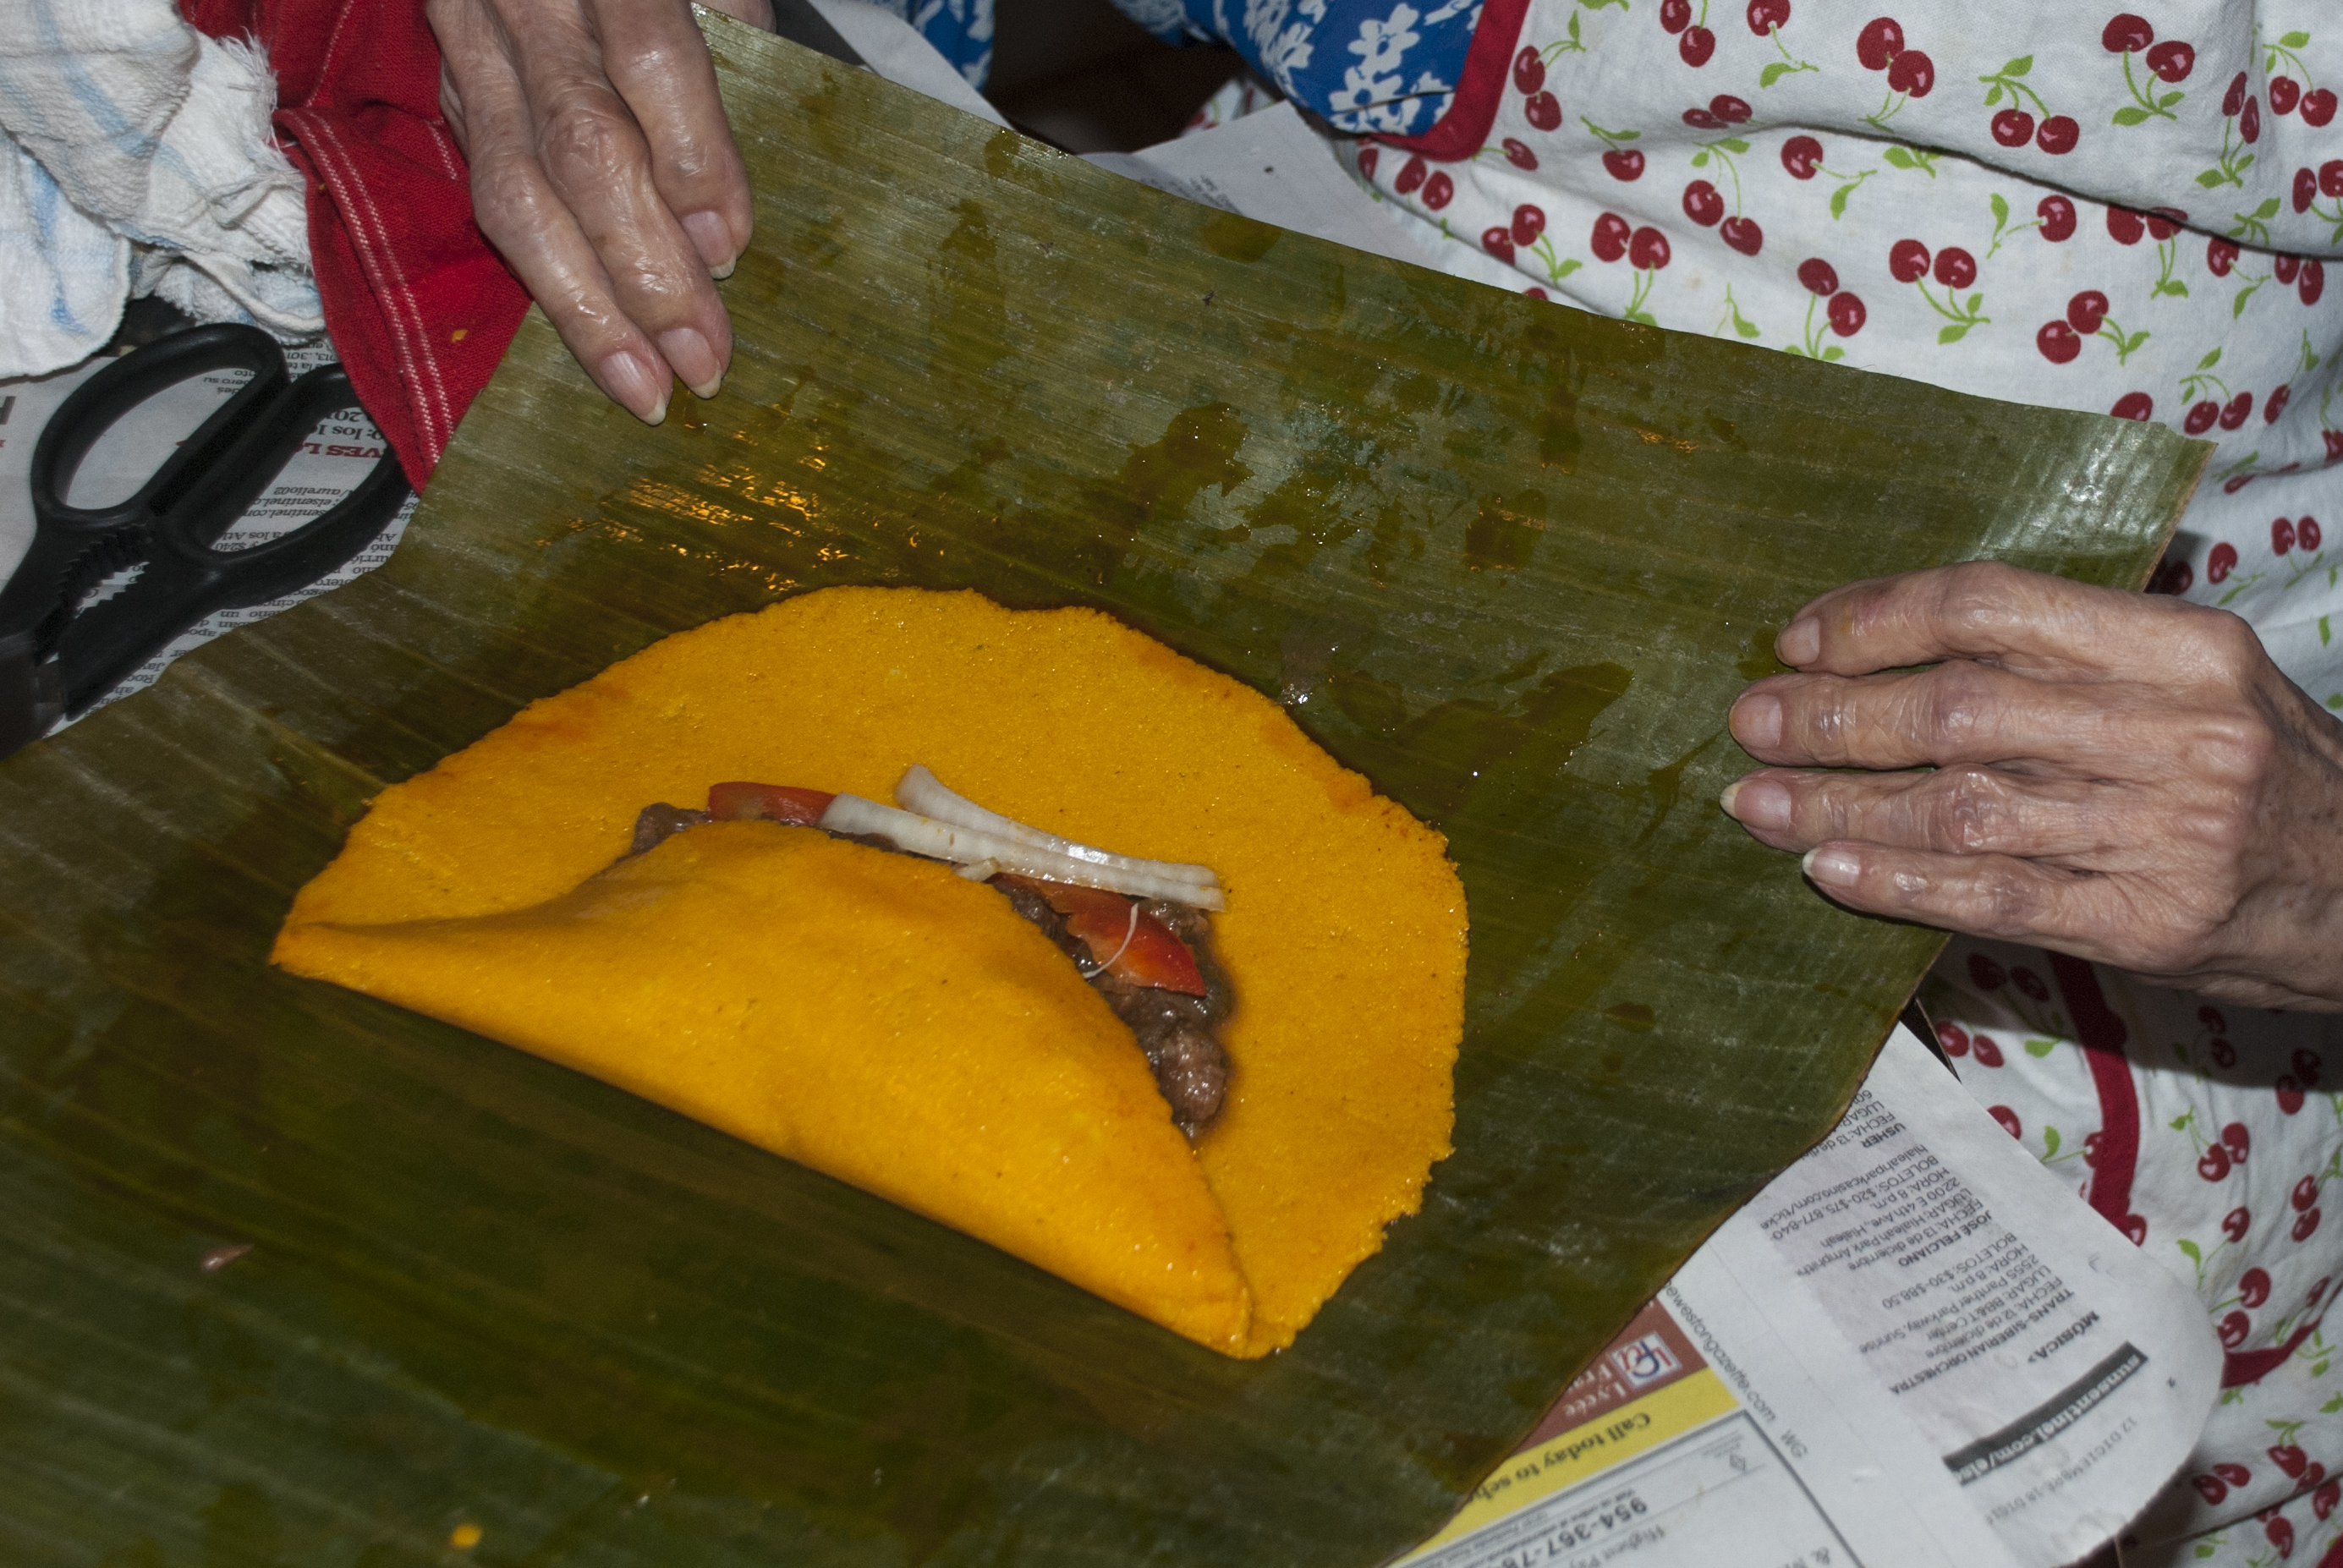
4. With a large spoon that measures out about half a cup (or 8 tablespoons), pour some of the stew in the center of your flattened dough.
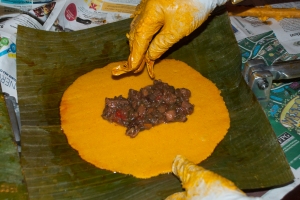
Add the stew
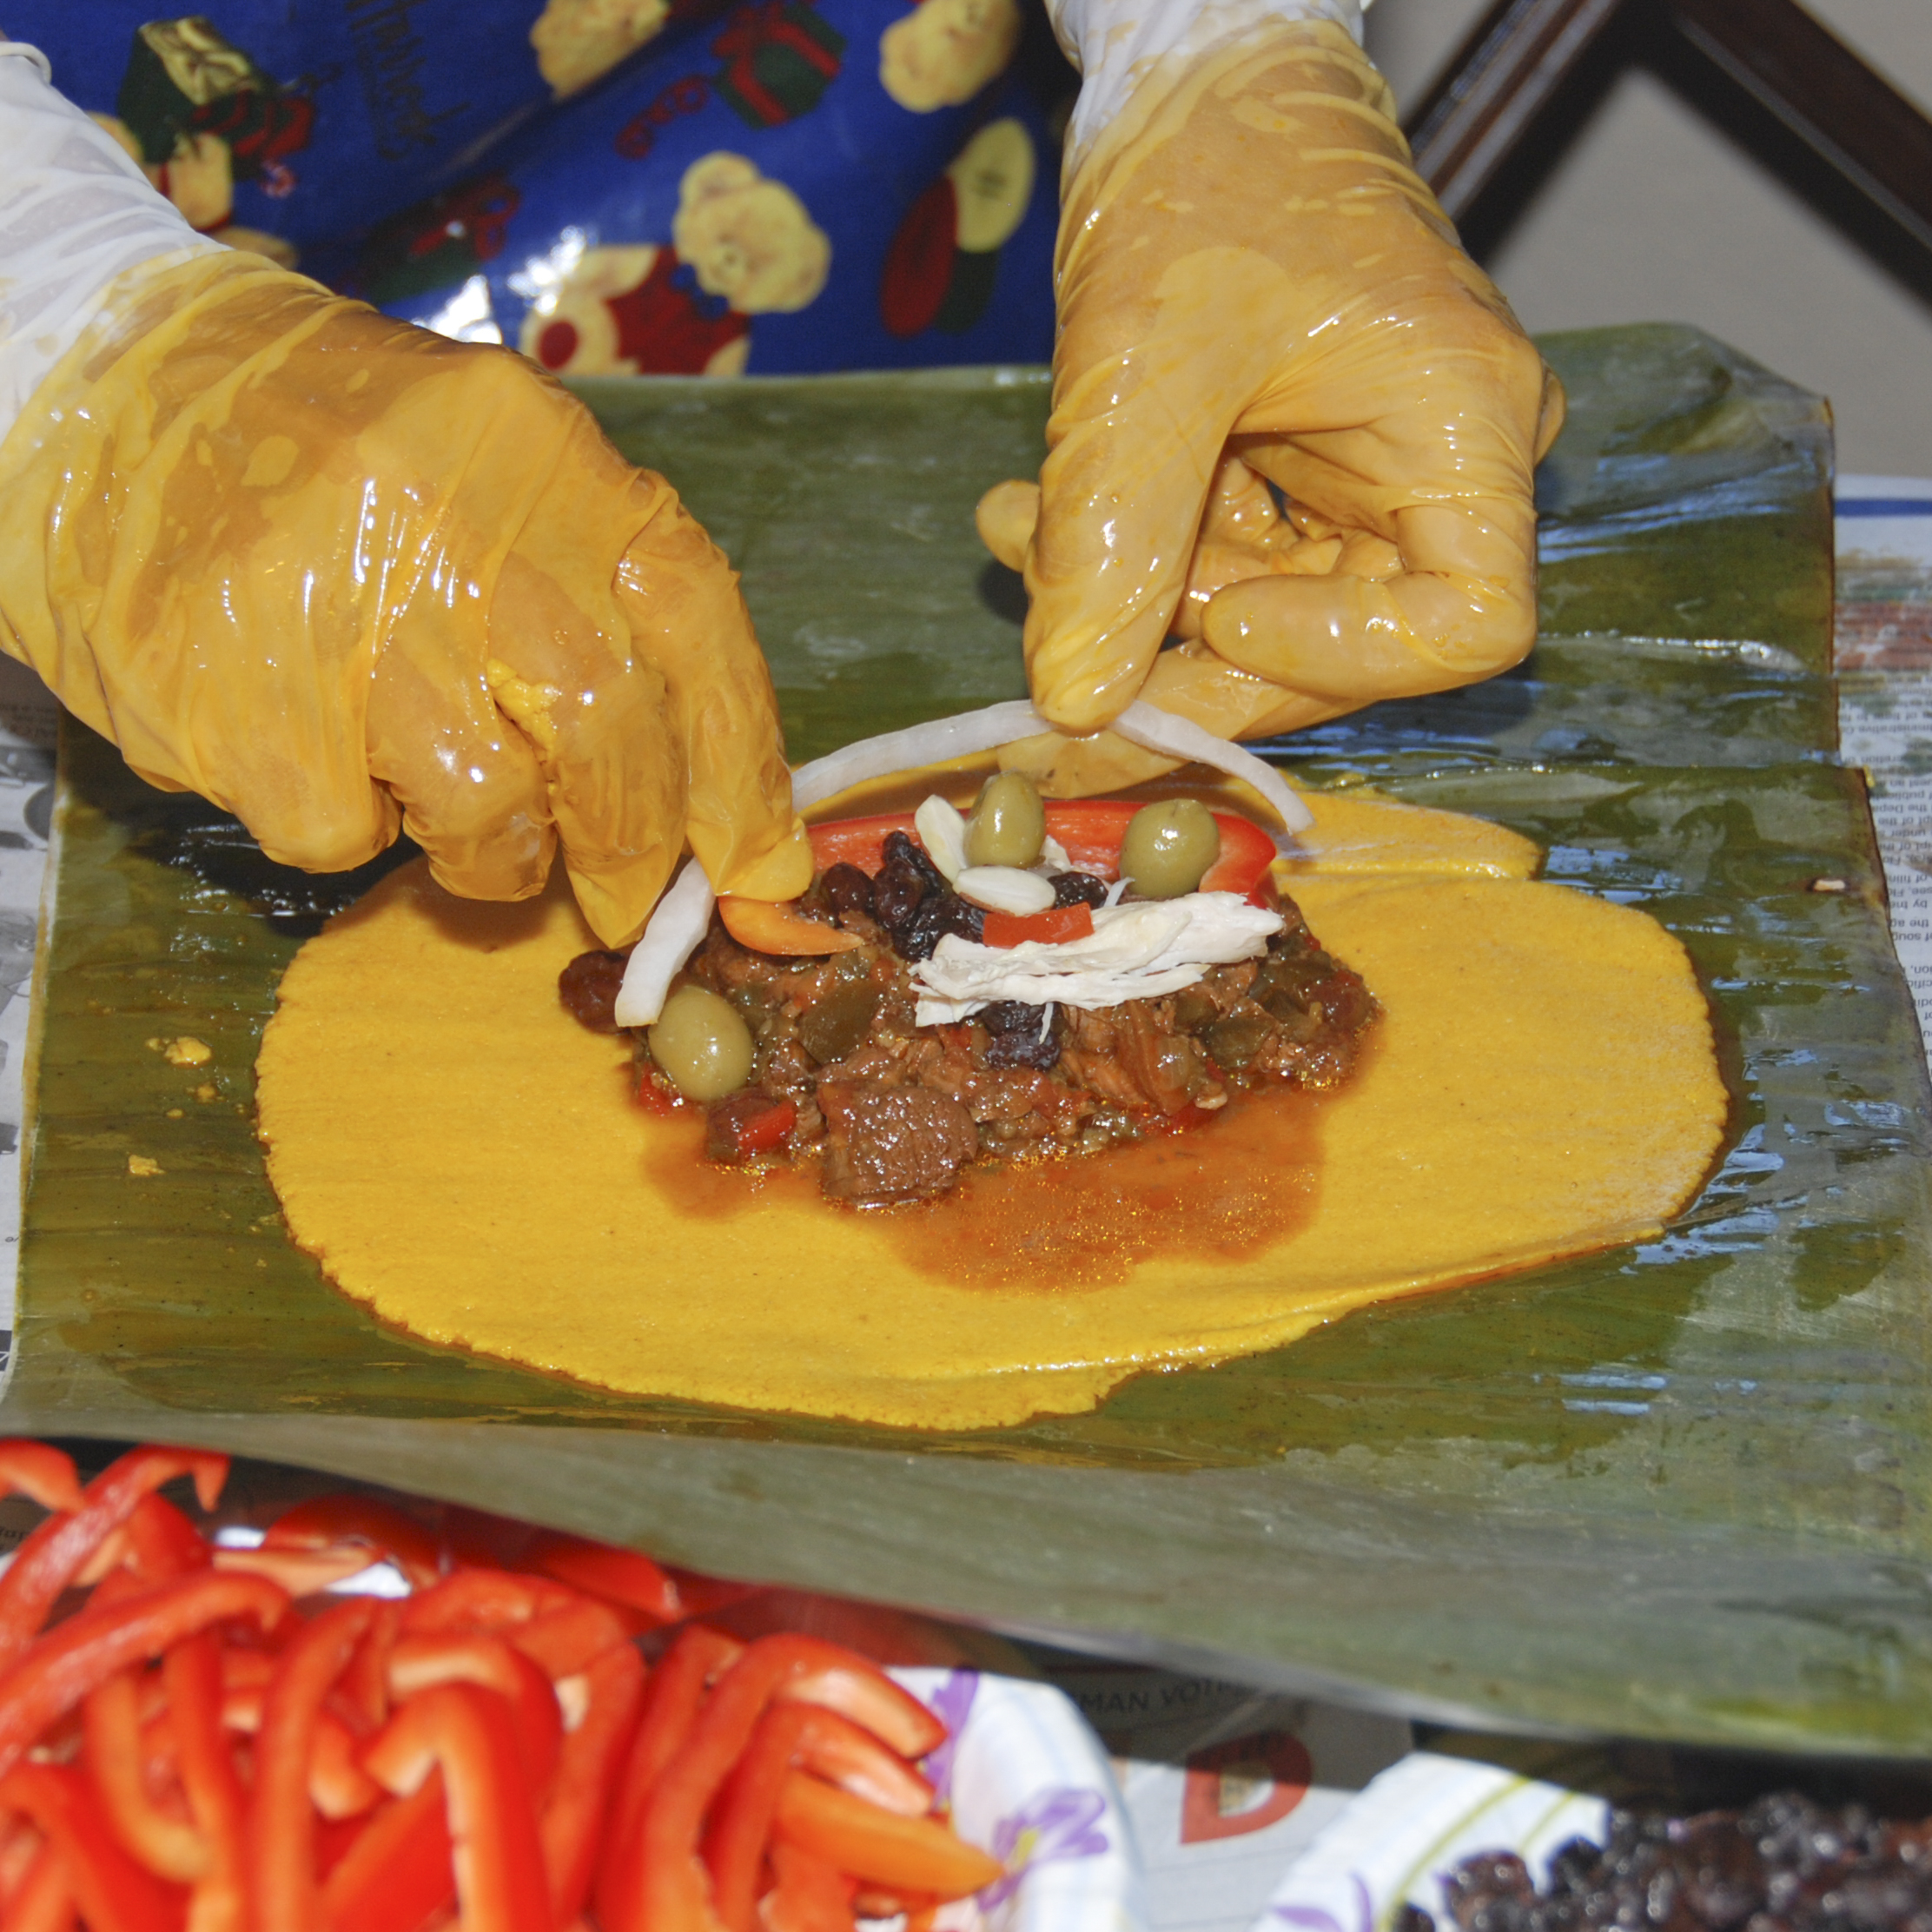
5. Add all the garnishes as follows for each hallaca: 2 strips of bacon, 2 strips of red bell pepper, 2 sliced almonds, 2 strips of onions or one onion ring, 2 green olives, 4 capers, and 6 raisins.
Add garnishes
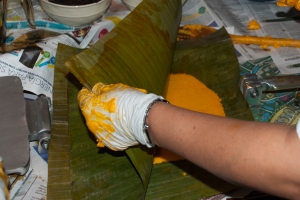
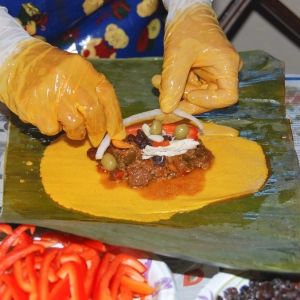
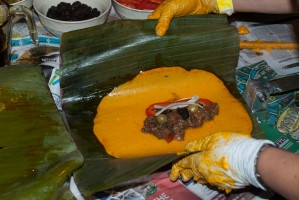
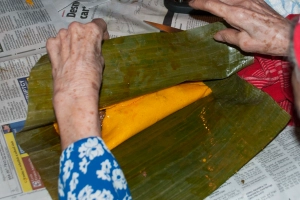
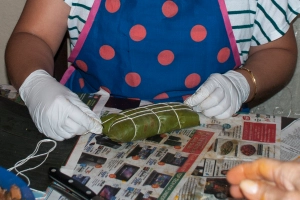
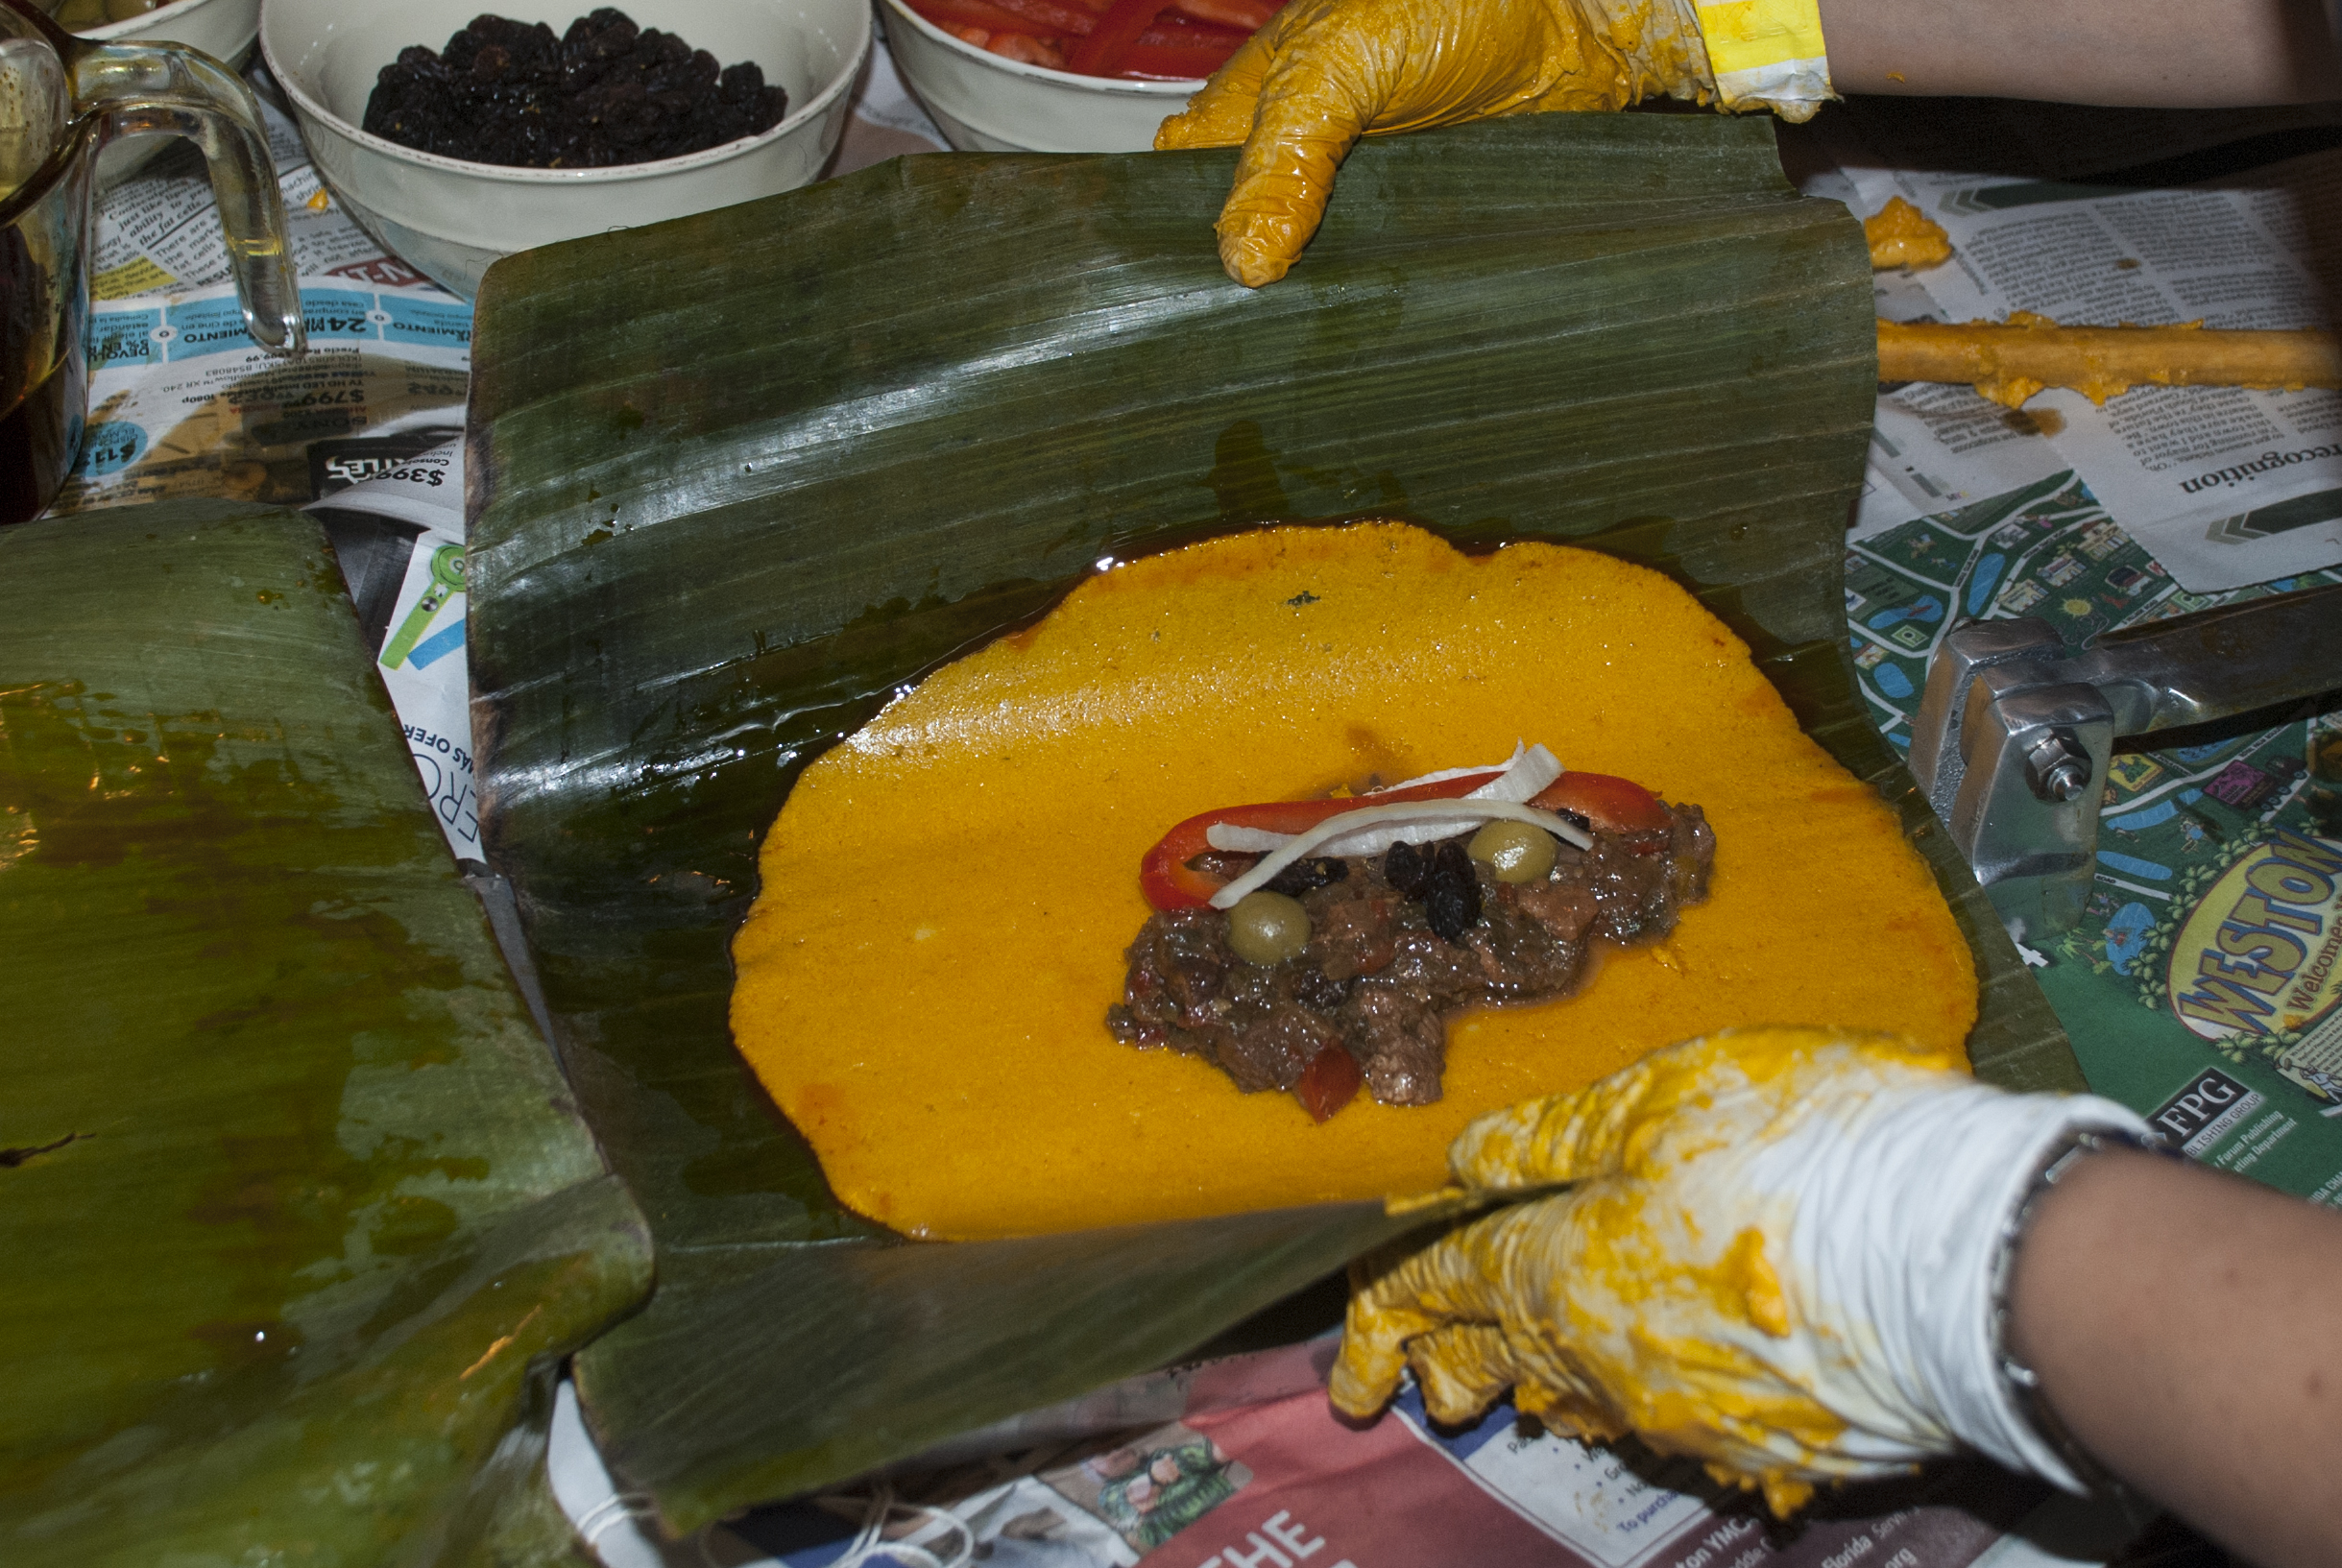
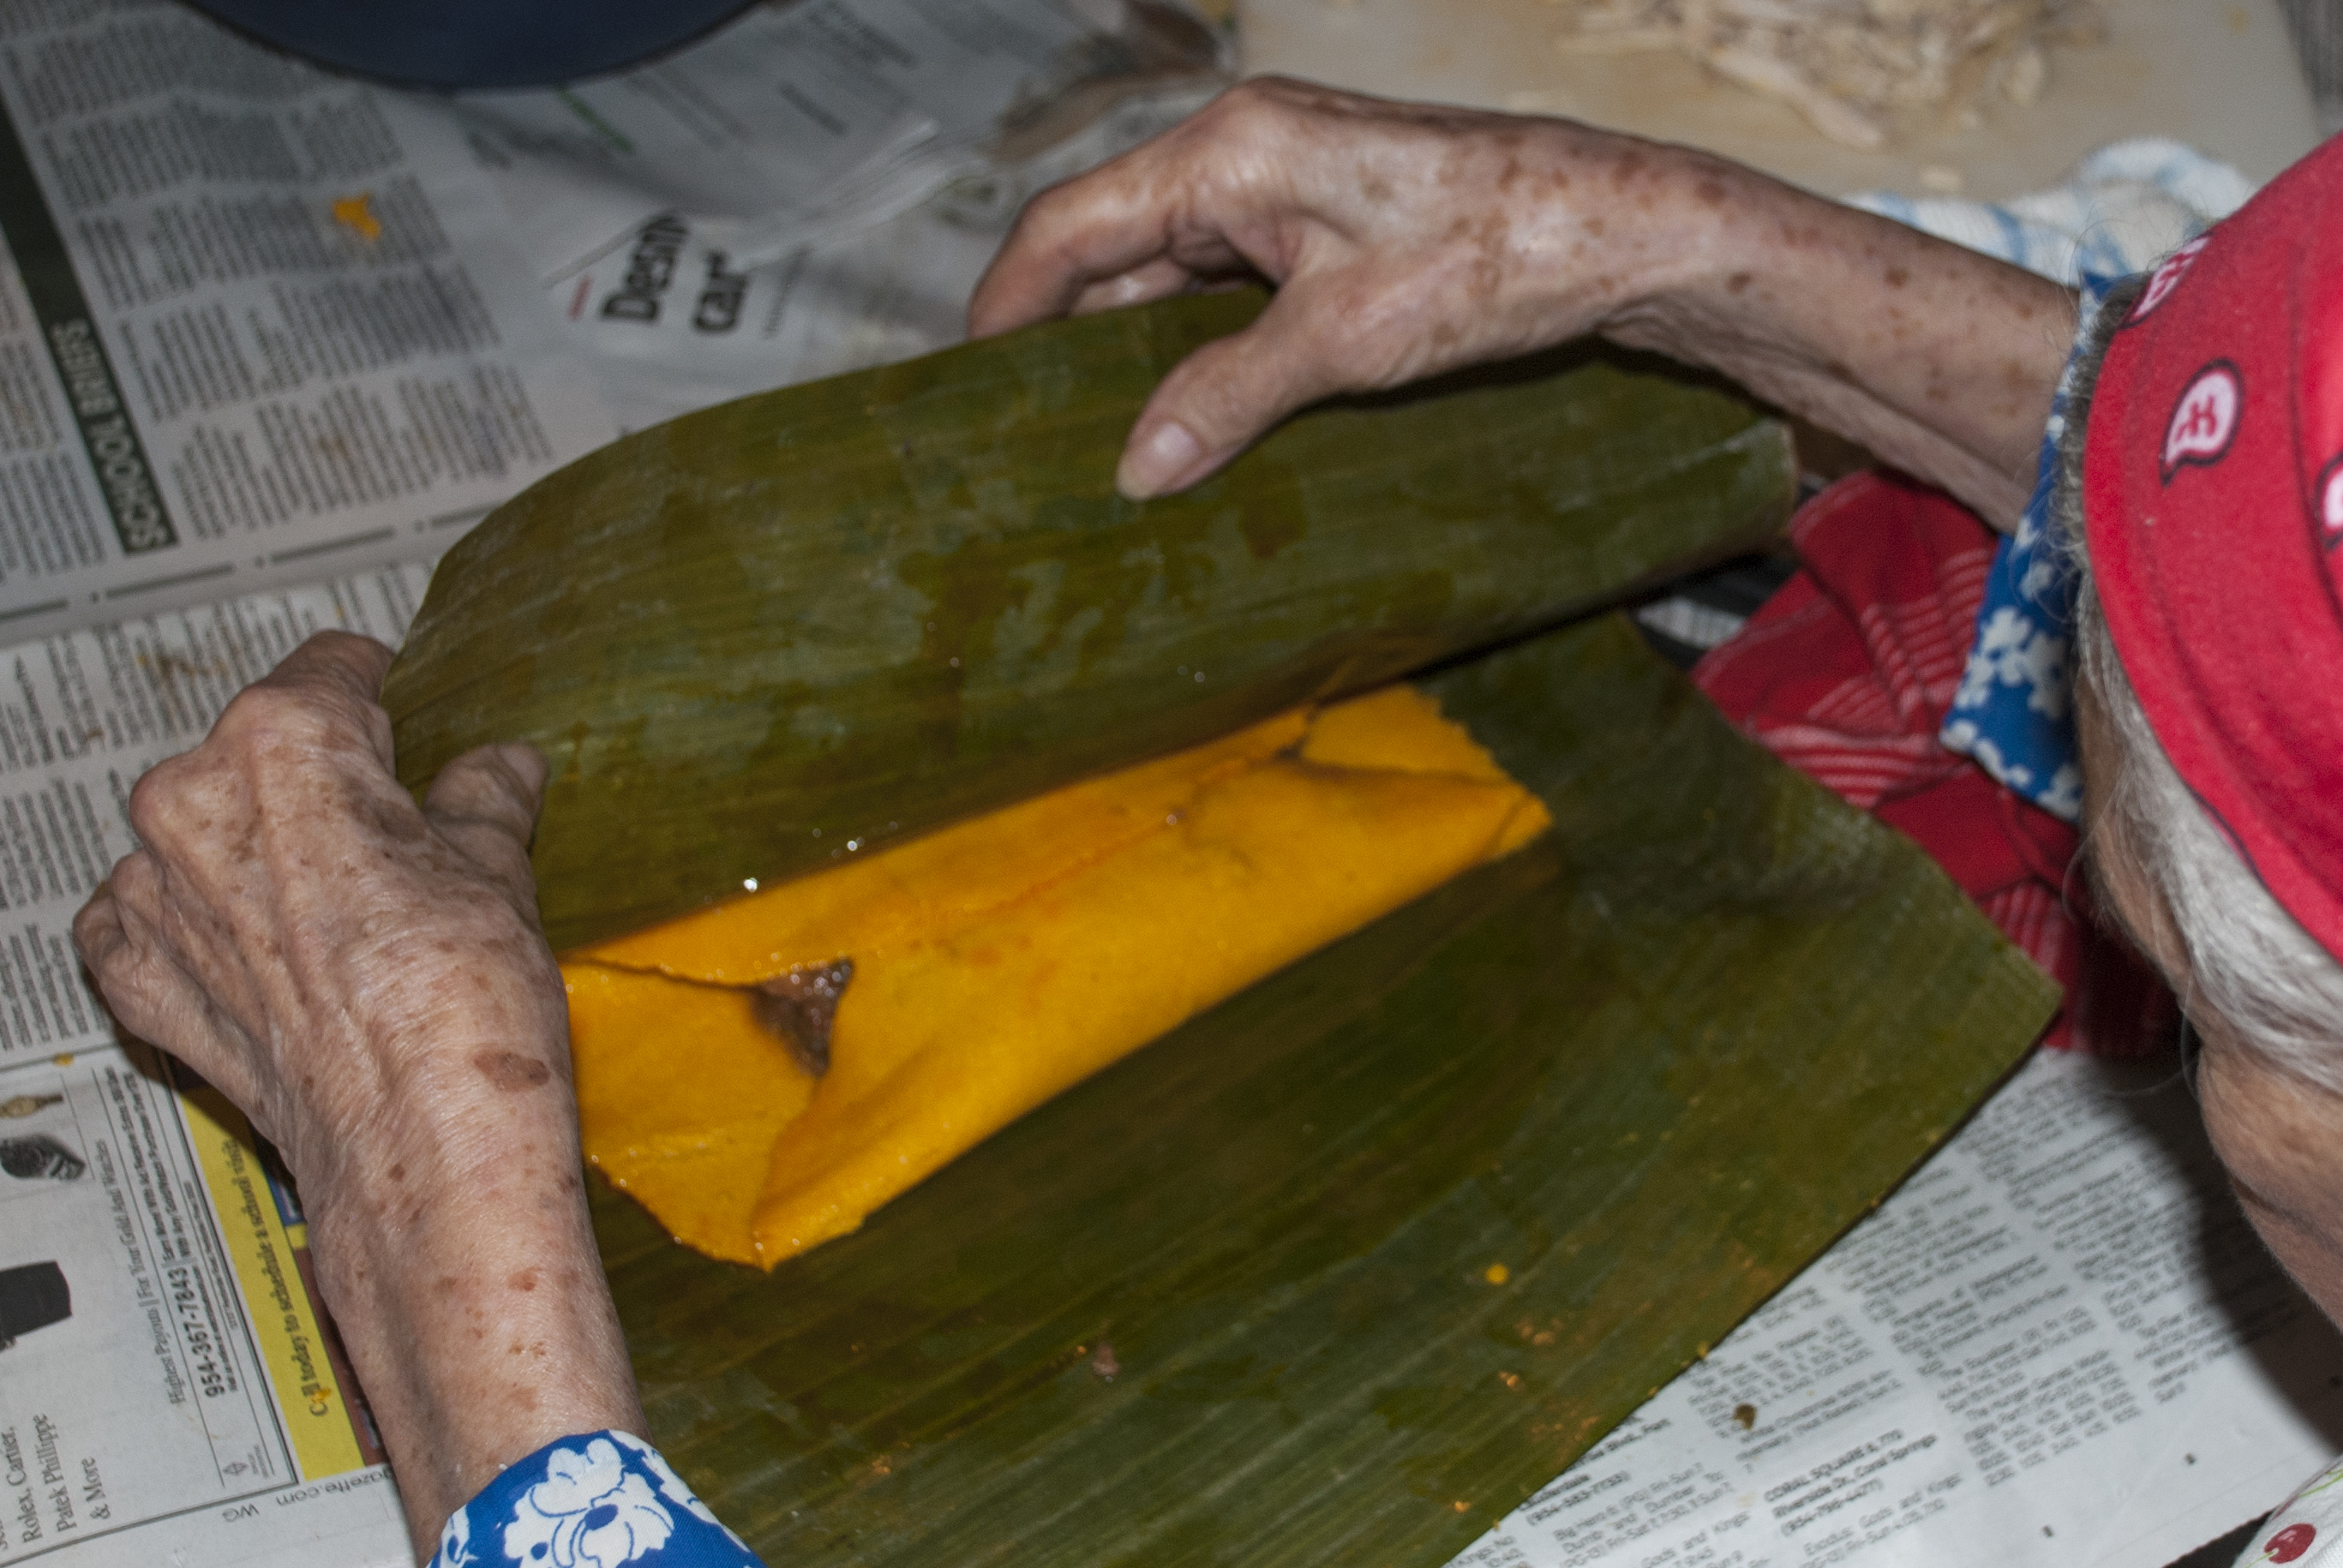
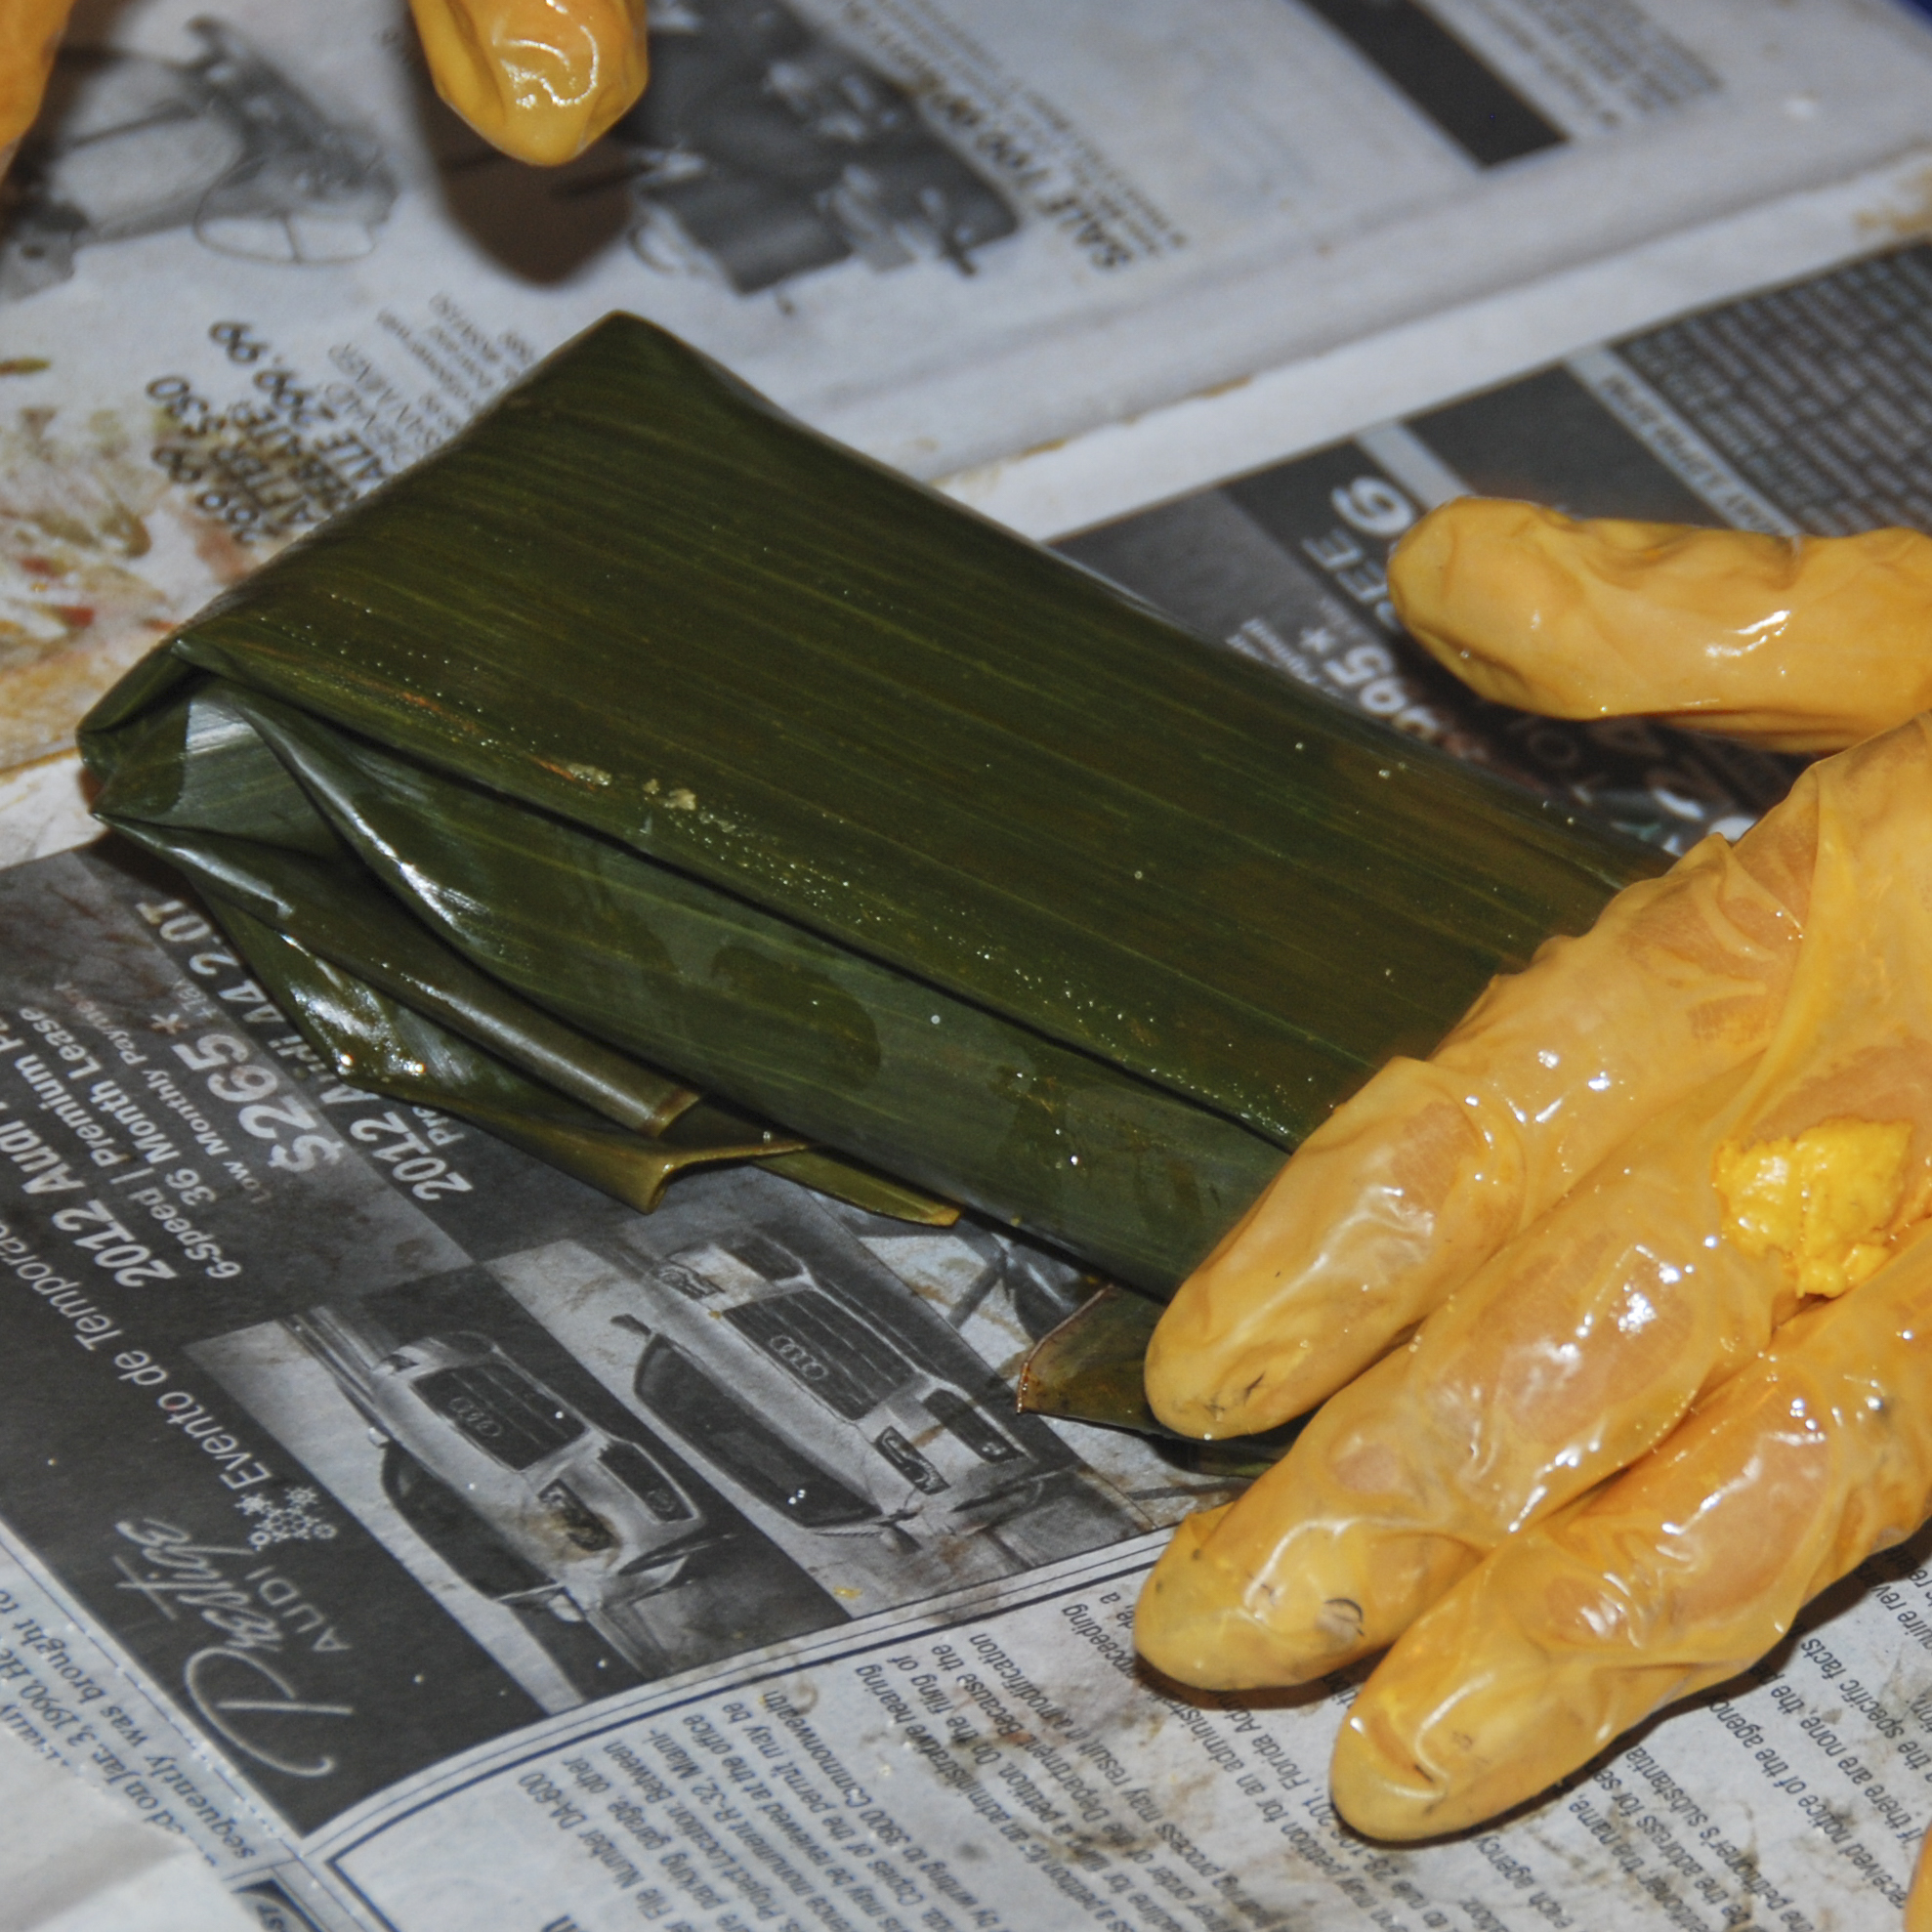
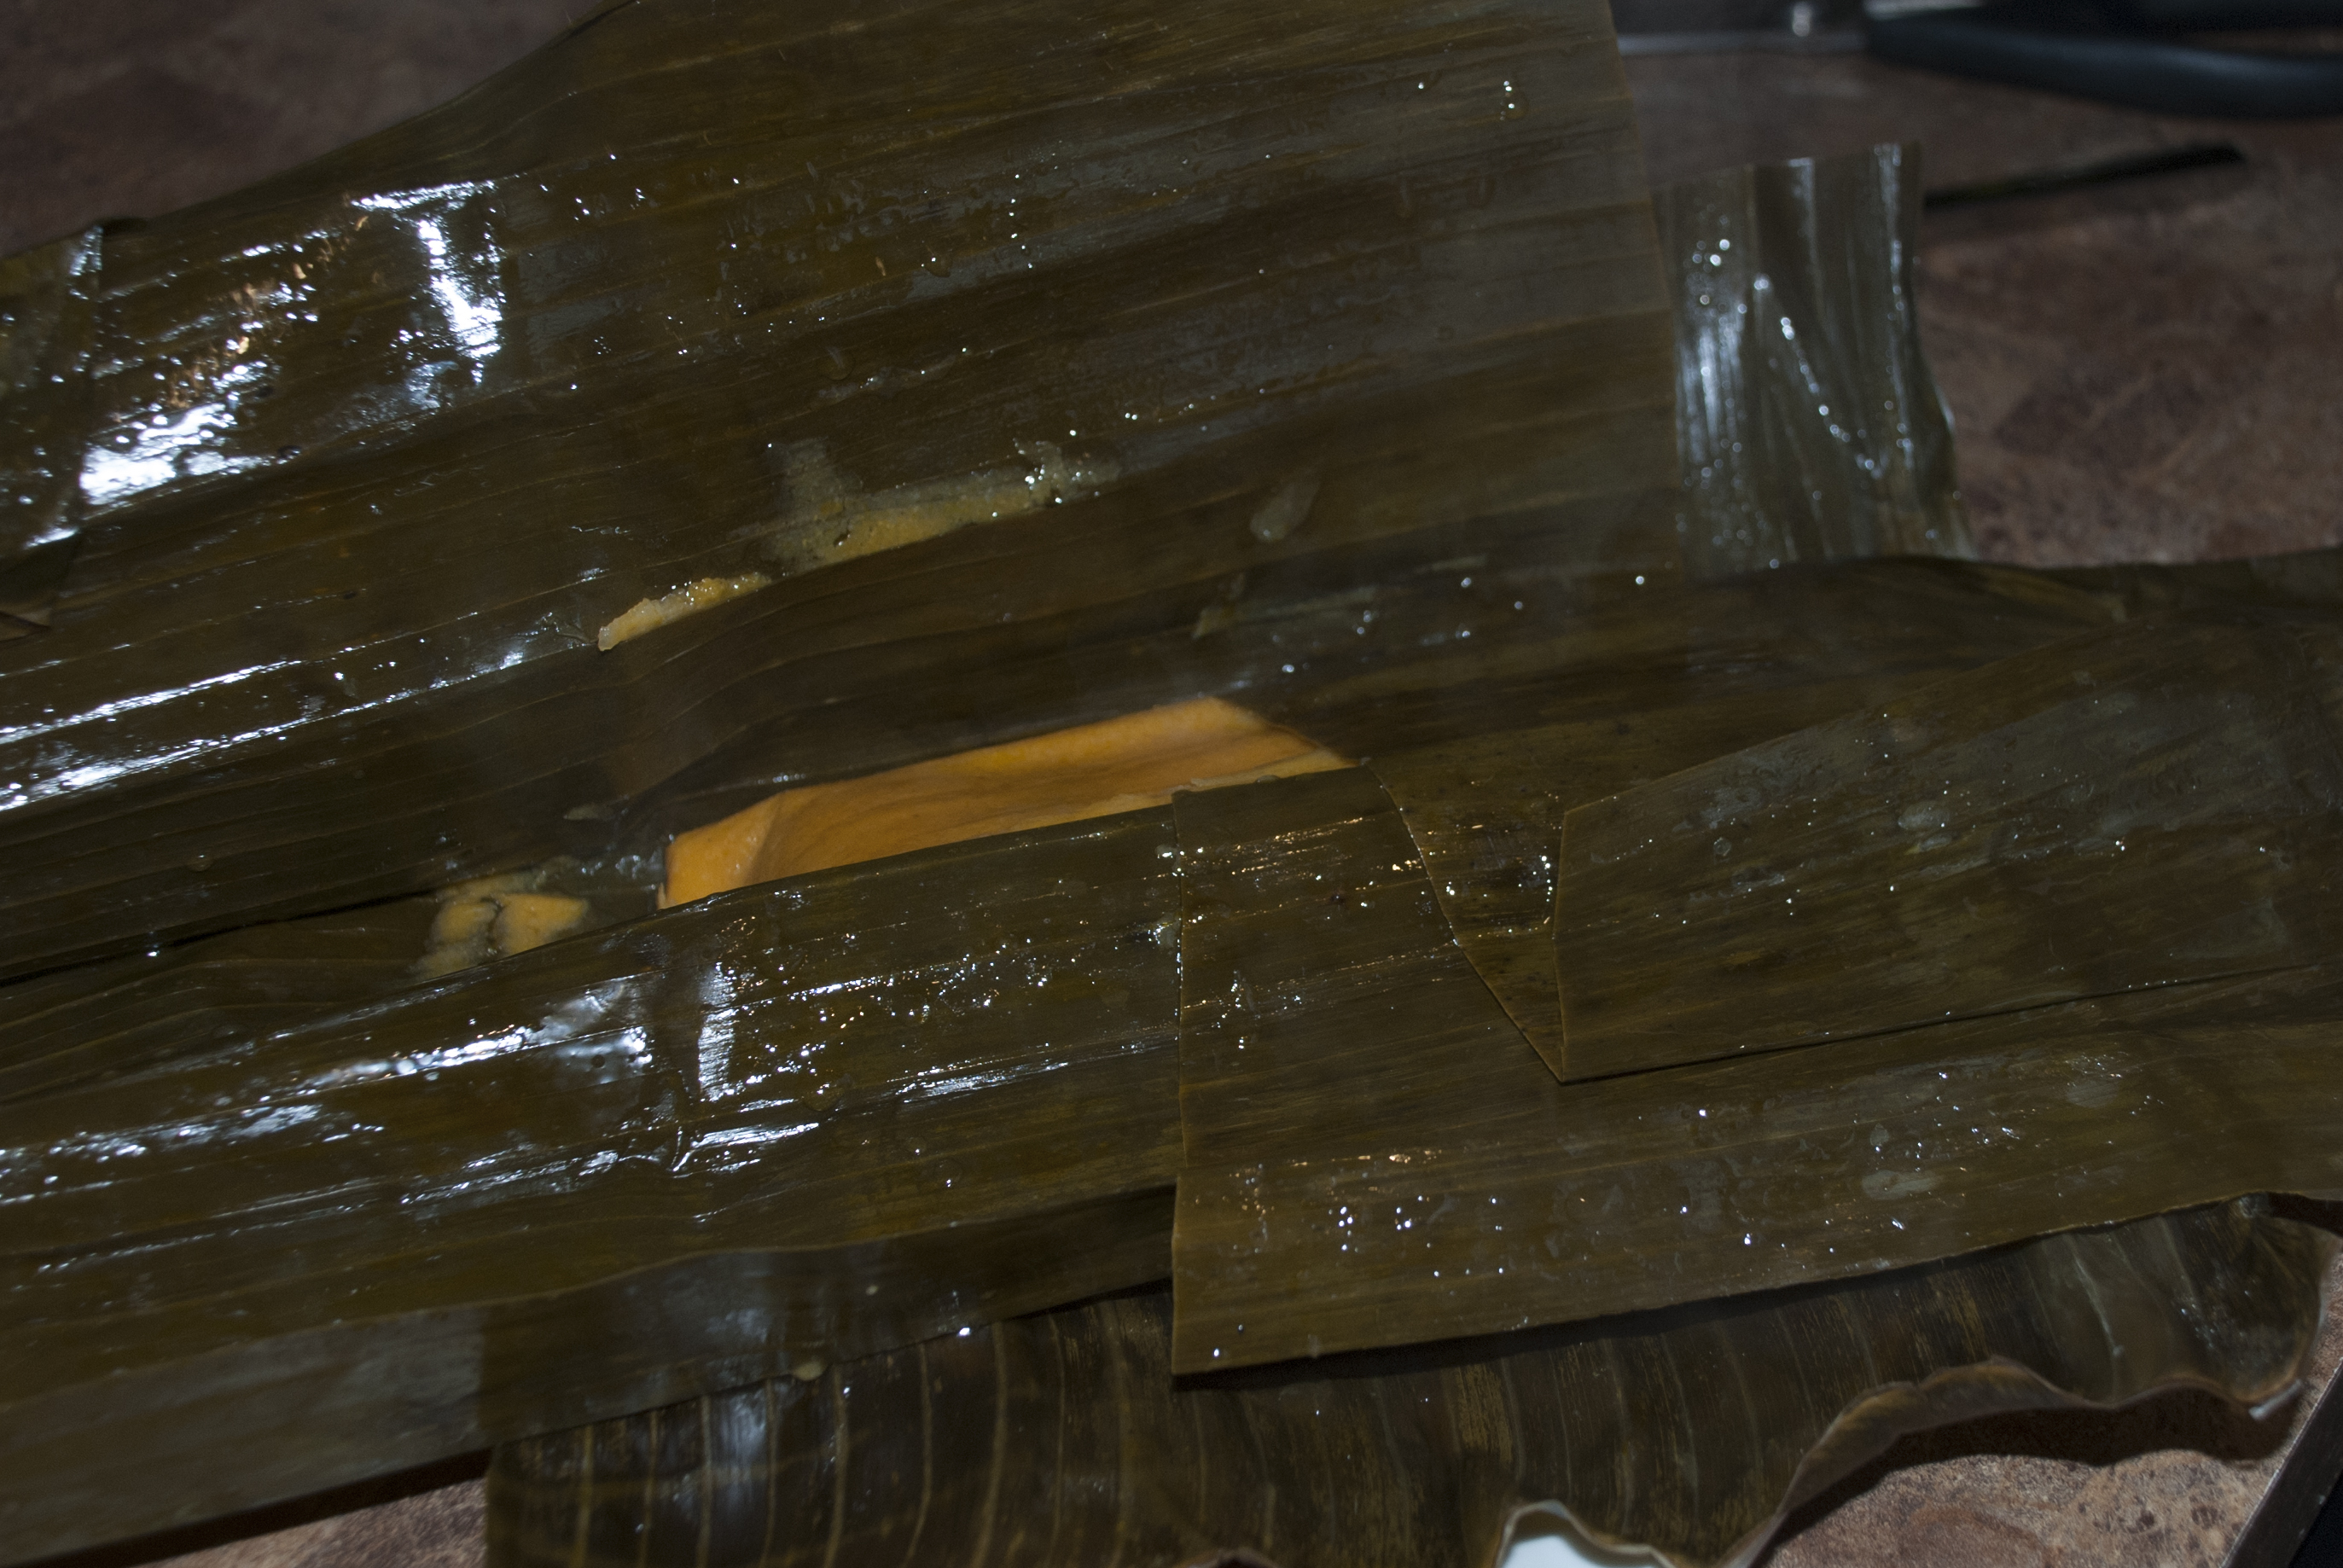
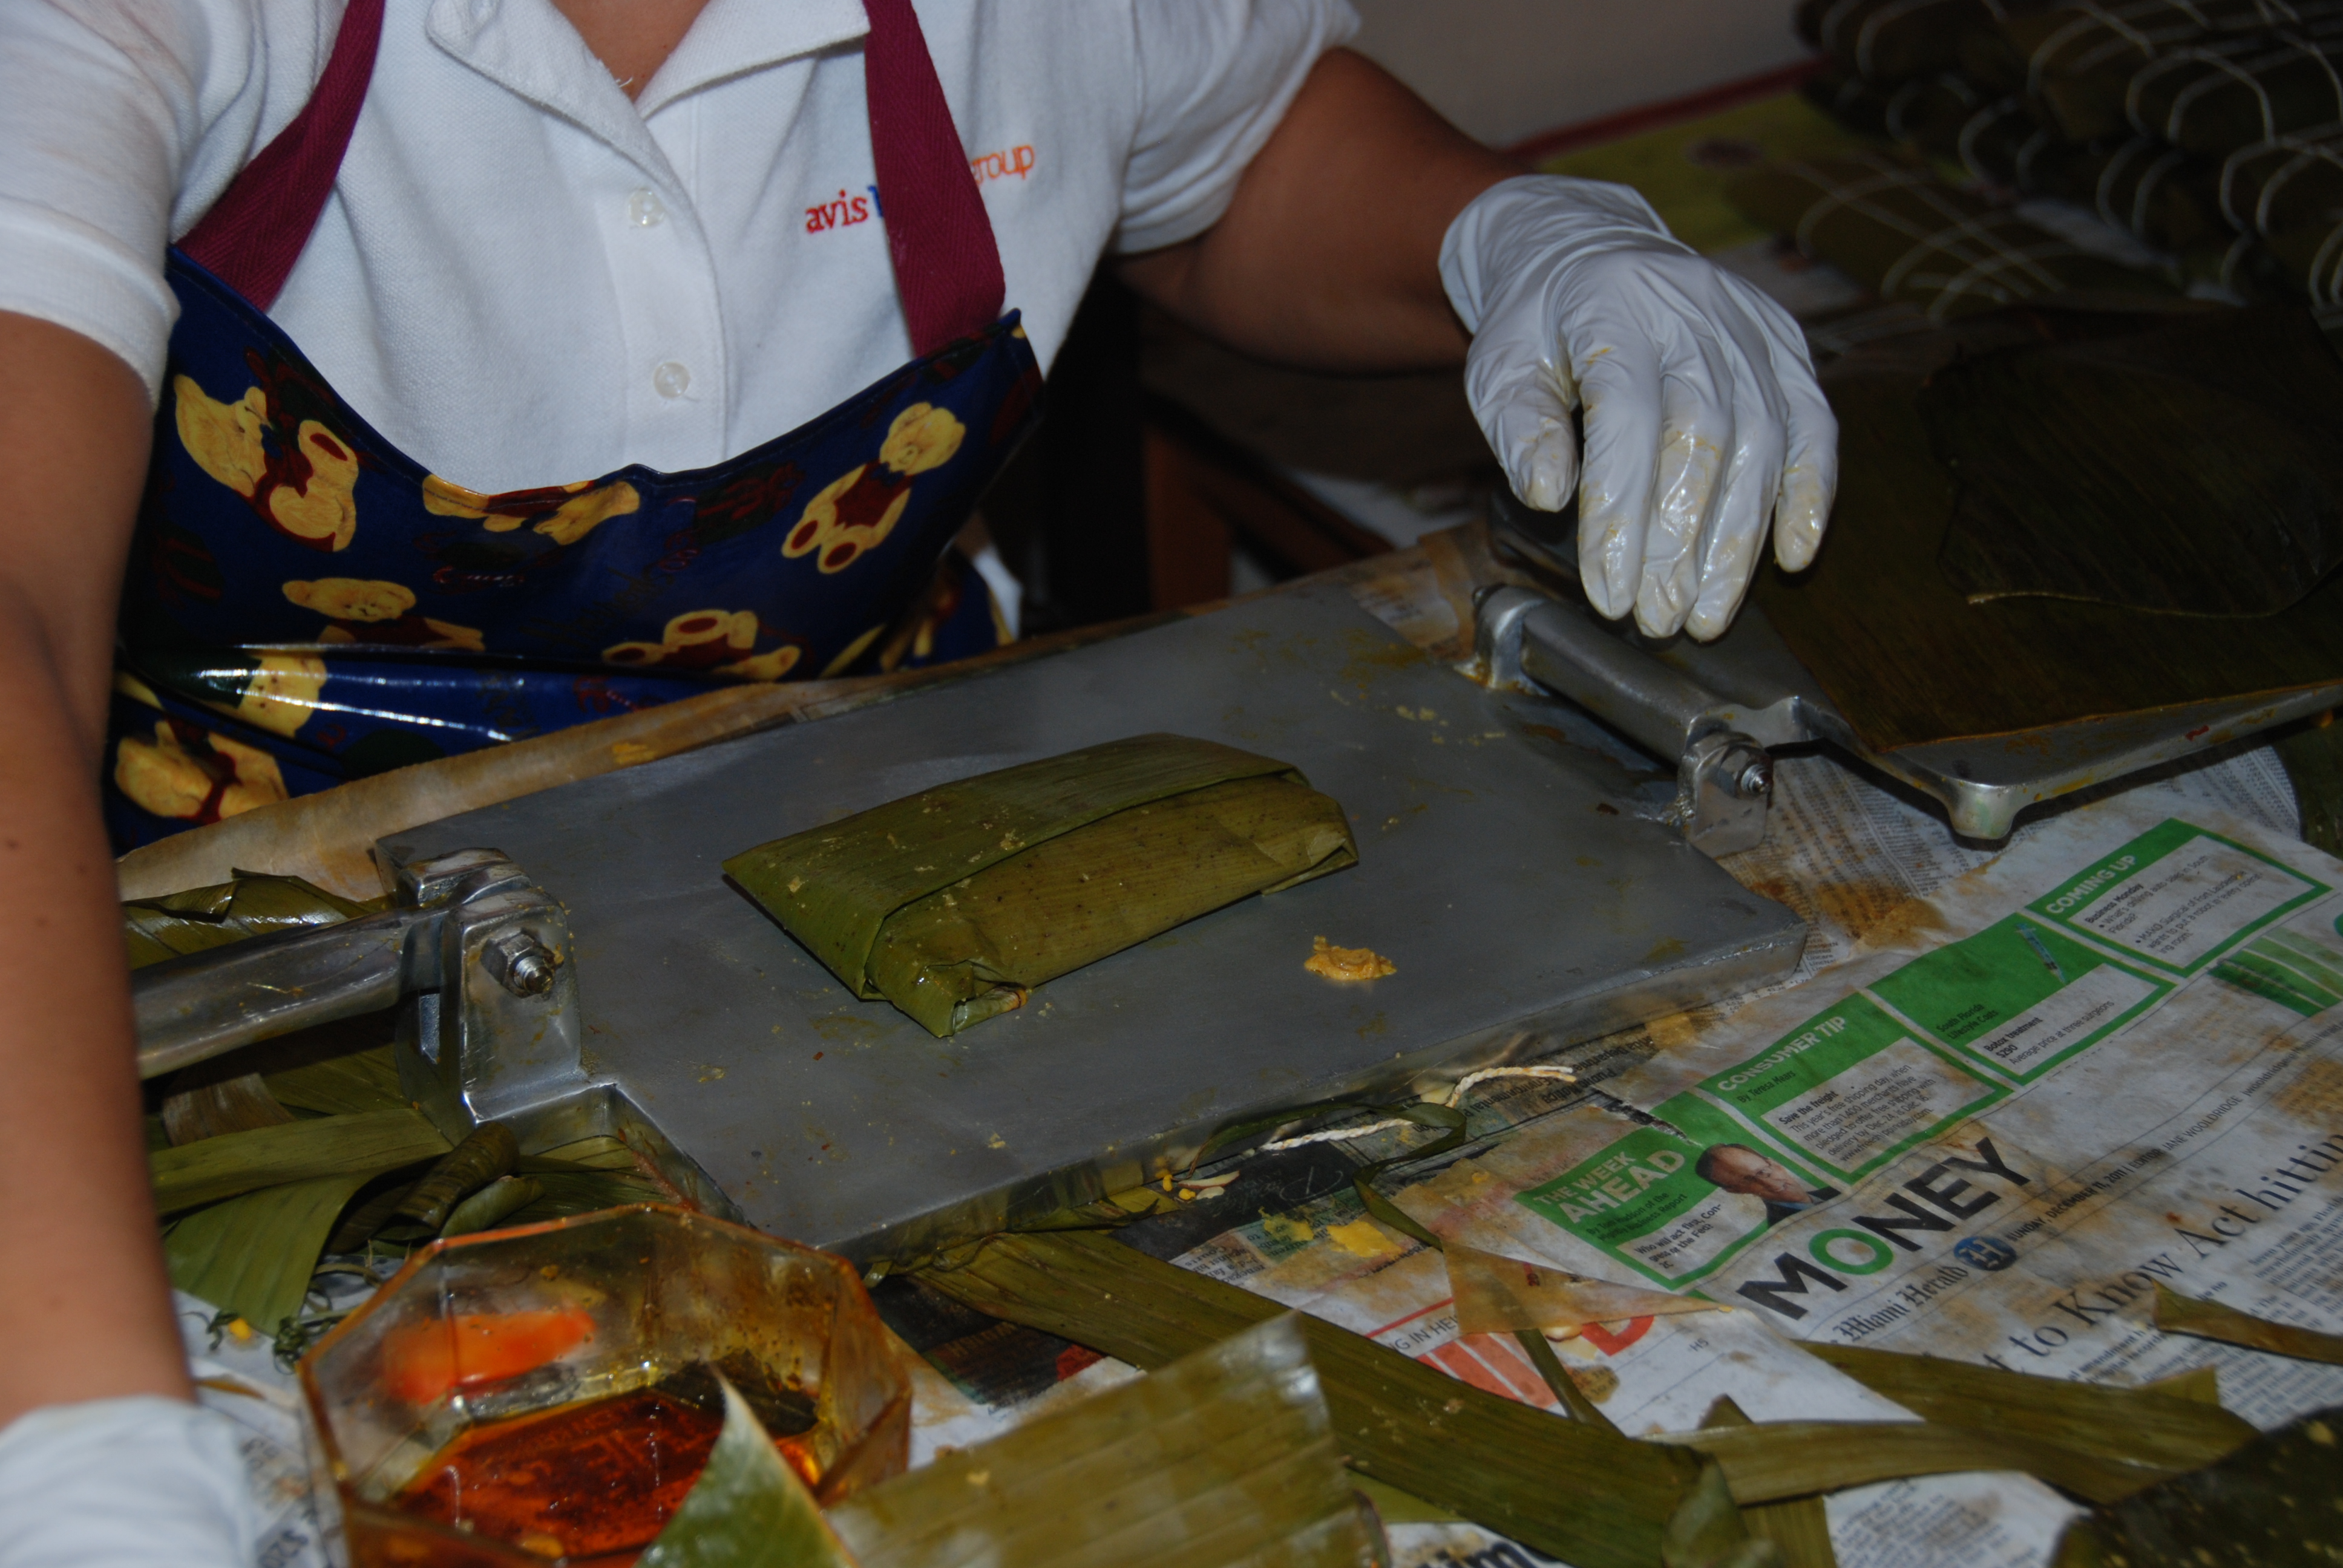
6. Proceed to close the hallaca by folding in the top and bottom of the leaf towards the center, once the leaves meet in the center on top of the hallaca dough, fold that piece a couple times (the extra leaf), and lay it flat then fold the sides in.
Closing an hallaca (my aunt’s method)
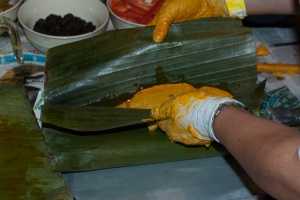
Closing an hallaca (my aunt’s method)
Closing an hallaca (my aunt’s method)

Closing an hallaca (my aunt’s method)
Closing an hallaca (my aunt’s method)
Closing an hallaca (my great-grandmother’s method)
Closing an hallaca (my great-grandmother’s method)
Closing an hallaca (my great-grandmother’s method)

Closing an hallaca (my great-grandmother’s method)
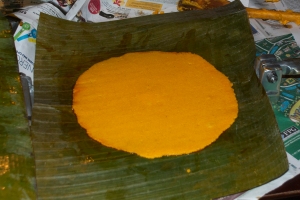
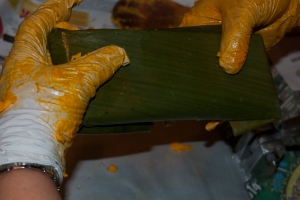
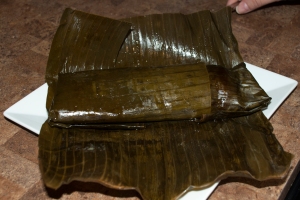
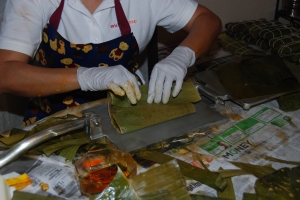
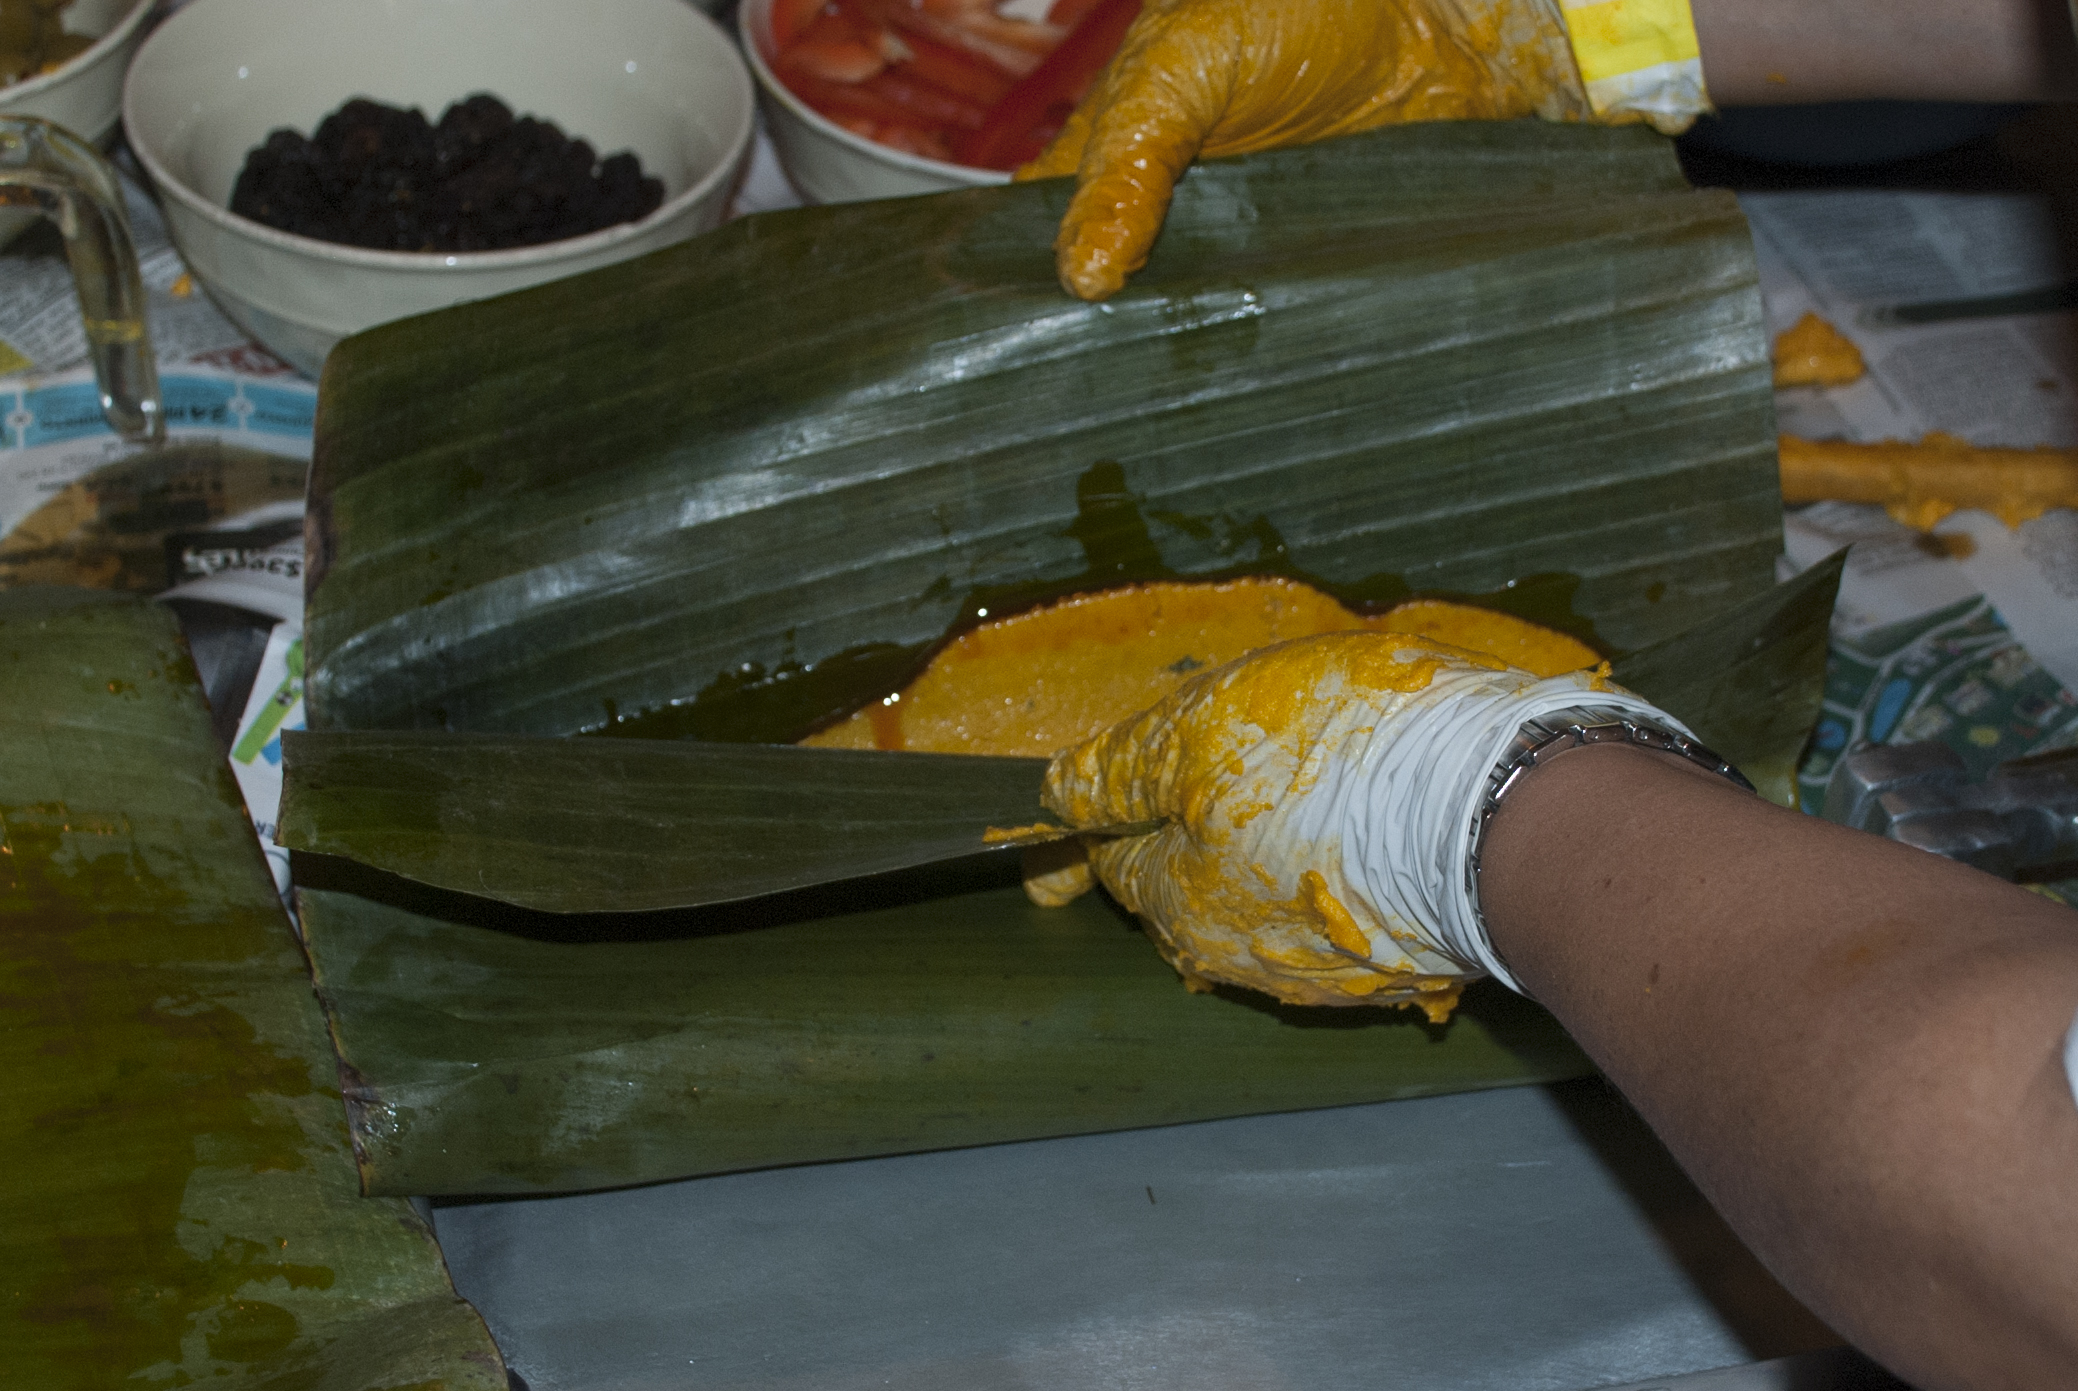
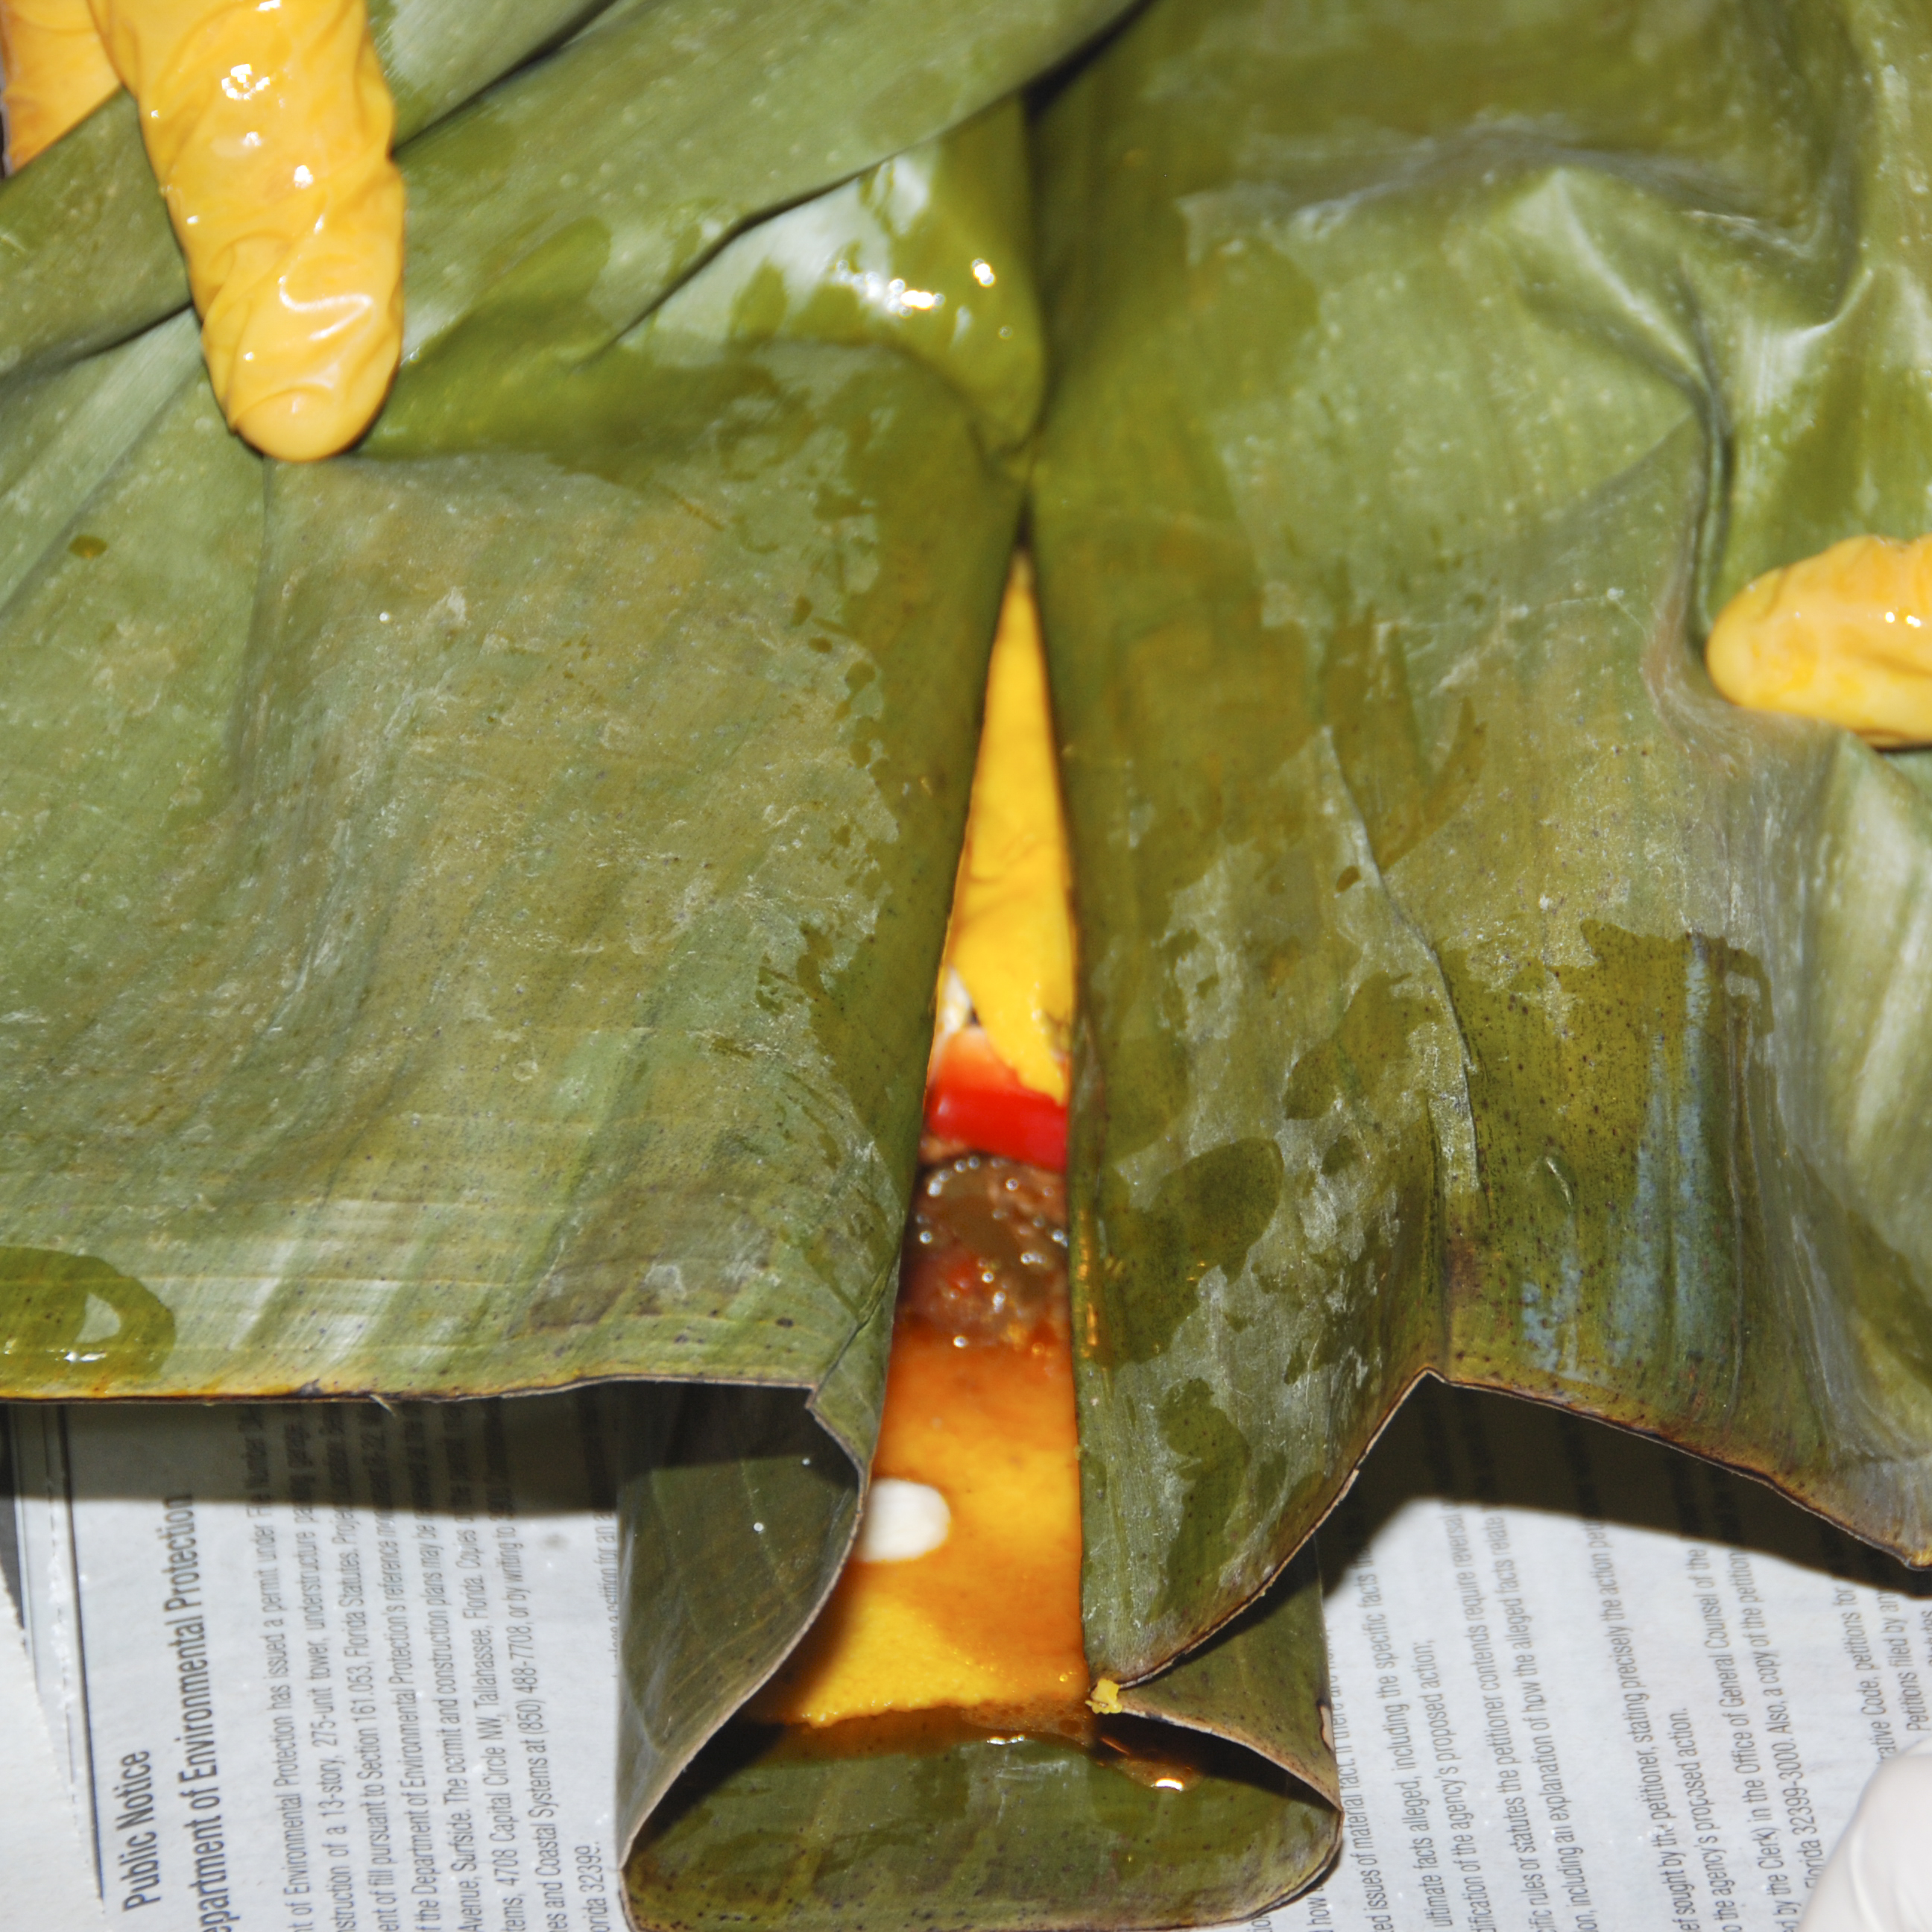
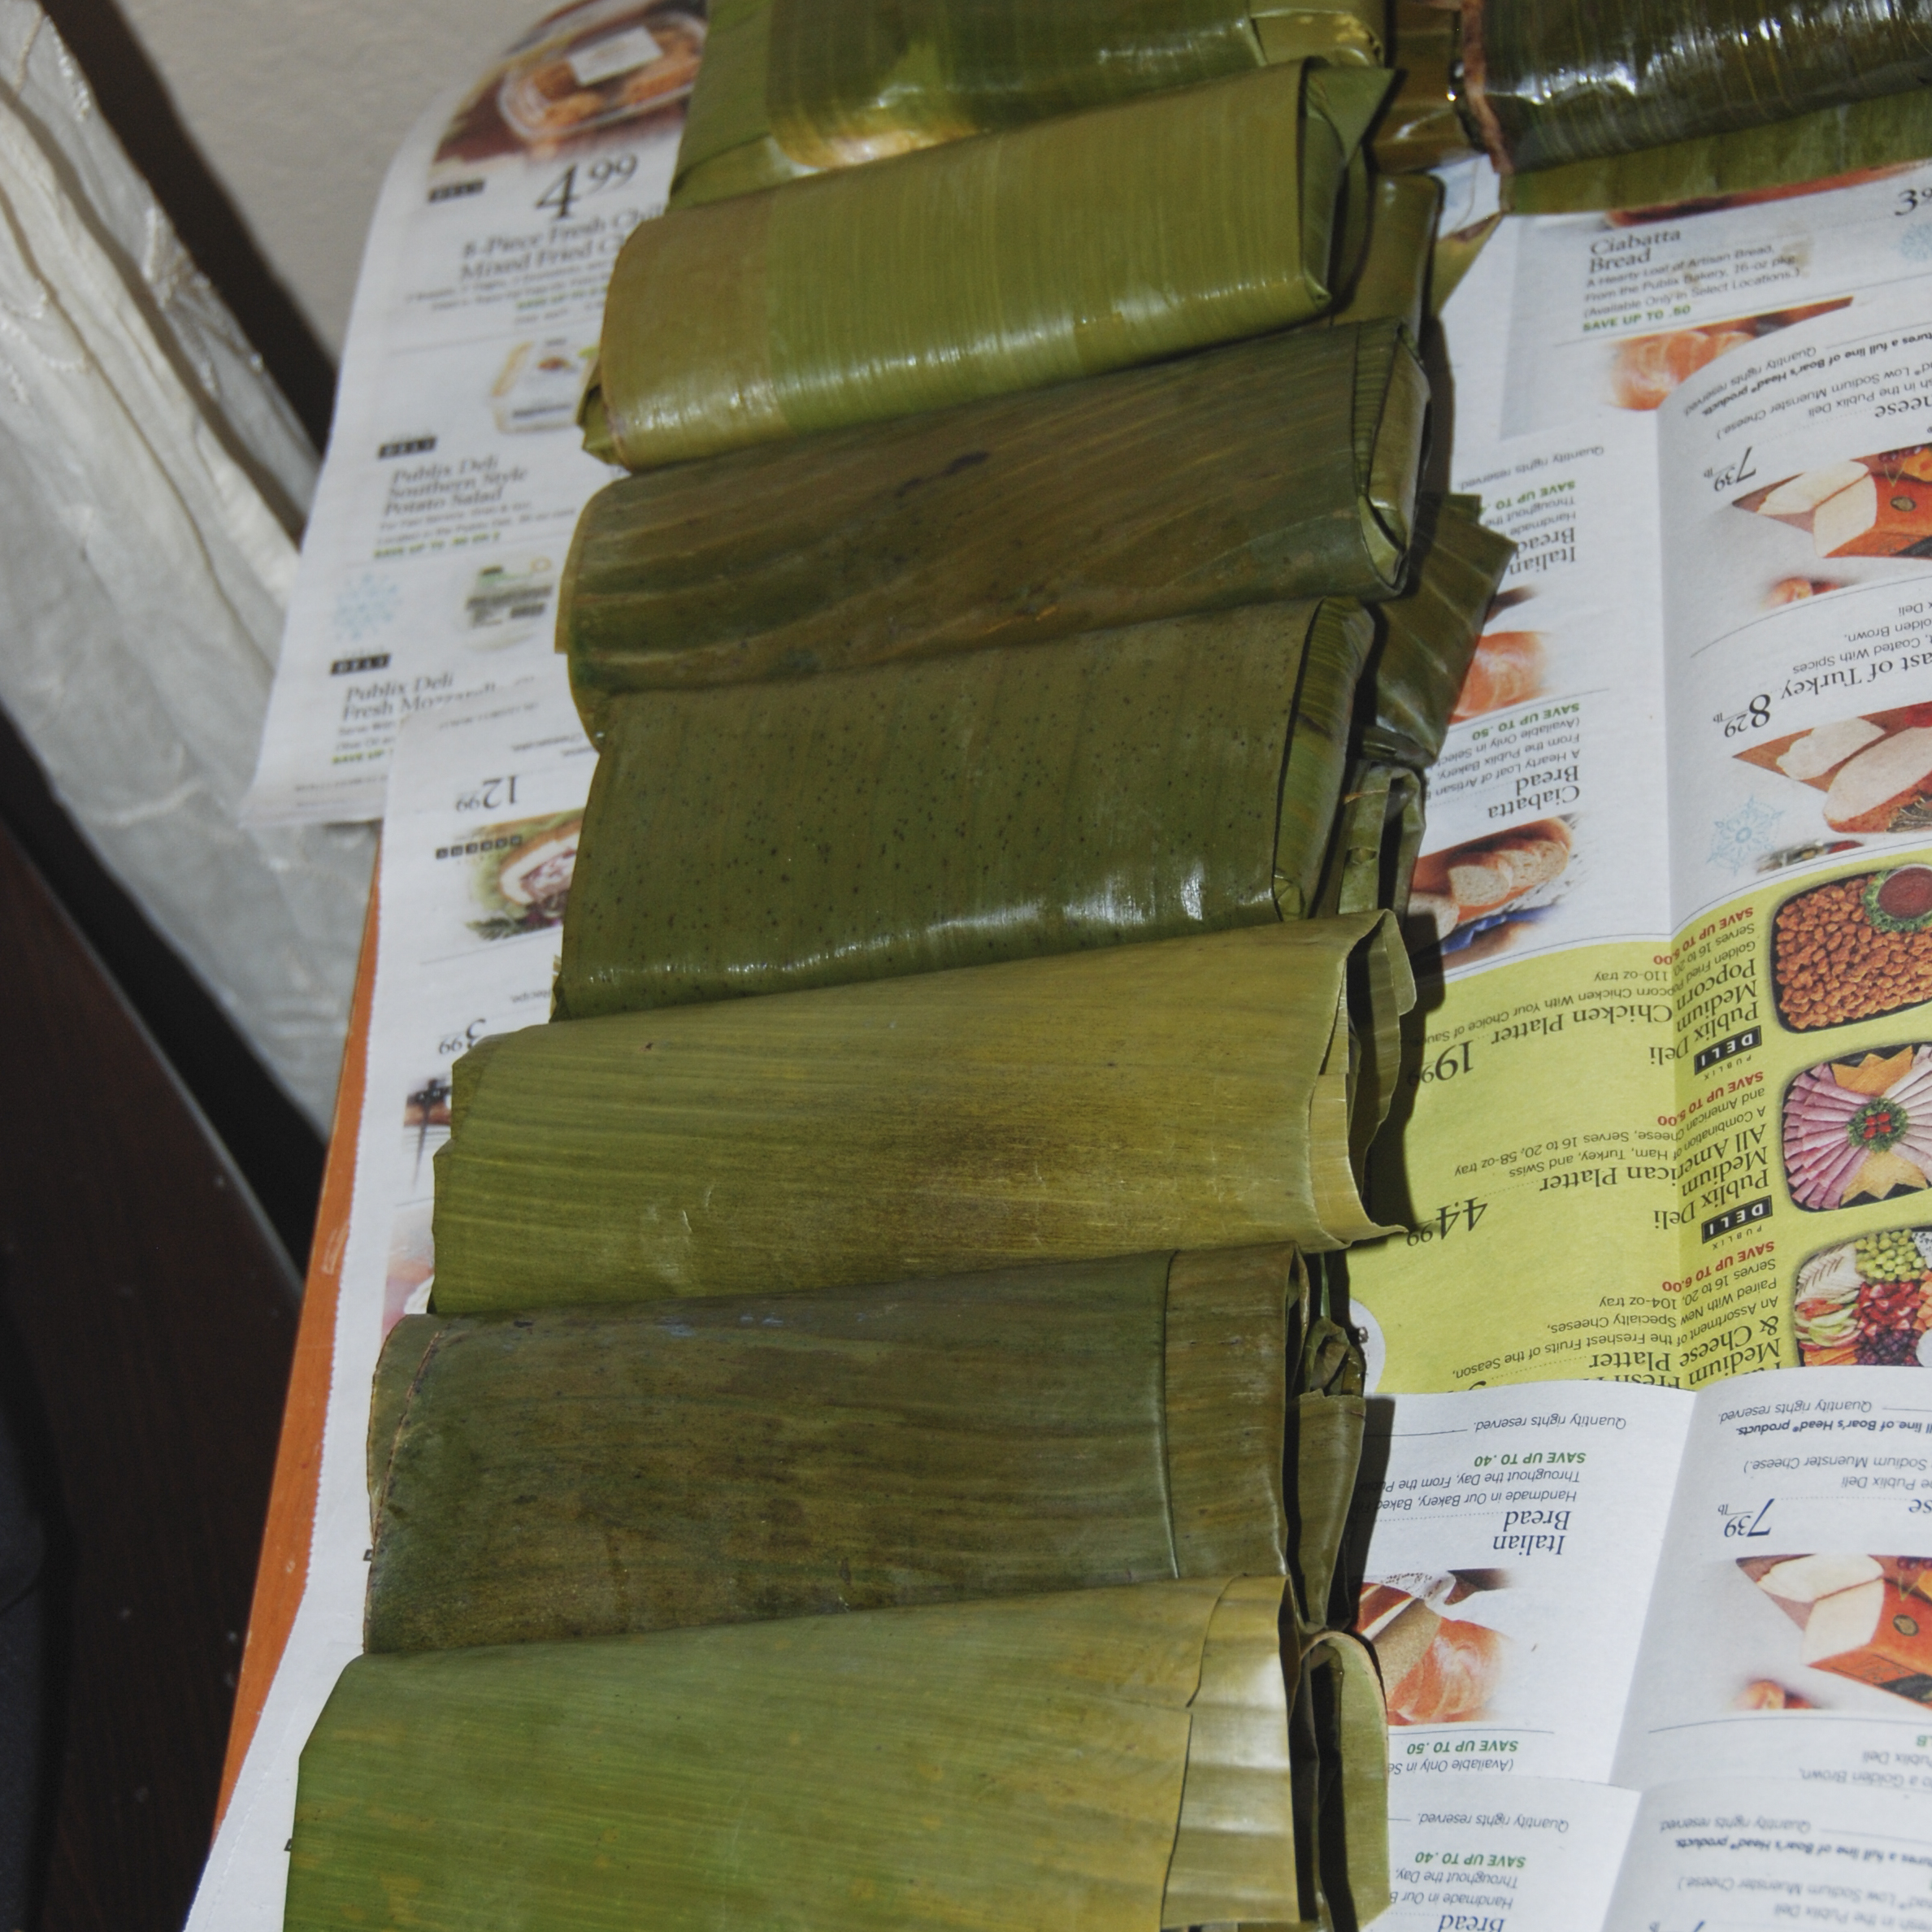
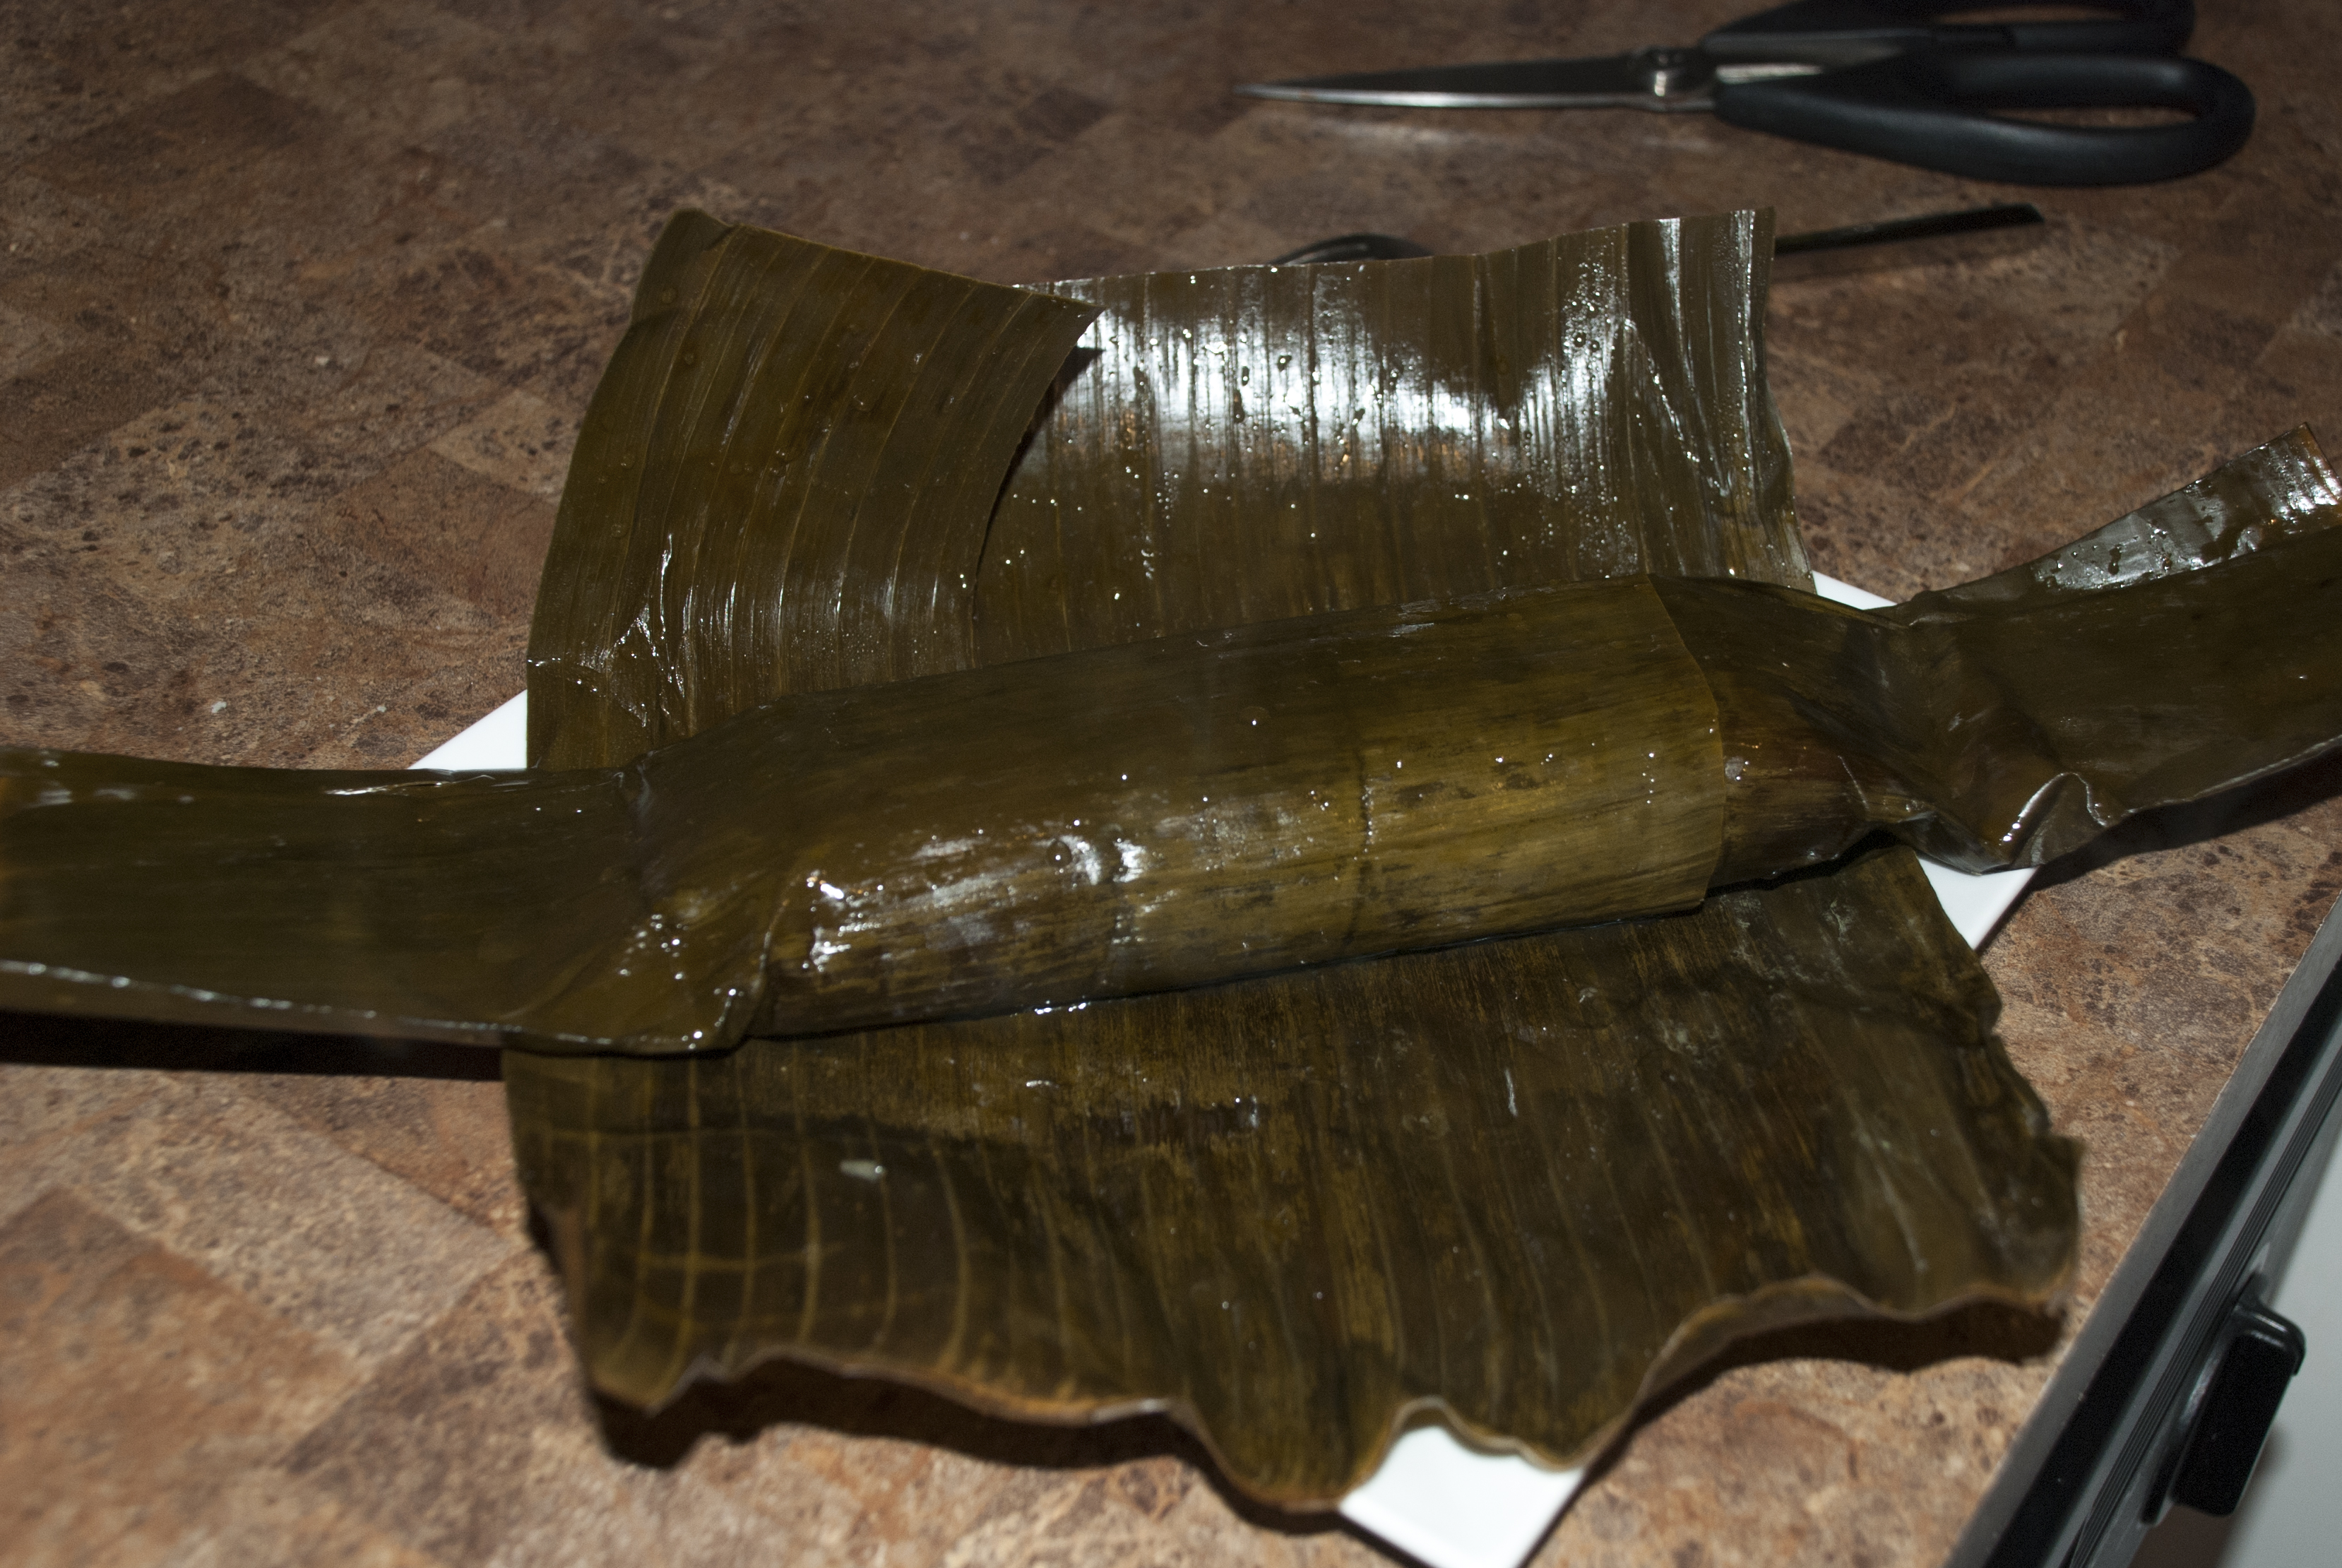
7. Cover it again with another leaf (the shirt) if necessary. Then wrap it again with a cover and finally add the belt to it.
Wrapping an hallaca
Wrapping an hallaca
Wrapping an hallaca
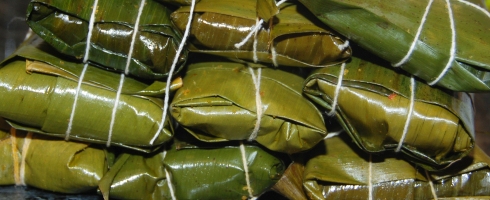
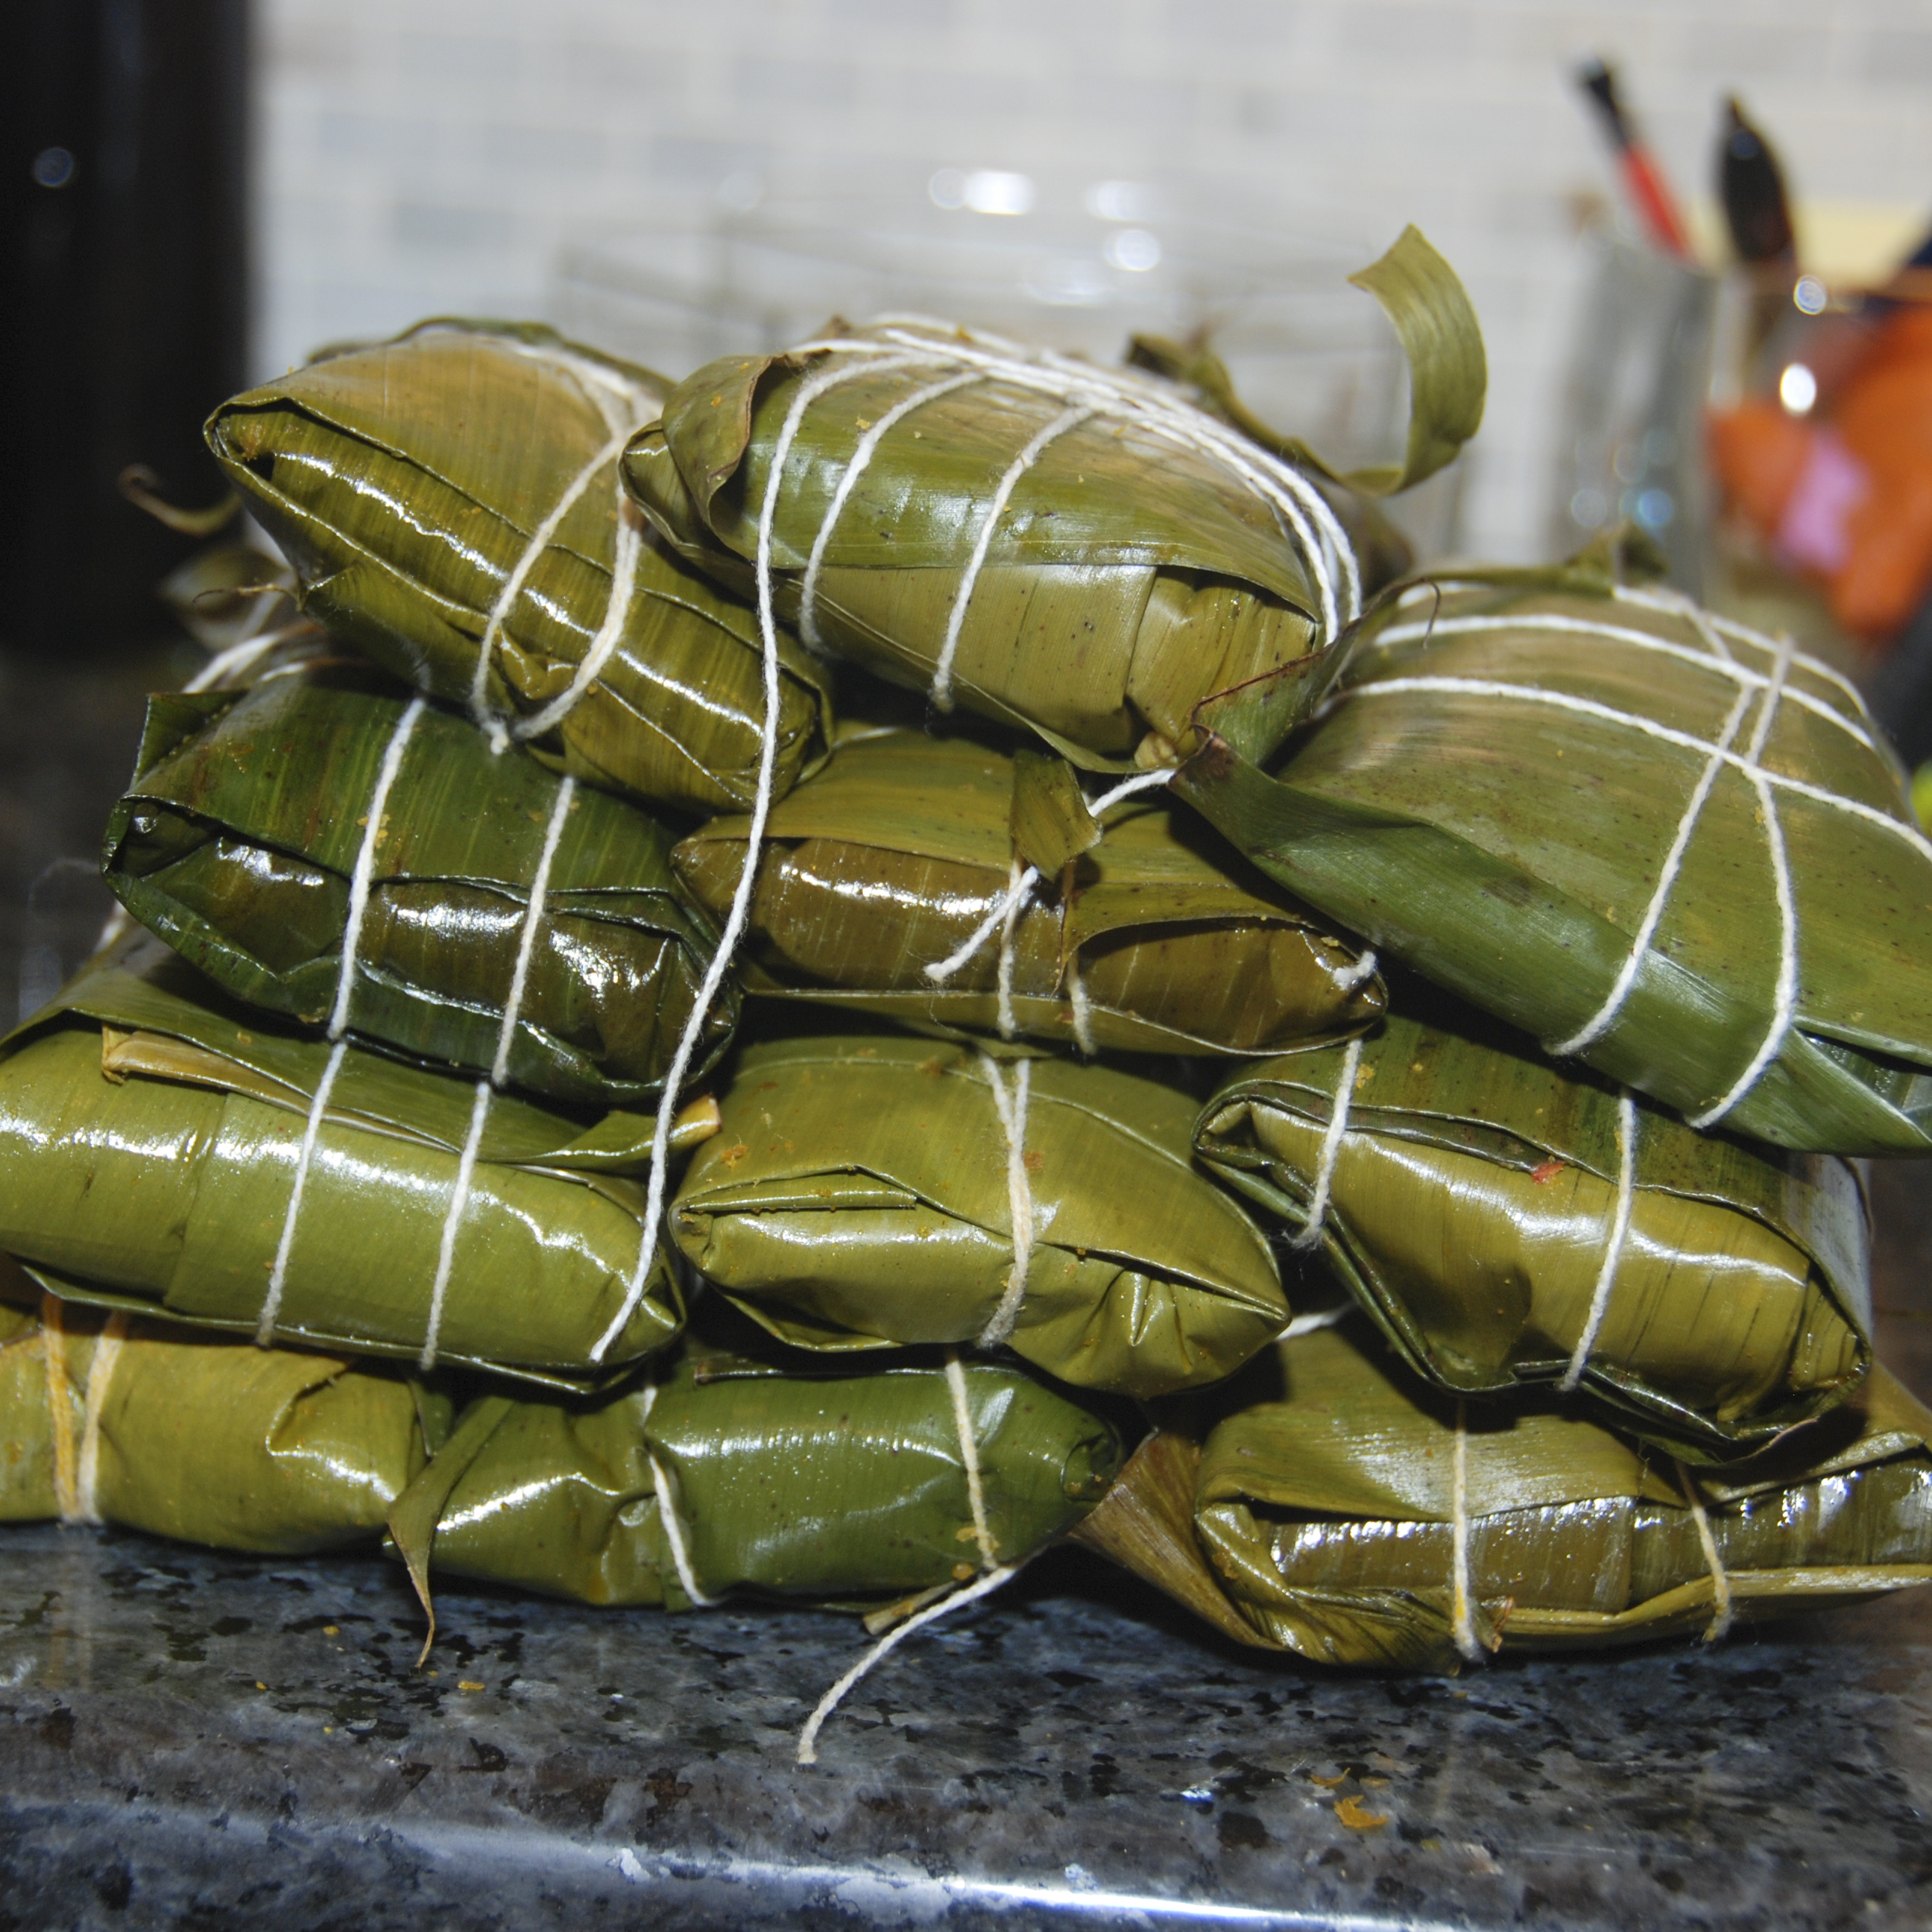
Wrapped Hallacas Ready To Be Tied Up
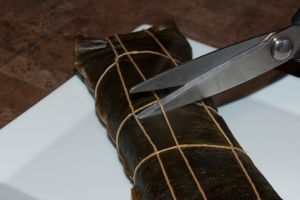
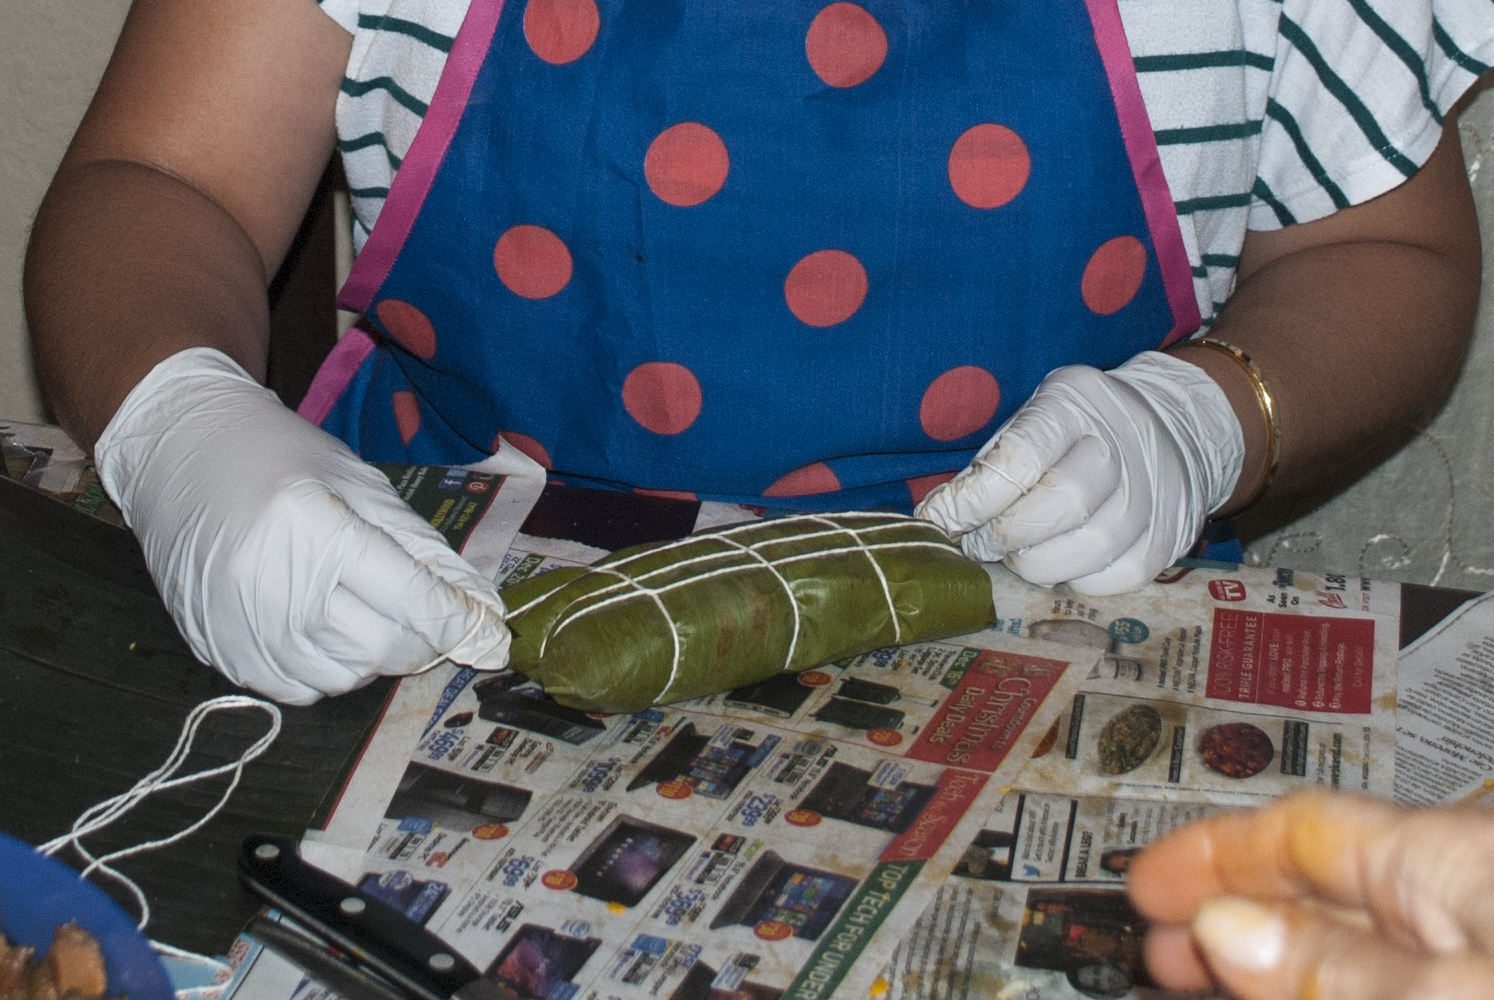
8. Tie up as you would a gift (as shown in the photo) and tie up with a knot.
Tie them up

Even the little ones can help
9. Set aside one next to another, preferably not one top of another. If you run out of space you can do up to two layers, but not more than that.
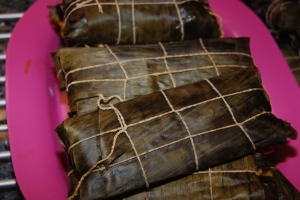
Hallacas
10. Continue until you run out of ingredients. You should end up with about 50 hallacas in total.
Cooking:
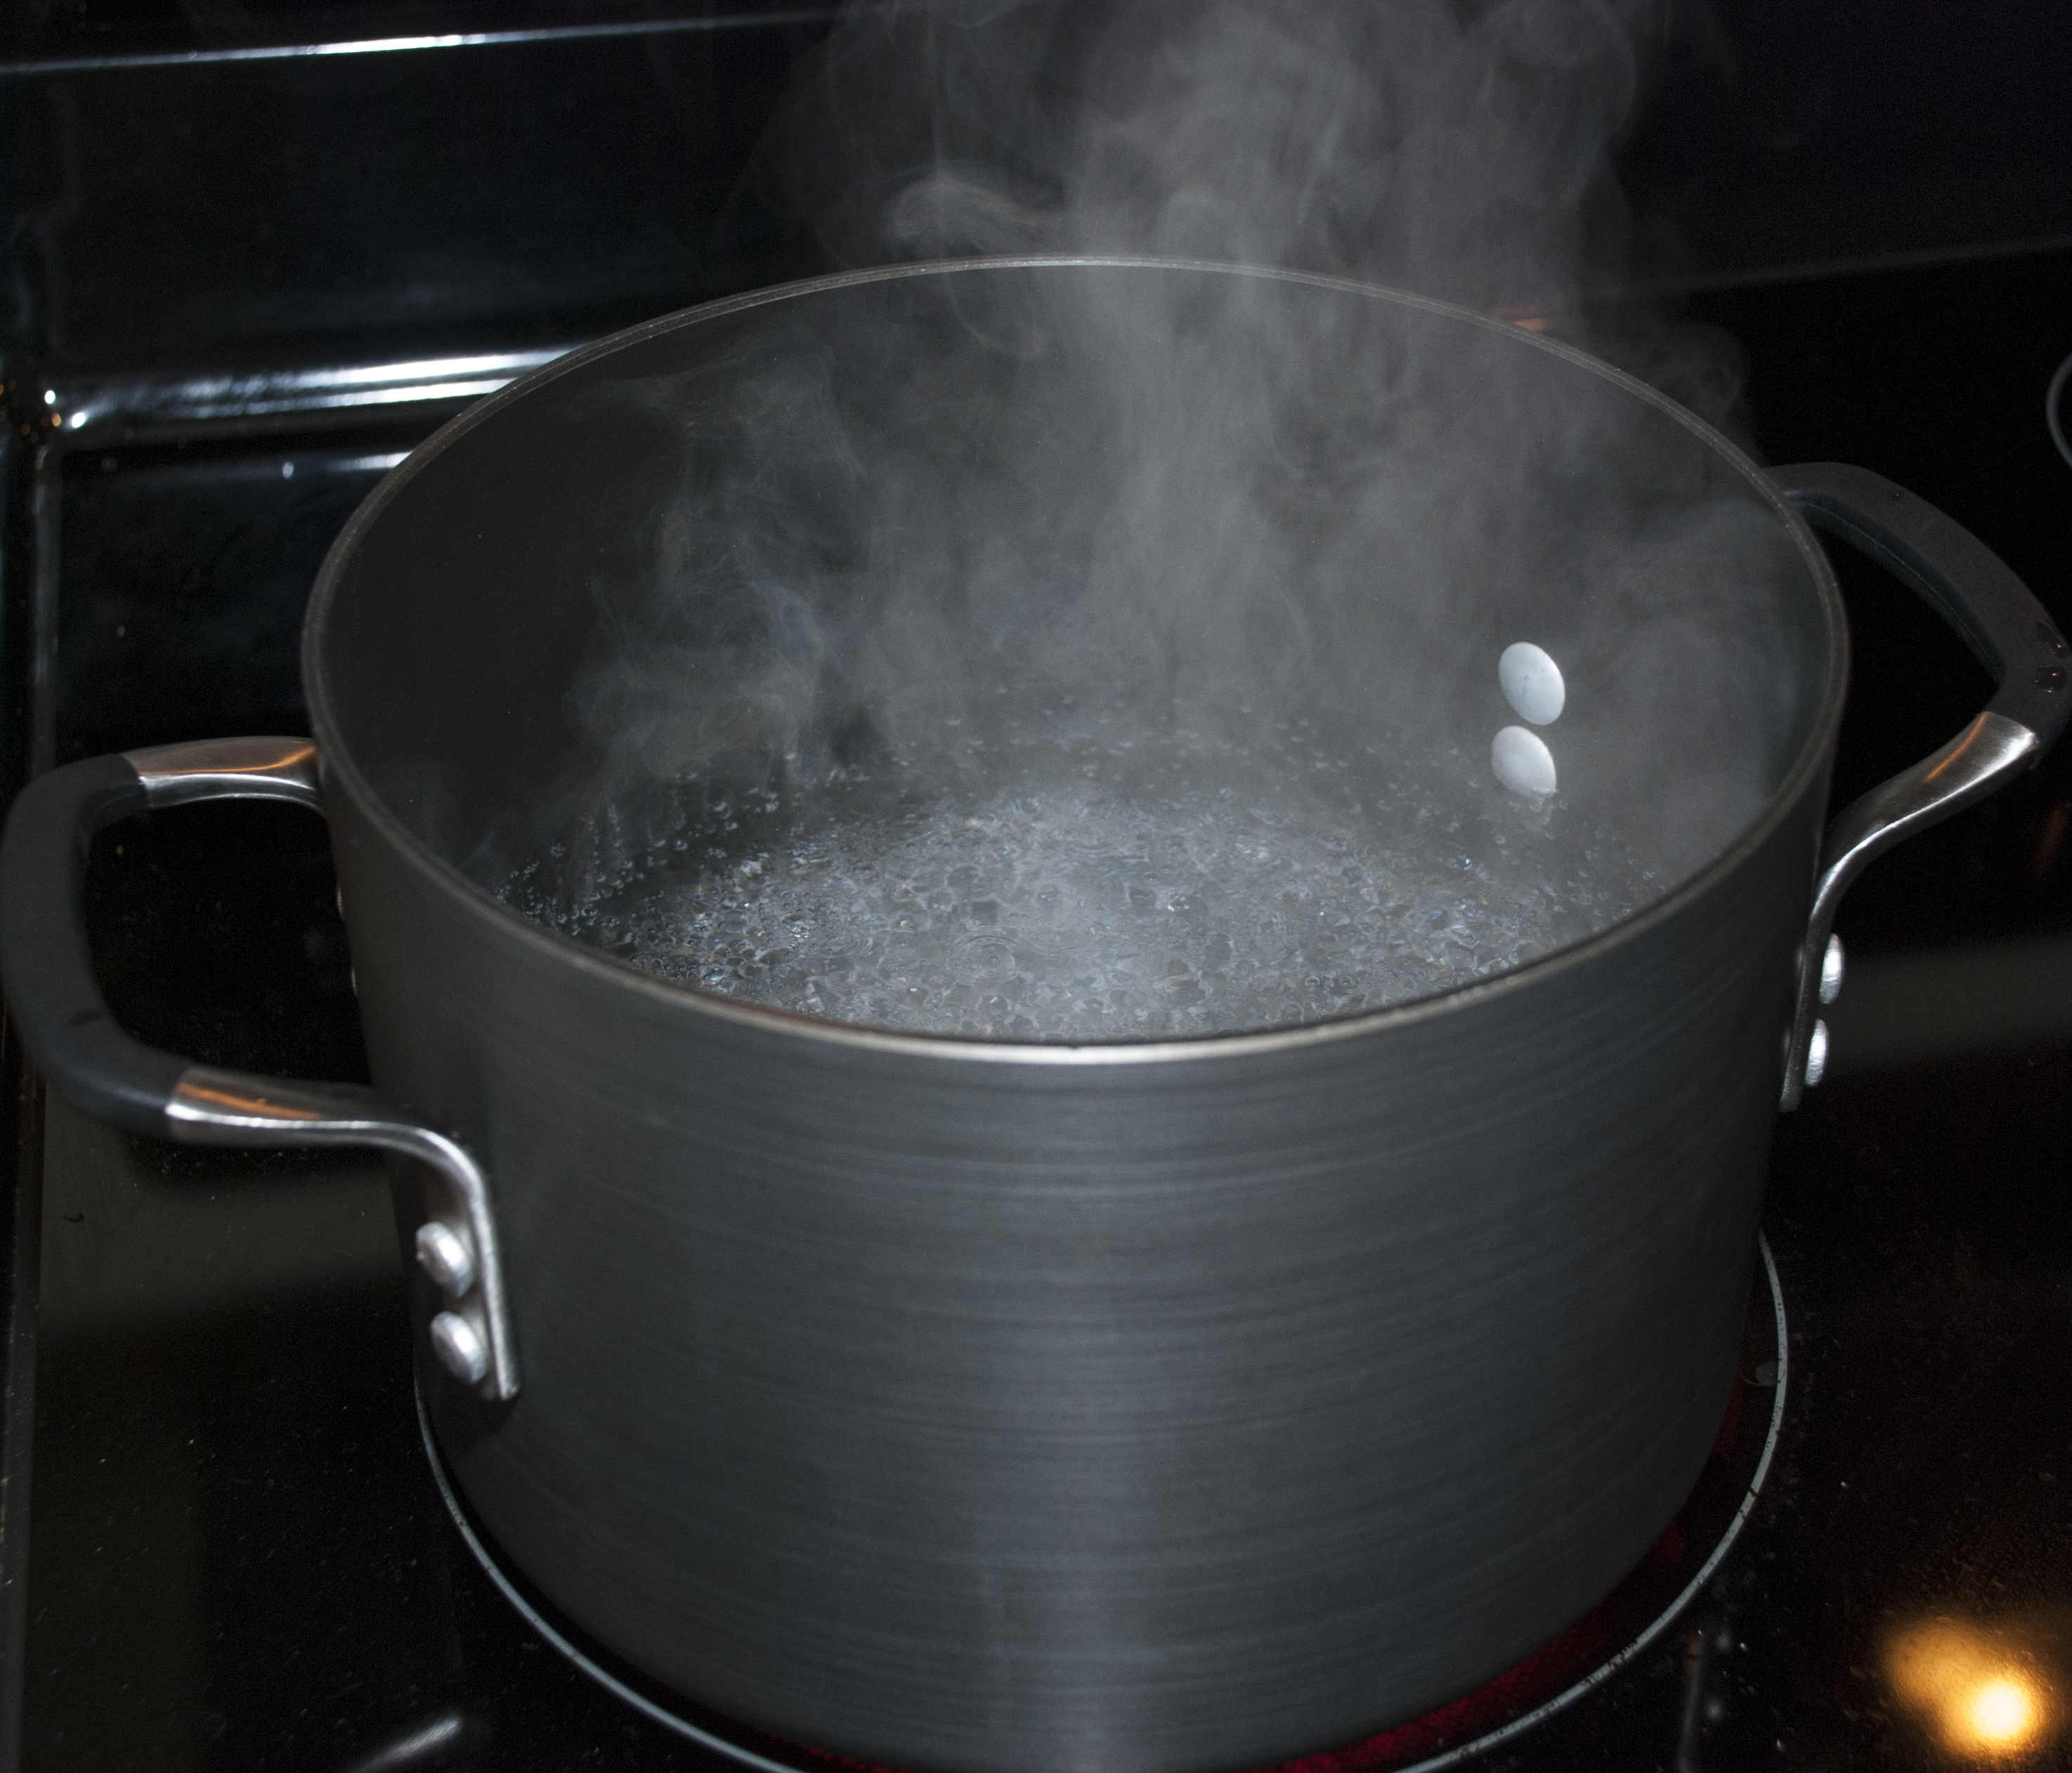
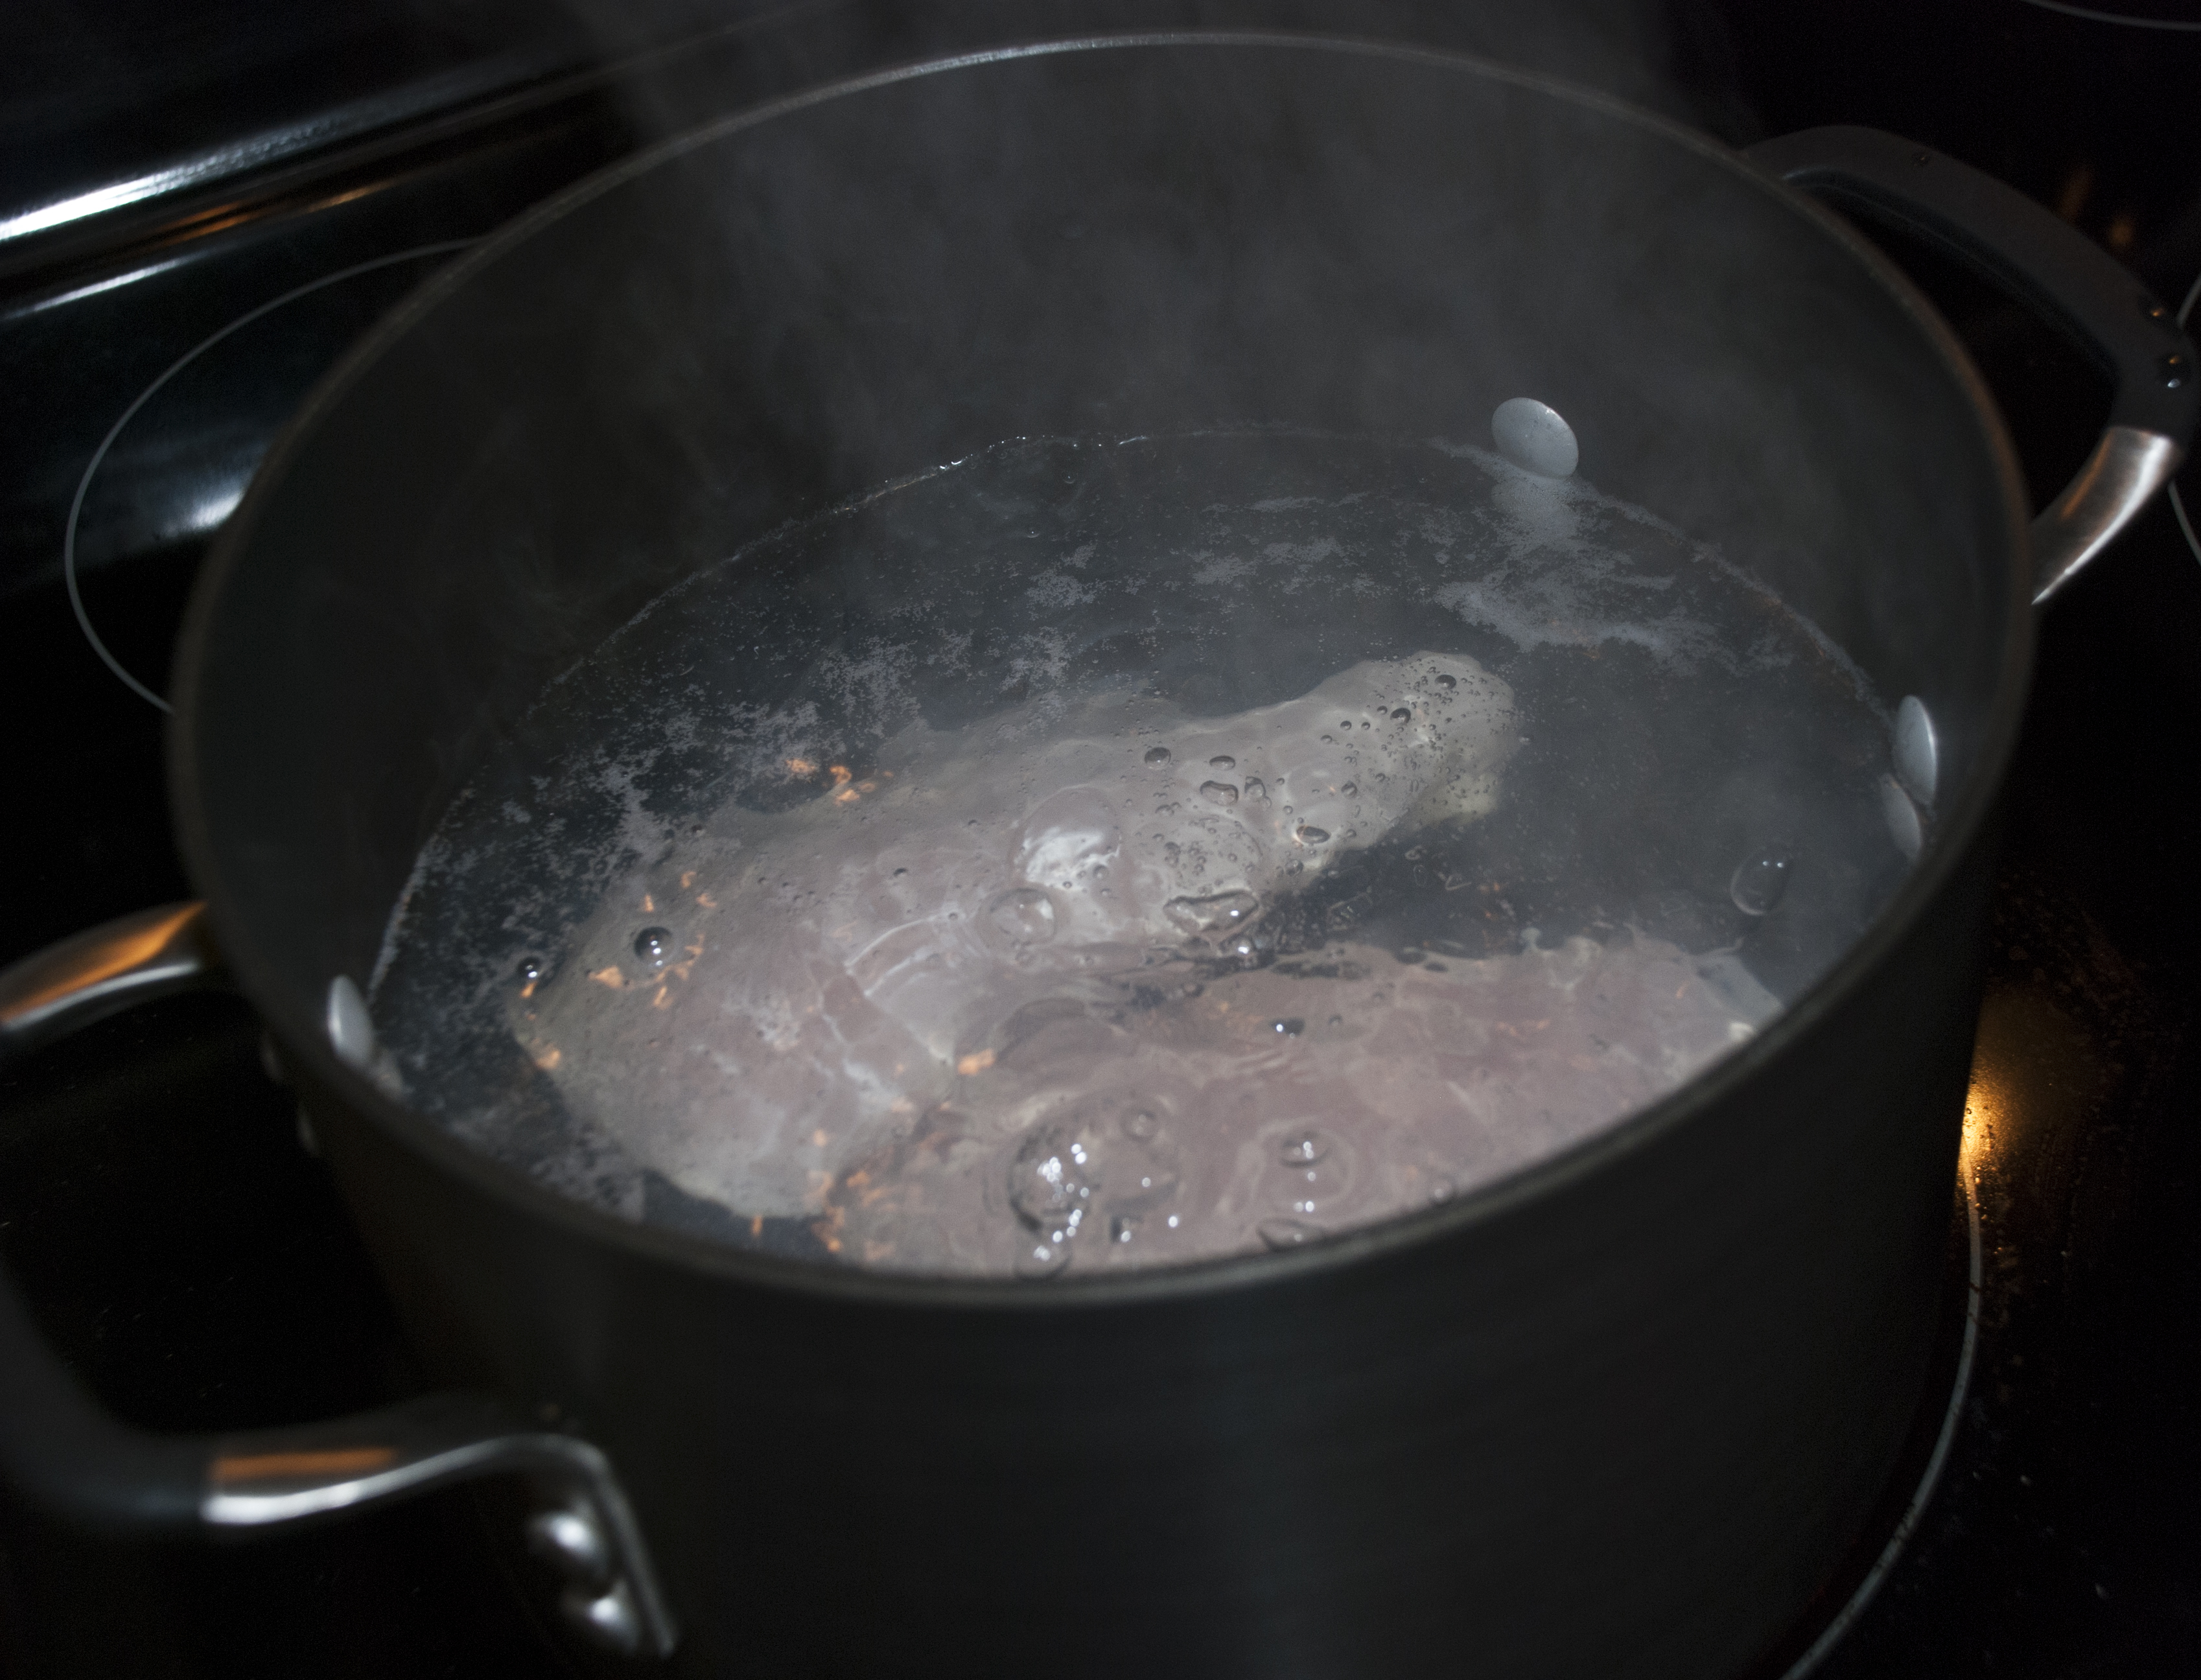
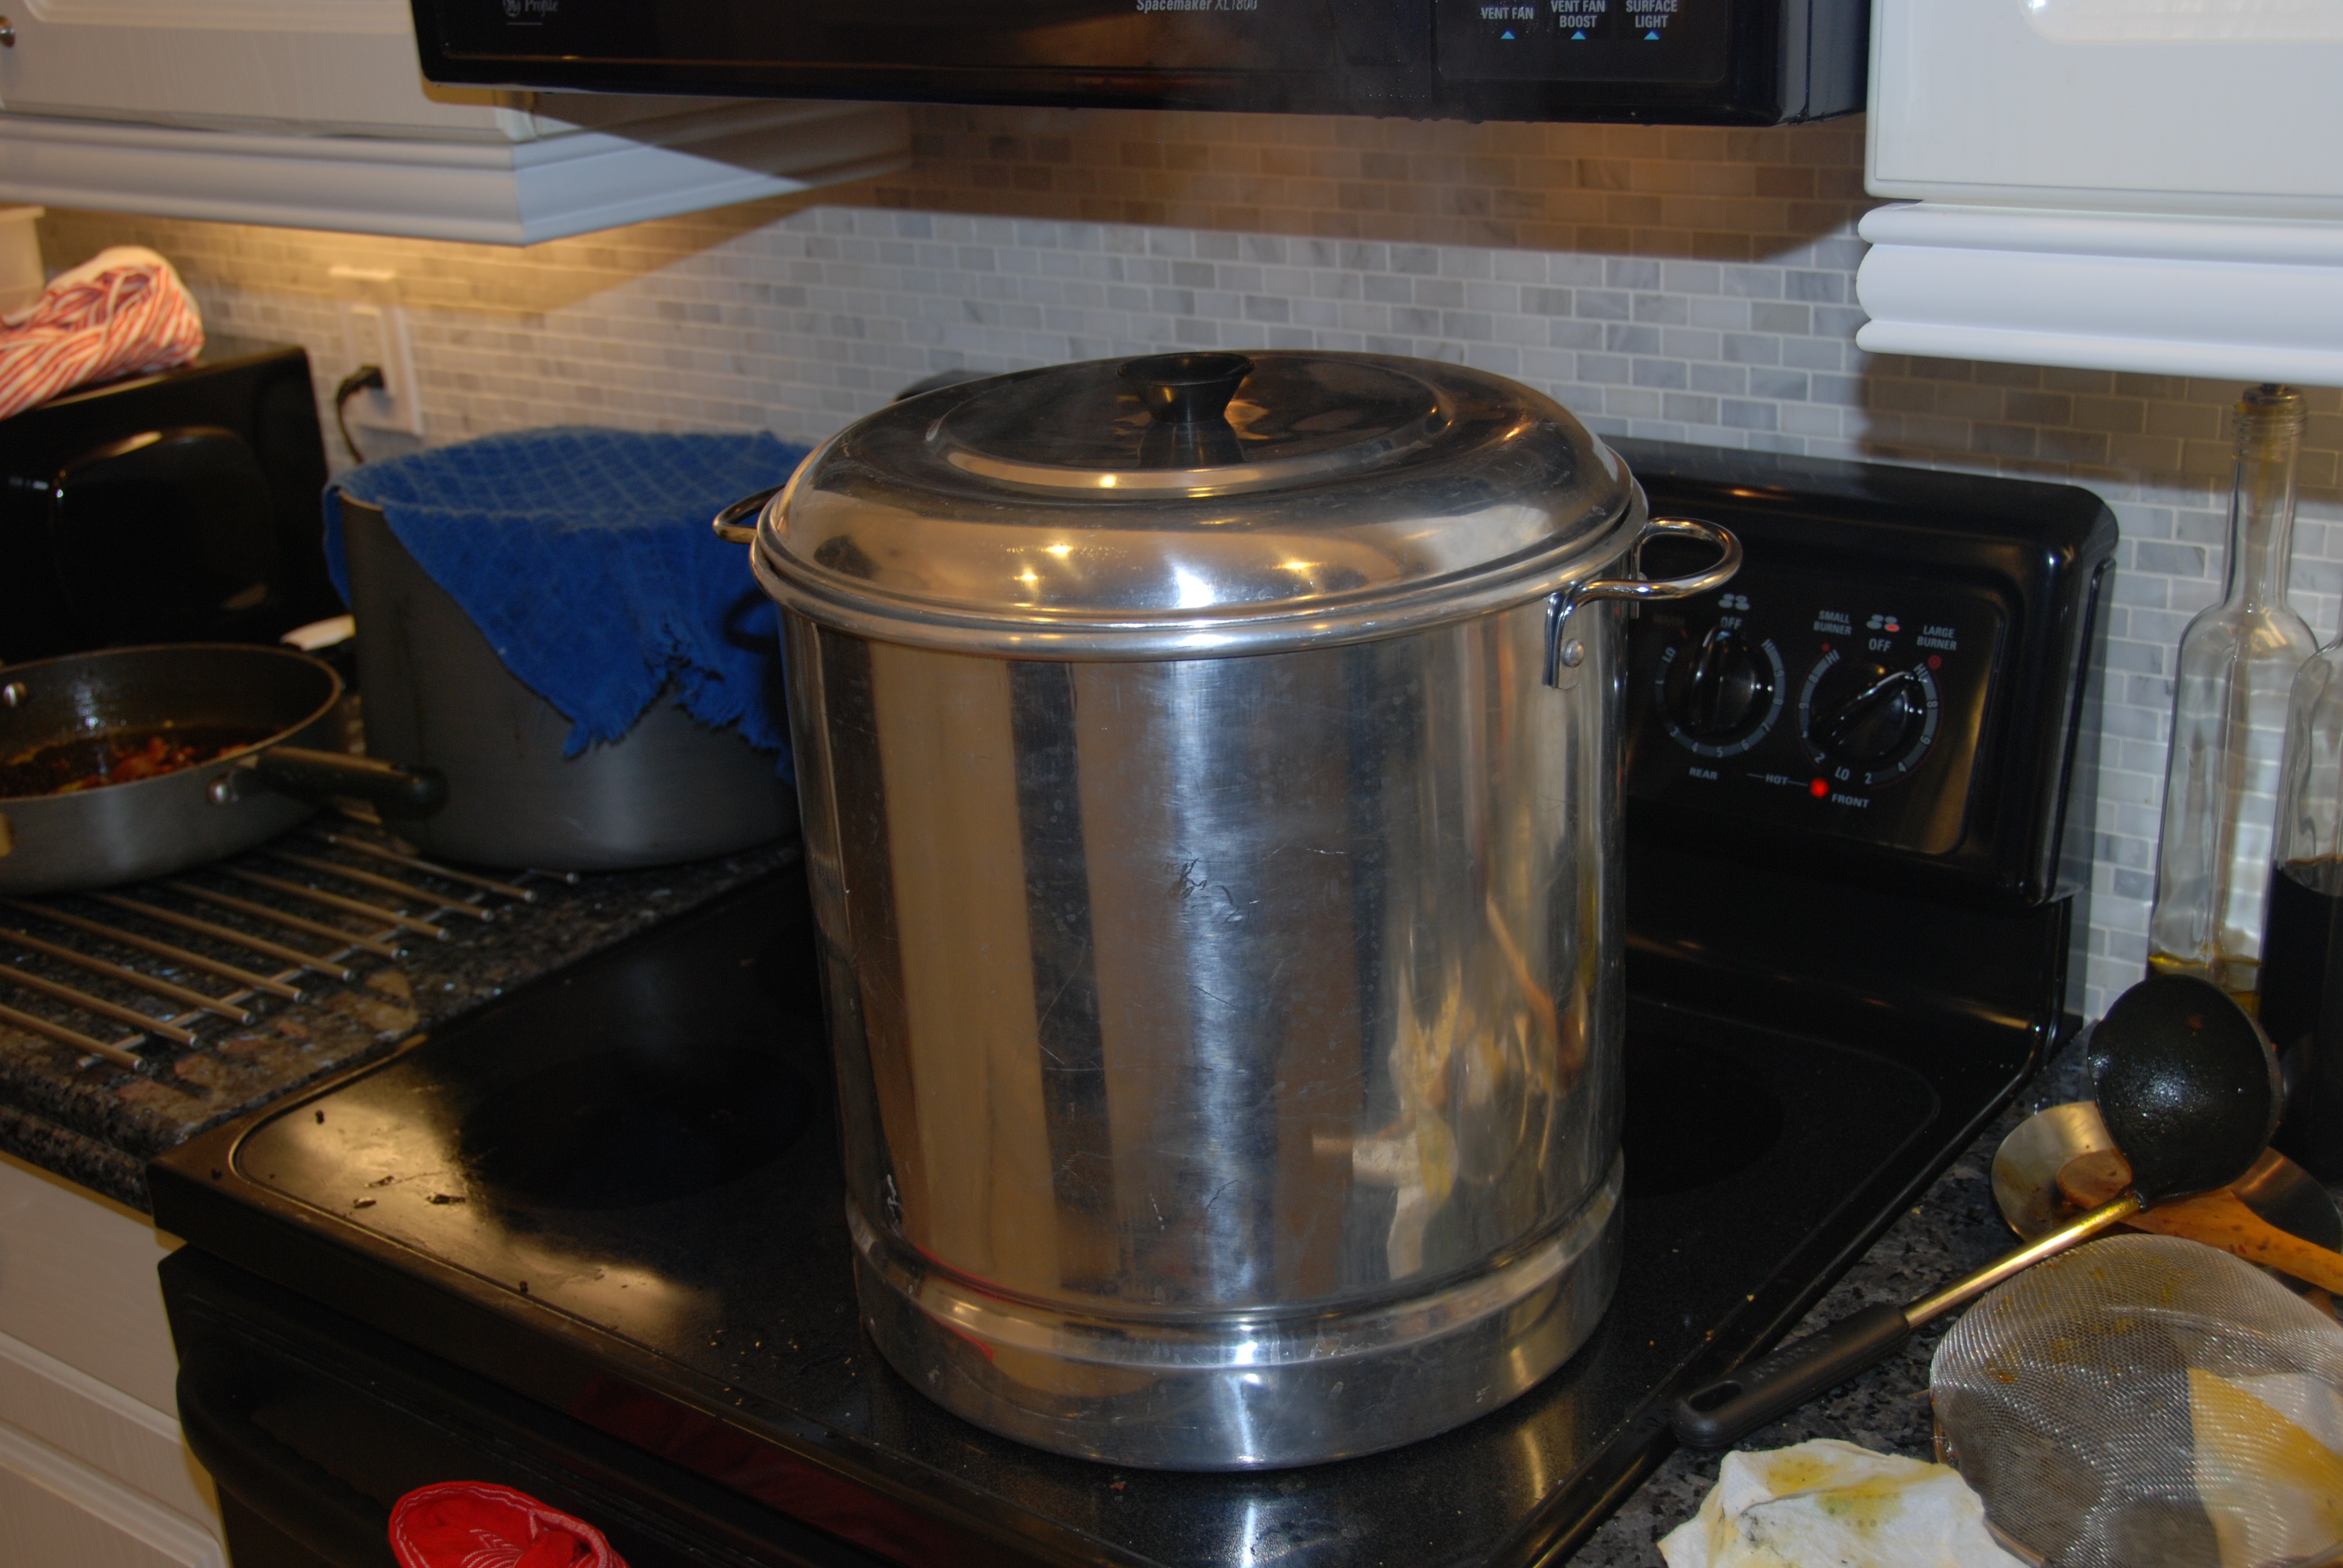
1. In a large enough pot heat up enough water (about half the size of the pot). Add a bit of salt. Cook at high heat until the water boils. Add as many hallacas as you can fit, they must all be completely submerged in the water. You can do it in batches as they become ready from the assembly line. You can also add some of the left over plantain leaves on top to help keep them submerged and also add aroma to them. Cover and let them cook for about 1 hour. You might want to have several pots and timers on your stove to keep track of you different batches.
2. Once cooked, remove them from the pot and let them drain. The easiest way is to drain them on a clean sink, and stand them up one next to the other so they can drain the water inside them a lot faster.

Boiling Hallacas

The Hallacas Are Ready
Serving:
1. Let it cool for a minute, but not too long, you don’t want it to get cold.
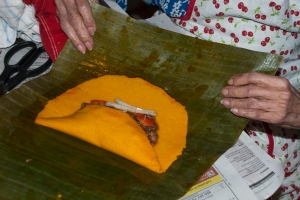
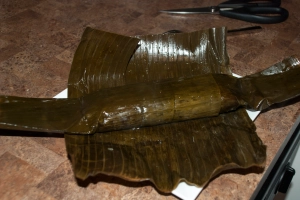
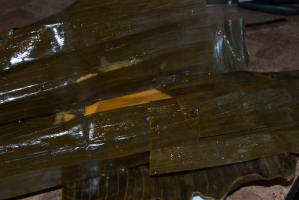
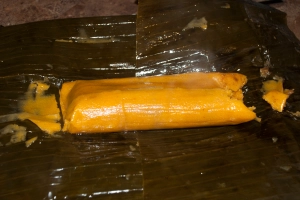
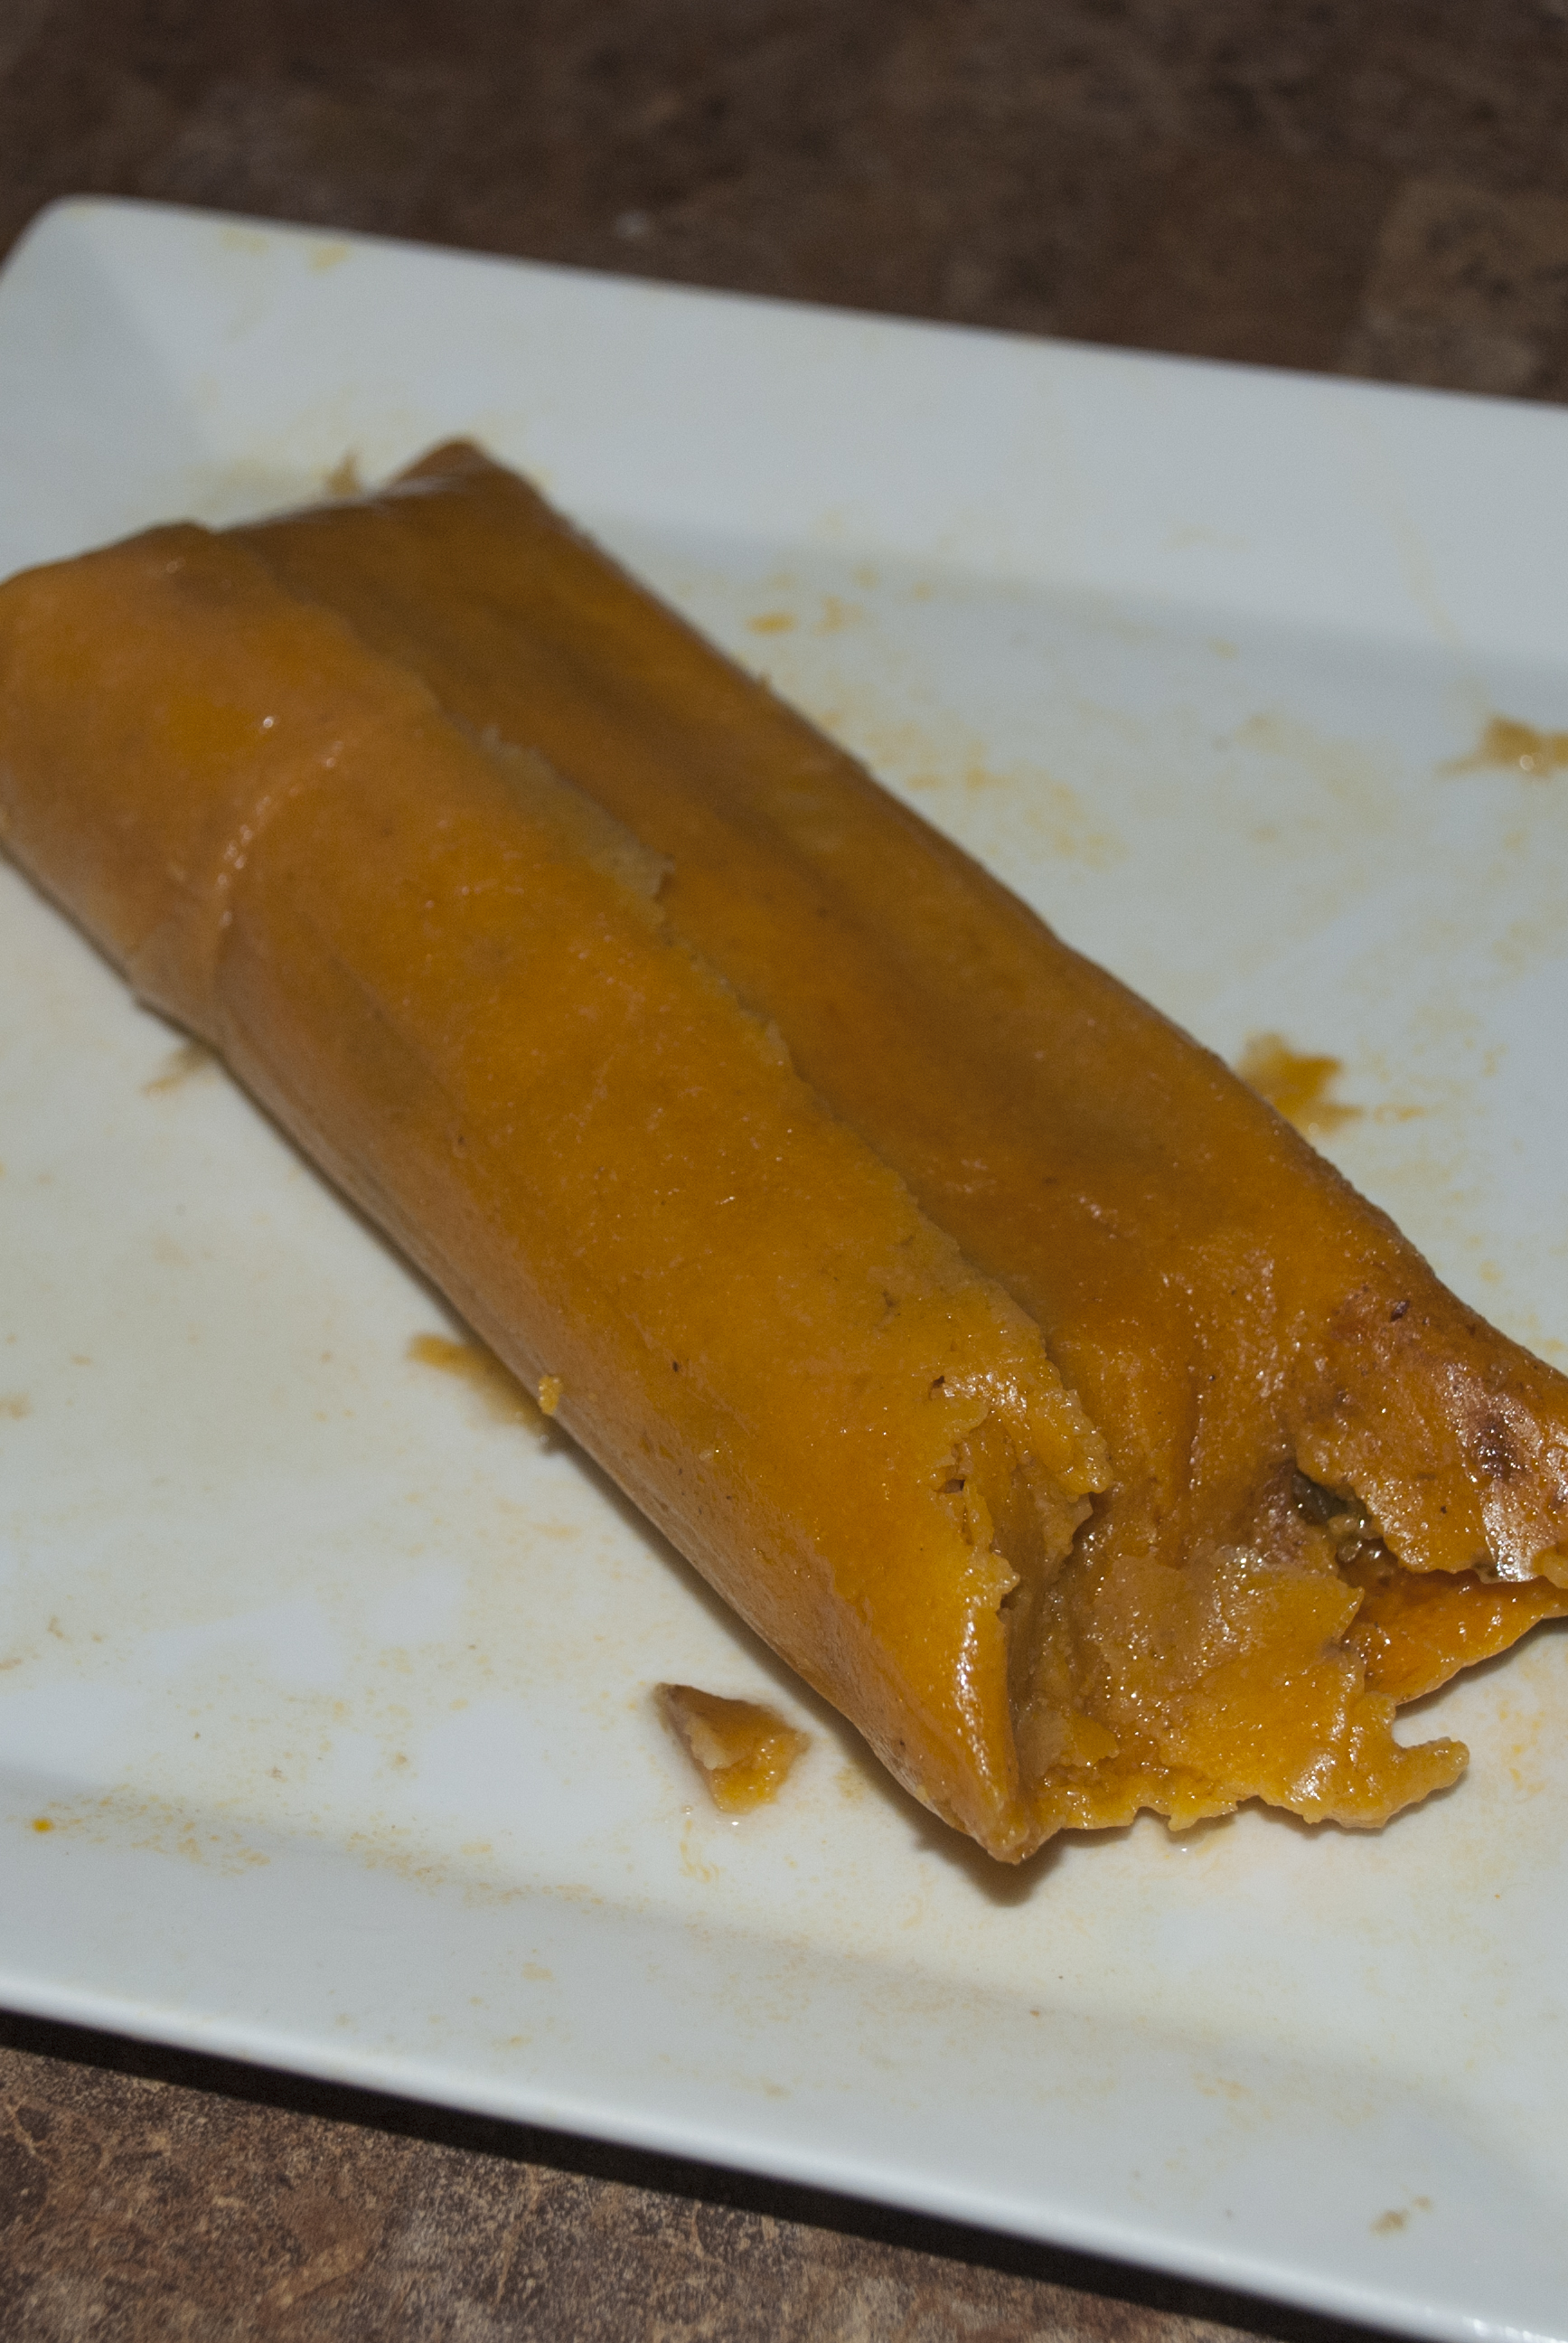
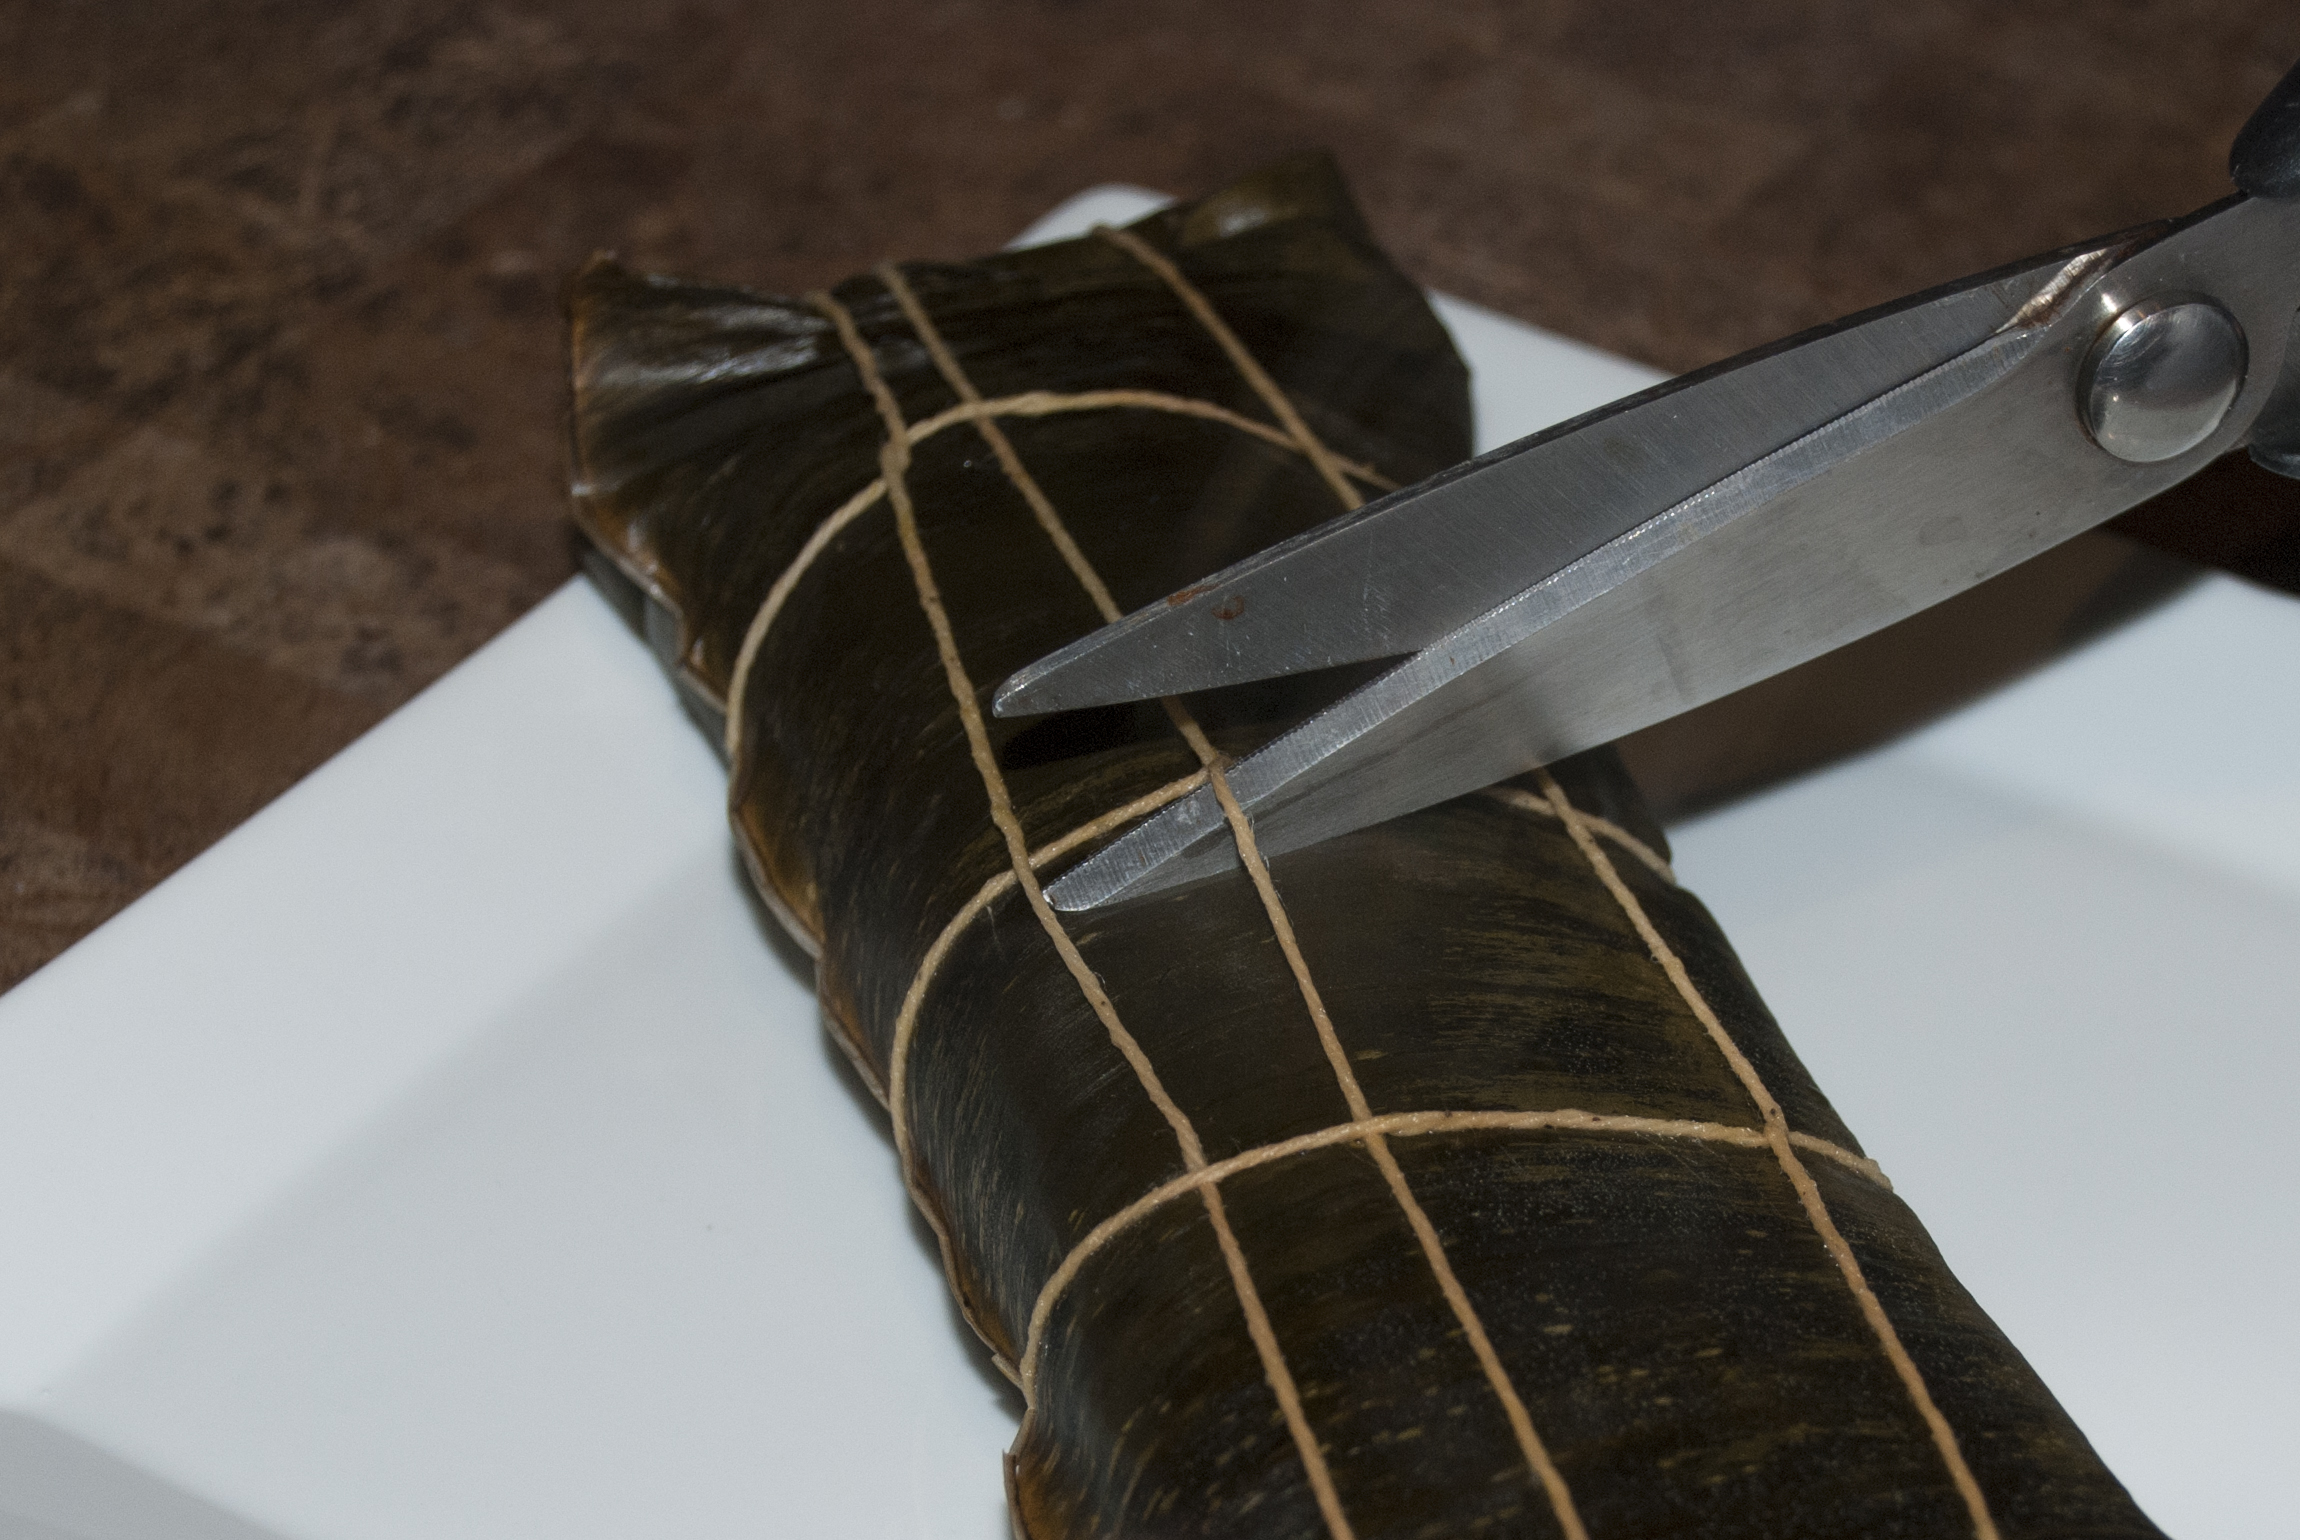
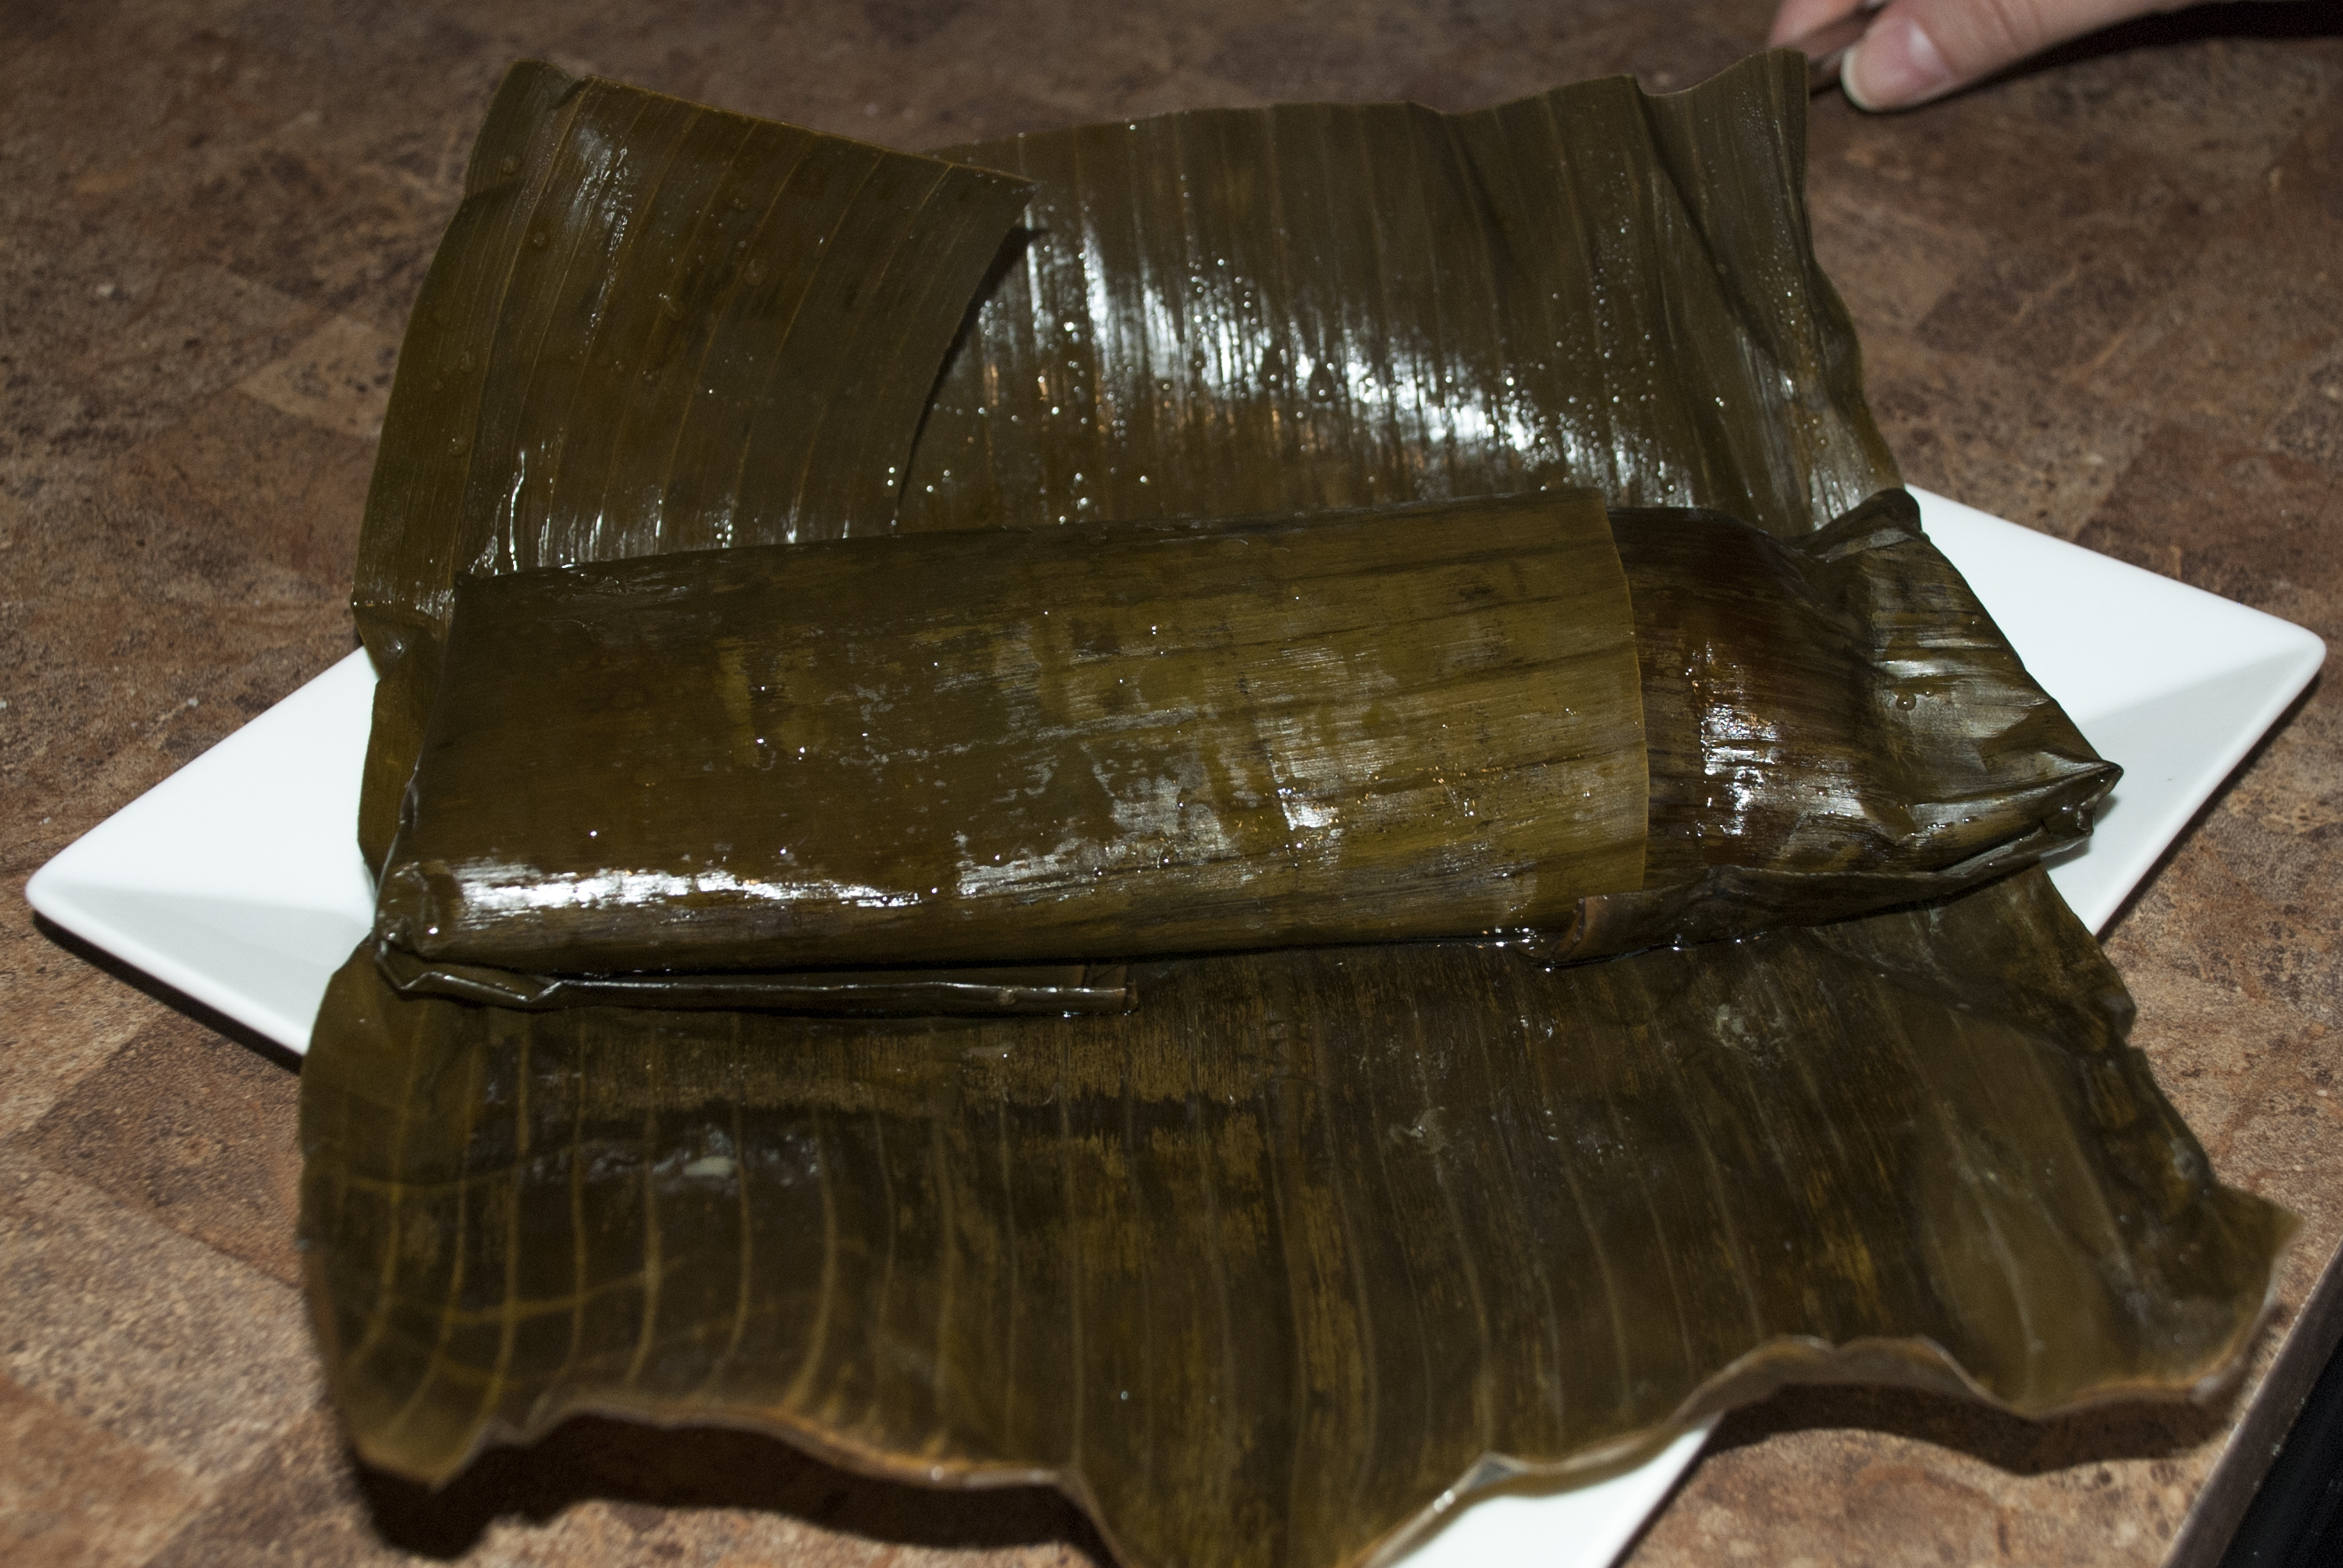
2. Lay them flat on a large enough serving plate that will serve as the ‘opening plate’. Cut the thread and carefully open each layer of plantain leave until you get to the hallaca. Use the last plantain leave to lift up the hallaca and carefully slide it on to the plate where it will actually be served.
3. Just to clarify… you do not eat the plantain leaf.
Serving An Hallaca
Serving An Hallaca
Serving An Hallaca
Serving An Hallaca
Serving An Hallaca
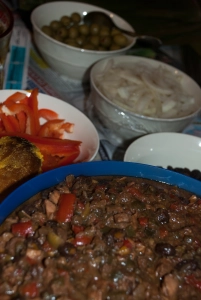
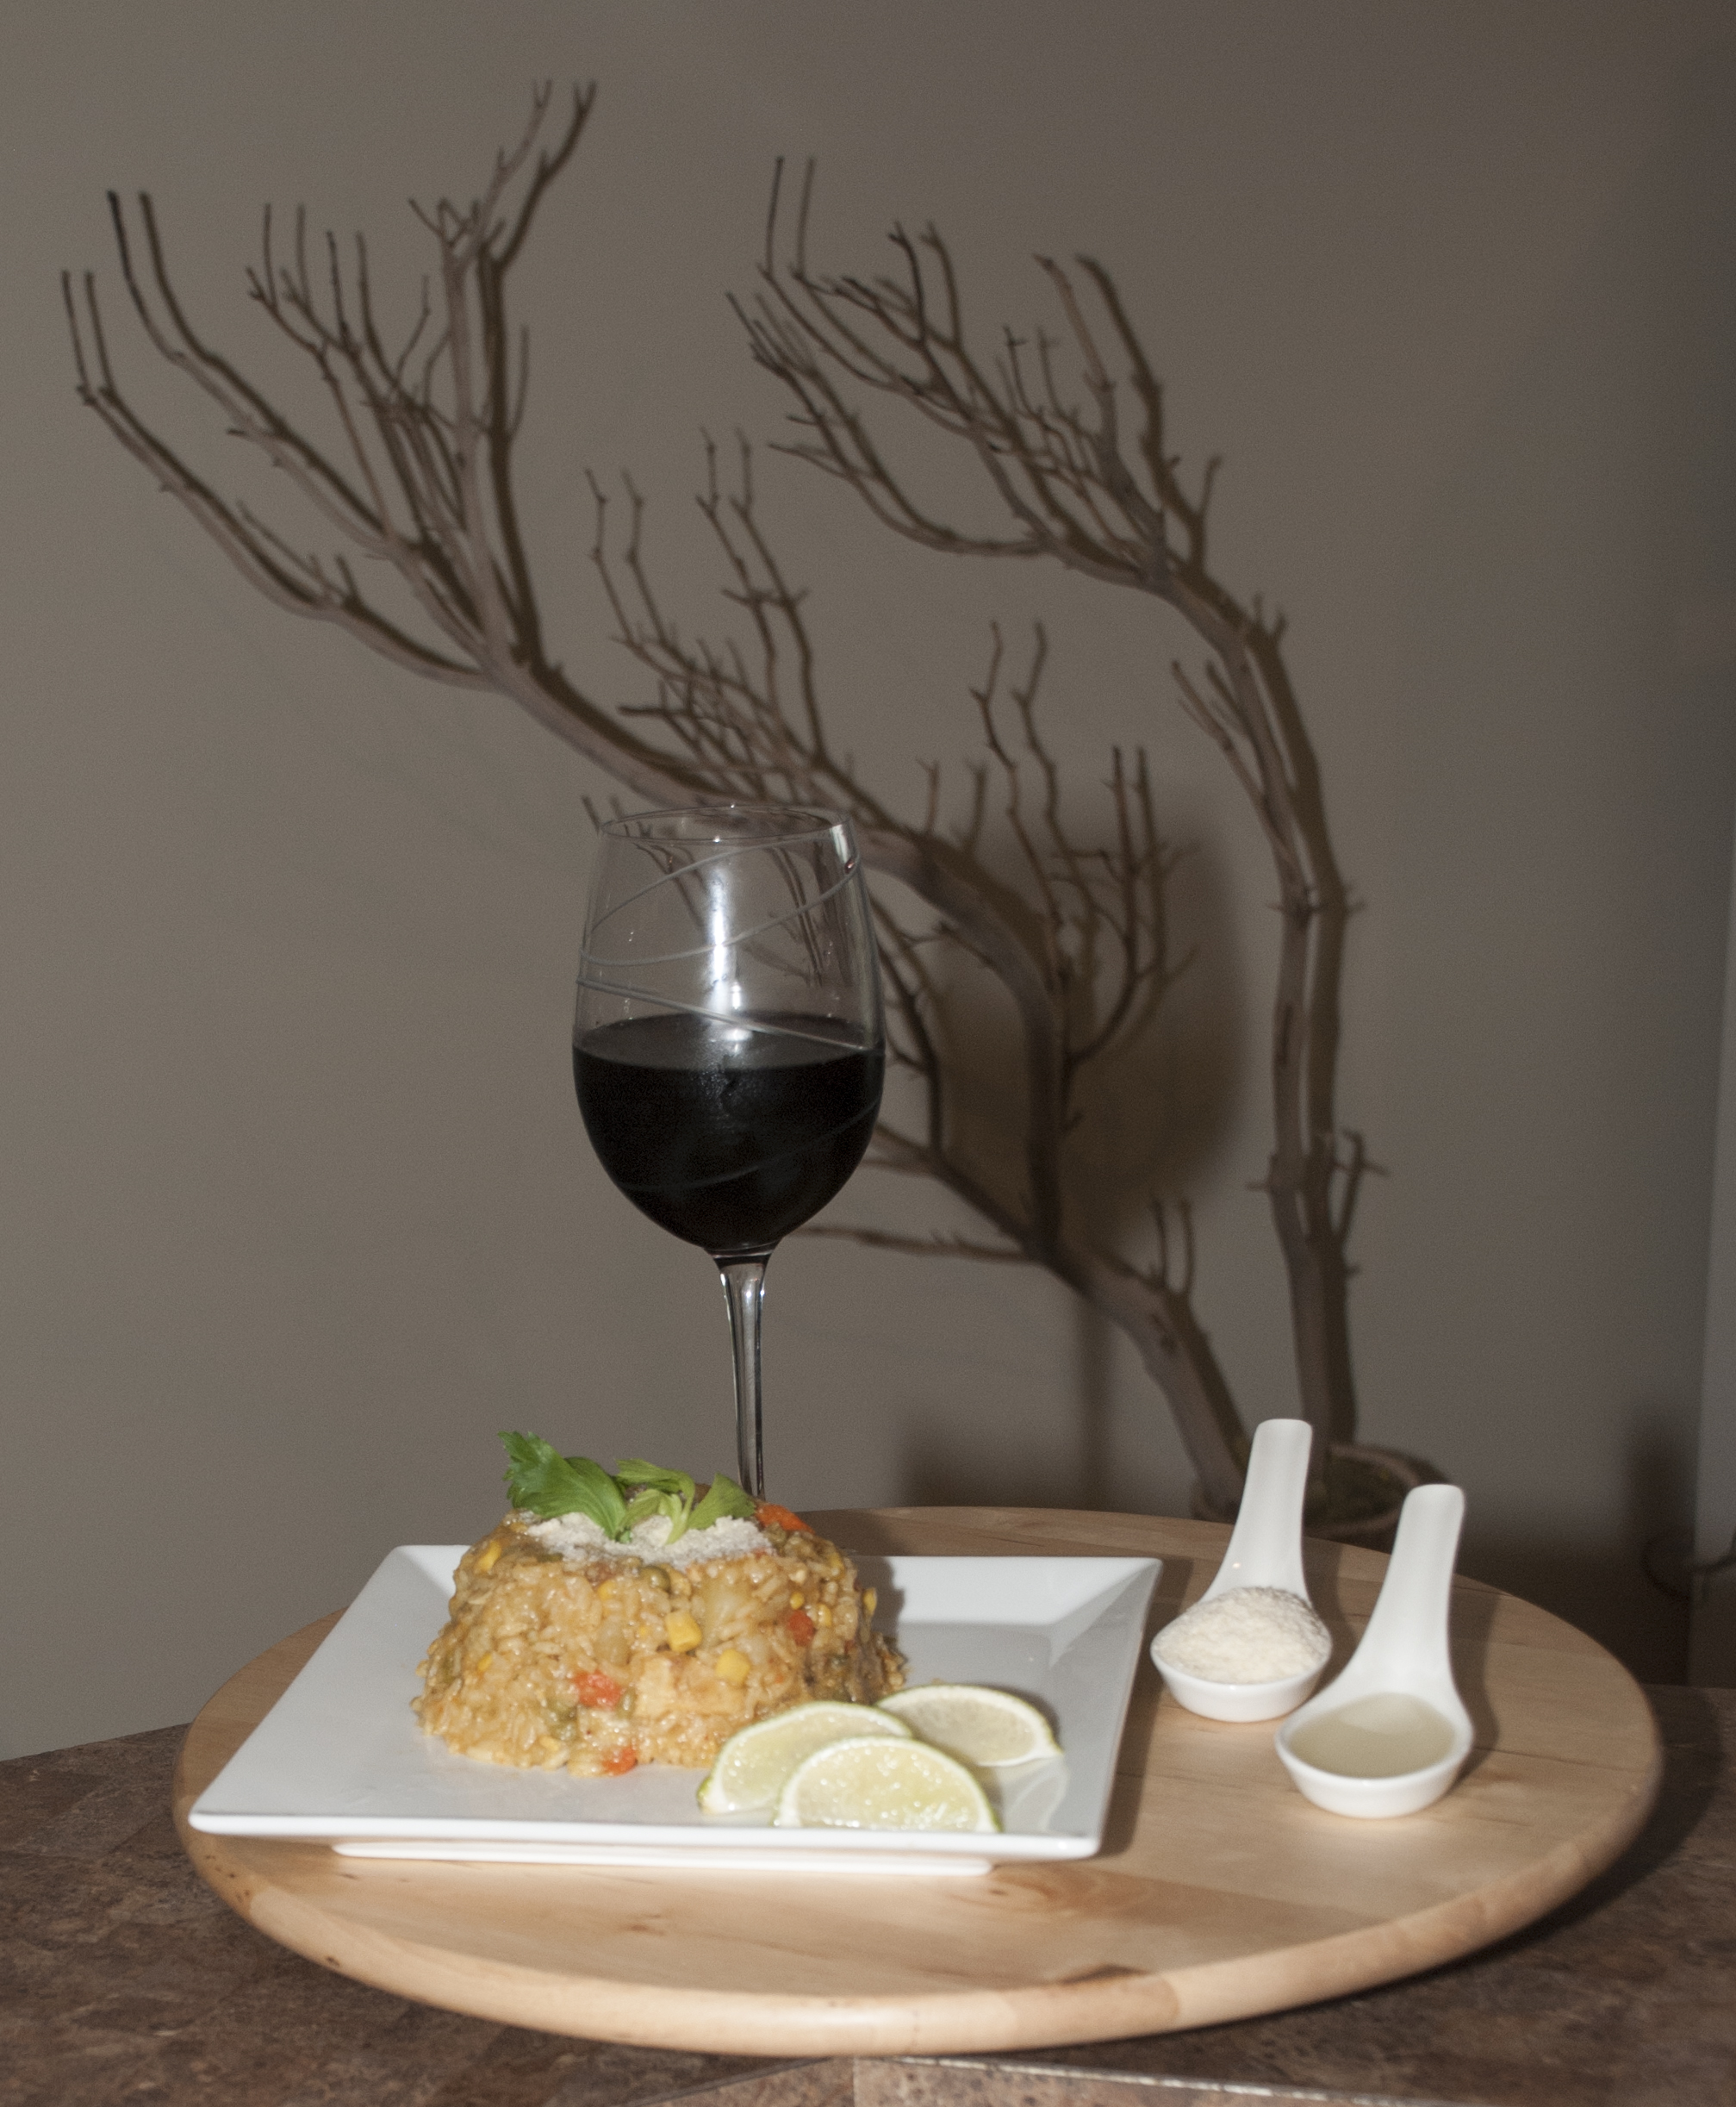
Recipe: Hallacas Venezolanas | Venezuelan Christmas Dinner Hallacas
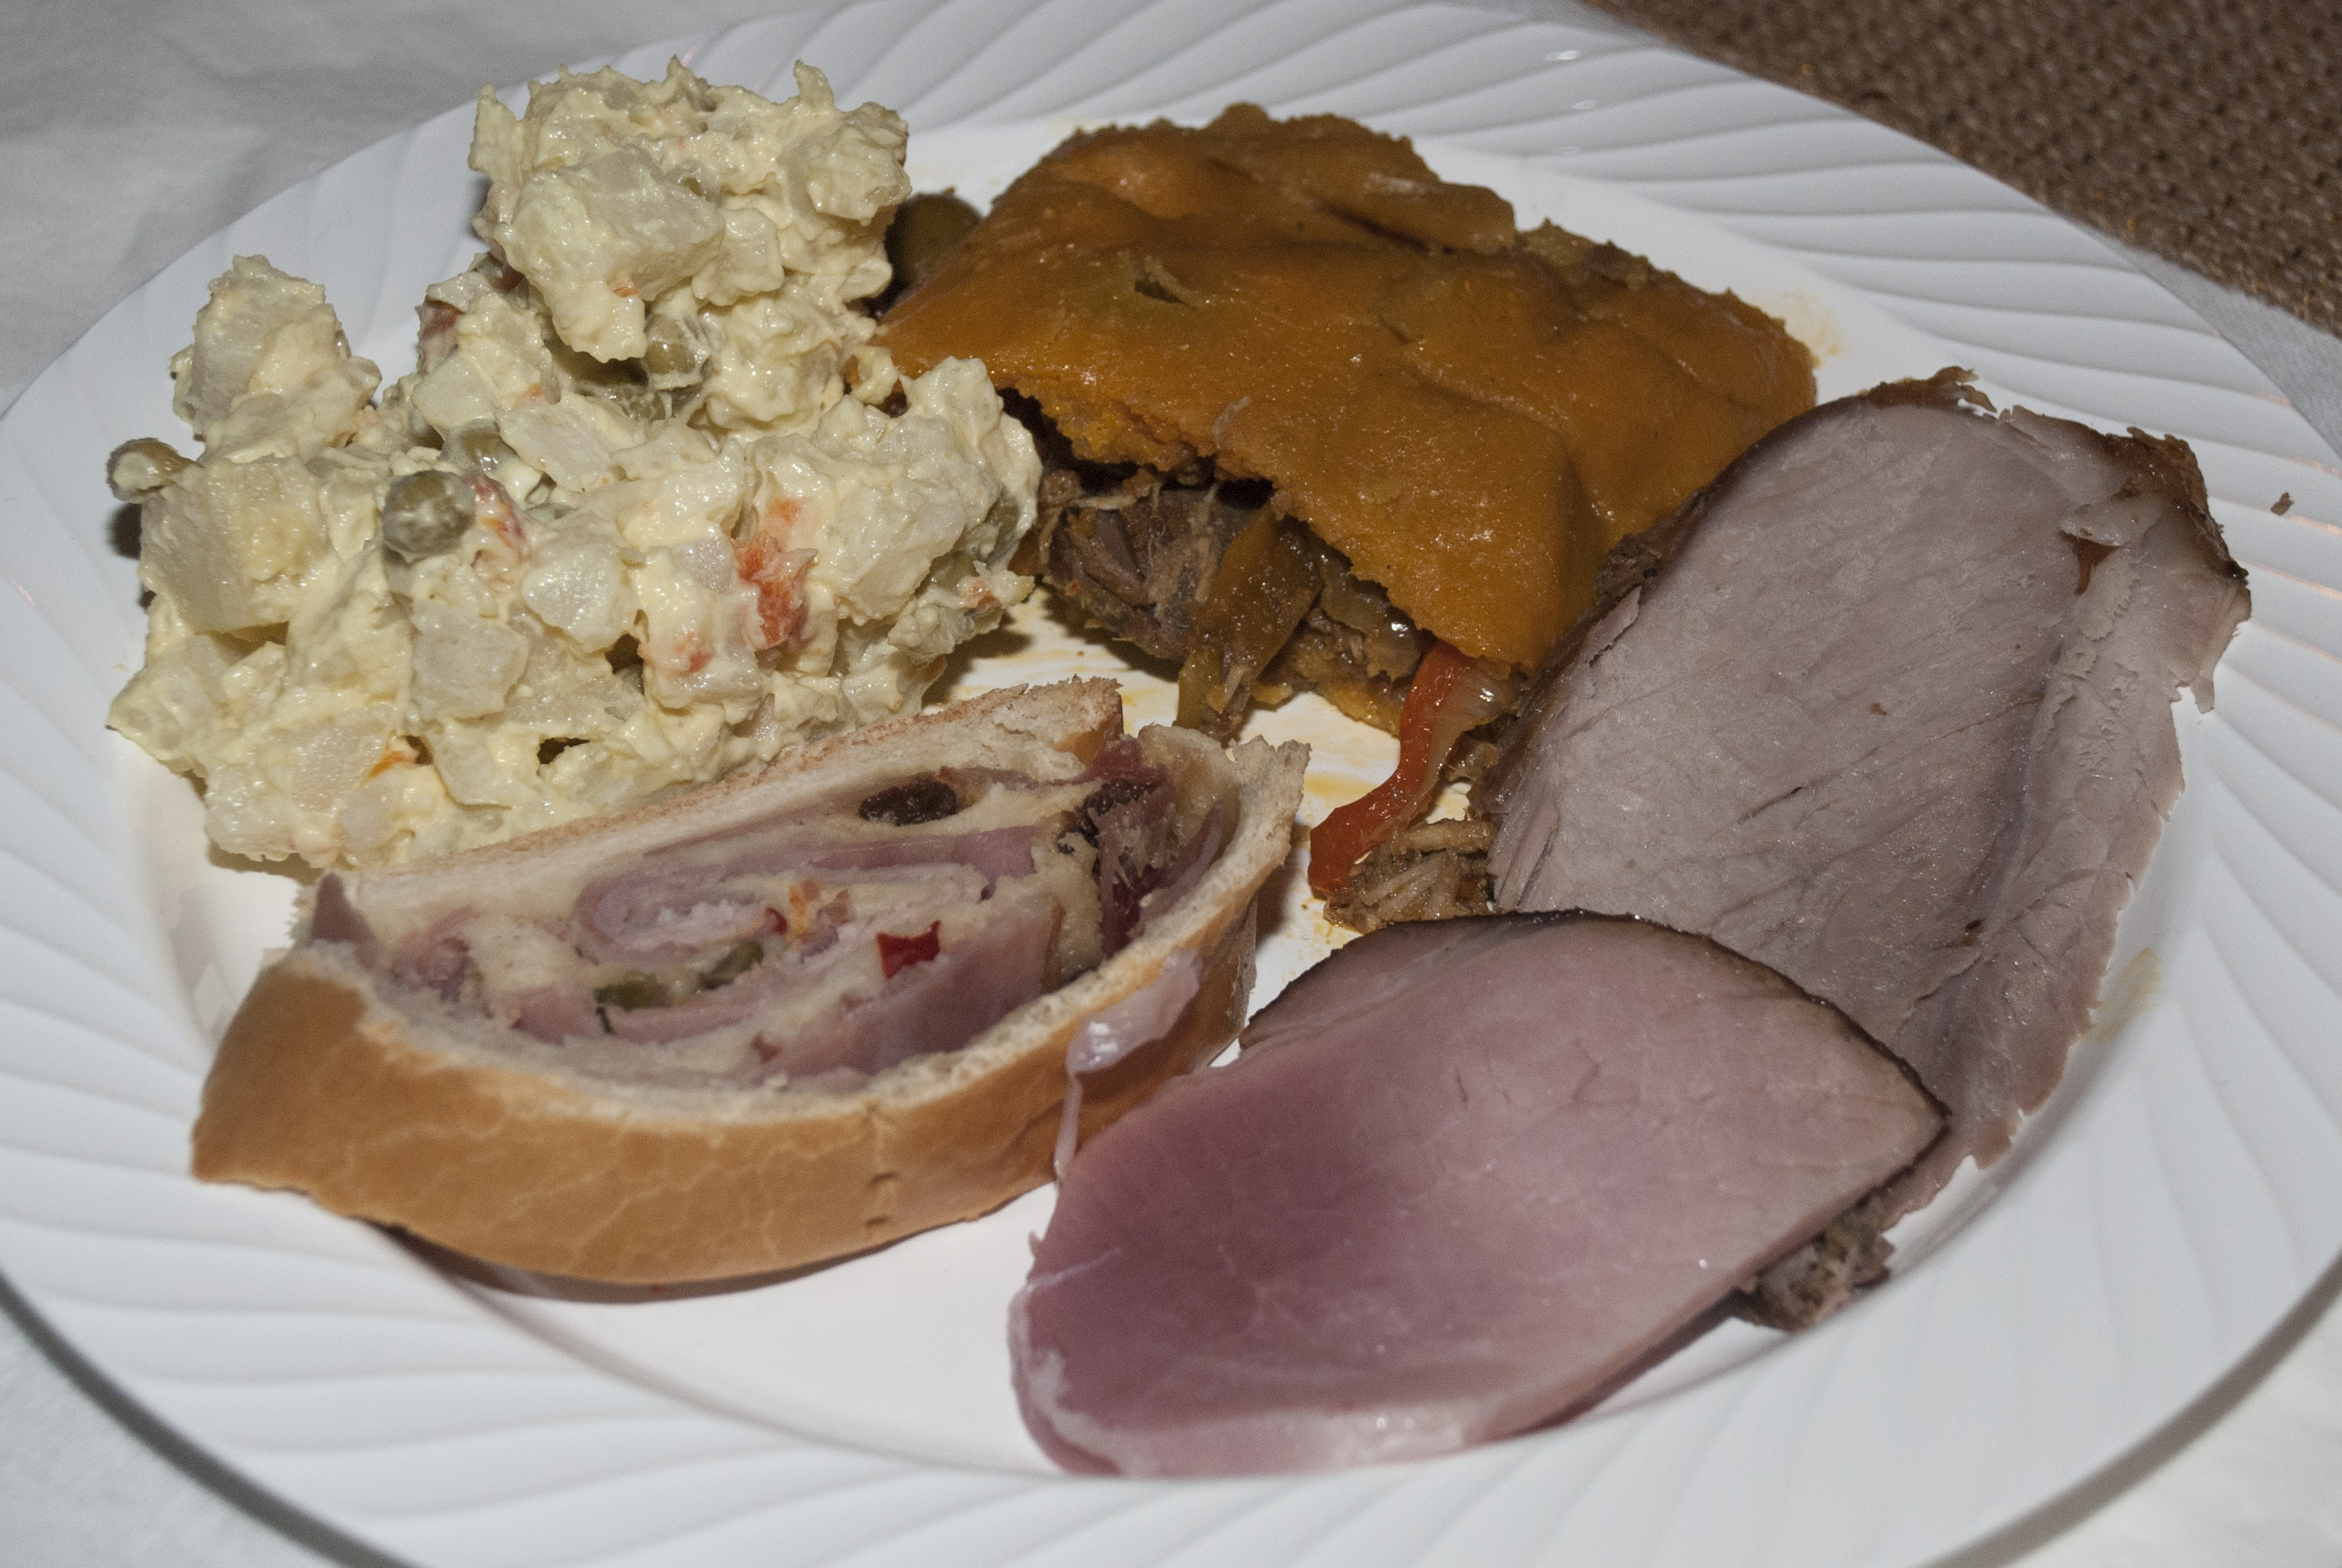
Venezuelan Christmas Dinner Plate
Storing:
1. After you make your entire batch of 50 hallacas and you wish to store them, you can let them all cool down and then keep in the fridge for up to 4 weeks.
2. If you are planning on freezing your hallacas its better to freeze them before they are cooked so that the dough maintains itself better. In this case, you can take them straight from the freezer and then boil them as described above.
3. If you do freeze them after they have already been cooked, you should thaw them to room temperature before you boil them again.
Re-heating:
1. To reheat your hallacas, take them out of the fridge and boil them in enough water to cover all the ones you wish to serve at the moment. Add a little bit of salt to the water. Boil them for 15 to 20 minutes, turning them at the half point.
Bollos de Hallaca:
1. If you run out of some ingredients, or if you already have the number of hallacas you wish to make and still have some leftovers of the ingredients, you can make bollos de hallaca.
2. To do so, simply add all the leftover dough, stew, and garnishes and mix them all together to form the compact dough.
3. You wrap them the same way you did with the hallacas, but add a distinction, like a little bow made of a string of plantain leaf, or a different tying method, or just something distinctive to set them apart from the hallacas. It is basically the same thing, except the bollos are all mixed in together in a uniform mass, and the hallaca has all the stew and ingredients inside and the dough outside serving as a pocket or container.
Bollos de Hallaca
Bollos de Hallaca
Bollos de Hallaca
Bollos de Hallaca

Bollos de Hallaca

Bollos de Hallaca

Bollos de Hallaca
¡Buen Provecho!
¡Gracias A Todos!
This post is very special to me and I will never forget the two days I spend making hallacas with my family, and I dedicate it to everyone involved in making hallacas possible for Christmas 2014:
Nery Russo, Felípe Ramón Ojeda Russo, Ana C. Sandoval de Ojeda, María Gabriela Ojeda de Sucre, Fernando Sucre, Marialejandra Ojeda, Raymond Wolowicz, and even little miss Andrea Sucre.
You were all involved in a small or big way, you all taught me something and you all sacrificed your time and busy schedule so we could all make hallacas together! I love you all!
*This post was supposed to be out by December 24th, but you guys know (by reading this post) how Venezuelan Christmases can be, so it is a little bit late.
Tags: Chicken, Christmas, Christmas Dinner Hallacas, Condiments, Cook, Cooking, Food, Garlic, Hallacas, Hallacas Venezolanas, Harina PAN, Hayacas, Informative, Ingredients, Kitchen, kitchen tool, Kitchen Tools, Onion, Plantain, plantain leaves, Product or Ingredient Substitutions or Translations, Recipes, Venezuela, Venezuelan, Venezuelan Christmas Dinner, Venezuelan Cuisine, Venezuelan Food, Venezuelan Hallacas, Venezuelan Recipe, Venezuelan Recipes


")


")


