Tag Archives: Arepa Recipe

Recipe: Arepitas Dulces | Arepitas de Anís (Sweet Arepas)

2 Nov

Yes! that’s right… yet another post about Arepas.   By now you know why they are the most Venezuelan dish ever!   But these are different than the Arepas I have blogged about before.   These are sweet arepas… Sweet? You say… YES! Sweet.   They are delicious.   These were sort of a treat when I was growing up.   My mom only made them once in a while.   Of course regular arepas were made… regularly.   But these were special arepas!   She would make them for dinner and serve them with “Queso Blanco”, the same one I’ve been saying is good with Arepas, and Empanadas, and anything else you can think of.   These can be great for breakfast as well, or even as a snack, or pretty much whenever you feel like having one.   Like today, I just felt I had to try to make these myself, because I haven’t had them in years.

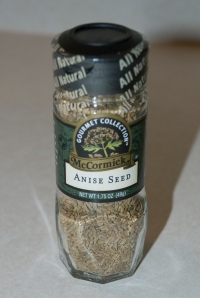
Key Ingredient

Key Ingredient

Now, most of the recipes you see out there for “Arepas Dulces” or “Arepas de Anís” have a very peculiar ingredient that is definitely hard to find.   I am talking about “Papelón”.   Papelón is also known as “Panela”, which is an unrefined whole cane sugar that comes in a solid block.   I didn’t even know what papelón was until I was trying to make these arepas, but since I couldn’t even find it; I called my mom and asked for her recipe, which doesn’t include this mysterious ingredient.   So here it is:

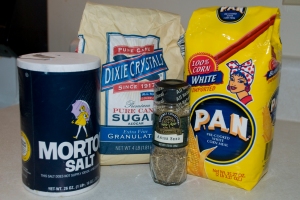
Ingredients for Arepitas Dulces

Ingredients for Arepitas Dulces


What you need:

– 1 Cup Harina PAN
– 1 Cup Water
– 1 ½ Tablespoon Sugar
– ½ Teaspoon Anise Seeds
– ¼ Teaspoon Salt
– Vegetable Oil (Enough for frying)

Preparation:

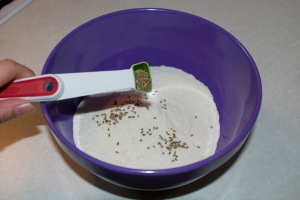
1. Add the Harina PAN into a bowl, add the anise seeds to the Harina PAN a mix with your hand so that the seeds are spread evenly throughout the mix.

Add Anise Seeds to Harina Pan

Add Anise Seeds to Harina Pan

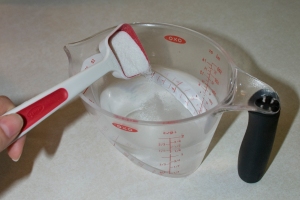
2. Add the water, salt and sugar into a separate bowl, or measuring cup, and stir it, so that the salt and sugar dissolve in the water.   The water should taste sweet, but have sort of a salty kick to it.   I tried it; I just don’t know how to explain it in correct terms… sorry!

Add Sugar and Salt to Water

Add Sugar and Salt to Water

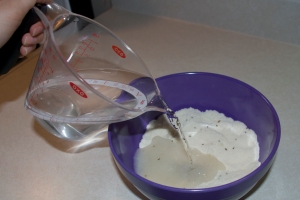
3. Add the water slowly to the mix and start kneading with your hands.

Add Water to Harina Pan

Add Water to Harina Pan

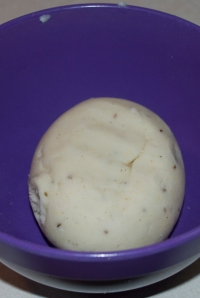
4. Once the dough is ready, let it sit for a minute, while you prepare for the next step.   The dough will be ready when it feels sort of like play dough, but it is firm and doesn’t crack.

Let the Dough Sit

Let the Dough Sit

5. On top of a cutting board, or simply your countertop, lay a large enough sheet of Cling Wrap, and have a bowl, round cookie cutter, or Tupperware of about a 3” diameter, as well as a large flat heavy plate set aside.
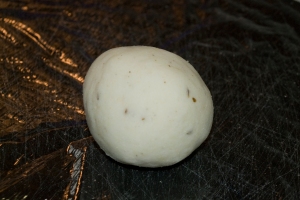
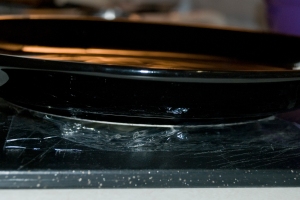
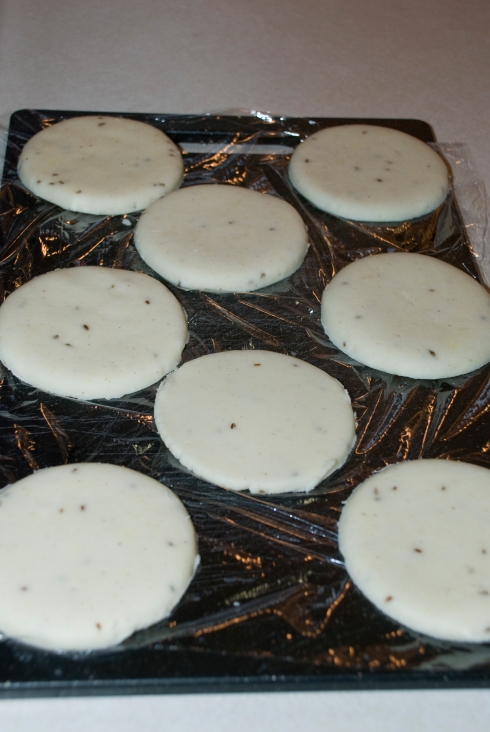
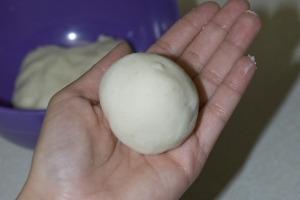
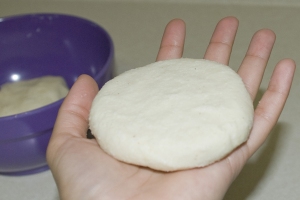
6. You are going to grab a handful of the dough, make a ball, set it in the middle of your cling wrap, cover it with the other half of the cling wrap or even grab another sheet of cling wrap if you wish.   Then press on it a bit with your hand, and then grab the large flat heavy plate and press on it until you flatten it to about ¼ of an inch thick.   Then with the cookie cutter or bowl cut out a 3” diameter circle from the dough.   Uncover the cling wrap and remove the circle and set aside (on top of another sheet of cling wrap) to fry them when they are all ready.   Remove the excess dough from the cling wrap and put back in your bowl of dough.   Continue to make these disks until you have no more dough left.

Ball of Dough

Ball of Dough

Flatten with Heavy Plate

Flatten with Heavy Plate

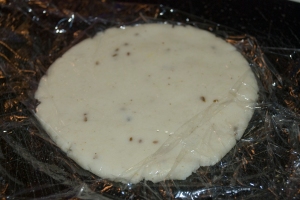
Disk of Dough

Disk of Dough

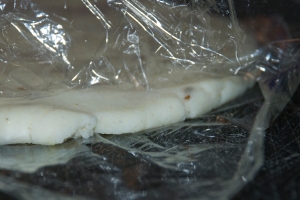
About 1/4 of an Inch Thick

About 1/4 of an Inch Thick

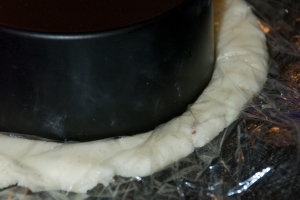
Cut Out Smaller Disk

Cut Out Smaller Disk

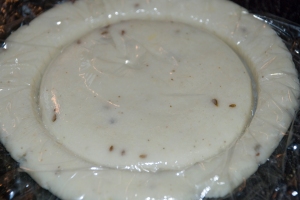
About 3" Diameter

About 3" Diameter

Remember They Should Be Thin

Remember They Should Be Thin

Cut Out As Many As You Can

Cut Out As Many As You Can

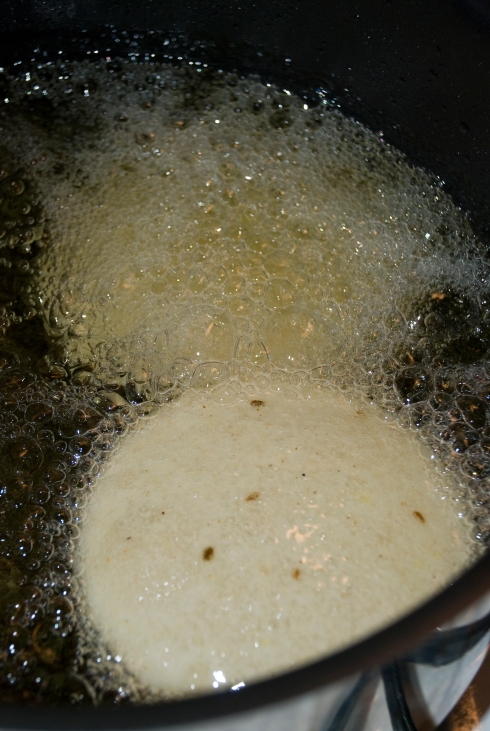
7. Heat up the frying oil and begin to fry your arepas.   Not too many at a time, just as many as fit in your frying pot, deep fryer, or Dutch oven, as you can without them touching each other.   But there should be enough oil to cover them completely.

Fry Until Golden Brown

Fry Until Golden Brown

8. As they fry, they will sit at the bottom, but quickly rise to the top.   They will also start to bubble, as in they will look like they are puffed up.   The skin should be crispy and separate from the dough inside.   When one side has done this, and started to brown, flip them.
9. They will be ready when they are brown/golden on both sides.
10. Lay on paper towels to remove the excess oil.
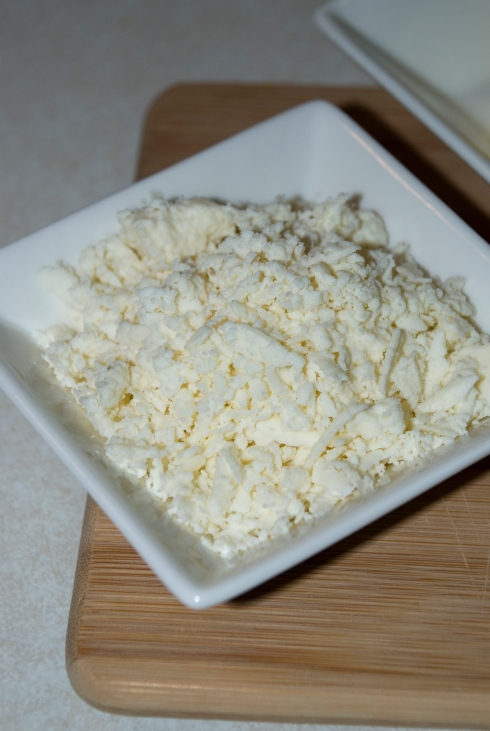
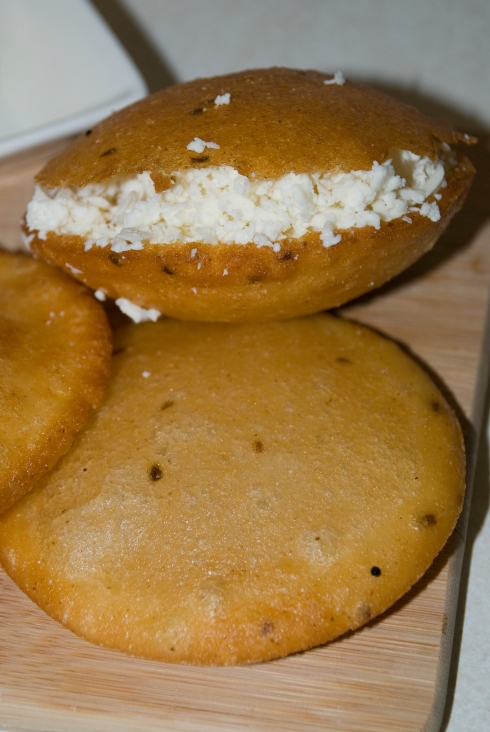
11. Serve hot with Queso Blanco (and a little butter if you wish).

Serve with Queso Blanco

Serve with Queso Blanco

12. To eat them, delicately using a knife, separate the skin on the side which is most puffed-up and stuff with cheese, add butter to the inside dough if you wish.

Venezuelan Arepitas Dulces / Arepitas de Anís

Venezuelan Arepitas Dulces / Arepitas de Anís

*Makes about 8 arepas of 3” diameter and ¼ of an inch thick (uncooked).

¡Buen Provecho!

More Delicious Arepa Fillings (Rellenos)

7 Sep

As it turns out, I actually needed more than 4 posts to cover everything there is to know about our delicious Venezuelan Arepas.   So here are some more ideas for delicious arepa fillings. Some of them even have unique names that sort of describe the filling or stuffing in one way or another.   This is probably because we Venezuelans would take too long at an Arepera (Arepa Restaurant) ordering an arepa, trying to decide which of the 20 different fillings to get inside of it.   So then, if we say “Una de Pabellón”, de Arepera knows what we mean.

De Pabellón 

De Pabellón

De Pabellón


The “Pabellón”, it the most traditional dish after the Arepas.   Somehow, someone decided to combine the two most traditional Venezuelan dishes into one, making an arepa stuffed with the second dish, Pabellón.   Pabellón is a word for “pavilion”, but it can also mean the national flag, an ensign, or even a tent.   The Pabellón Criollo, the traditional Venezuelan dish is made up of shredded (or pulled) beef, black beans, rice and fried plantains, as the most basic version of it.   Some people, depending on the part of the country, also add a plain arepa on the side, some avocadoes, some delicious grated white cheese and even a fried egg.   Of course that would be way to much stuff to put inside an Arepa, so the basic Arepa de Pabellón simply includes shredded beef, black beans, and fried plantains.

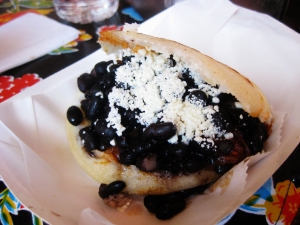
La Dominó
Just like the traditional game of domino’s black and white chips, this arepa has a black and white stuffing or filling.   The Dominó Arepa includes black beans and grated white cheese.

La Dominó

La Dominó

La Viuda (The Widow)
This arepa is a plain and empty arepa.   Usually served as a “side” to other dishes like the Pabellón Criollo, or a delicious fried egg breakfast.

La Pelúa (The Hairy One)
Don’t panic! This arepa doesn’t have any hair.   The filling on this Arepa consists of shredded or pulled beef and Gouda cheese.

La Catira (The Blond One)
This Arepa has more fun! The filling is made up of shredded chicken and Gouda cheese.

La Sifrina (The Snobby One)
This Arepa is too good for you! The filling is the same as the Reinapepiada, but it also has Gouda cheese.

La Rumbera (The Party One)
This arepa is for the 3AM after party munchies.   The filling is Pork and Gouda cheese.

La Rumbera

La Rumbera

La Musiua (The “Monsier” One)
This arepa is a burger.   Literally.   It has a burger patty, tomatoes, onions and lettuce, minus the burger buns, inside an Arepa.   I have never had this myself, but it just doesn’t sound right.

La Bomba (The Bomb)
This arepa IS the BOMB! Filled with Perico and Black Beans.

La Pata-Pata
Filled with black beans, Gouda cheese and avocado

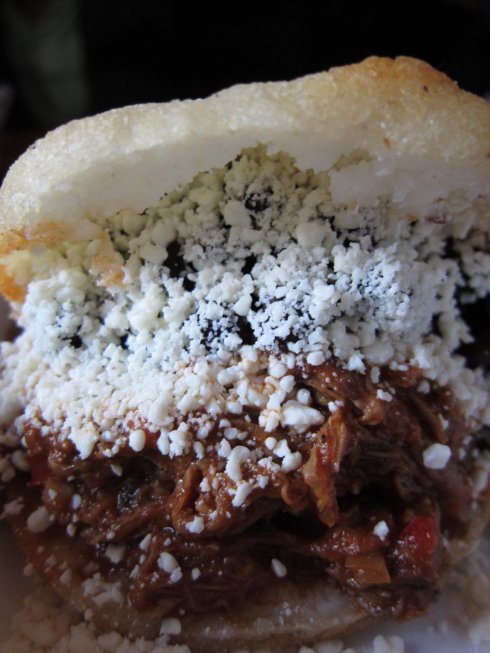
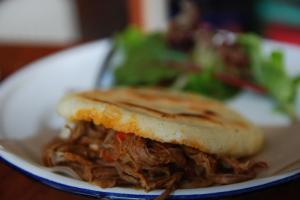
De Carne Mechada (Pulled/Shredded Beef)
Filled with delicious shredded beef, just like the one served on the Pabellón dish. 

De Carne Mechada

De Carne Mechada

De Guasacaca
Stuffed with Guasacaca and white cheese.

De Carne Molida
Just like the name says it; this one is stuffed with ground beef.

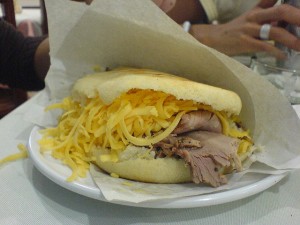
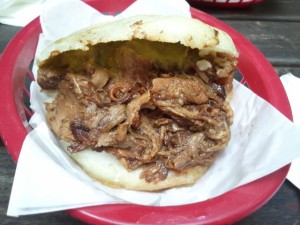
De Pernil
Just like the name says it; this one is stuffed with roast pork.

De Pernil

De Pernil

De Jamón y Queso
Just like the name says it; this one is stuffed with ham and cheese.

De Pollo
Just like the name says it; this one is stuffed with pulled chicken.

De Chorizo
Just like the name says it; this one is stuffed with Spanish Sausage or Chorizo.

De Cazón
Just like the name says it, this one is stuffed with Cazón… what is cazón? Cazón is a small shark, and this is one of my favorites because it is a popular one in the town where I was born, Puerto La Cruz.

Arepa Filling Faux-Pau
Do not by any means use any of these fillings in front of a Venezuelan:

– Peanut butter
– Jelly
– Jam
– Ketchup
– BBQ sauce

¡Buen Provecho!
*Thank you to Flickr photographers who share their photos with Creative Commons licenses.

Recipe: Venezuelan Arepas

13 Jul

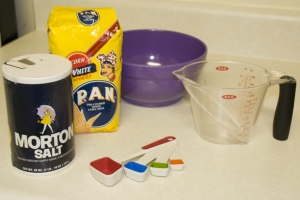
Arepas are very easy to prepare.   First, you will need a few basic things.

– Mixing Bowl

Basic Ingredients and Utensils

Basic Ingredients and Utensils

– Measuring Spoons

– Measuring Cup

– 1 cup Harina PAN (Discussed here).

– 1 cup lukewarm water

– ½ teaspoon salt

Next, you will prepare the dough.

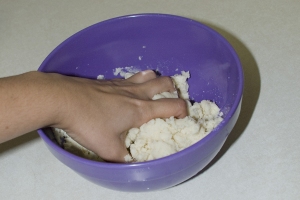
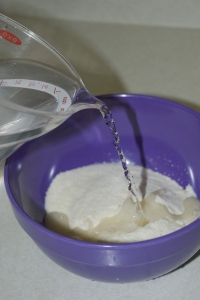
Add the Harina PAN and the salt into the mixing bowl and mix together using your hands.   Then, little by little add the water and knead and mix the dough using your hands.   You must knead the dough until the mix is soft, firm and has a uniform consistency without any grains.

Add Water, Salt and Harina PAN

Add Water, Salt and Harina PAN

Another way if doing it is to first add the water and the salt into the mixing bowl and stir that together, and then proceed to add the Harina PAN little by little.

It is up to you to decide which method to use.   I usually had preferred to mix the water and the salt first, so to make the water salty and spread the saltiness evenly through the dough.   However, I found that using all the water first usually resulted in having to add more Harina PAN to the mix latter in order to get the right consistency.

Therefore I think the best way to go about it is to add the salt to the water in the measuring cup, and have the Harina PAN in the mixing bowl.   That way you add as much water as needed, but you also distribute the salt evenly and then proceed to knead.

Knead Dough

Knead Dough

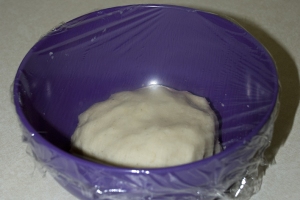
Once the dough is ready you let it sit for 5 minutes.

Let it sit

Let it sit

Now you are ready to form the arepas.   You should grab a handful of the dough, and with both hands make a nice sized ball of about 2” to 2.5” in diameter.   Then you use one hand to hold the ball and the other to flatten it ever so slightly with your fingers, turning it around so you flatten it evenly.   The thickness is really up to you and up to the type of arepa you are going to prepare.   I usually flatten it to about 0.5” or 0.75” thick.   And if you are using a “Tostiarepa” you don’t event have to worry about flatting it, because it will do it for you.   Now that you have the basics, you can decide to cook your arepa in several different ways.

Make Balls

Make Balls

Flatten

Flatten

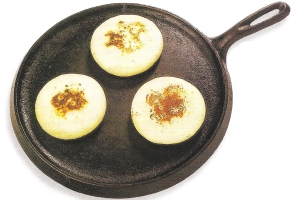
Arepas Asadas

This is probably the most common way to cook an arepa.   I believe the translation would be something like roasted or grilled Arepas.   The best way to do this is with what we call a “BUDARE”, which is basically a cast iron round griddle (think Lodge Logic).   You would first seal them at a higher temperature and then cook the inside at a medium temperature flipping them over constantly.

Arepas Asadas

Arepas Asadas

Arepas Fritas

These are probably the most delicious ones, because they are Fried arepas, and lets face it, anything fried tastes 10 times better.   You would simply heat up about 2 cups of oil at medium heat in a pan, or better yet, in a fryer or Dutch oven.   After the oil is hot enough you would fry the arepas for about 10 minutes or until they are golden on both sides.

If you wish to fry your arepas, I recommend that you flatten them further, to about 0.25” thick, and also its tradition to open a hole with your finger in the middle of the fried arepas (don’t ask me why).

Usually, in Venezuelan restaurants, instead of serving bread and butter while you wait for your food to arrive, we serve “arepitas con nata”.   These are small little about 1.5” in diameter (cooked) fried arepas served directly from the fryer with either butter or delicious “nata”, which is hard to explain, because I really never though of it.   It is sort of like a sour cream, but its cheesier and buttery, like cream cheesy but with a more liquid consistency.

Arepas Horneadas

These are baked arepas.   They usually have to be “sealed” using the Arepas Asadas technique on a cast iron round griddle for about 5 minutes on each side on high heat.   Then, they are baked in the oven at about 180º C until they start to puff a bit and the crust starts to come up a bit from the inside dough, which is usually about 20 to 30 minutes.

TostiArepa

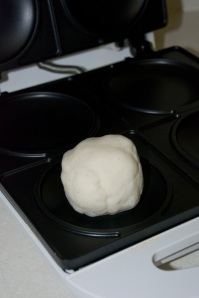
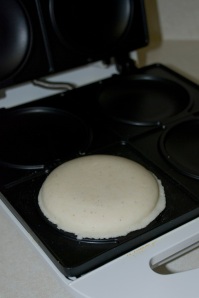
The arepa toaster will basically toast the arepas in about 7 minutes.   All you have to do is place a large enough ball of dough on each of the compartments in the toaster and press the cover down.   You should open it back up and check that you had enough dough, or that you didn’t have too much dough.   If you had too much just remove the excess pressed out with your fingers.   If you had too little add more dough and reshape the ball.   You can also add a bit of butter to each compartment before you put the dough in.   I think the toaster is non-stick, but then the crust will taste like butter.

Tostiarepa: Make Balls

Tostiarepa: Make Balls

Flattened Arepa in the Tostiarepa

Flattened Arepa in the Tostiarepa

Now you are ready to enjoy your arepa with any filling you want.   I will cover fillings in the next post, but for now you can enjoy them with butter, your favorite type of cheese and any kind of sandwich meat.

Tips

Arepas become hardened in only a few hours, so you should cook them when you want to eat them.   Also, if they are already hardened, you can damp a paper towel or two in water, and cover the arepa and then stick it in the microwave for about 30 seconds or so.   You can however prepare the dough and refrigerate it beforehand and then proceed to cook them when you are ready to eat them.   You can also refrigerate leftover dough for about 5 days, just make sure you cover it with a damp cloth and spray with water or even a little bit of oil.   You can also prepare baked arepas by sealing them using the griddle first, then freezing them, and simply baking them for 20 to 30 minutes when you are ready to eat them.

Some people add different things to their dough before they cook the arepa to add flavor to the dough.   I have heard and seen a lot of different additions including milk, oil, butter, cheese, eggs, and even honey.   They all have a different taste, but I have to say I have NEVER tried an Arepa I didn’t like and I have NEVER met anyone who didn’t like Arepas 🙂

Check out Arepas on Chef John’s Blog and Also on Bobby Flay Throwdown

¡Buen Provecho!
NEW!!! – Download the One-Page Recipe Printout [Recipe: Venezuelan Arepas PDF Printout