Expo Sentir Venezuela 2015
Last week I learned from an acquaintance about a Venezuelan event going on last weekend. She was looking to borrow a falda llanera, which is a typical skirt used in the folkloric Joropo dances in Venezuela. I was curious as to why she needed to borrow such a specific item. She said she was attending a Venezuelan event that same weekend, and that I should go to this event as well. I was surprised that I didn’t hear anything about this event prior to my friend mentioning it to me, but I wasn’t surprised that she knew about it, after all, I can always count on her to know all the Venezuelan happenings in South Florida.
My decision to attend the event was kind of a serendipitous series of events, which started last year around July. You see… I listen to a Venezuelan radio station almost all day long at work. They are one of the very few stations left that report news that the government attempts to hide from the masses; Radio Caracas Radio. In one of their shows, De Todo Un Poco, they have a section for Venezuelan entrepreneurs and as I listened to them describe the artwork of a young Venezuelan artist, I had to Google him, and I found his online blog. I saw his artwork featuring the Venezuelan flag, and immediately fell in love with it. I even contacted him via twitter to ask where I could get his artwork, but of course, it was only available in Venezuela. A couple of months ago, my grandparents mentioned they would be flying to the US to spend the summer here, I immediately wrote them an e-mail with a few encarguitos, meaning I placed an ‘order’ for a few Venezuelan products that they usually bring to our entire family from Venezuela, to Miami. Within my order I asked if they could find this artist and his artwork, because I wanted to own an illustration for my home. Fast-forward to last week, I went to this event’s website, after hearing about it, and realized that the artwork they used for their mascot, was something I recognized immediately as a piece by that same Venezuelan artist. As it turns out, he created that piece specifically for the event mascot; Chamo. I immediately contacted the artist again via twitter, and asked if by any chance he was planning to attend the event, and if I would be able to purchase one of his pieces there, and he replied immediately that he was in fact attending the event, and he would have his own booth there, with all of his pieces available for purchasing and even a few other surprises. Of course, right then and there, I decided couldn’t miss it.
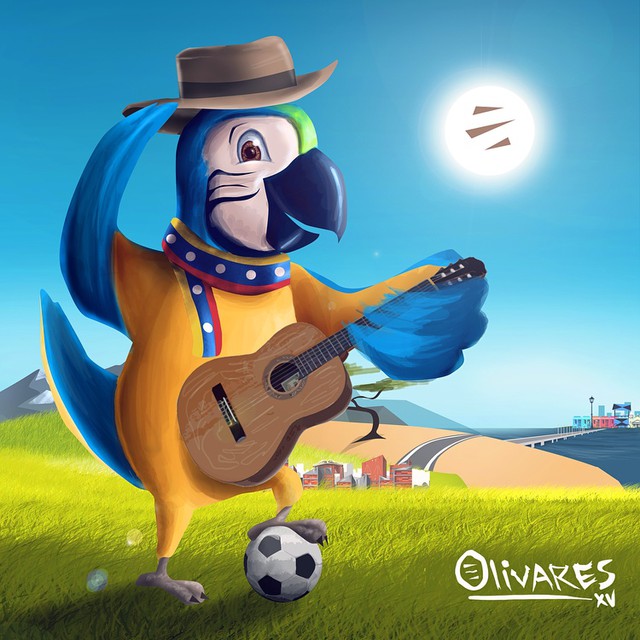
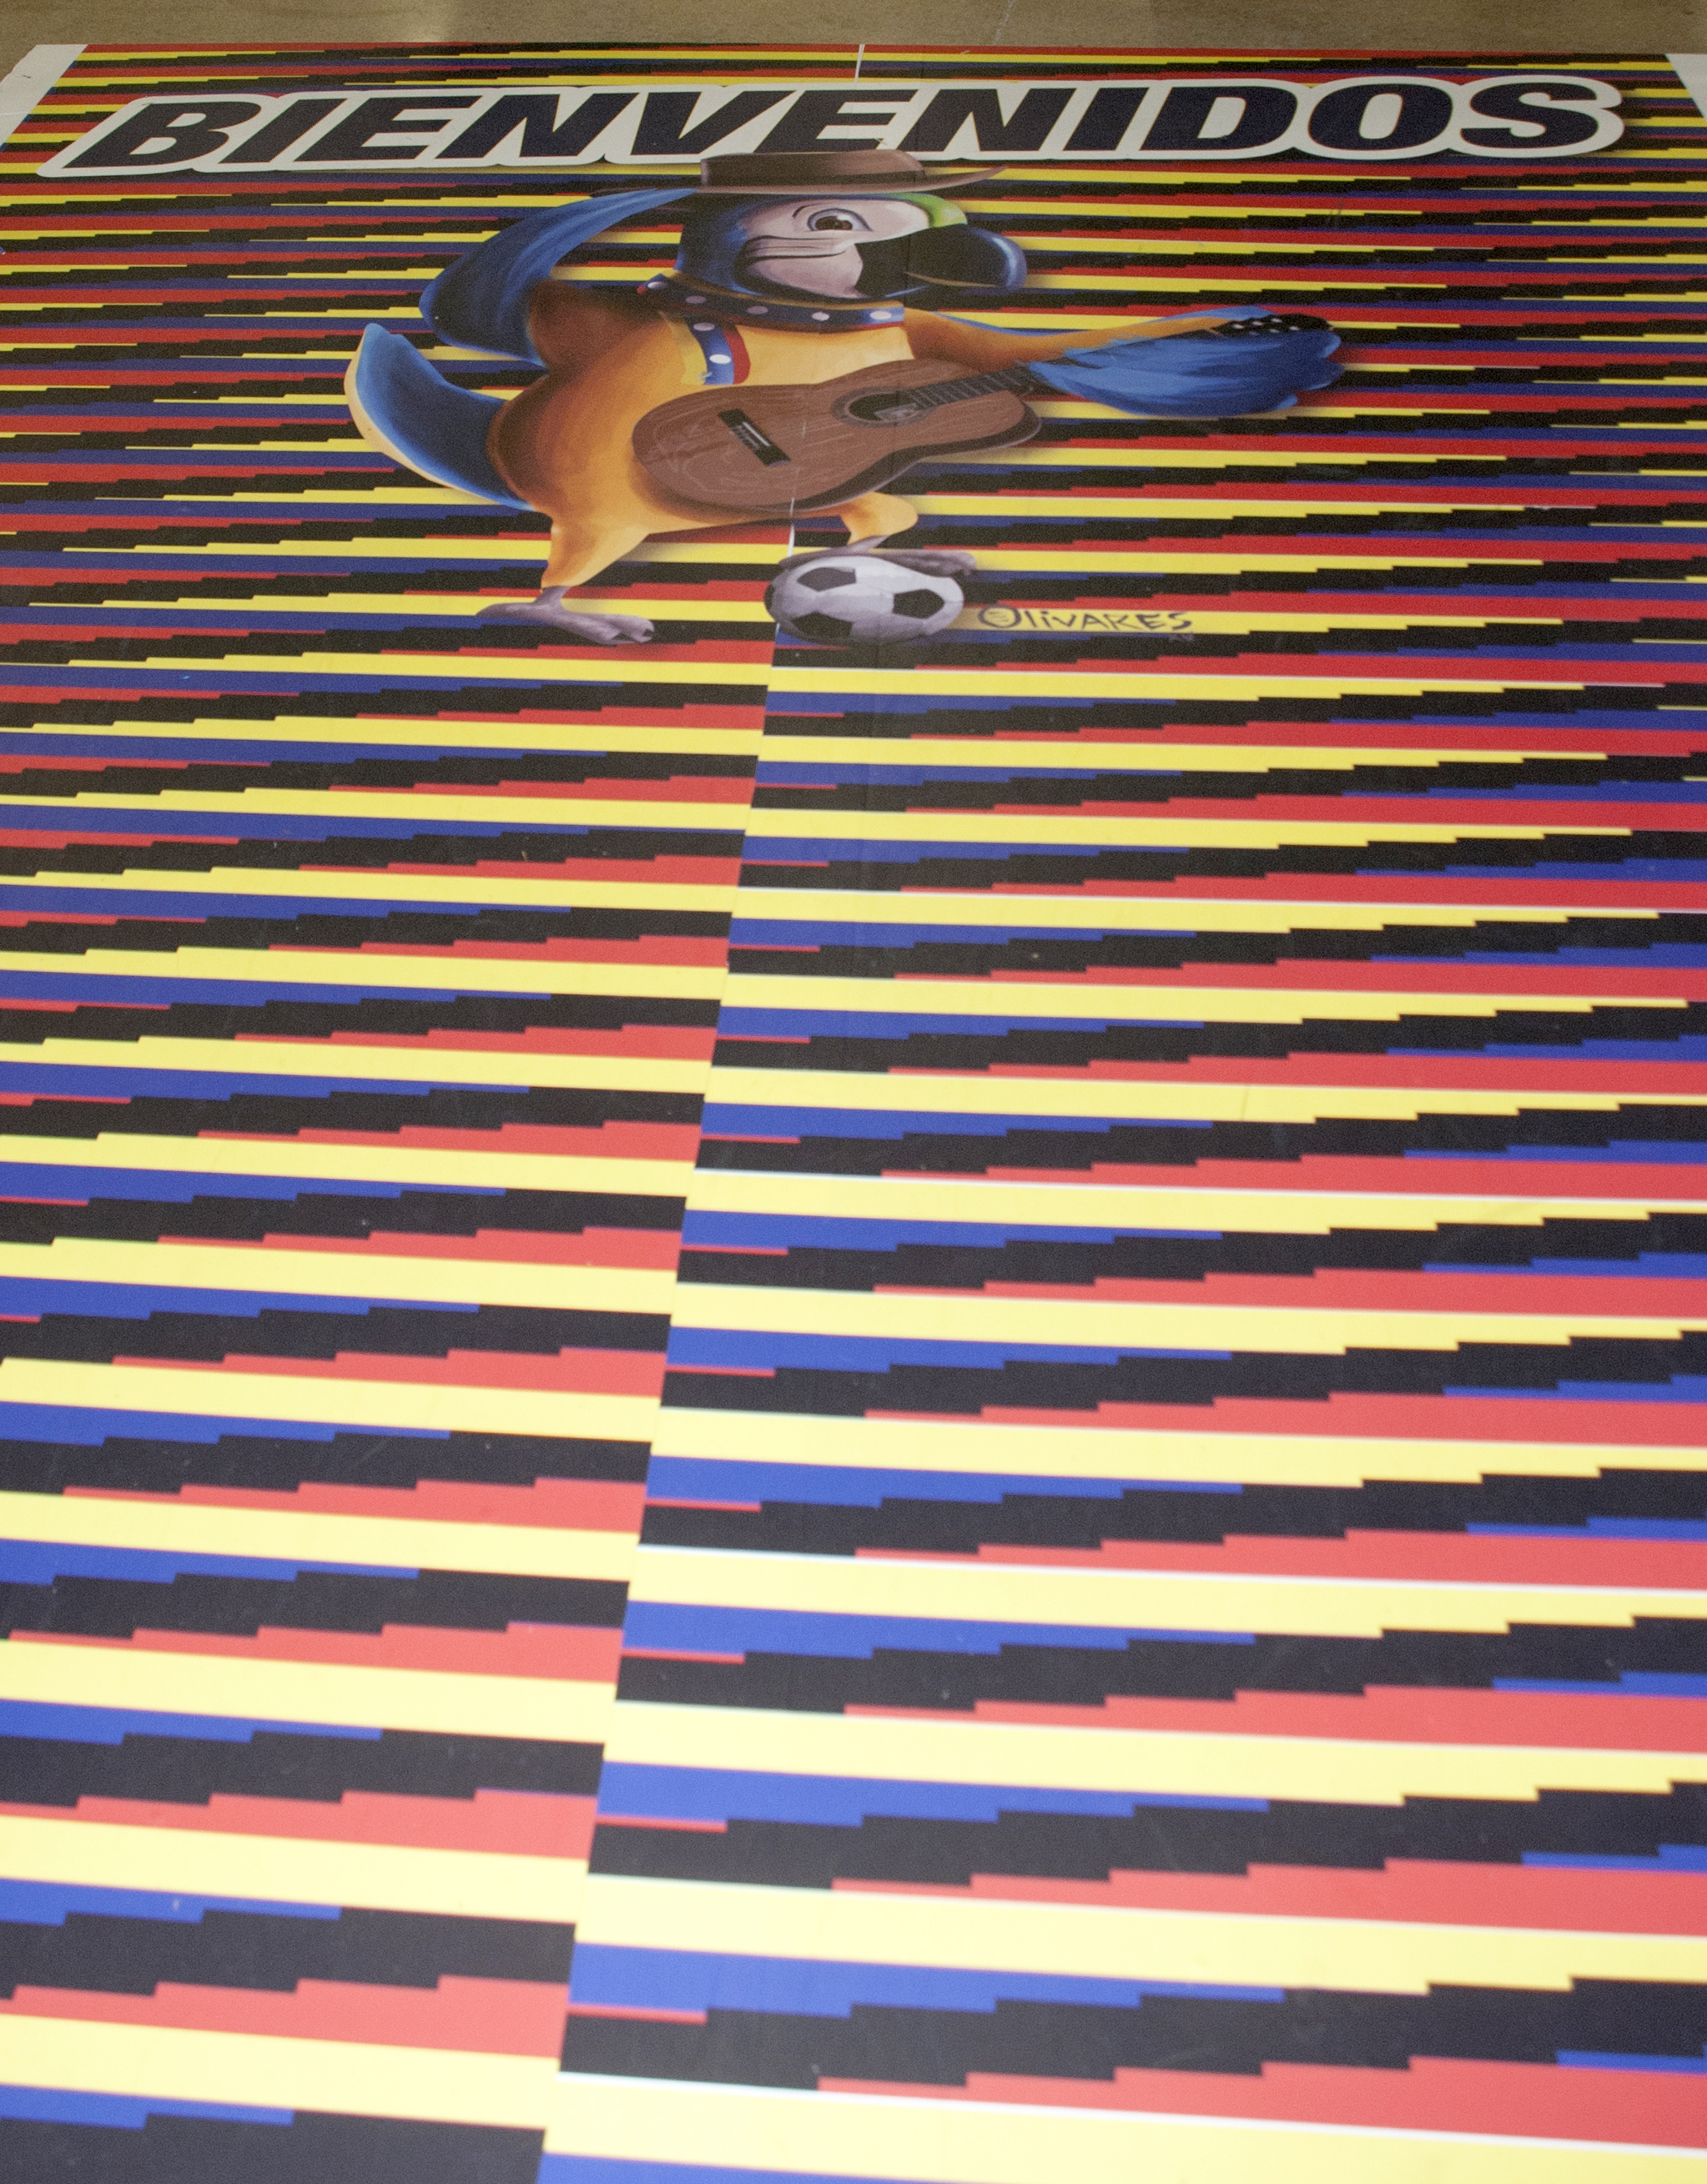
Expo Sentir Venezuela 2015 Mascot
The event was called Sentir Venezuela, or Expo Sentir Venezuela, which translates into Feel Venezuela, or Expo Feel Venezuela. The event took place at the Miami Airport Convention Center from Friday, April 24th in the afternoon through Sunday April 26th. Since this was a last minute weekend plan, we decided to attend on Sunday. Although, if they have this event again, I would most likely plan to attend during Saturday, since it seems that was the busiest day, with the most surprises and presentations. The tickets were $10 if you bought them online, or $12 if you bought them there. It was advertised as “A unique and vivacious event celebrating the eternal Venezuela, the Great Nation that Simon Bolivar dreamed of; one of brotherhood, pride, and beauty. Let’s celebrate its music and its joy, it’s unique cuisine and folklore, its wonderful artistic expressions. Let’s celebrate together with “el Bravo Pueblo!” LET’S SENTIR VENEZUELA!”.
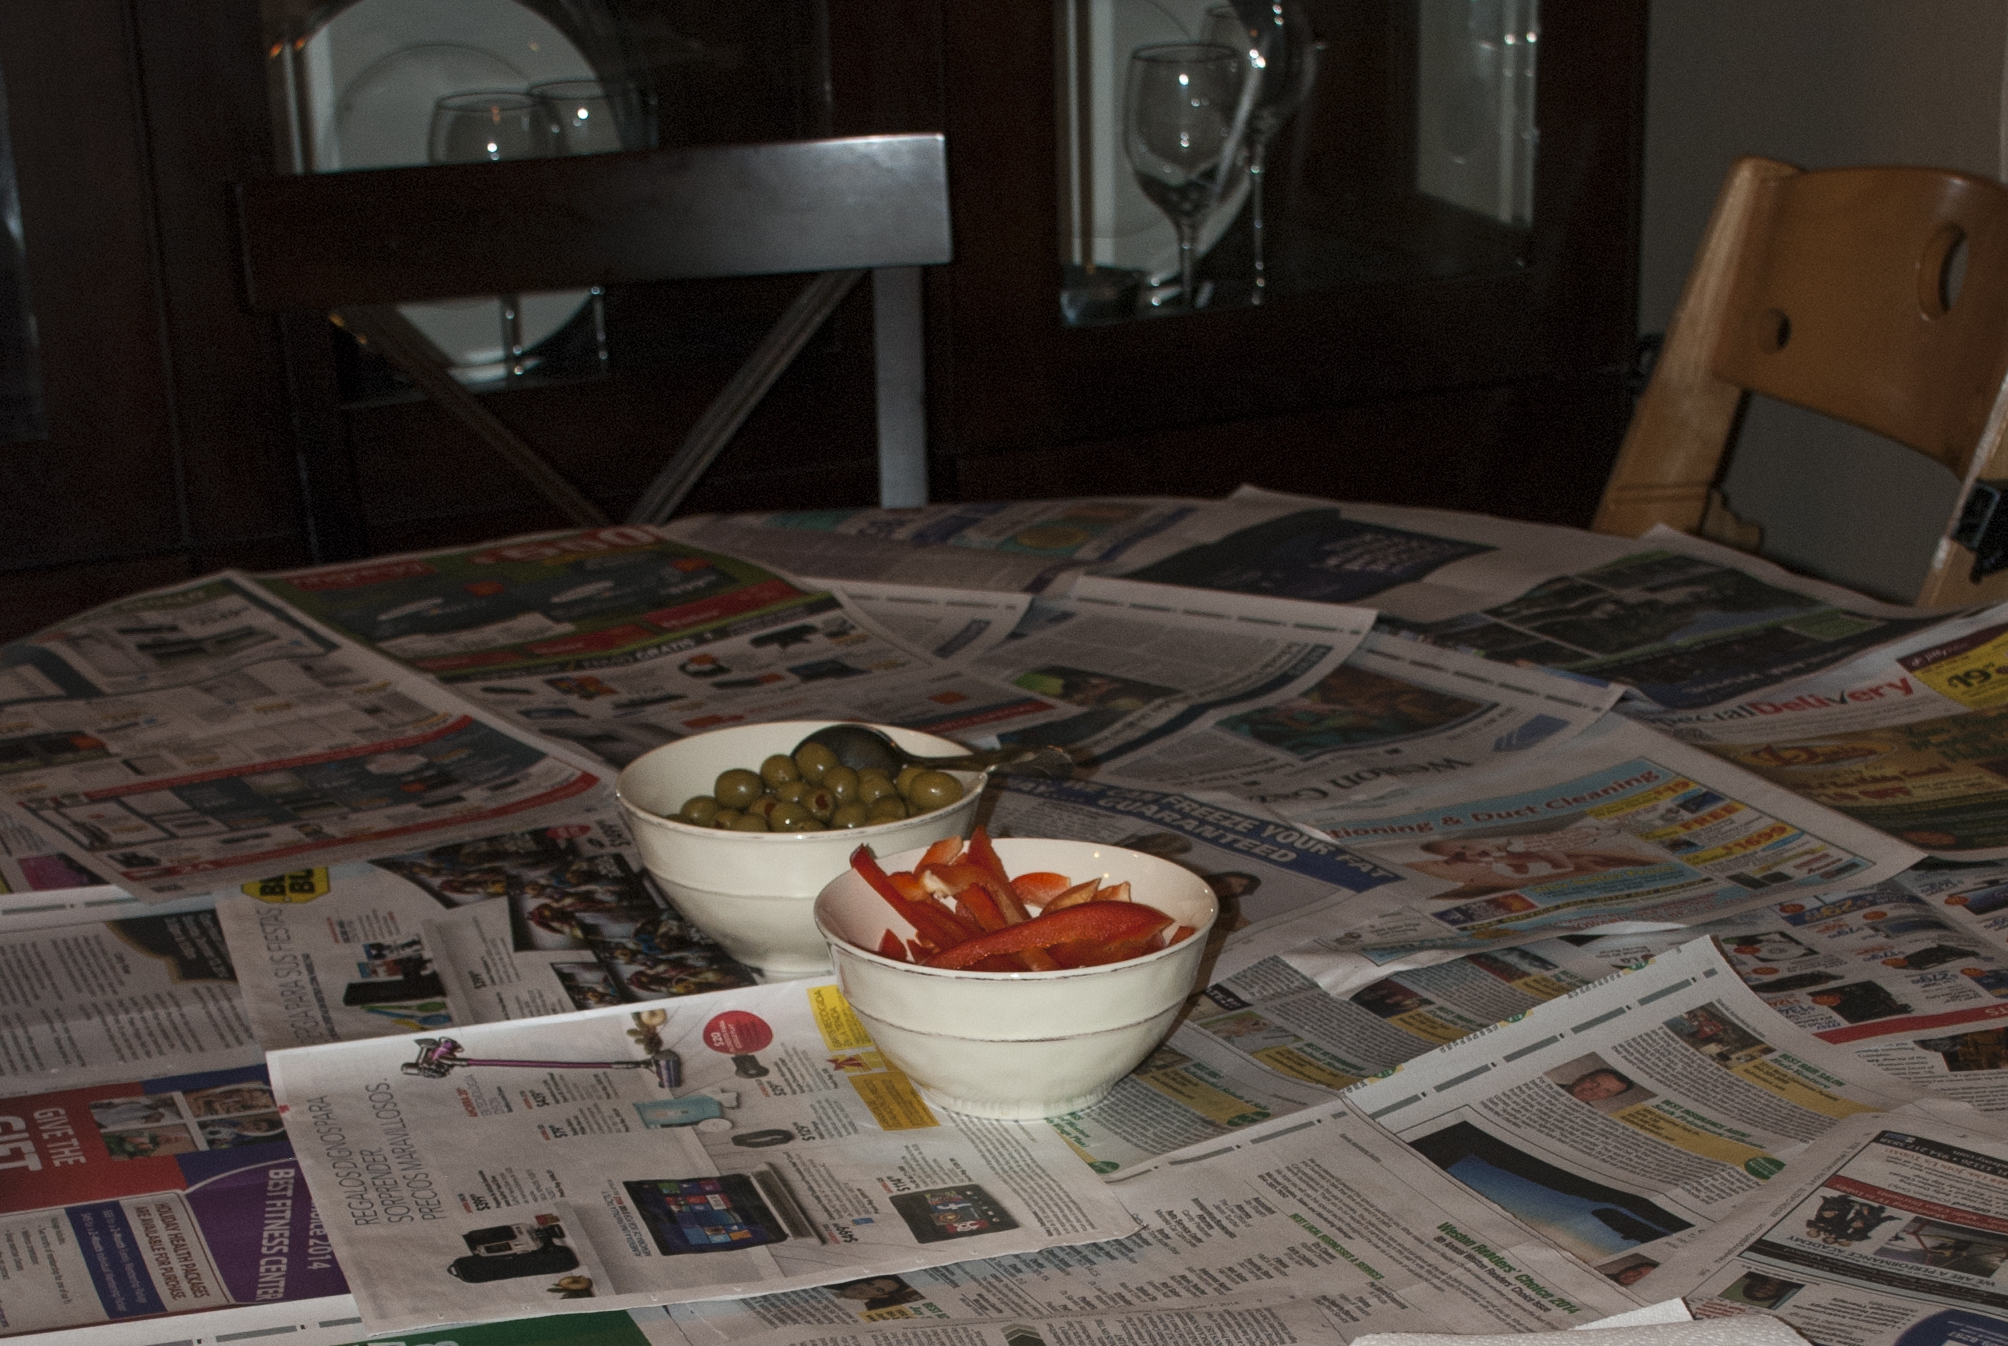
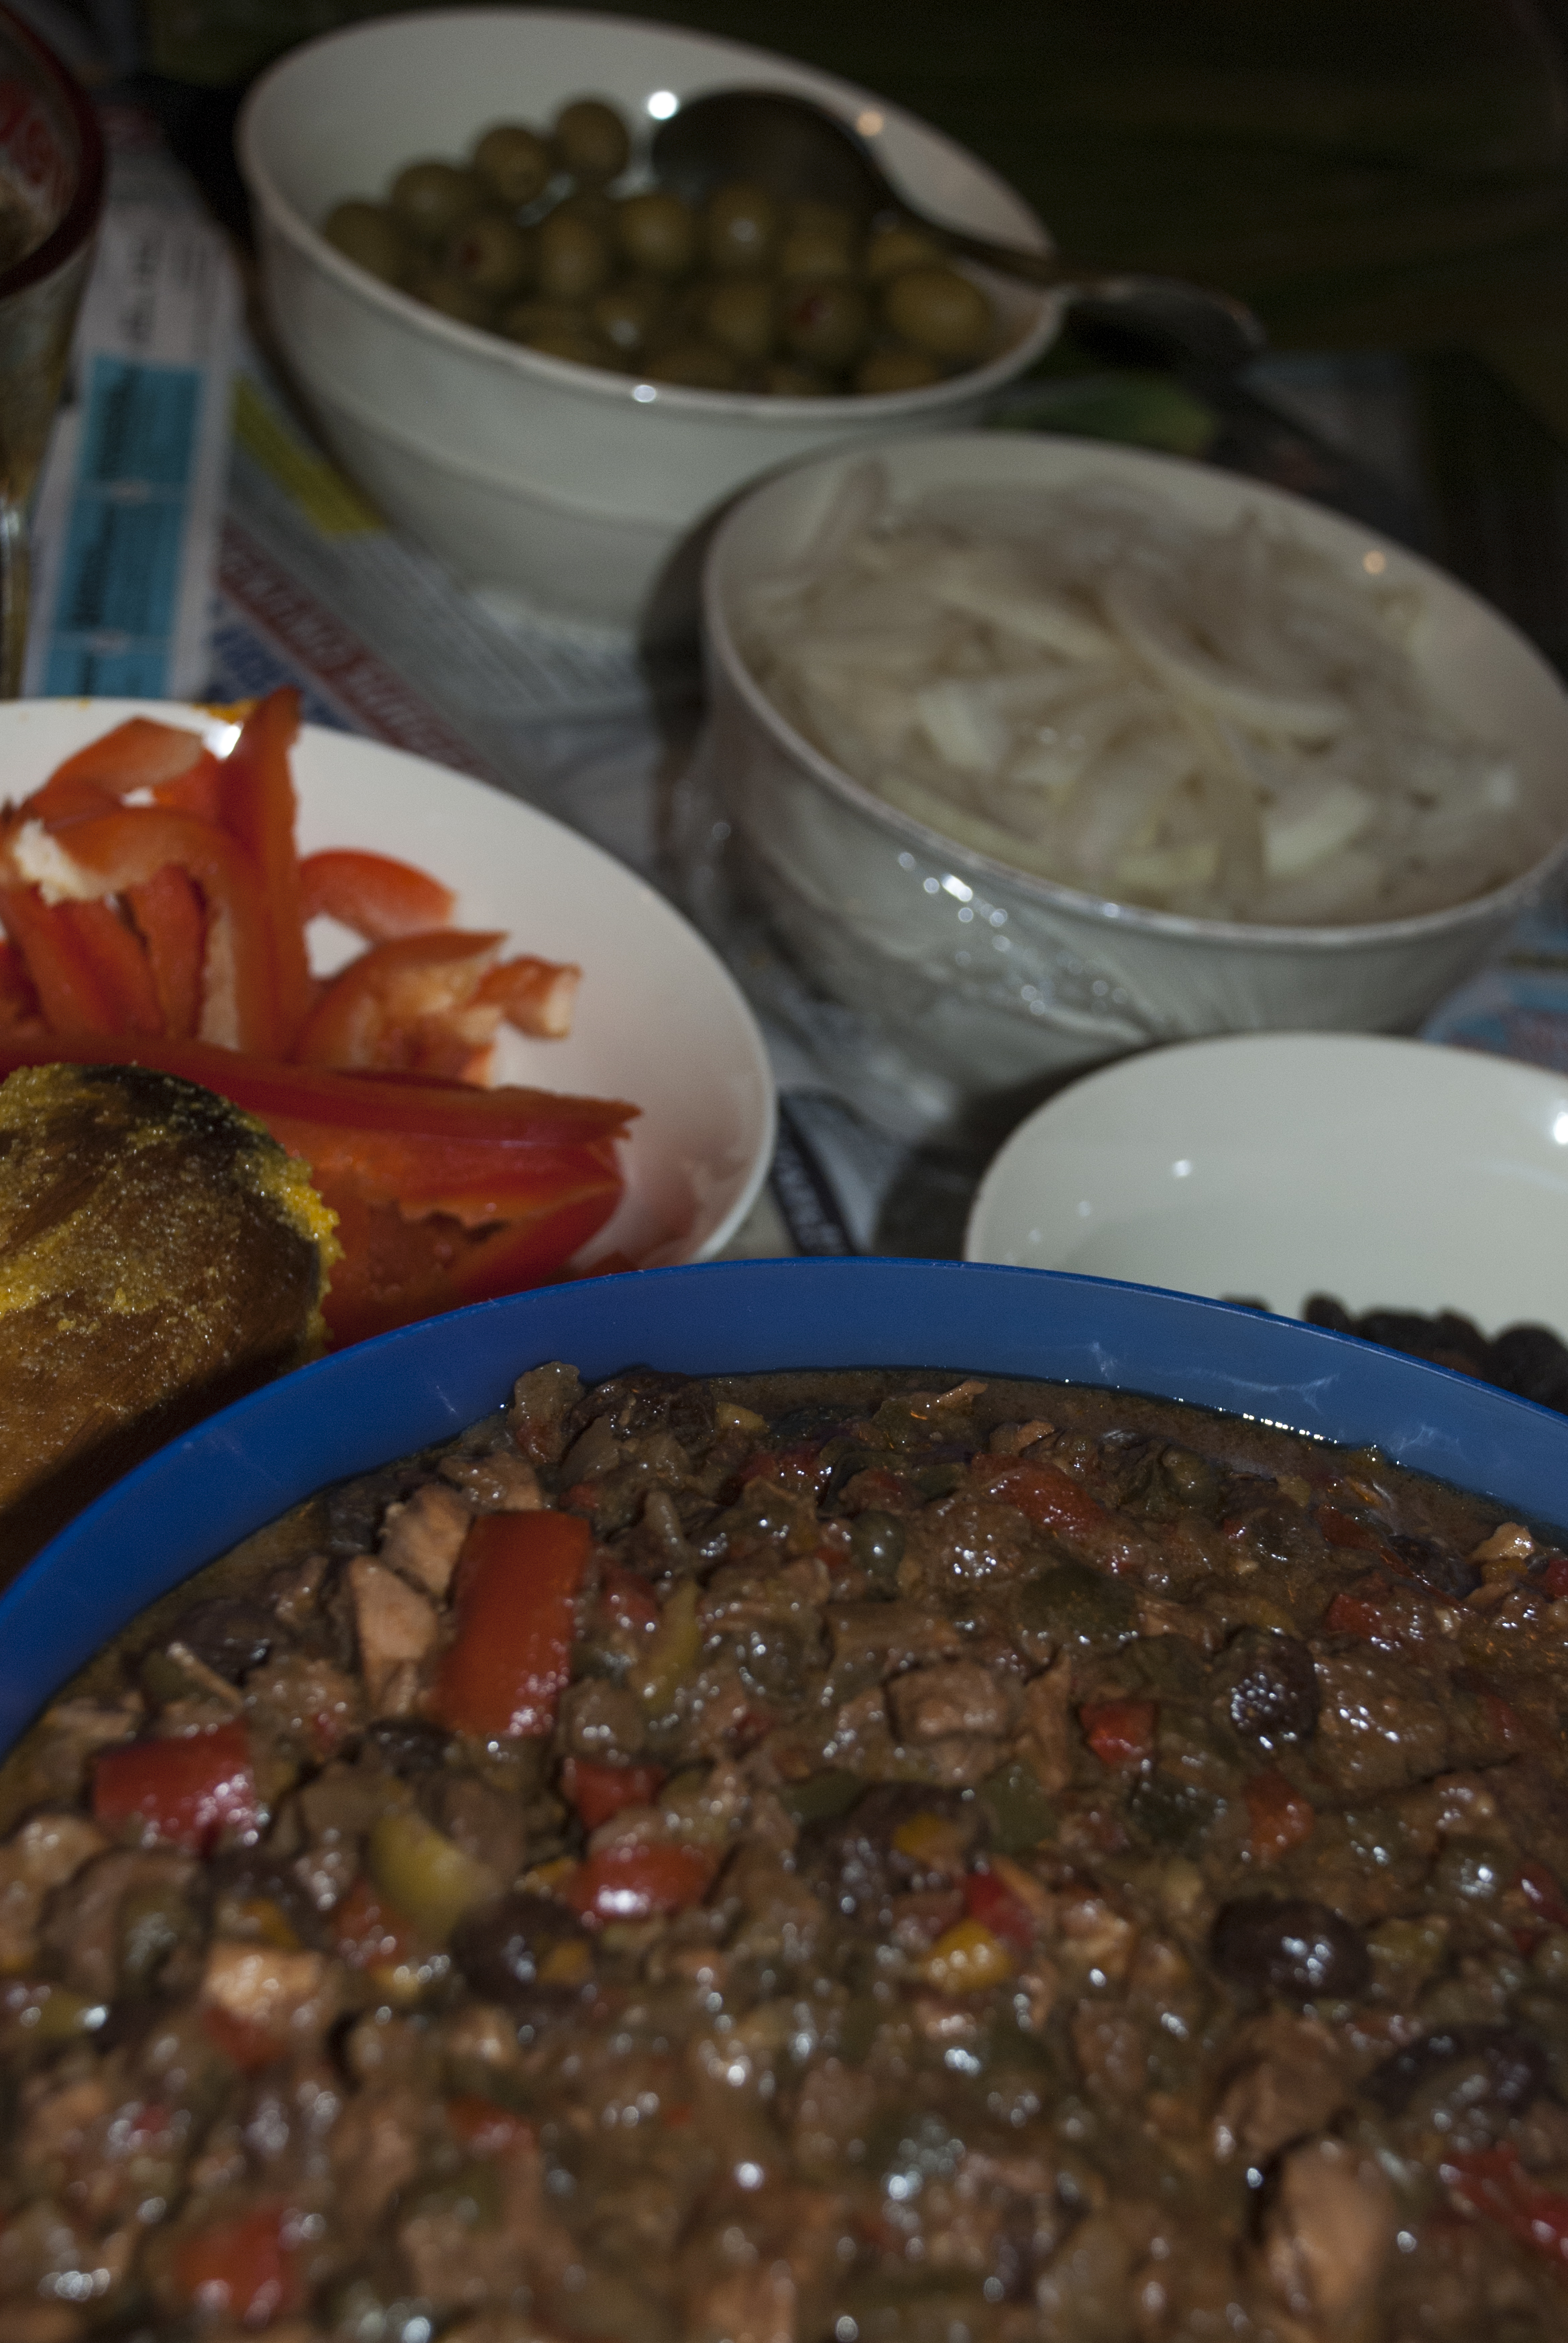
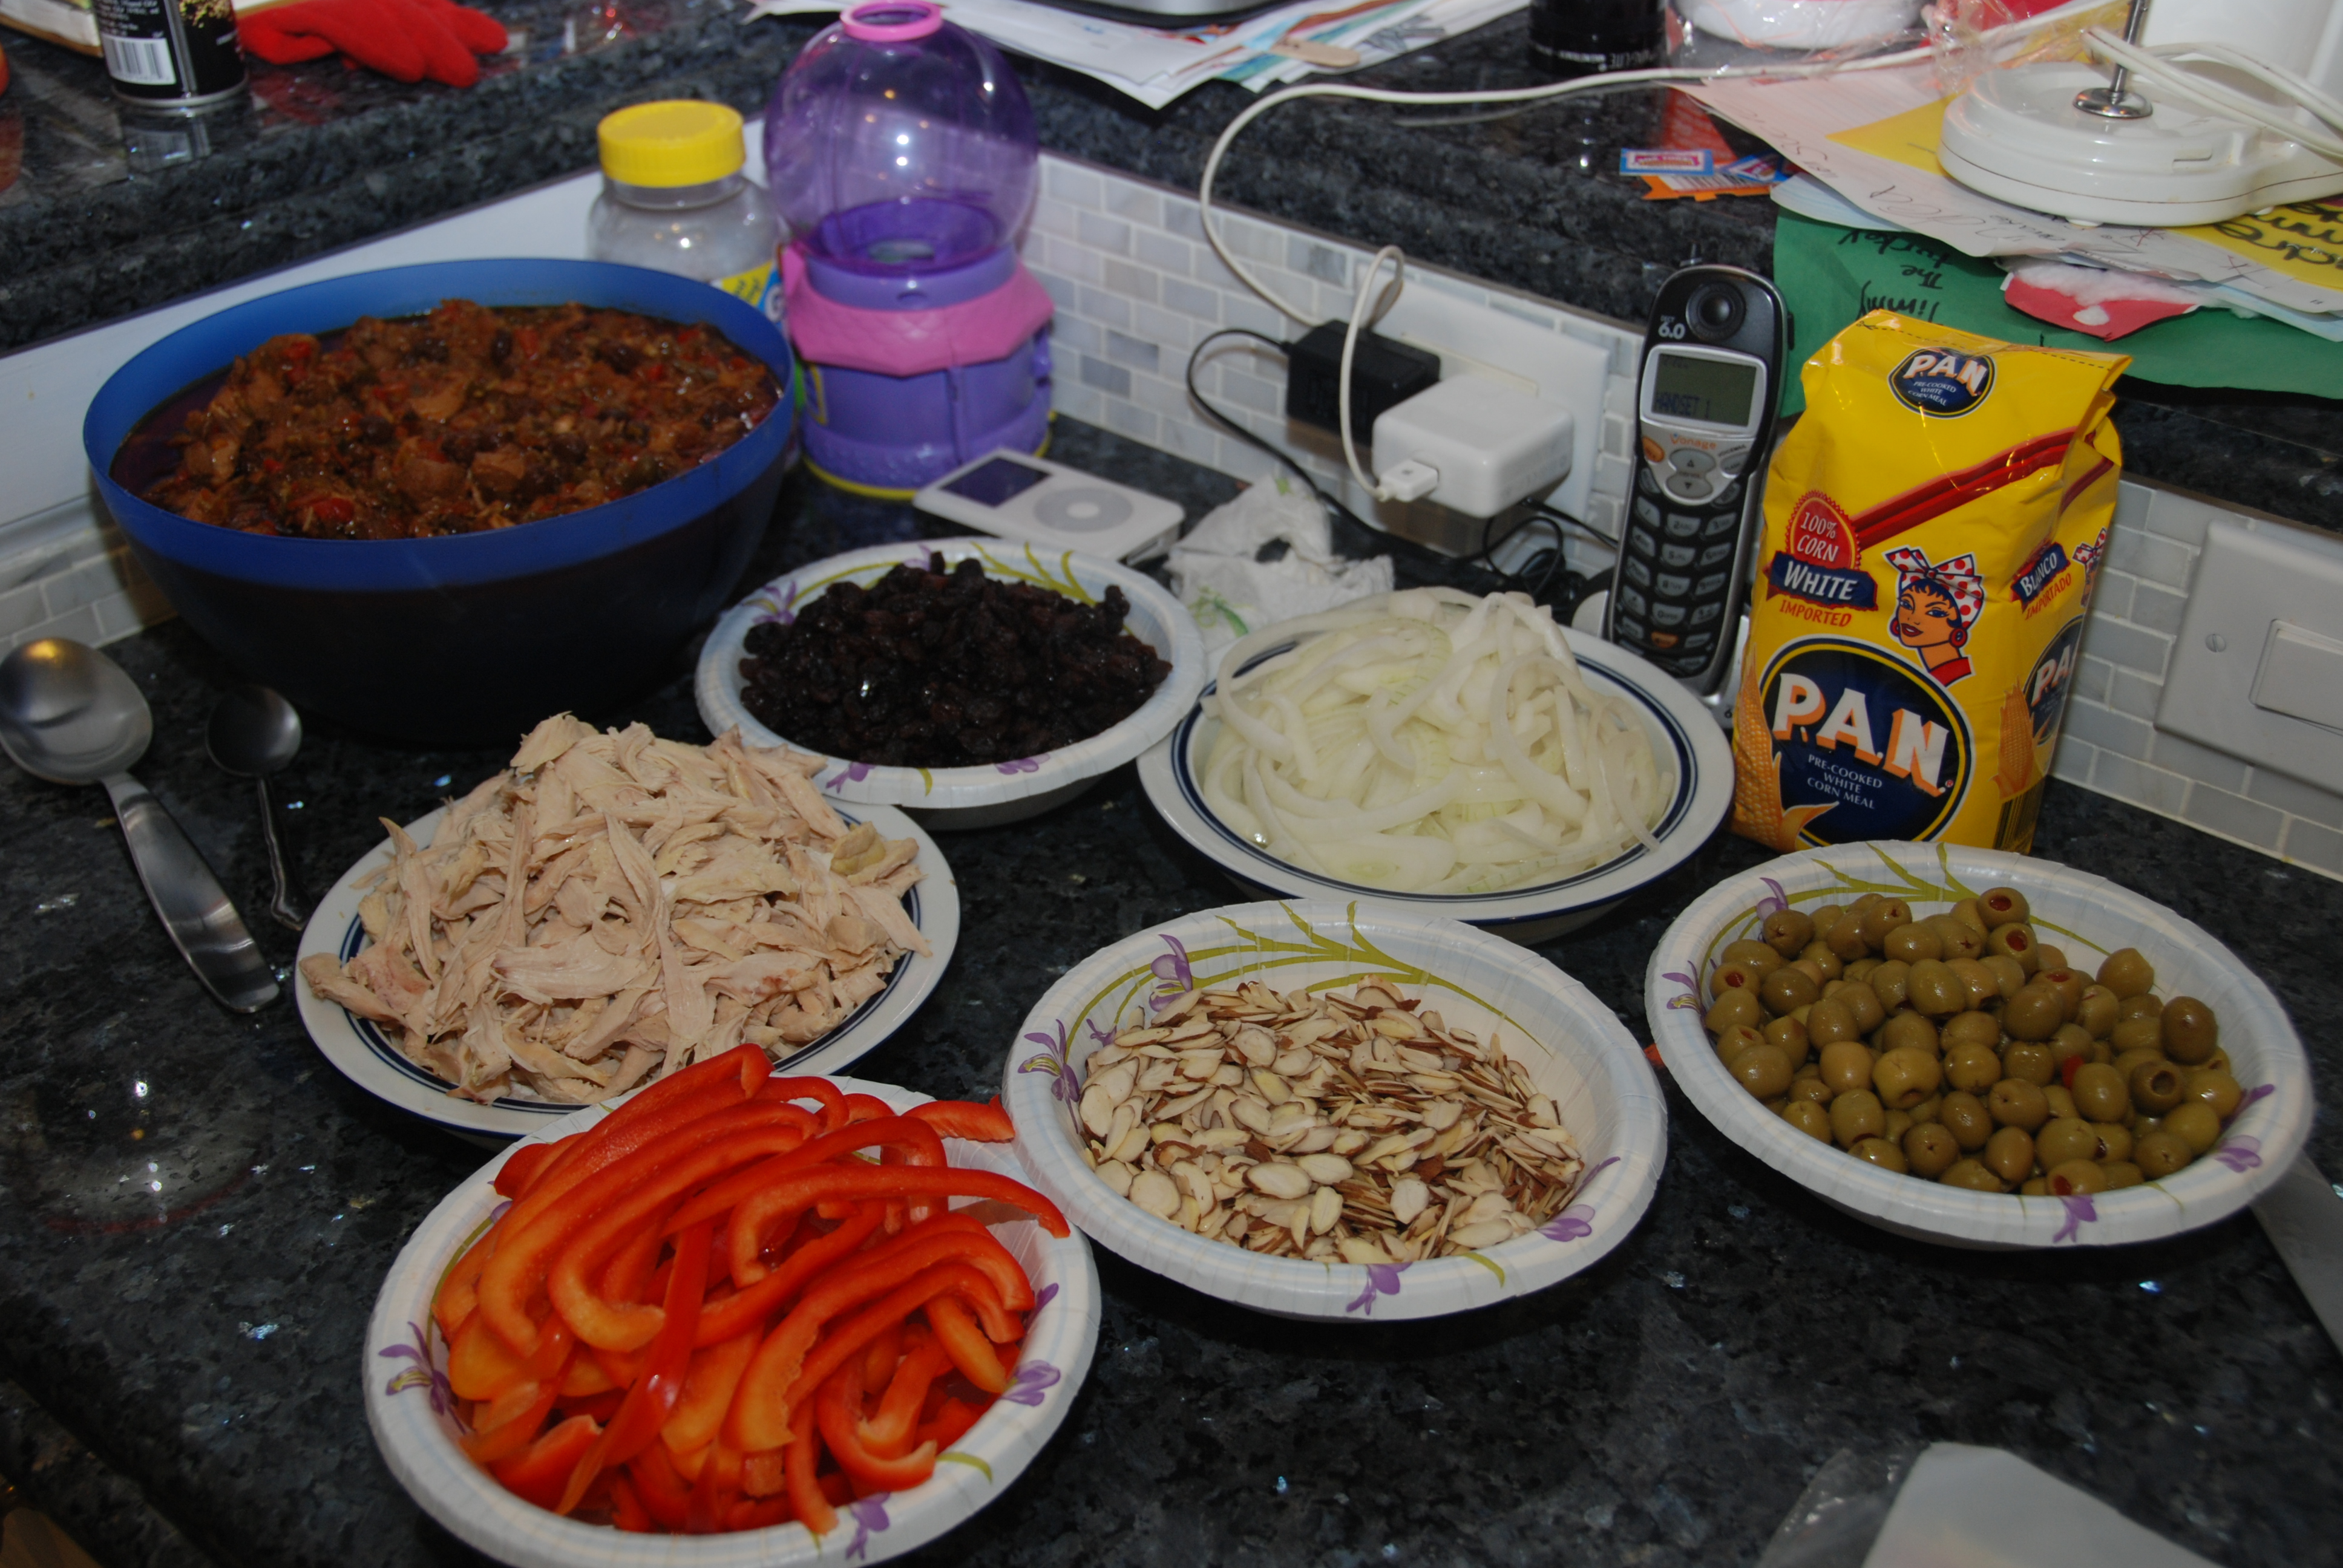
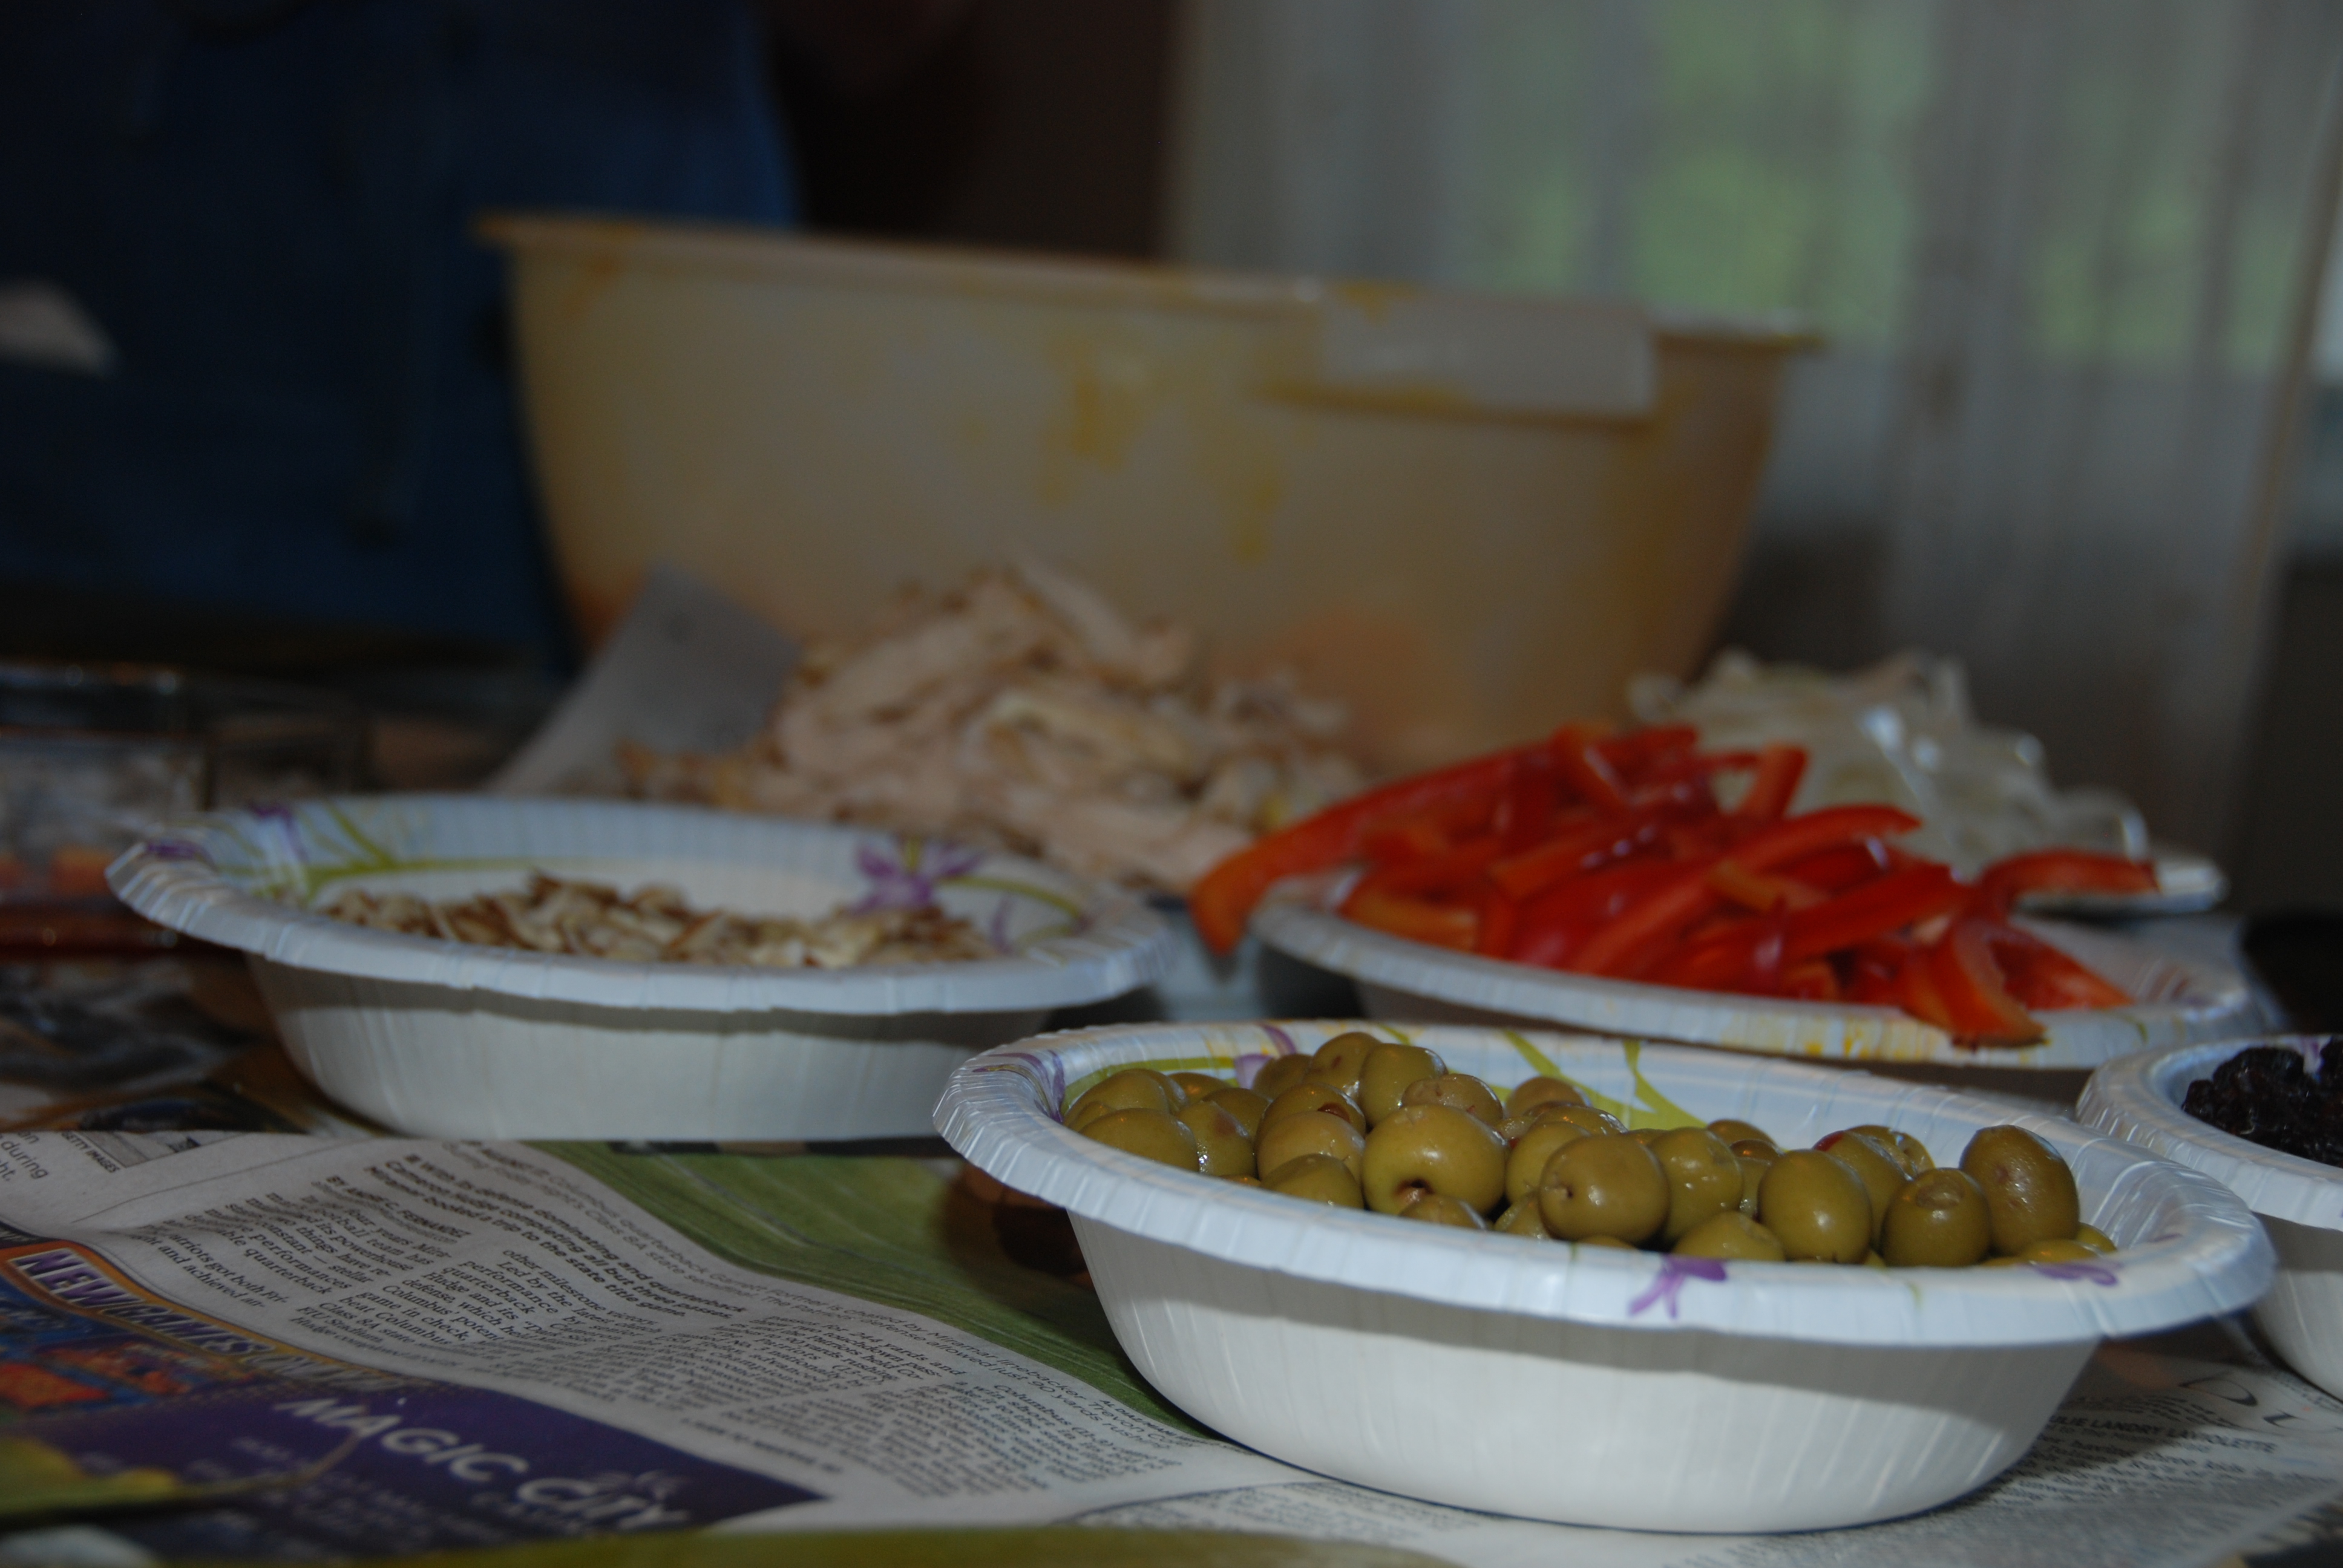
They had a variety of vendors including artwork, paintings, sculptures, photography, crafts, food samples, prepared foods, pastries, arepas, bread, cakes, shaved ice, tequeños, cheeses, all kinds of different Venezuelan brands products like harina p.a.n., nucita, chocolate de leche, flips, granadina garlin, susy, samba, pepito, leche la campiña, as well as companies such as banks, insurance providers, realtors, printers, local Venezuelan TV channels, radio stations, newspapers, associations, and groups, not to mention Venezuelan flags on EVERYTHING like pins, bows, scarves, bracelets, necklaces, rings, shoes, shirts, pants, even shirt sleeves… Overall they had an incredible wide array of products unique to Venezuelan culture. They also highlighted a stage with live music and entertainment featuring several Venezuelan artists and bands, and a dance team showcasing the best of Venezuelan folklore, as well as special entertainment and activities for kids.
Sunday was a beautiful sunny day in Miami, but I was glad to know the event was indoors, since it was way too hot to be outside. We arrived at the Miami Airport Convention Center about half an hour after the event had opened its doors for their last day. It was not crowded at all… as my hubby pointed out; true Venezuelans would arrive way latter during the day, in true Venezuelan fashion. I wanted to be there early, because it was already the last day of the expo and I wanted to make sure to get an illustration from the Venezuelan artist I mentioned earlier. As we walked into the event itself, we stepped onto a familiar floor… They had a printed vinyl, sort of red-carpet welcome, but instead of a read carpet it was a replica of the famous floor located inside the Caracas International Airport, which is a very familiar design known to all Venezuelans, designed originally by renowned Venezuelan kinetic and op artist, Carlos Cruz-Diez. Nowadays, there is a famous and sad tradition of Venezuelans leaving the country taking photos of their feet on top of the recognizable pattern on the floor, saying goodbye to their home country. That day though, it had a different meaning; it was welcoming us to feel Venezuela, and it did feel for a second, as I looked down, as if I was actually arriving at the Caracas International Airport in Venezuela.
Welcome To Expo Sentir Venezuela
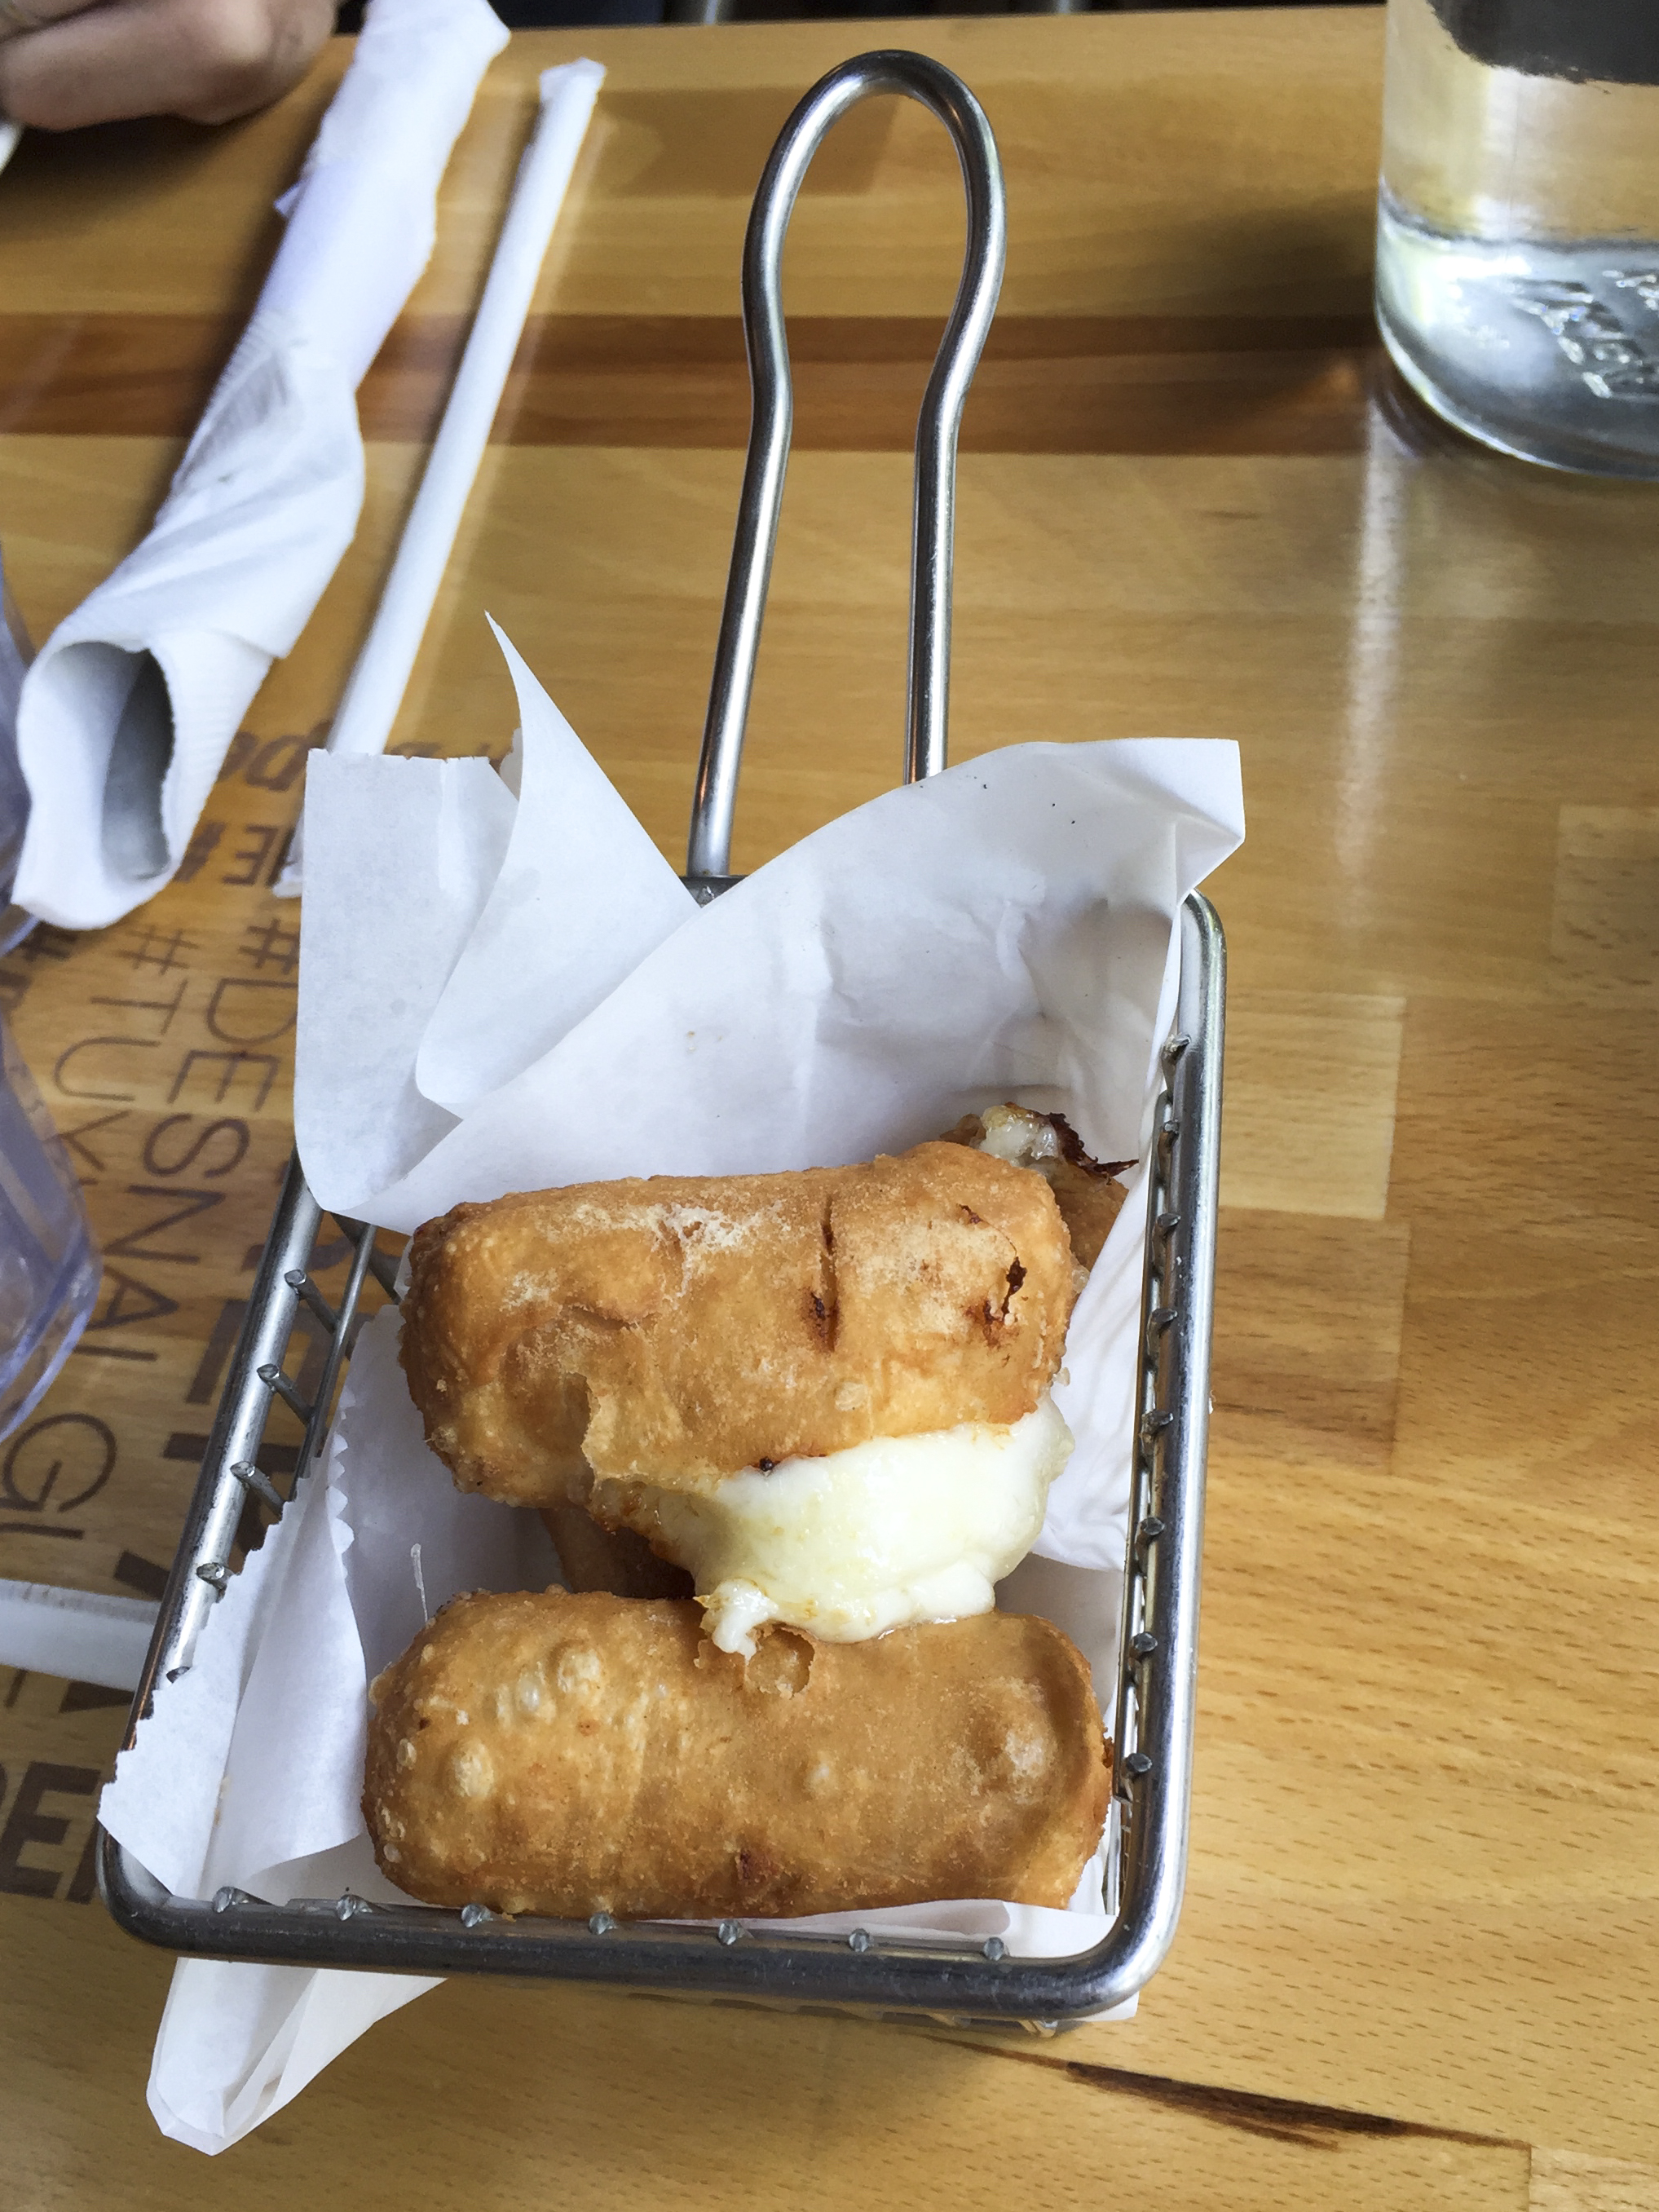
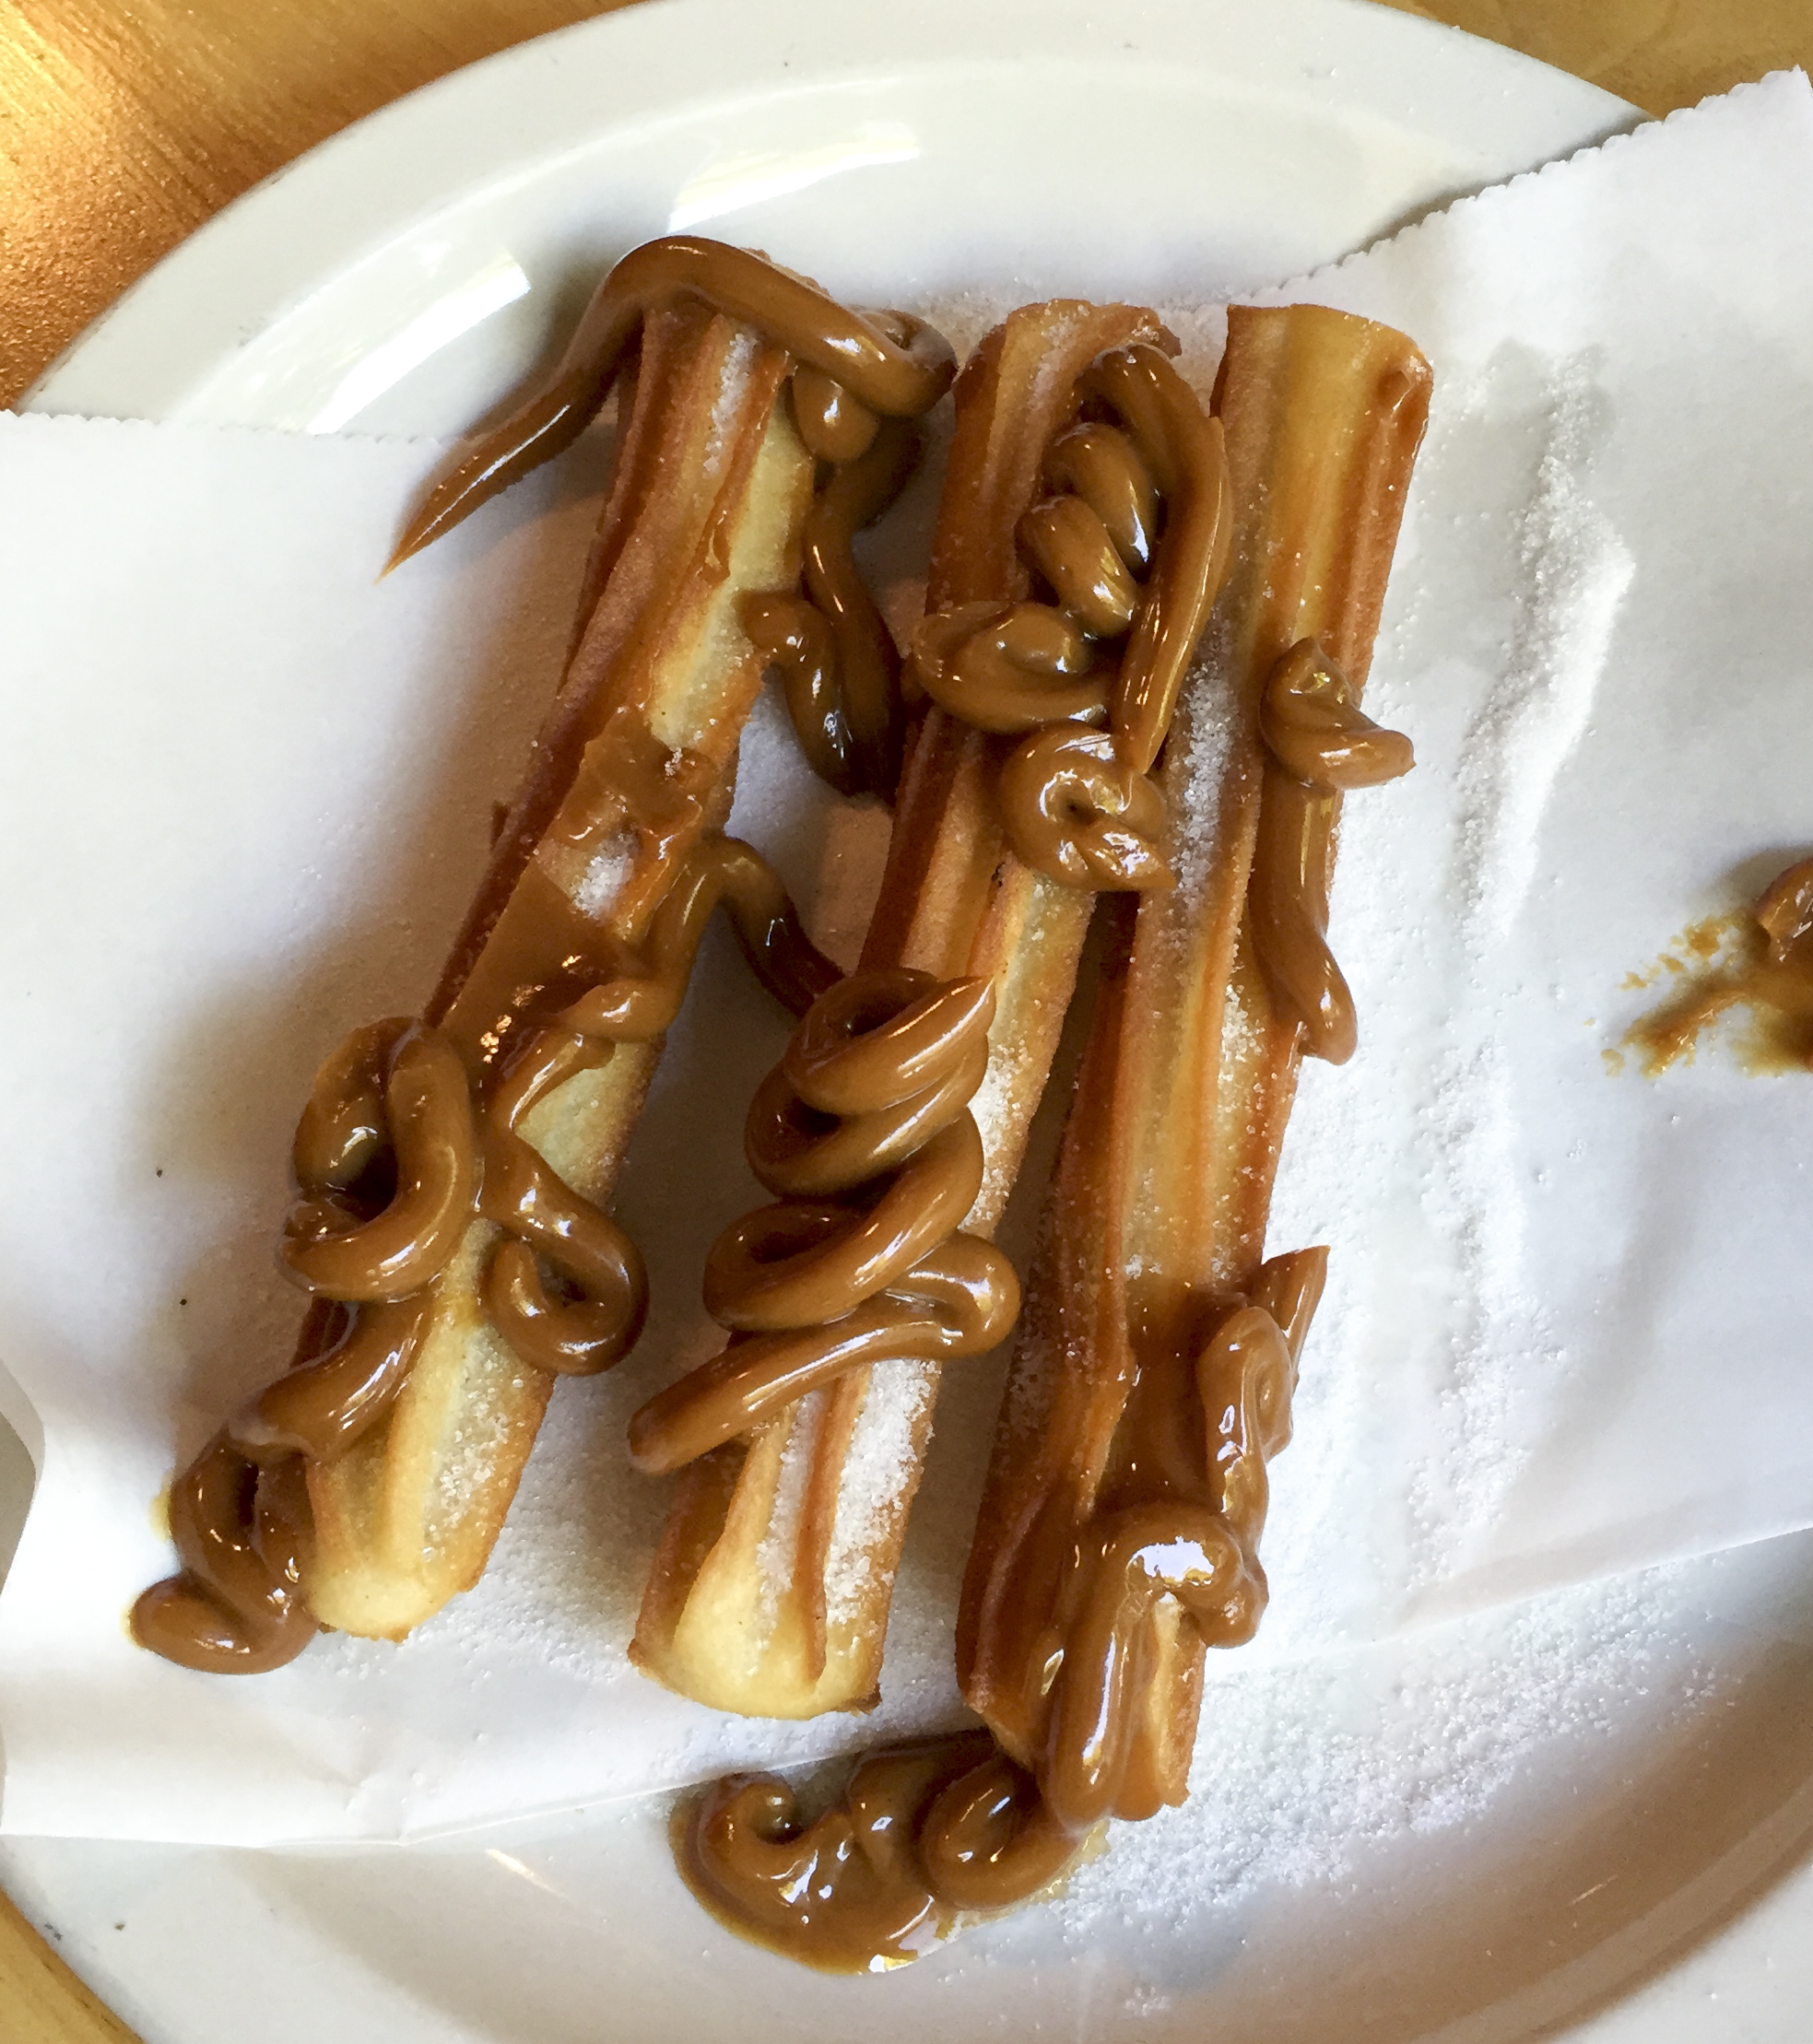
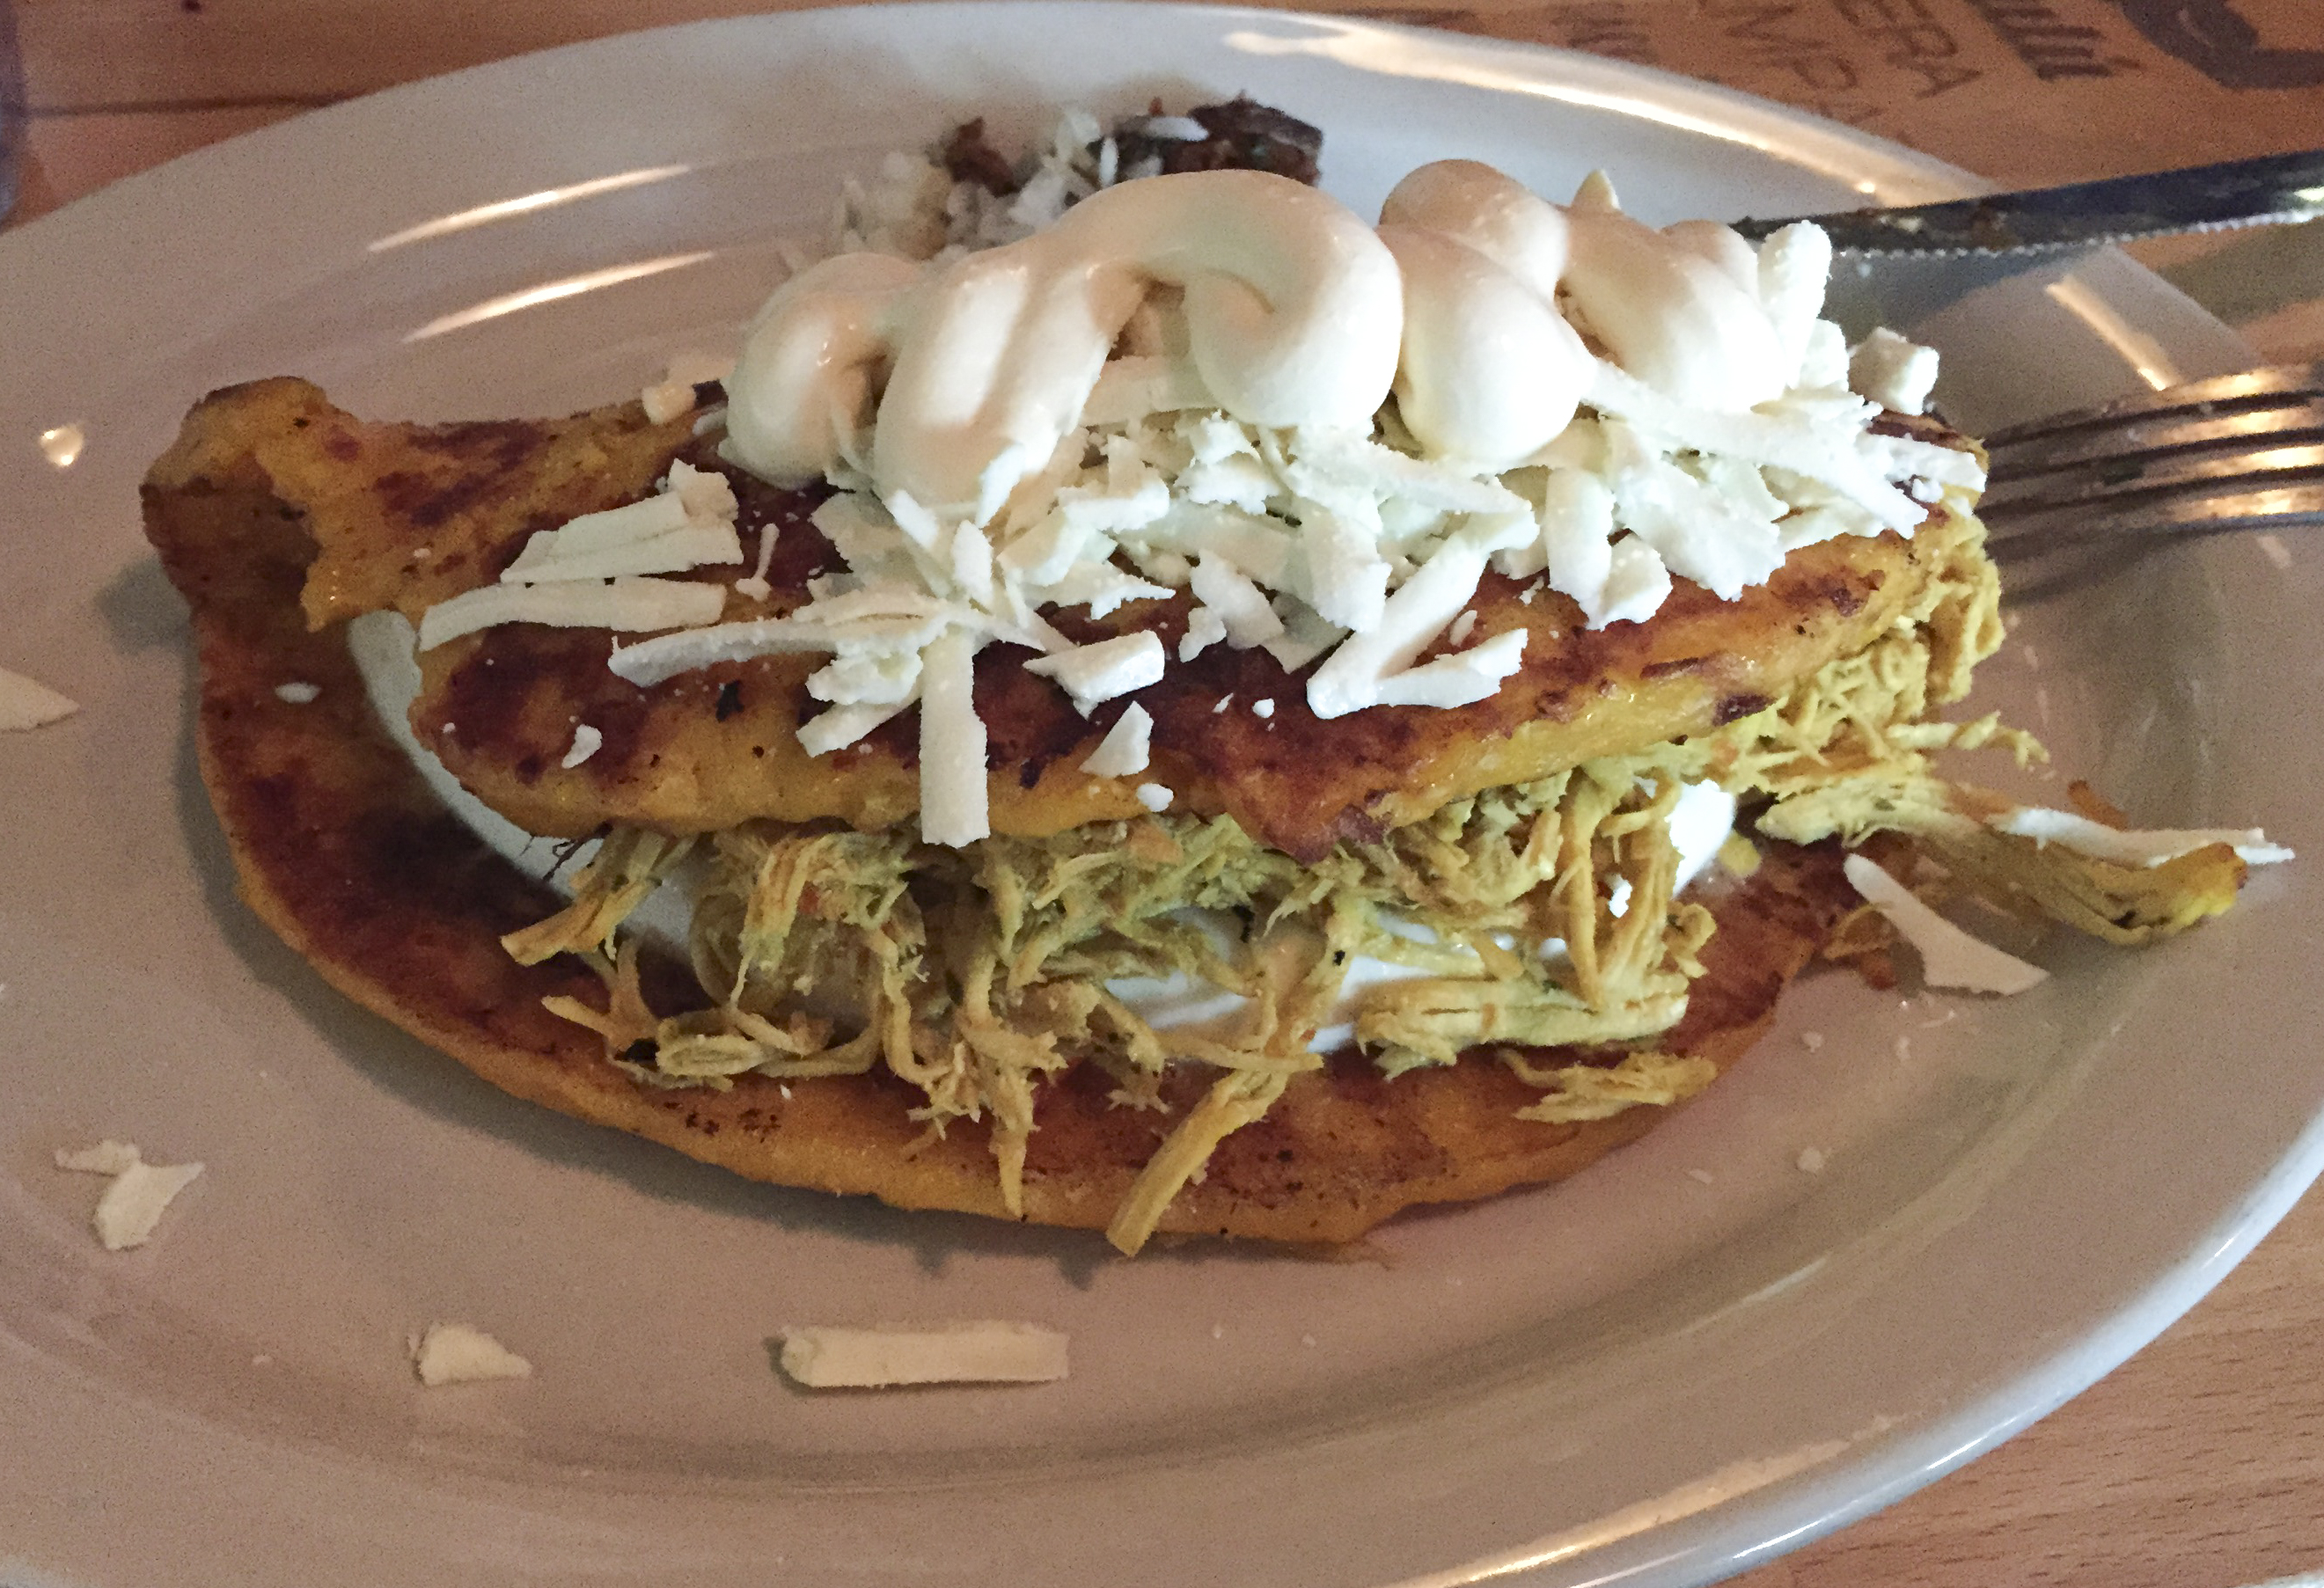
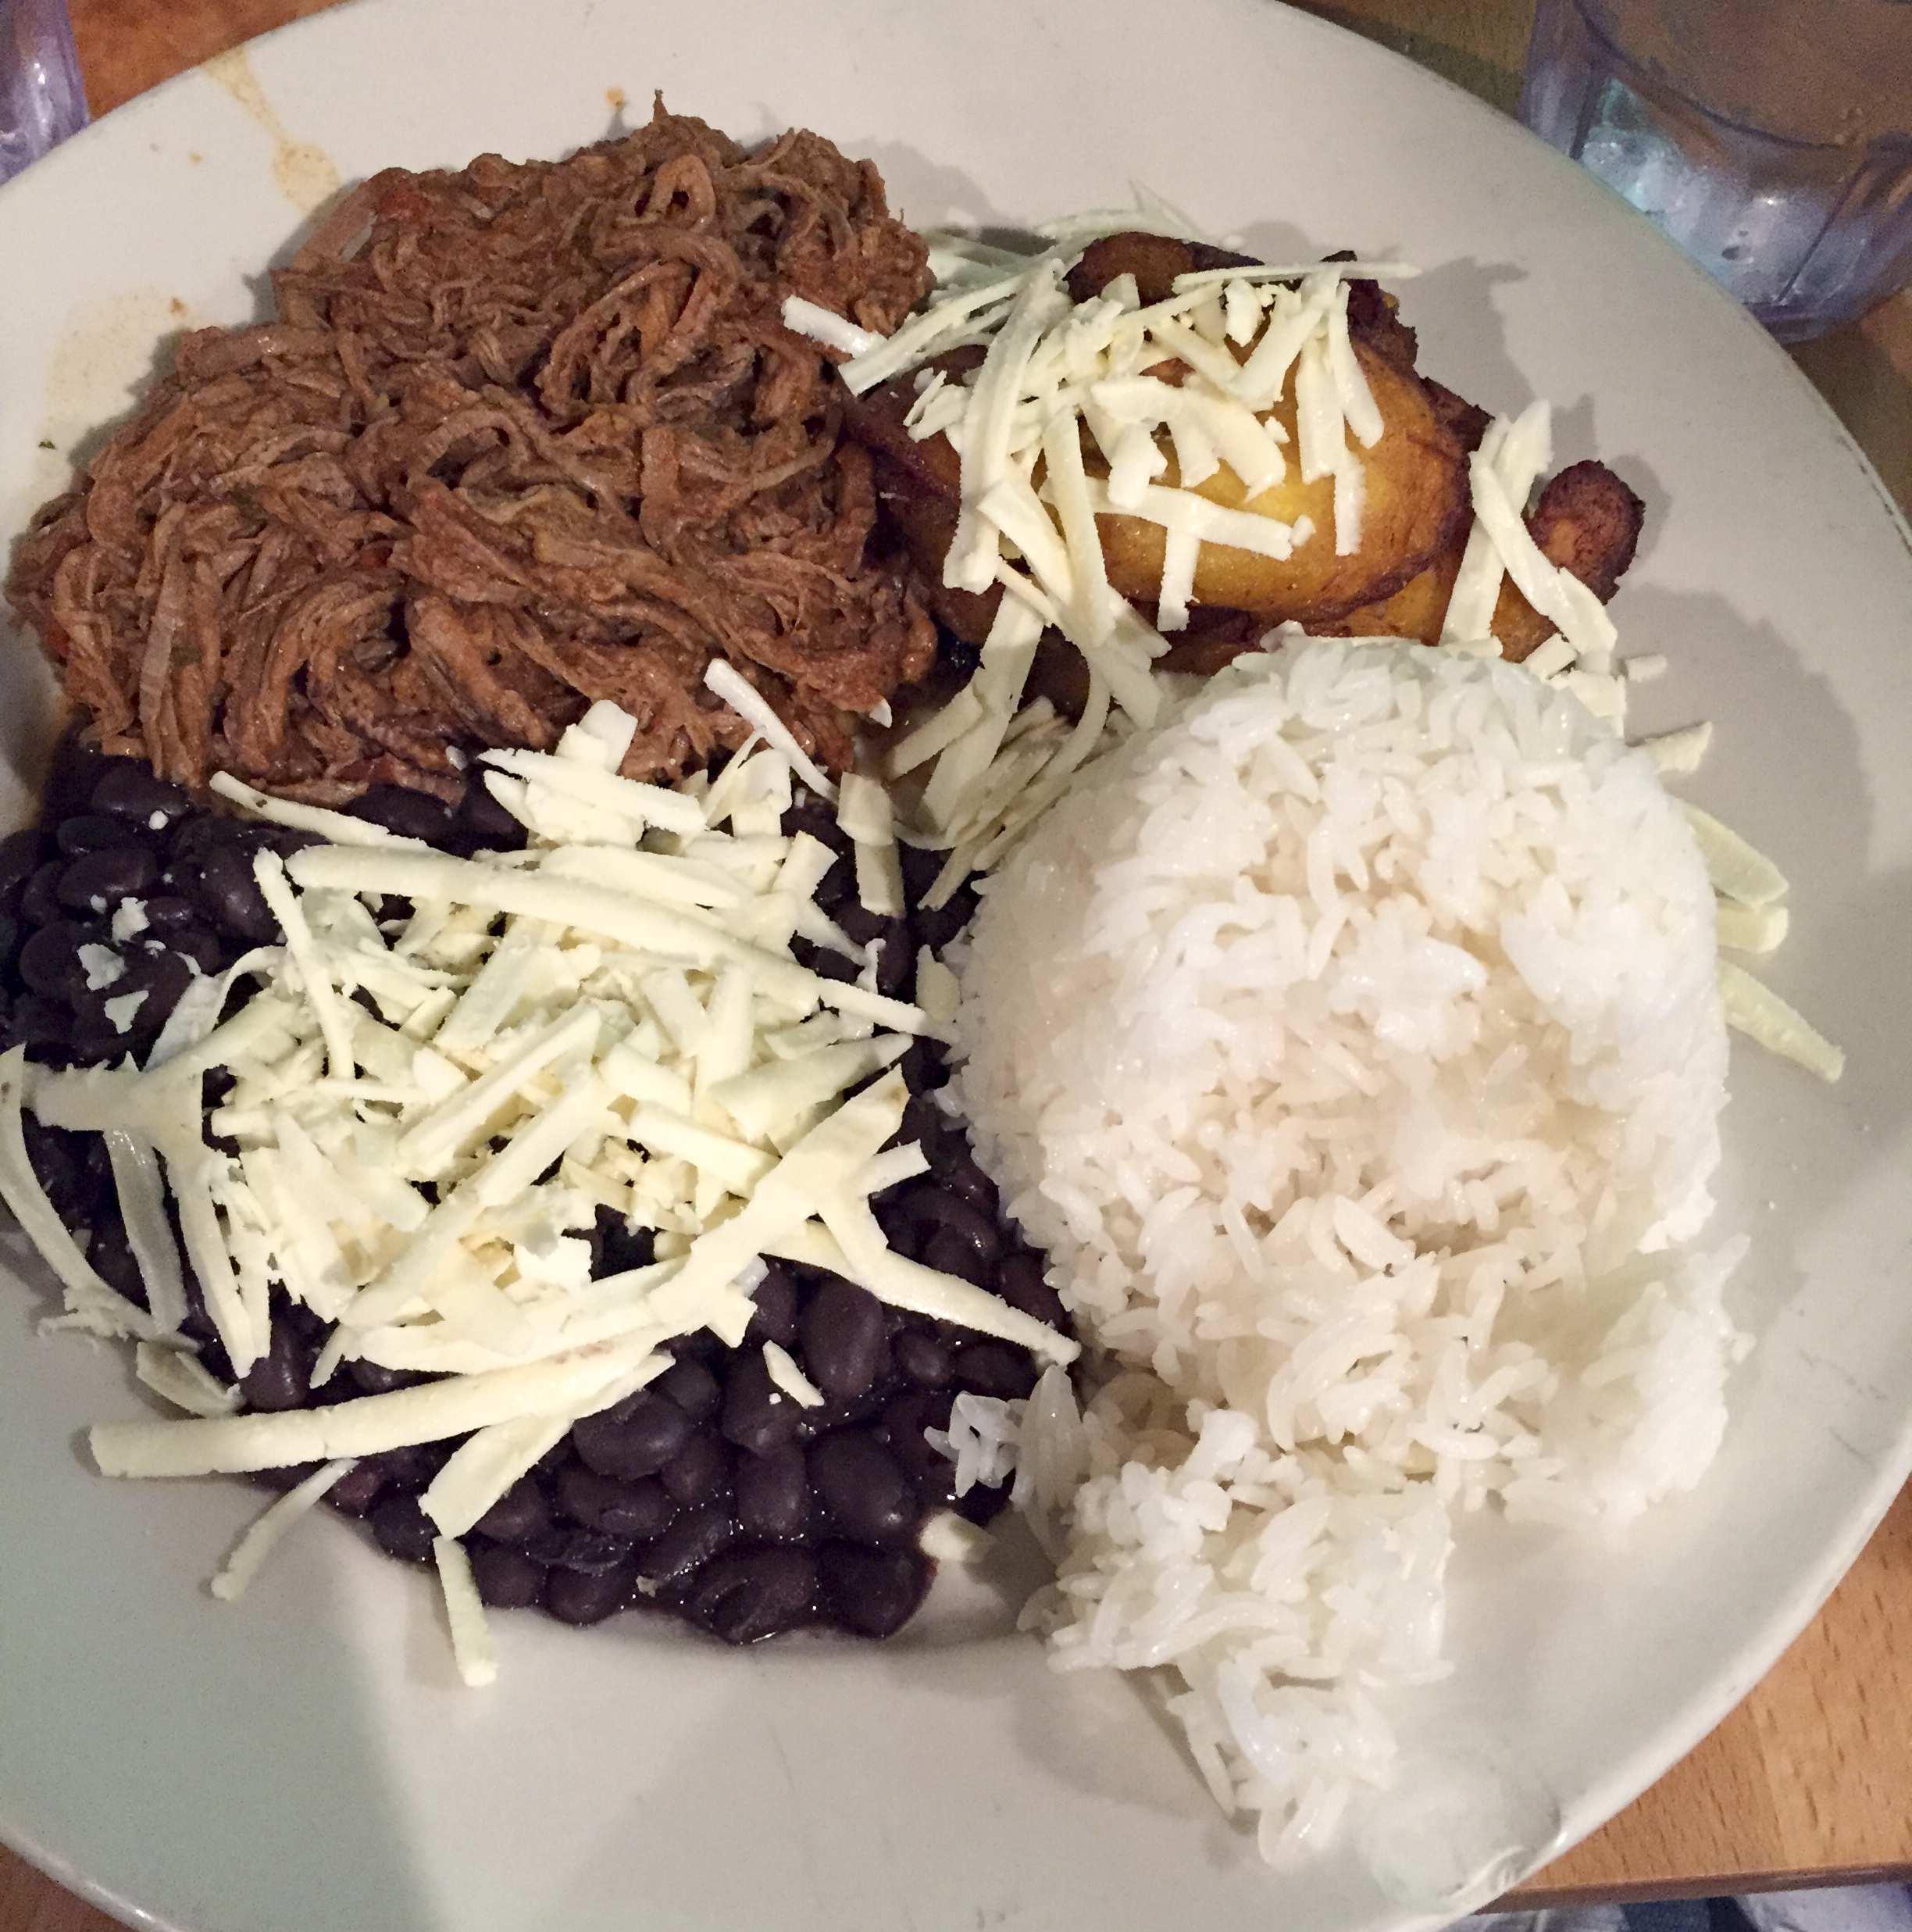
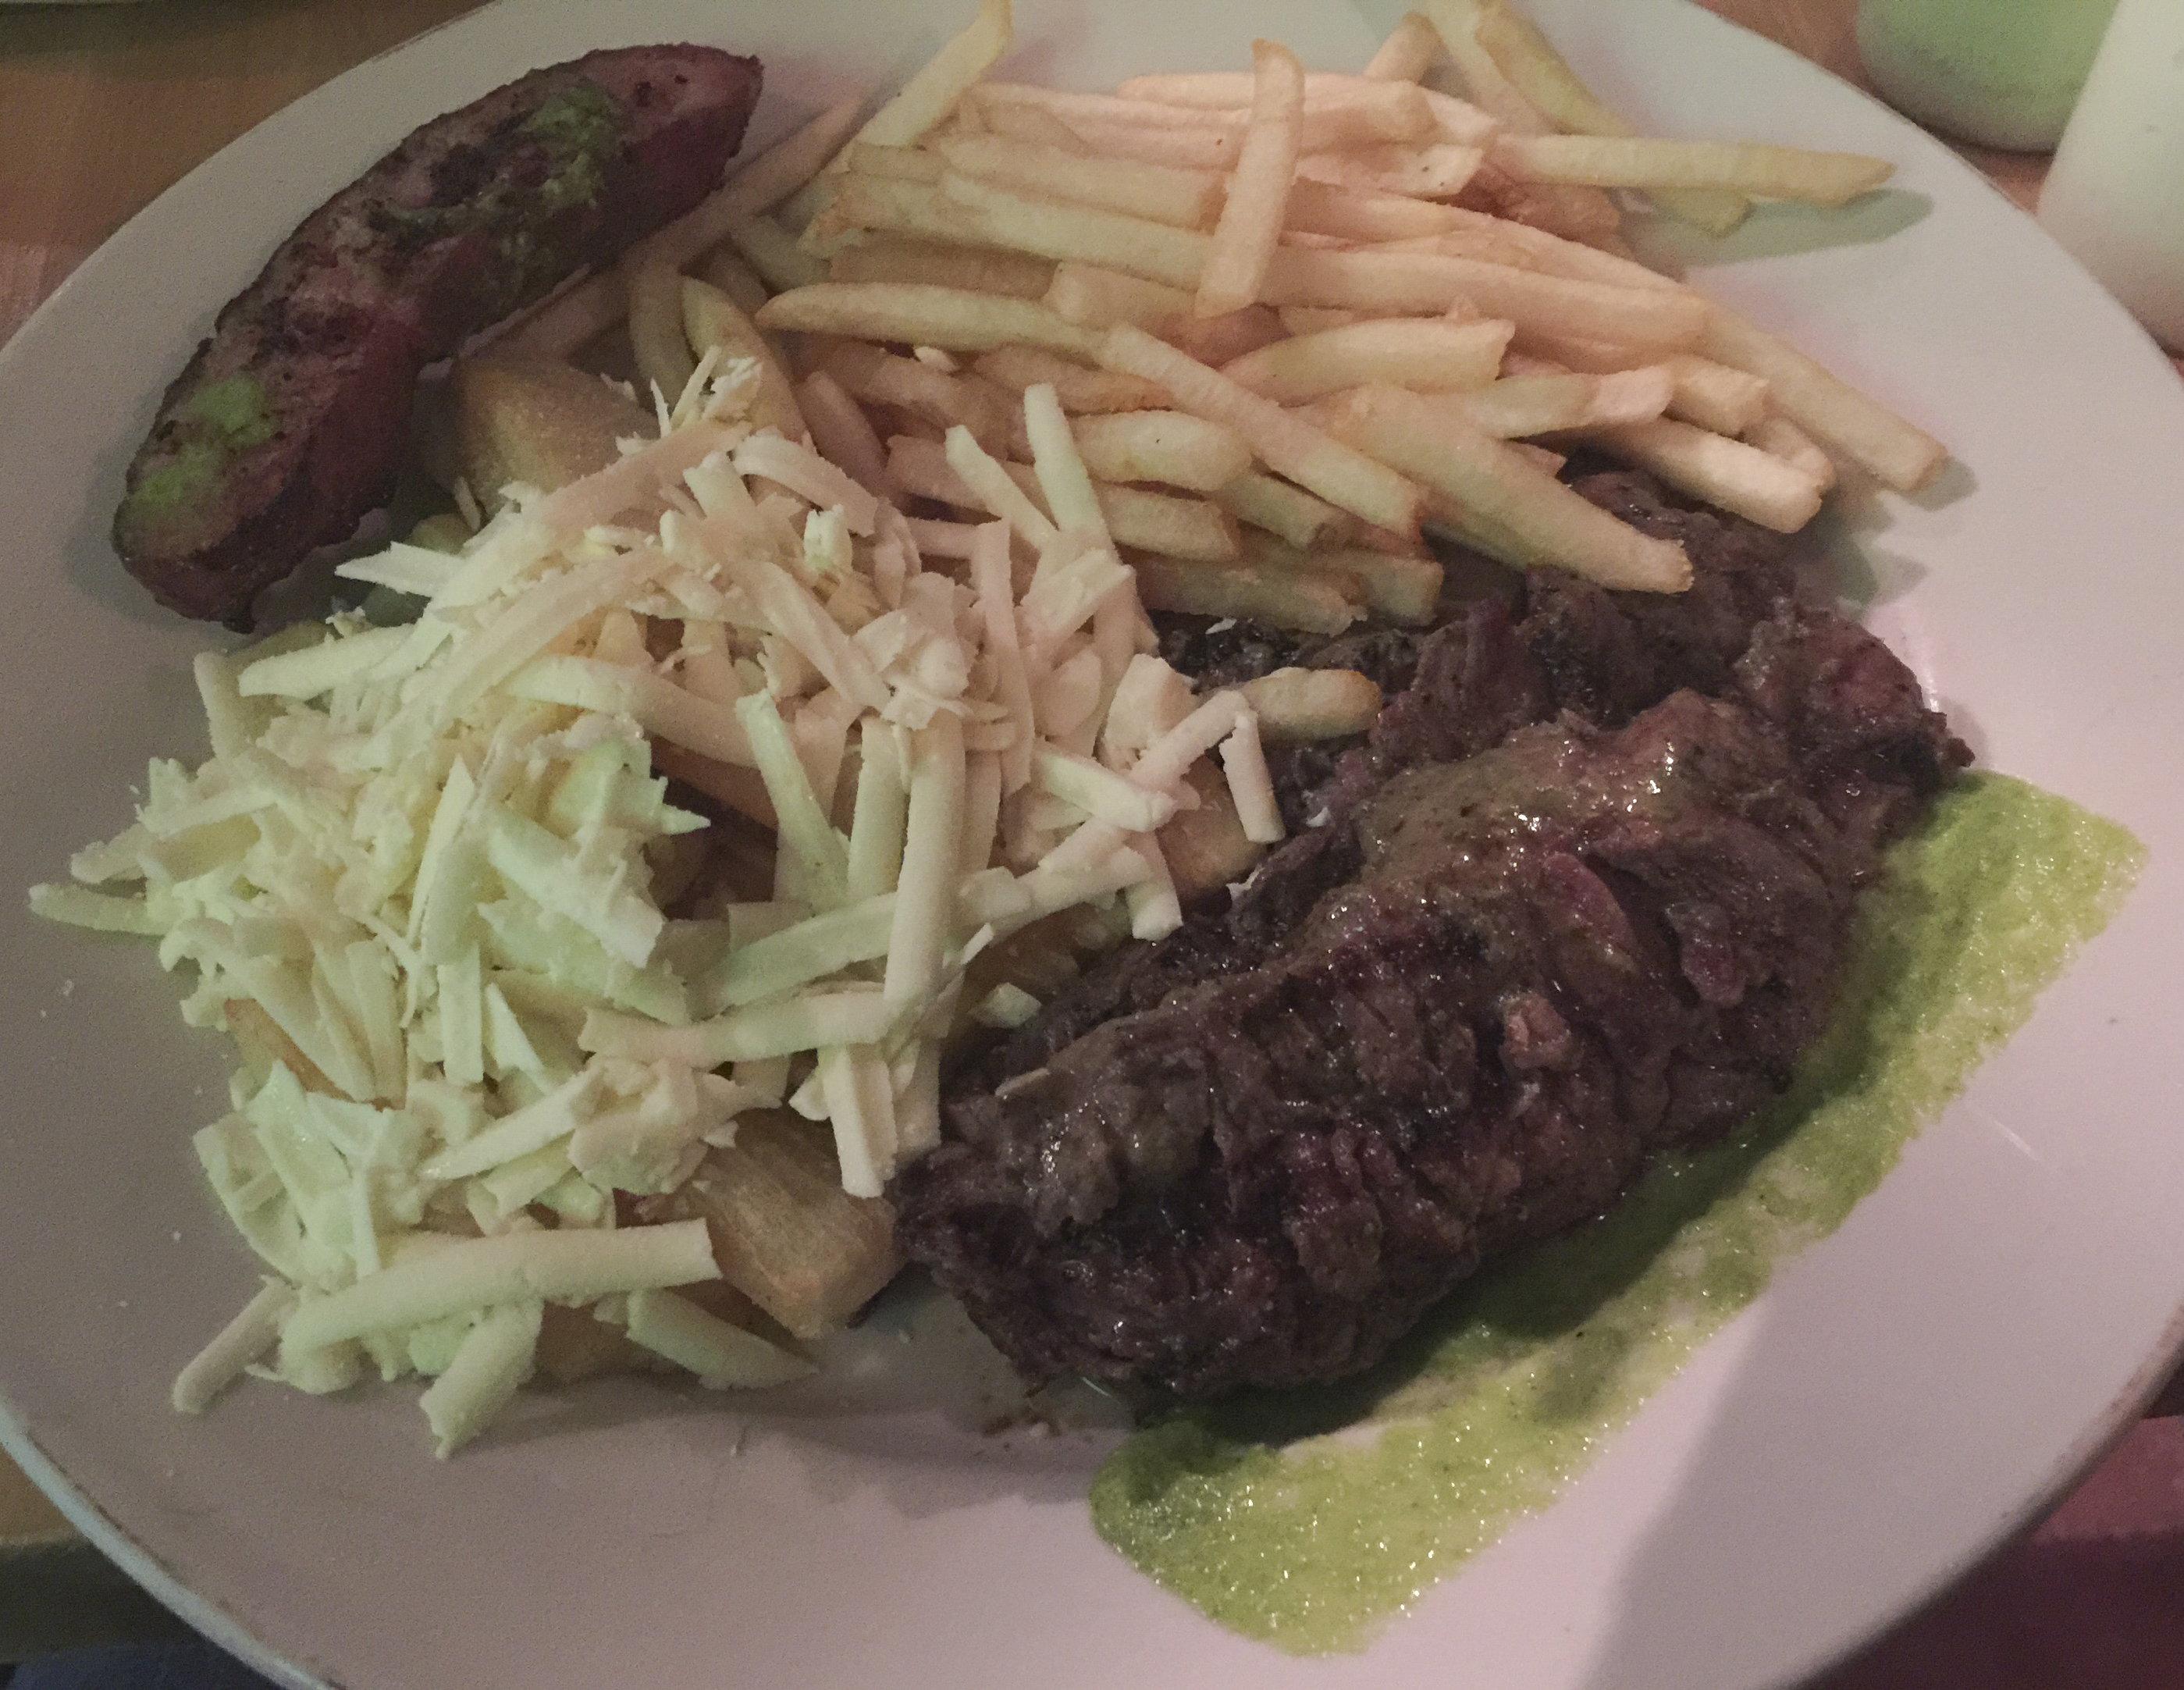
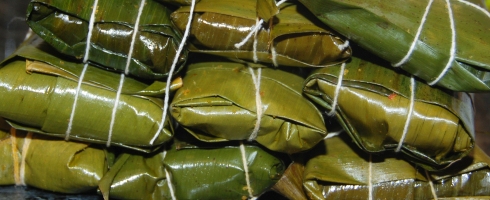
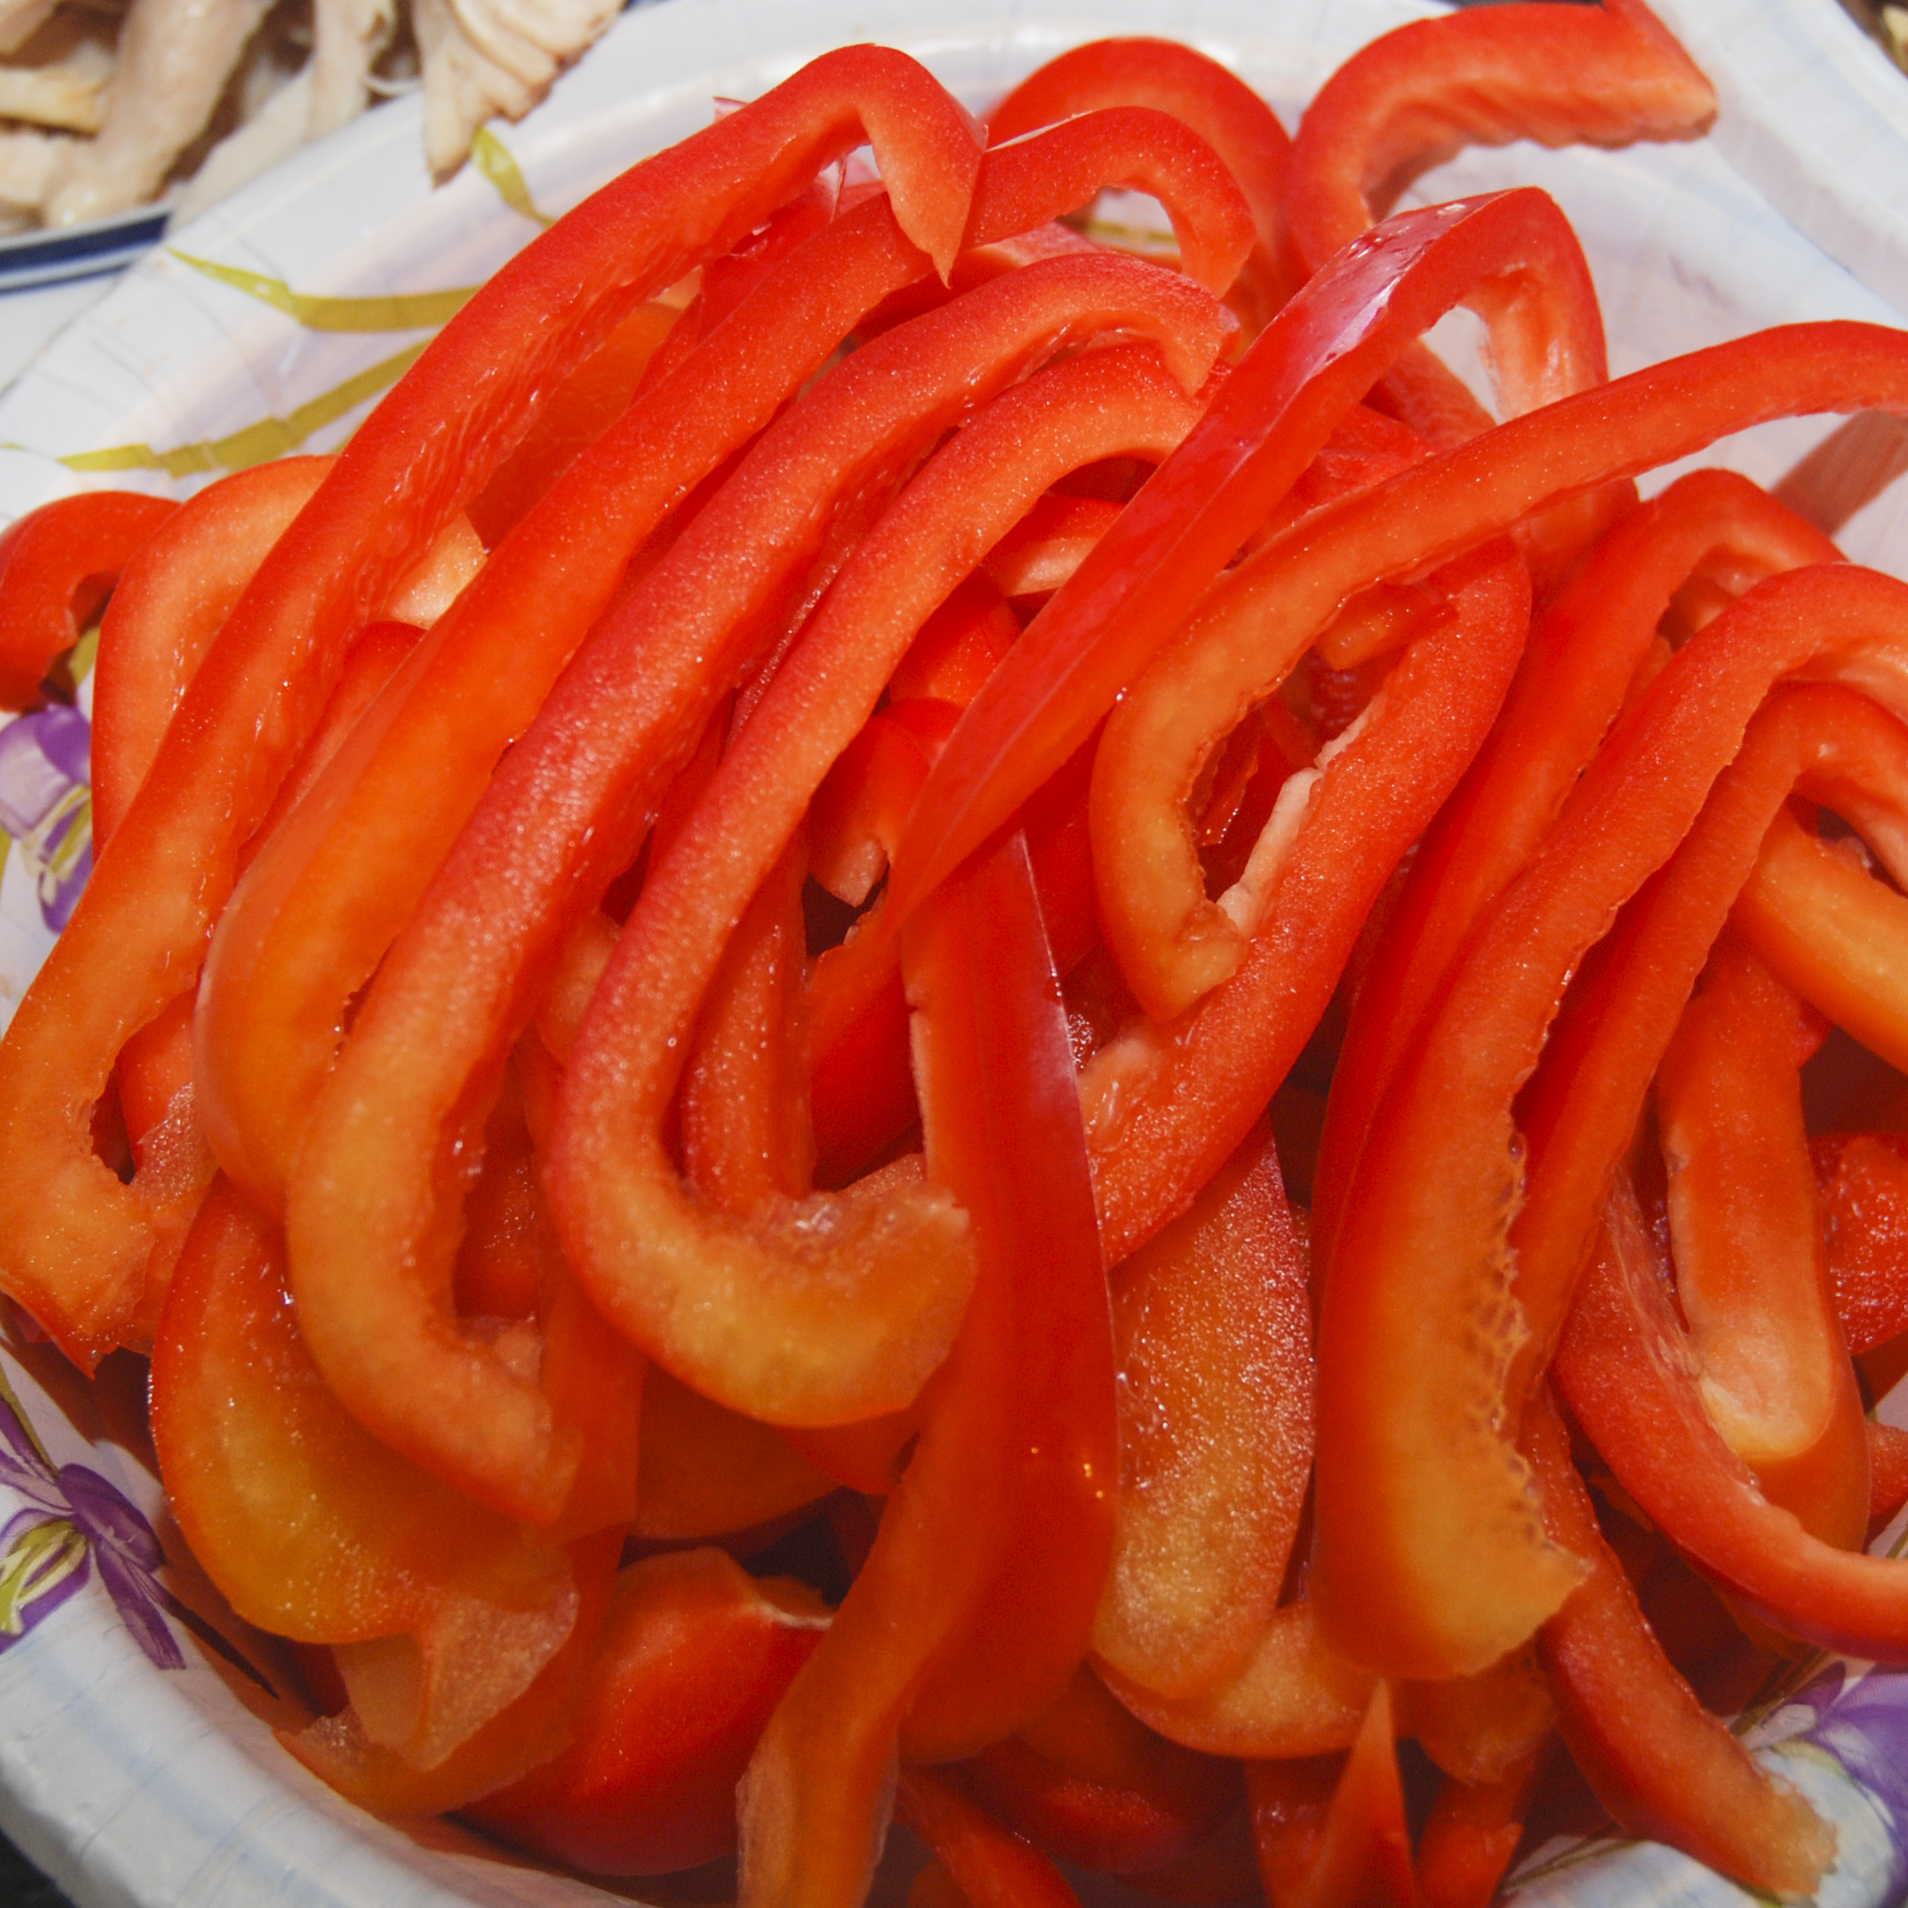
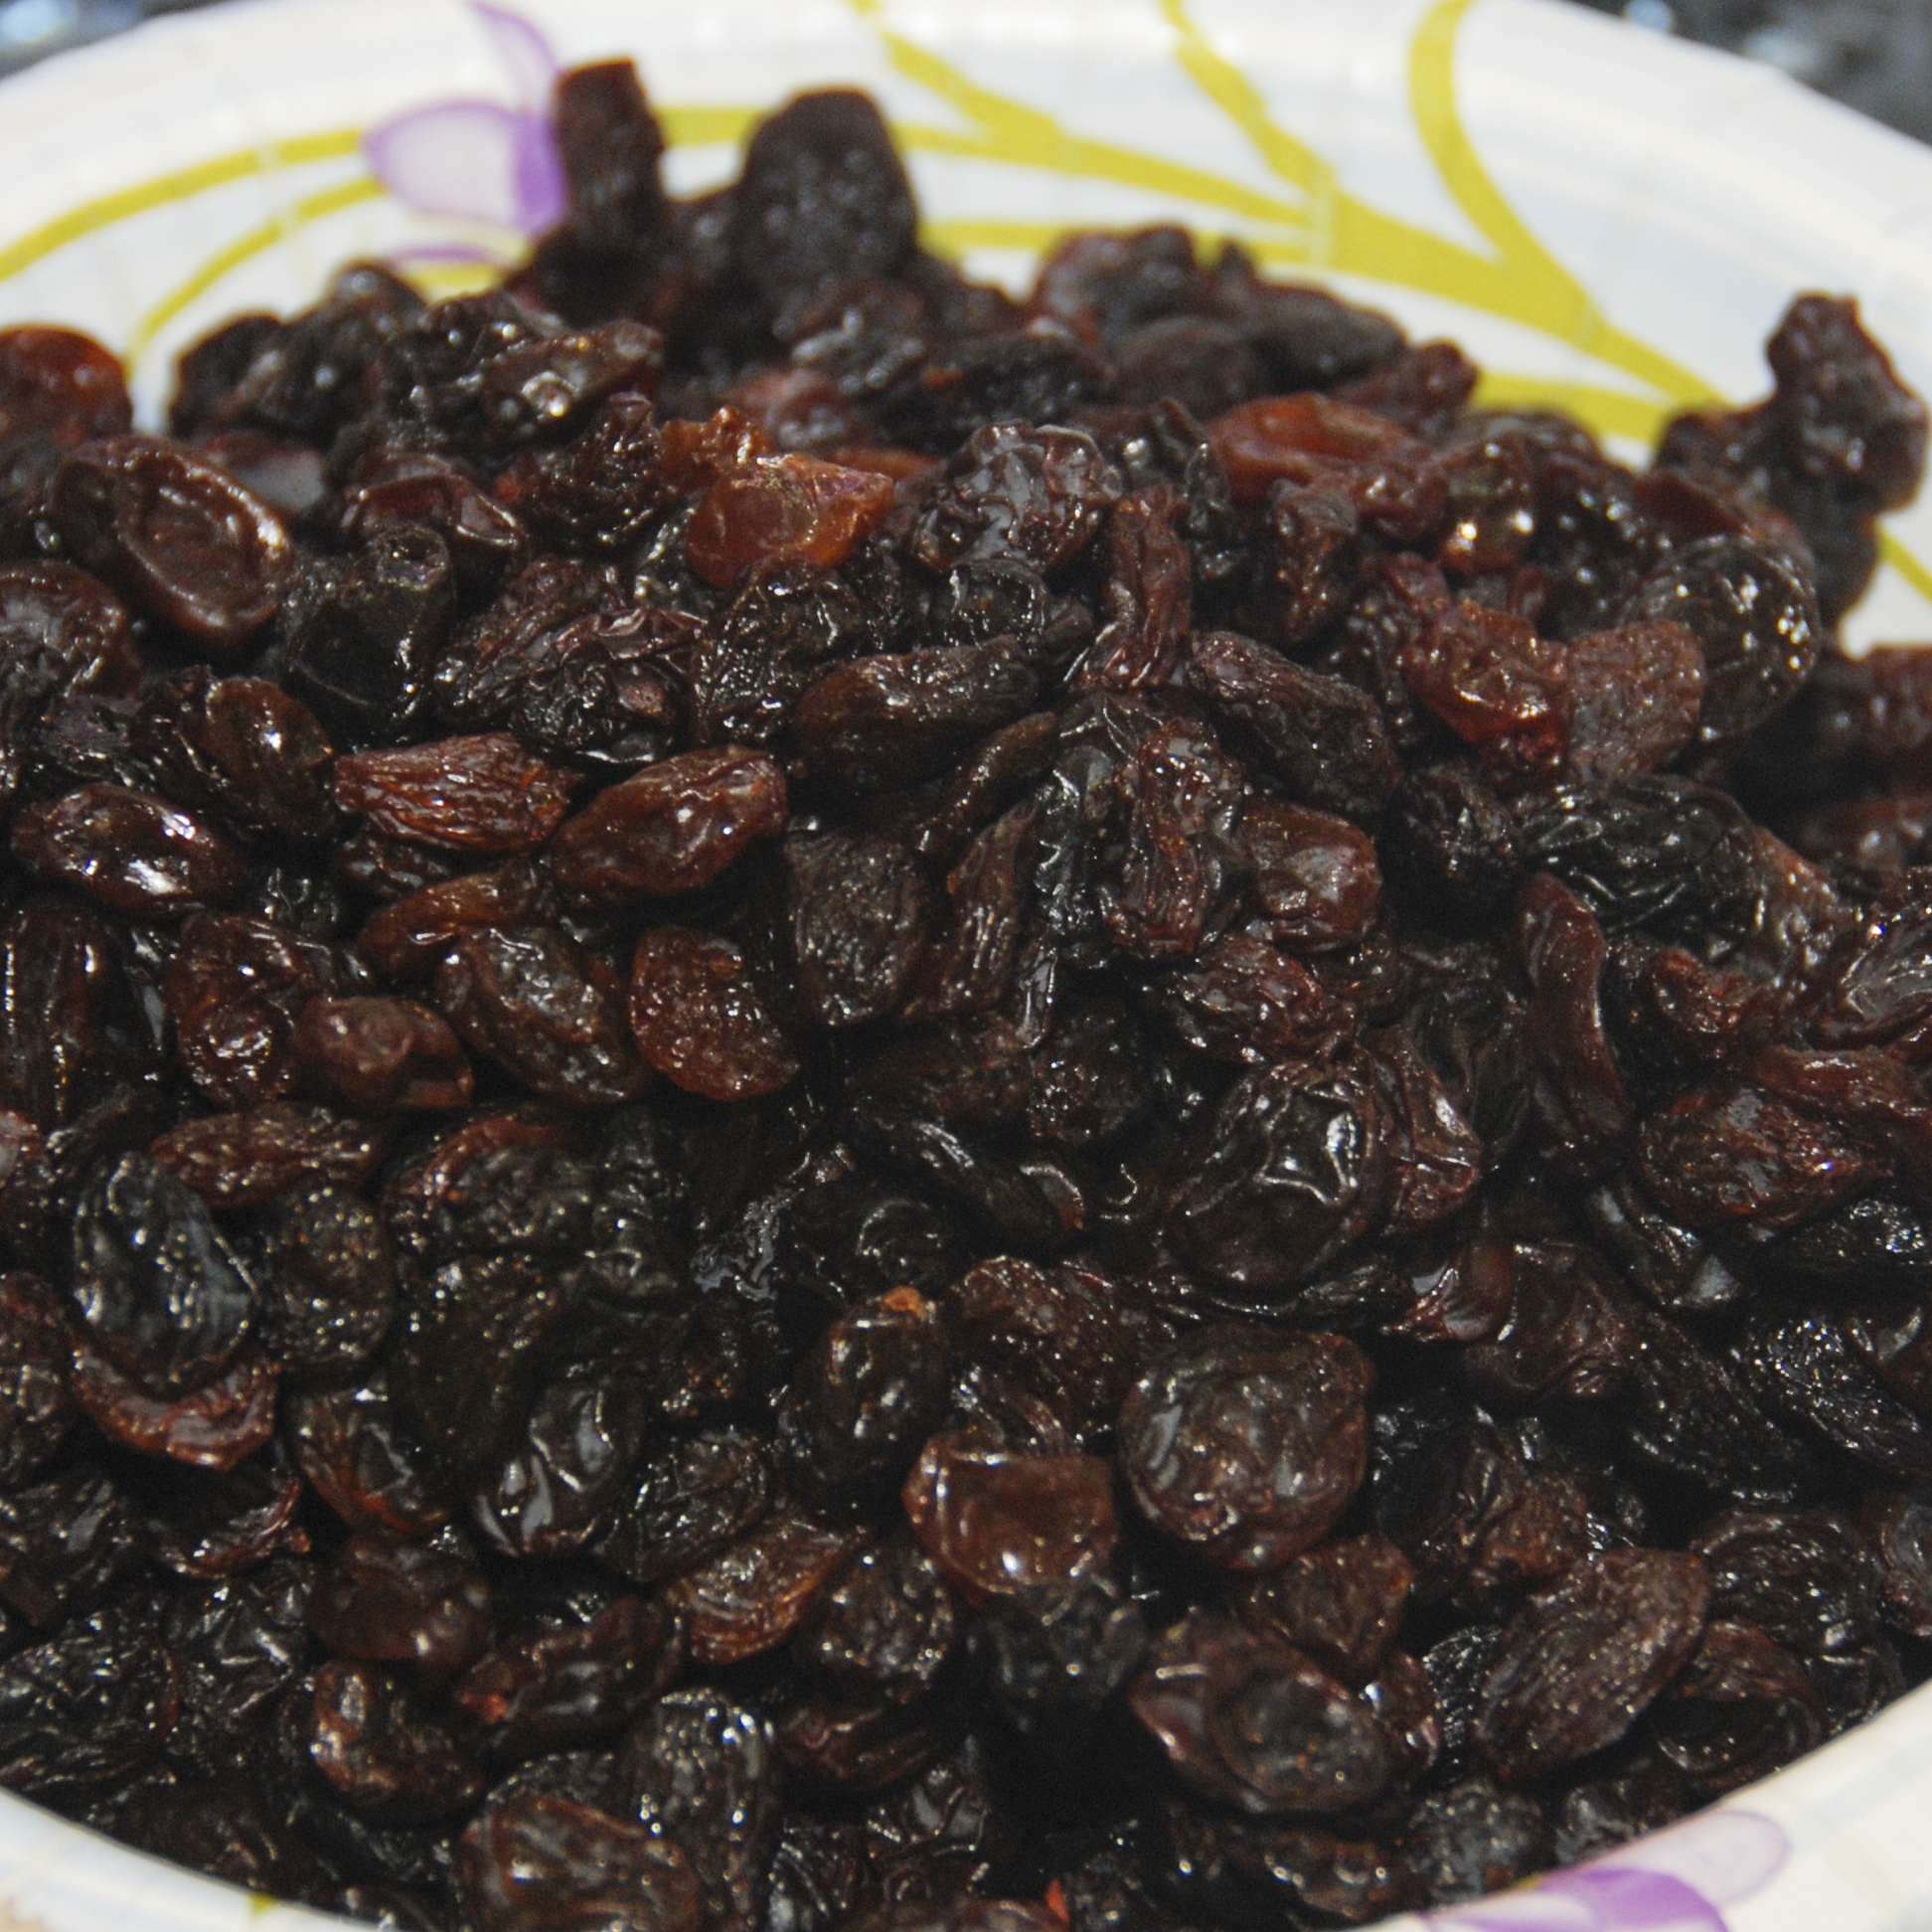
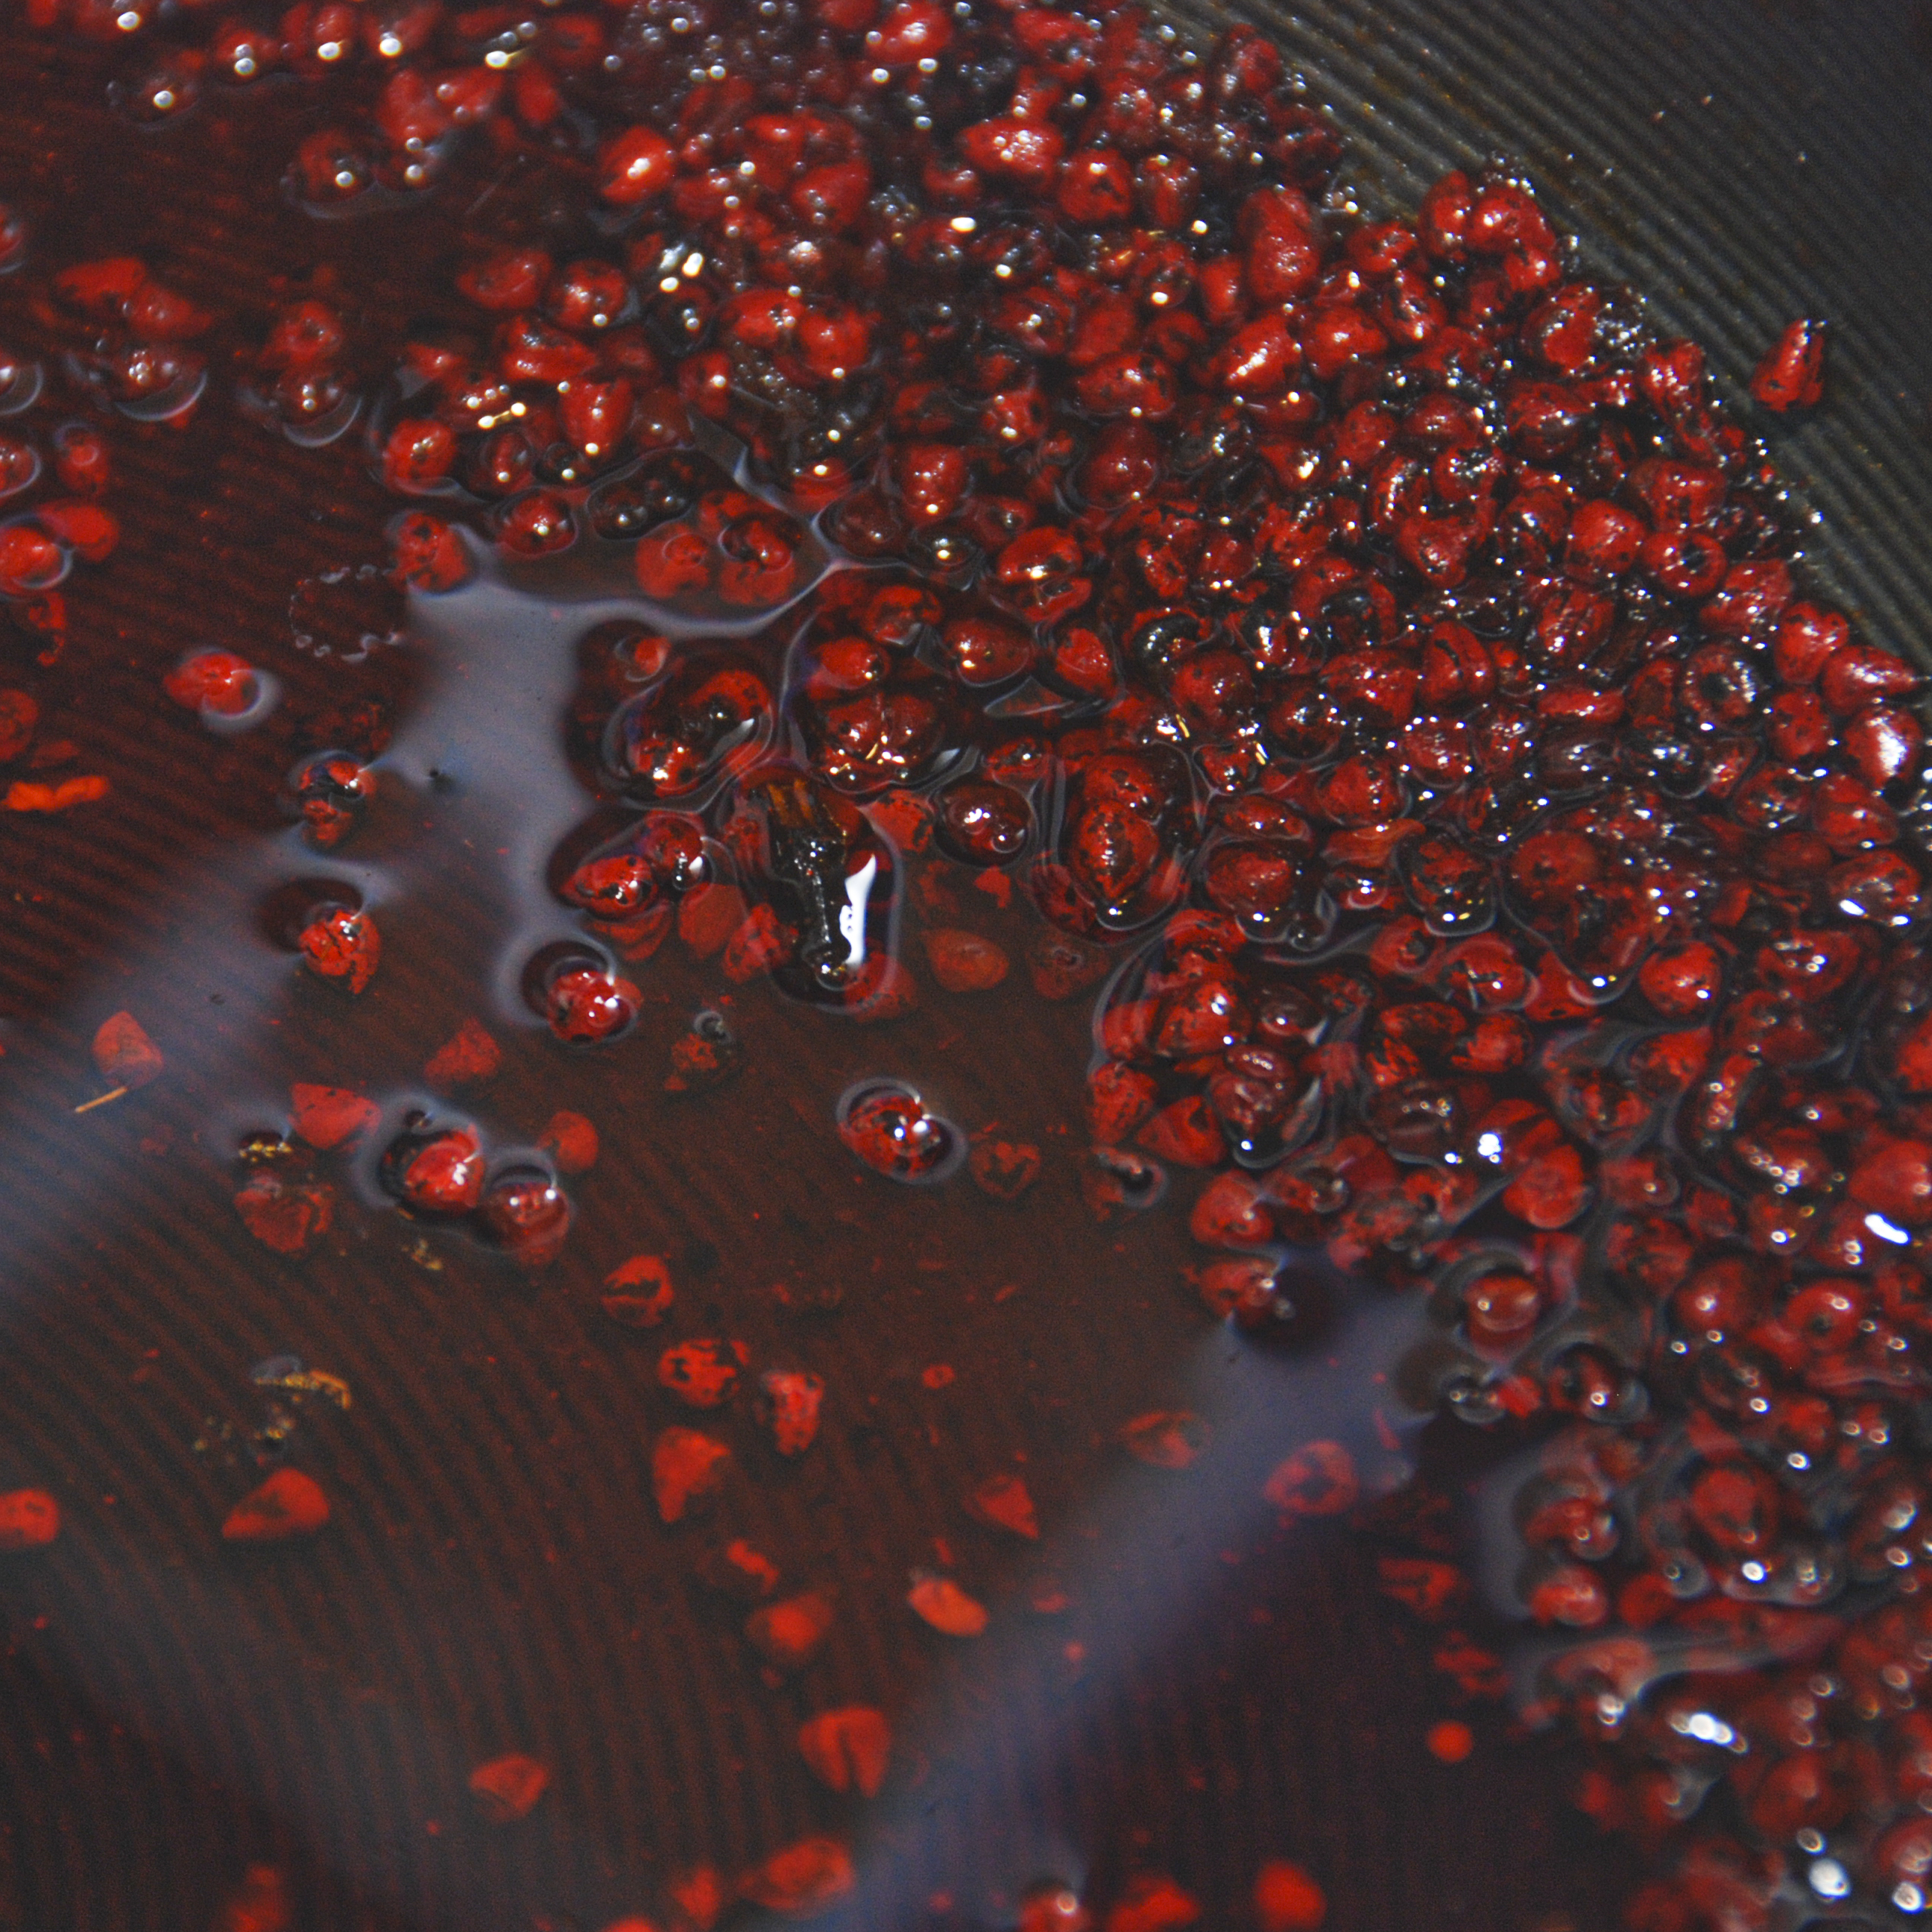
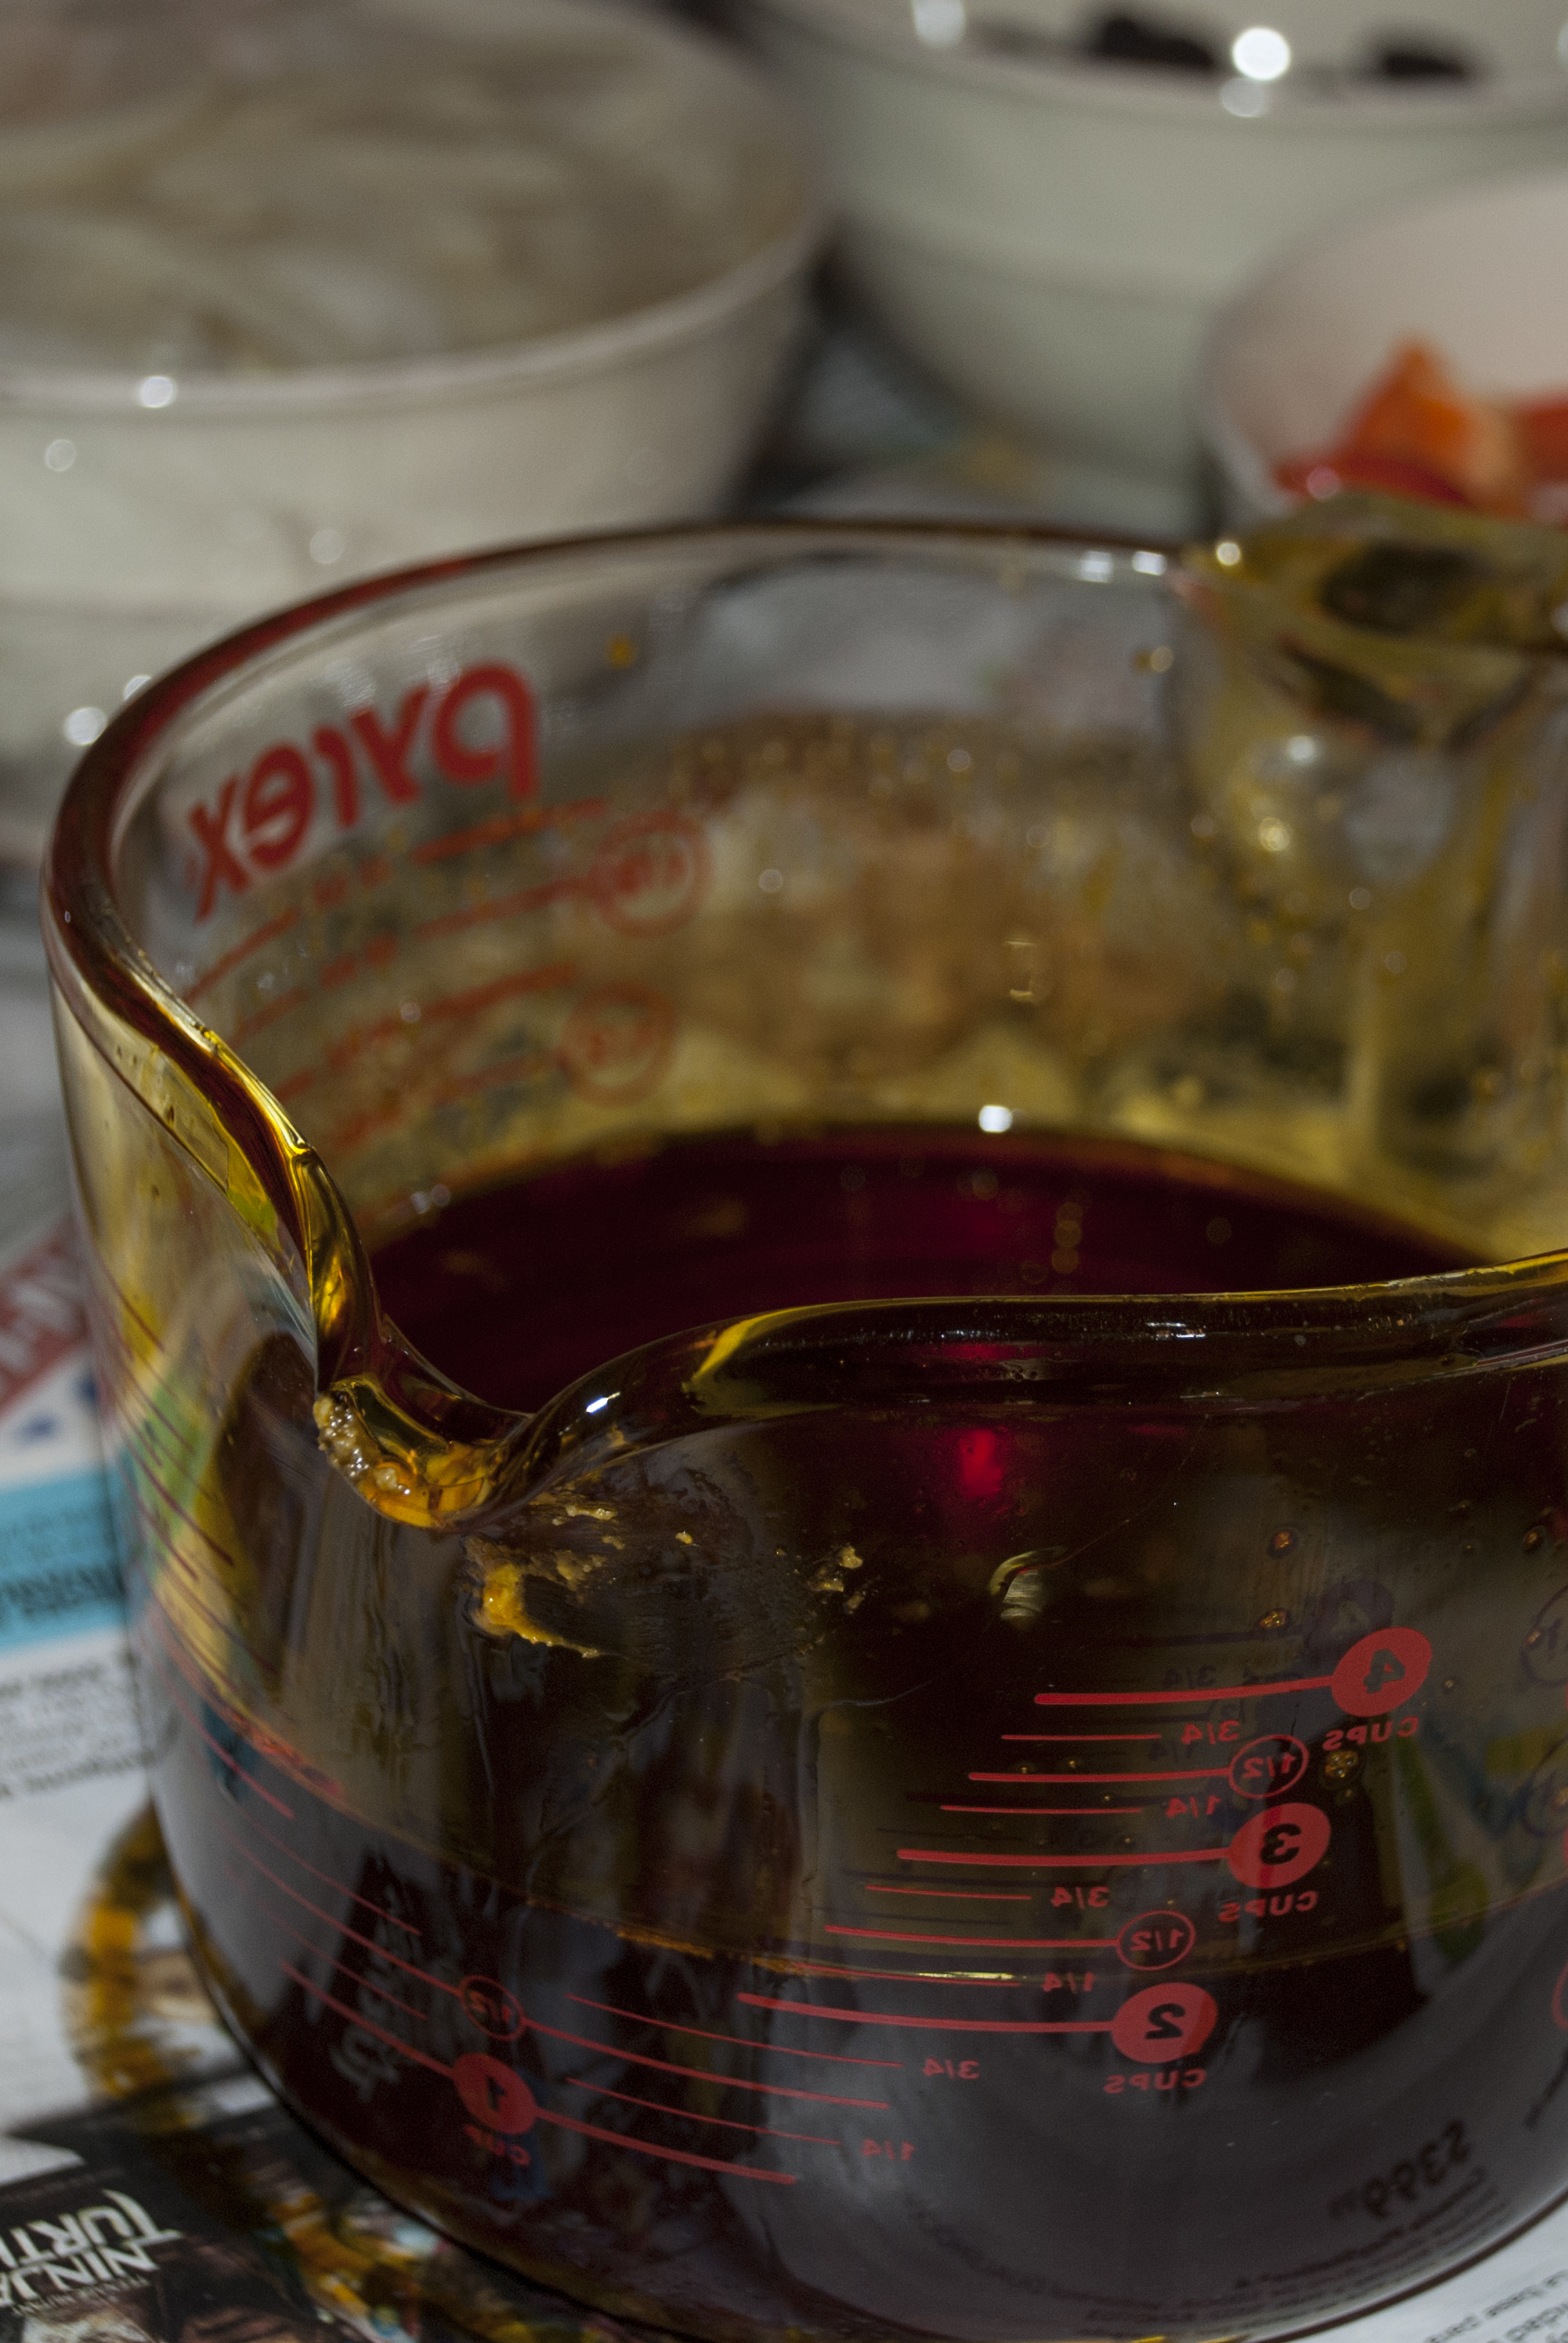
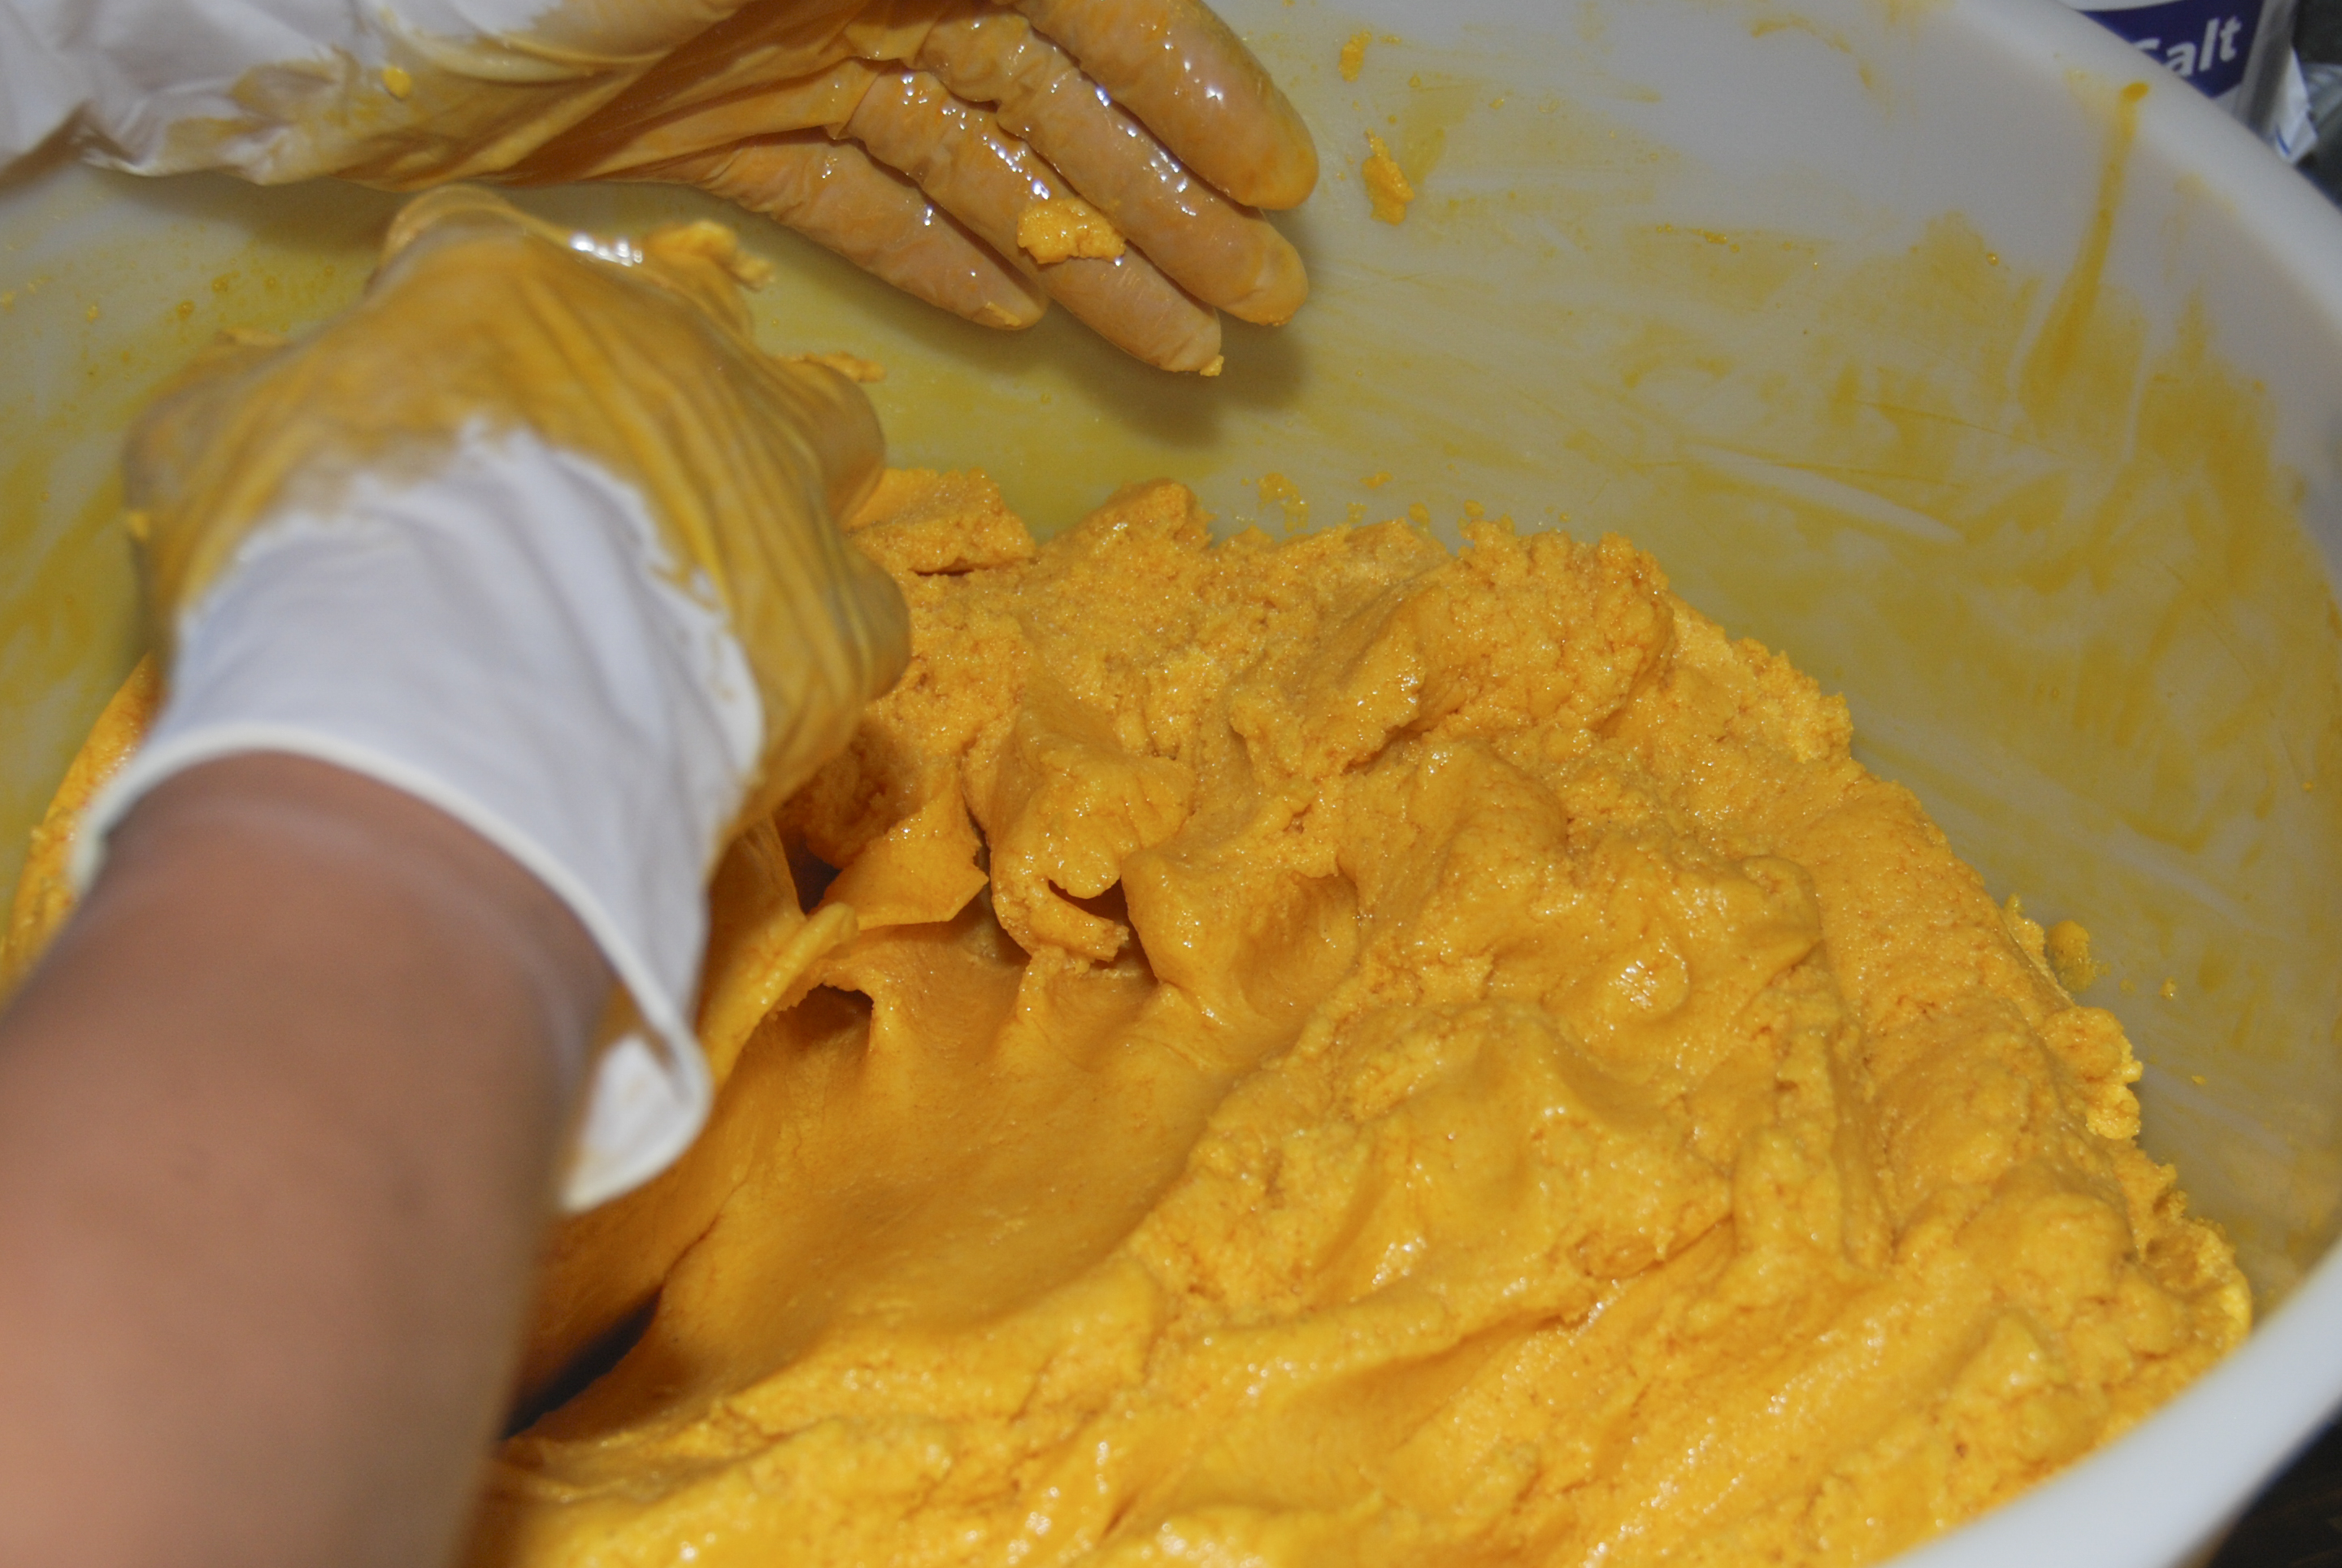
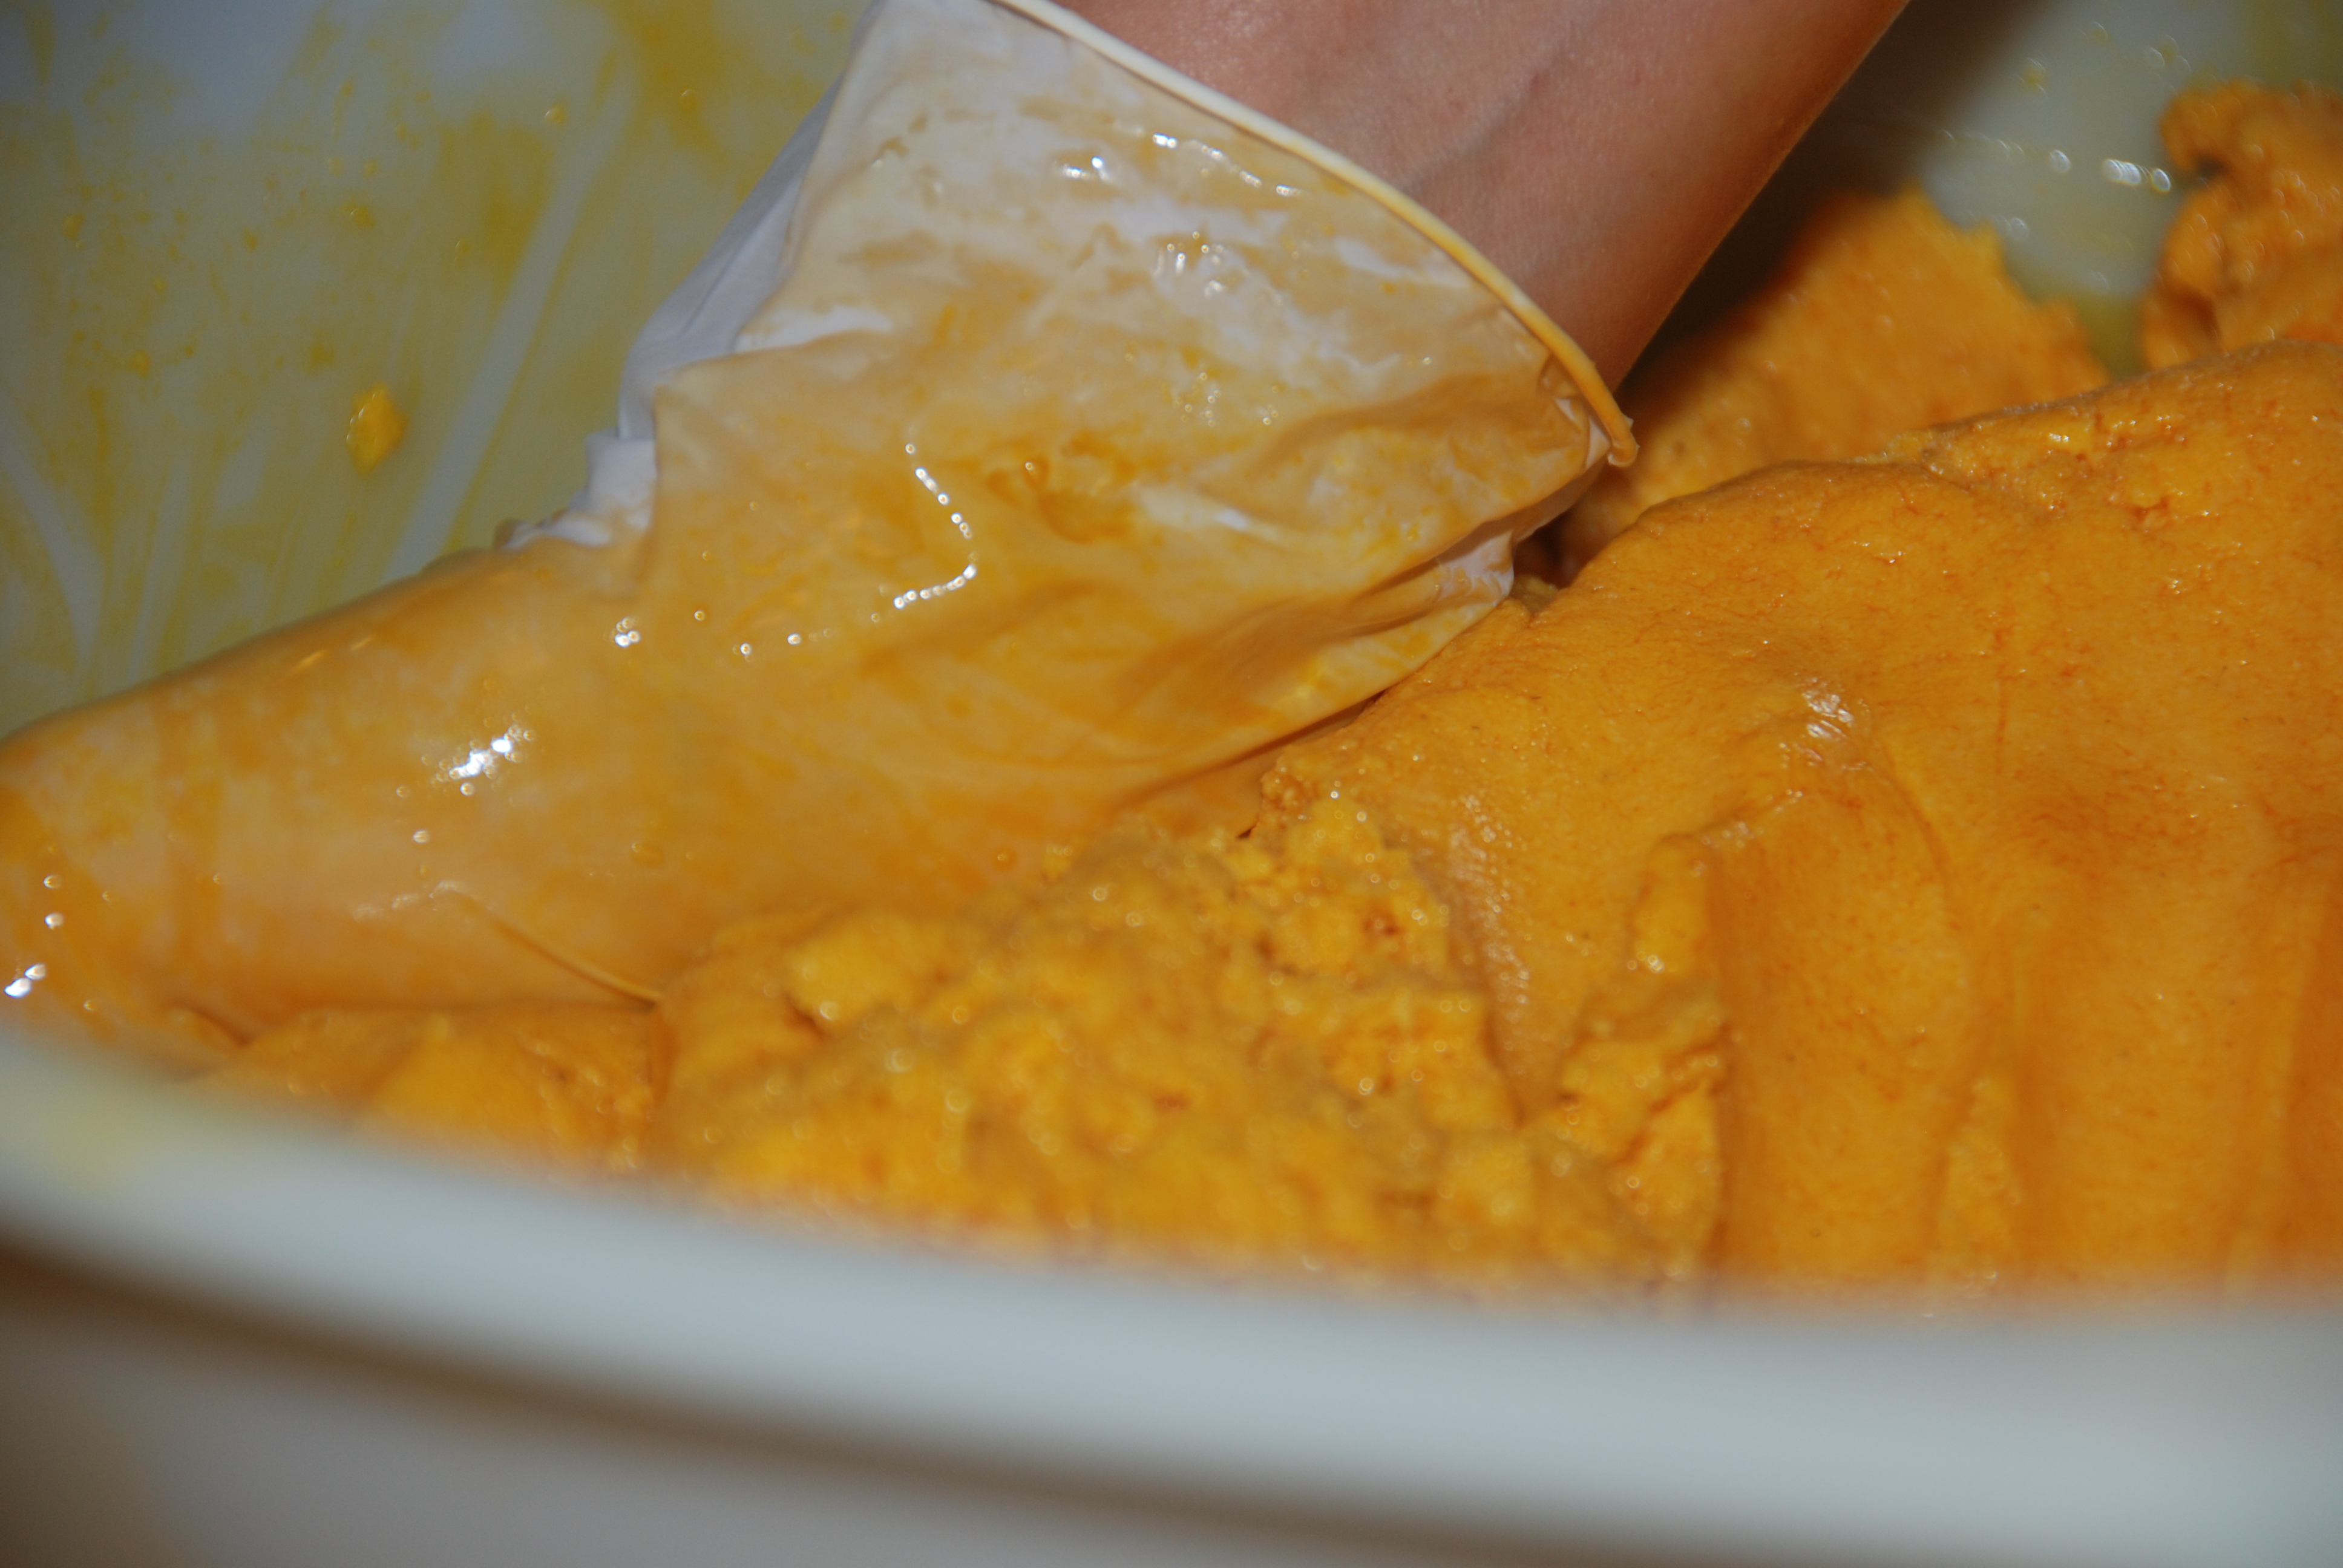
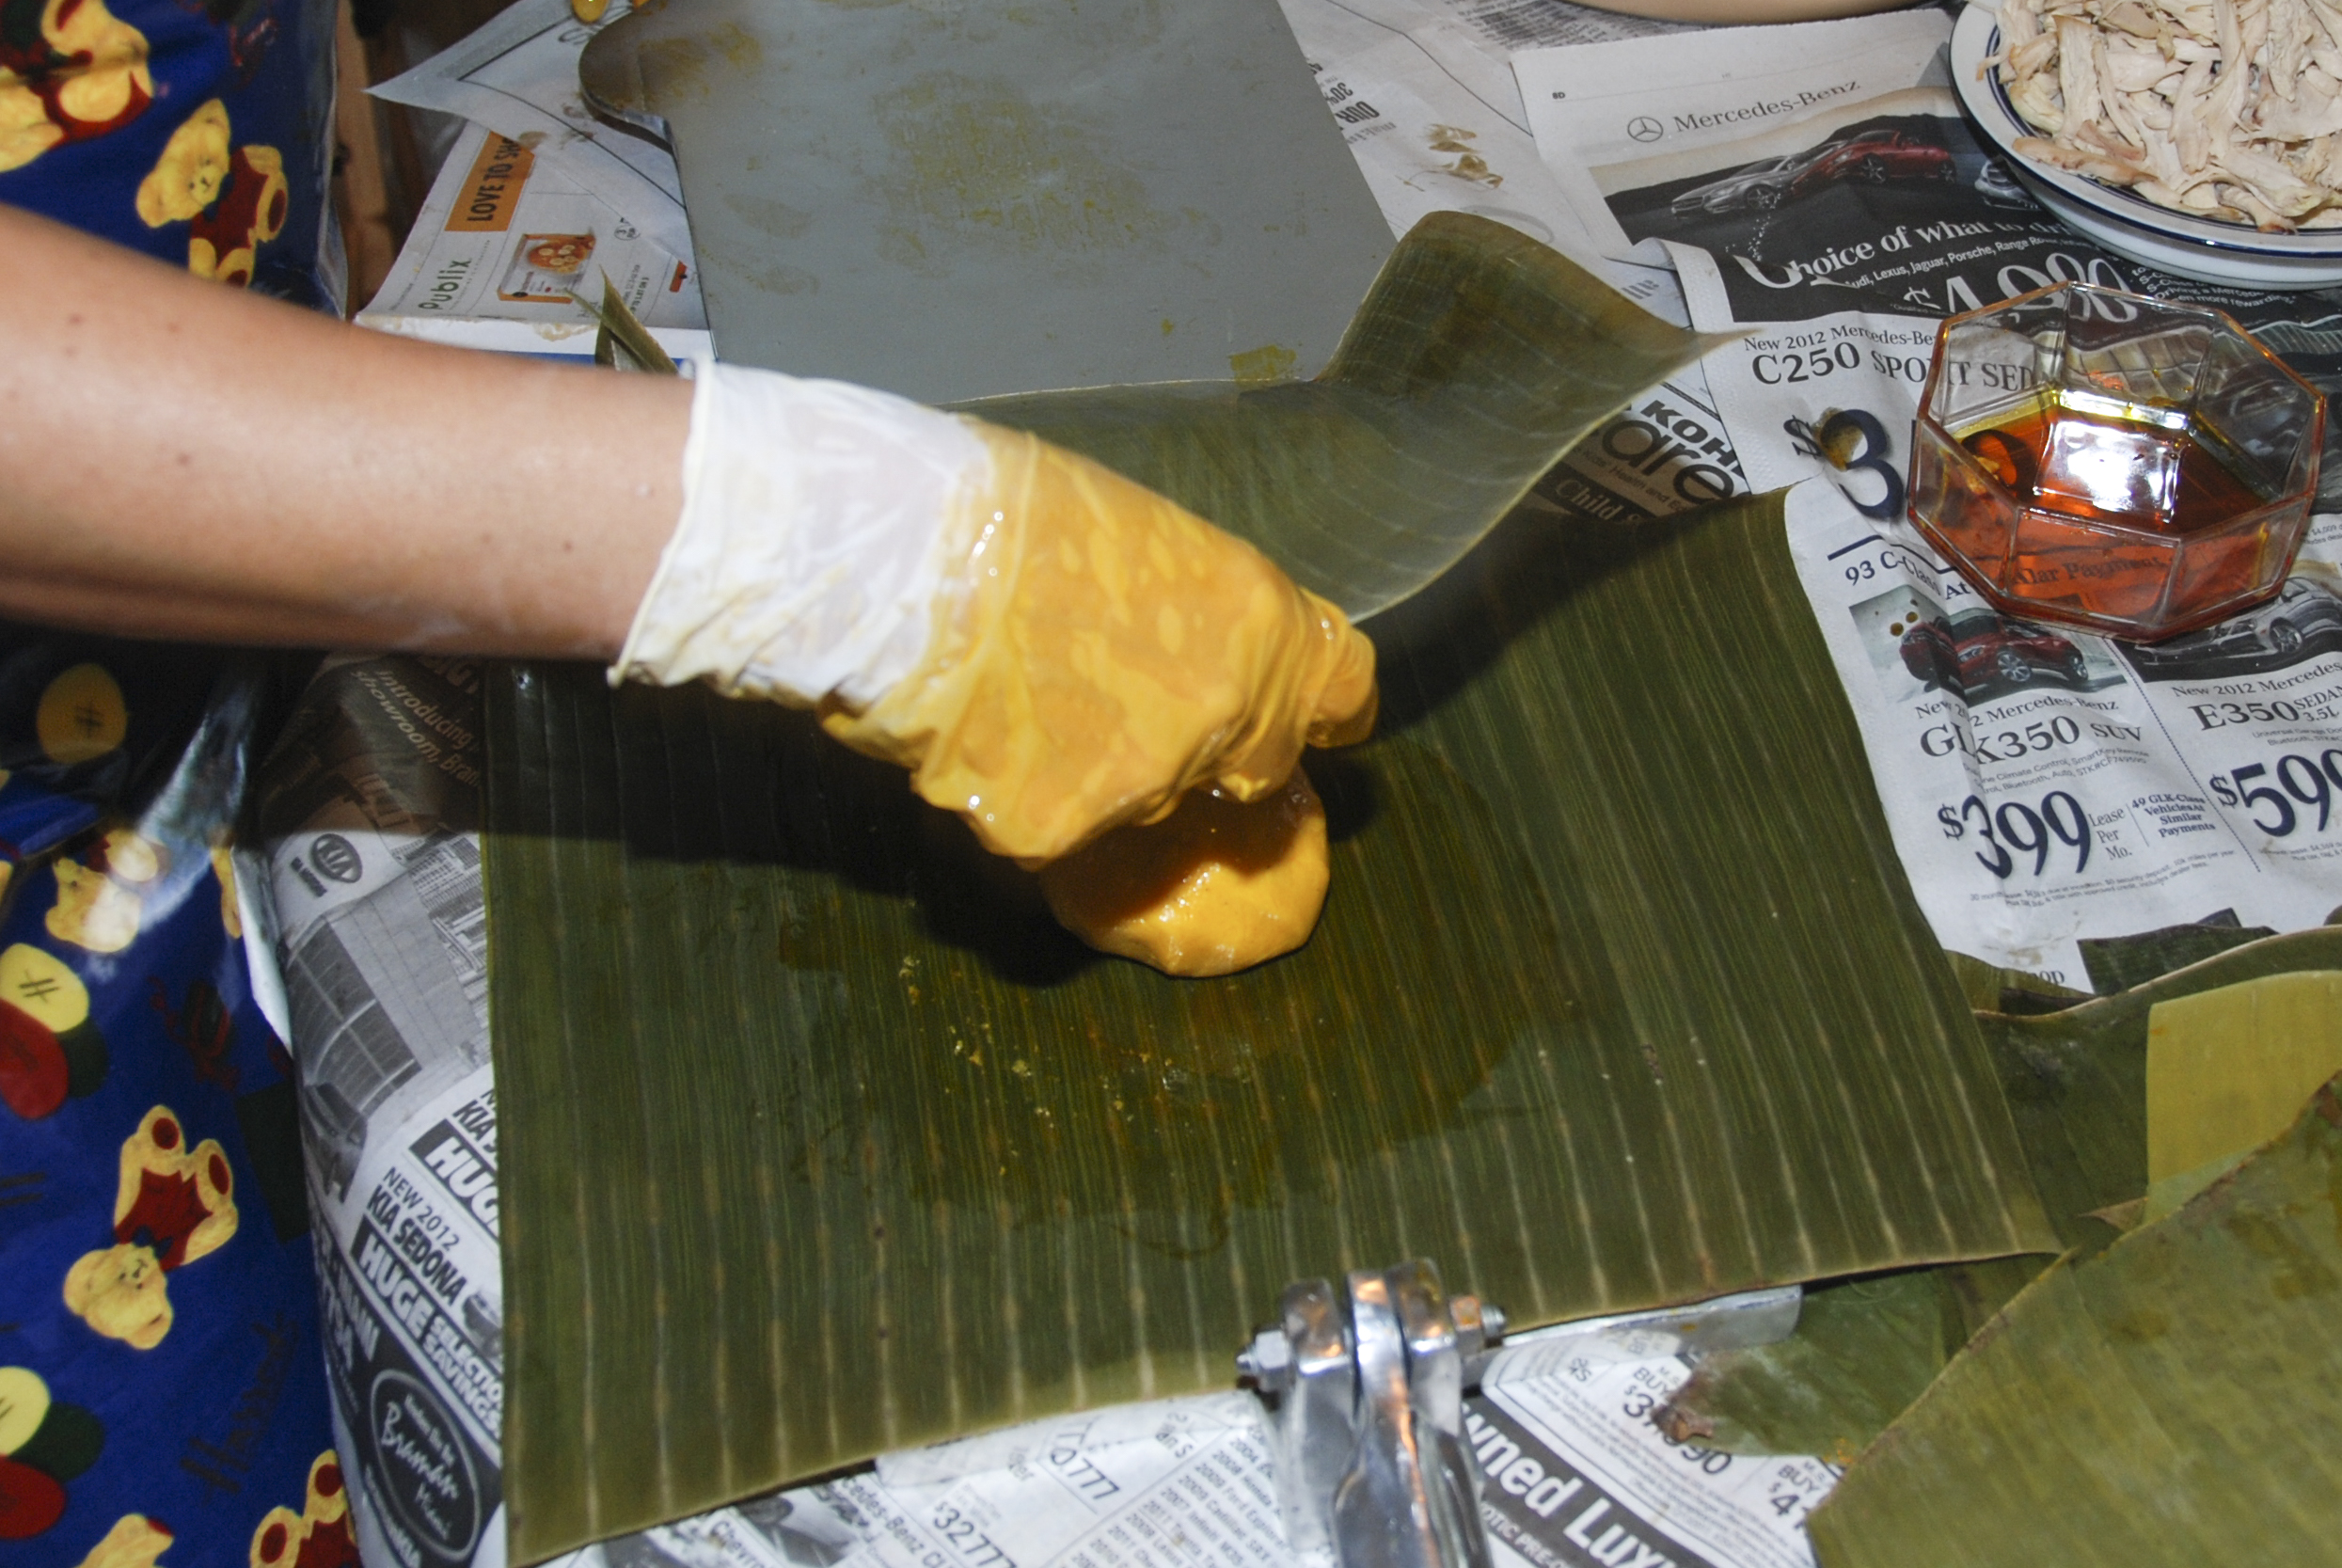
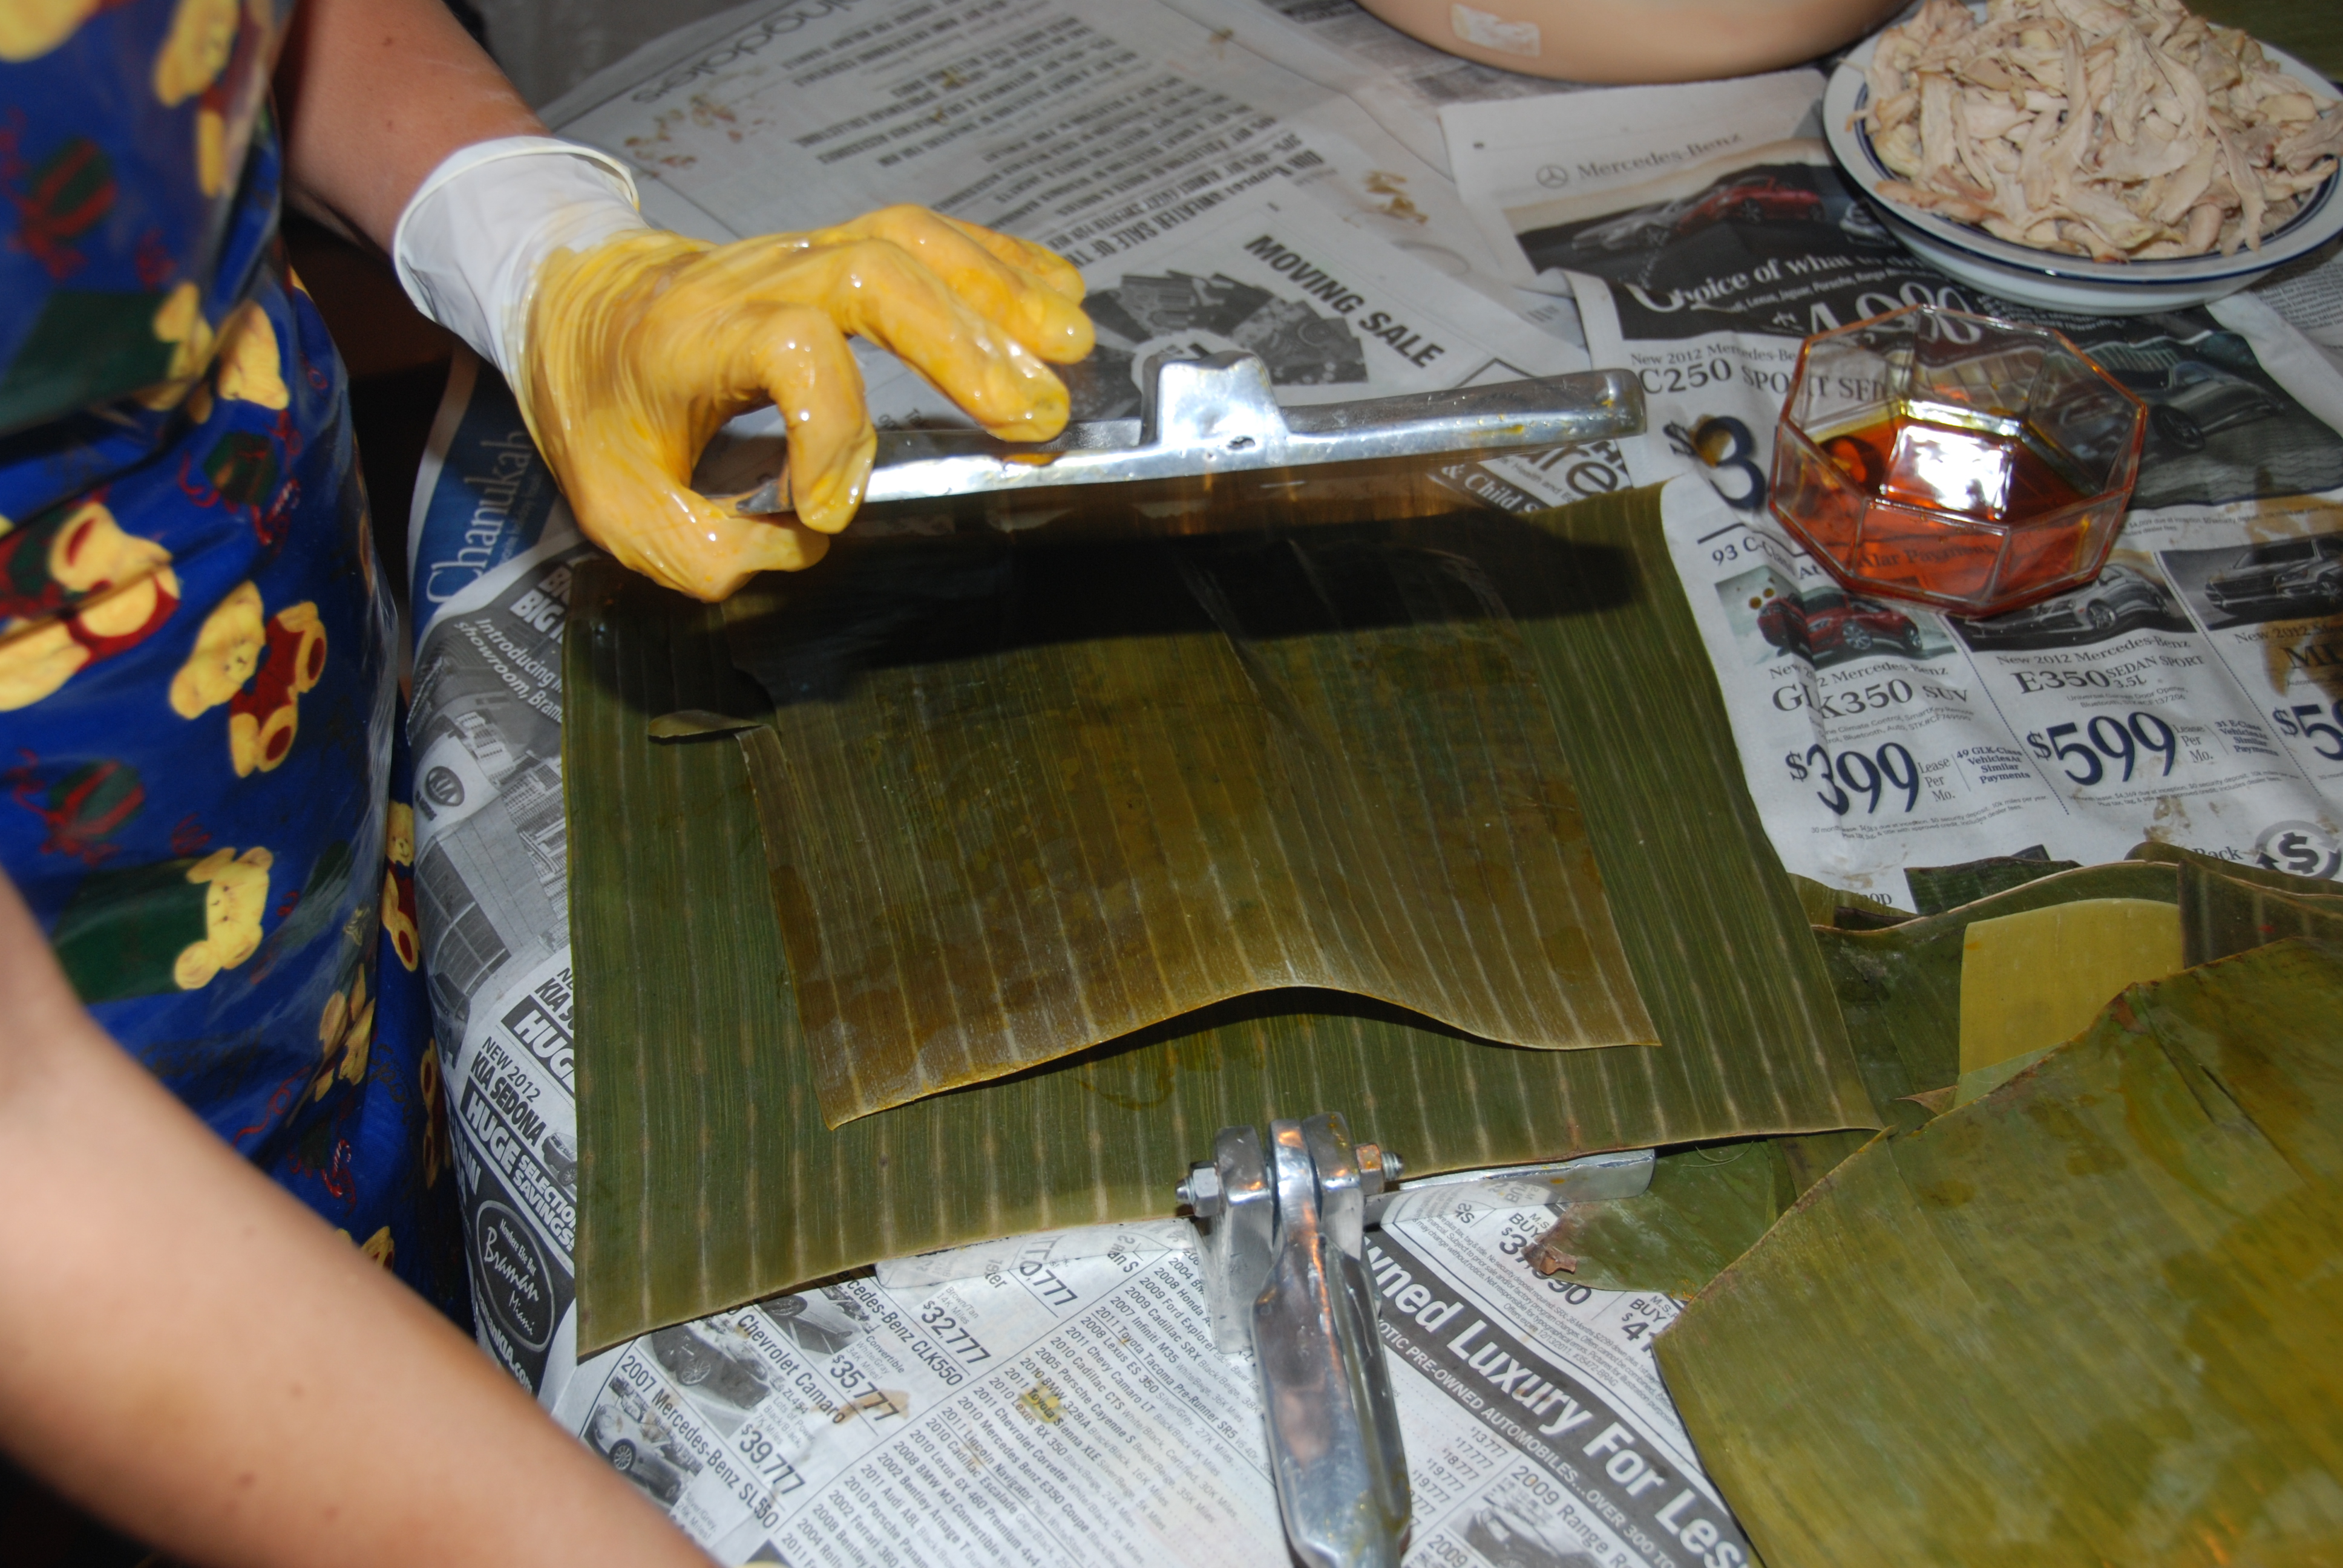
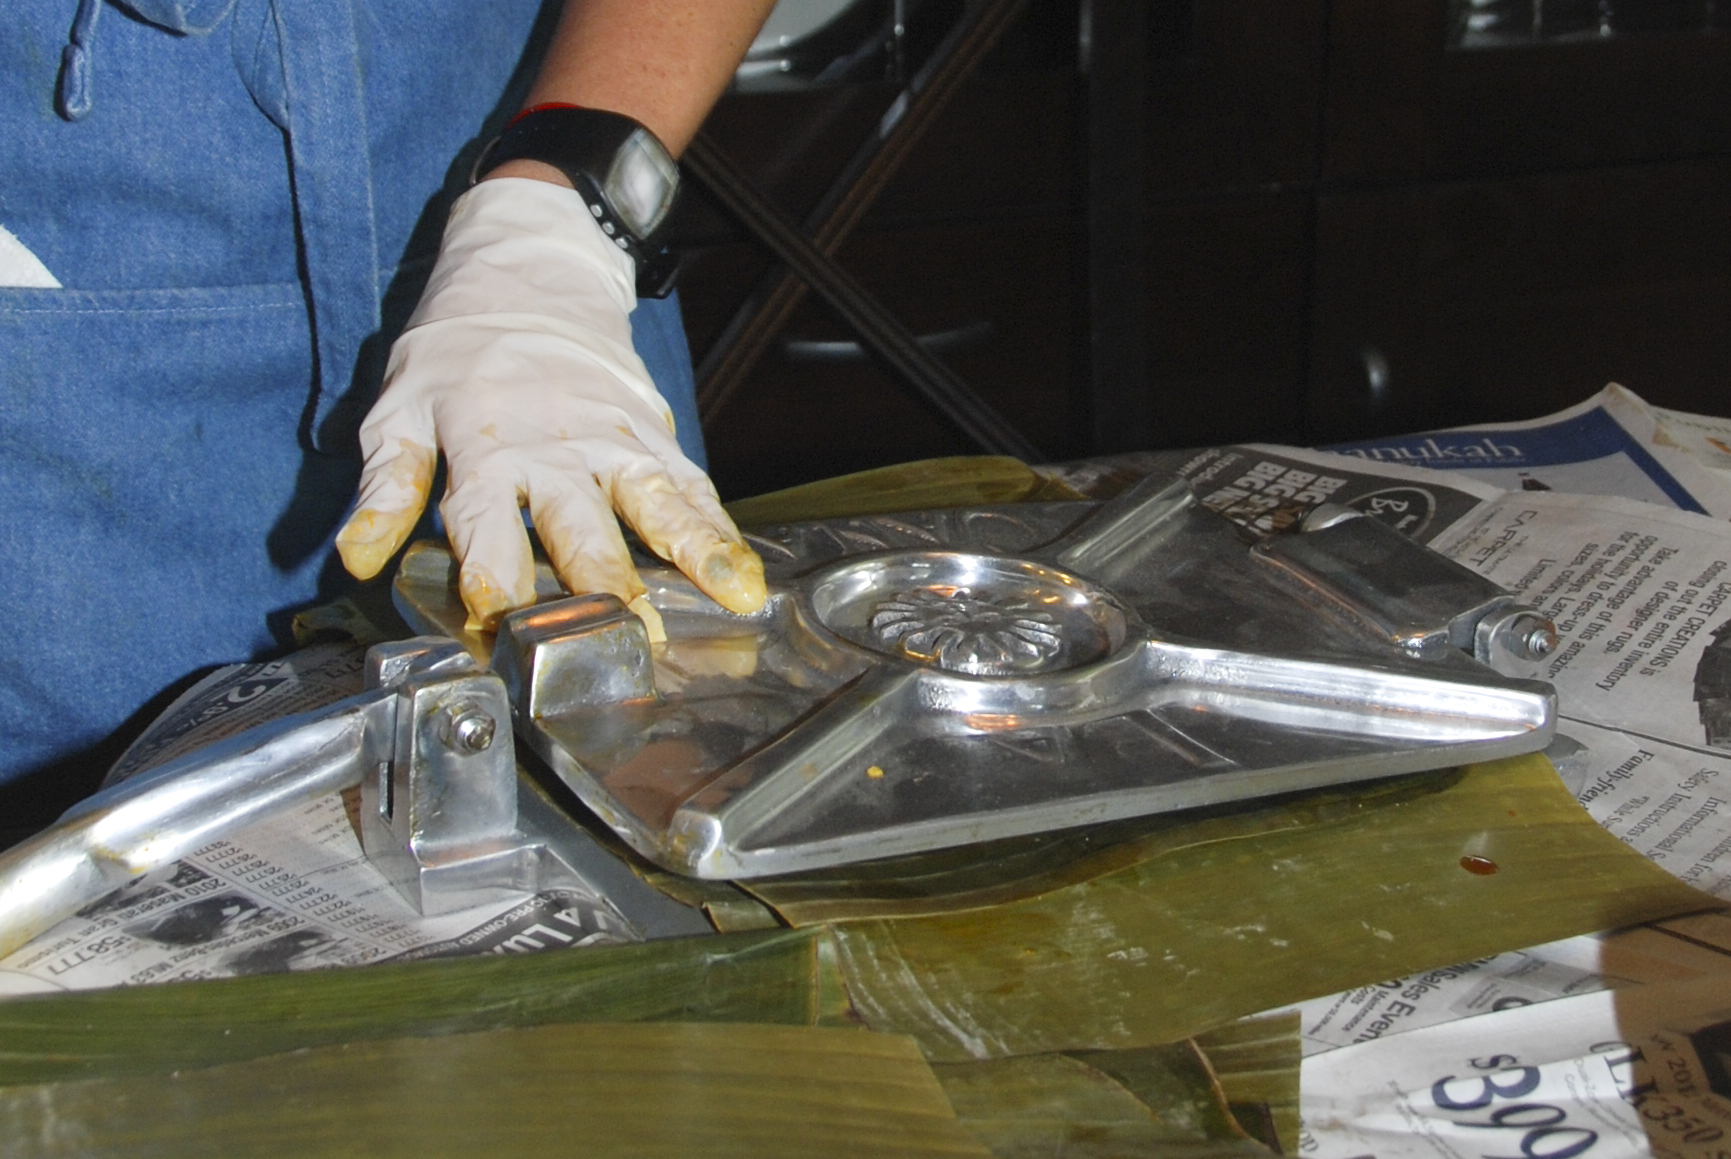
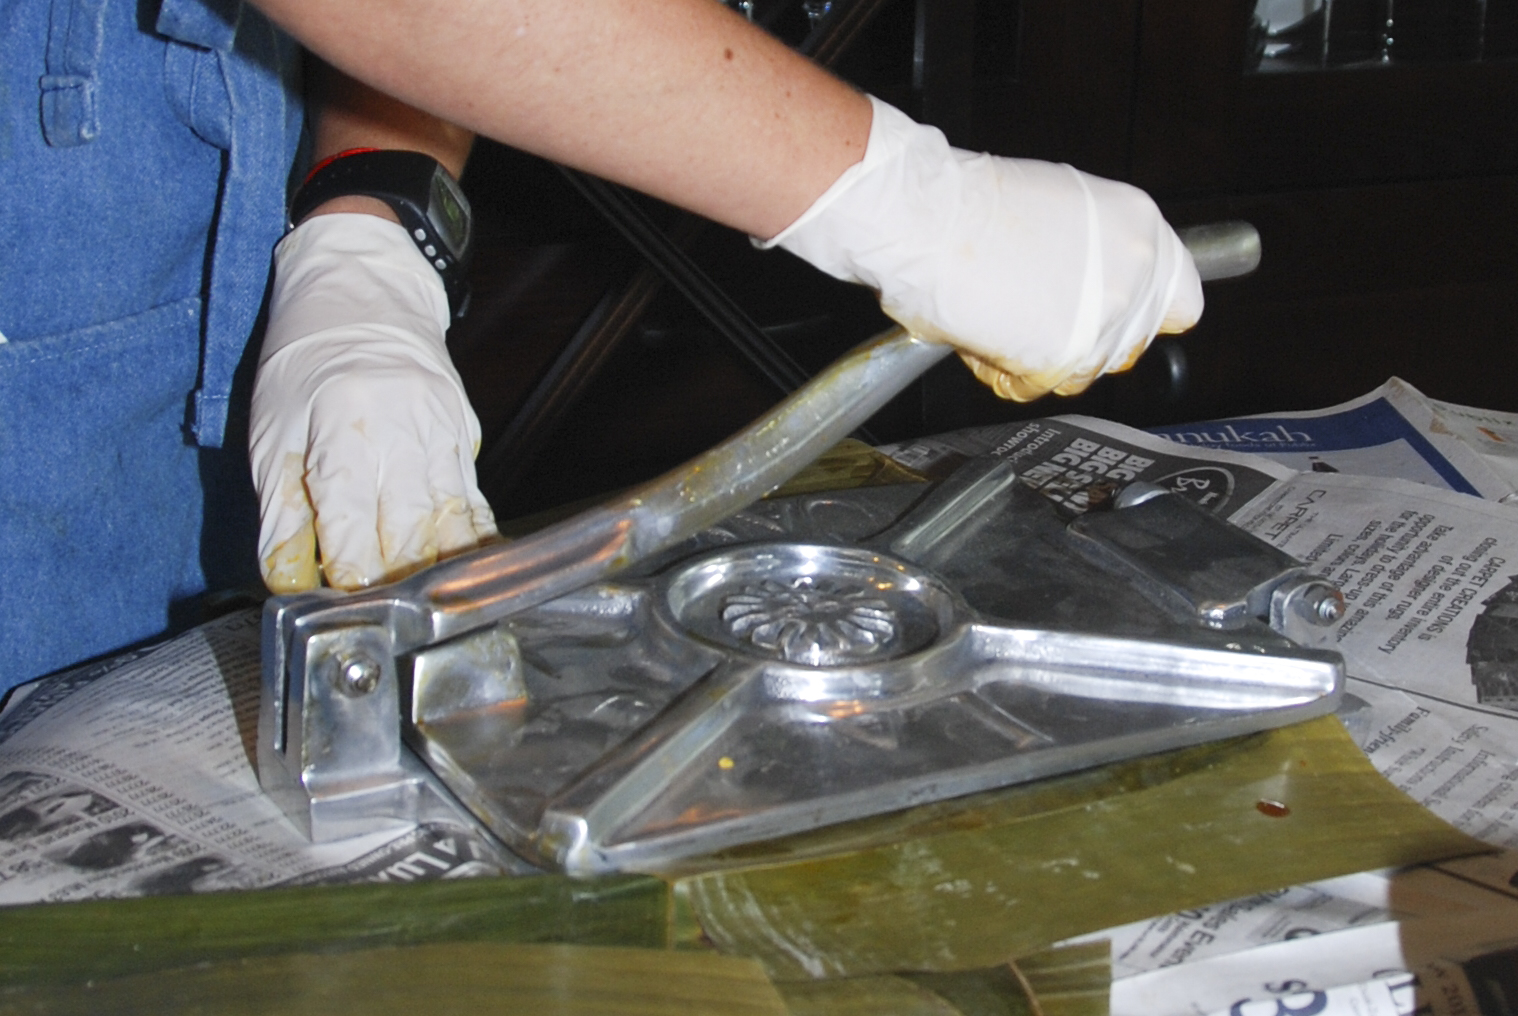
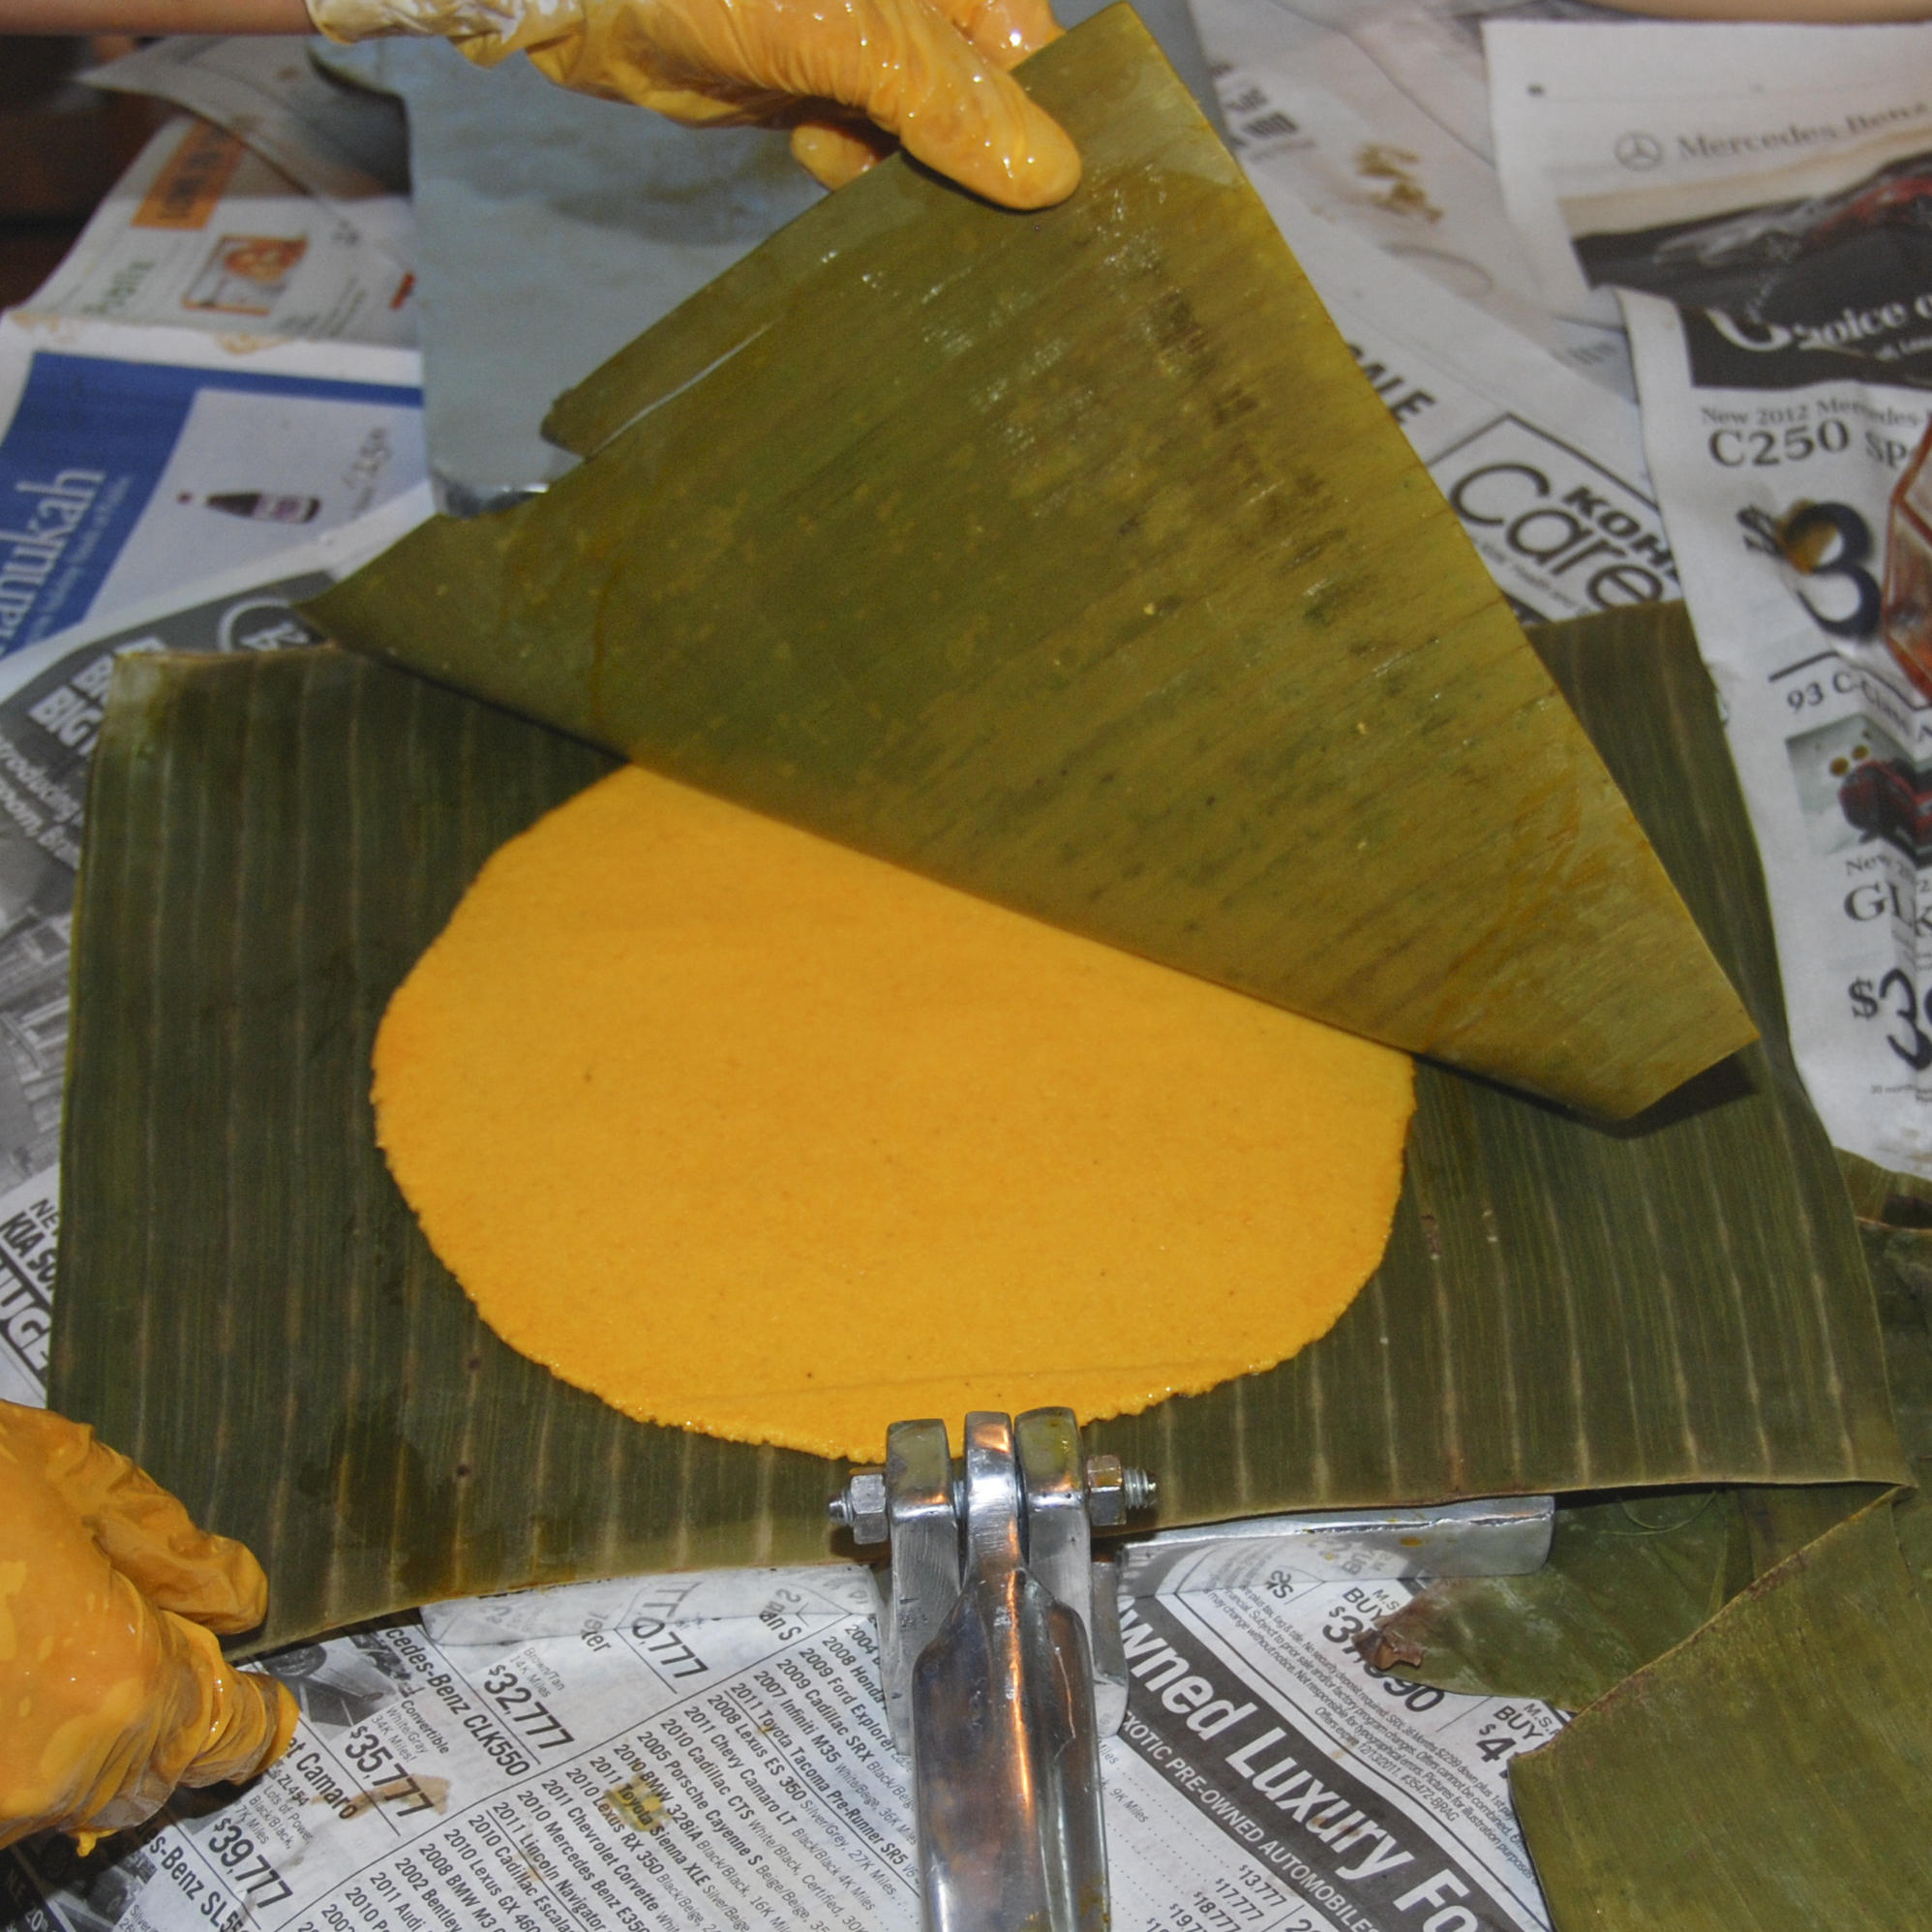
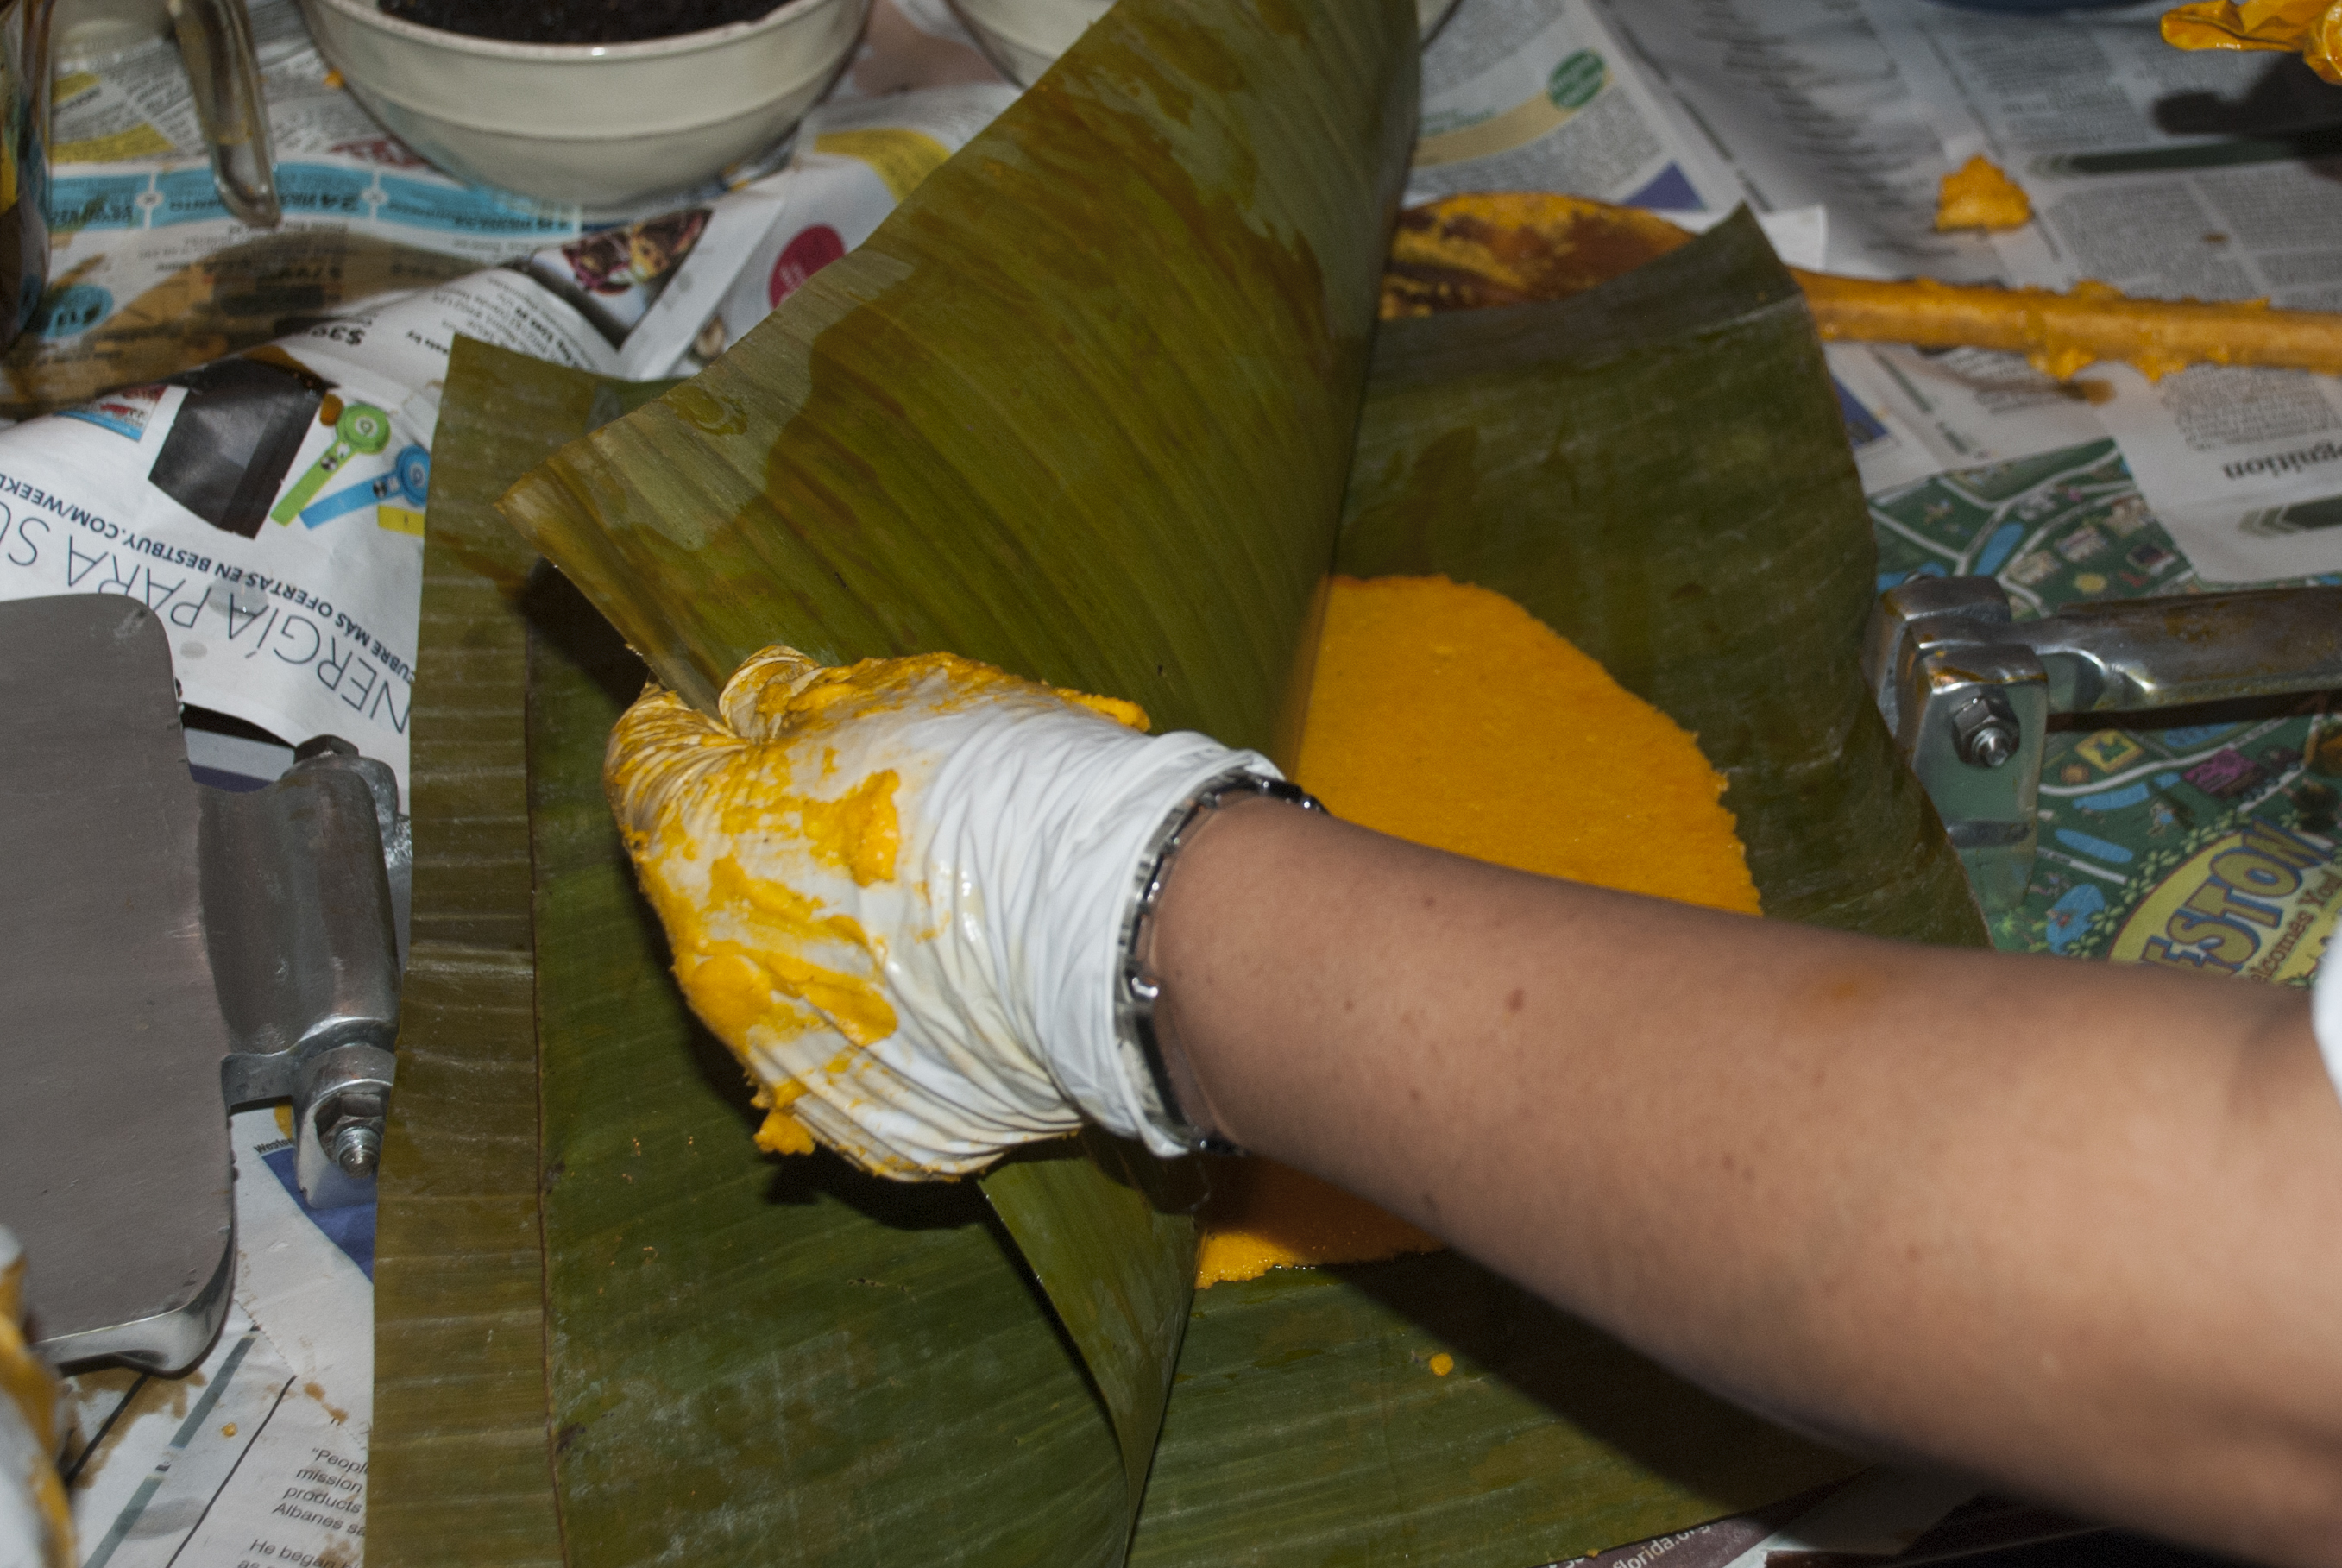
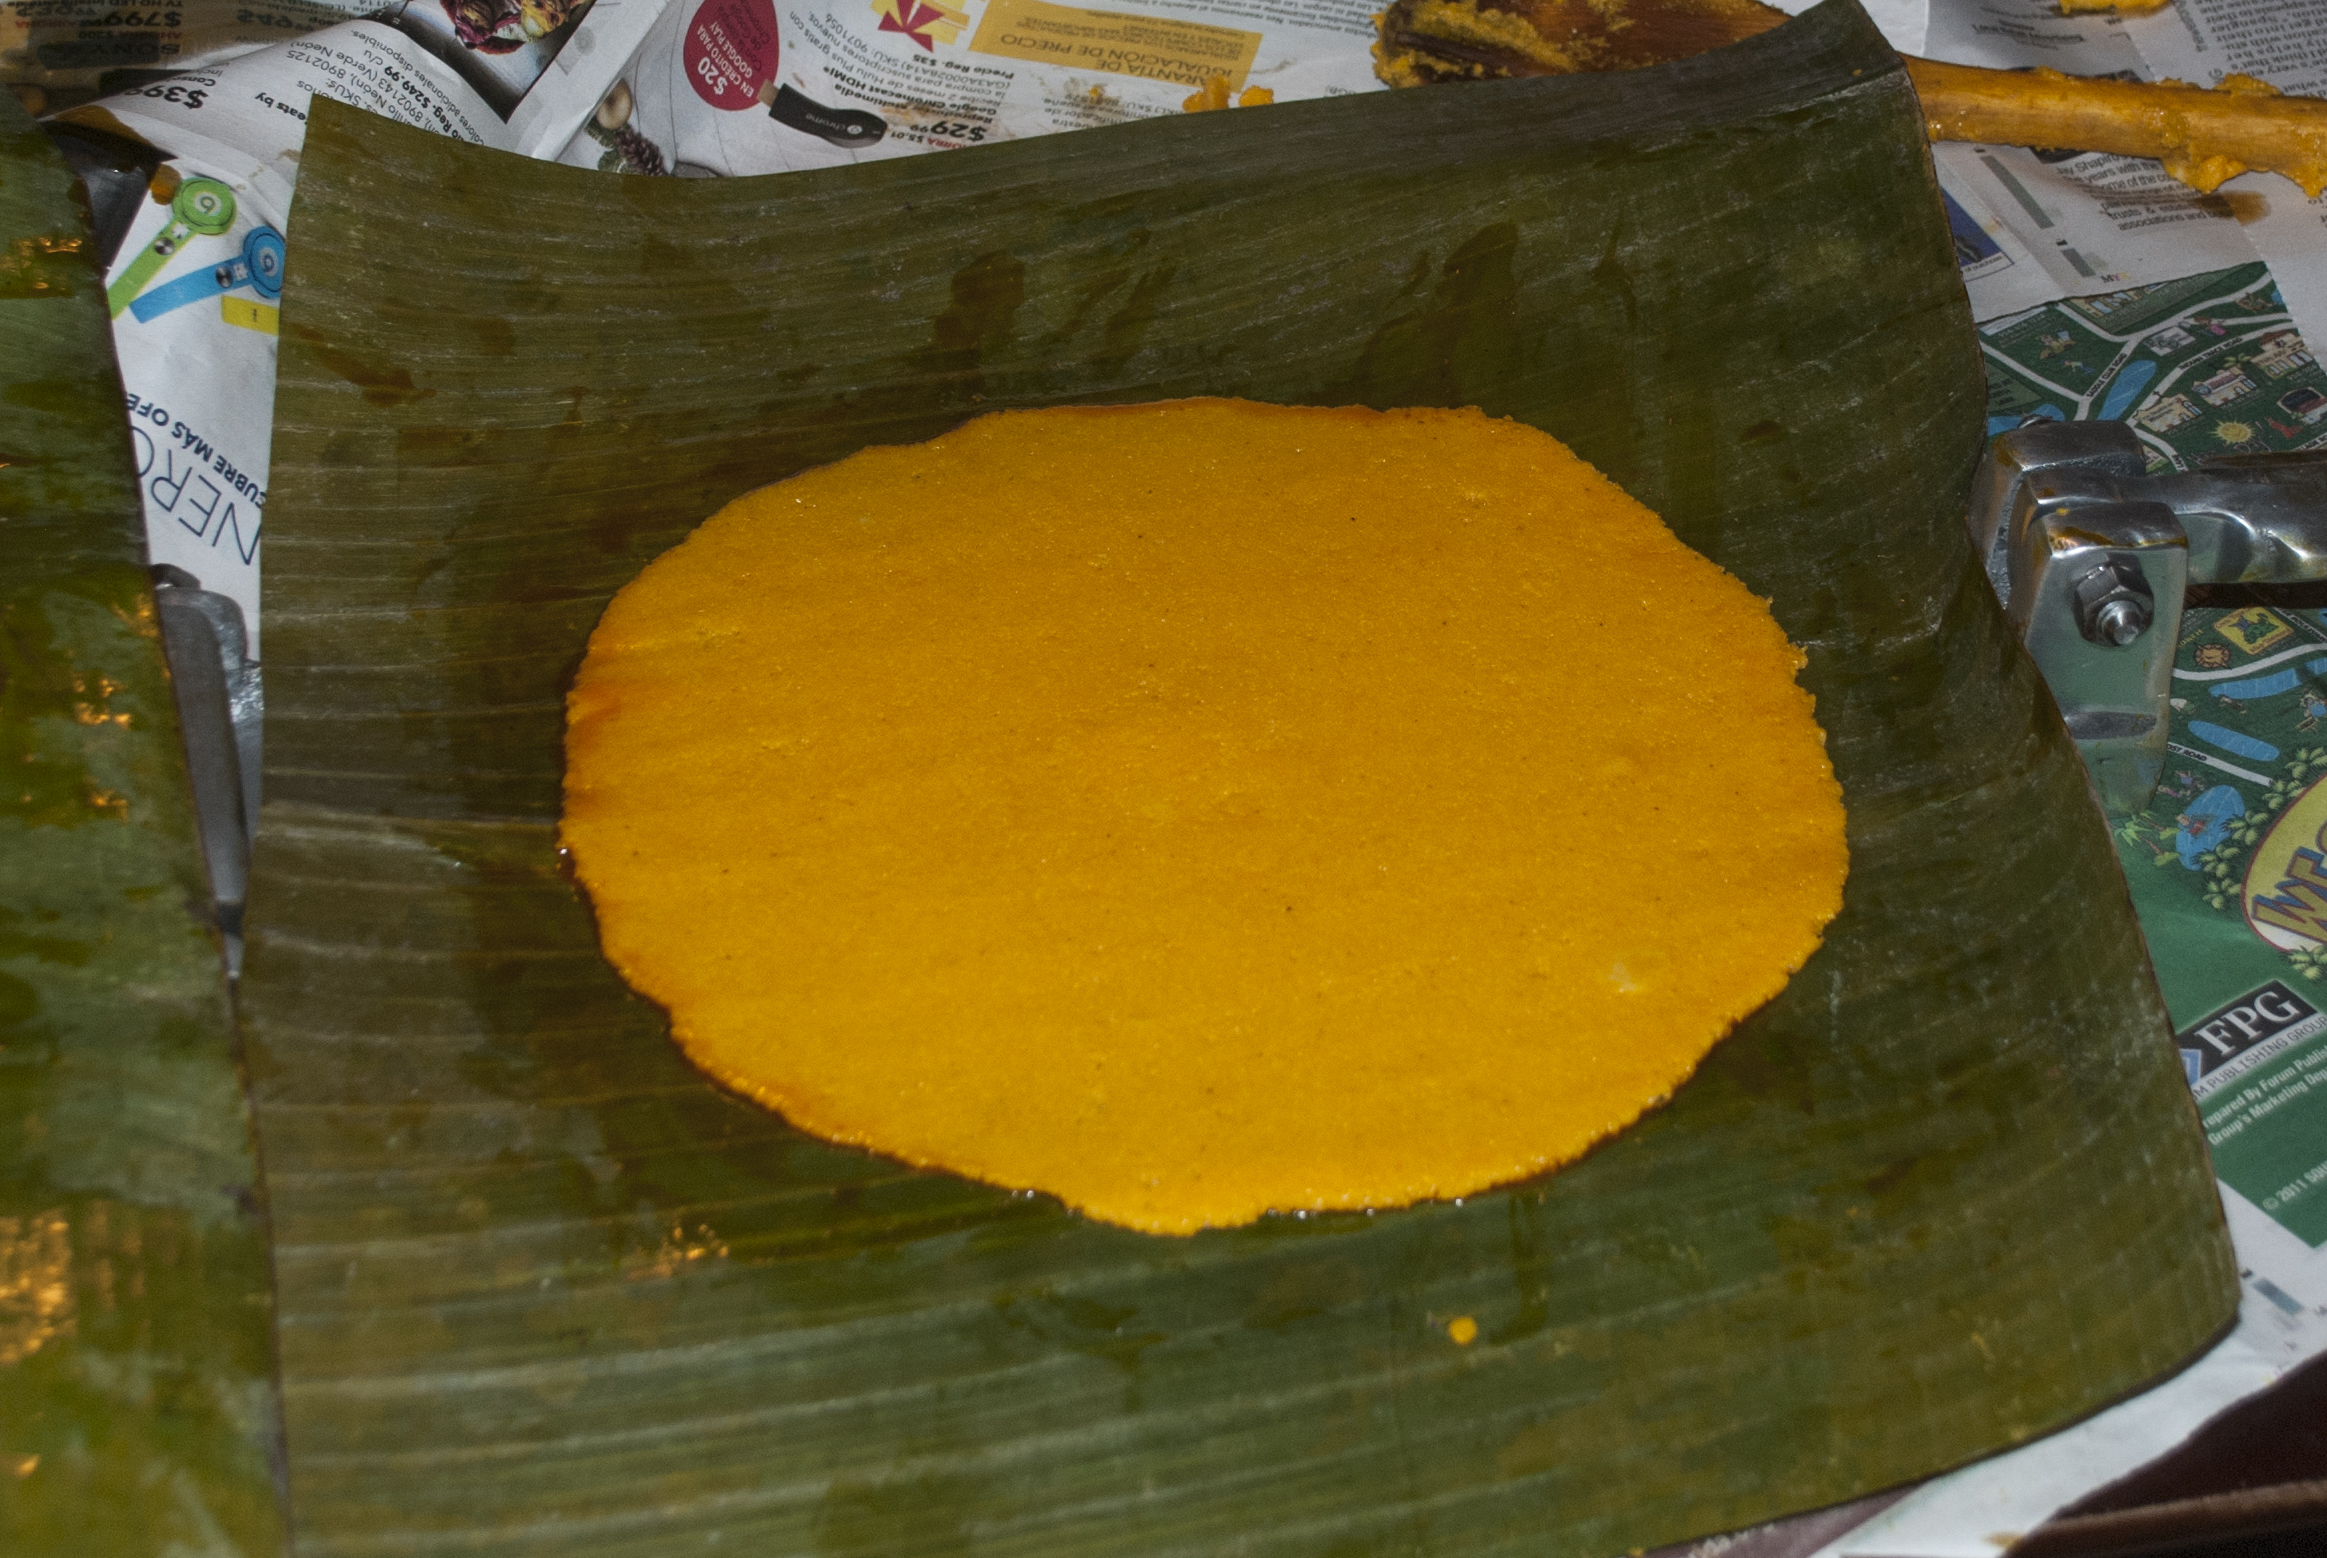
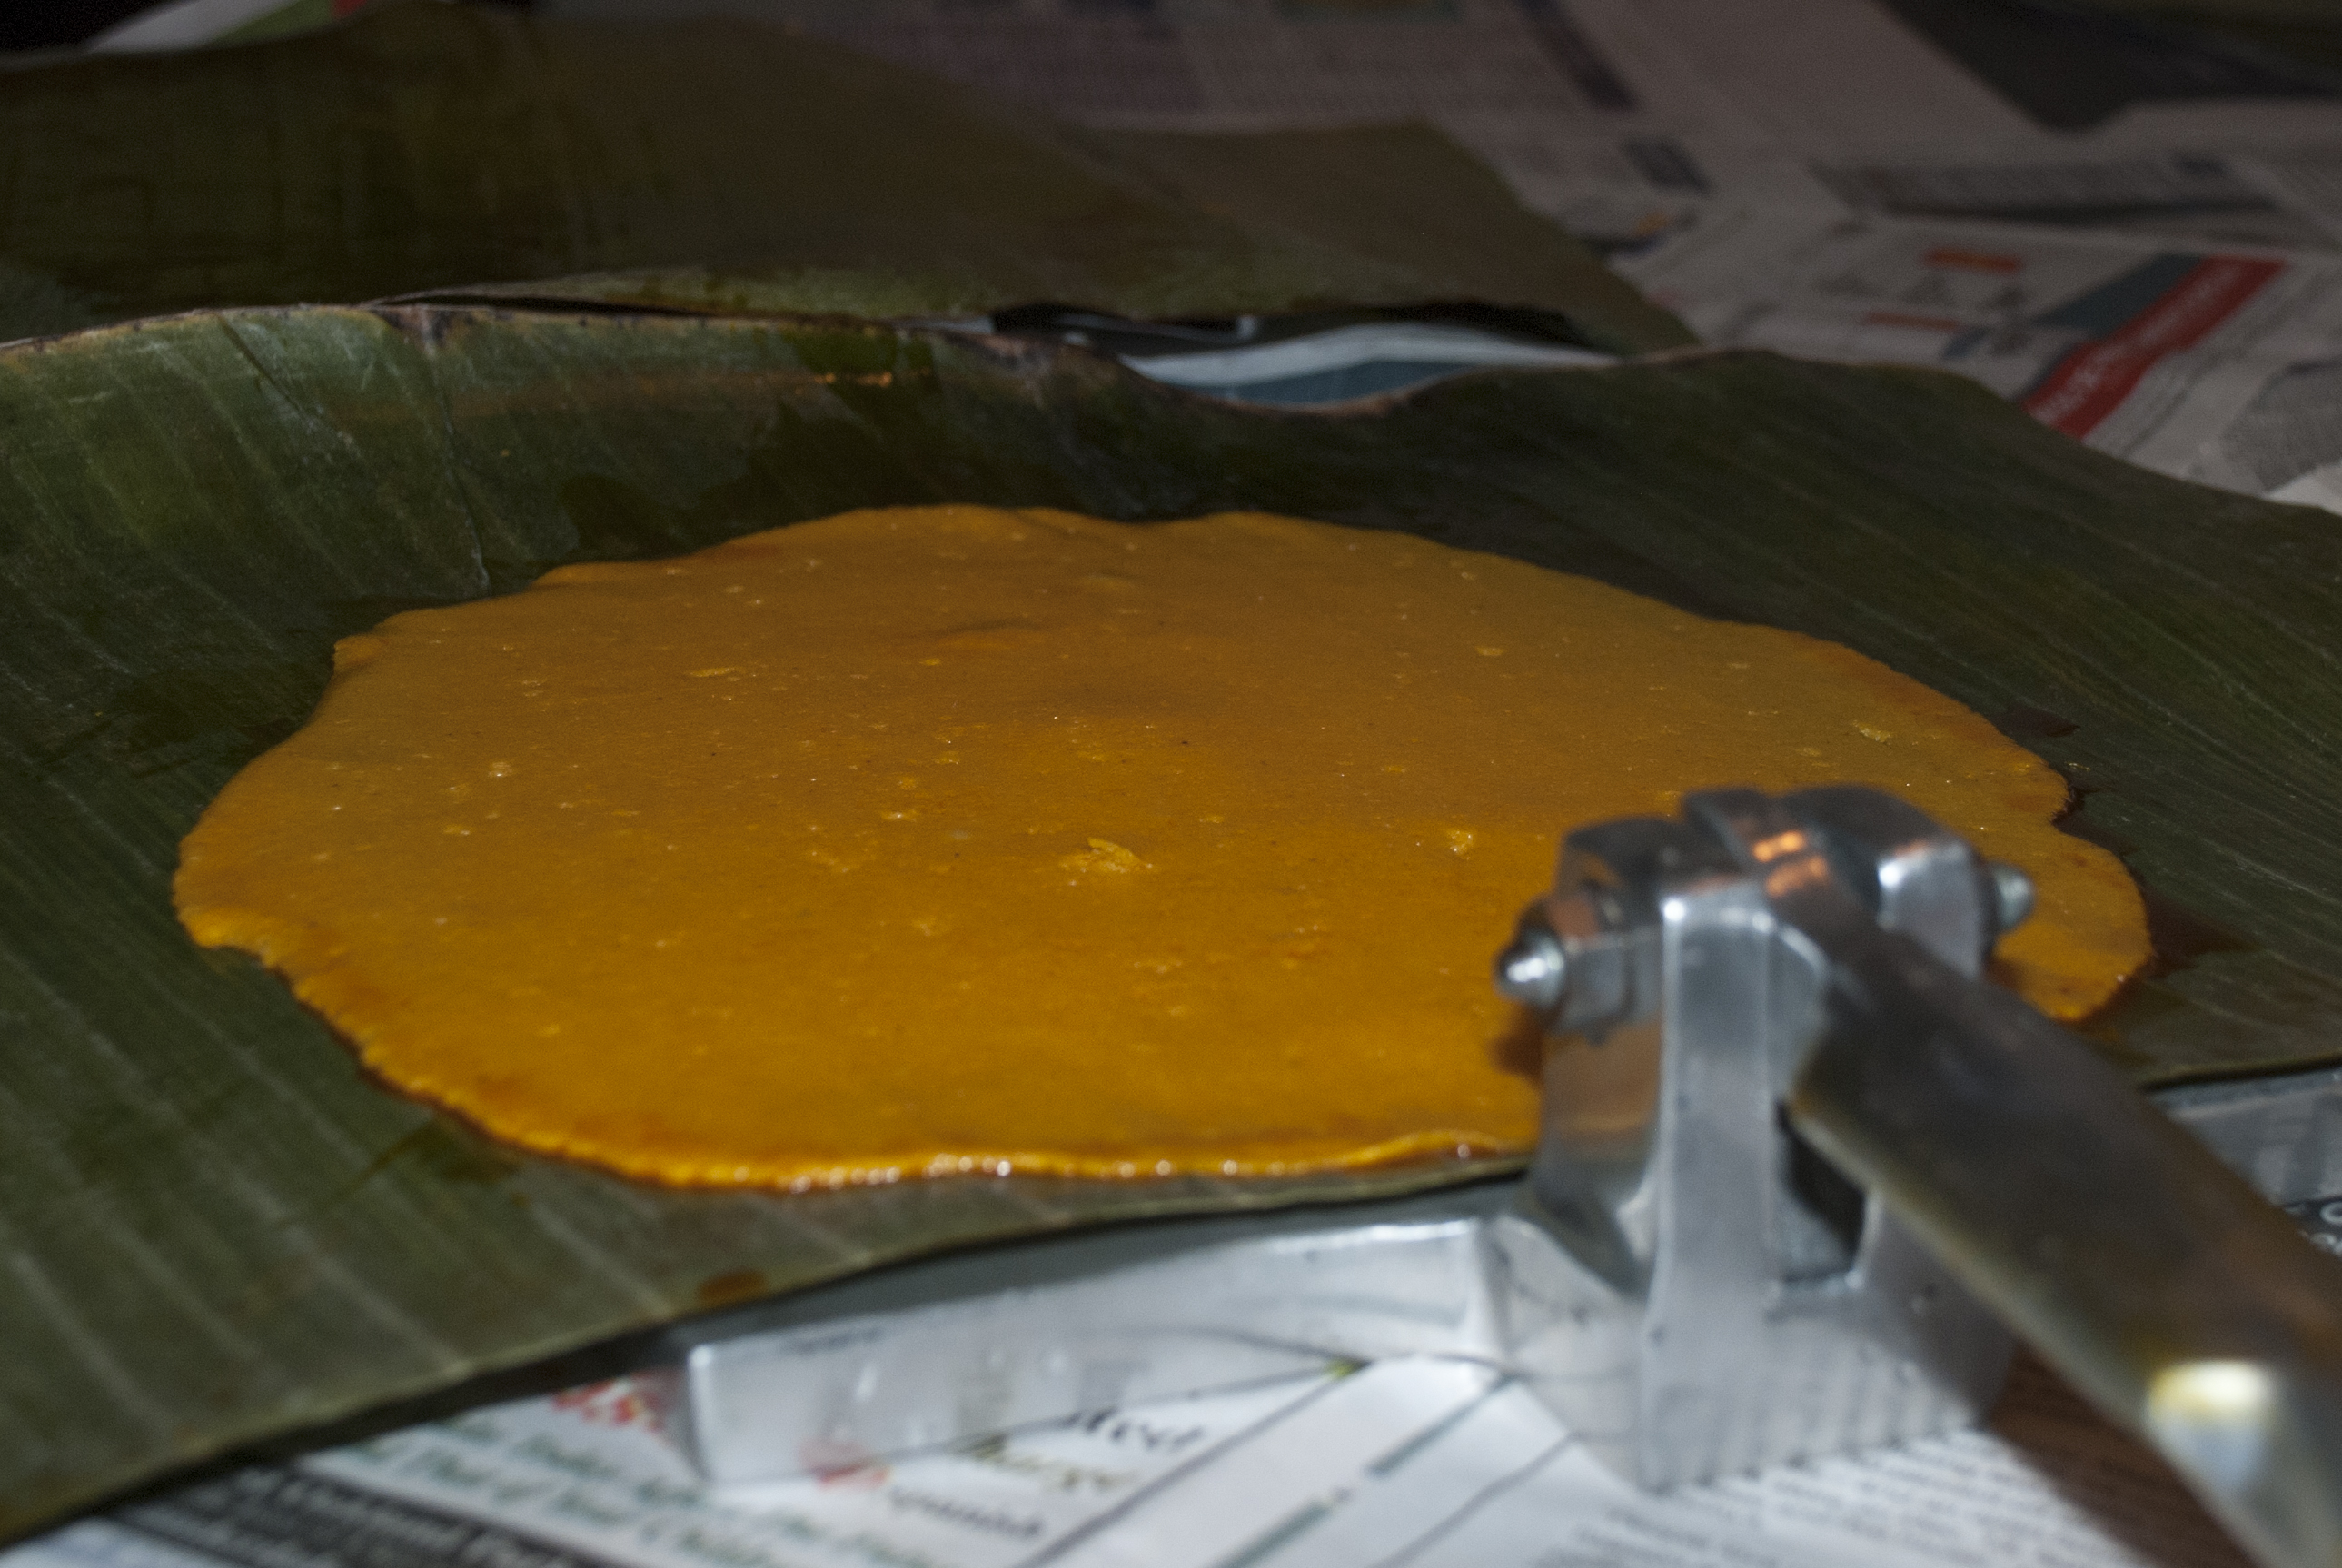
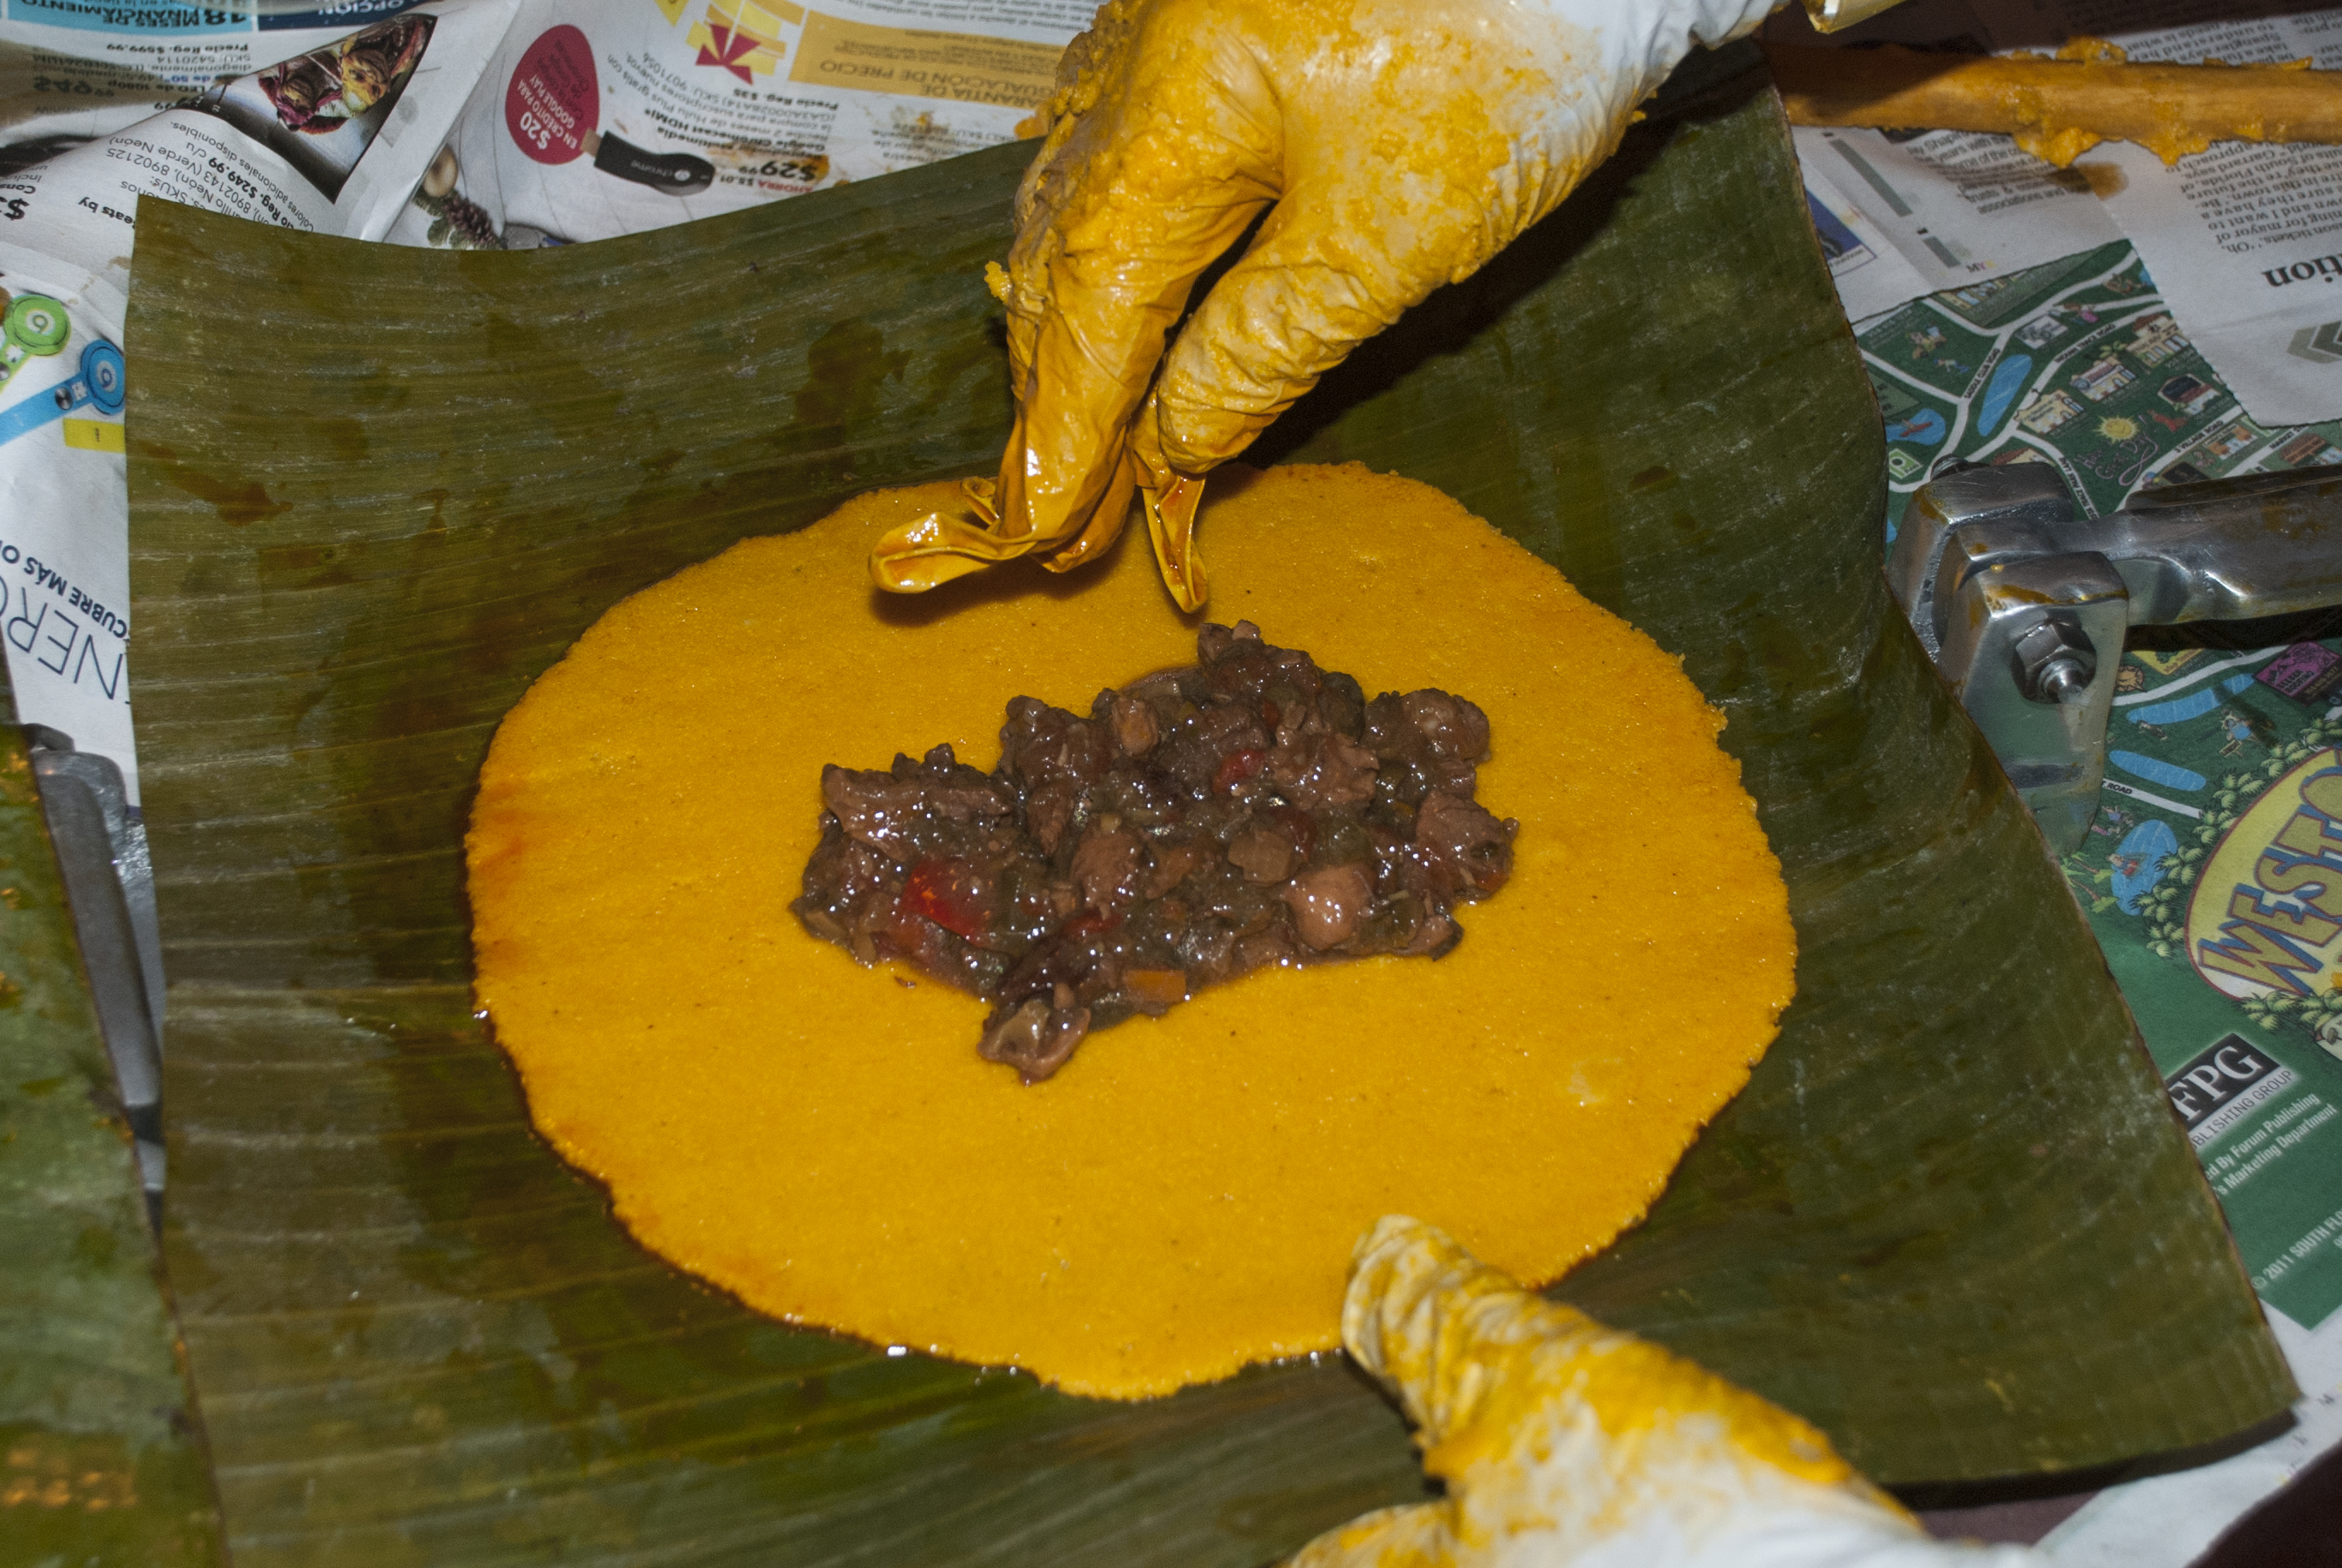
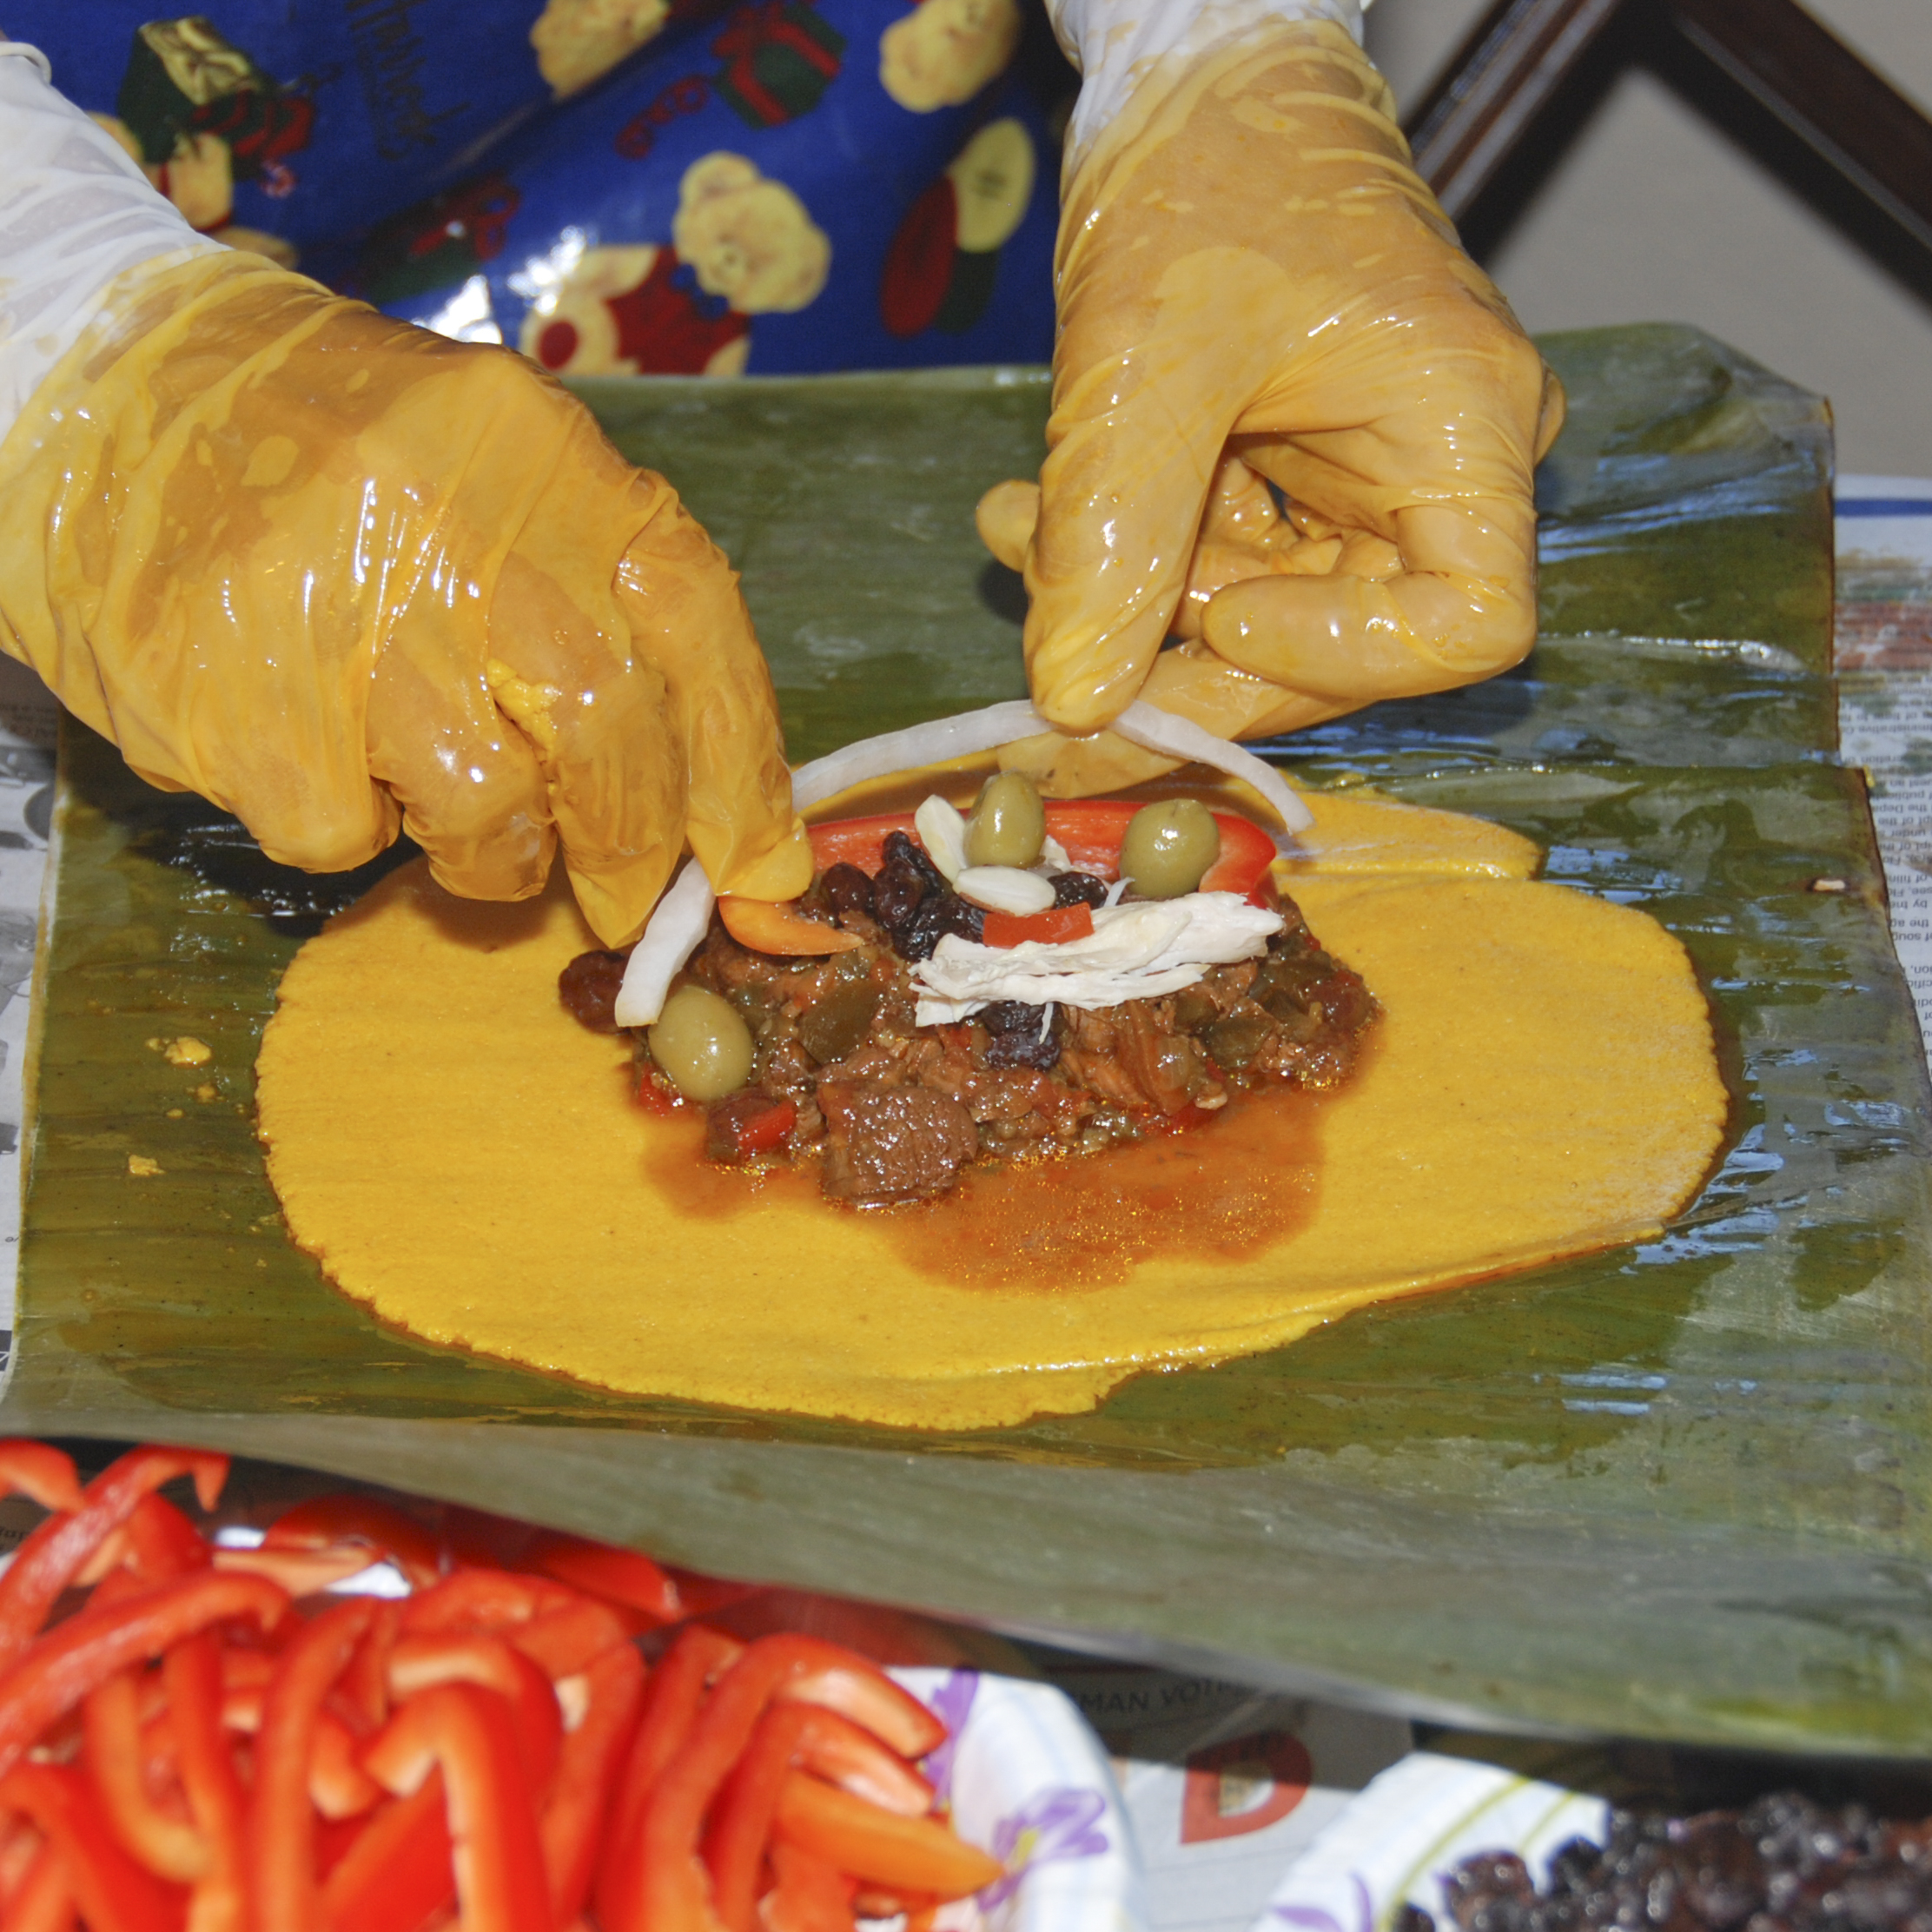
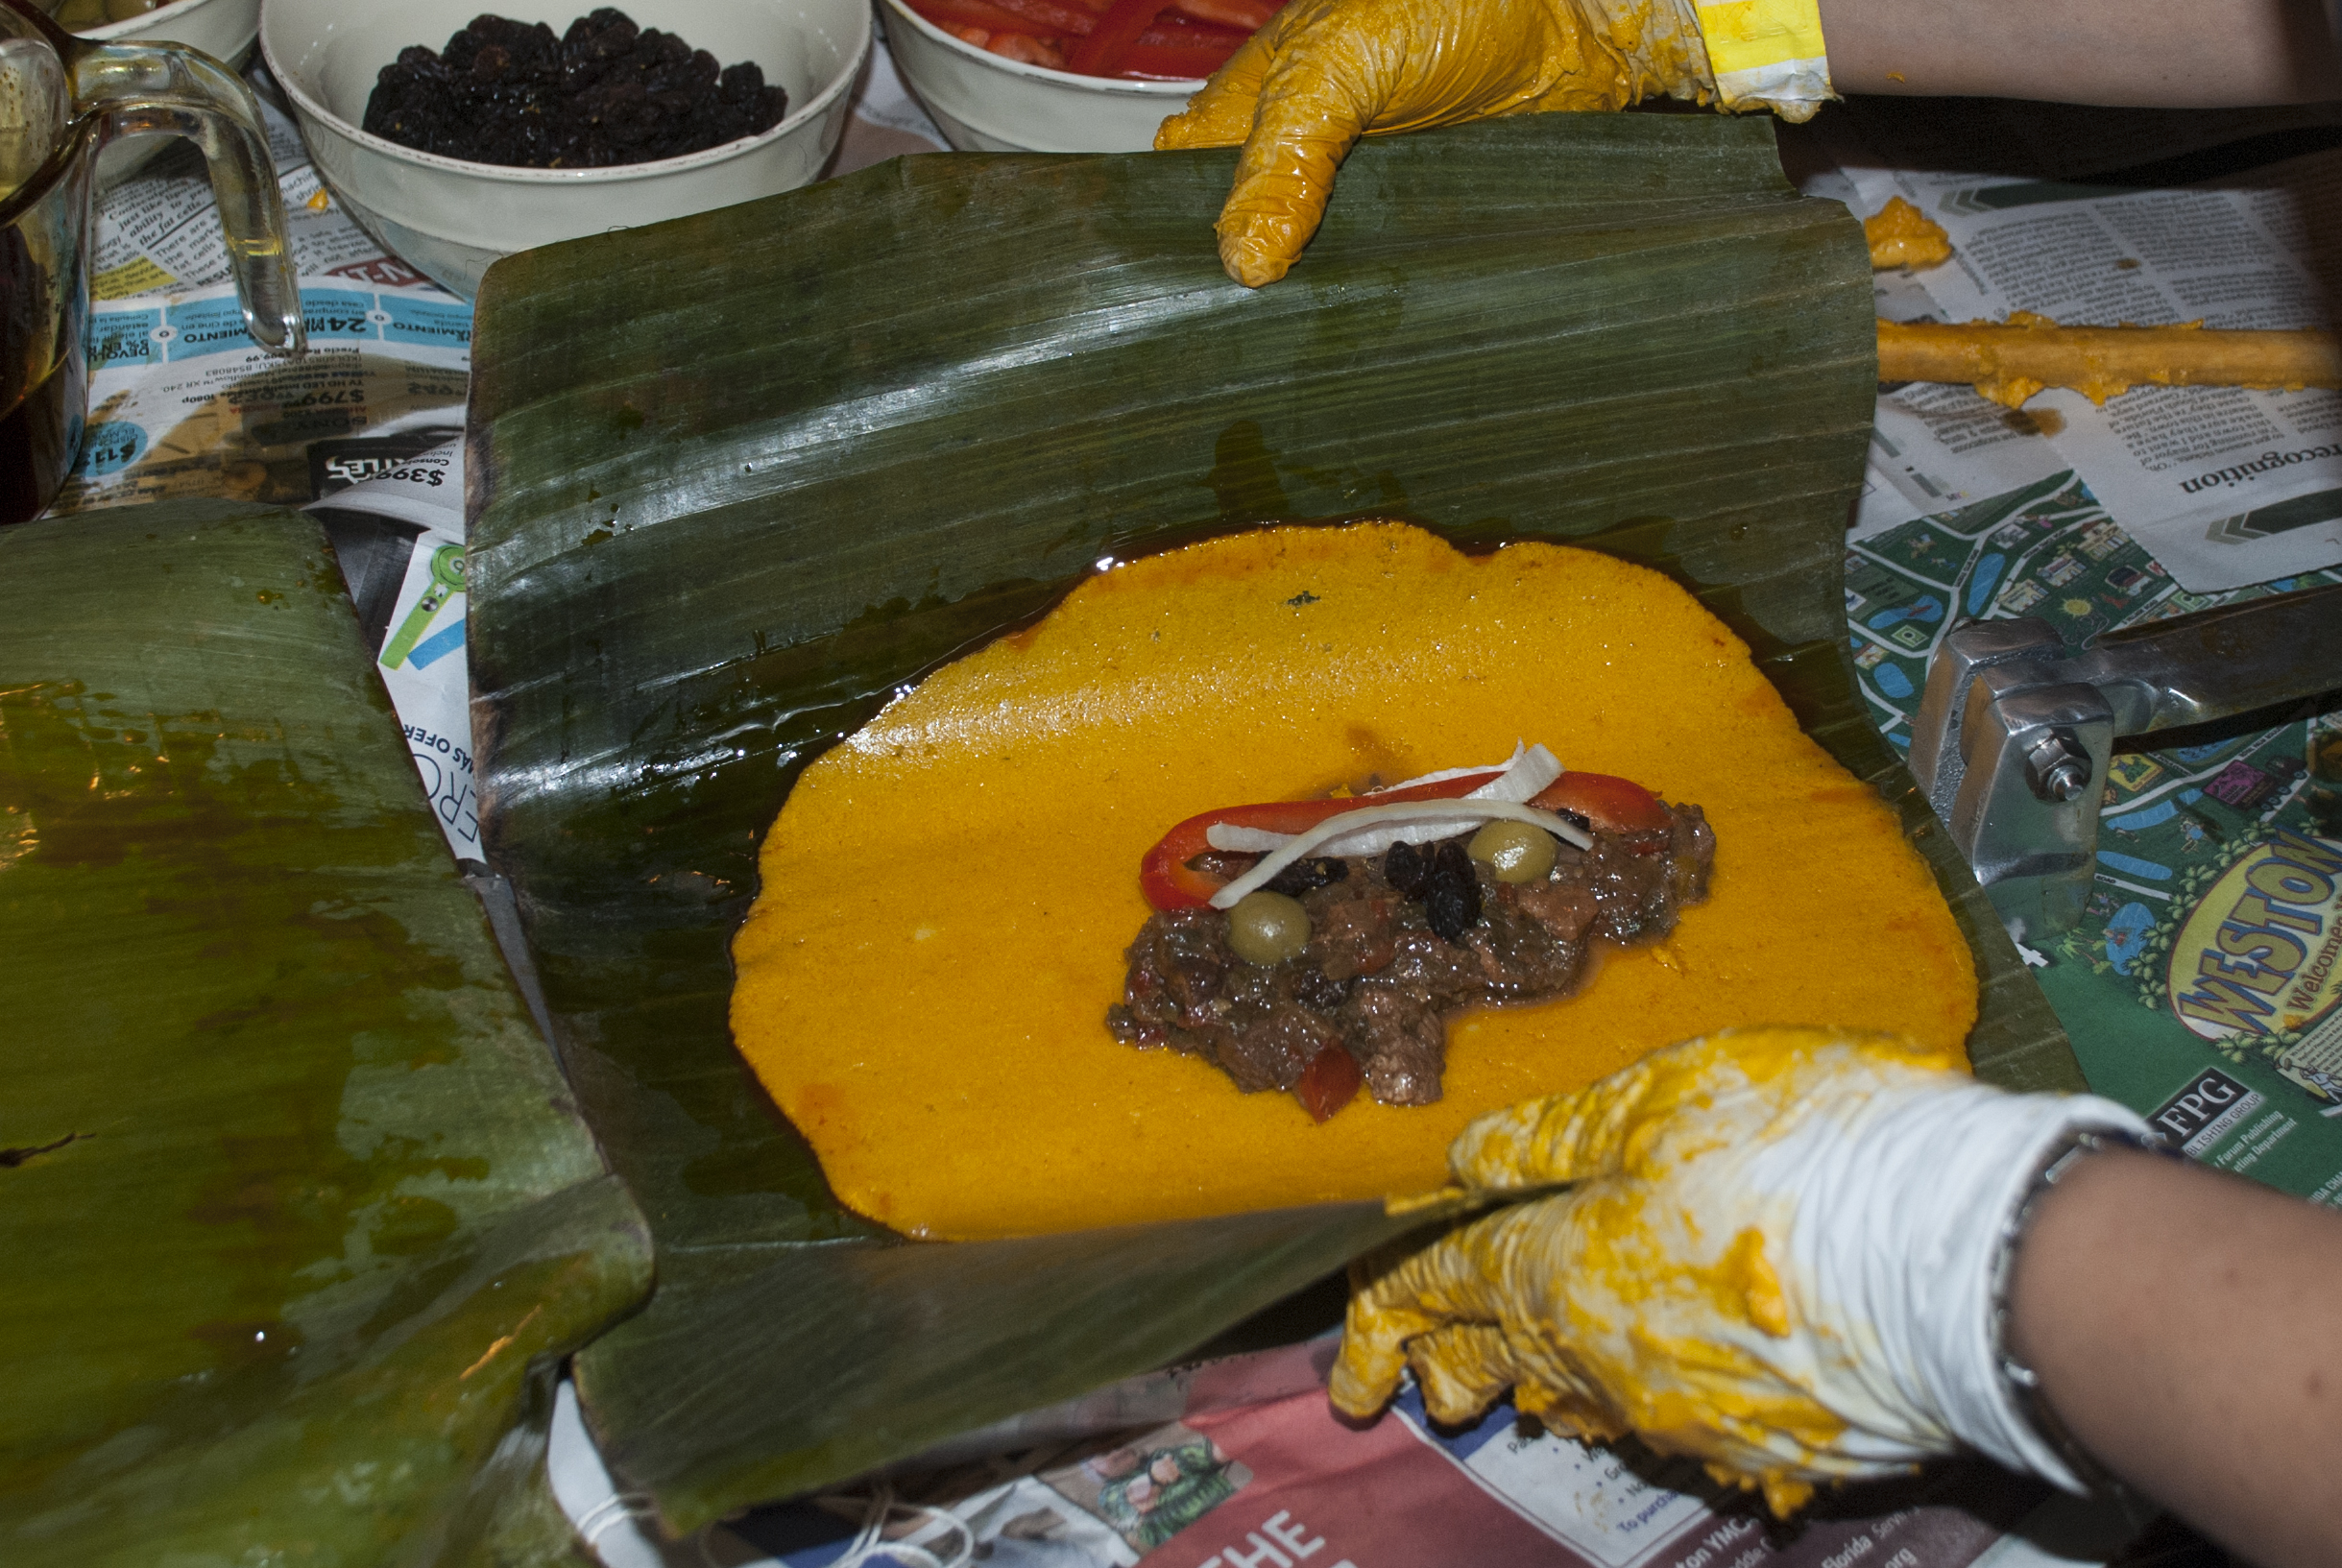
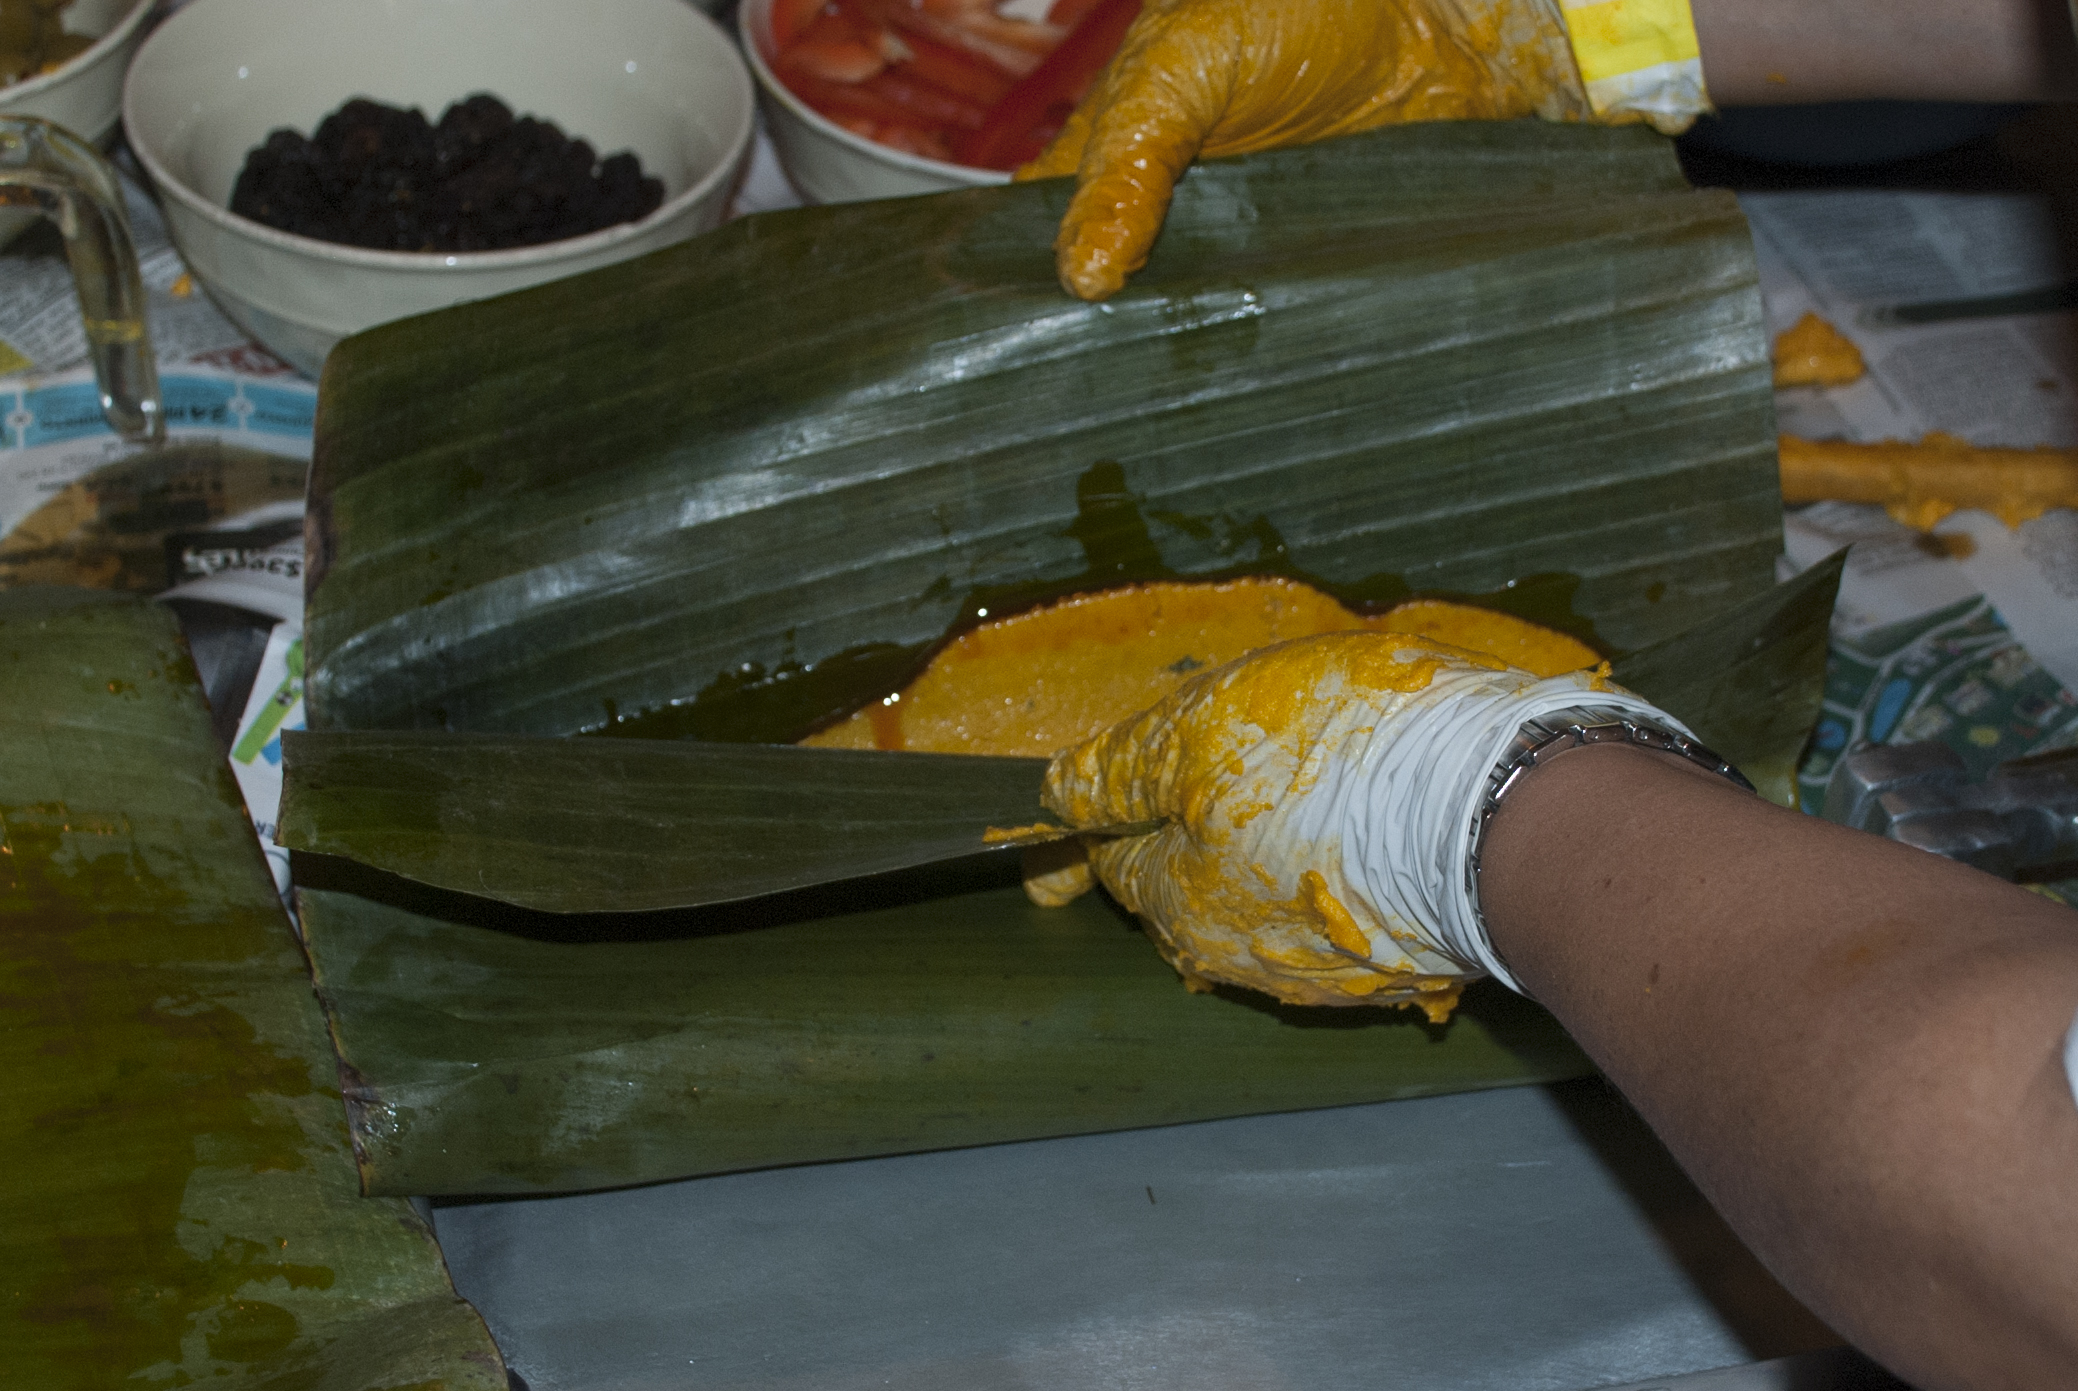
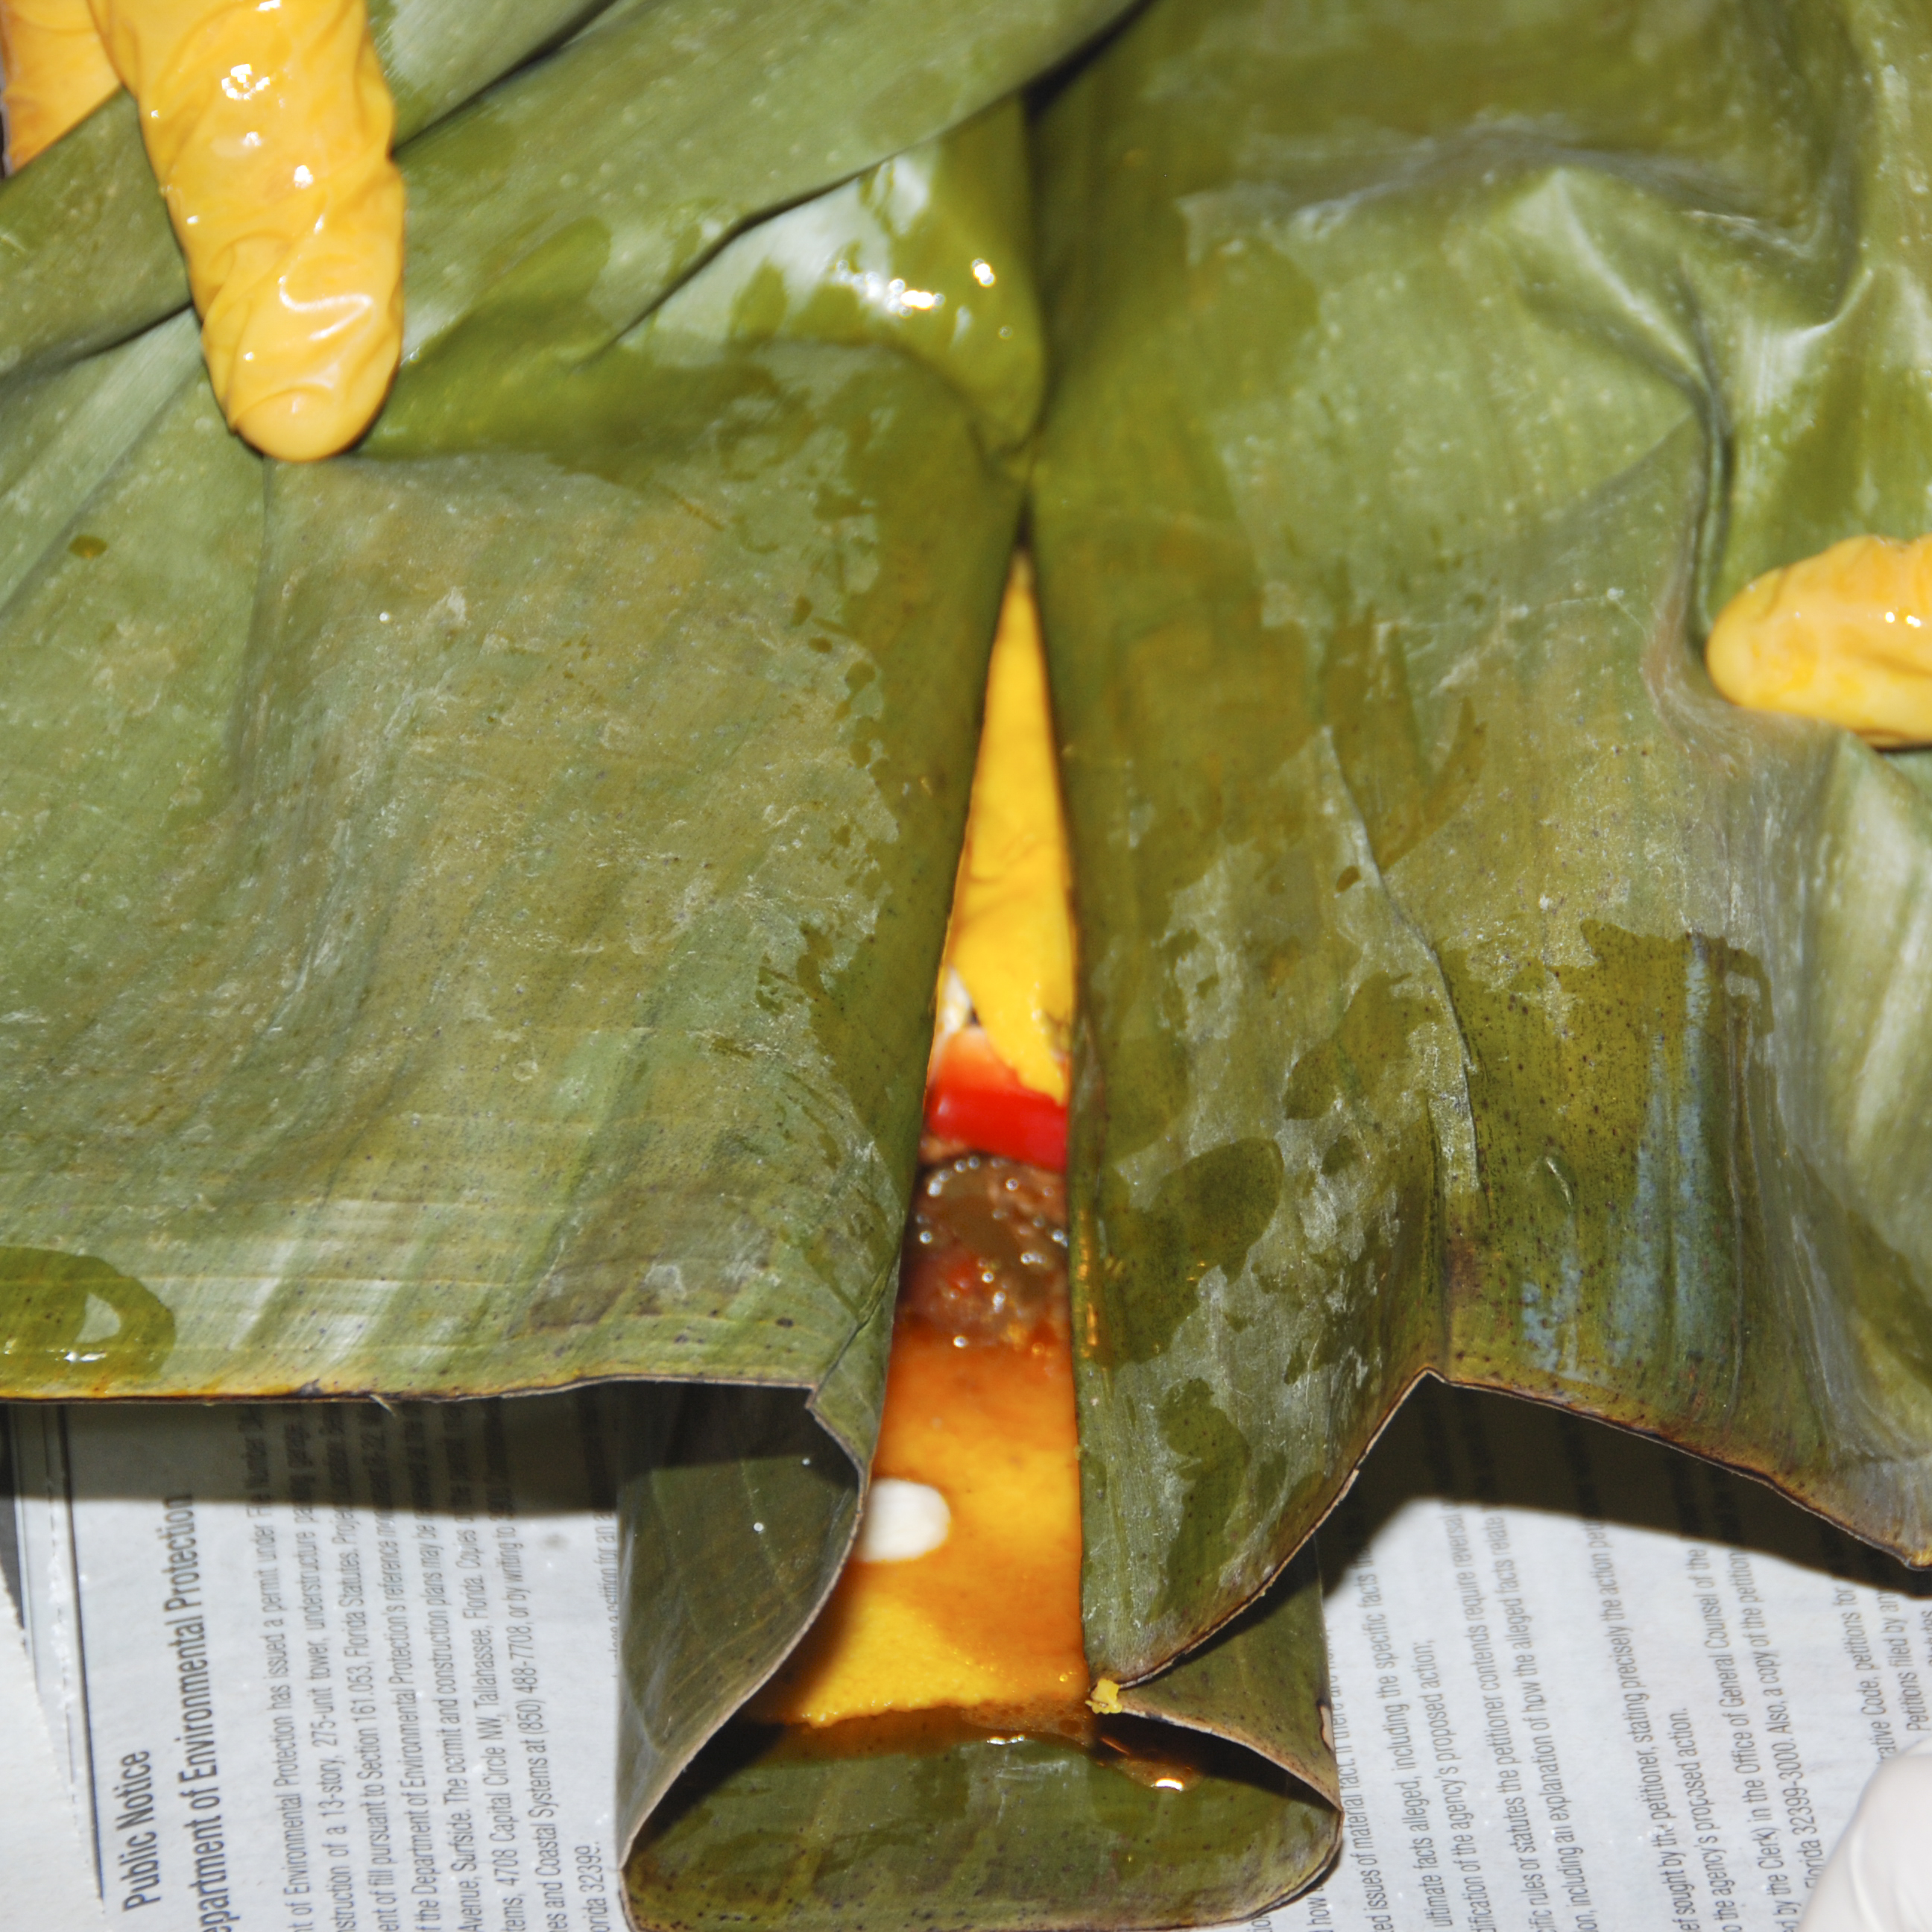
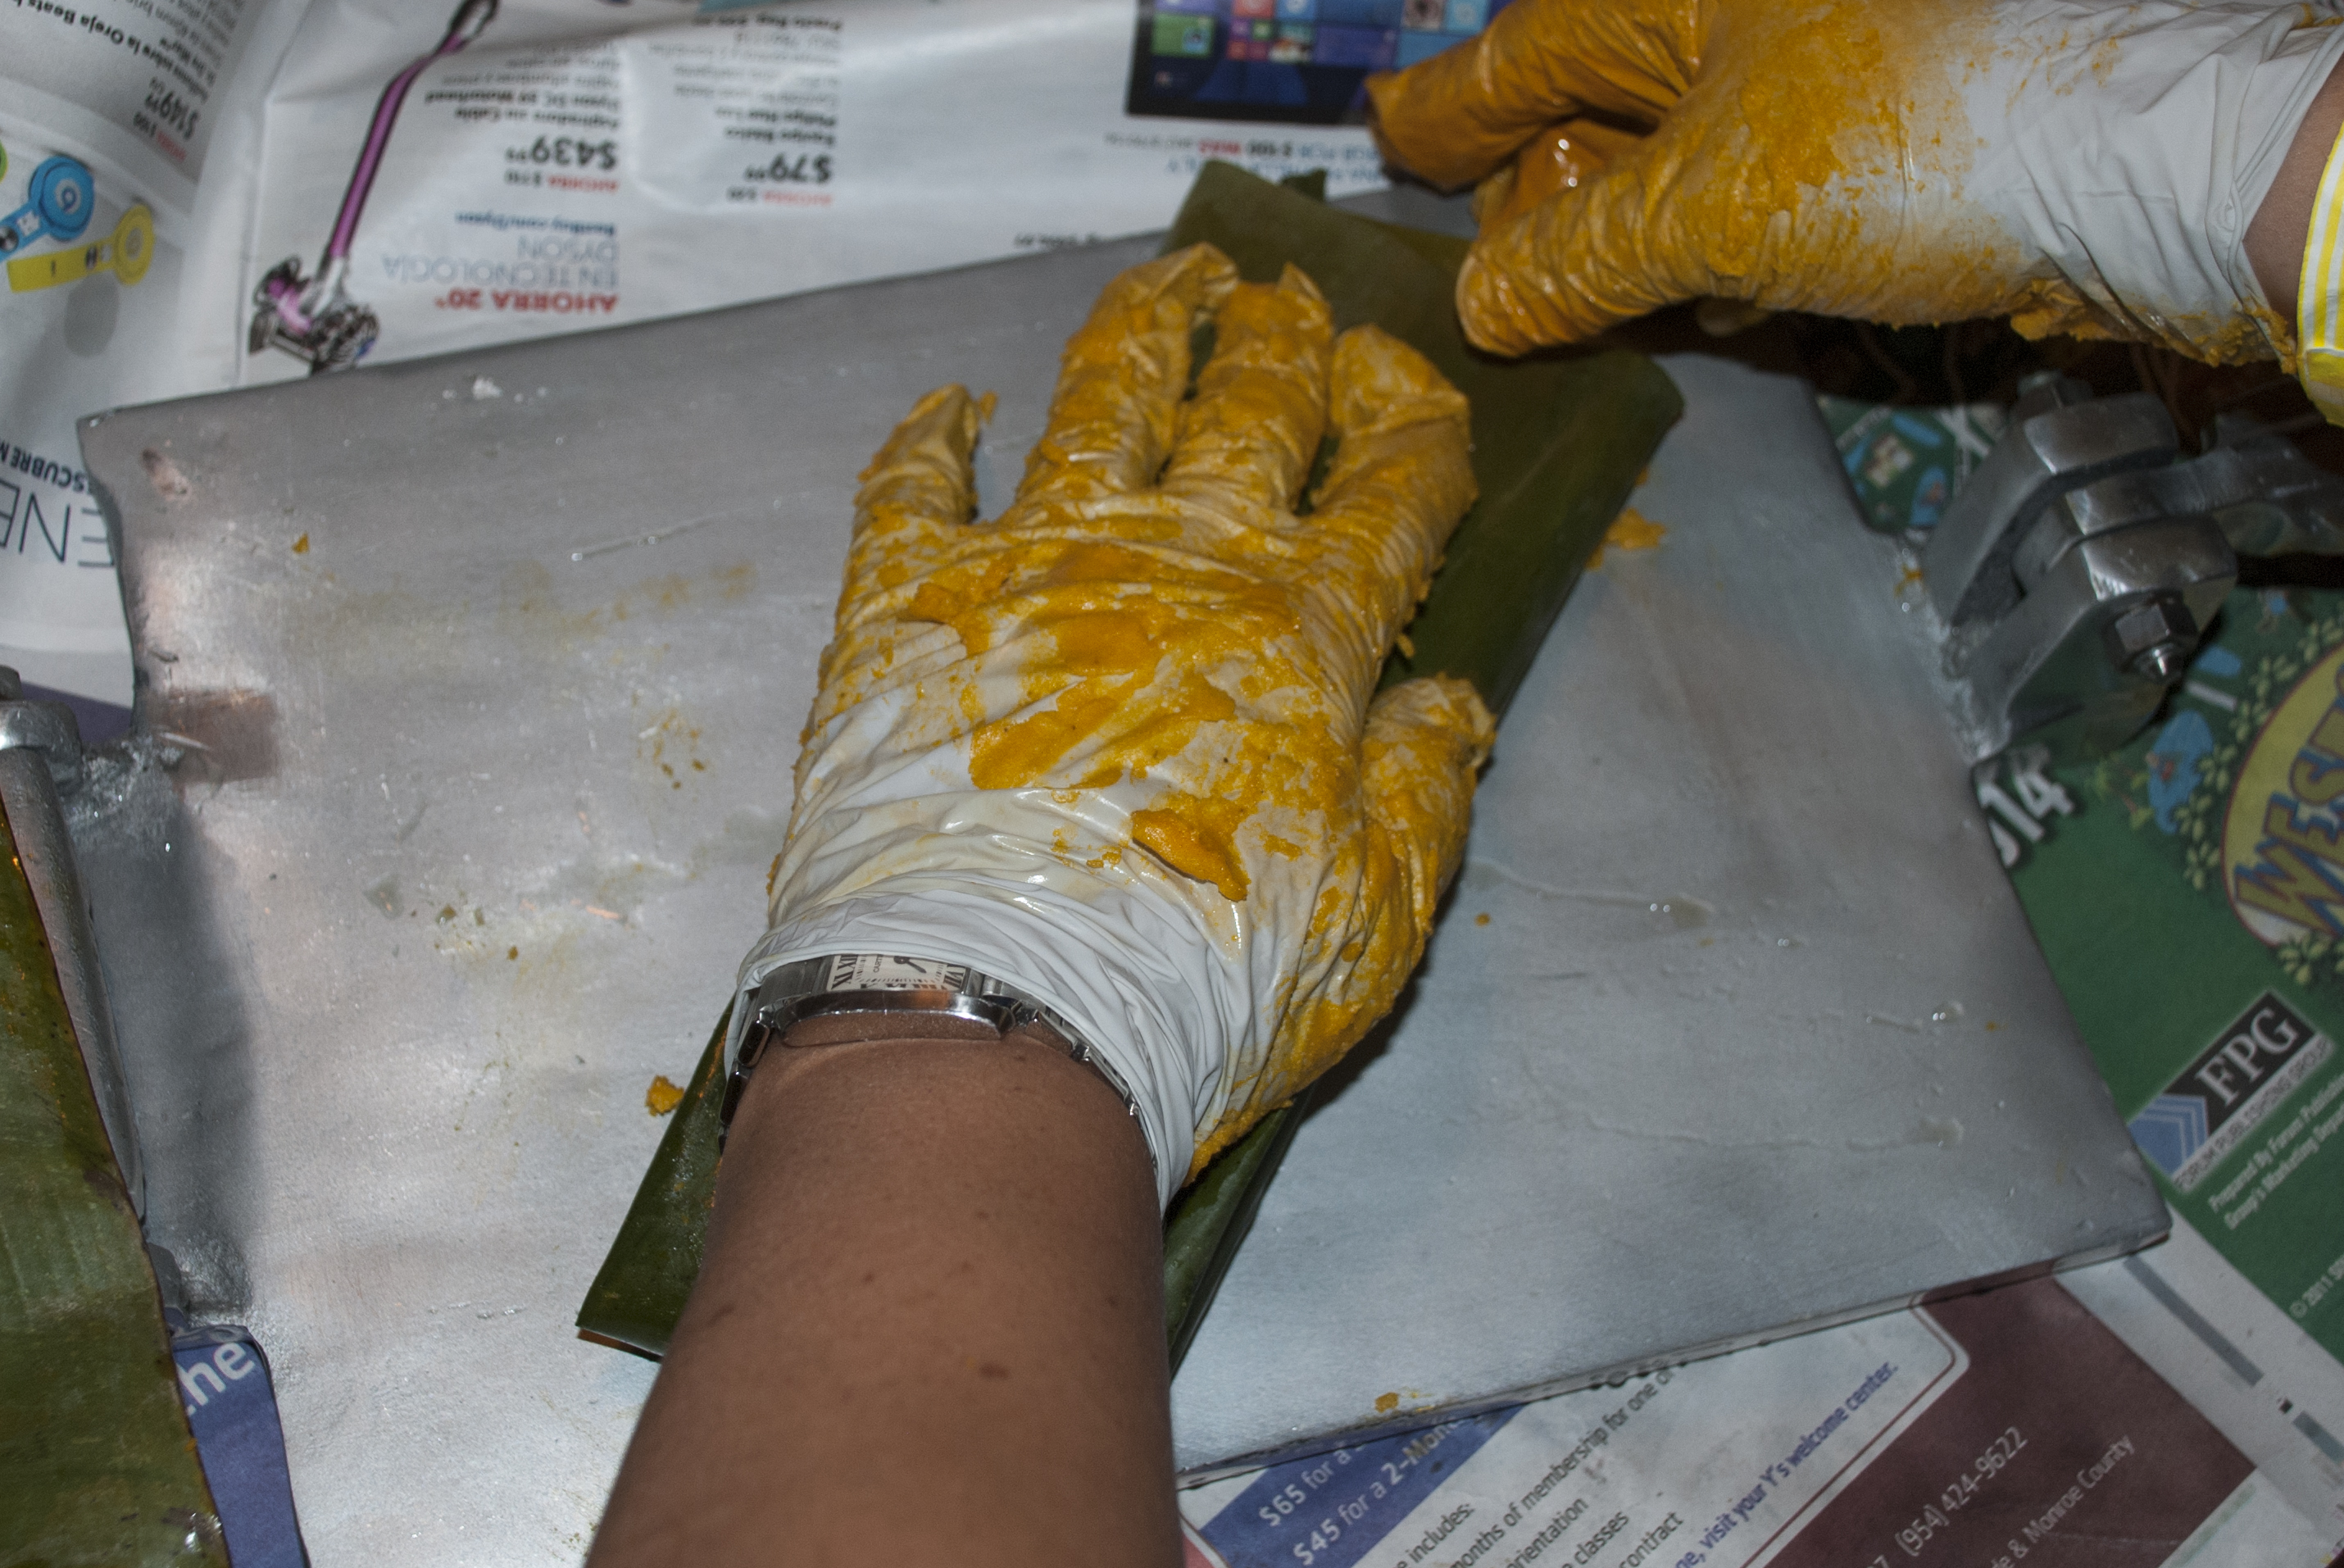
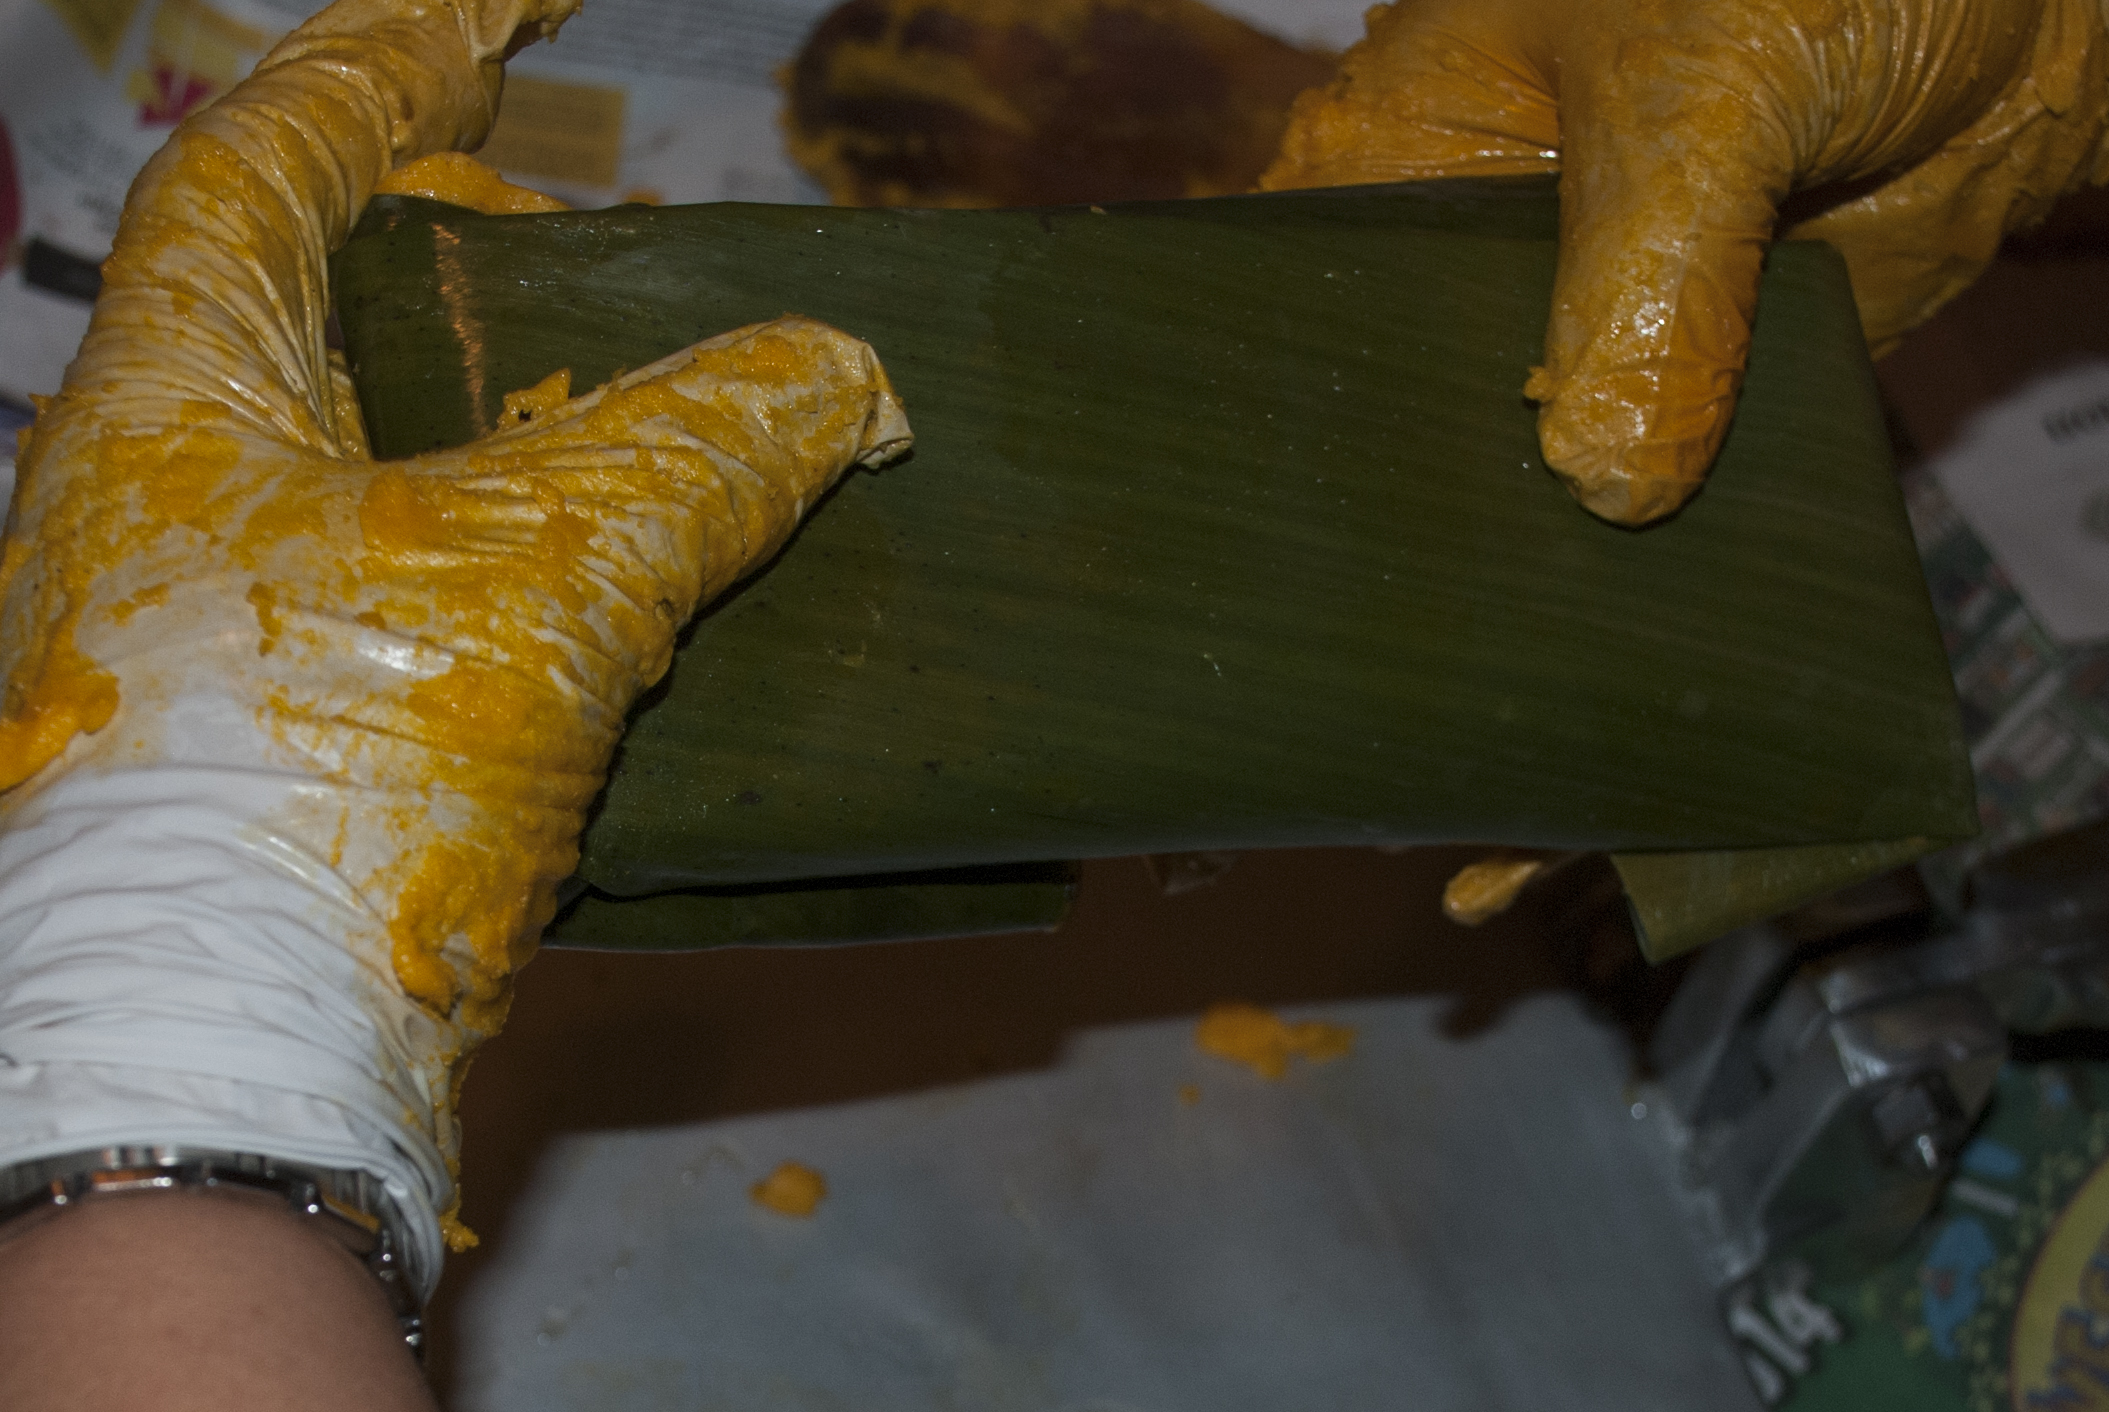
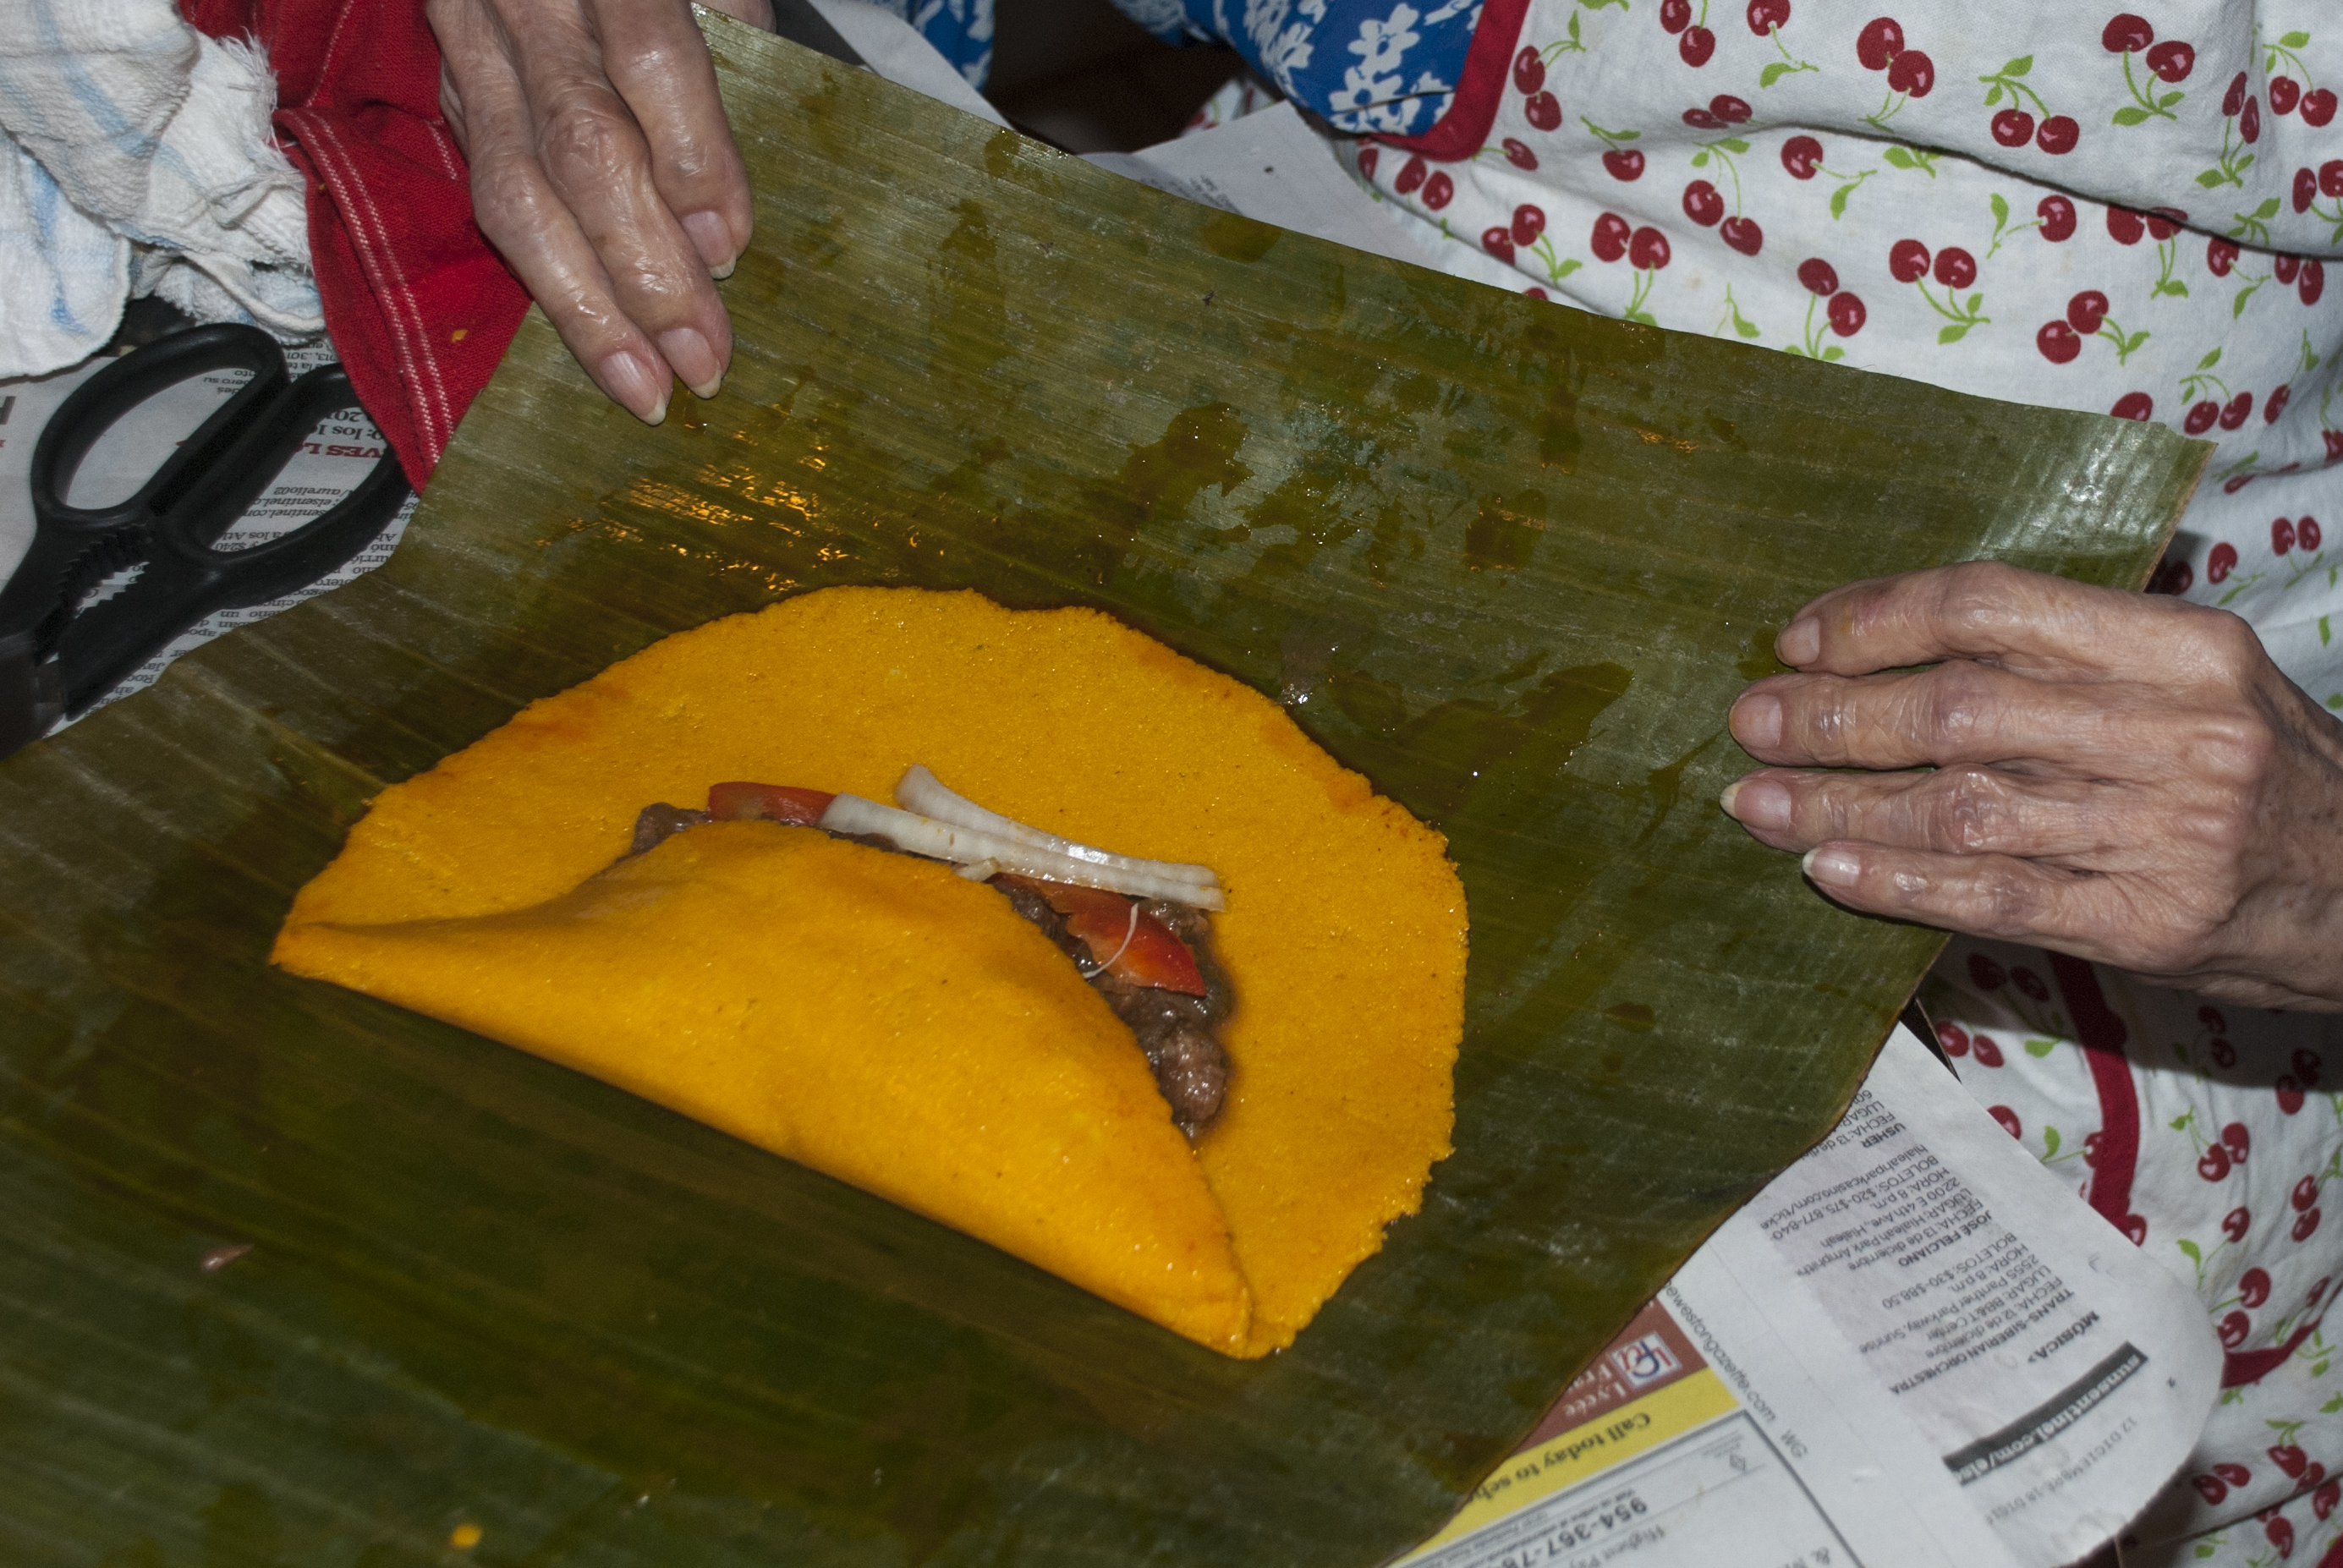
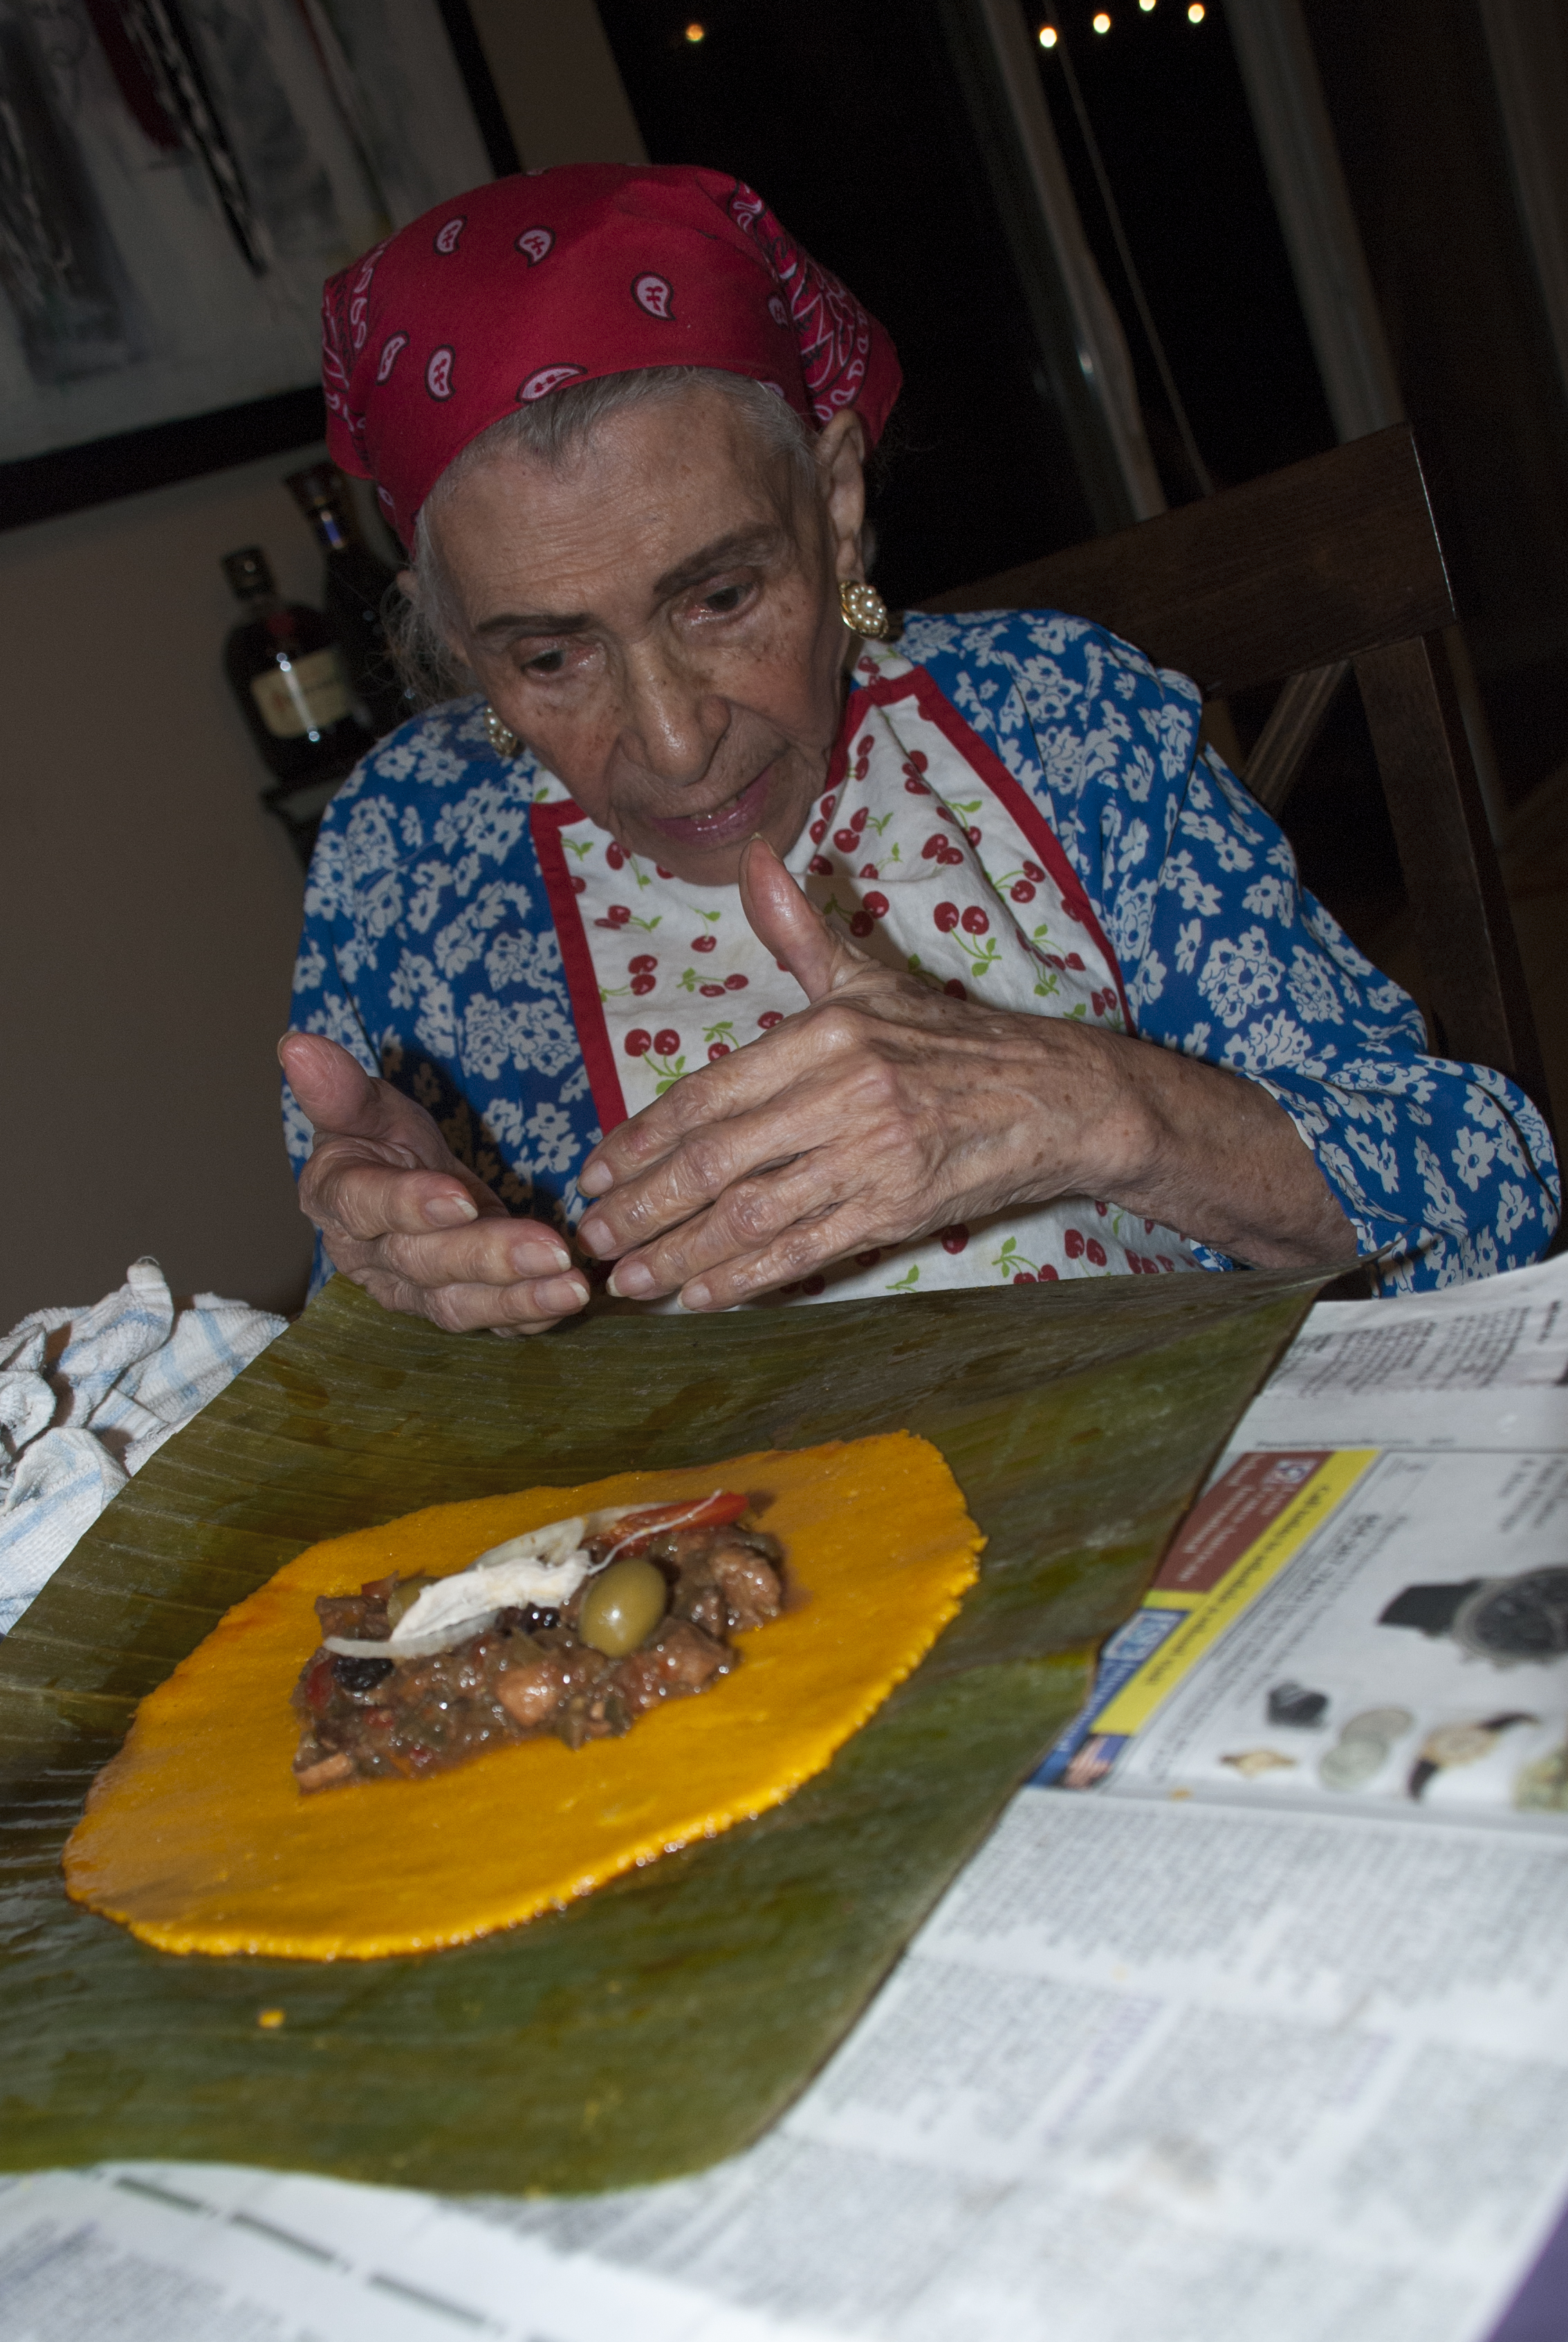
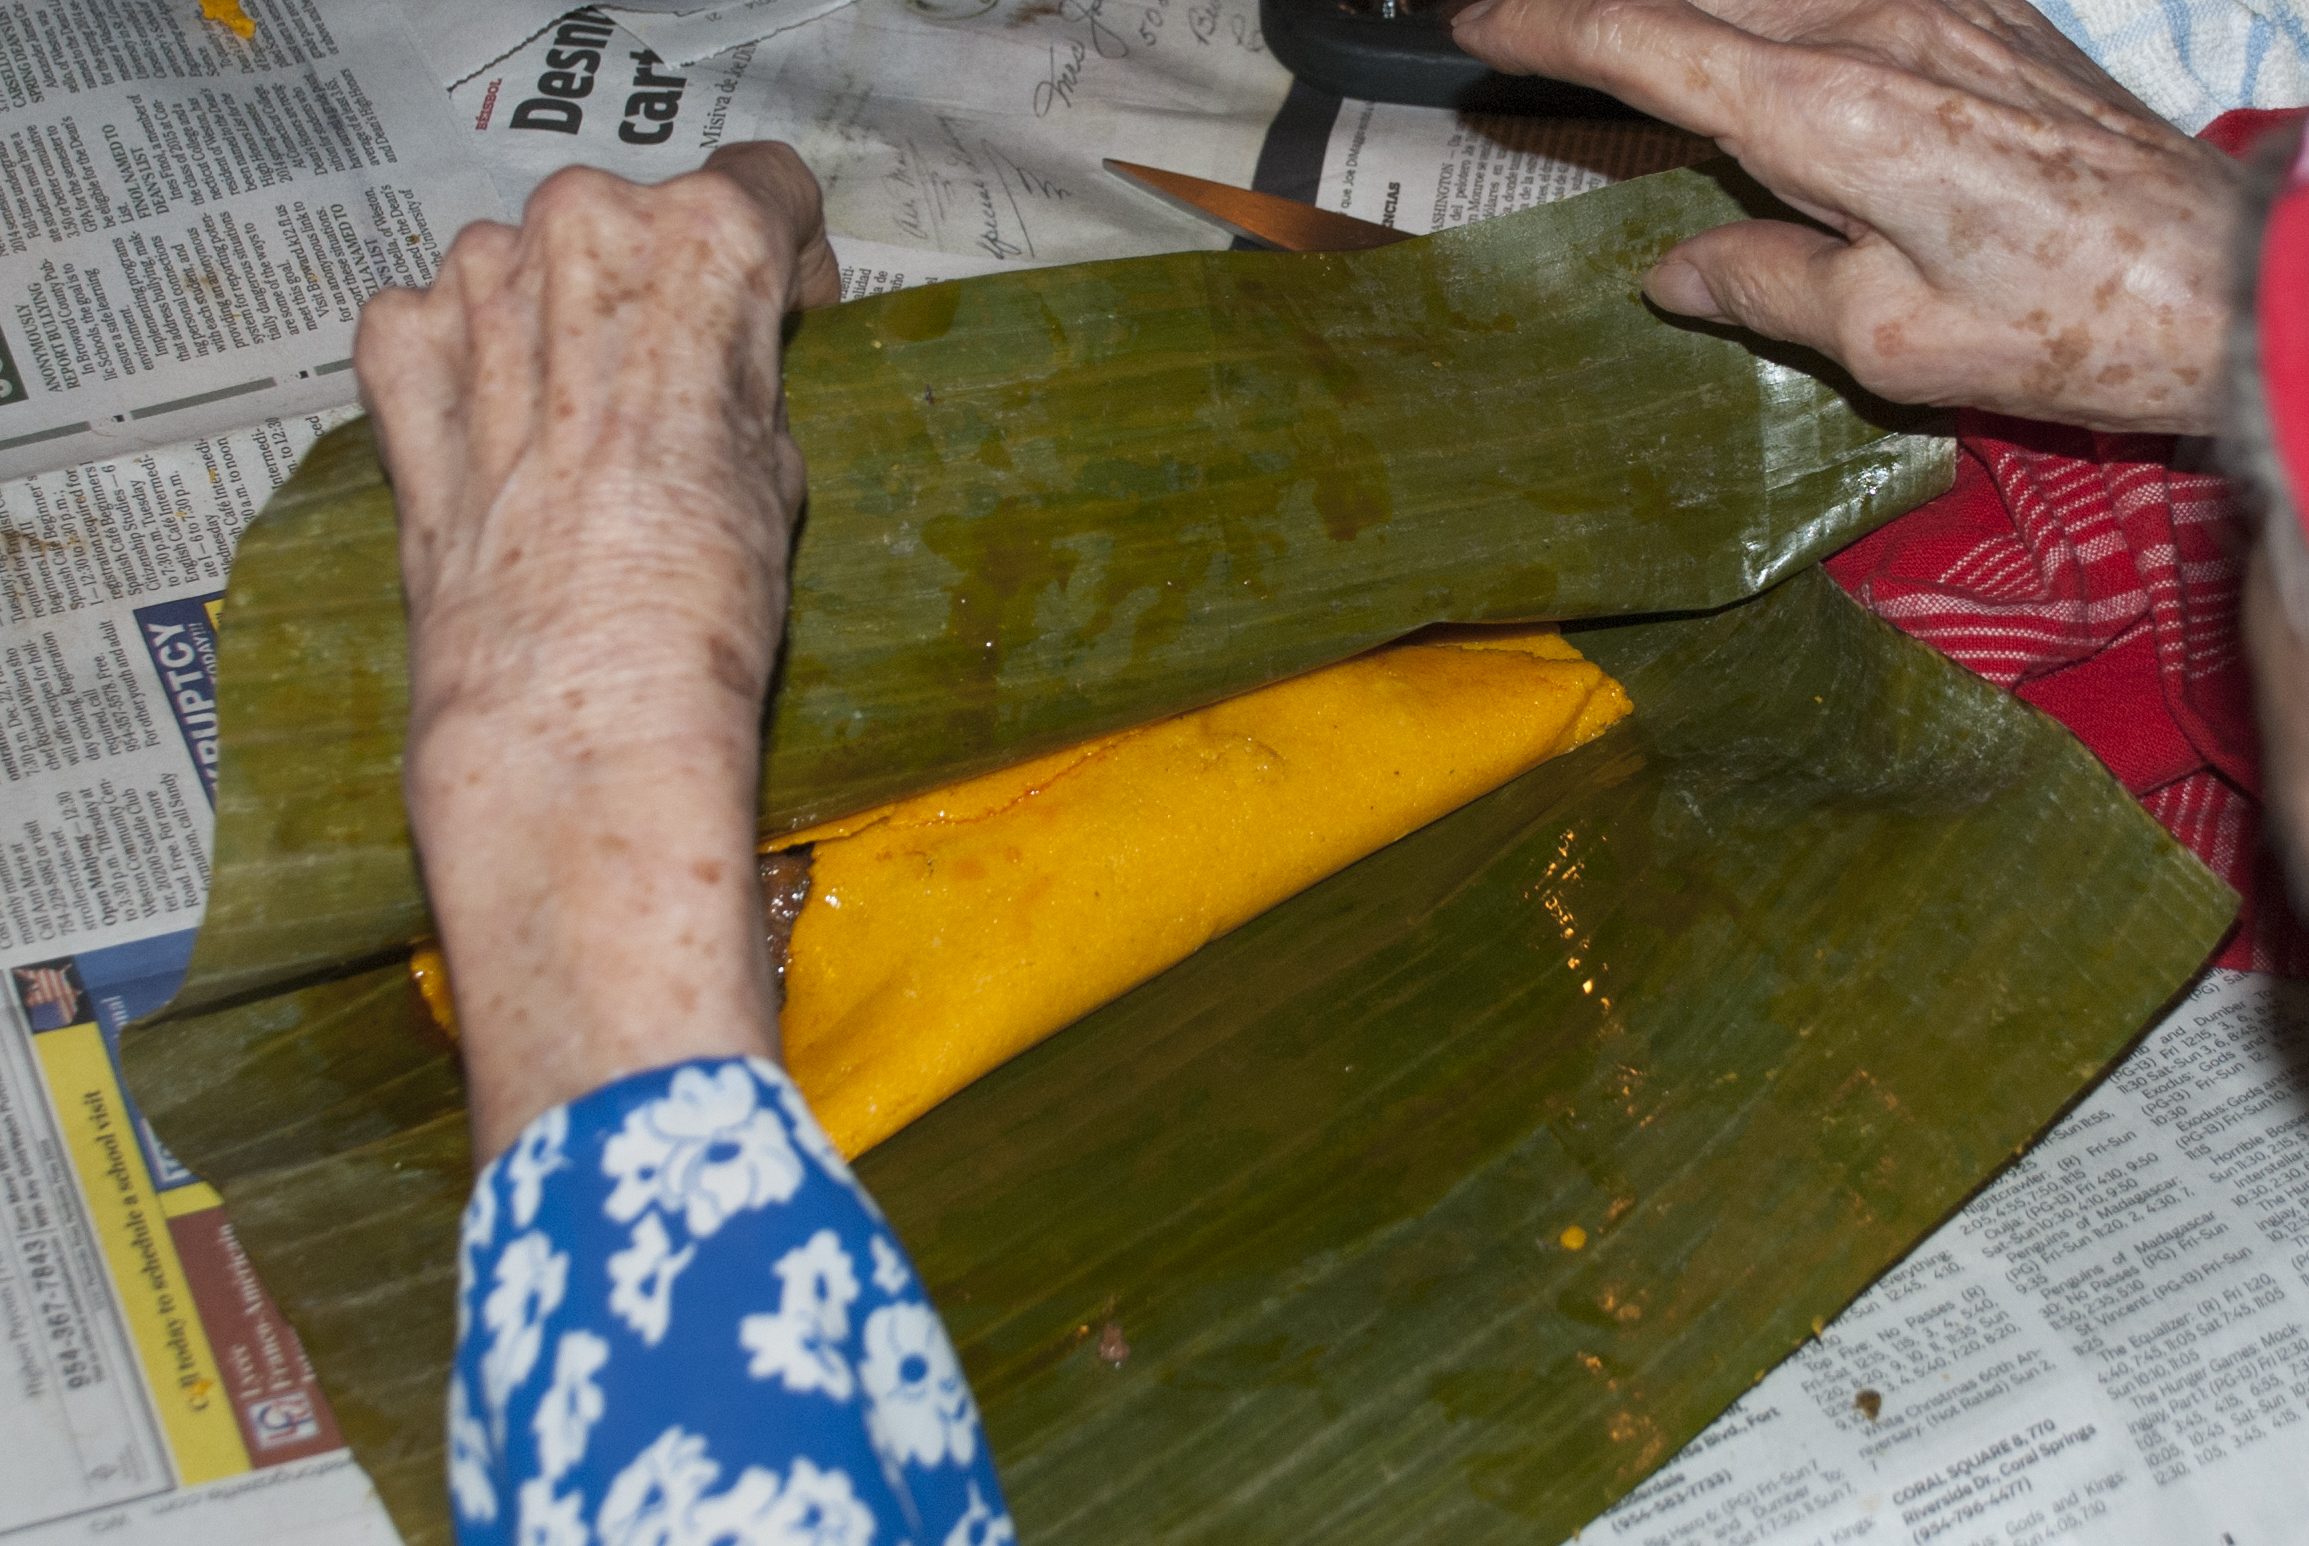
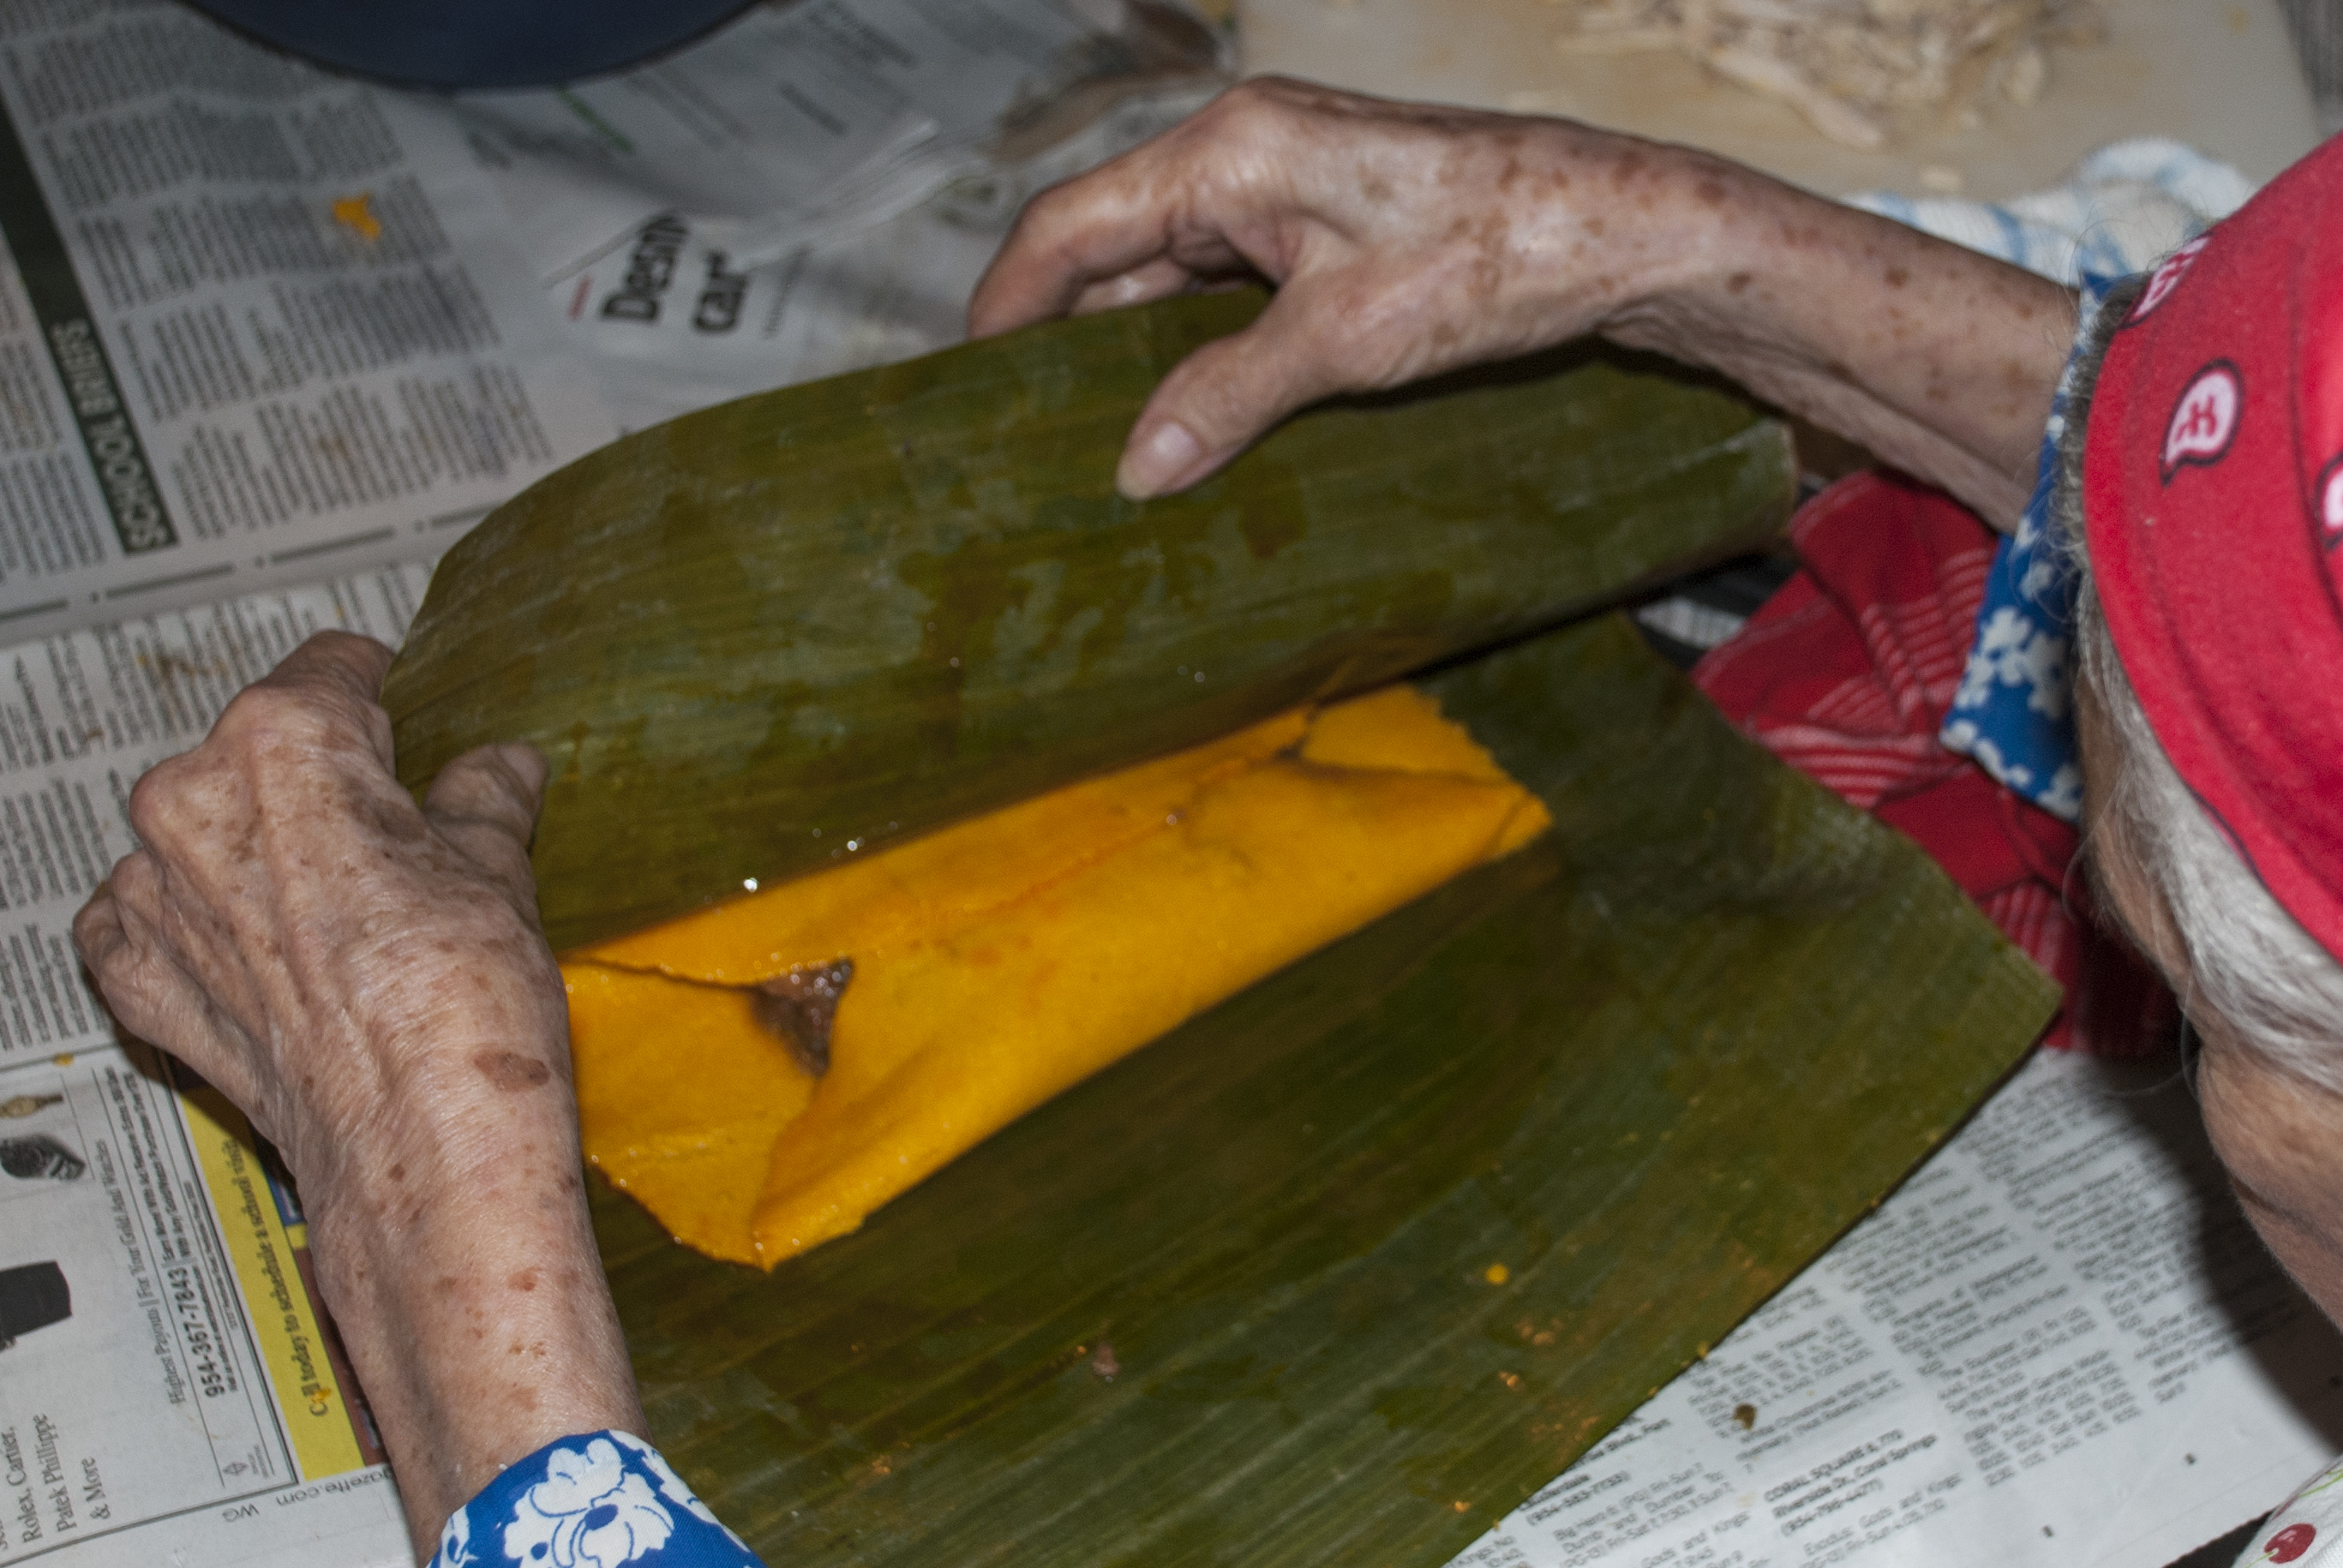
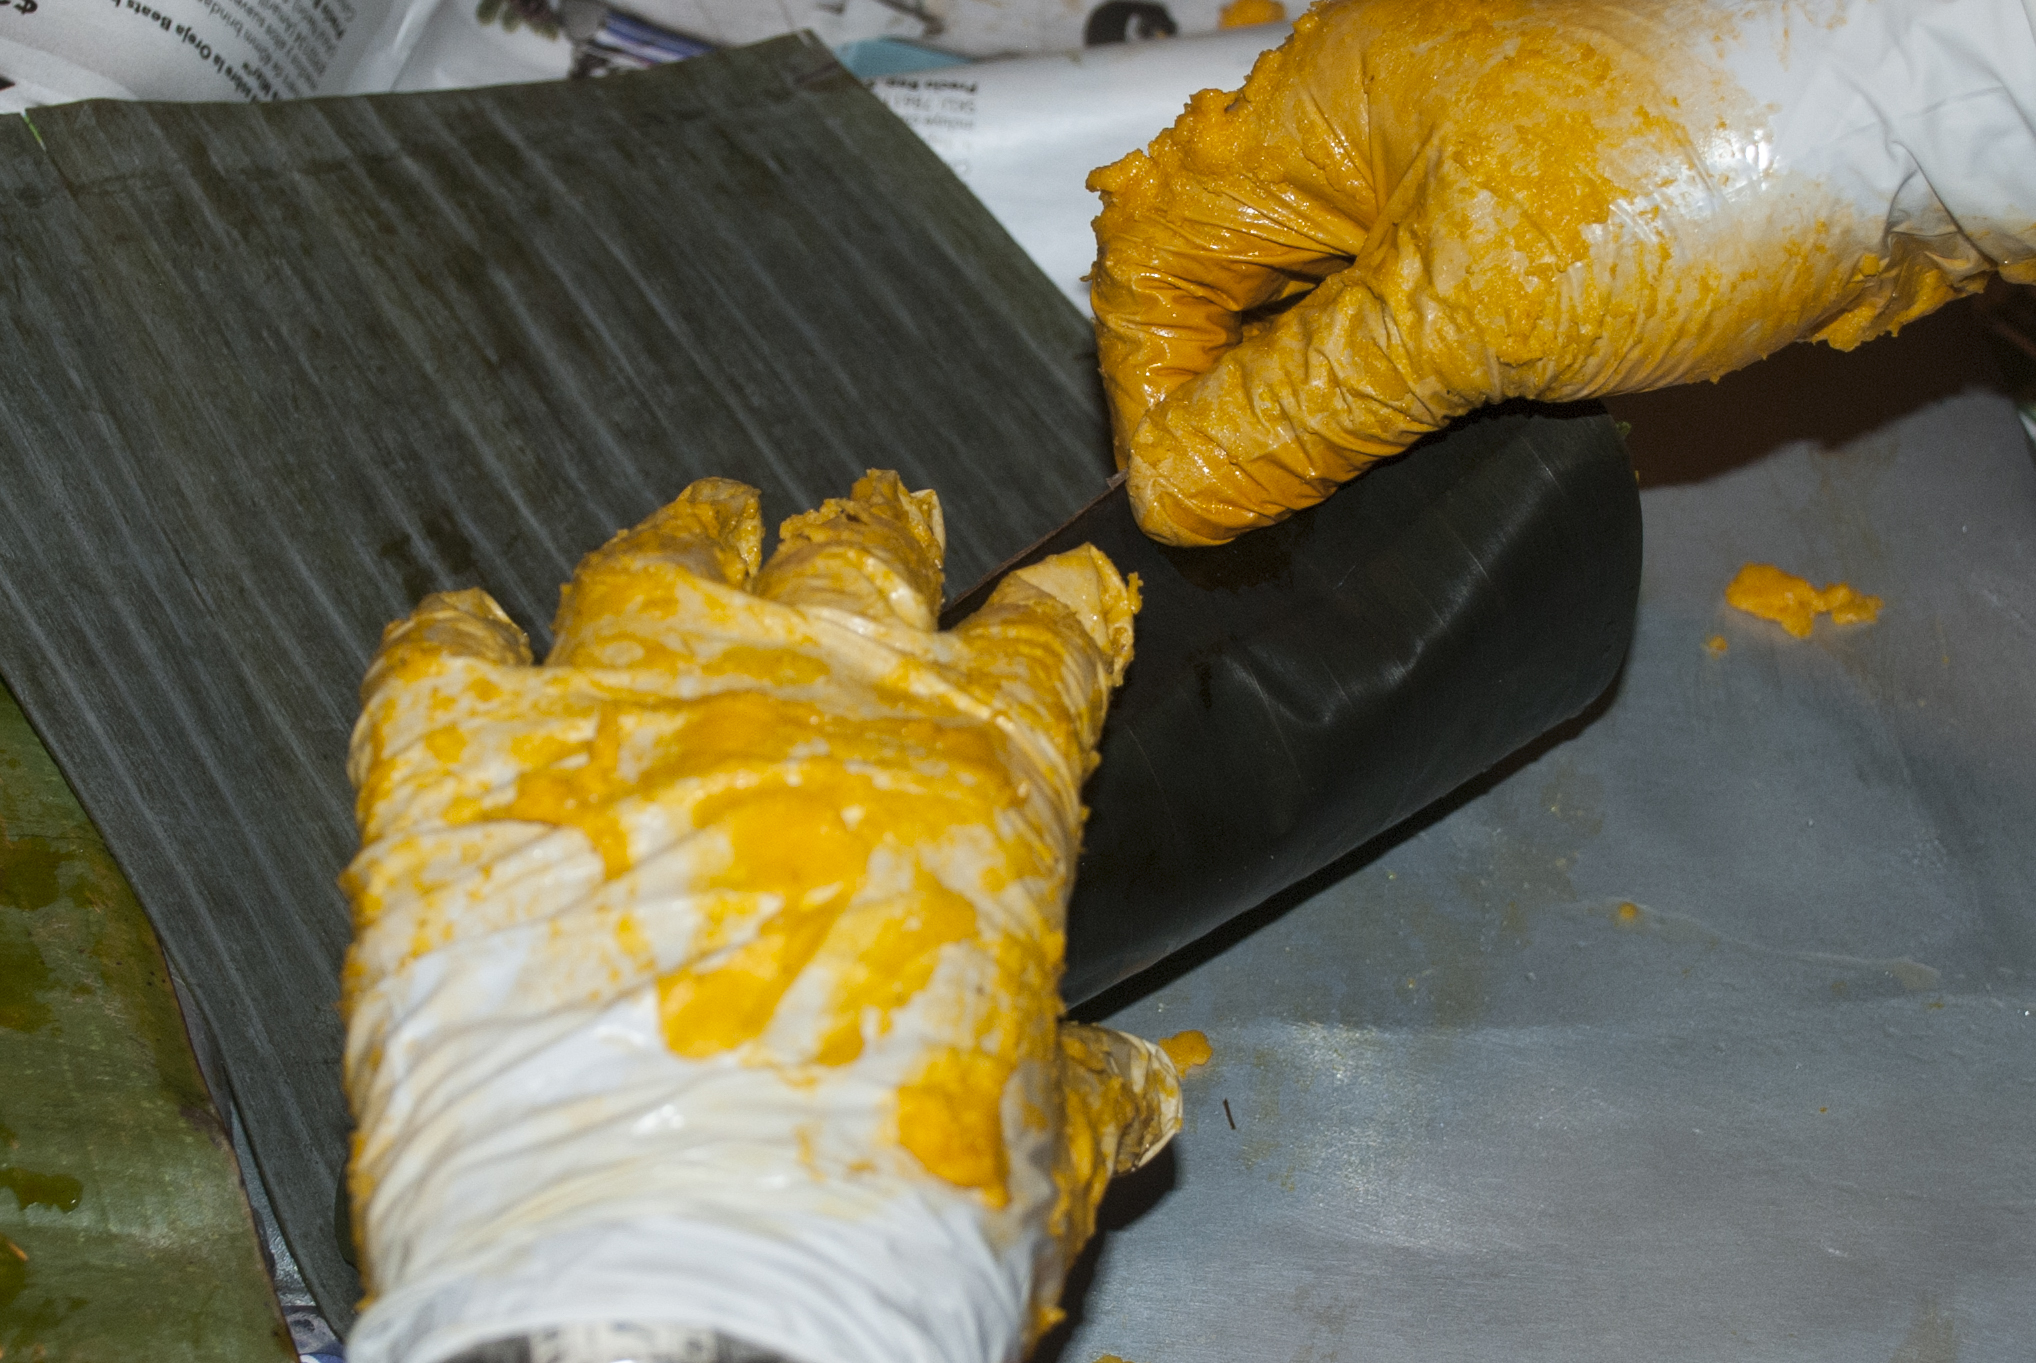
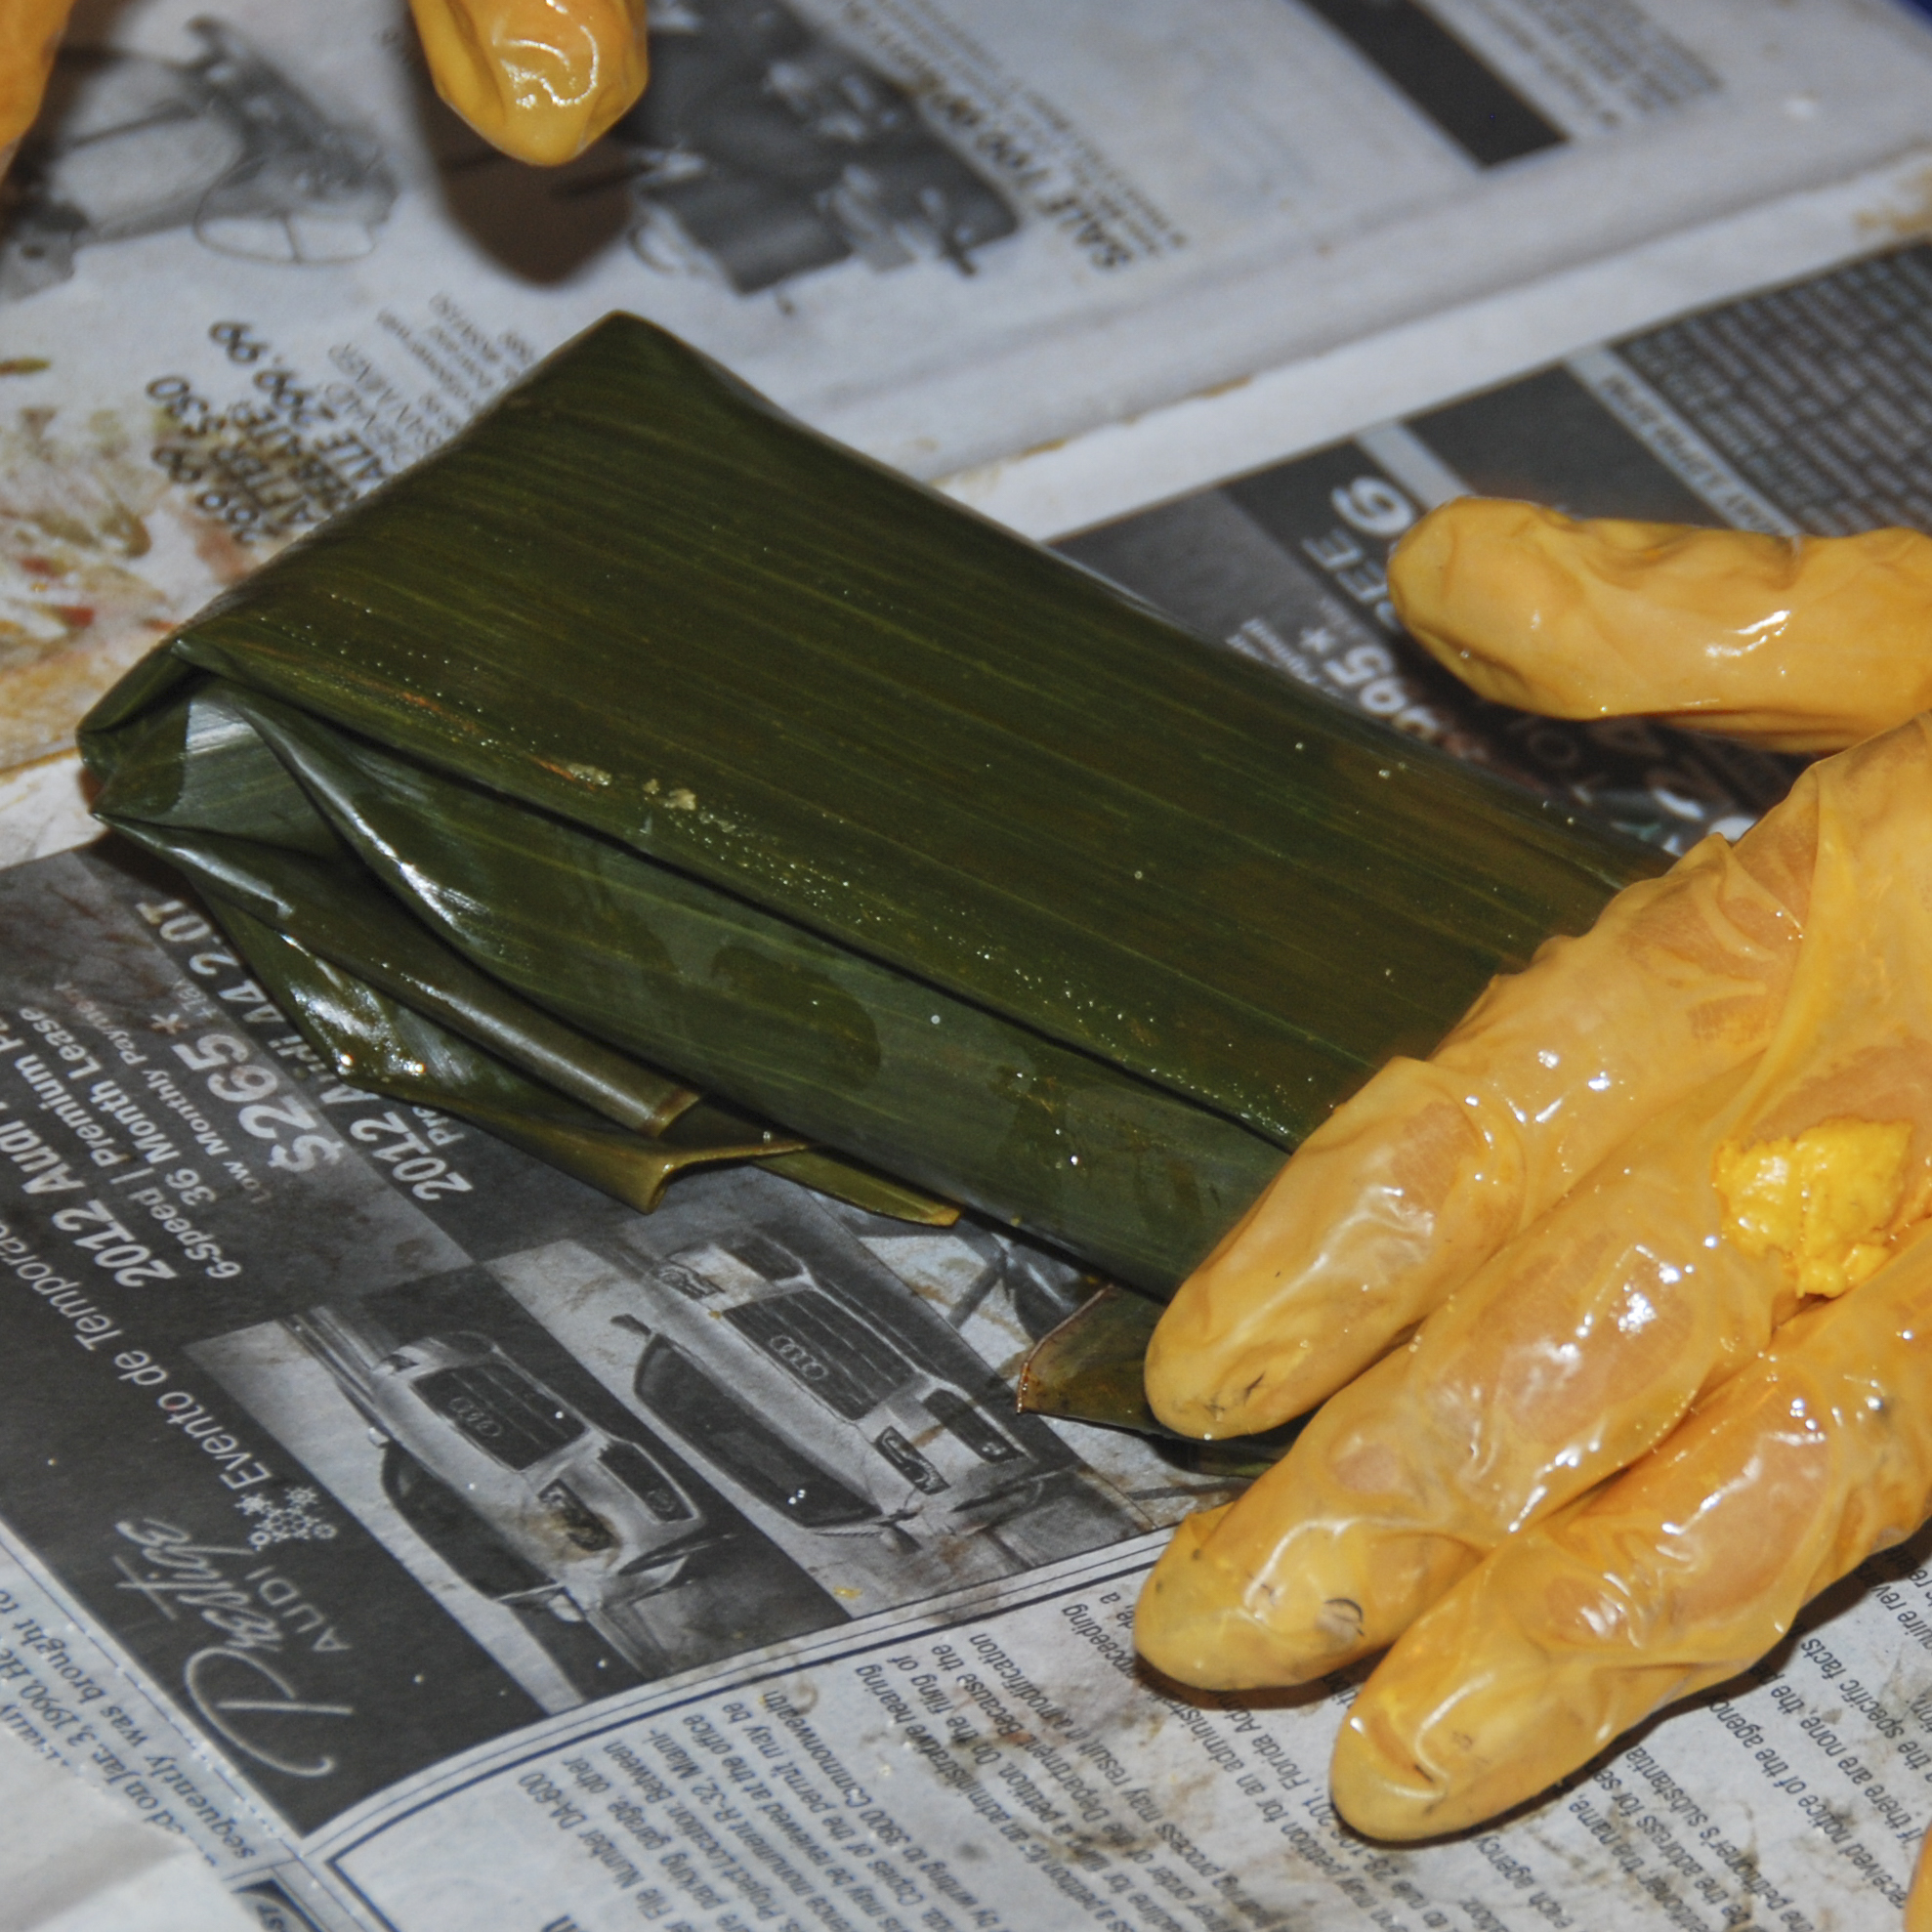
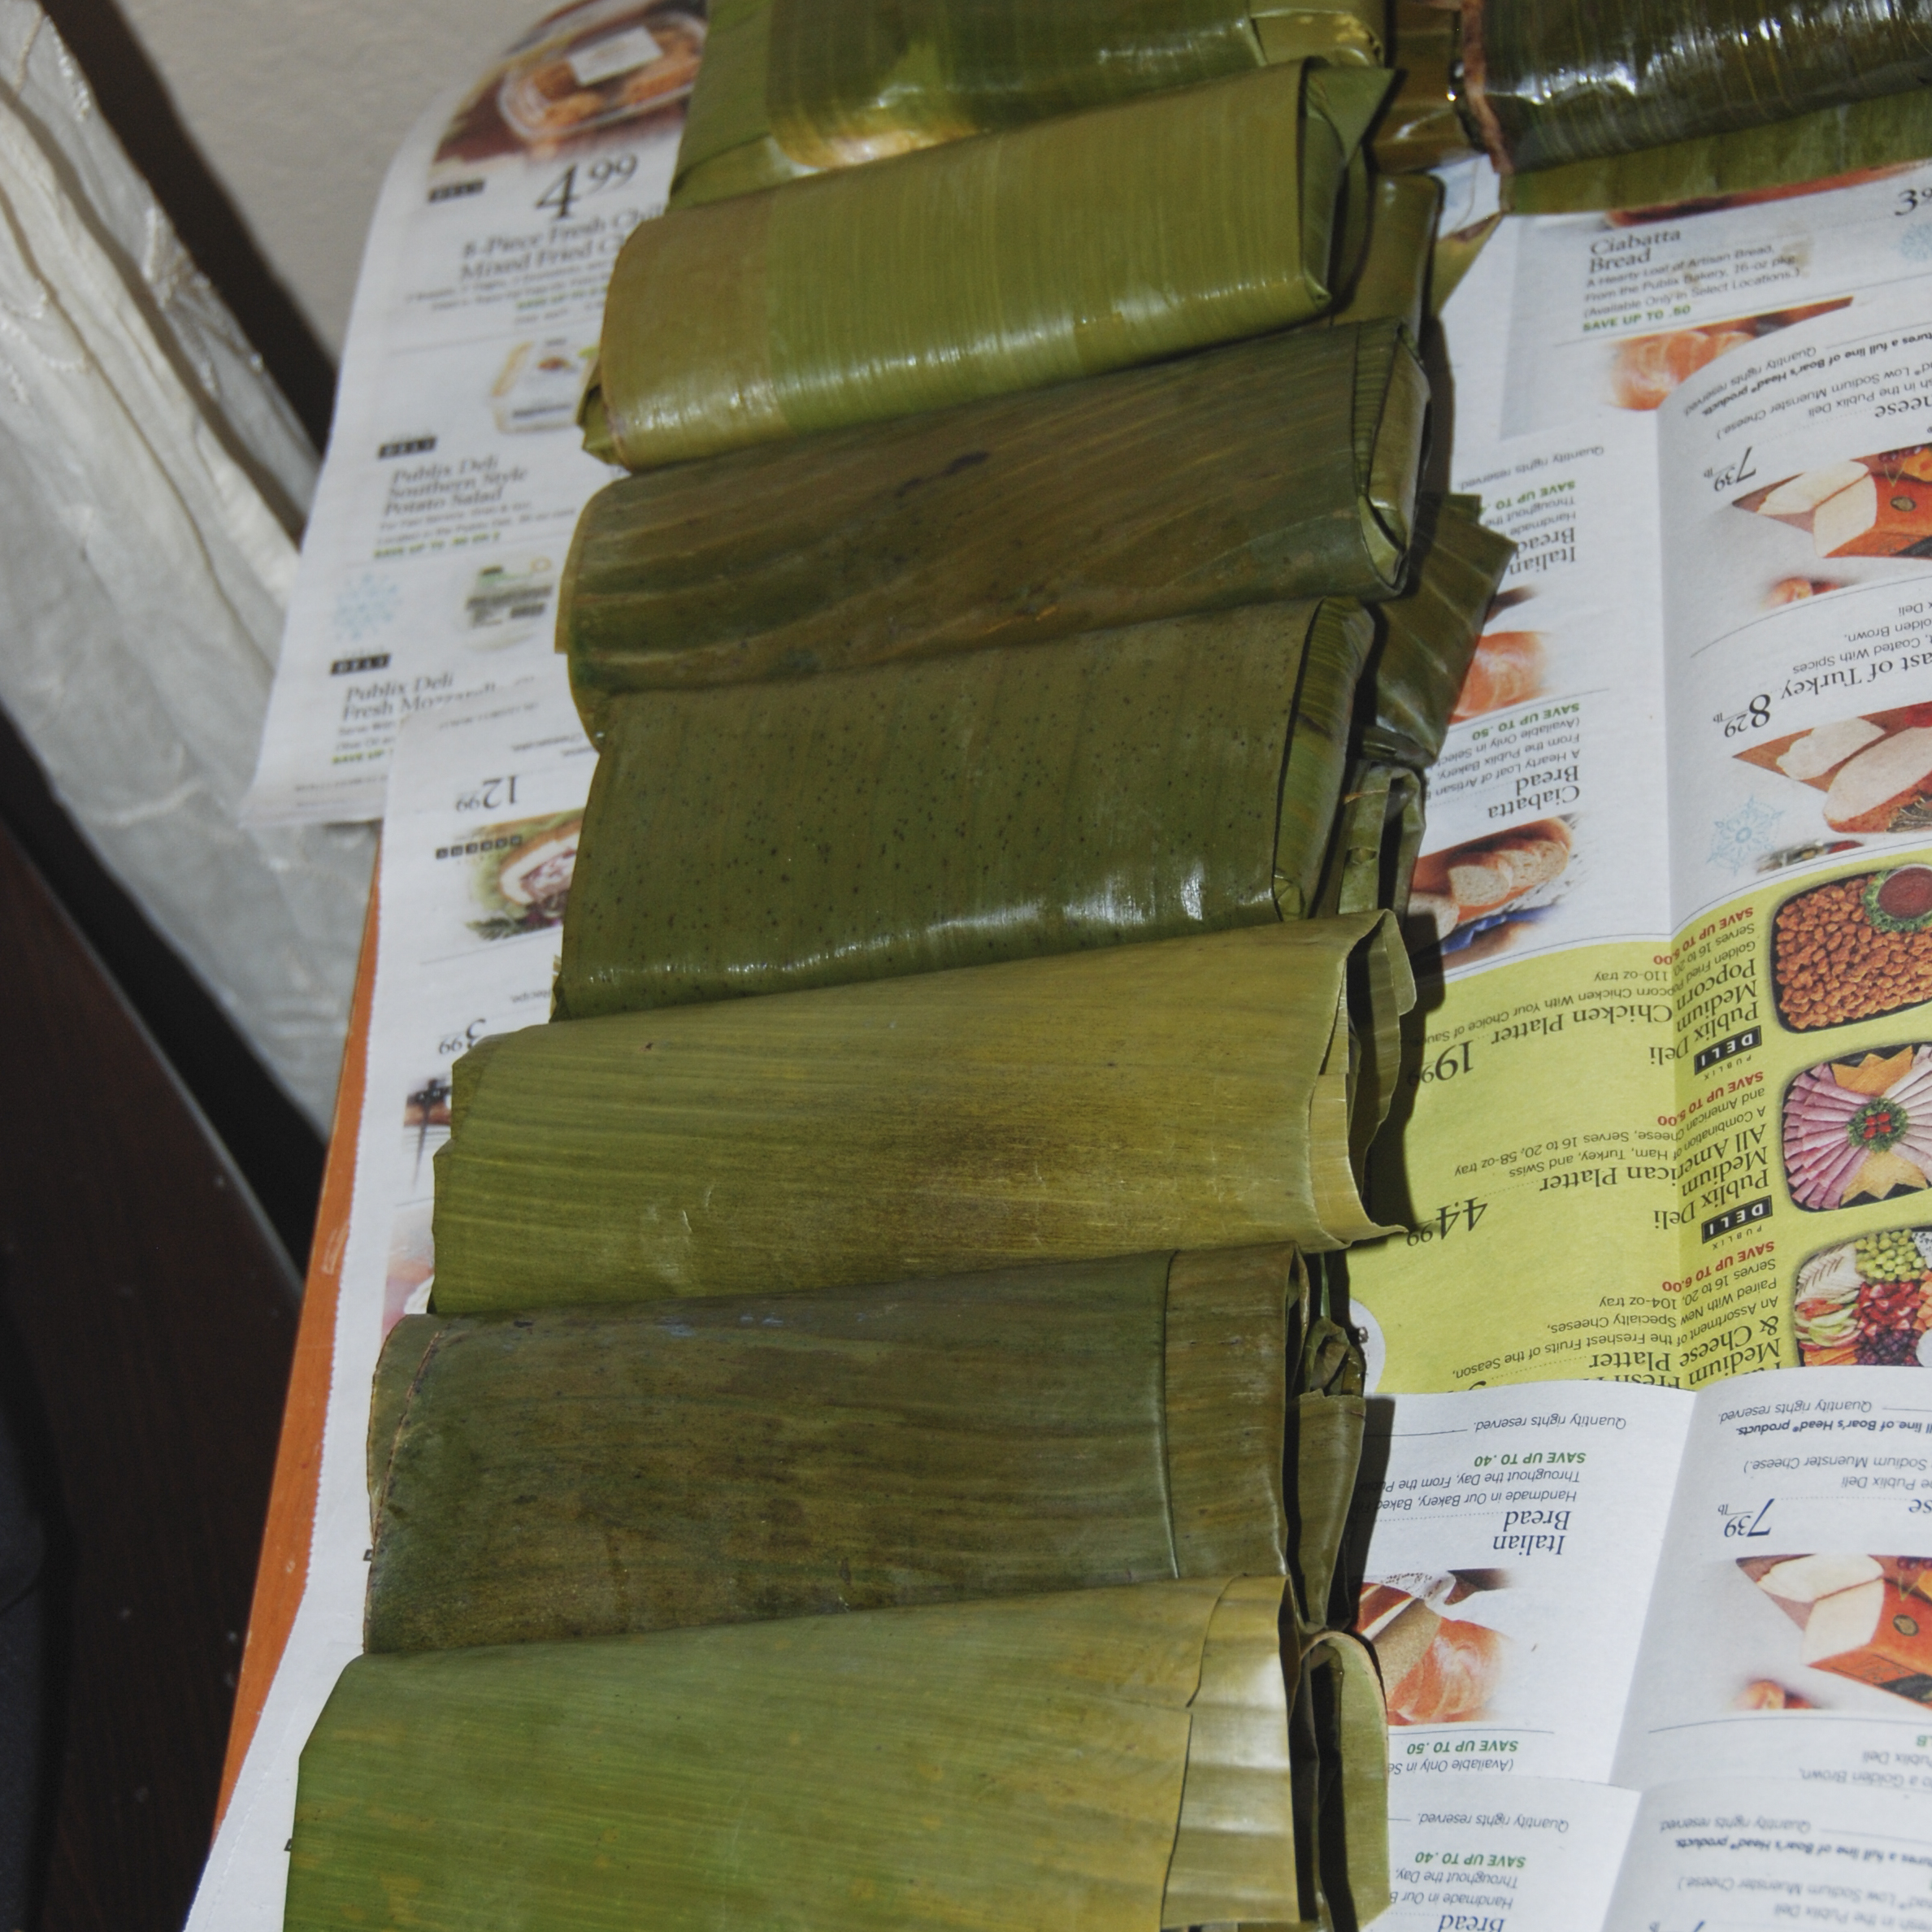
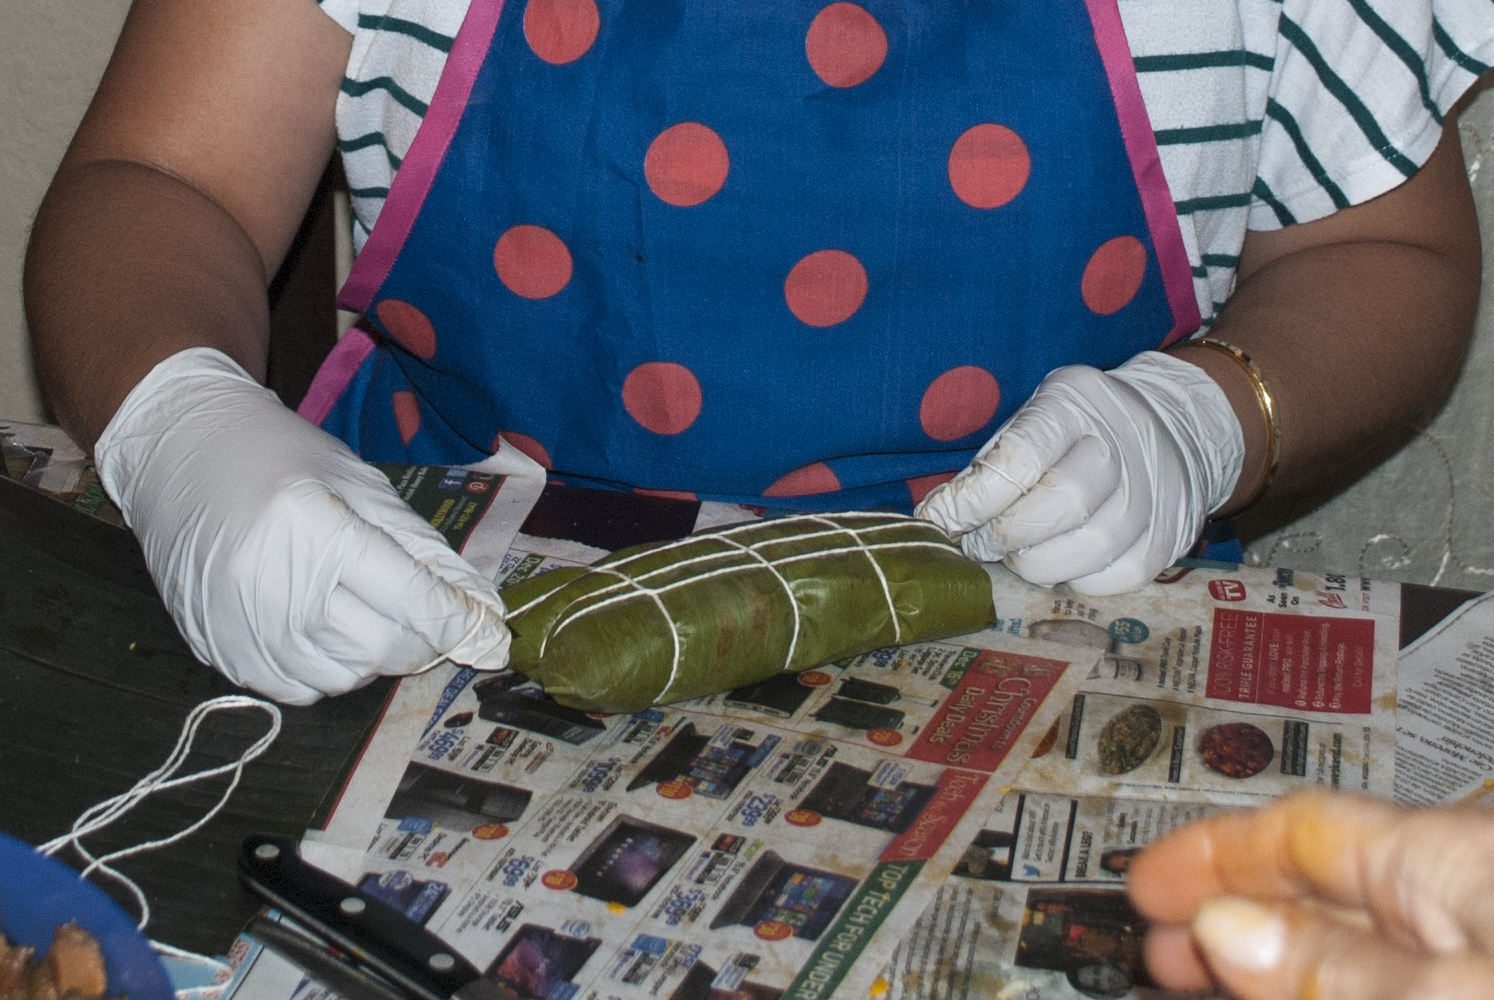
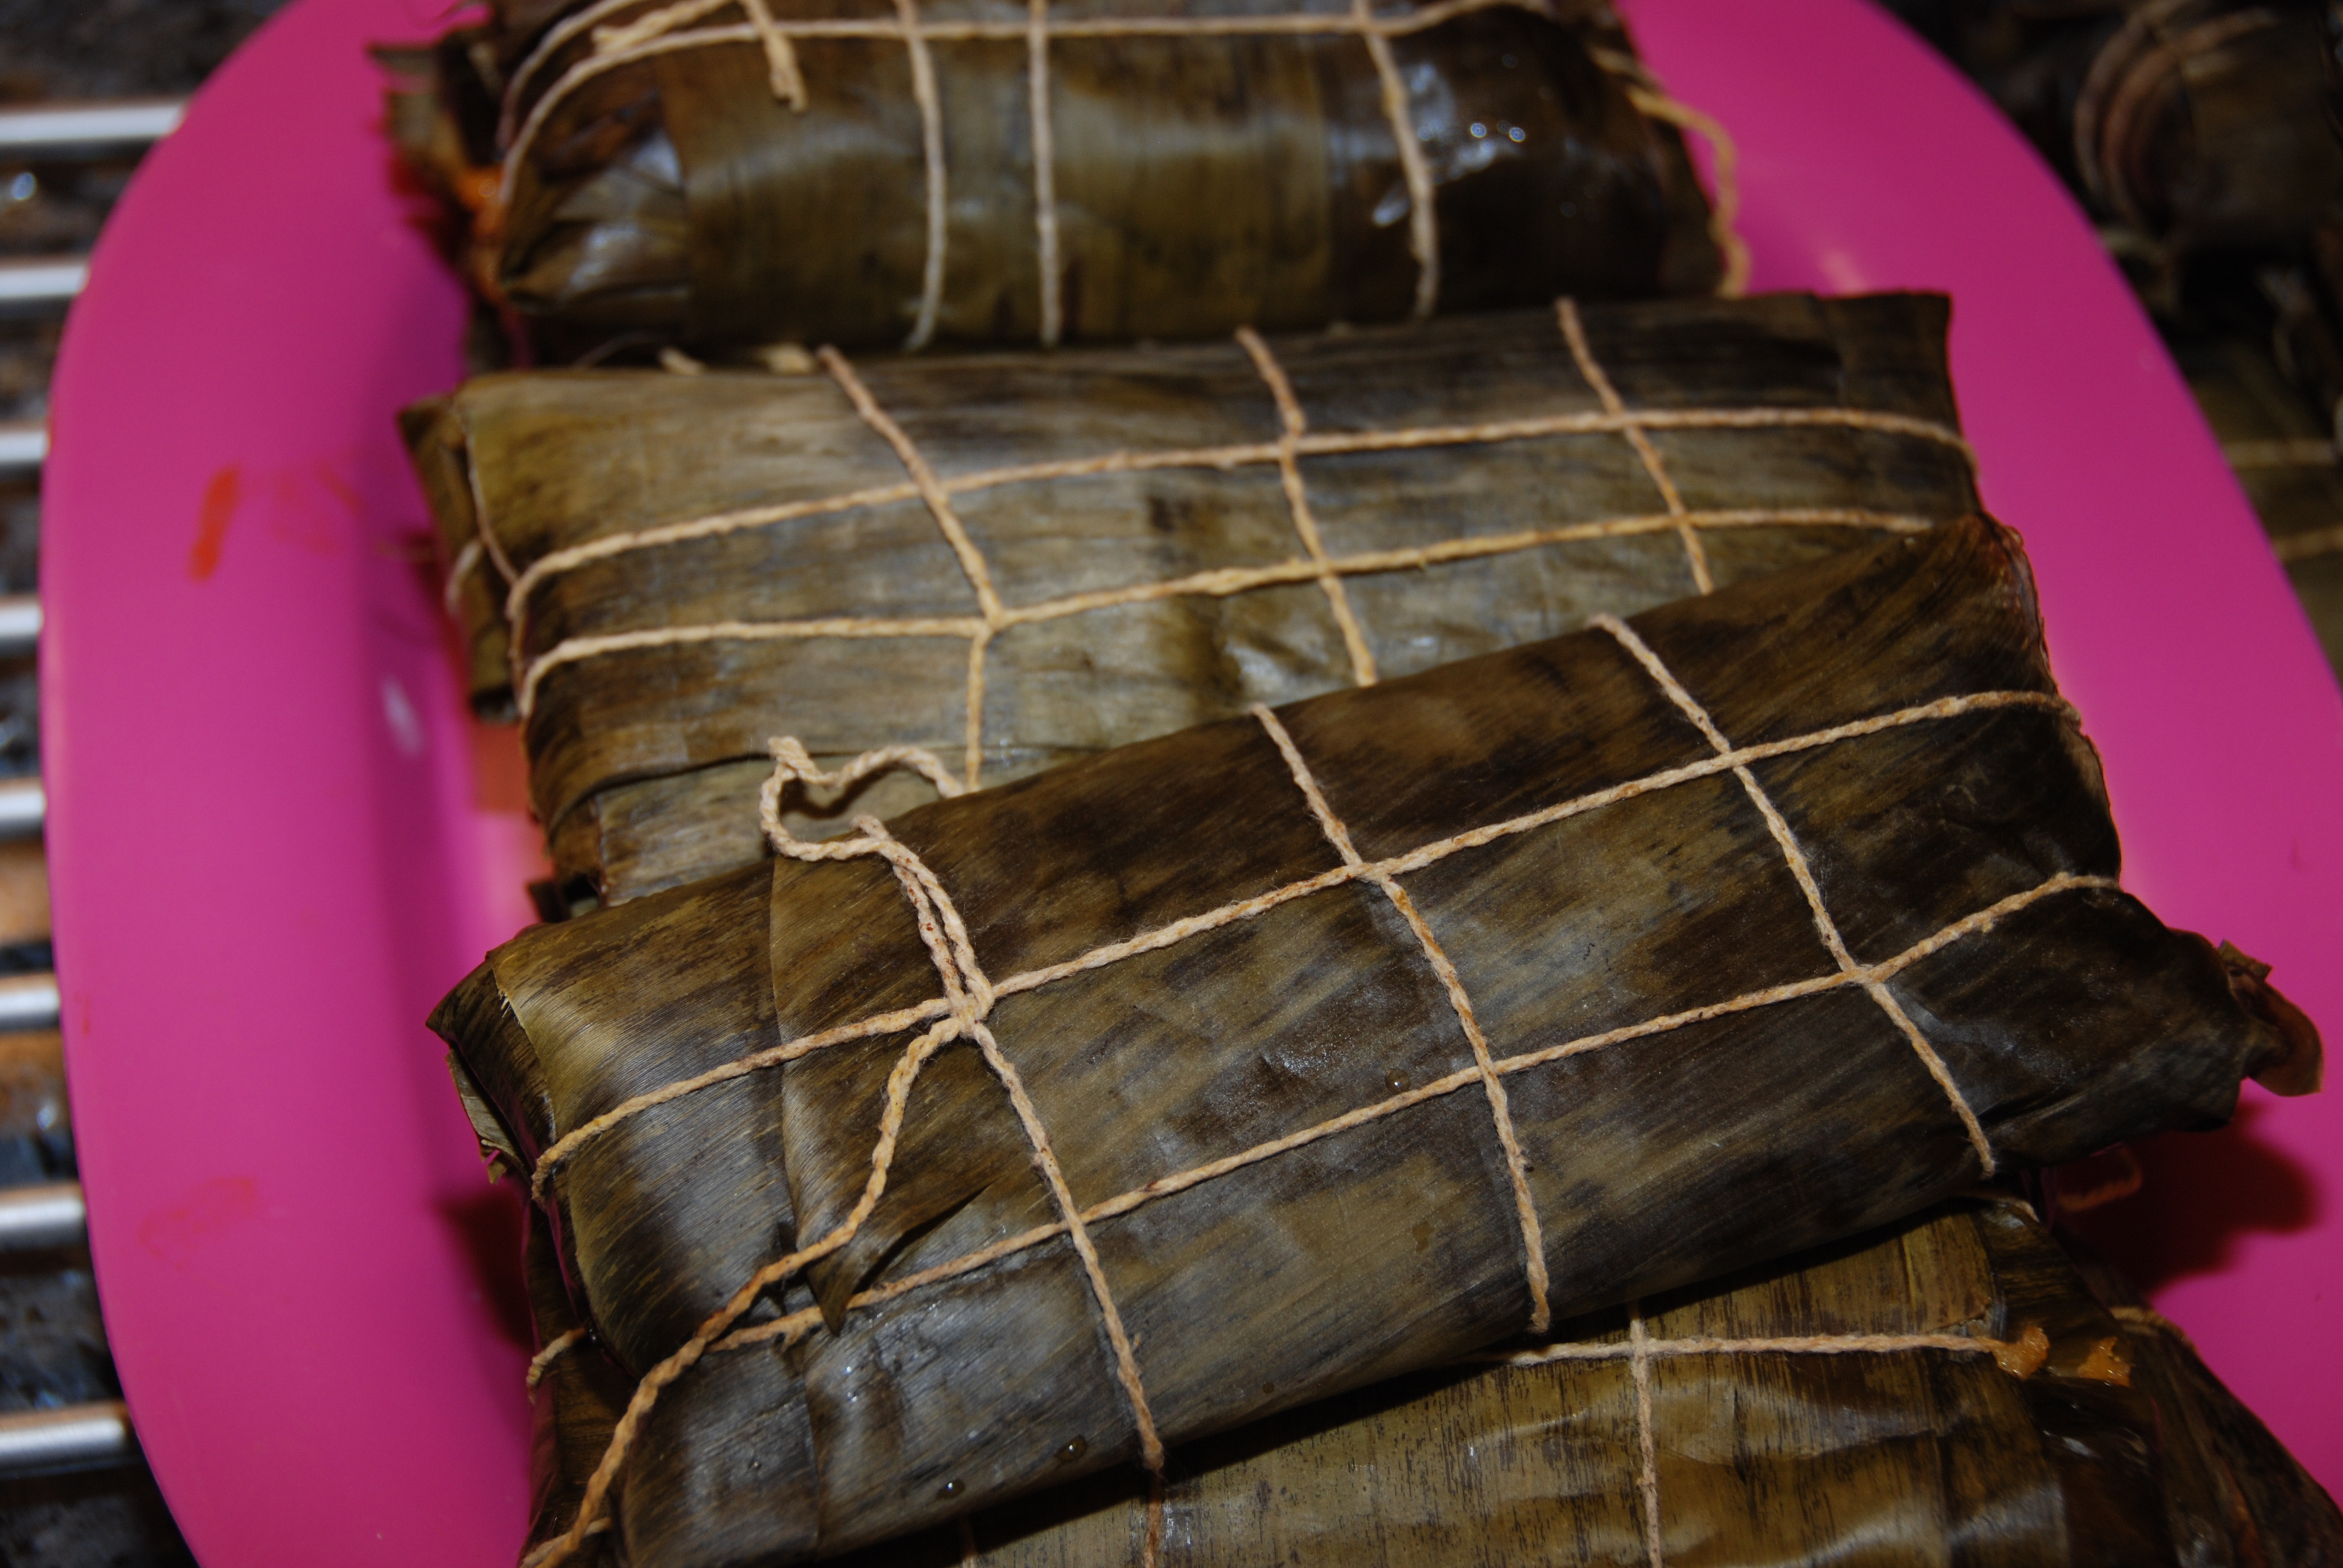
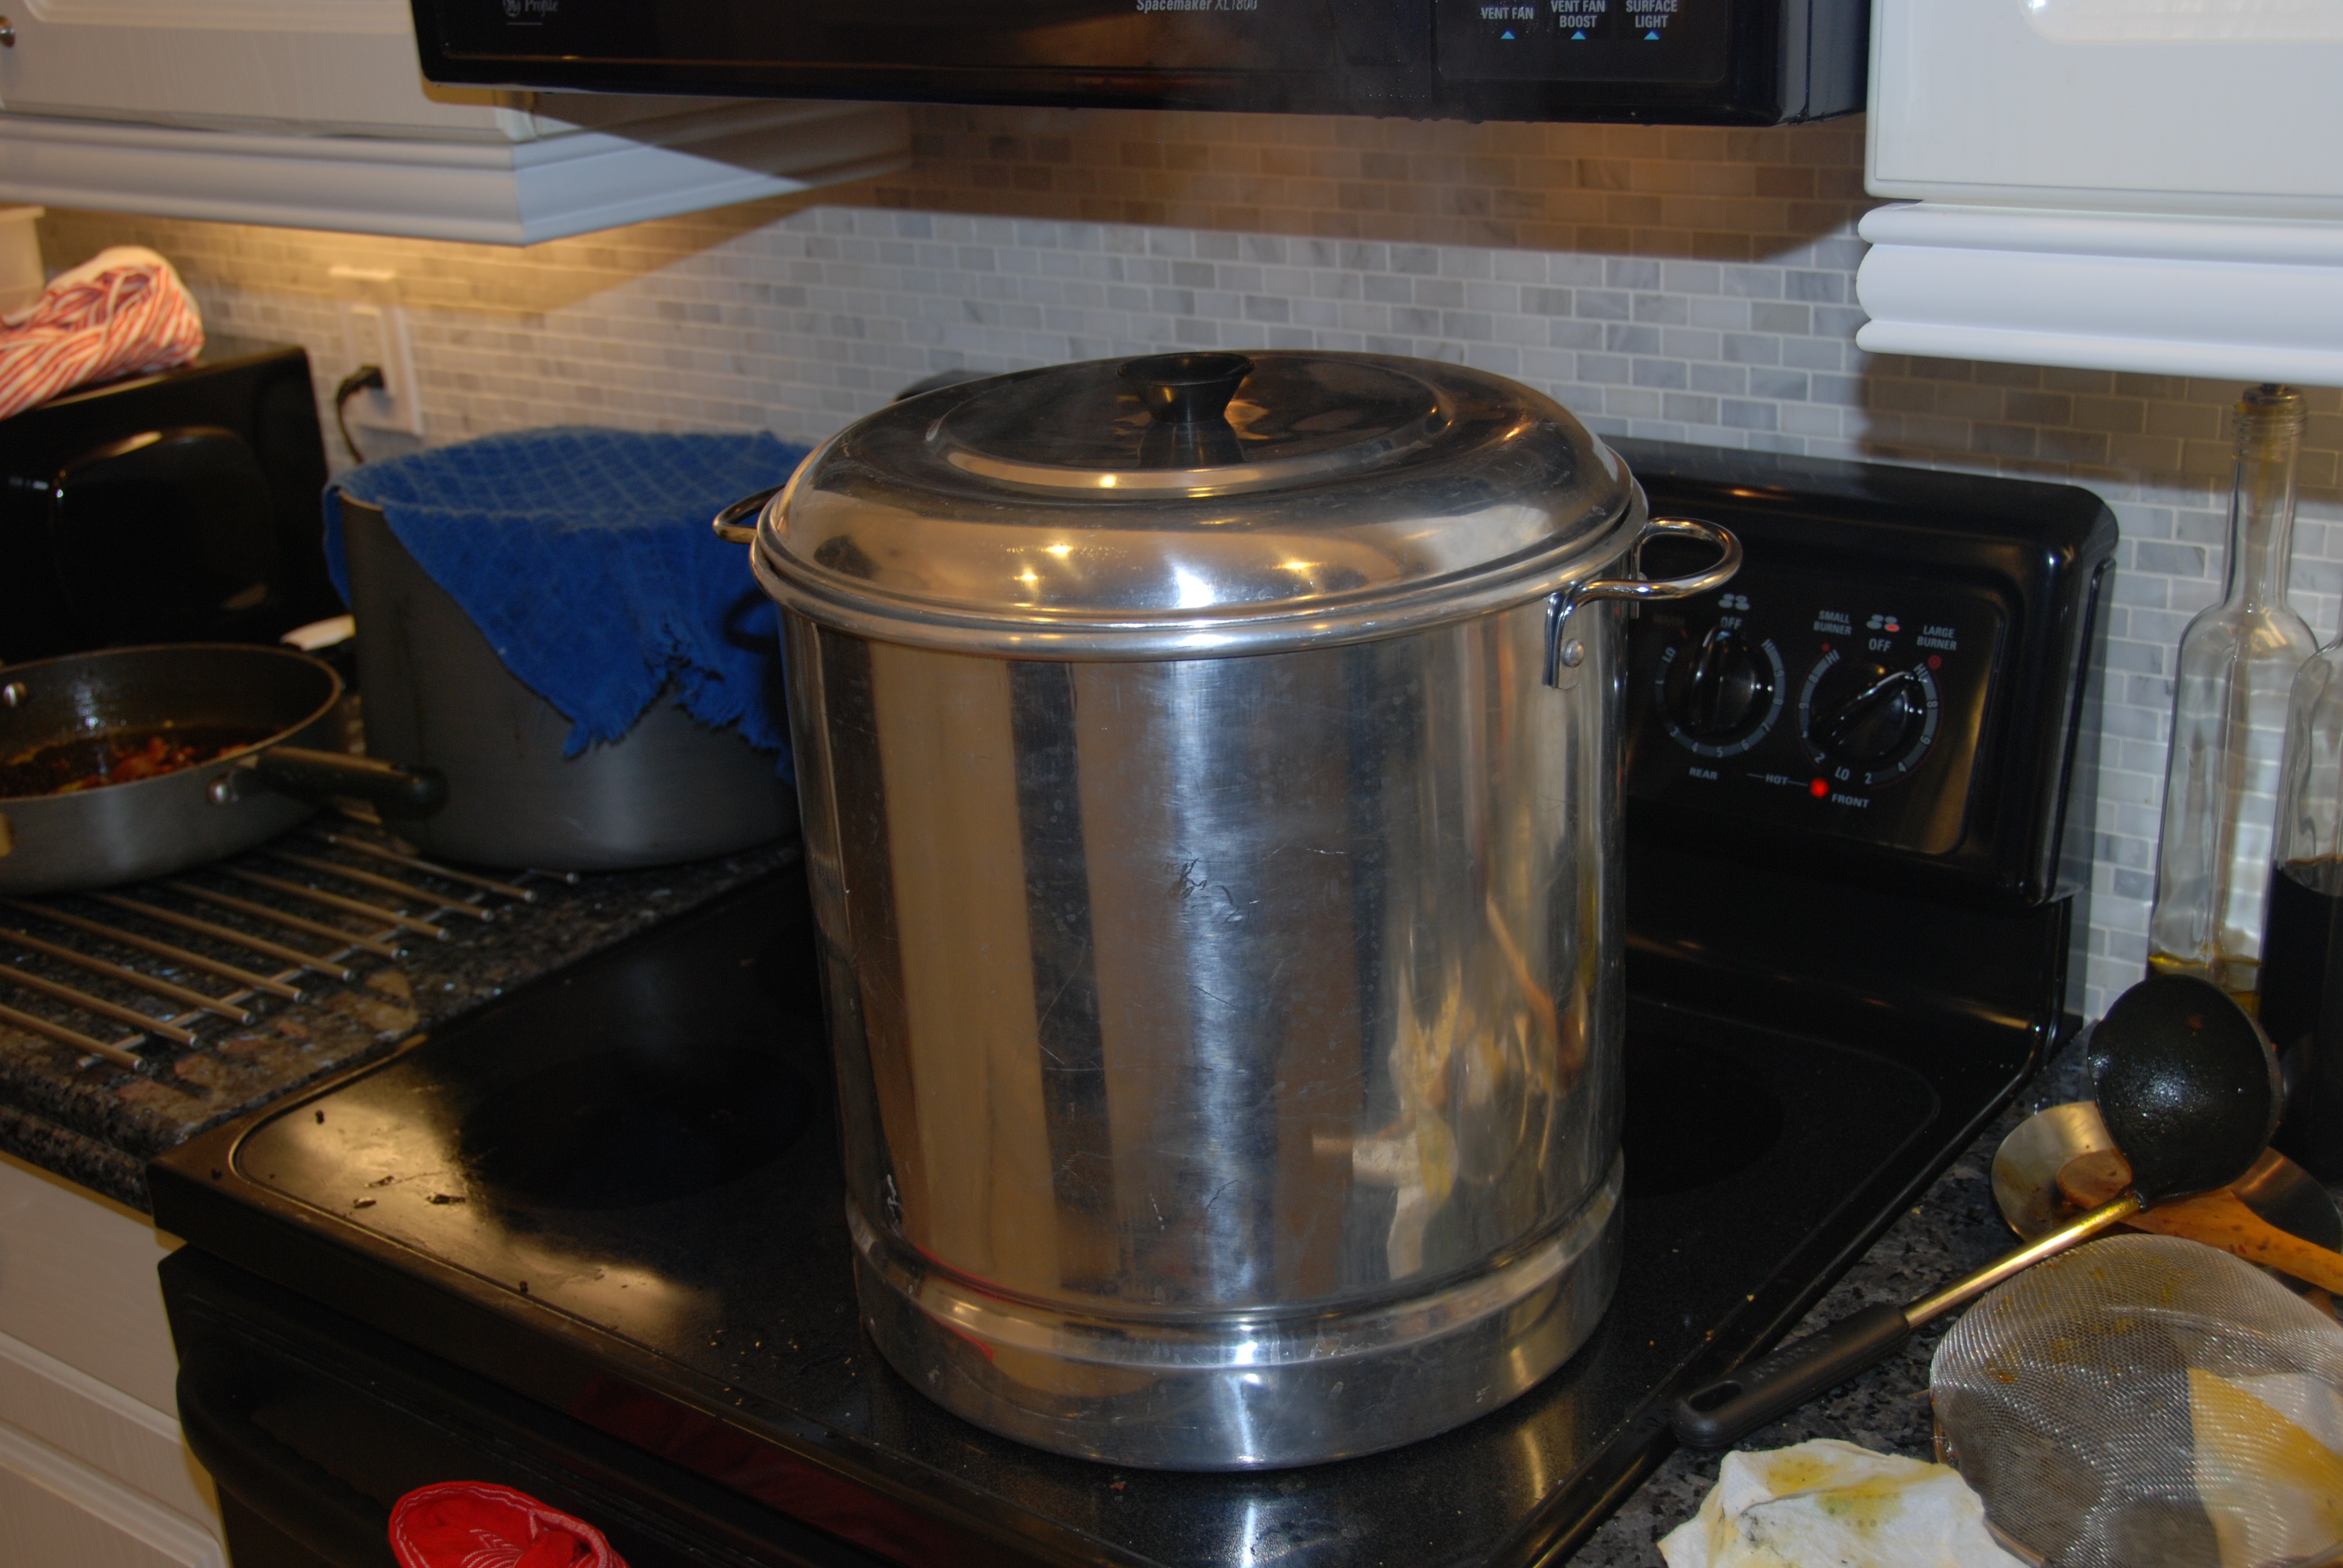
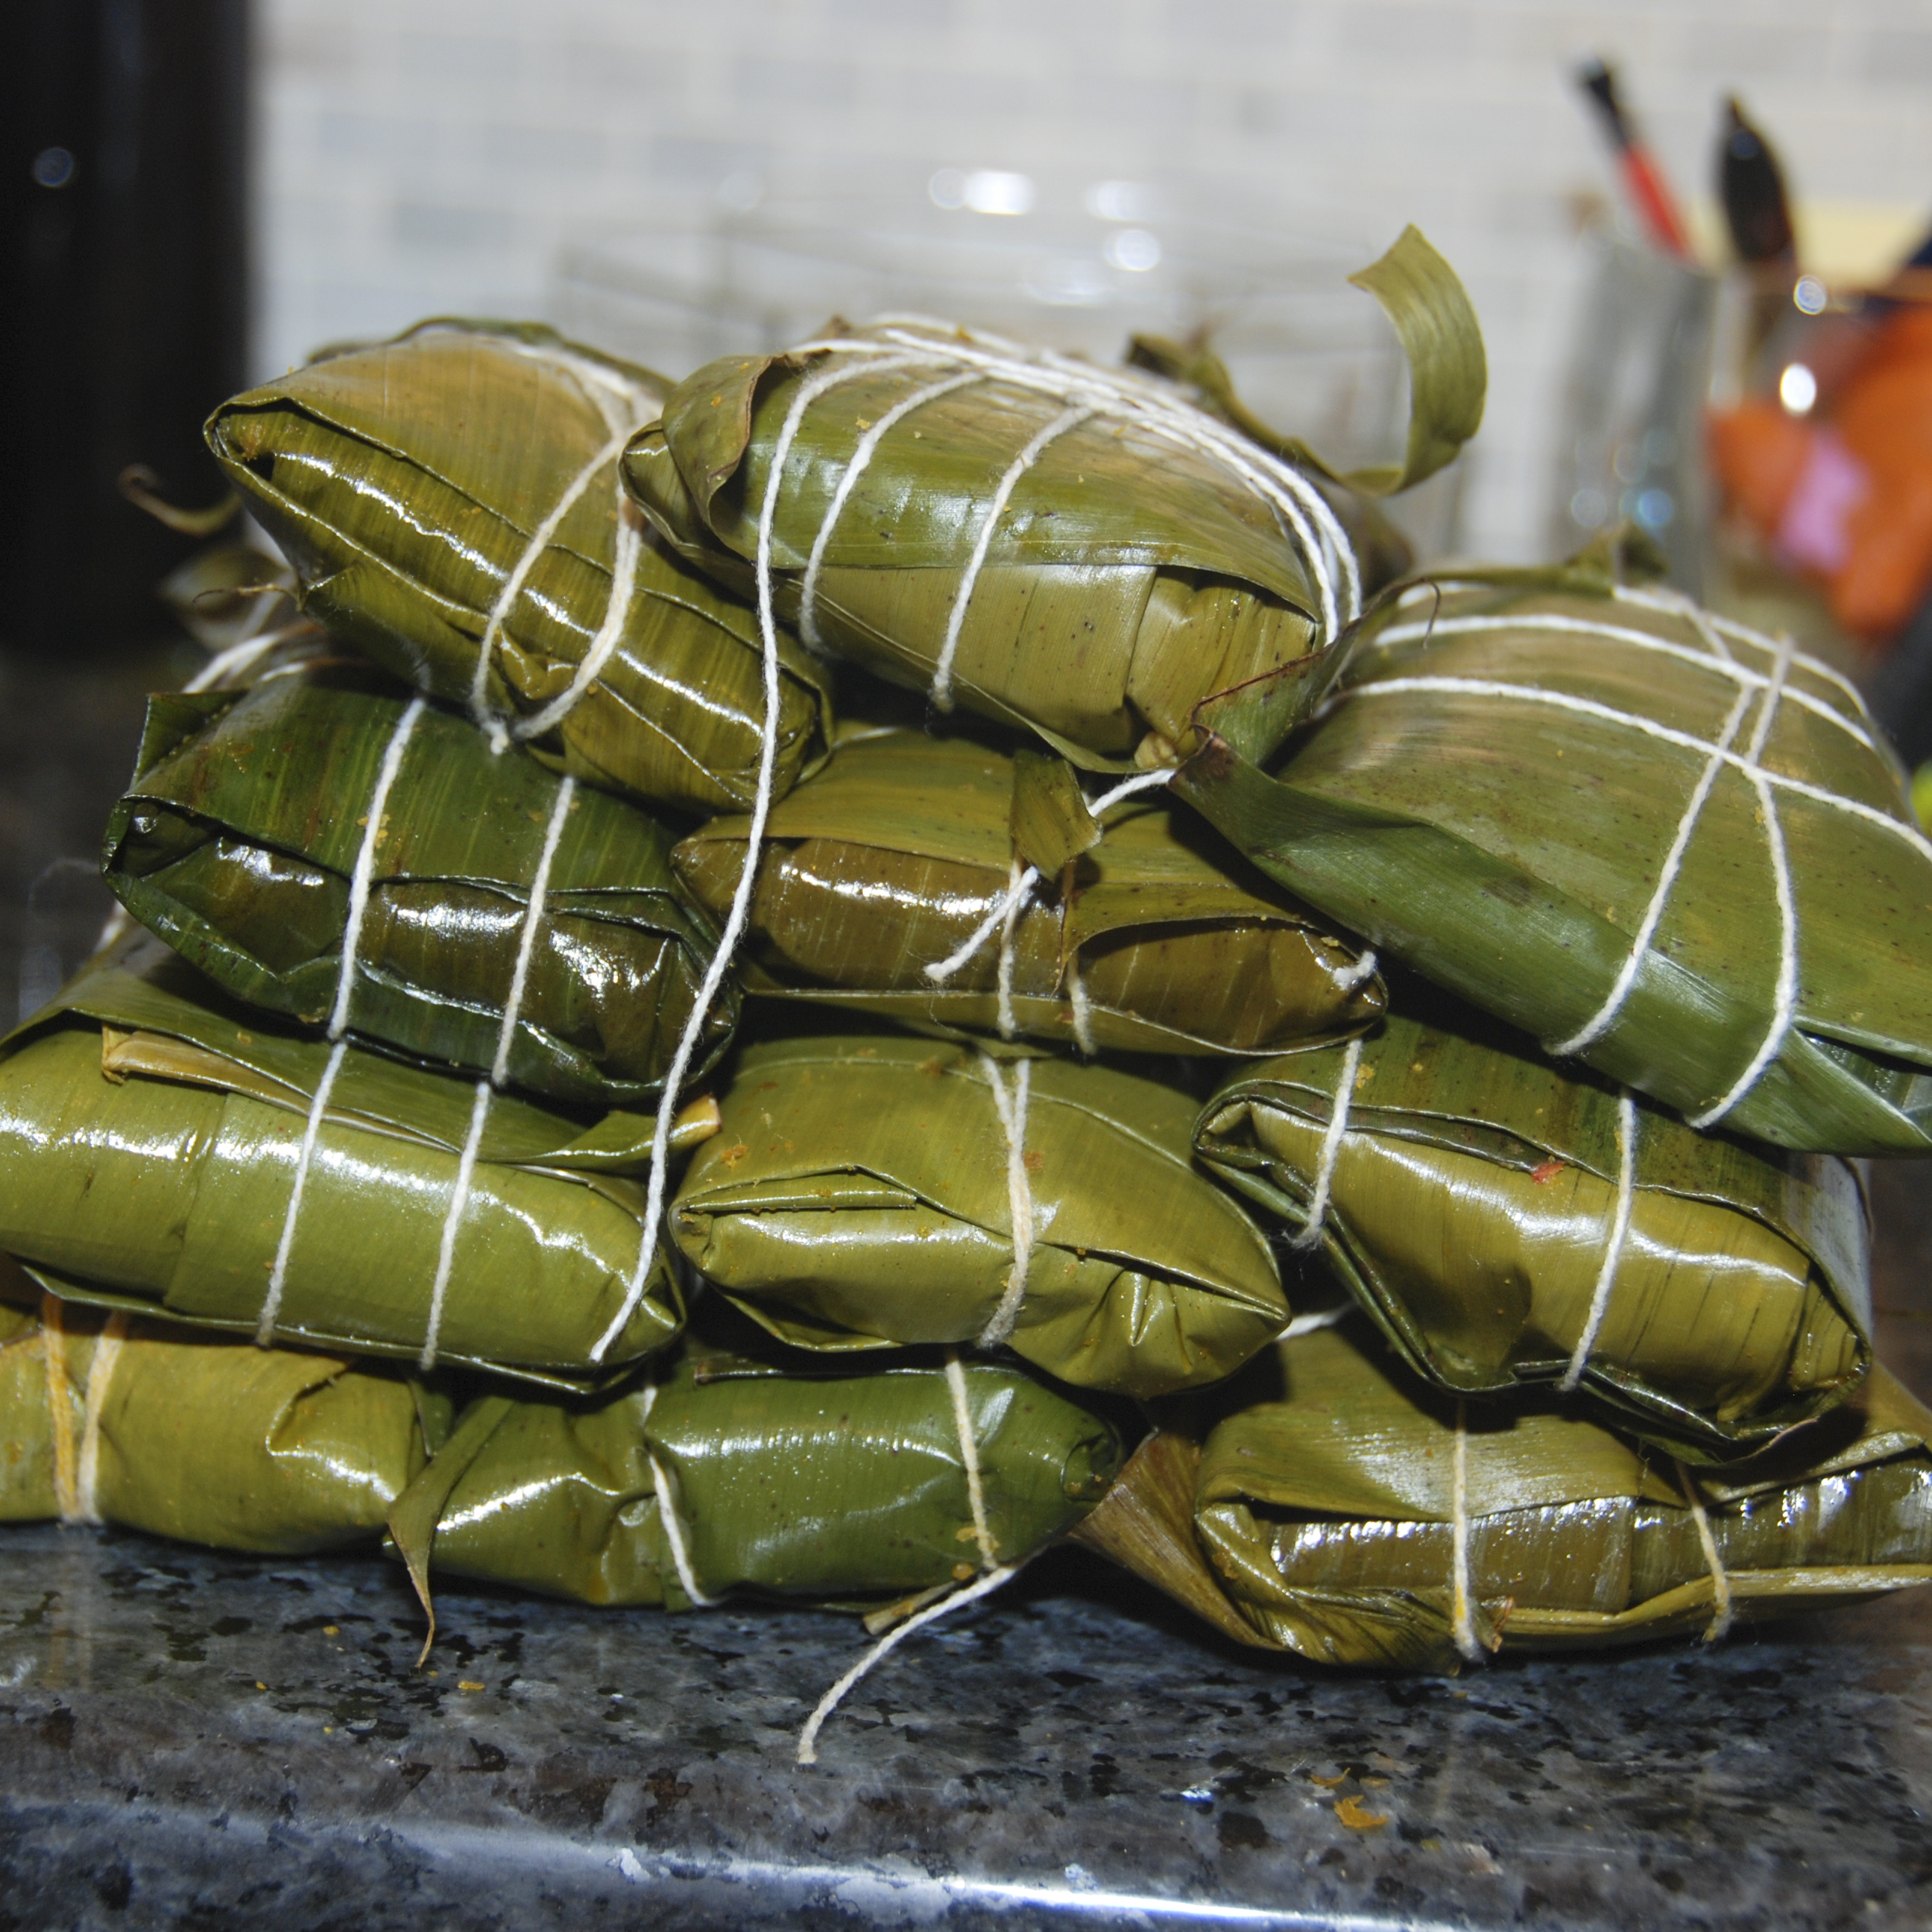
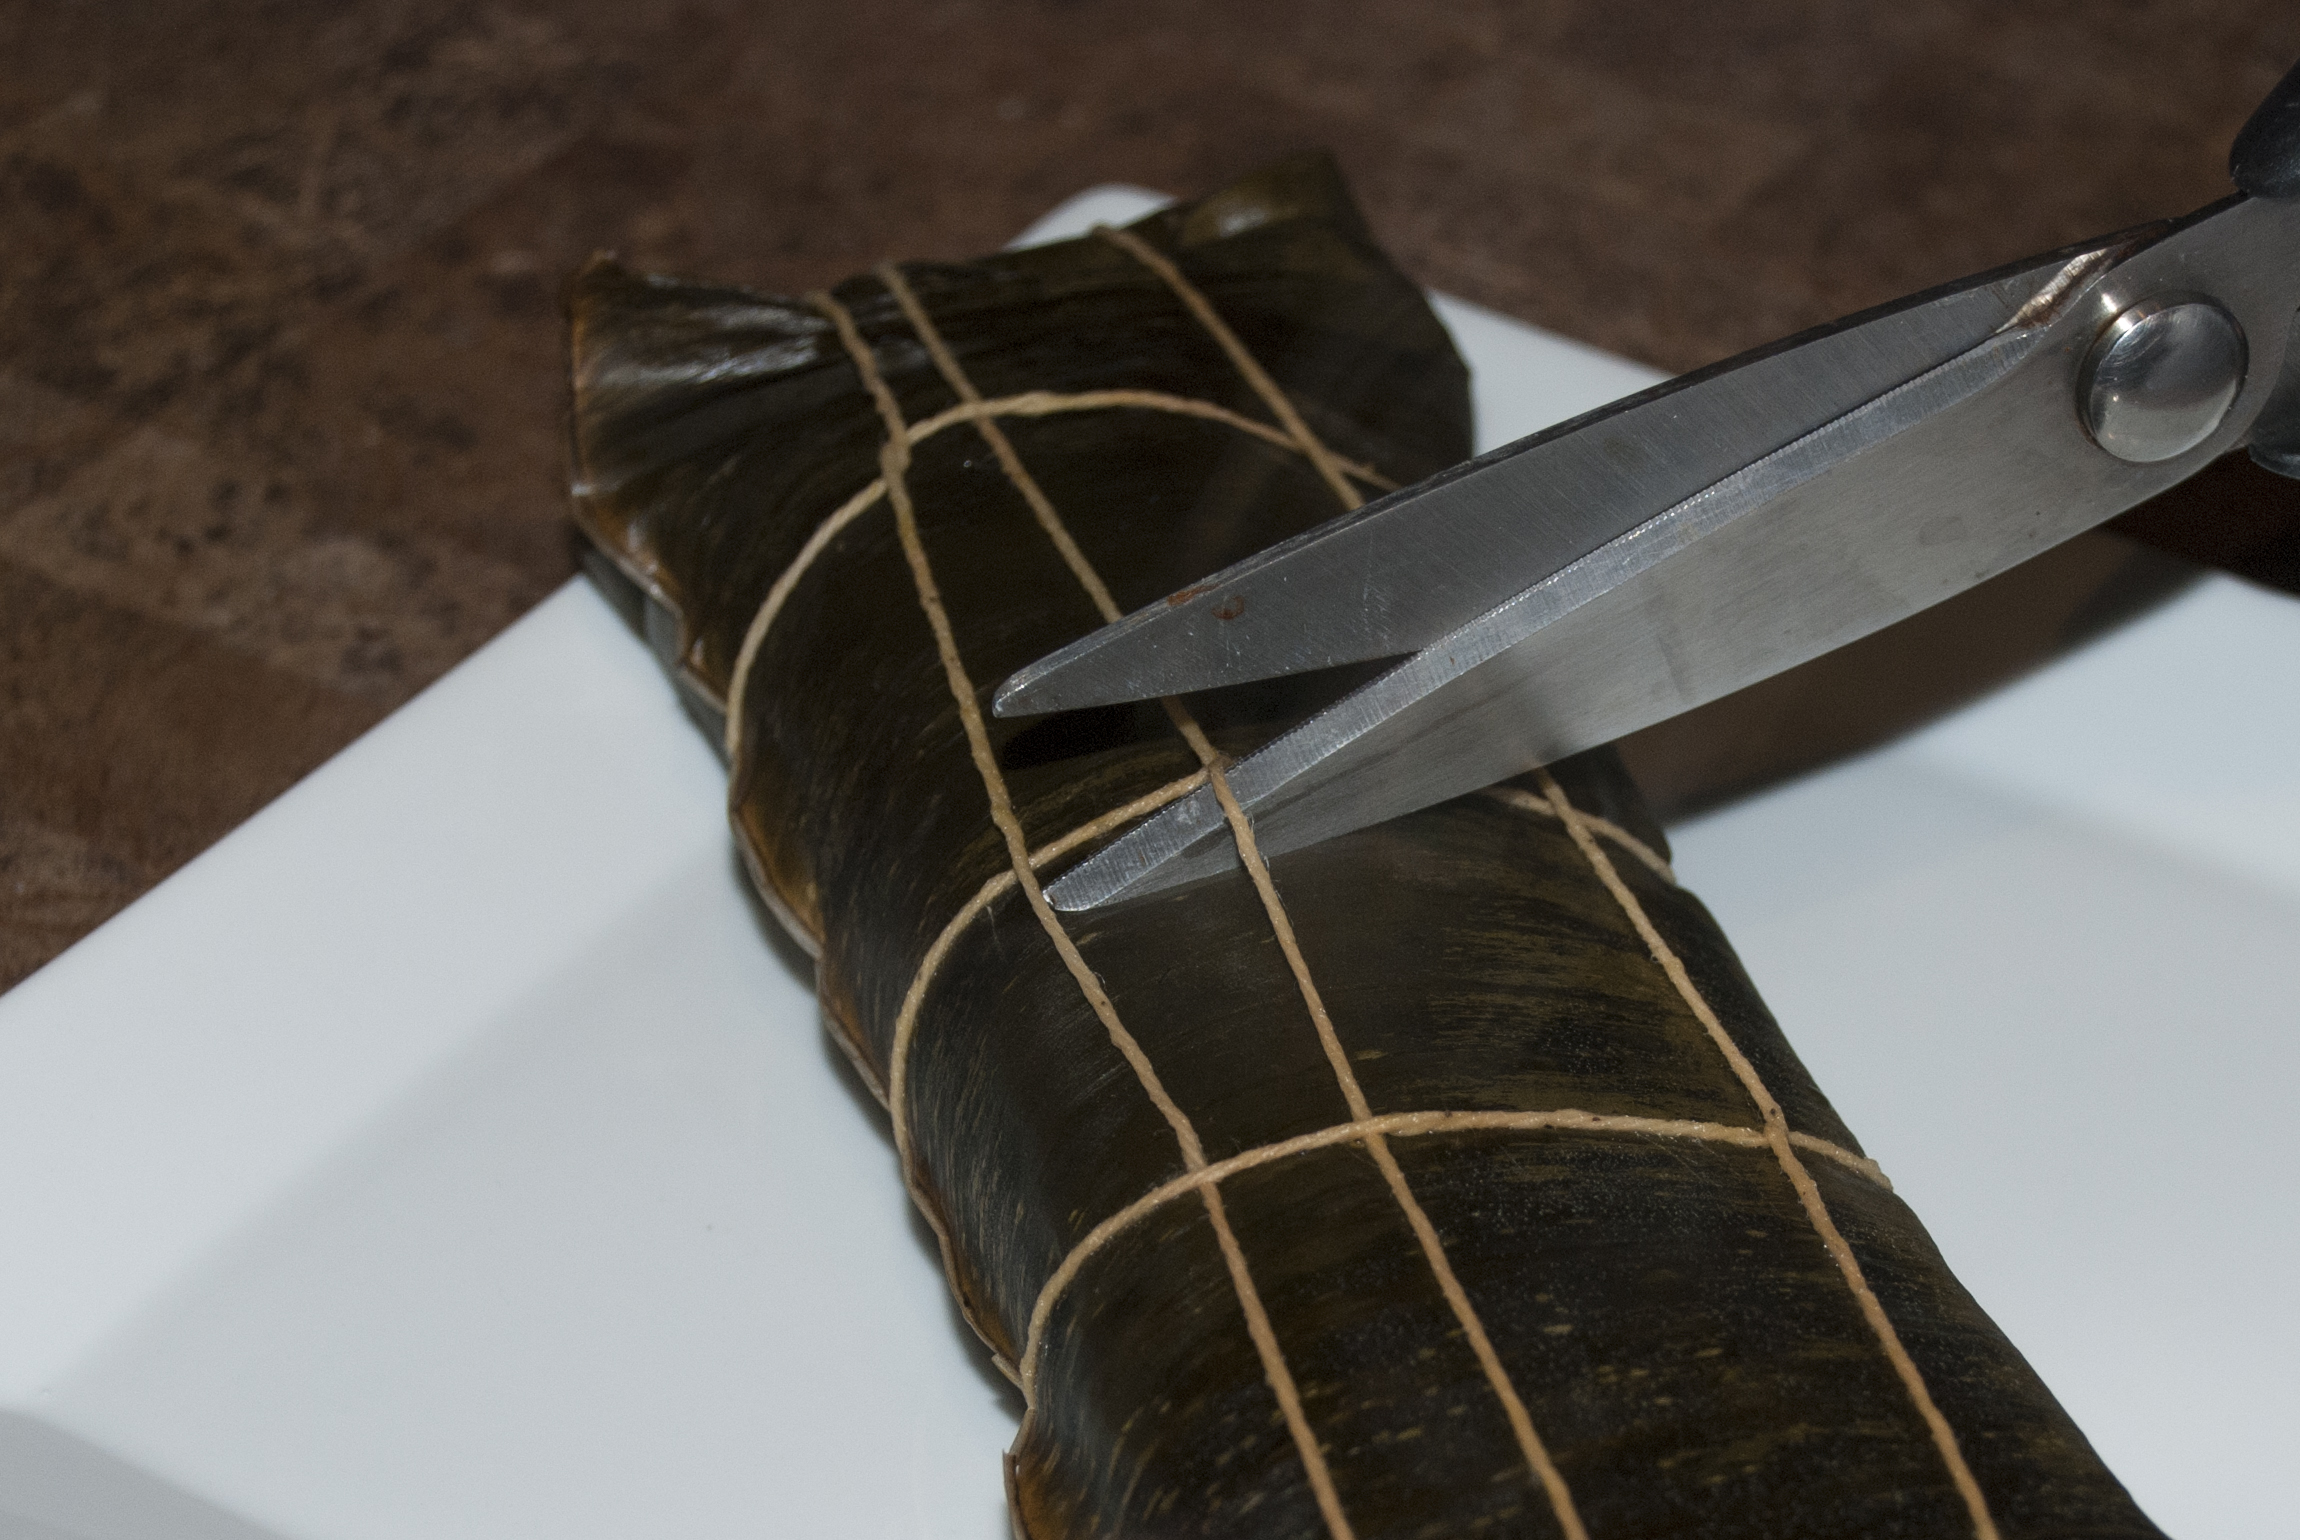
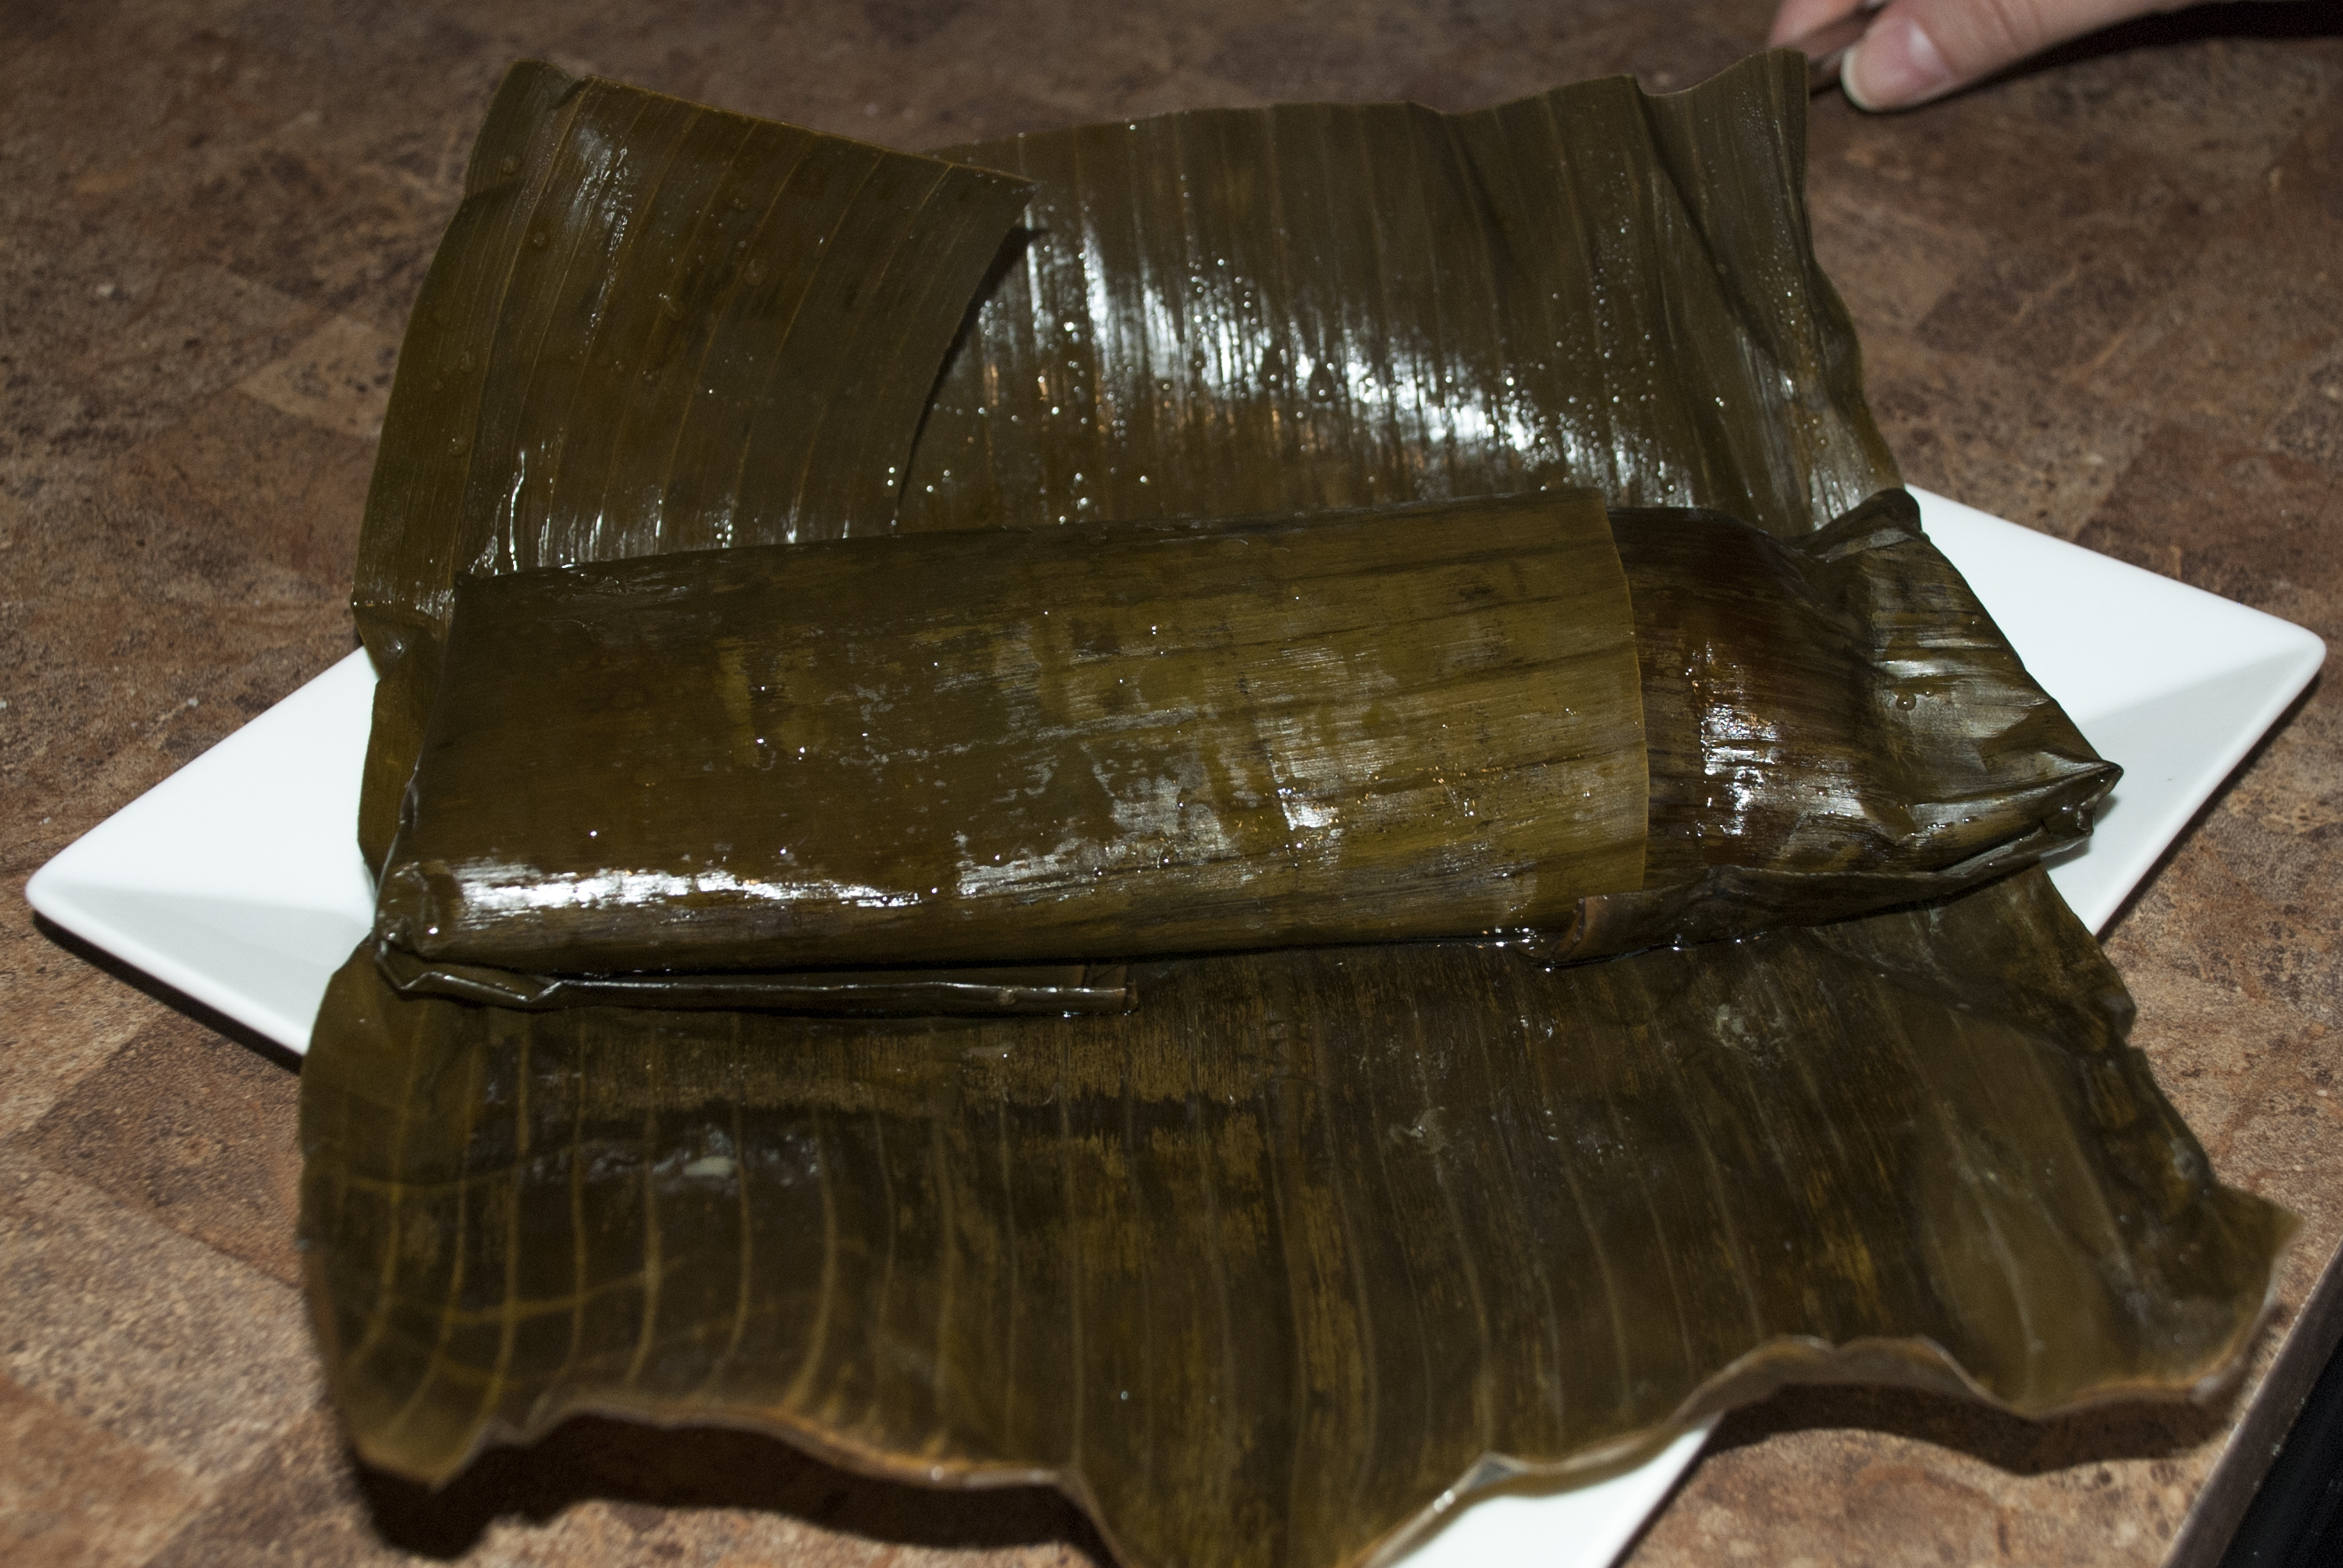
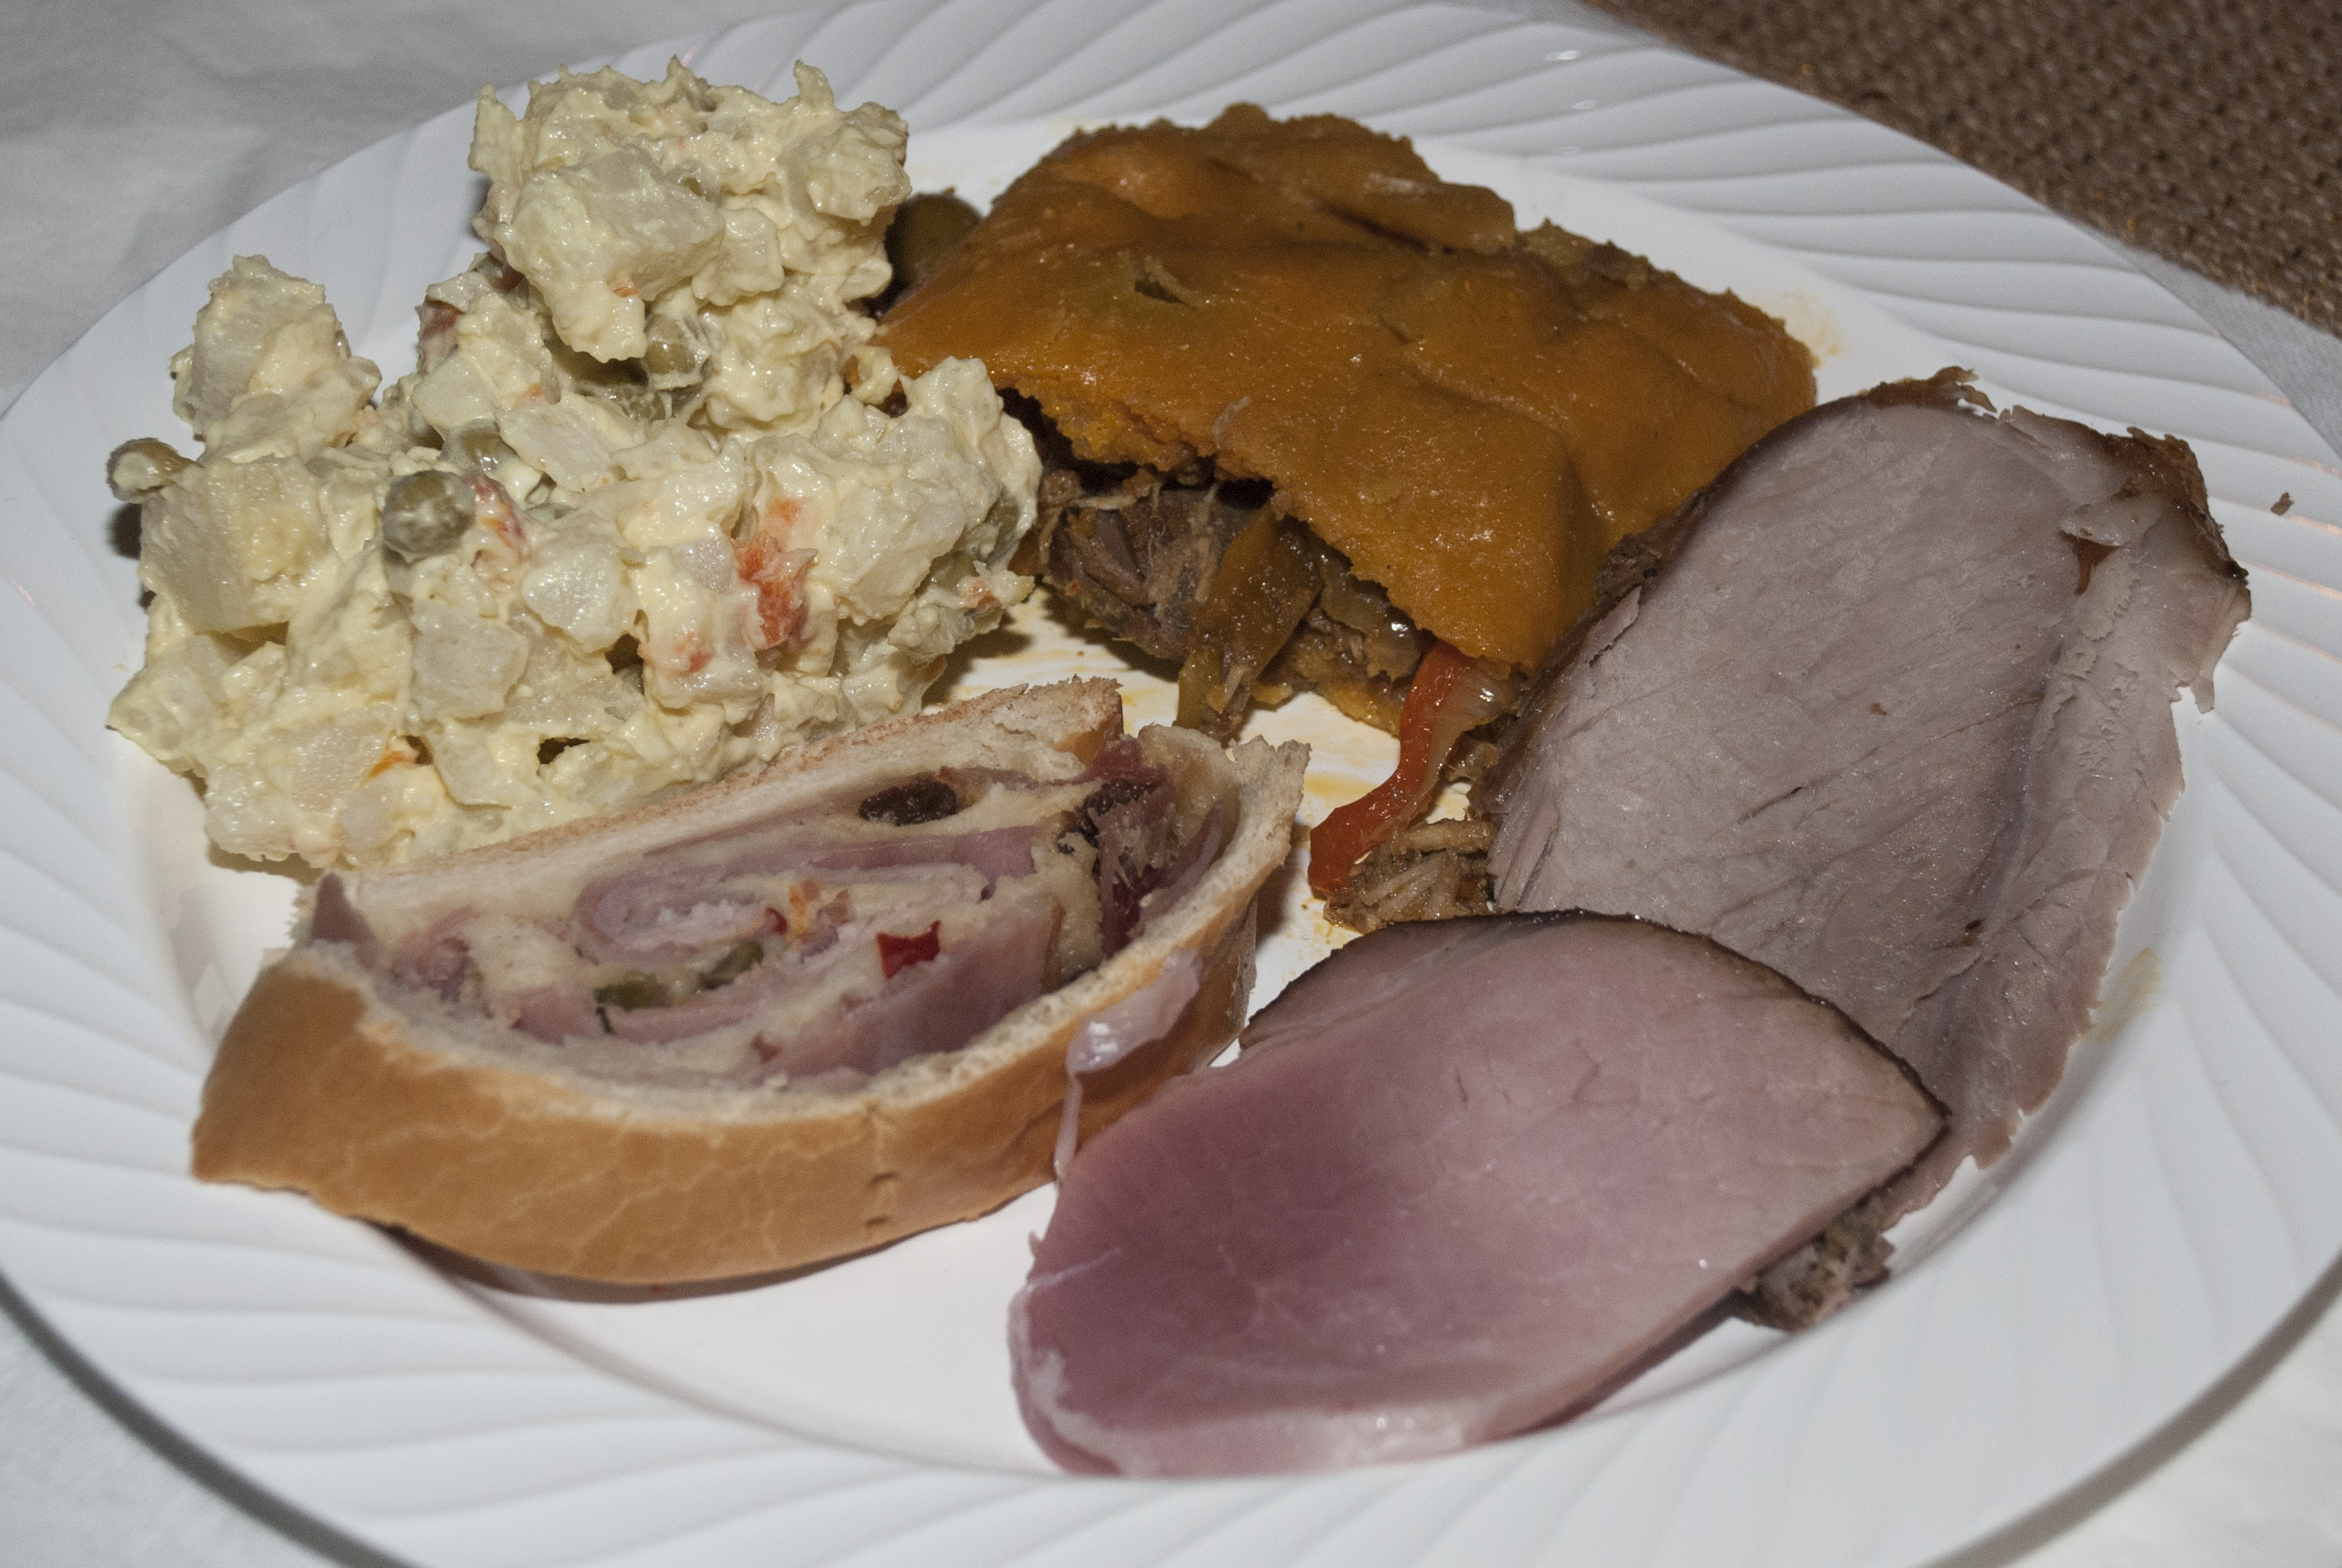
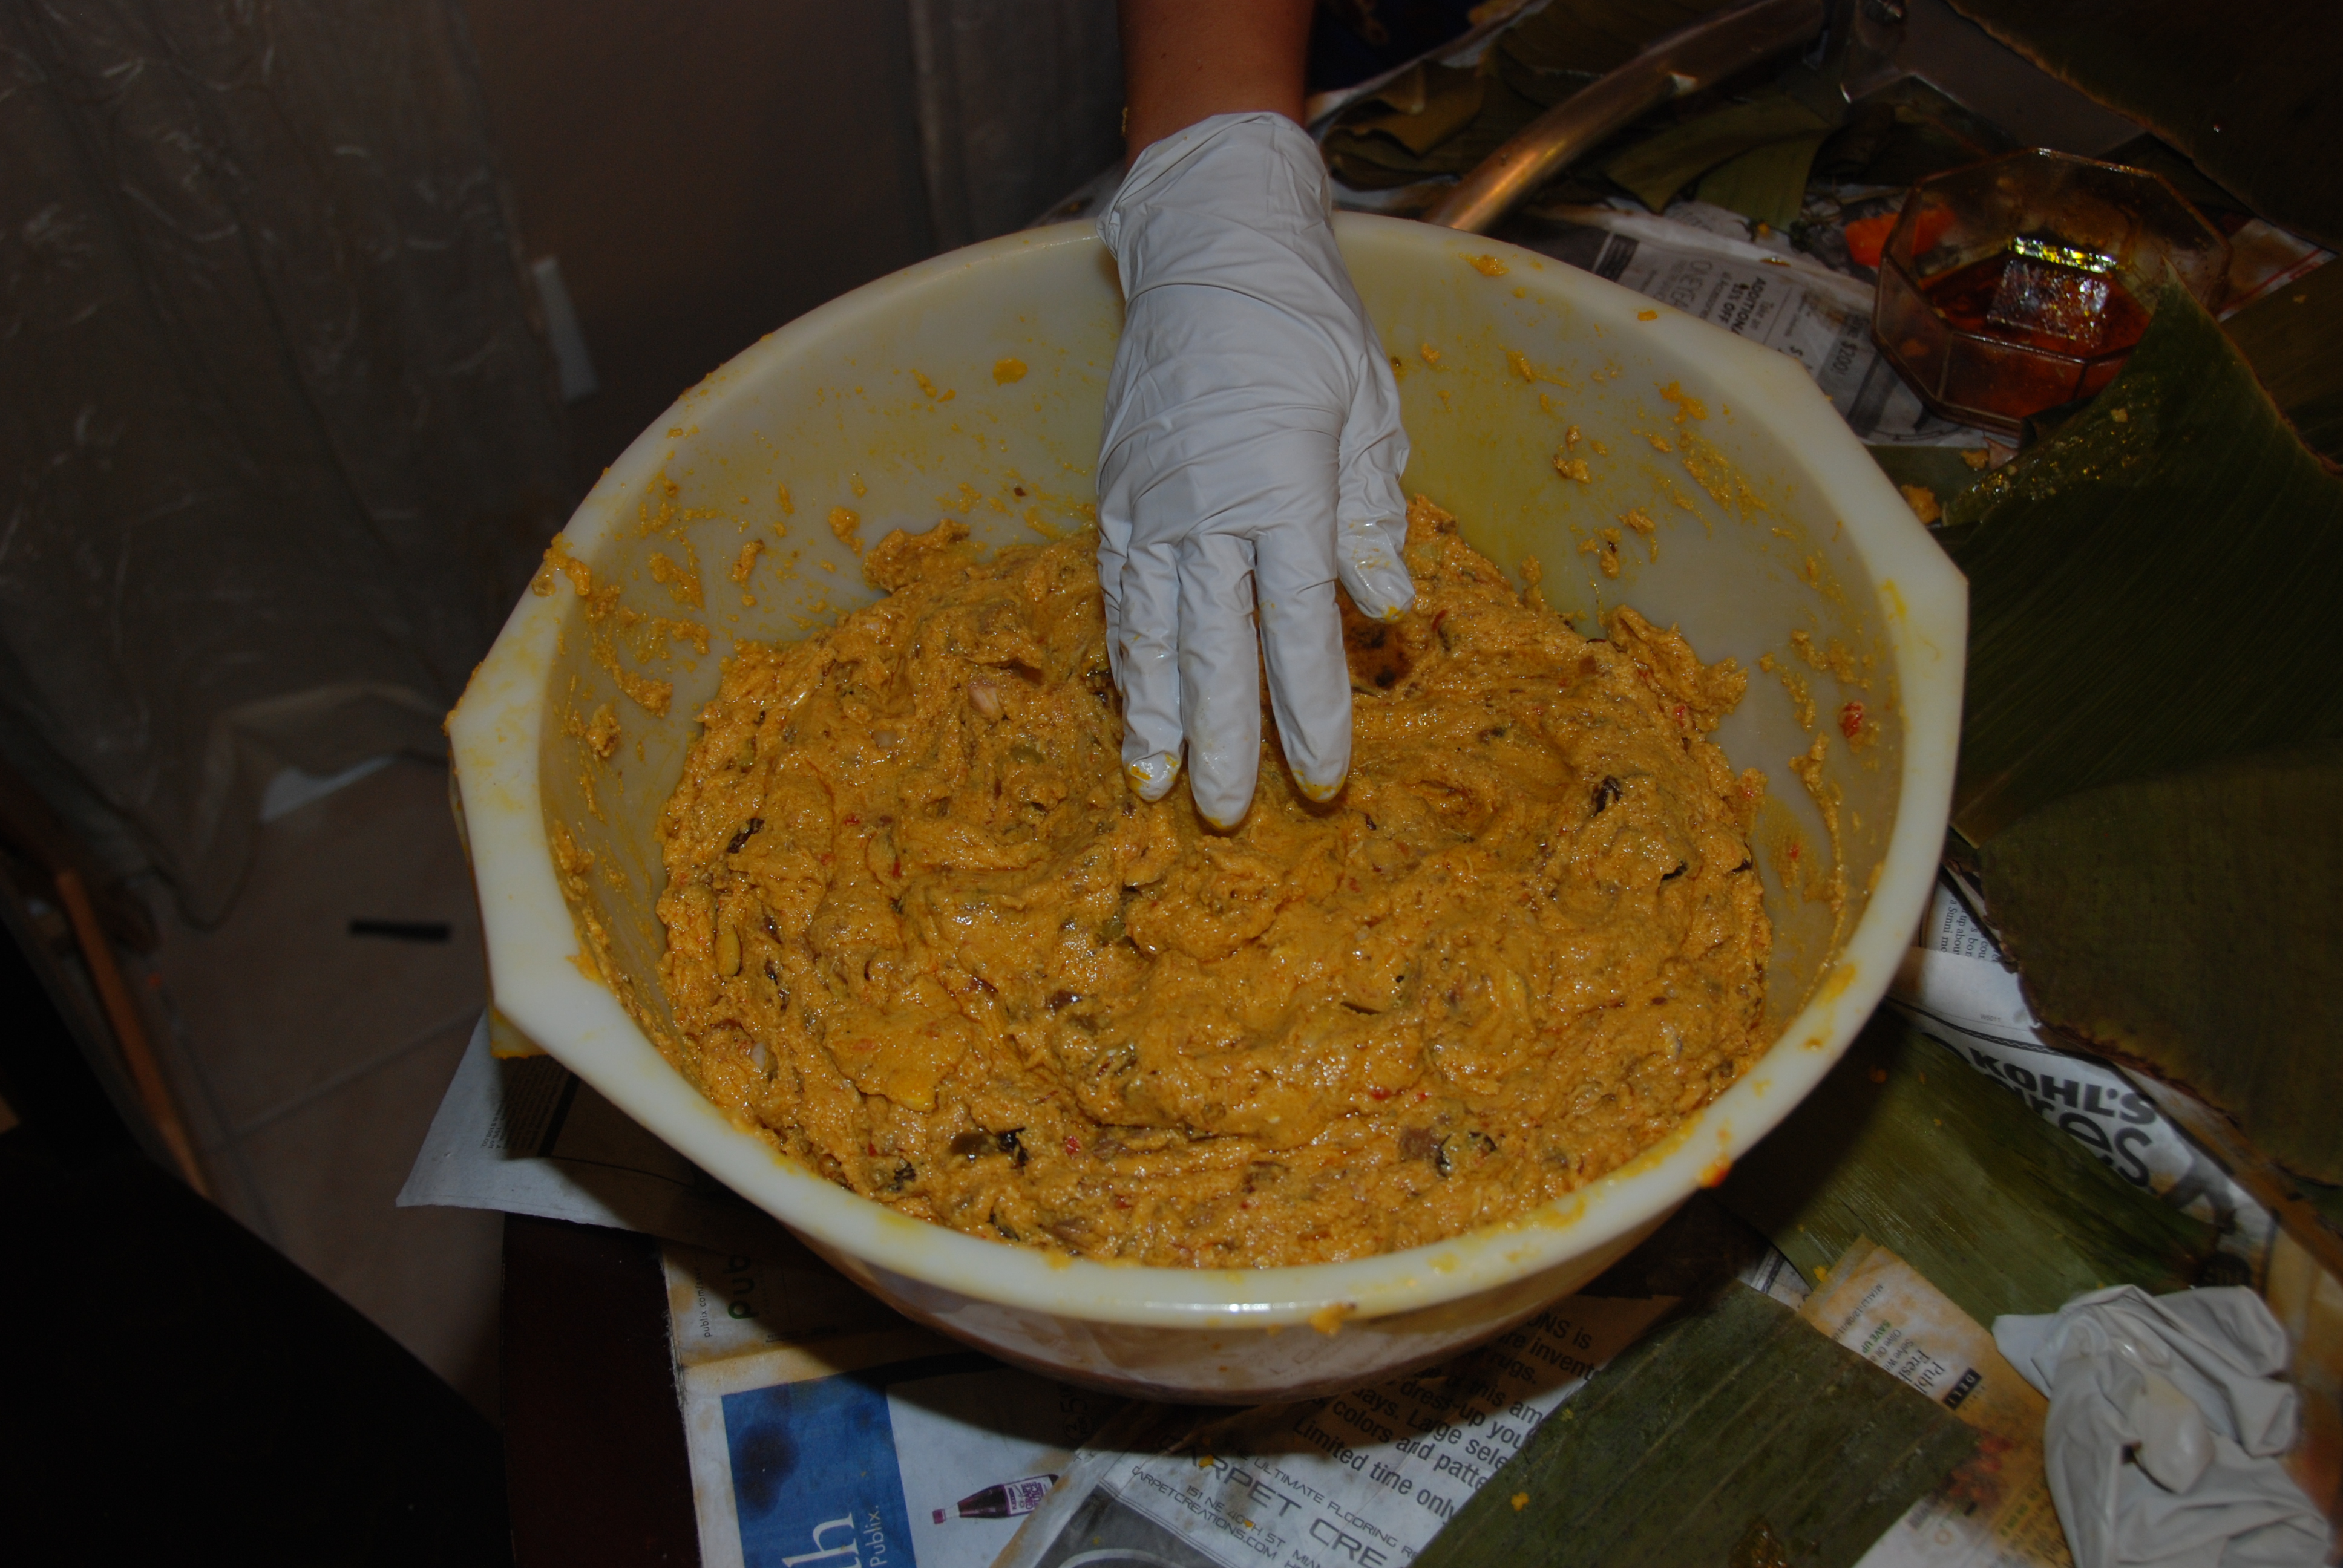
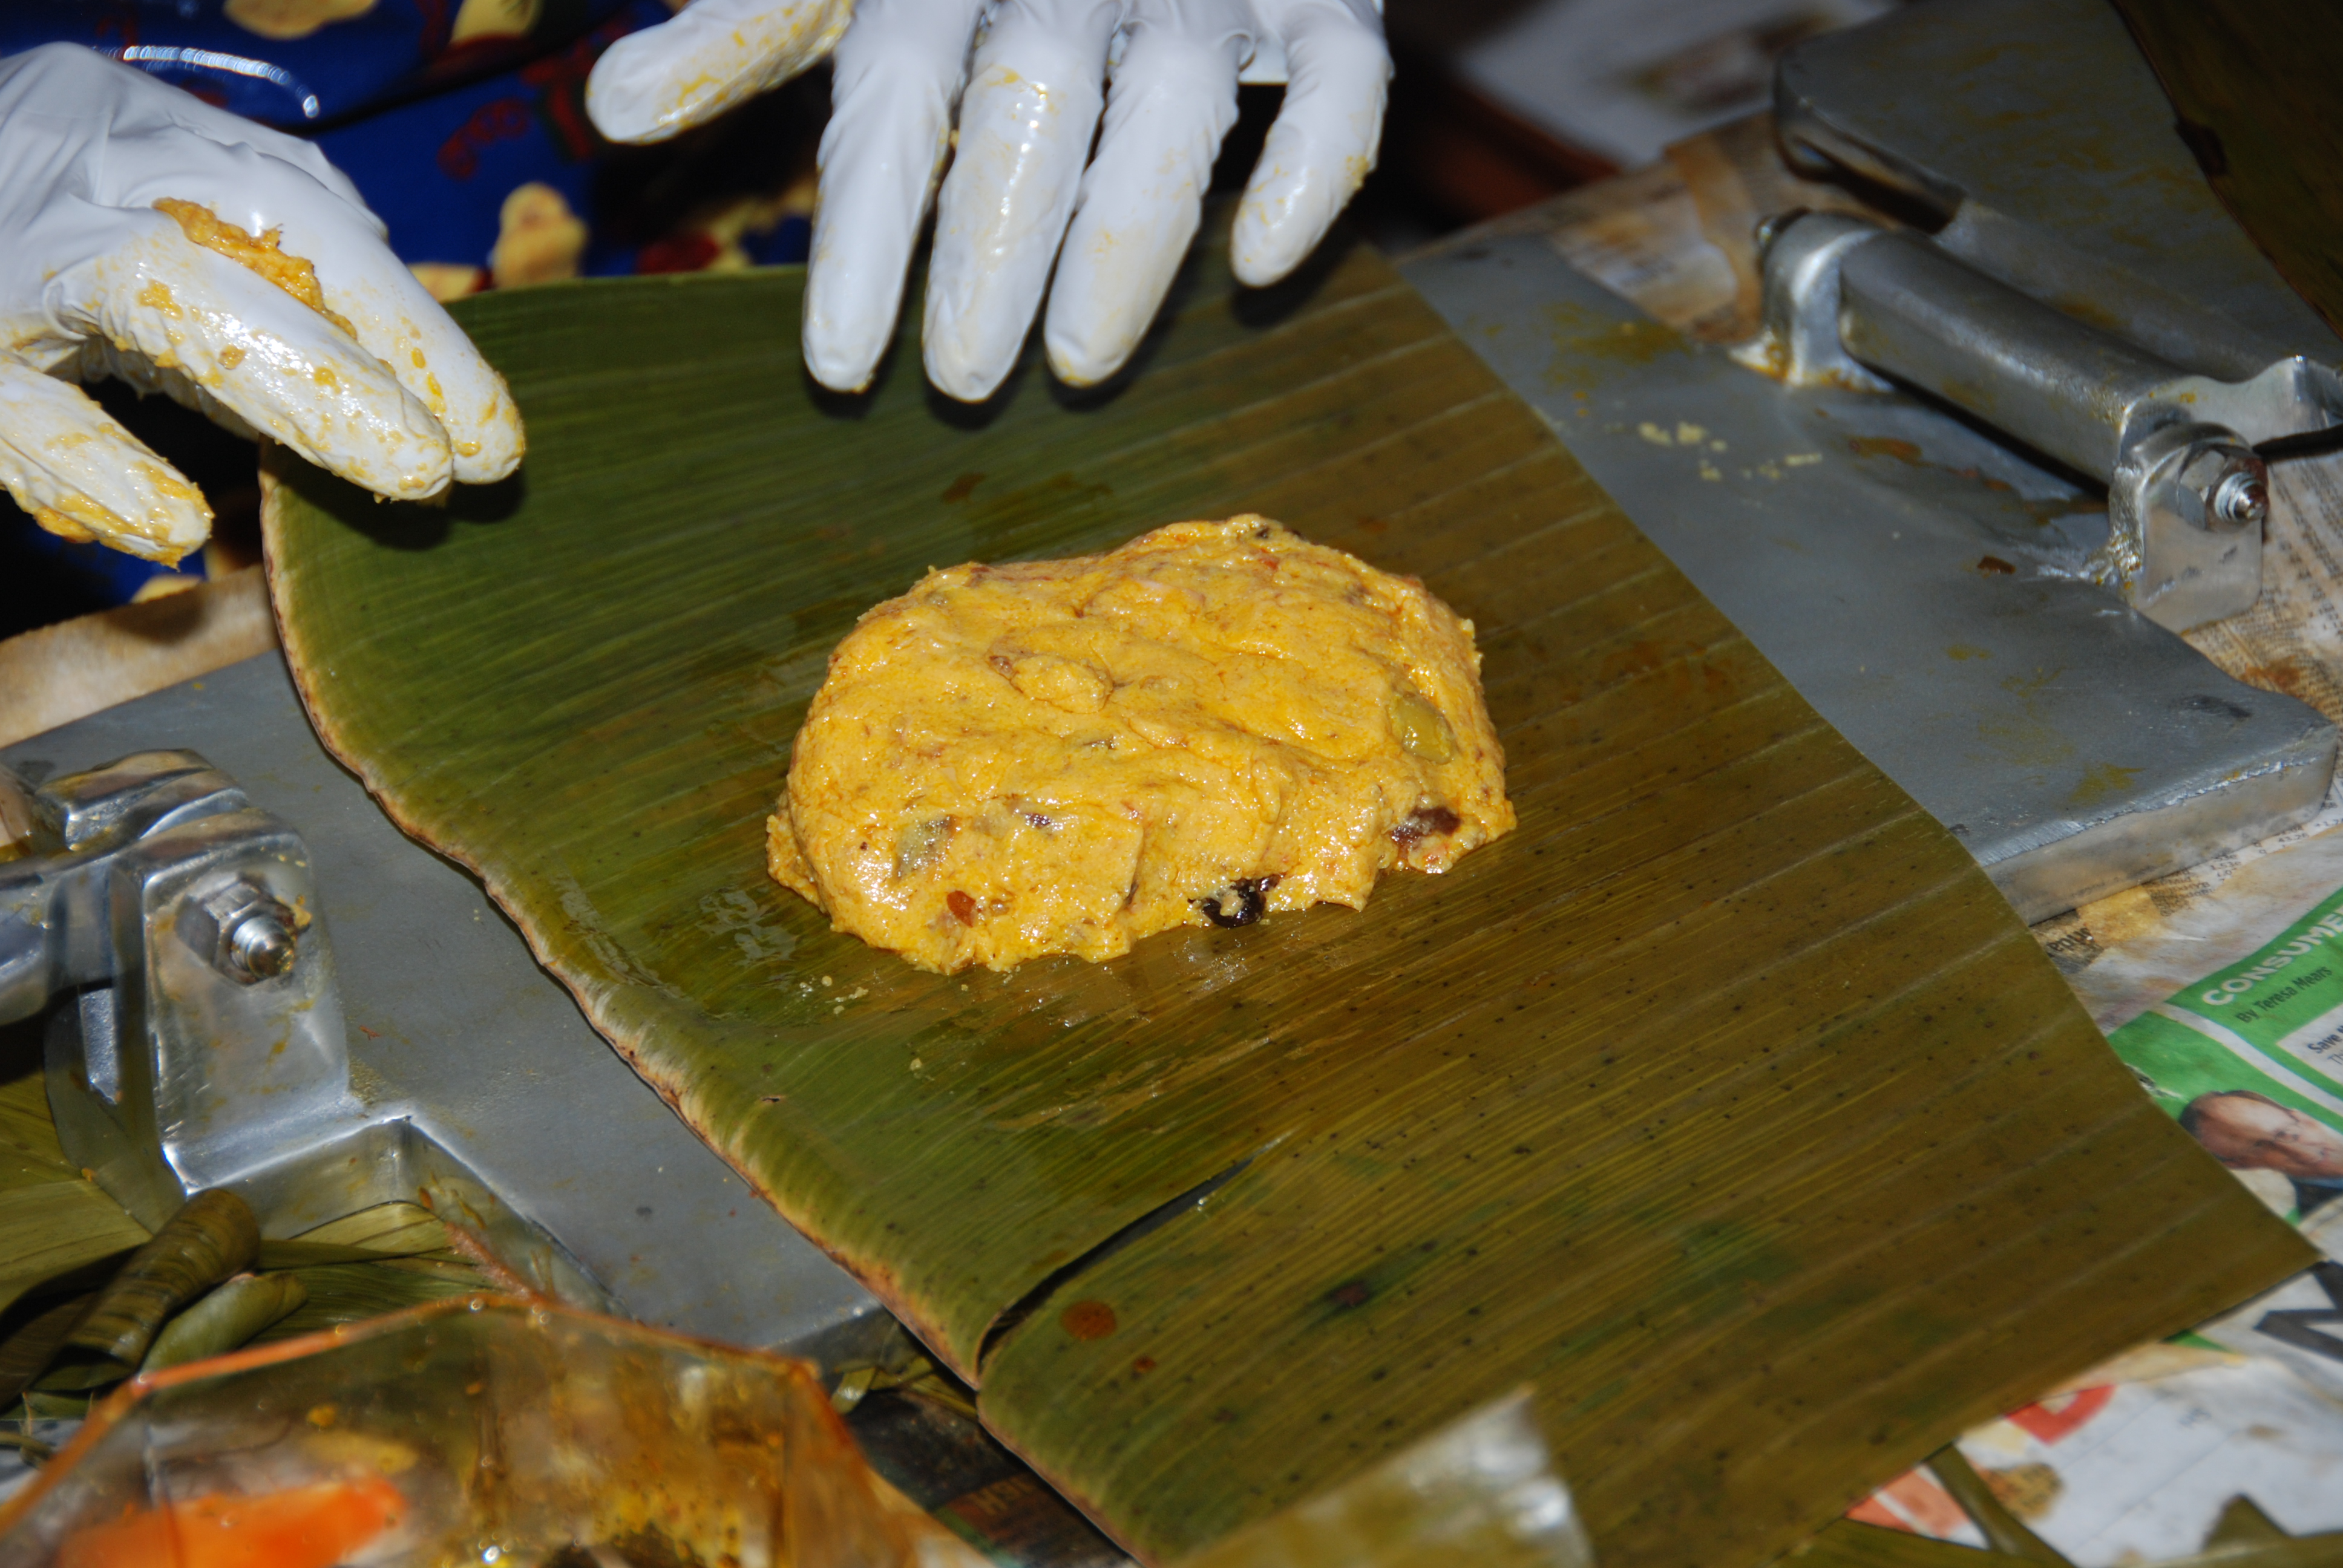
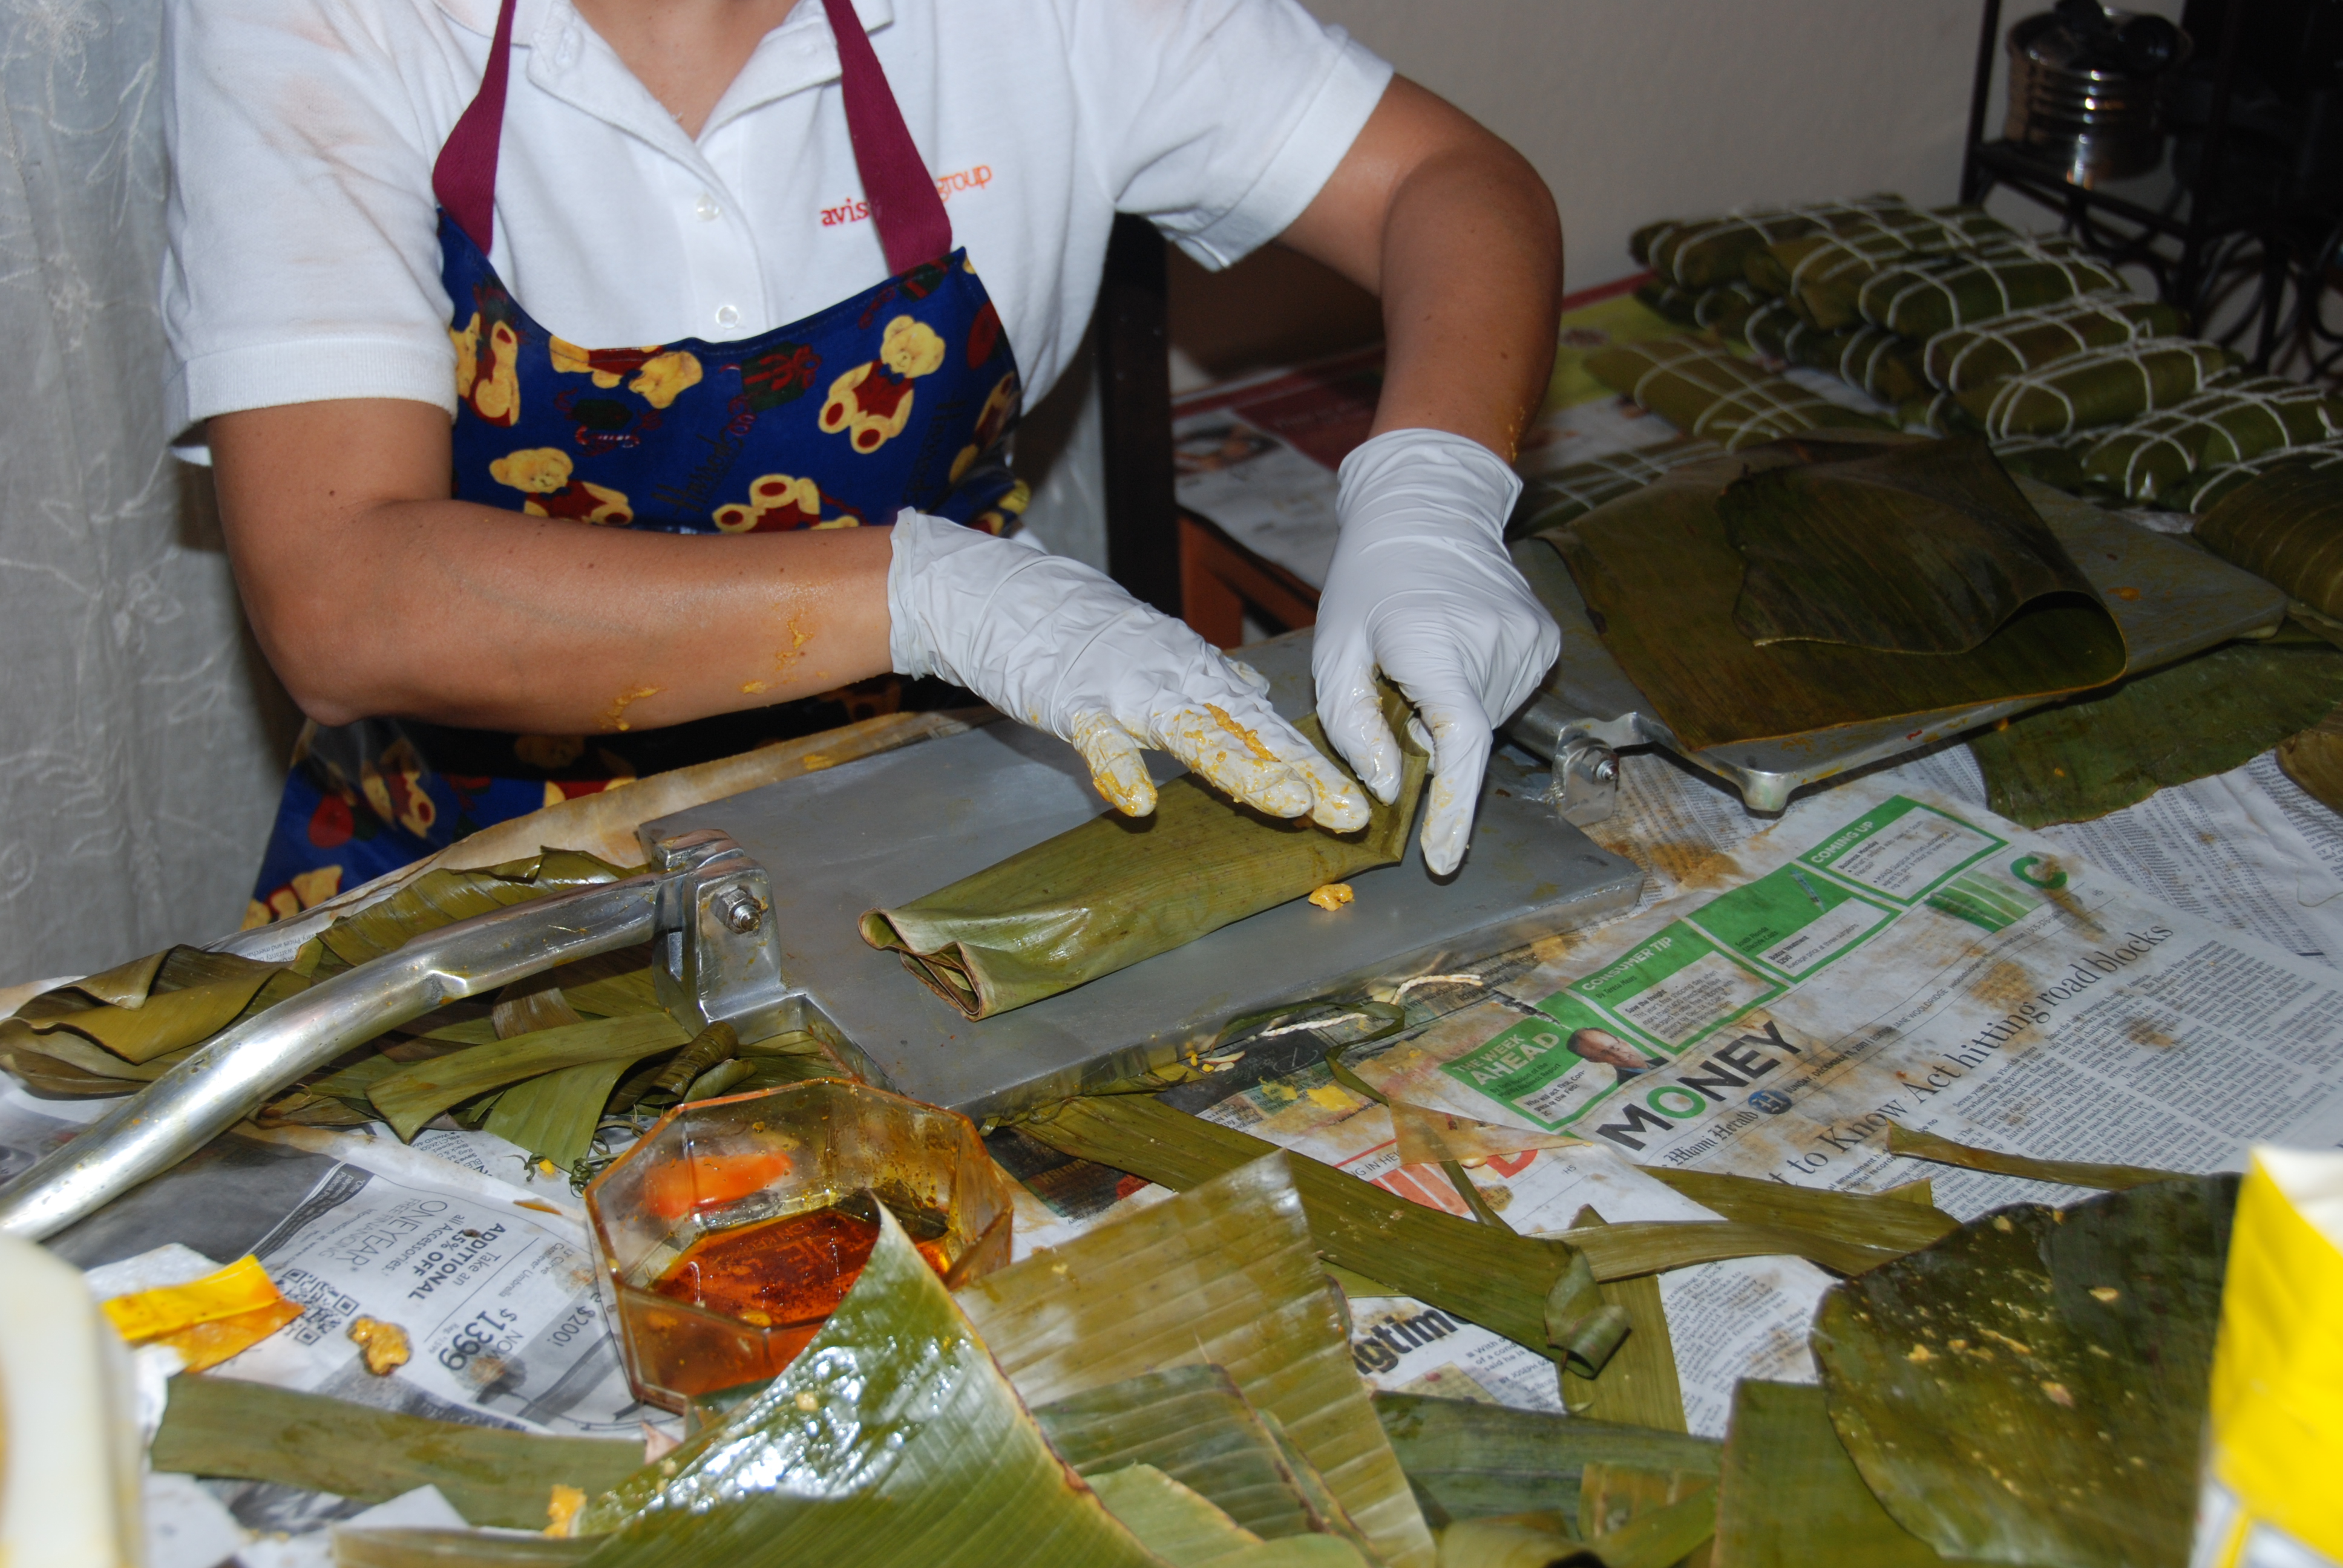
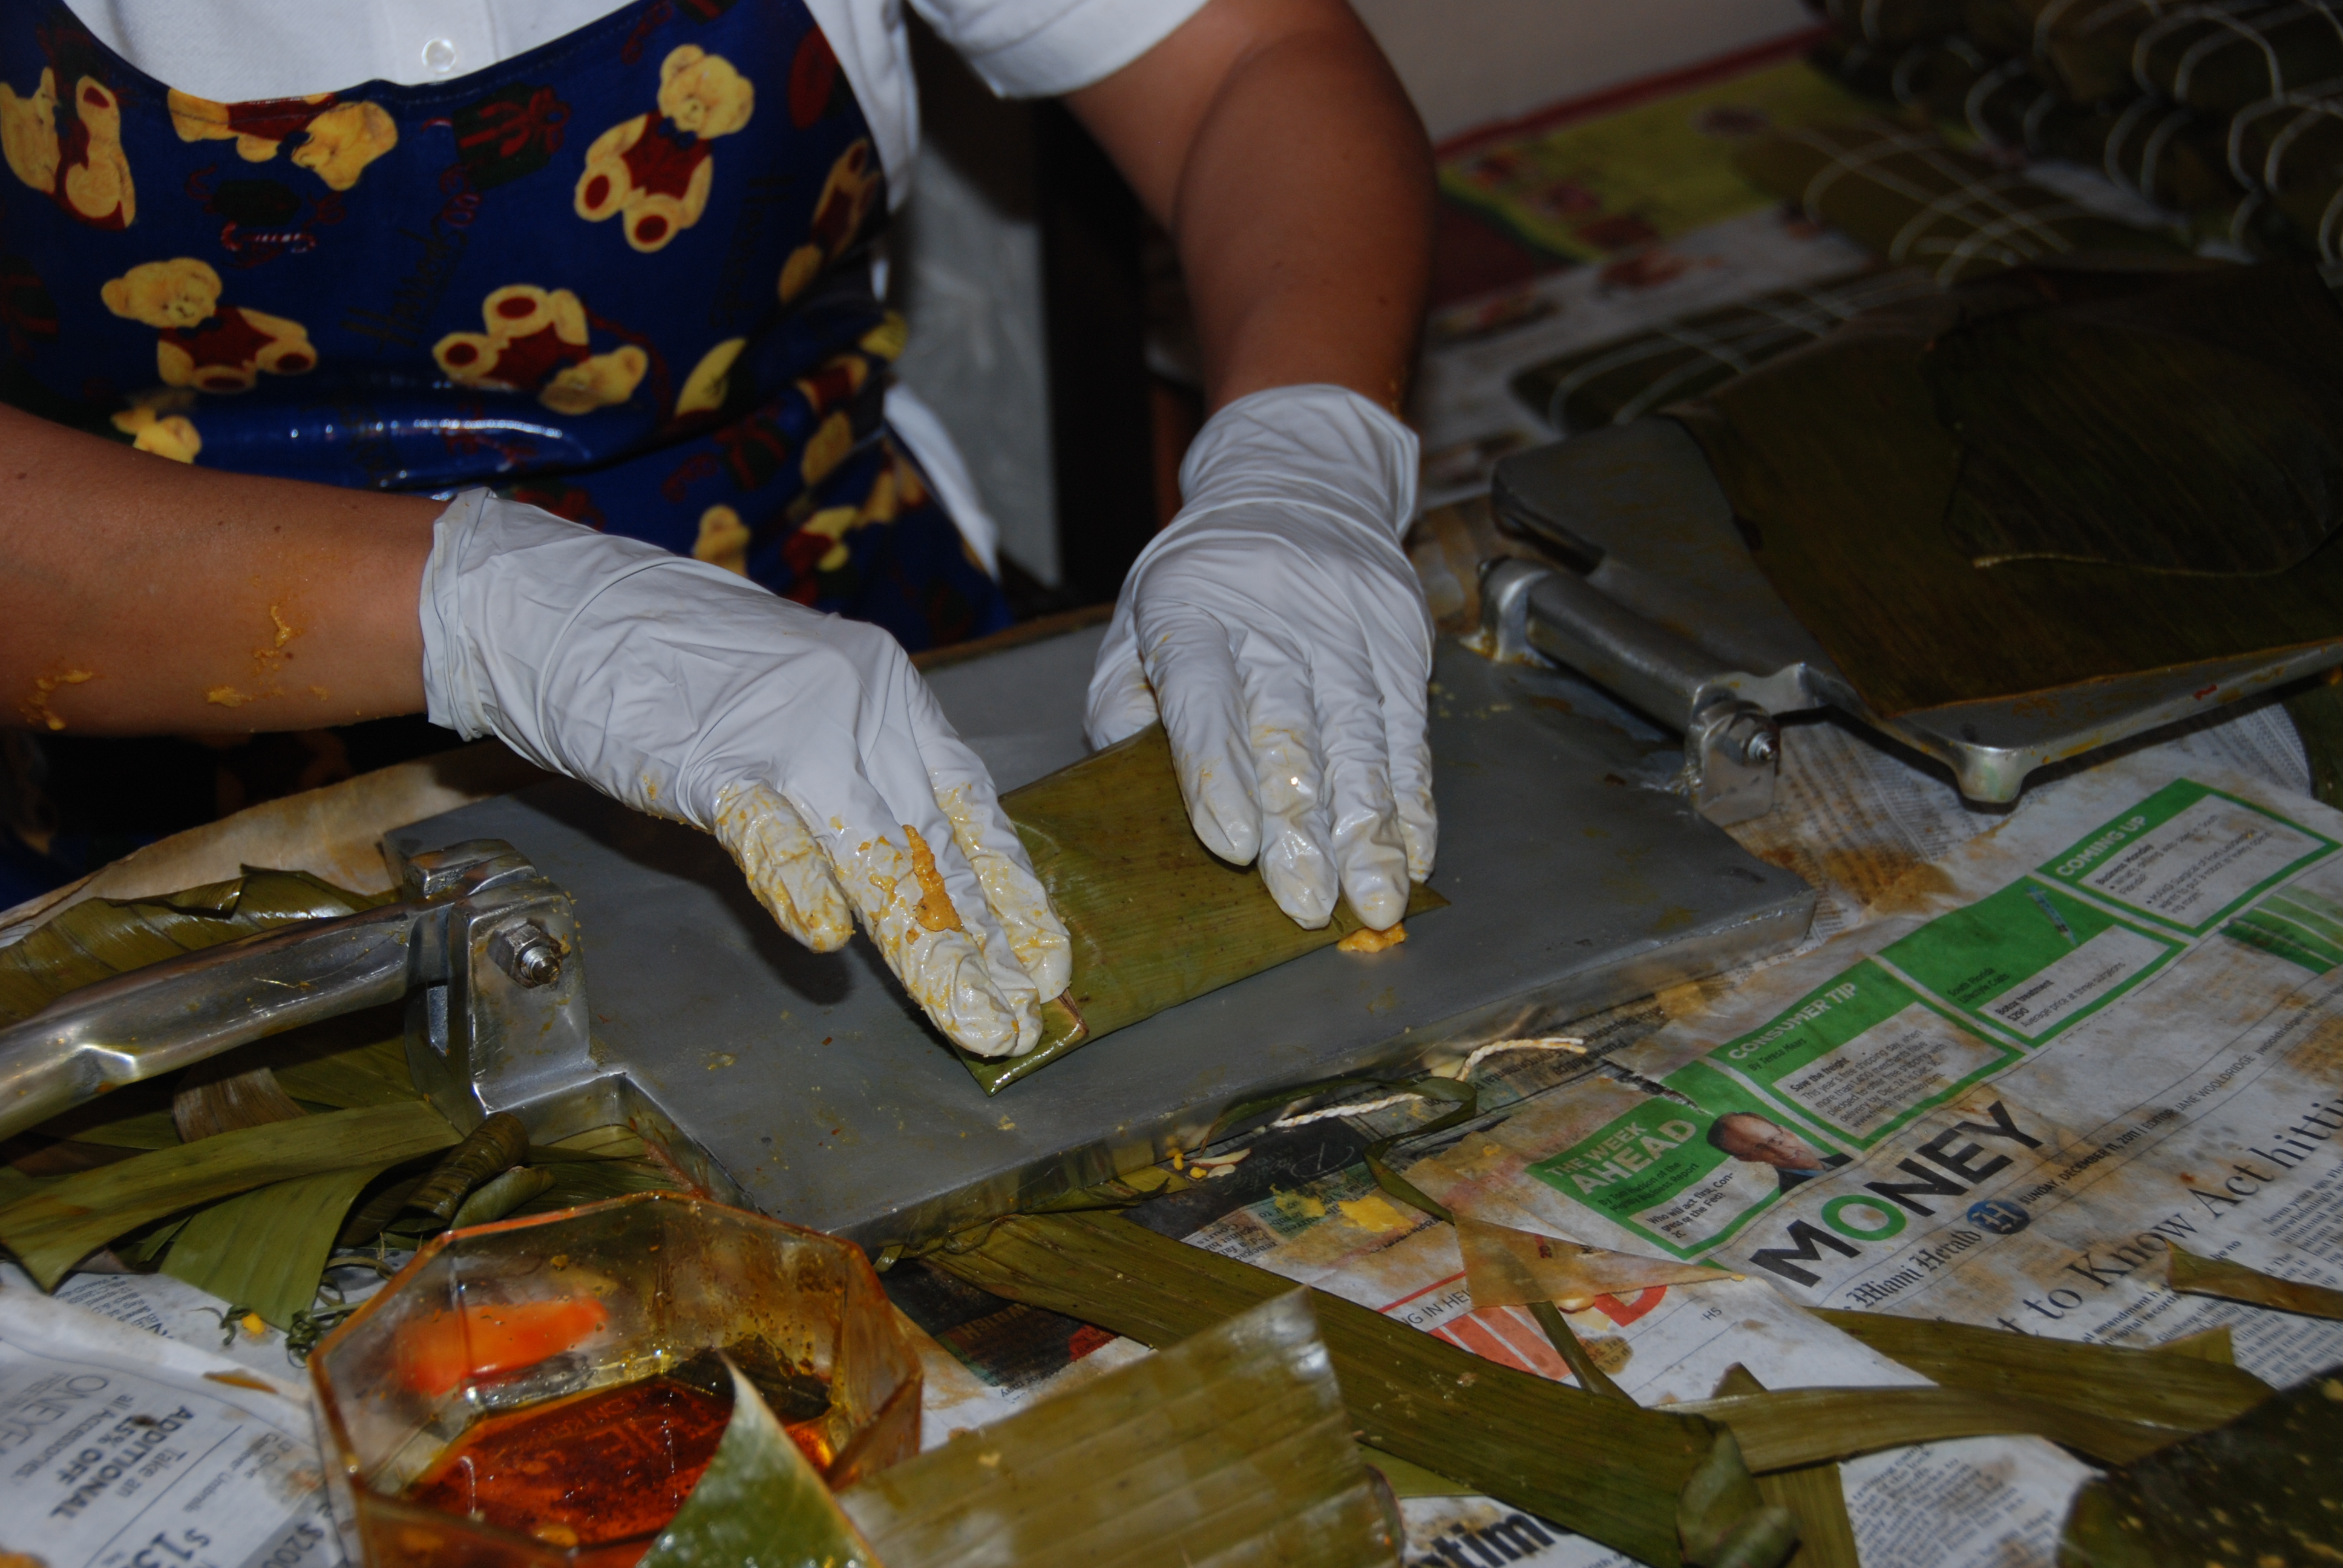
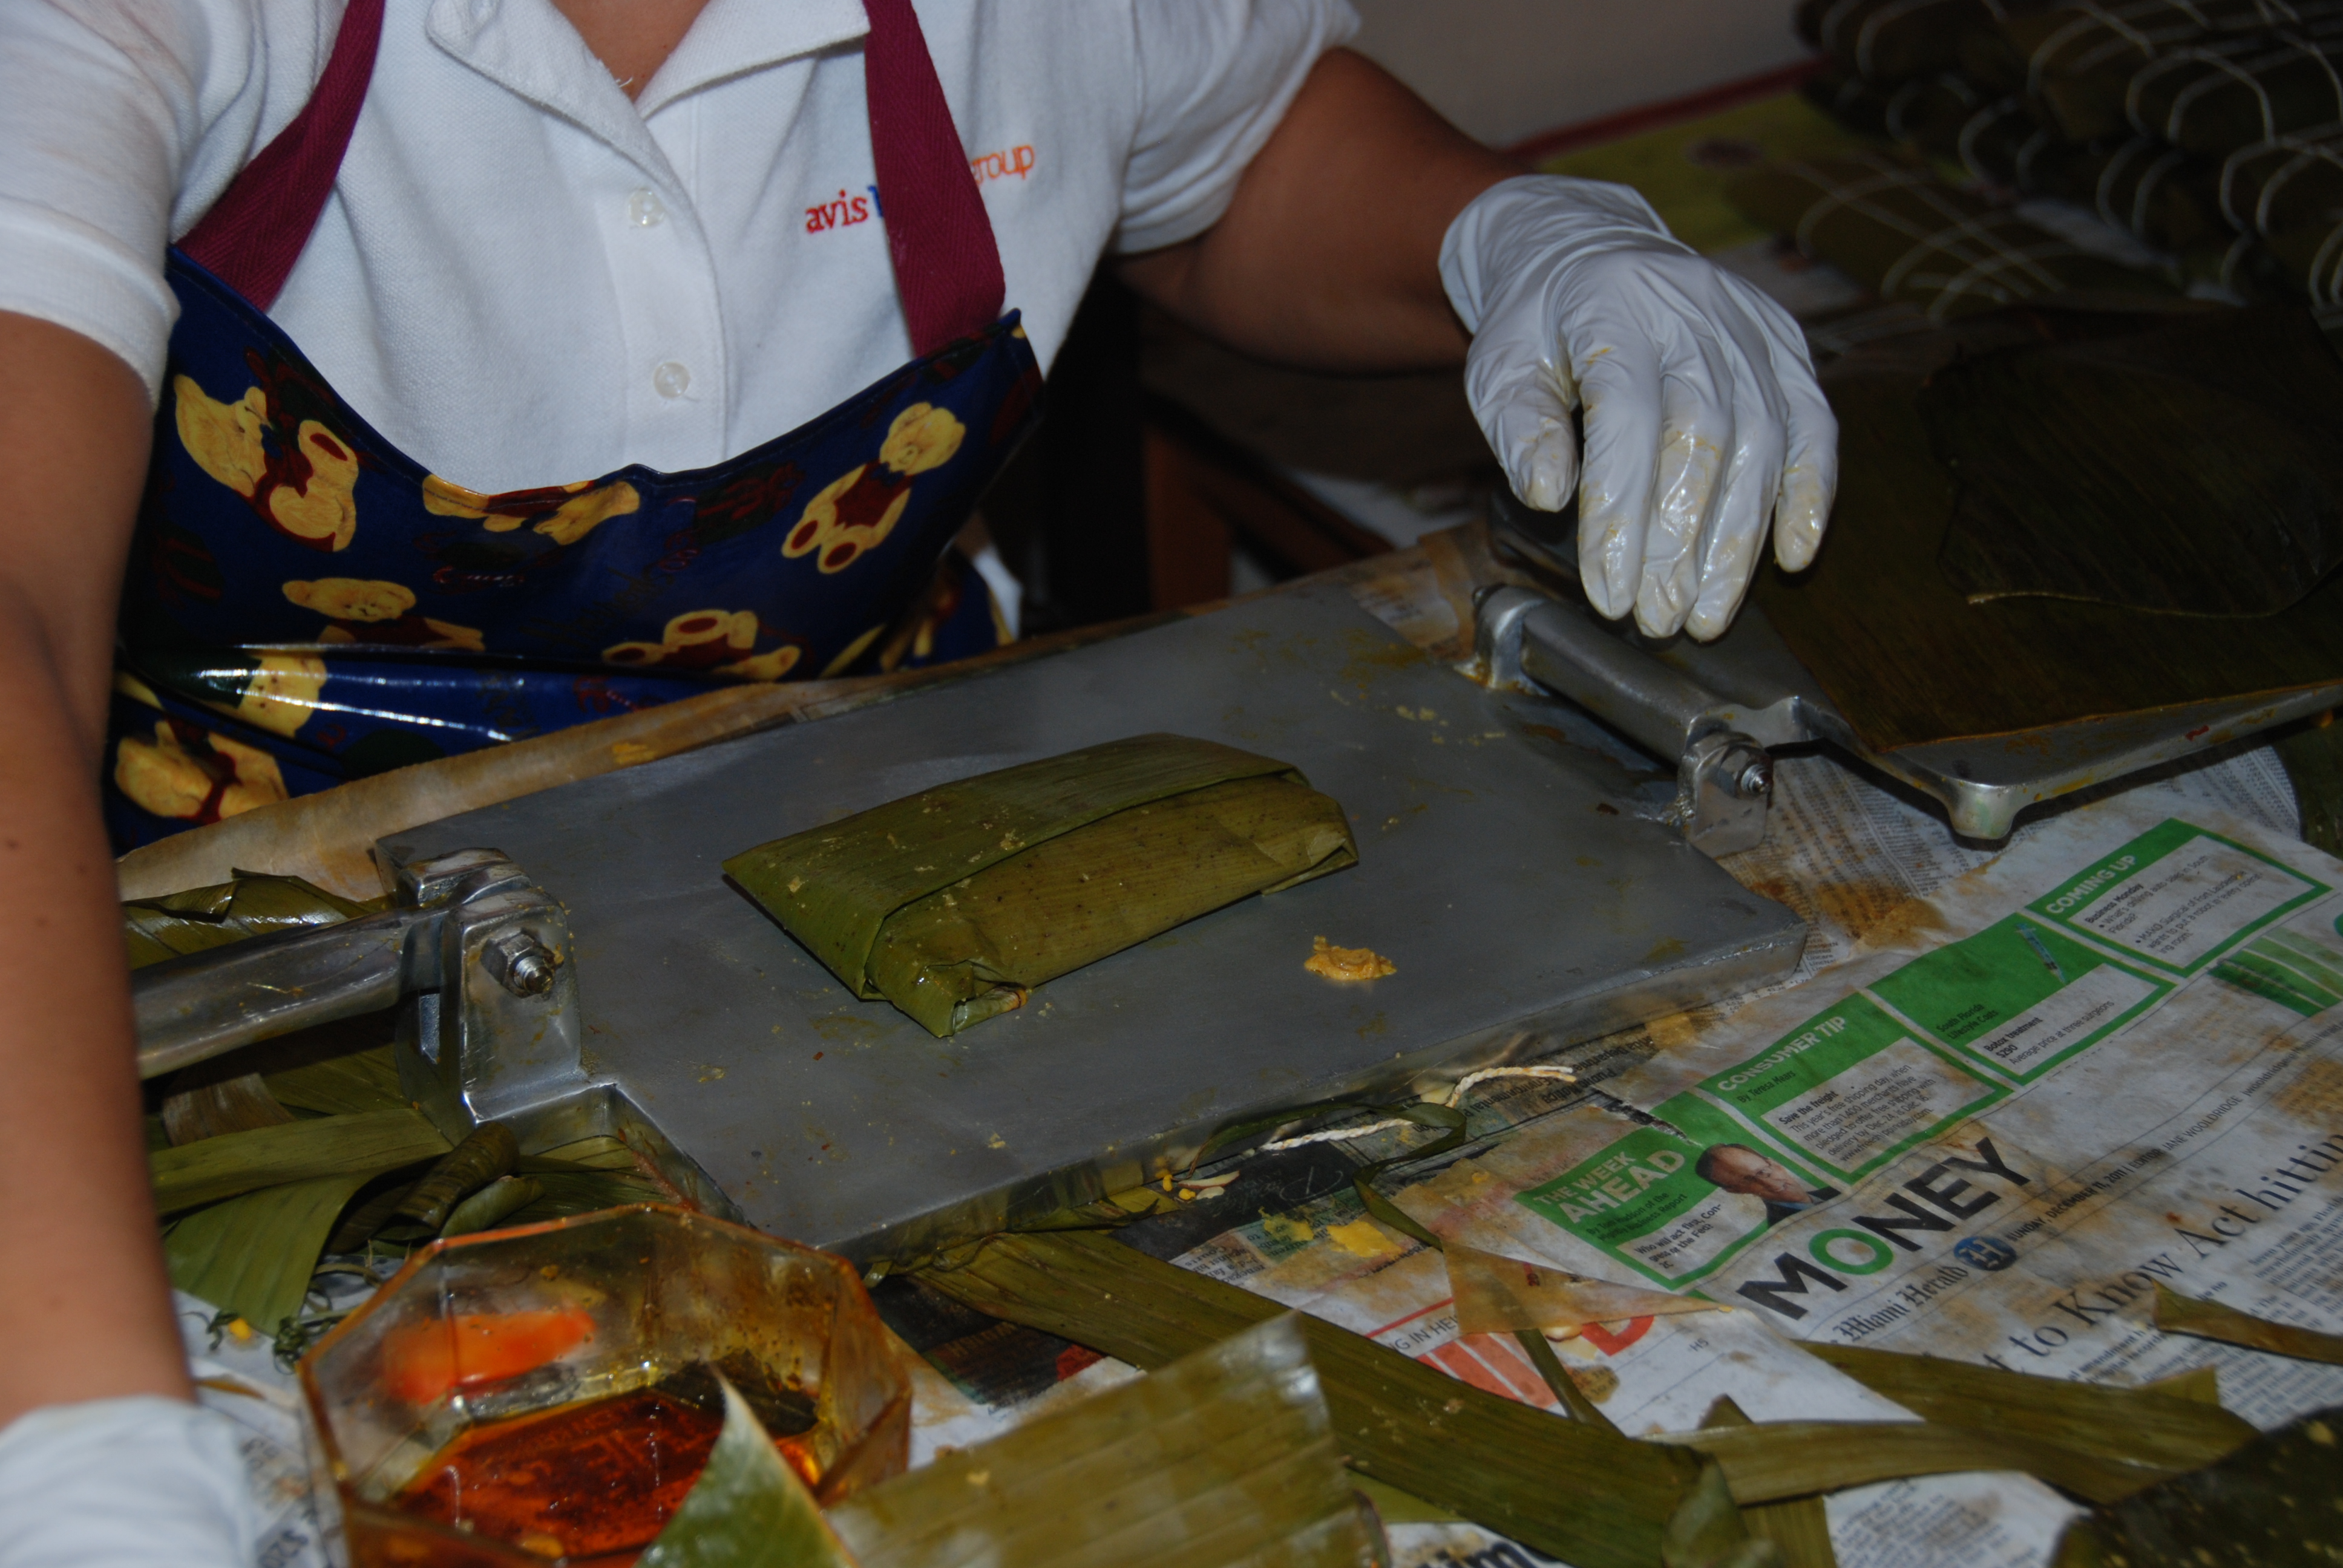
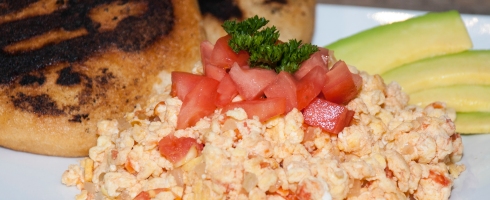
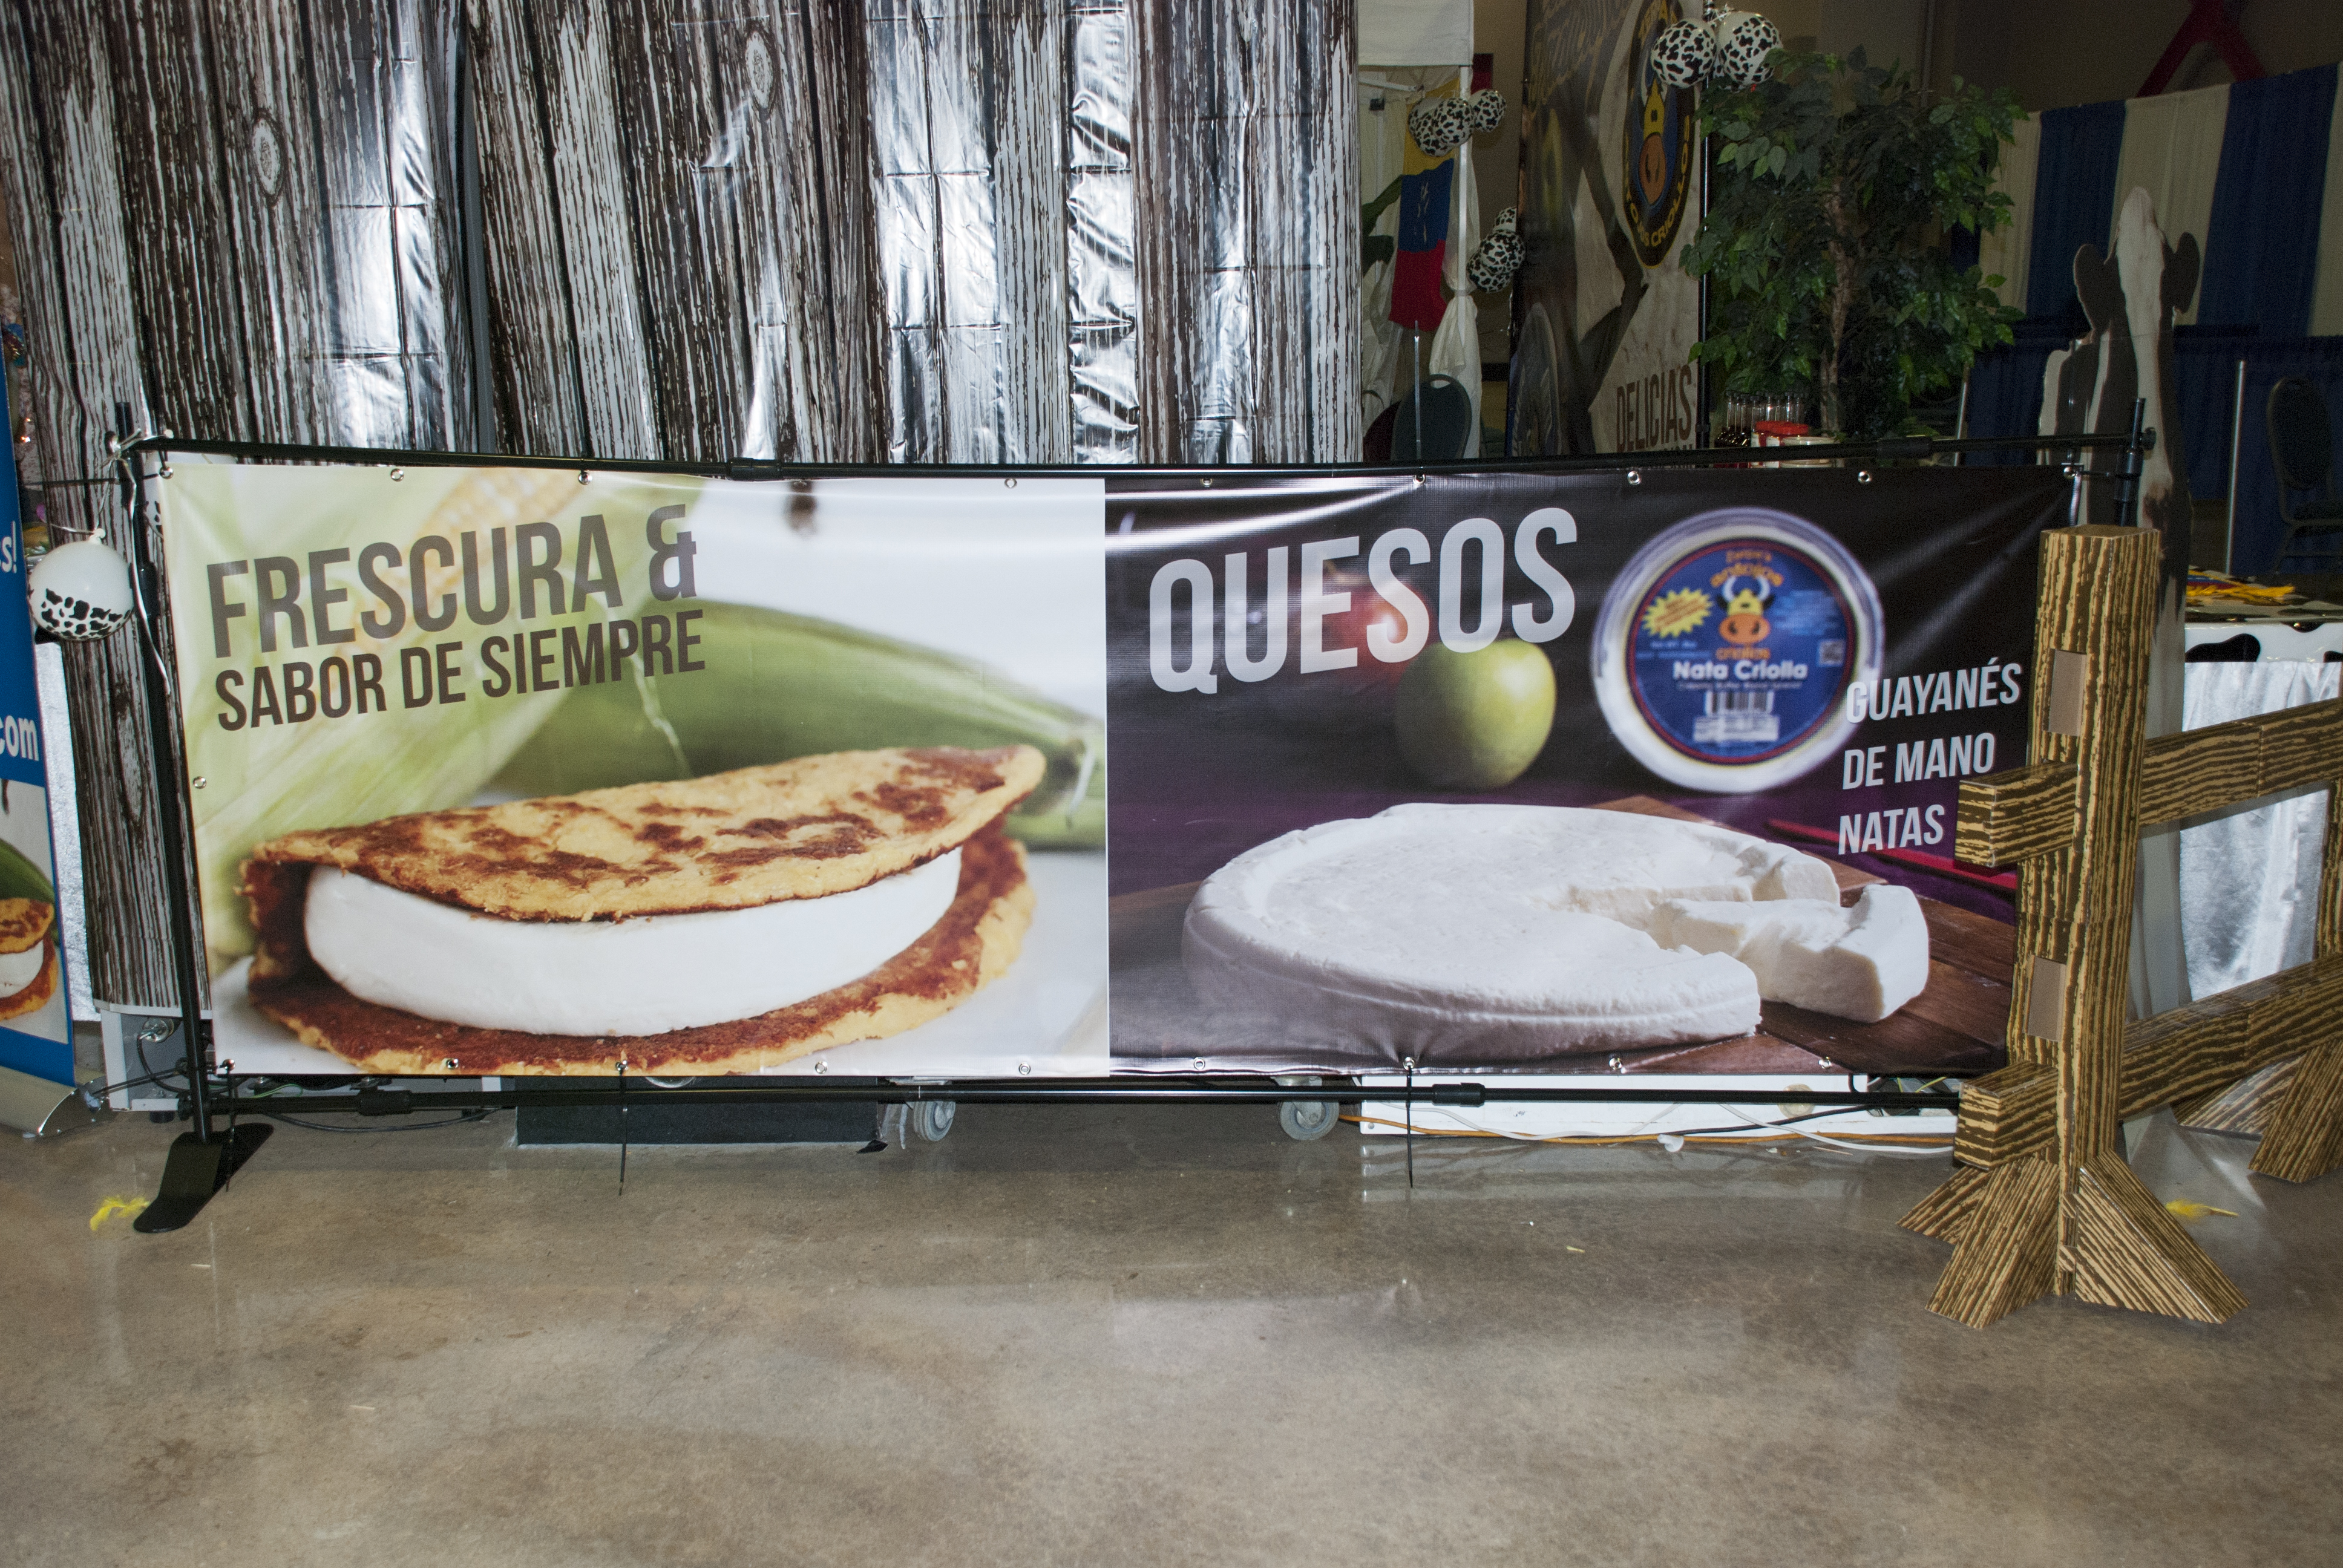
We started by saying hello to my acquaintance and her family at their booth, the Zerpa’s Antojos Criollos booth and one of the top booths in the entire event. El Sr. Zerpa (as you may recall from my previous post) is known throughout the Venezuelan community in South Florida, as el señor de los quesos. His company sells the absolute best Venezuelan cheeses around. Not only do they sell Venezuelan cheeses like Queso Guayanés, Queso de Mano, Queso Telita, Queso Duro Tipo Llanero, and Nata Criolla, retail and wholesale, but they also sell prepared and frozen food items and products for you to make and enjoy at home like Cachapas, Bollitos, Cachapas en Hoja, Hallaquitas, Tequeños, Empanadas, Pastelitos, Cachitos, Pandebono, Churros, Colombian Empanadas, Pan de Jamón, Hallacas, Punta Trasera, Guasacaca, Huevos de Codorniz, Frescolita, Malta Polar, Chinotto, Papelón con Limón, Salsa Verde, Ají Dulce, Dulce De Lechosa, Flan, Jalea de Mango, and much more. Their booth was quite large and beautifully decorated in a cow skin pattern, to match their logo mascot, Mariposa the cow, a cardboard cutout of a cow with barn-like fence over it; very clever considering their main selling product is cheese. They had a table showcasing their products, and samples of their delicious cheeses. They also had a new addition to their product line, Granadina Carlin, which I had been looking for, for a long time. Of course I got myself a bottle, and I promise an exciting drink recipe to come soon. I sampled their Queso Guayanés and it was to die for. They also have other Venezuelan brands products for purchasing like Harina P.A.N., Toddy, Samba, Ovomaltina, Toronto, Susy, Nucita, Chocolate Carré, Pirulín and Nestea. They were also featuring these new types of Tequeños, called MaizQuesitos, which are tequeños, but made with corn dough. Here is their contact information:
Phone Number: 305.456.3571 | 954.652.1058 | 754.234.4855
Website: http://antojoscriollos.com/
Facebook: https://www.facebook.com/zerpasAntojosCriollos
Instagram: https://instagram.com/antojoscriollos/
Yelp: http://www.yelp.com/biz/zerpas-antojos-criollos-sweetwater
Urbanspoon: http://www.urbanspoon.com/r/12/1655495/restaurant/Miami/Doral-Miami-Springs/Zerpas-Antojos-Criollos-Doral
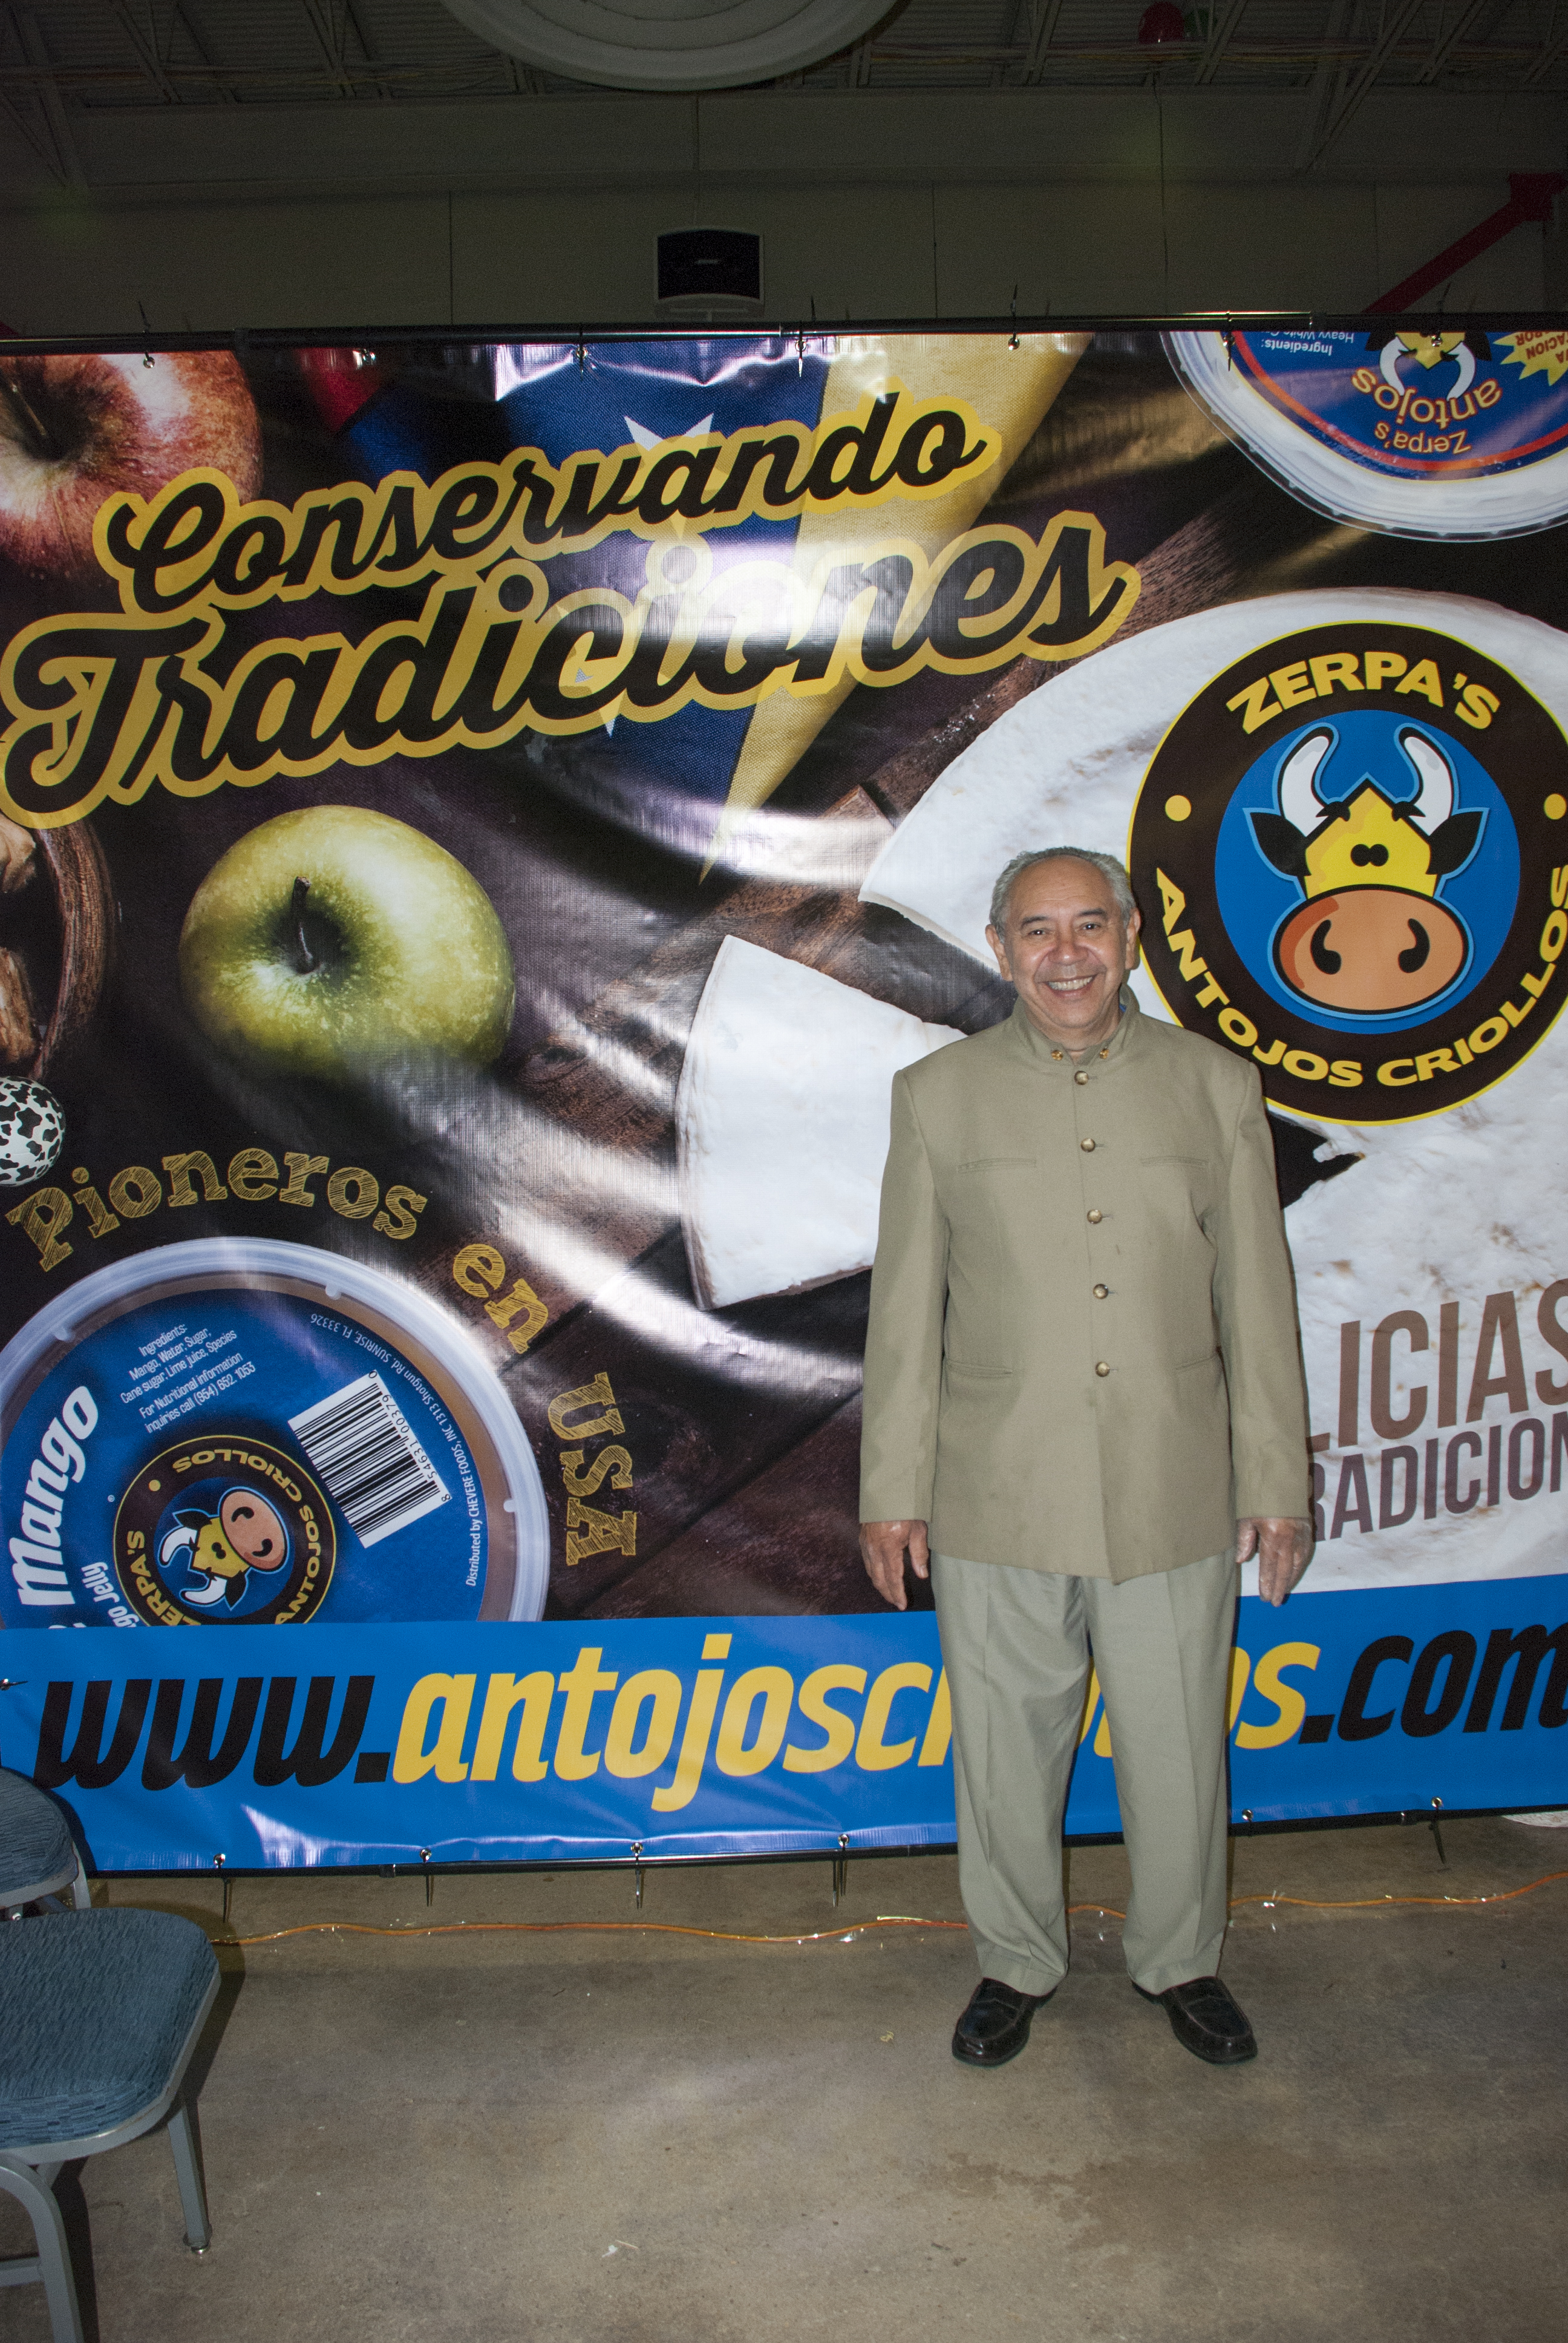
Zerpa’s Antojos Criollos
Zerpa’s Antojos Criollos

Zerpa’s Antojos Criollos
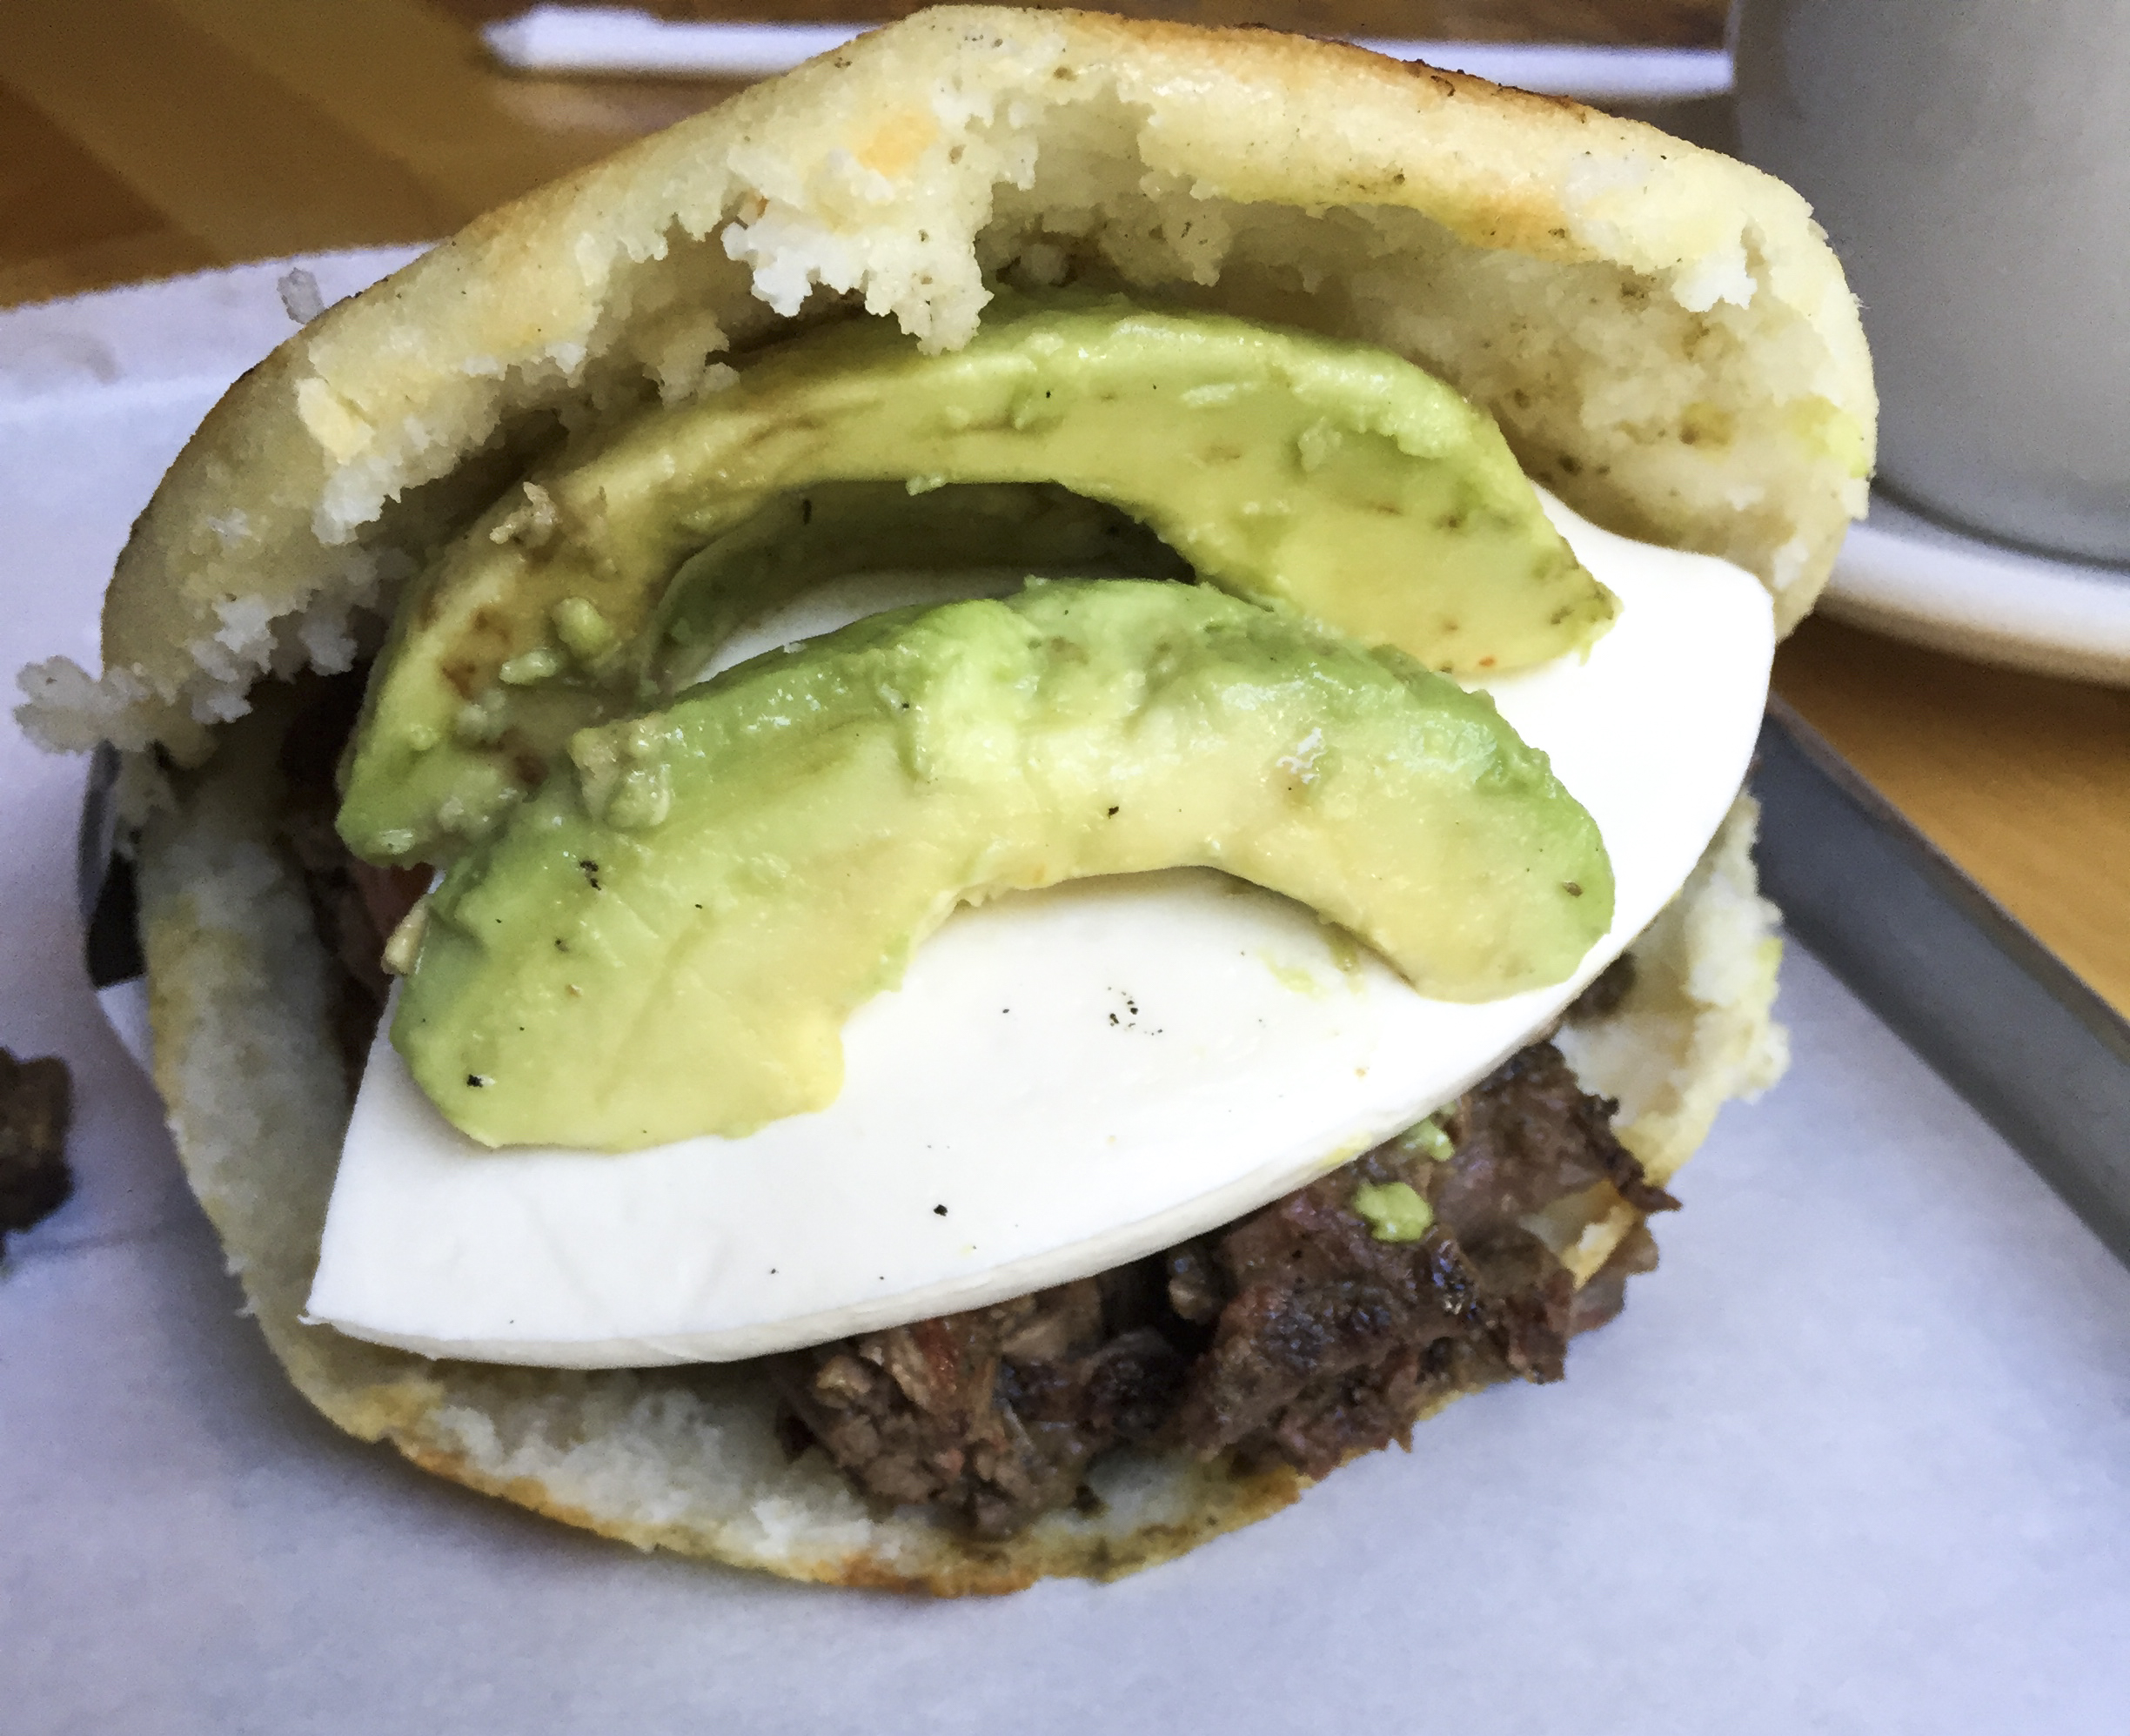
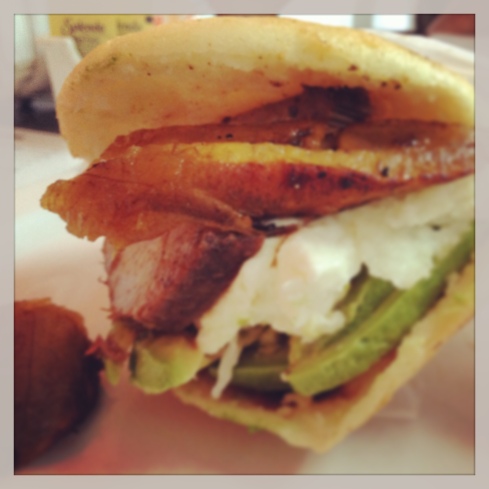
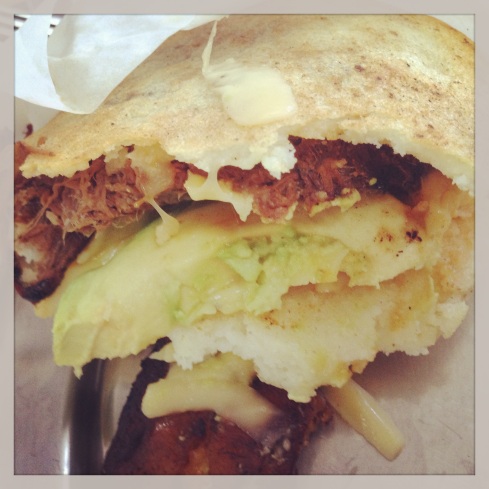
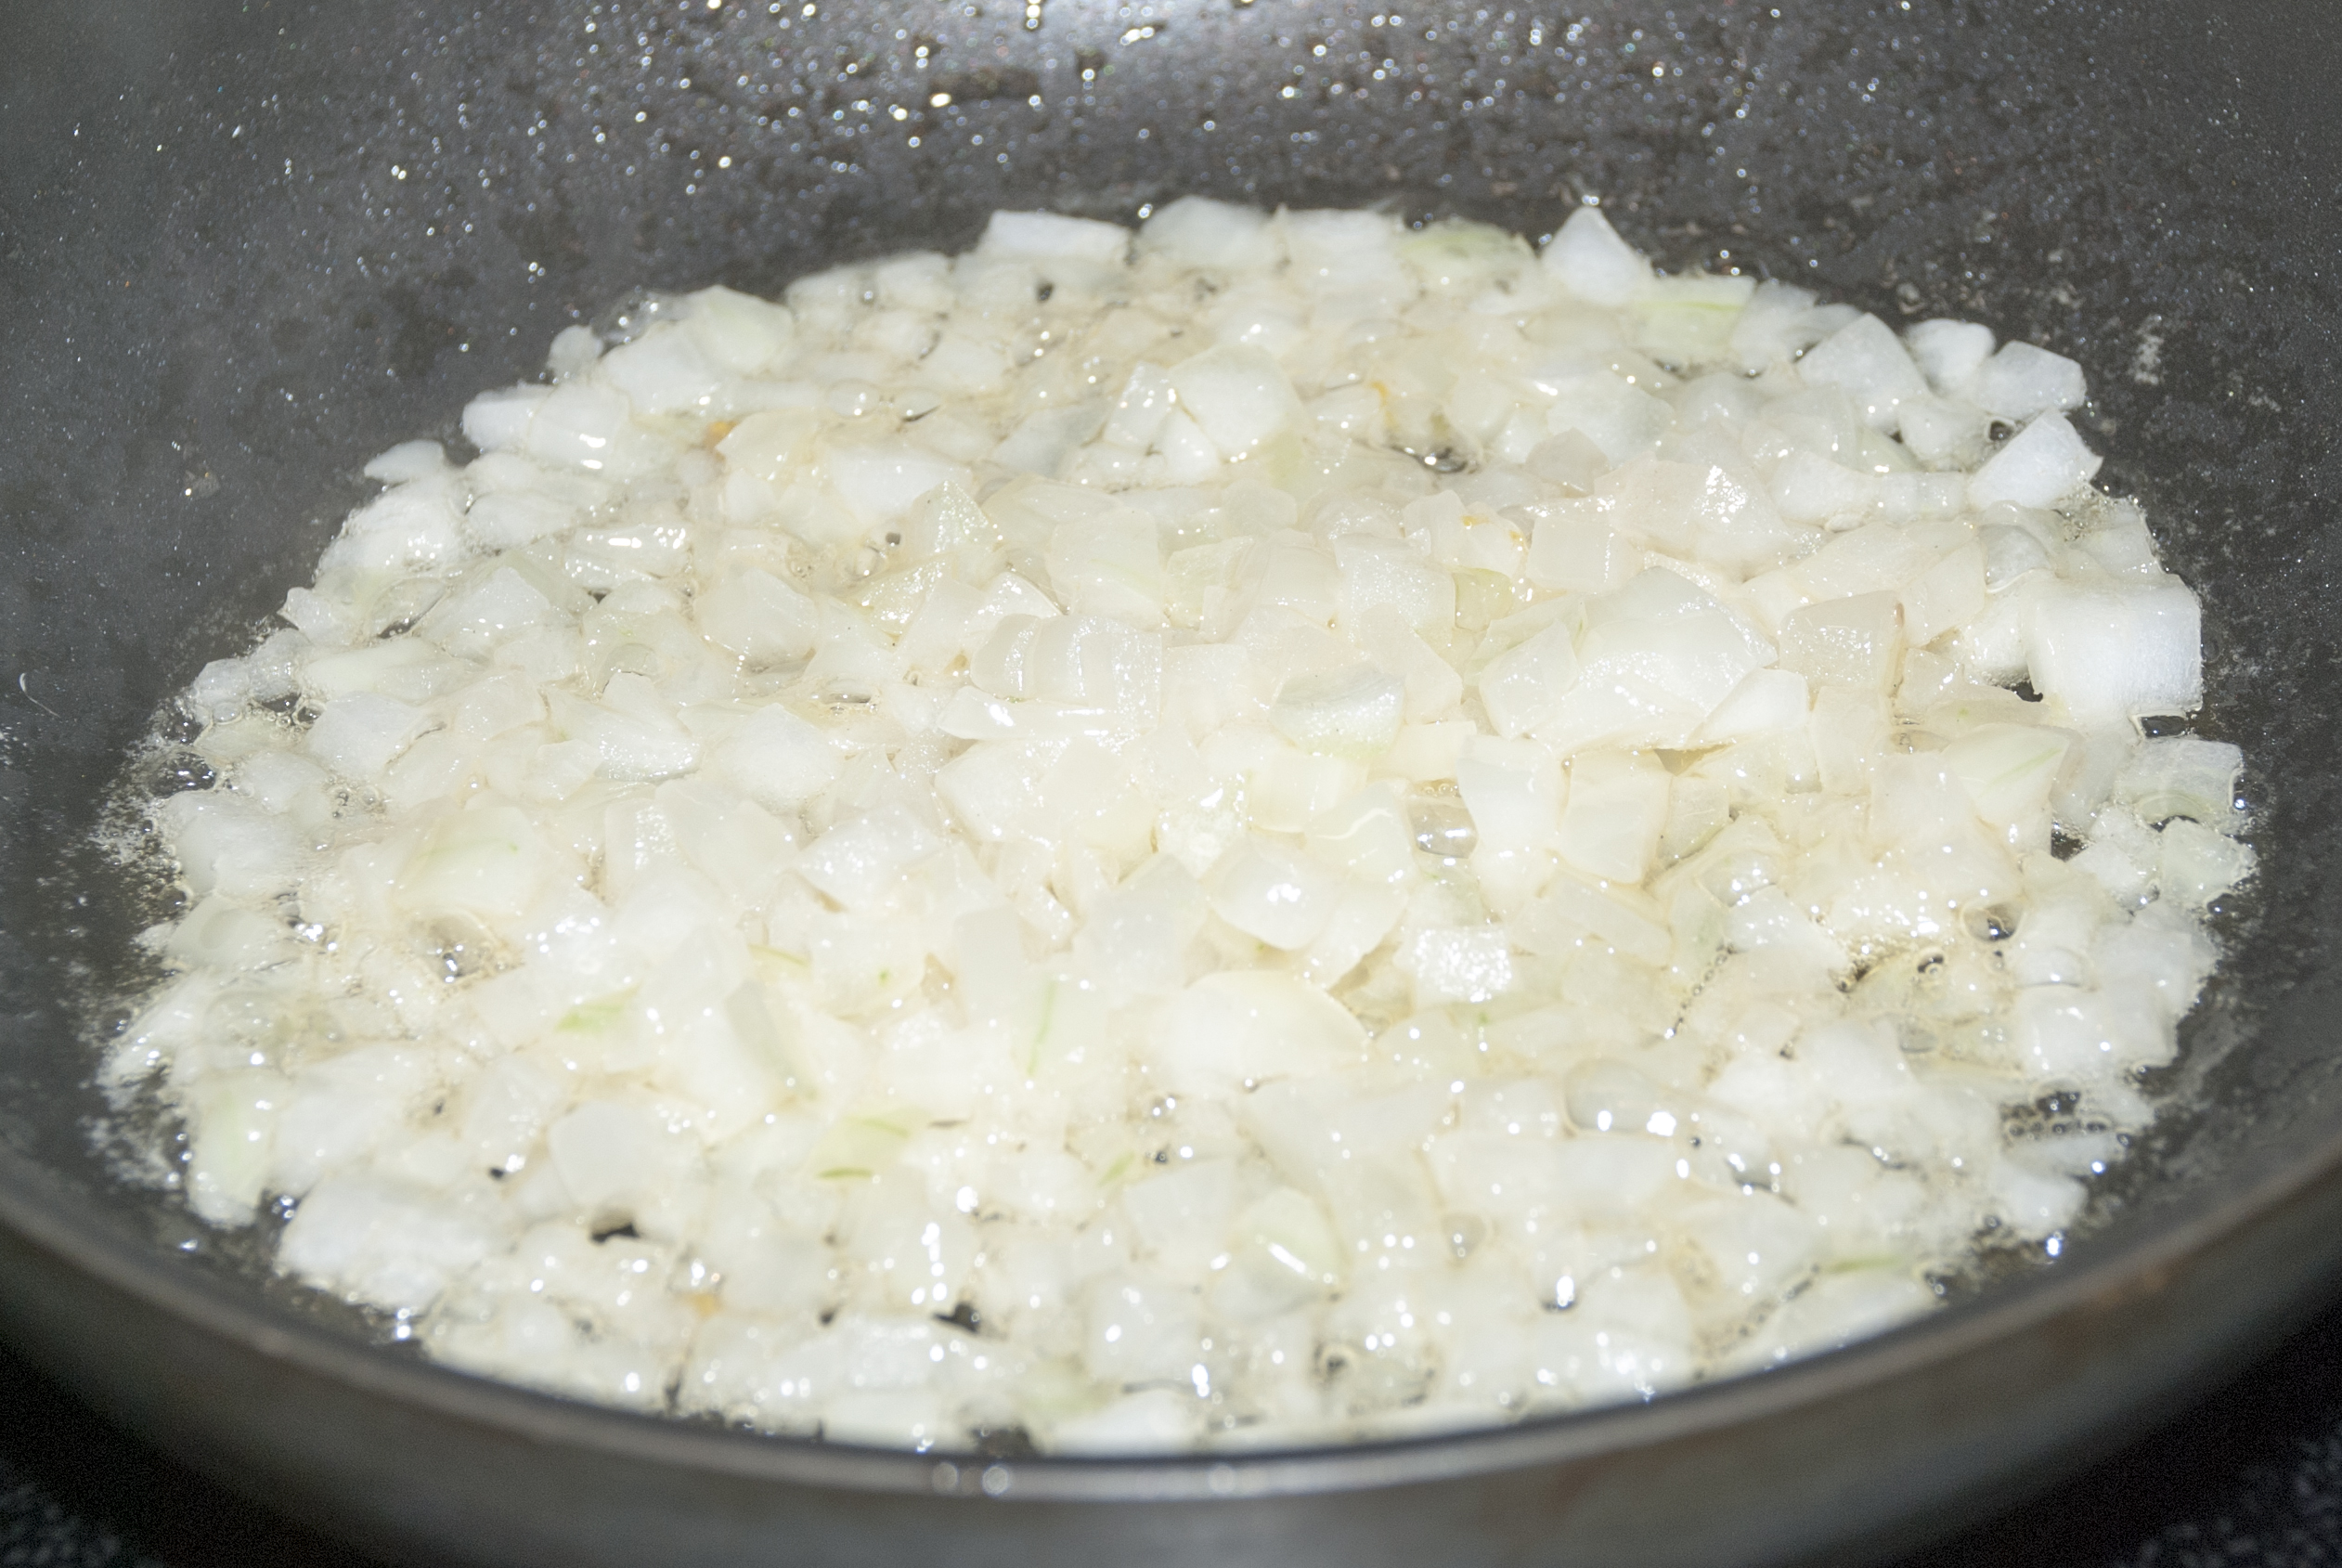
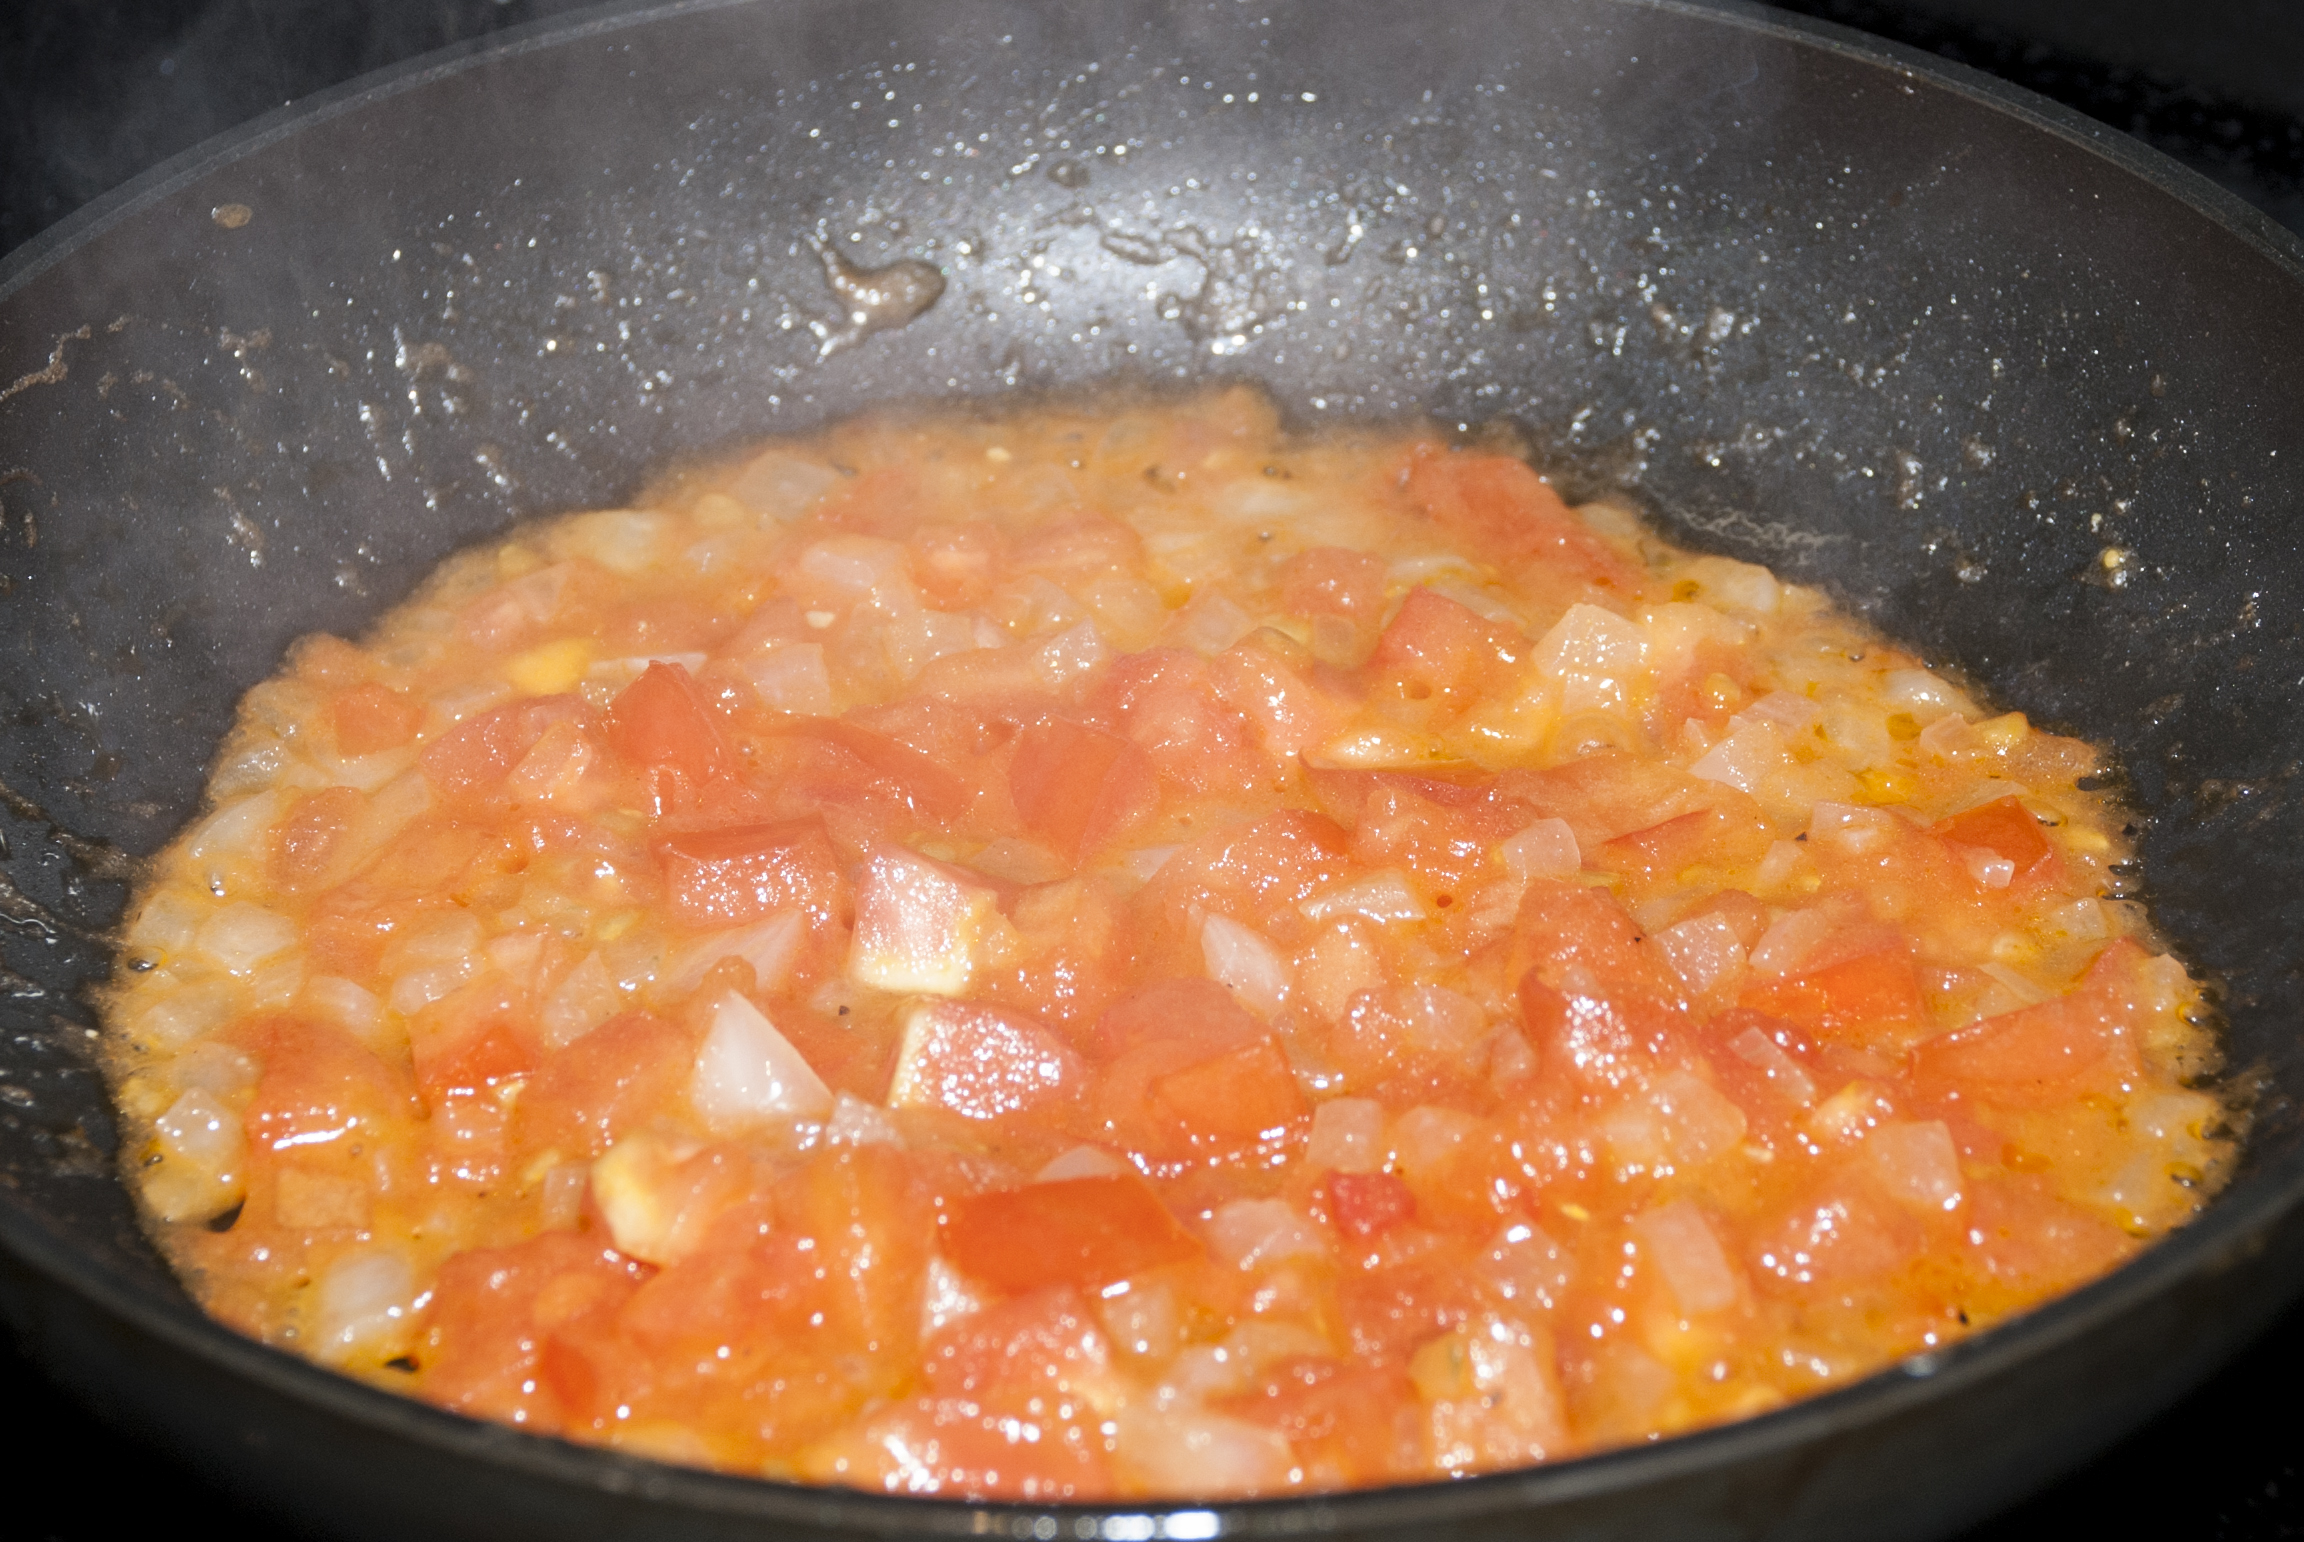
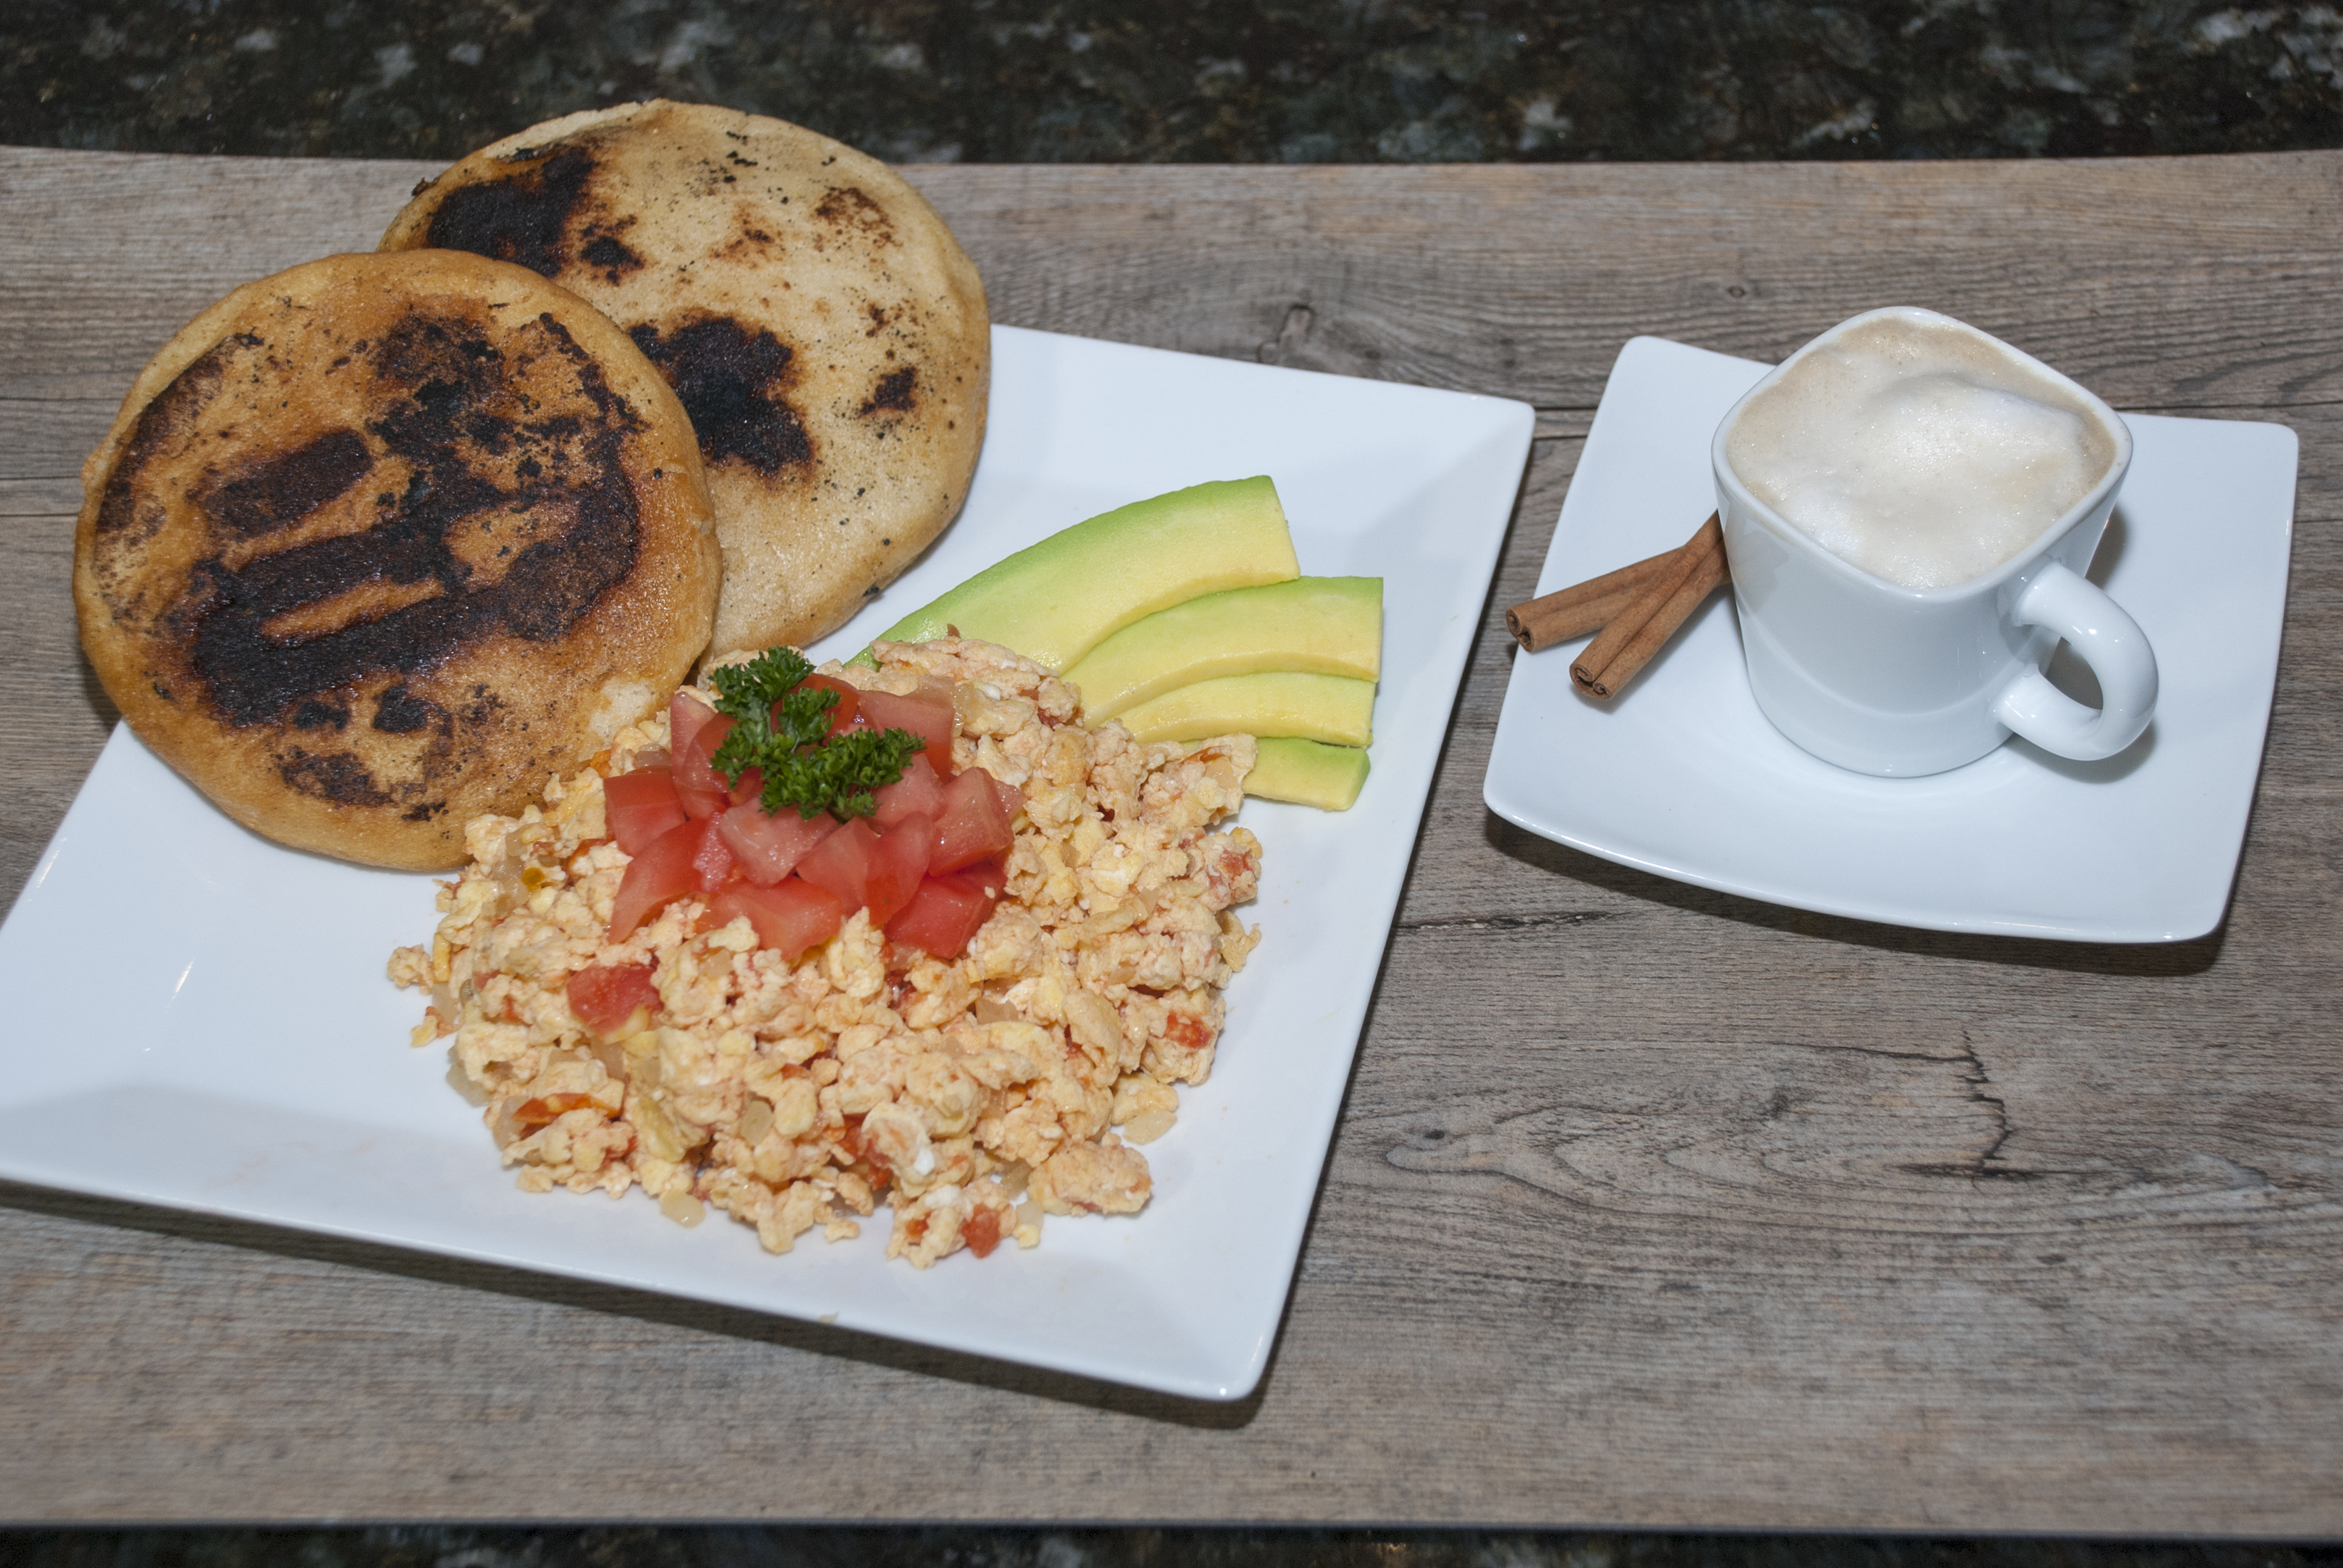
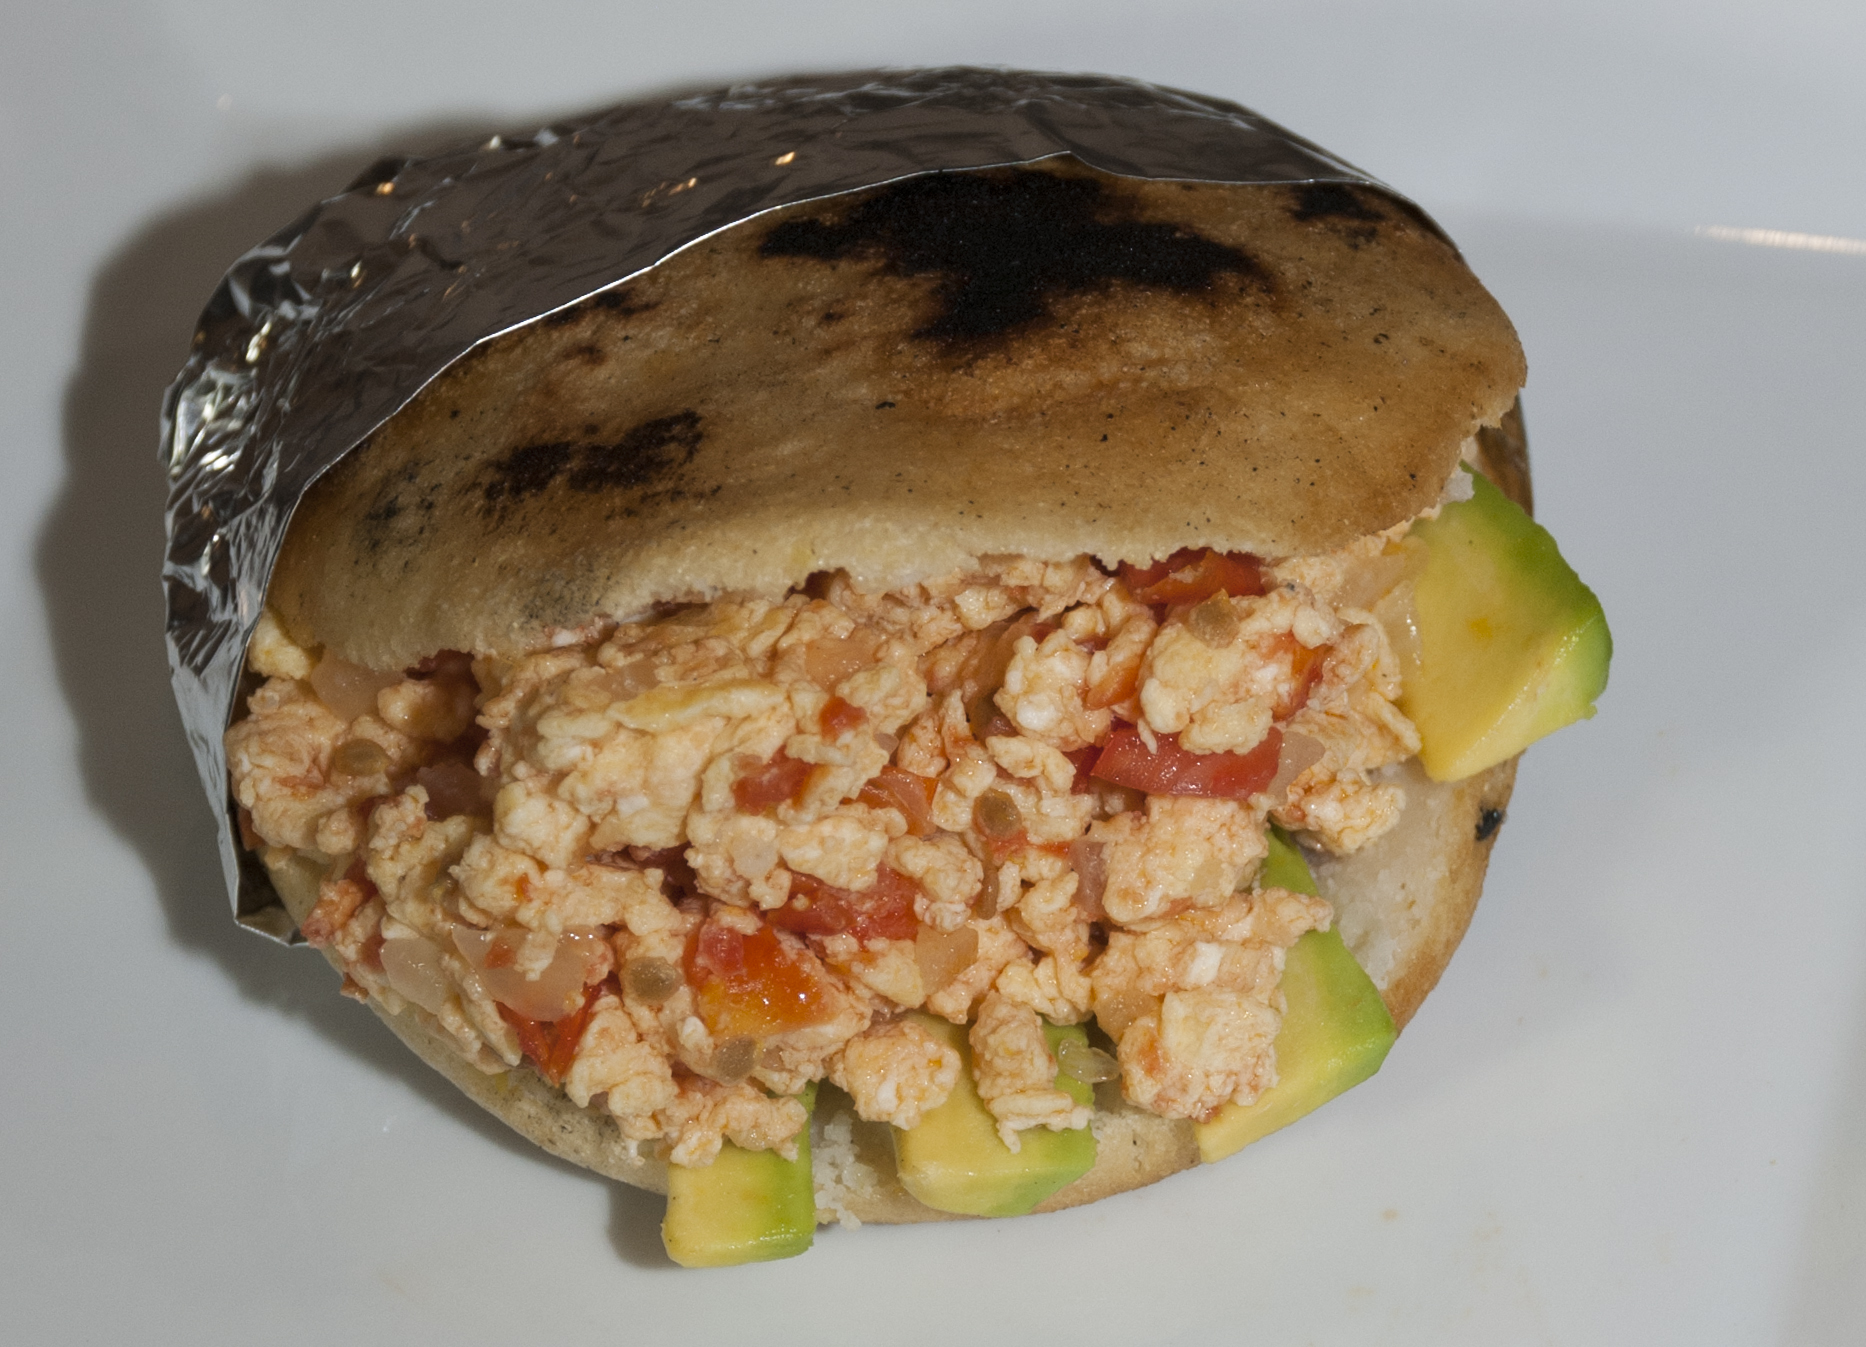
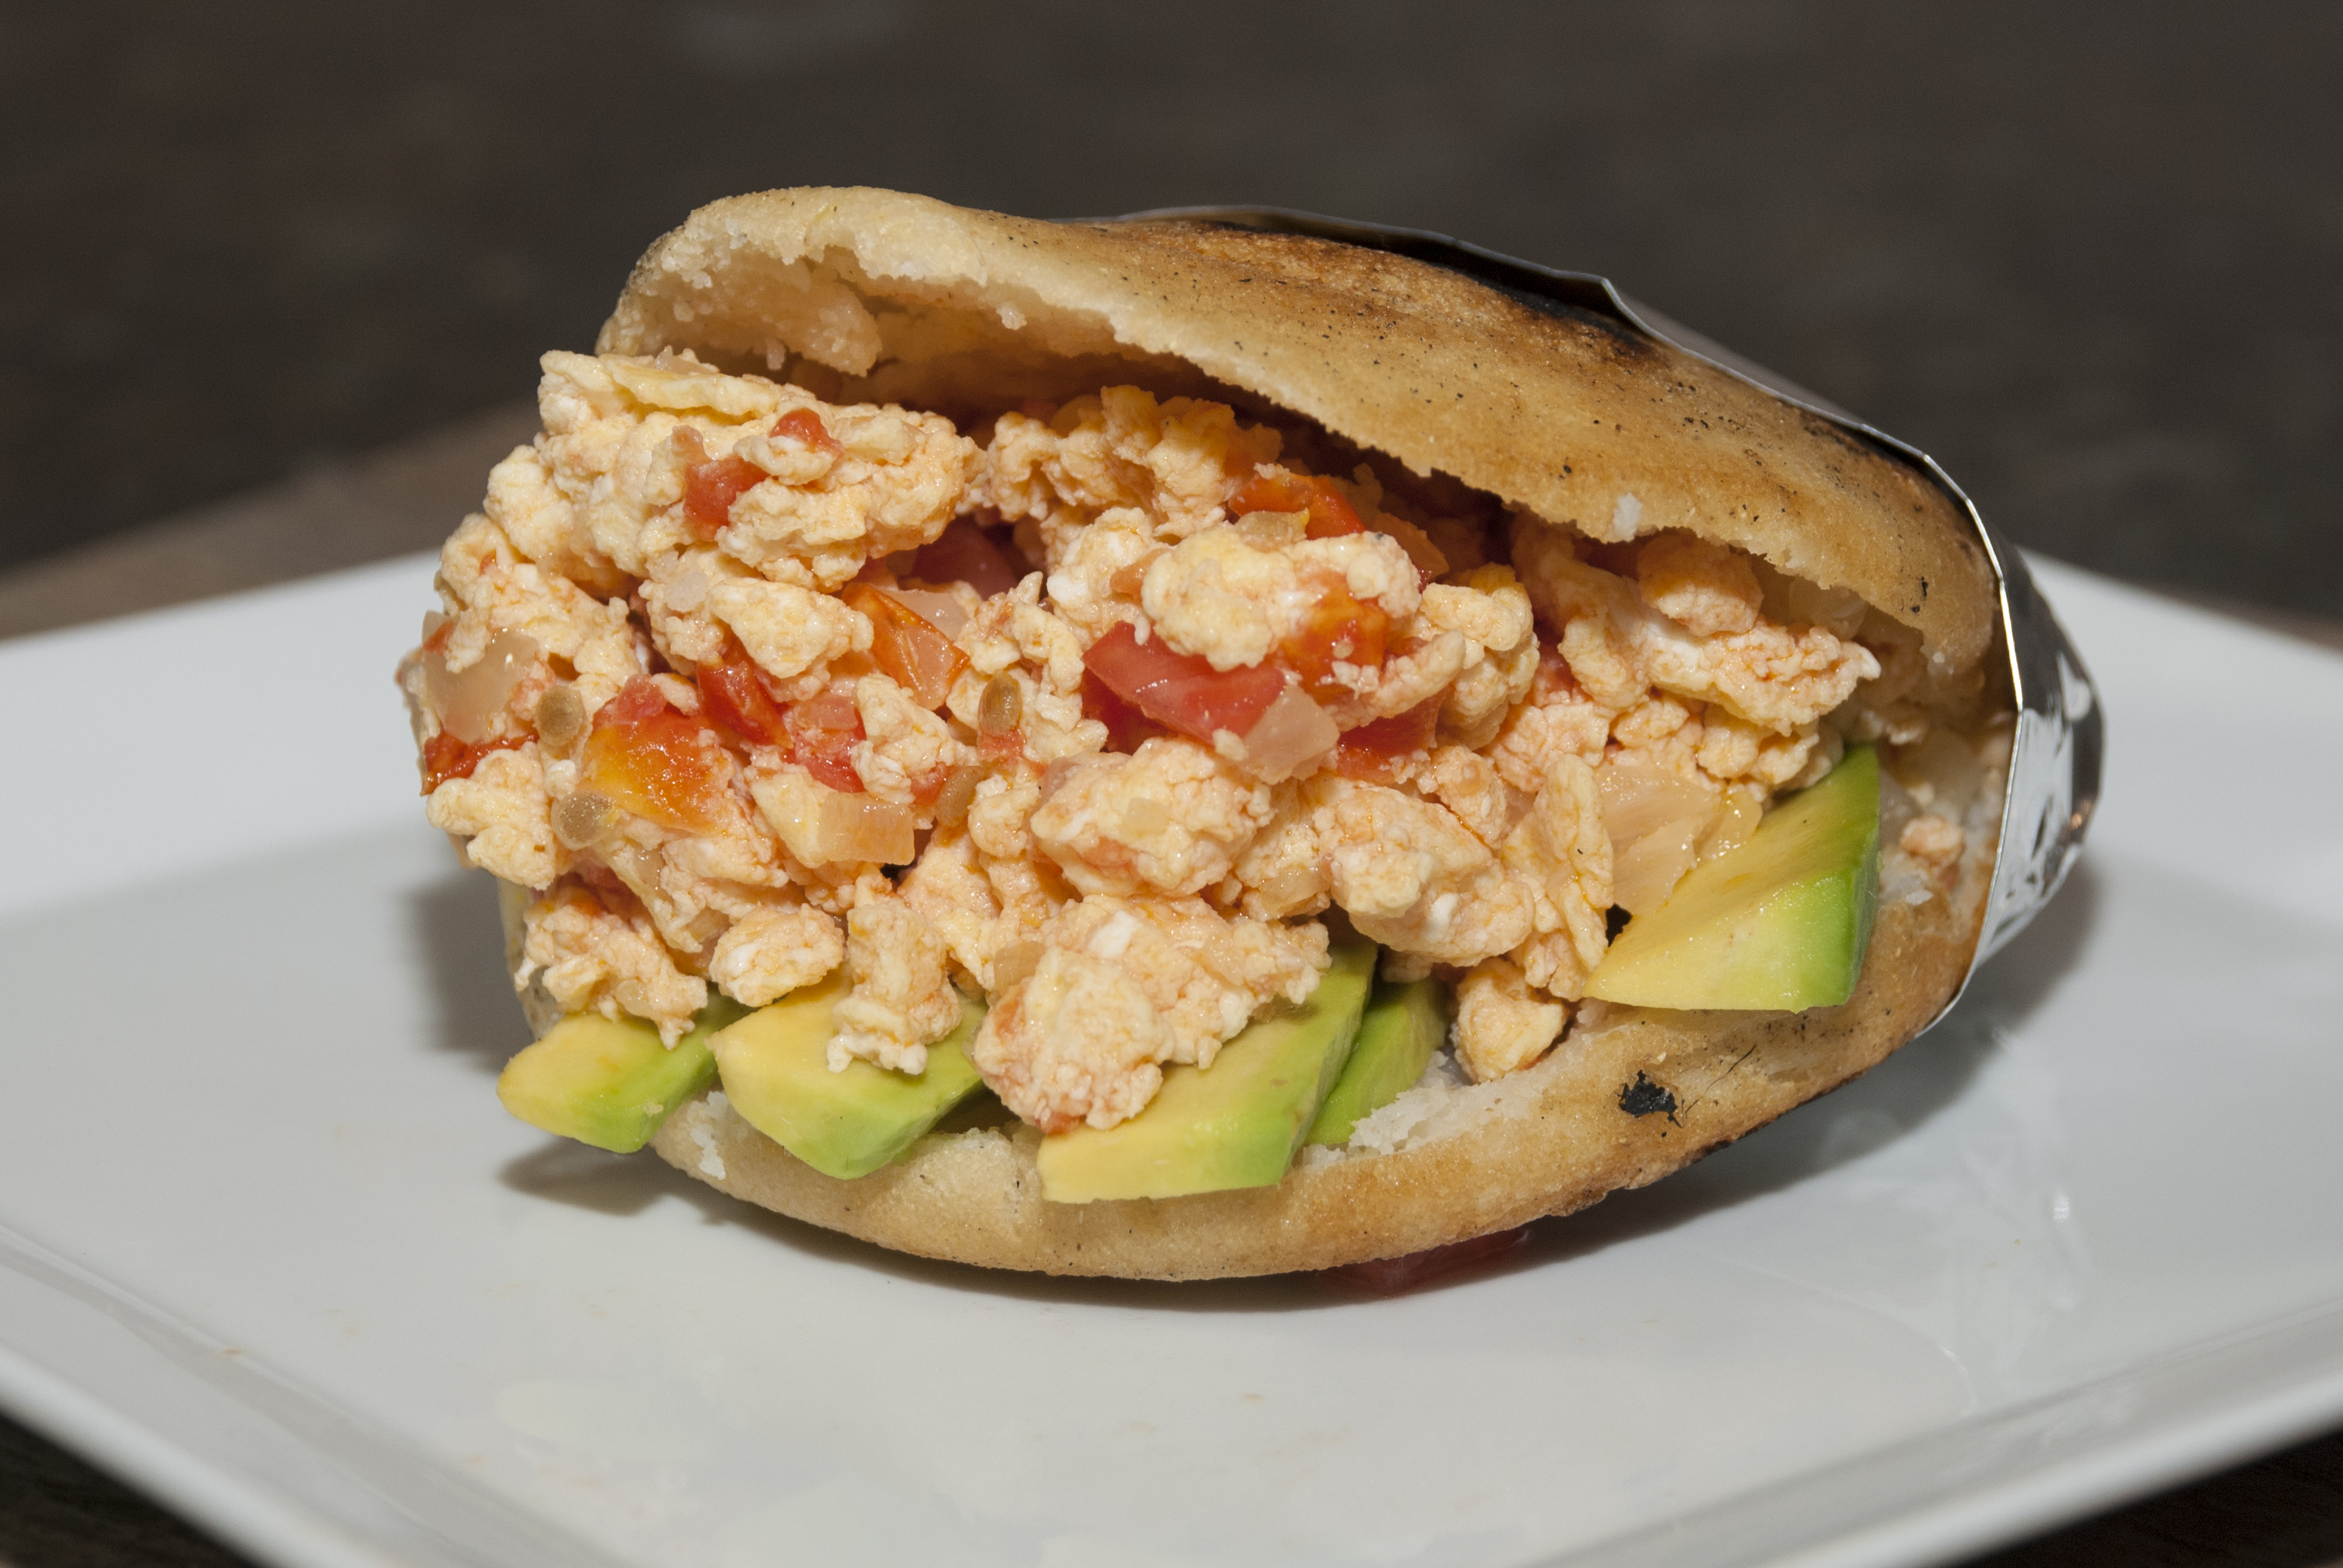
The next thing we did was have breakfast. I had purposefully left home without eating anything so I could have enough space for breakfast and all the delicious samples they had. We had breakfast at the Don Pan Bakery Booth. Don Pan International Pan is a very well known Venezuelan bakery and café, which actually started in Venezuela, and now they have several locations all over South Florida, Dominican Republic and Panamá. The closest one to where I live is the one in Sunrise, right outside the Sawgrass Mall. I had a cachito de jamón and a delicious café con leche, my sister had a cachito de jamón y queso and an empanada de jamón y queso, my hubby had an empanada de carne and an empanada de jamón y queso, and my friend Ann had something I had never seen or heard of before. It was a pastry filled with cream-cheese and it had sugar on top. We also took a Pan Andino to go and ate it at home the next day with café con leche and it was very good. Here is don pan’s info:
Website: http://www.donpan.com/
Facebook: https://www.facebook.com/DonPanBakery
Twitter: https://twitter.com/DonPanBakery
Instagram: https://instagram.com/donpanbakery
After we ate and had a little bit more energy, we started to walk around the expo and checked out all the different booths. We tried some samples at the shaved ice booth, I had the passion fruit flavor, and my hubby, sister and friend had the coconut flavor. They were good. We also saw a lot of different companies promoting their businesses. Companies like the Venezuelan Business Club, BienvenidosVenezolanos.com, PaVenezolanos, a couple of realtors, immigration lawyers, etc.
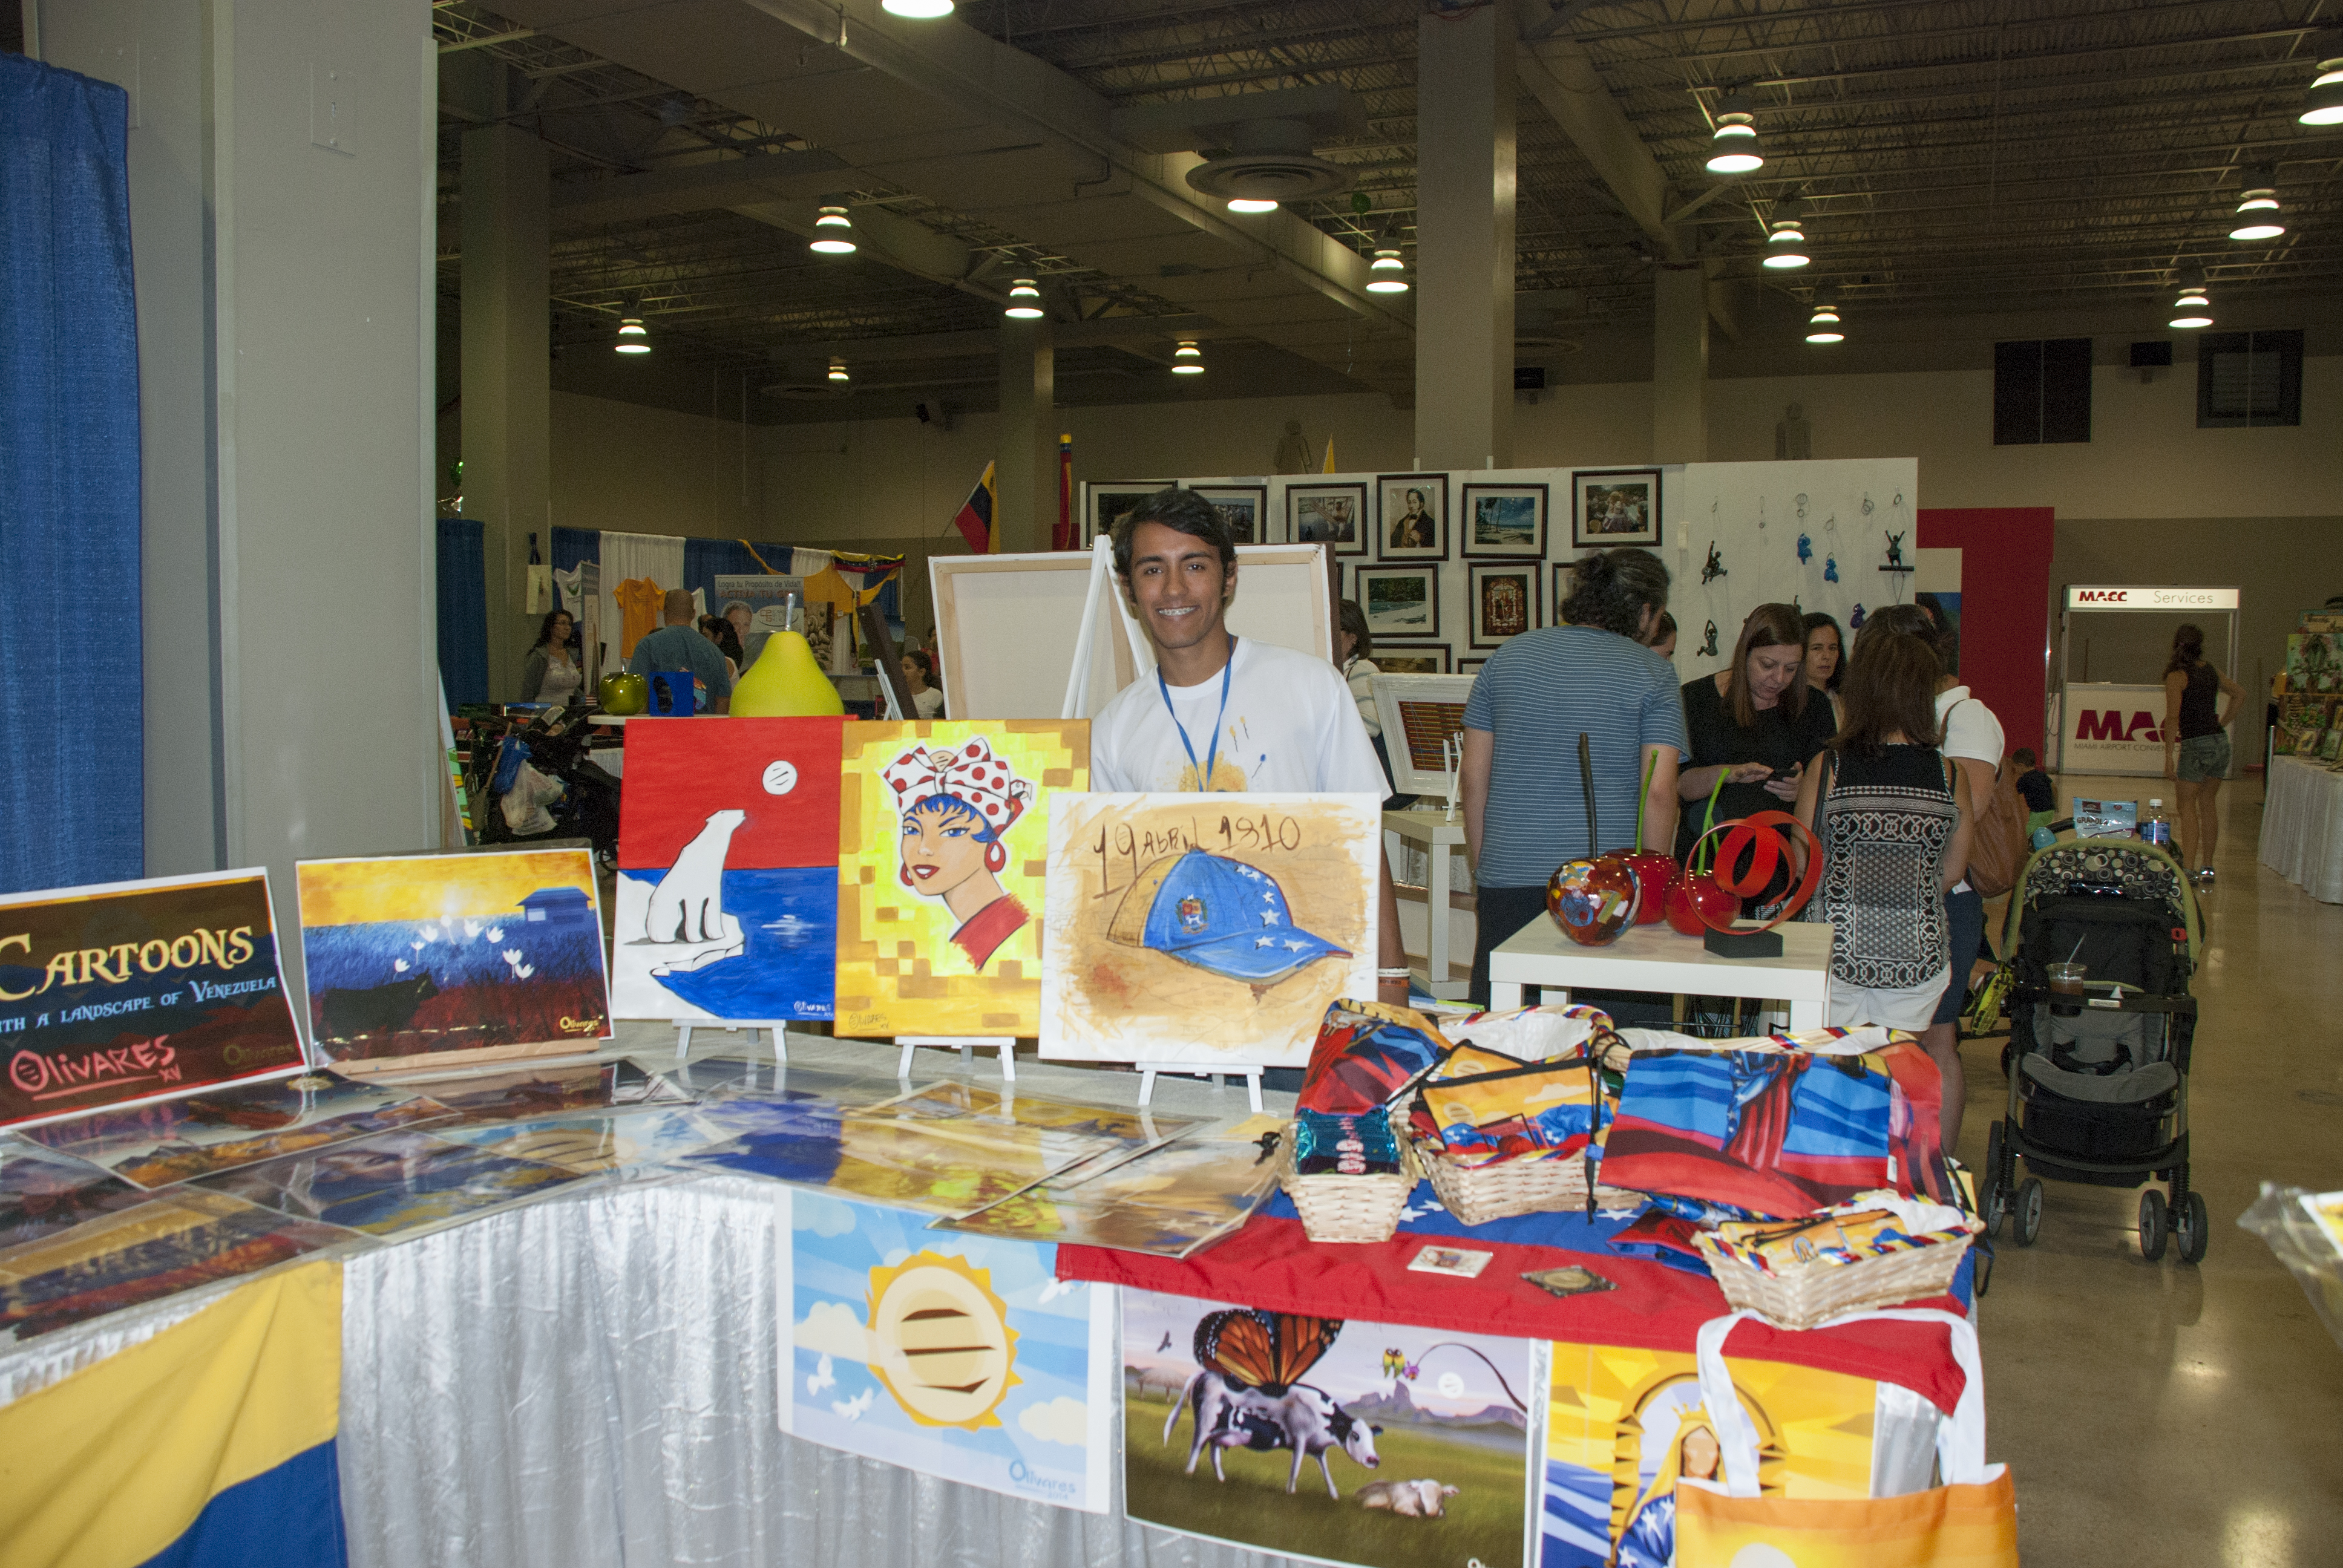
We finally arrived at the artist’s booth, Oscar Olivares’ booth. He was there tending to a lot of customers with the help of his mother, Maribel Matos. His booth was a colorful one, filled with the Venezuelan flag design spread out on prints, canvases, tote bags, coin purses, caricatures, and much more. I introduced myself and told him how I was practically stalking him on twitter ever since I heard his interview on the radio last year, and I was so exited to finally meet him and have the opportunity to purchase one of his illustrations. He is so humble and modest, and he is very young.
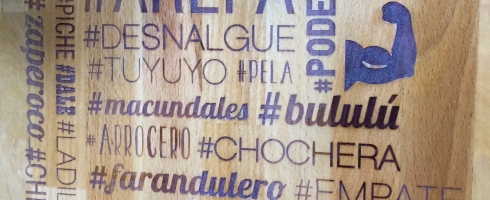
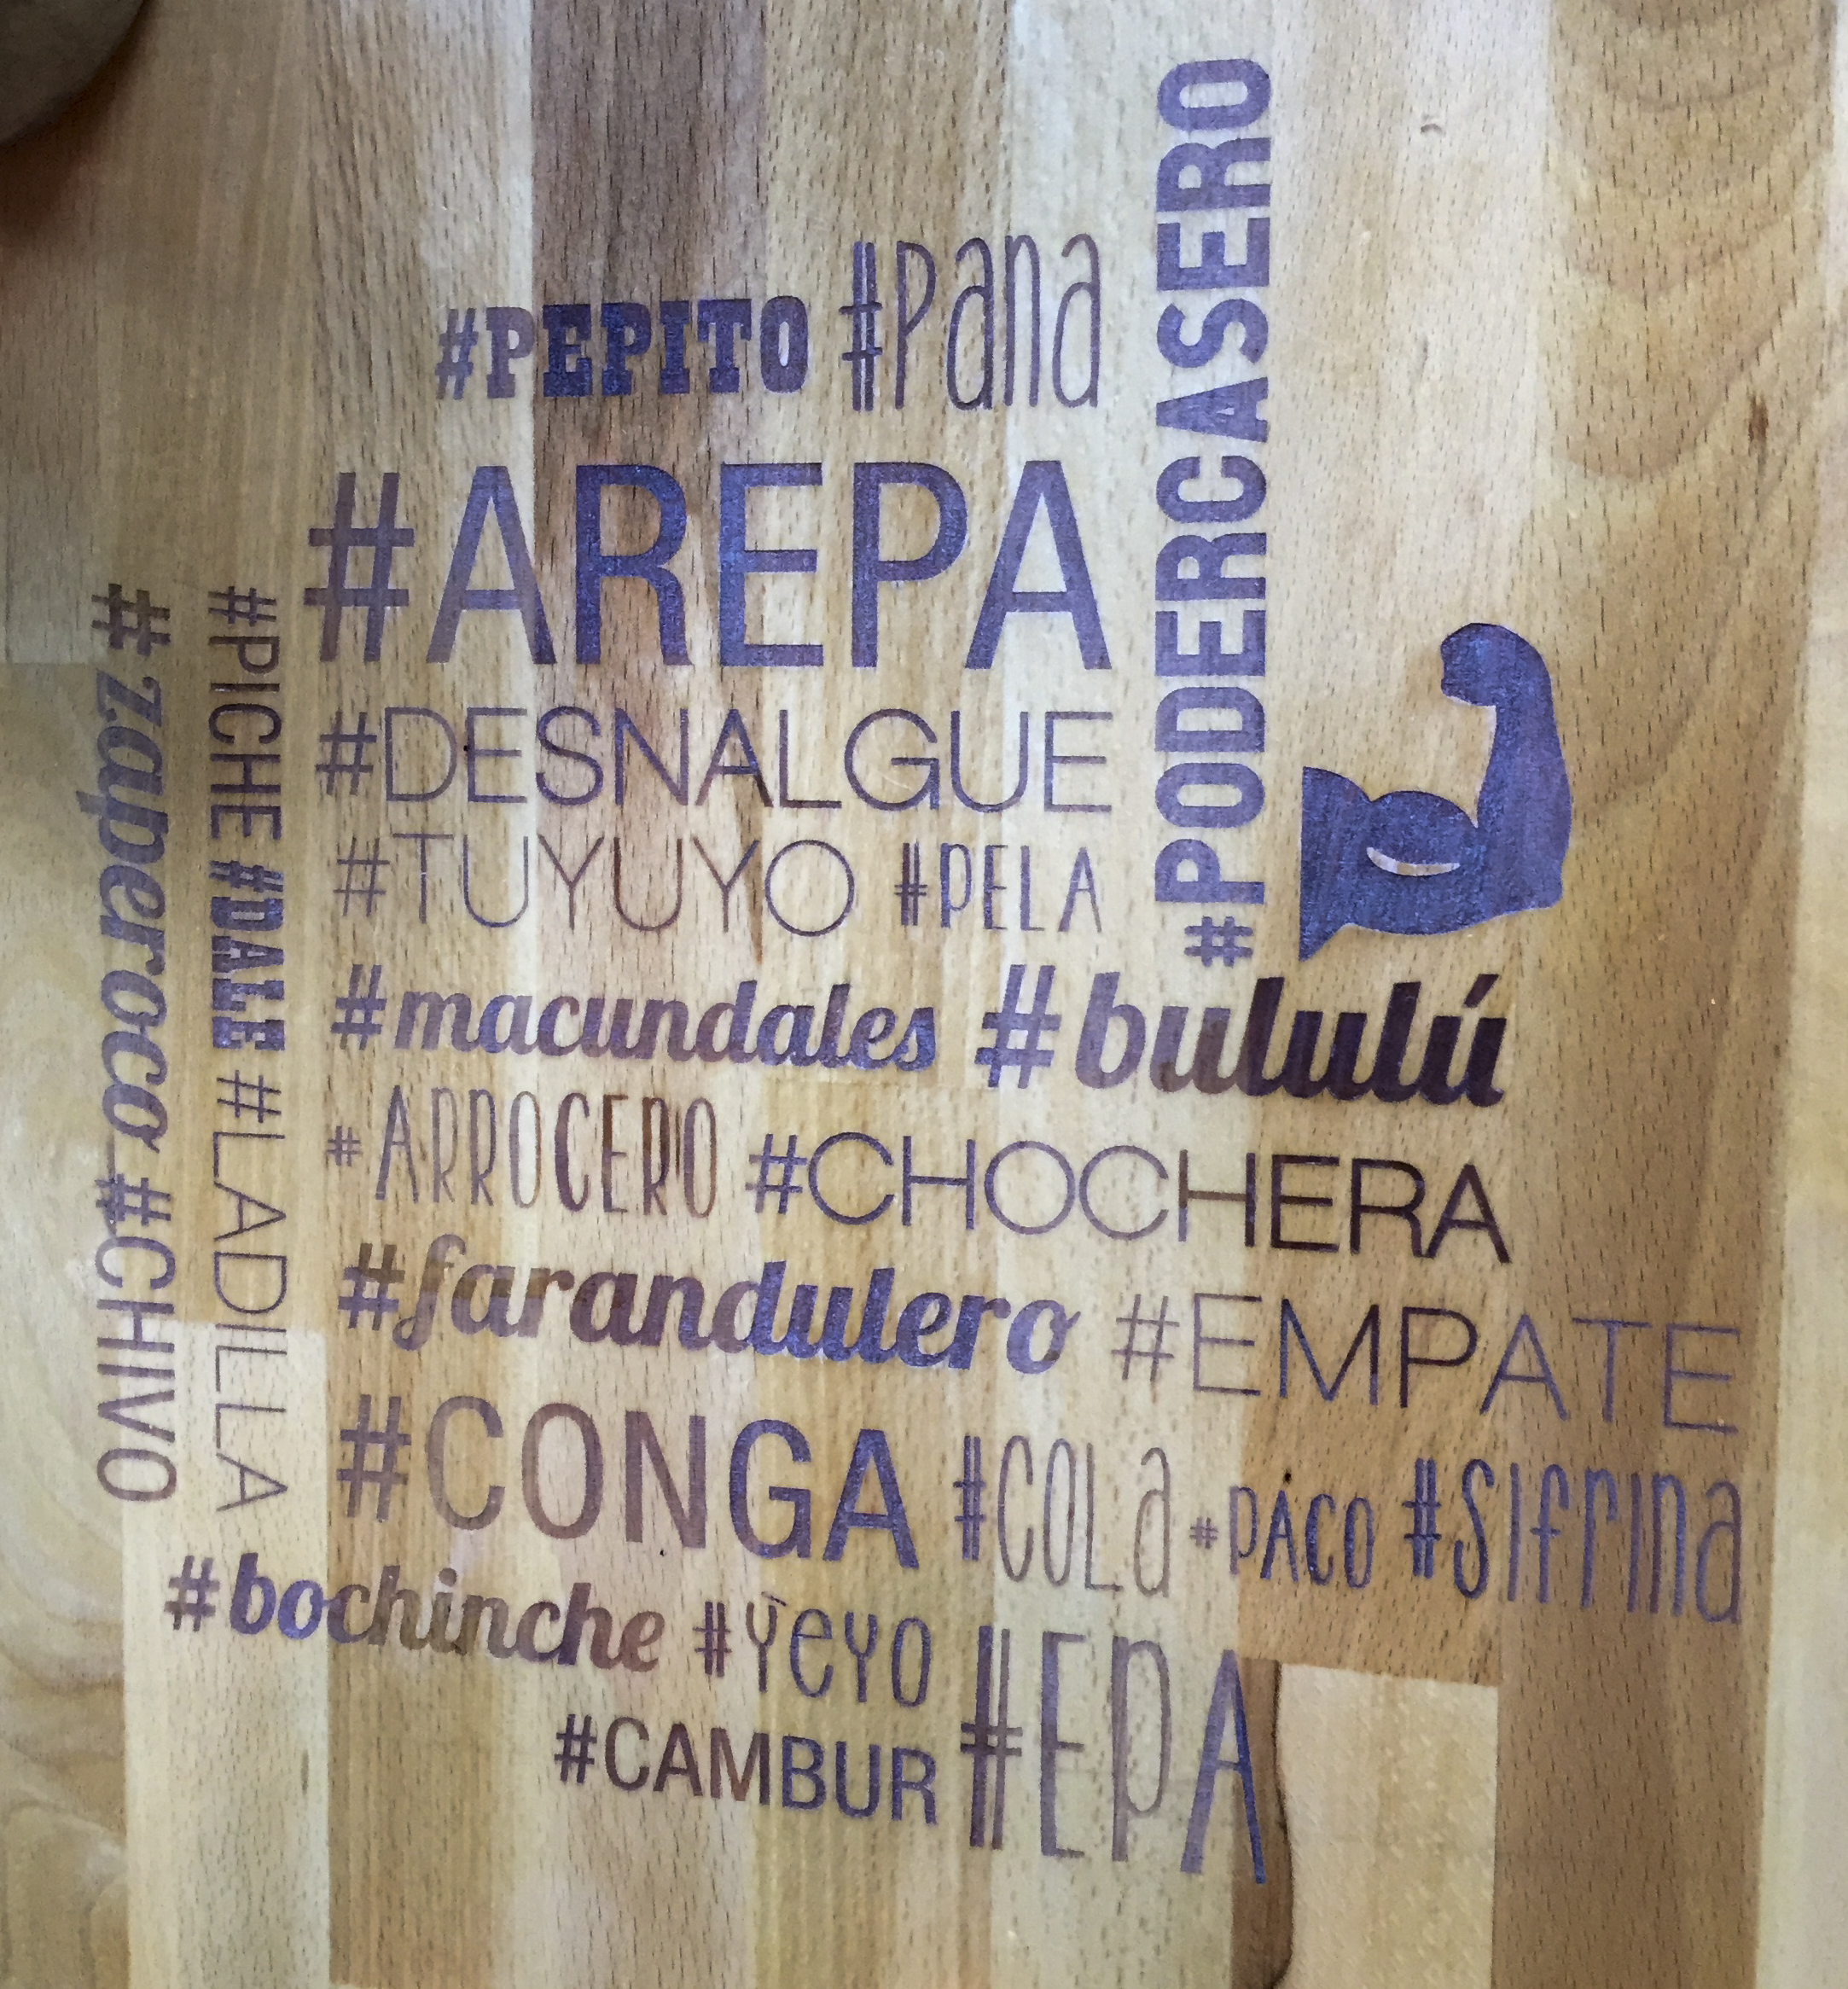
Oscar is just 19 years old. He was born in Caracas, and began drawing at age 6, but it wasn’t until he was 15 that LaVinotinto.com hired him as the first-ever official illustrator for the national Venezuelan soccer team. His artwork depicted the love of the fans for the team and the game, focusing on the stands as the main subject for his illustrations. He participated in the Caracas Comic Con as a caricaturist in 2013. He is a self-taught artist, since ever since he was little, he did not enjoy being told what to draw, but he would rather draw whatever he was inspired to draw. In 2014 he was inspired, and he was inspired by all the political and sociological tumultuous evens in our country, to bring hope, unity and concisions to society by way of his illustrations. This is when he created his series of art with the Venezuelan flag and the concept of the arepa as the sun (Arte con la Bandera de Venezuela y el concepto del Sol como Arepa).
When I first saw his illustrations with the Venezuelan flag, I was very impressed. I am a graphic designer by profession, and I have to combine colors every day that I don’t necessarily find appealing. Most of the times I dislike combinations of primary colors such as red and blue, because it is hard to read and the two colors so close to each other cause visual vibration and afterimage effects. Generally, I would not pick the colors of our Venezuelan flag for any design, and I would most likely dislike any design that would use the primary colors. However, Oscar’s art made me love my flag colors all over again. His use of the colors is so cleverly done, that the visual vibration and afterimage effect is inexistent. He uses abstract shapes in different shades of each primary color to create depth and uses white and black to highlight the shapes of other elements in his illustrations. But perhaps the most interesting thing about his illustrations is the concept behind them. The elements of our Venezuelan culture that make us who we are, and the recognizable symbols and pop culture humor that is truly representative of Venezuelans.
Oscar Olivares, Venezuelan Artist @ Expo Sentir Venezuela 2015
I asked Oscar about the meaning of the arepa as the sun, and he sees the arepa as a common element between all Venezuelans, those with the government (red) and the opposition (blue). The arepa is not just literally something that unites all Venezuelans, since it is our staple food, but he sees it as the common ground; the light. The light that could bring together both sides of our divided country, not literally the arepa, but as a representation of something we all have in common. If we can find common ground in the fact that all Venezuelans love arepas, we can find common ground in other matters as well.
I asked him about finding the necessary materials to continue his work in Venezuela, since I know those kinds of imported products like paints, brushes, paper and canvas must be hard to find in a Venezuela where medicine, food and even toilet paper is also hard to find. He explained that the scarcity of such products was one of the reasons he started creating art digitally by composing illustrations by hand first, scanning it, and filling in the colors with computer software such as Photoshop. Unfortunately for him, he said some art galleries are not receptive to digital art and it makes it harder for him to get exposure that way.
After finally making a decision I purchased a print of the art with the Venezuelan flag, which he explained was the very first piece he created in that series. I also purchased a piece of the arepa surrounded by the red and the blue, because I really enjoyed his explanation of the importance of the arepa as a symbol of unity. And we also purchased a tote bag illustrated with one of the pieces of the art with the Venezuelan flag collection. He even gave us a free Venezuelan chocolate for purchasing 2 pieces. Here is Oscar Olivares’ info:
Website/Blog: http://soyeljugadornumero12.blogspot.com/
Twitter: https://twitter.com/olivarescfc
Instagram: https://instagram.com/olivarescfc
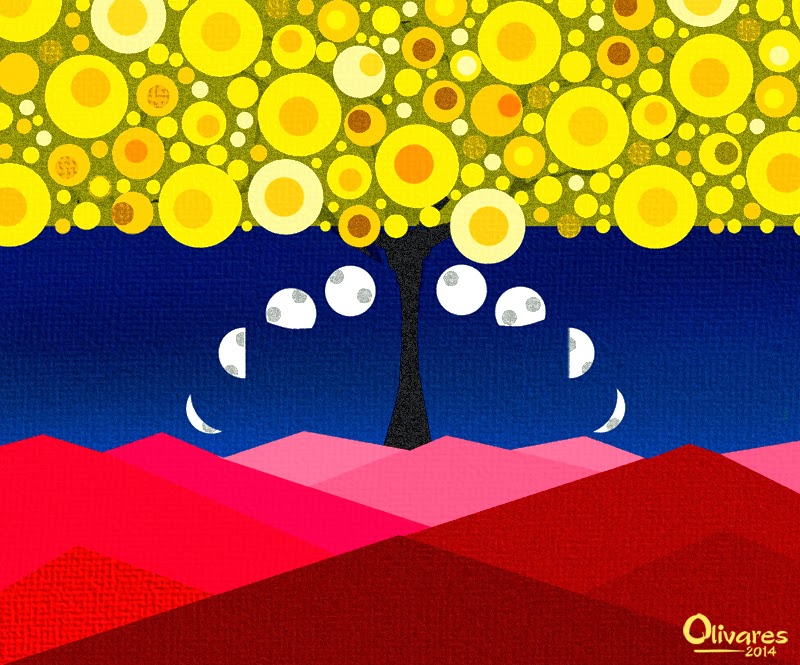
Oscar Olivares Venezuelan Artist at Expo Sentir Venezuela 2015. “Araguaney y fase lunar”
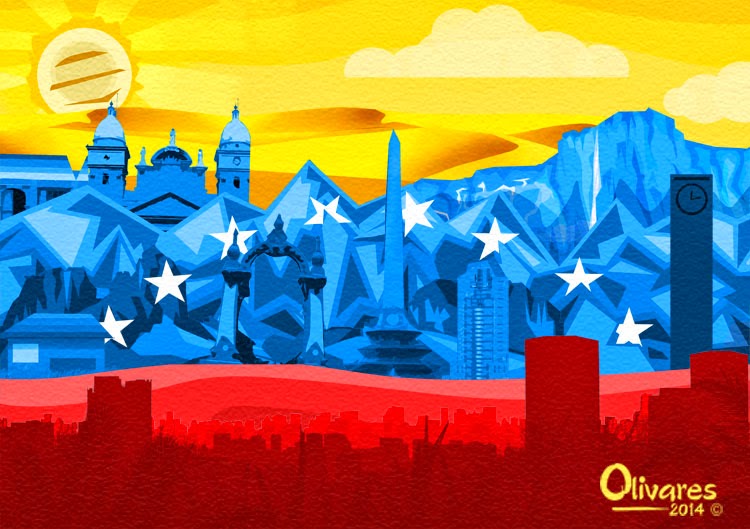
Oscar Olivares Venezuelan Artist at Expo Sentir Venezuela 2015. “Unidad”
We continued on with the rest of the expo. We saw more artwork being displayed and we saw the artwork of Gerardo Fernández, a Venezuelan artist that creates these beautiful sculptures called escaladores or the acrobats, which I had seen previously at a high-end store where I purchased a rug for my living room before. His artwork was being sold by a store specifically dedicated to sell artwork by Venezuelan artist, Samán Arte. We also saw some beautiful bows and headwear for girls by the talented Lucky Cat Headwear. They were some beautifully decorated ones with the Venezuelan flag, and also the Venezuelan soccer team color (vinotinto – wine color), some incredible ones with the American flag, and some very cute ones of all the Disney princesses. We also saw a beautiful cake design by One Million Cakes Design Factory.
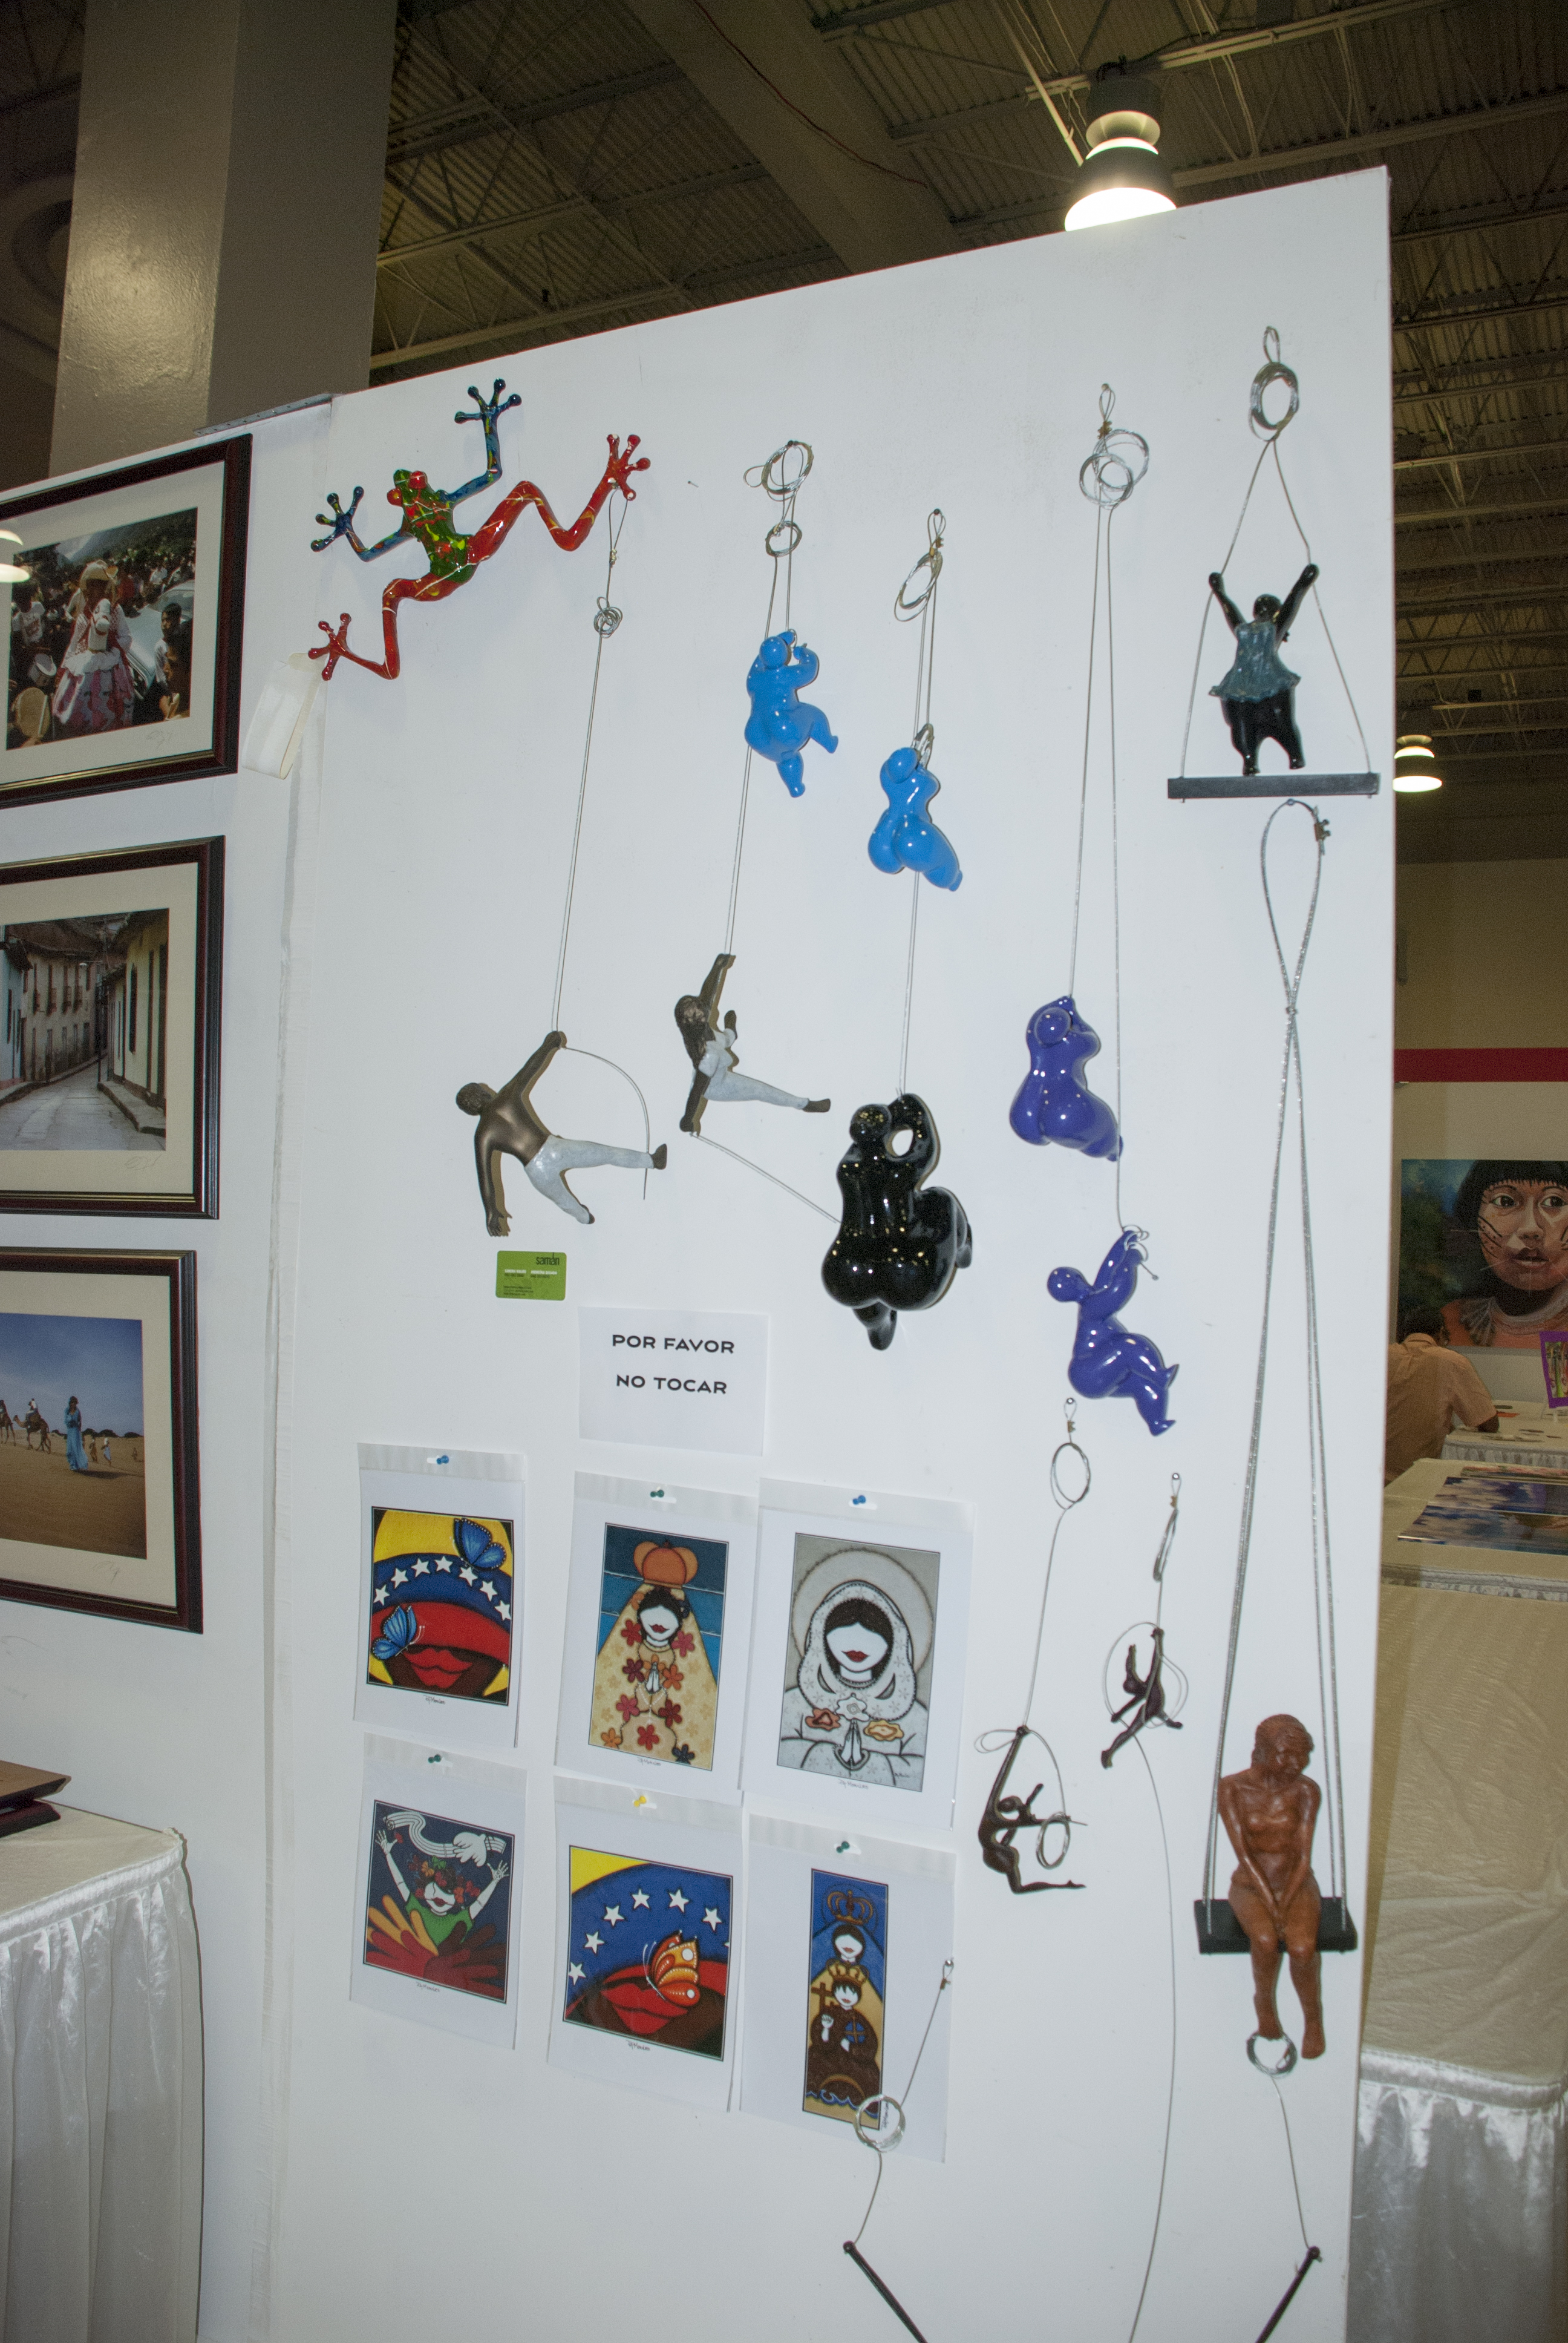
Gerardo Fernández’ acrobats, sold by Samán Arte
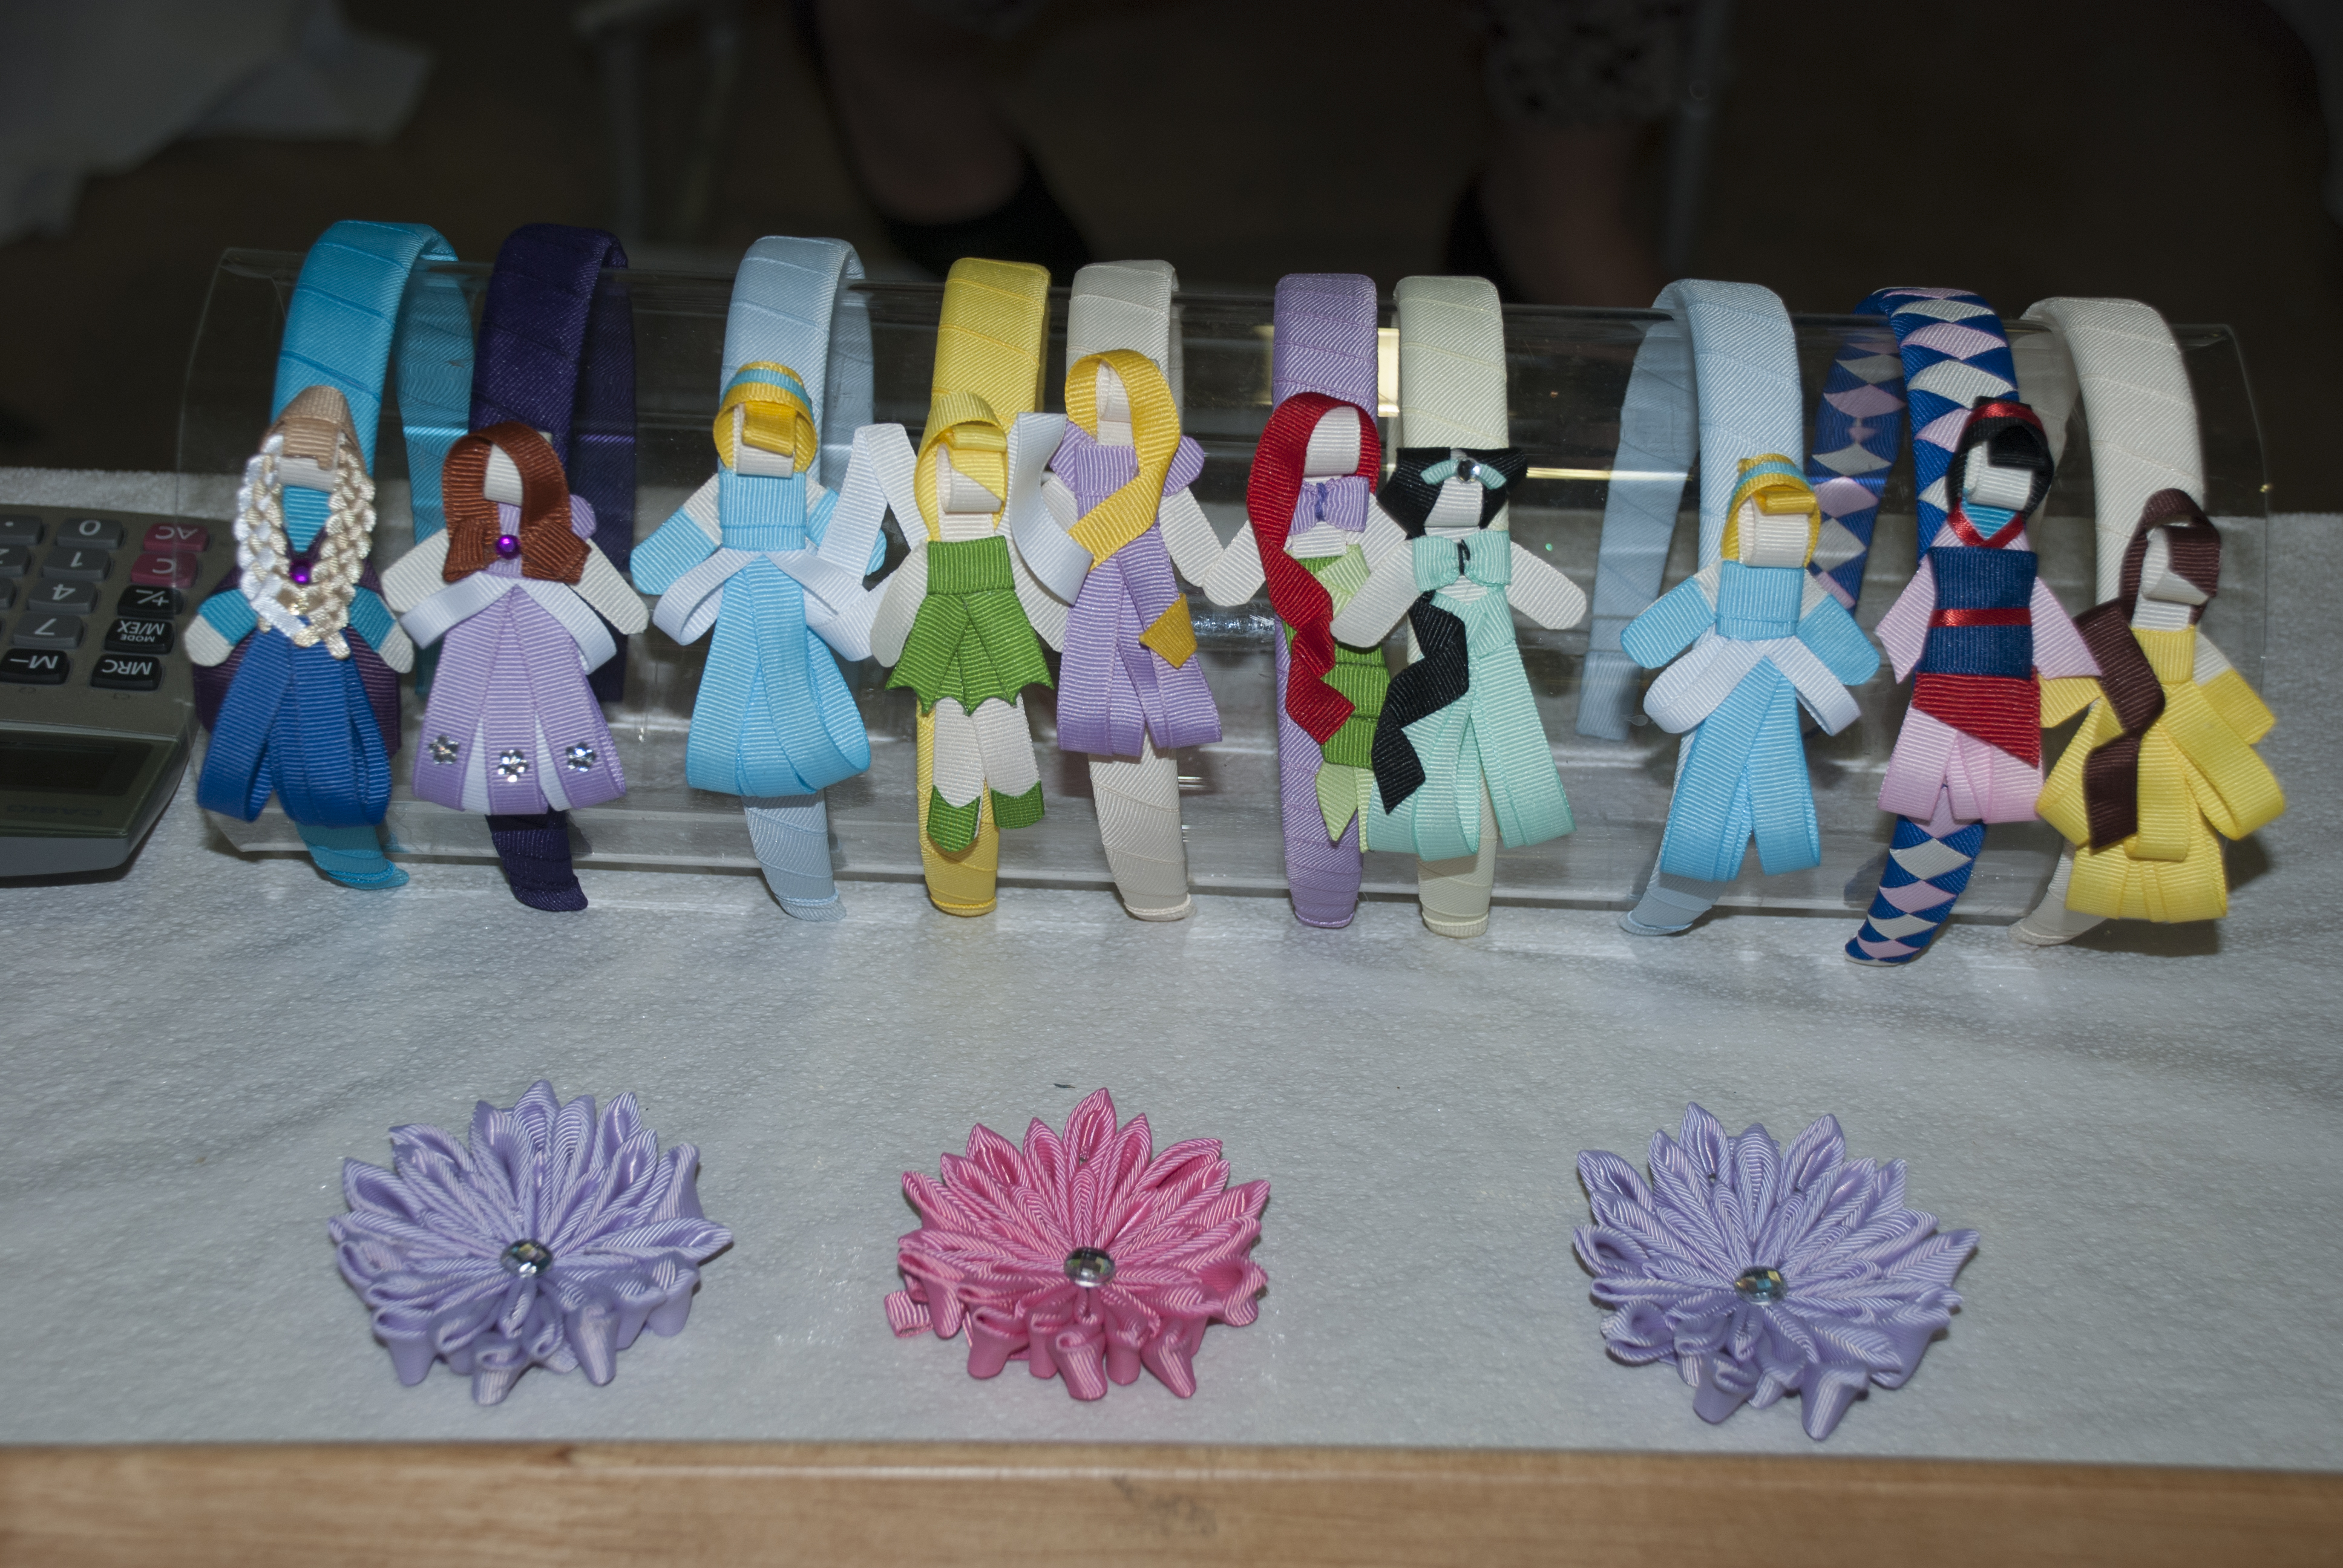
Lucky Cat Headwear
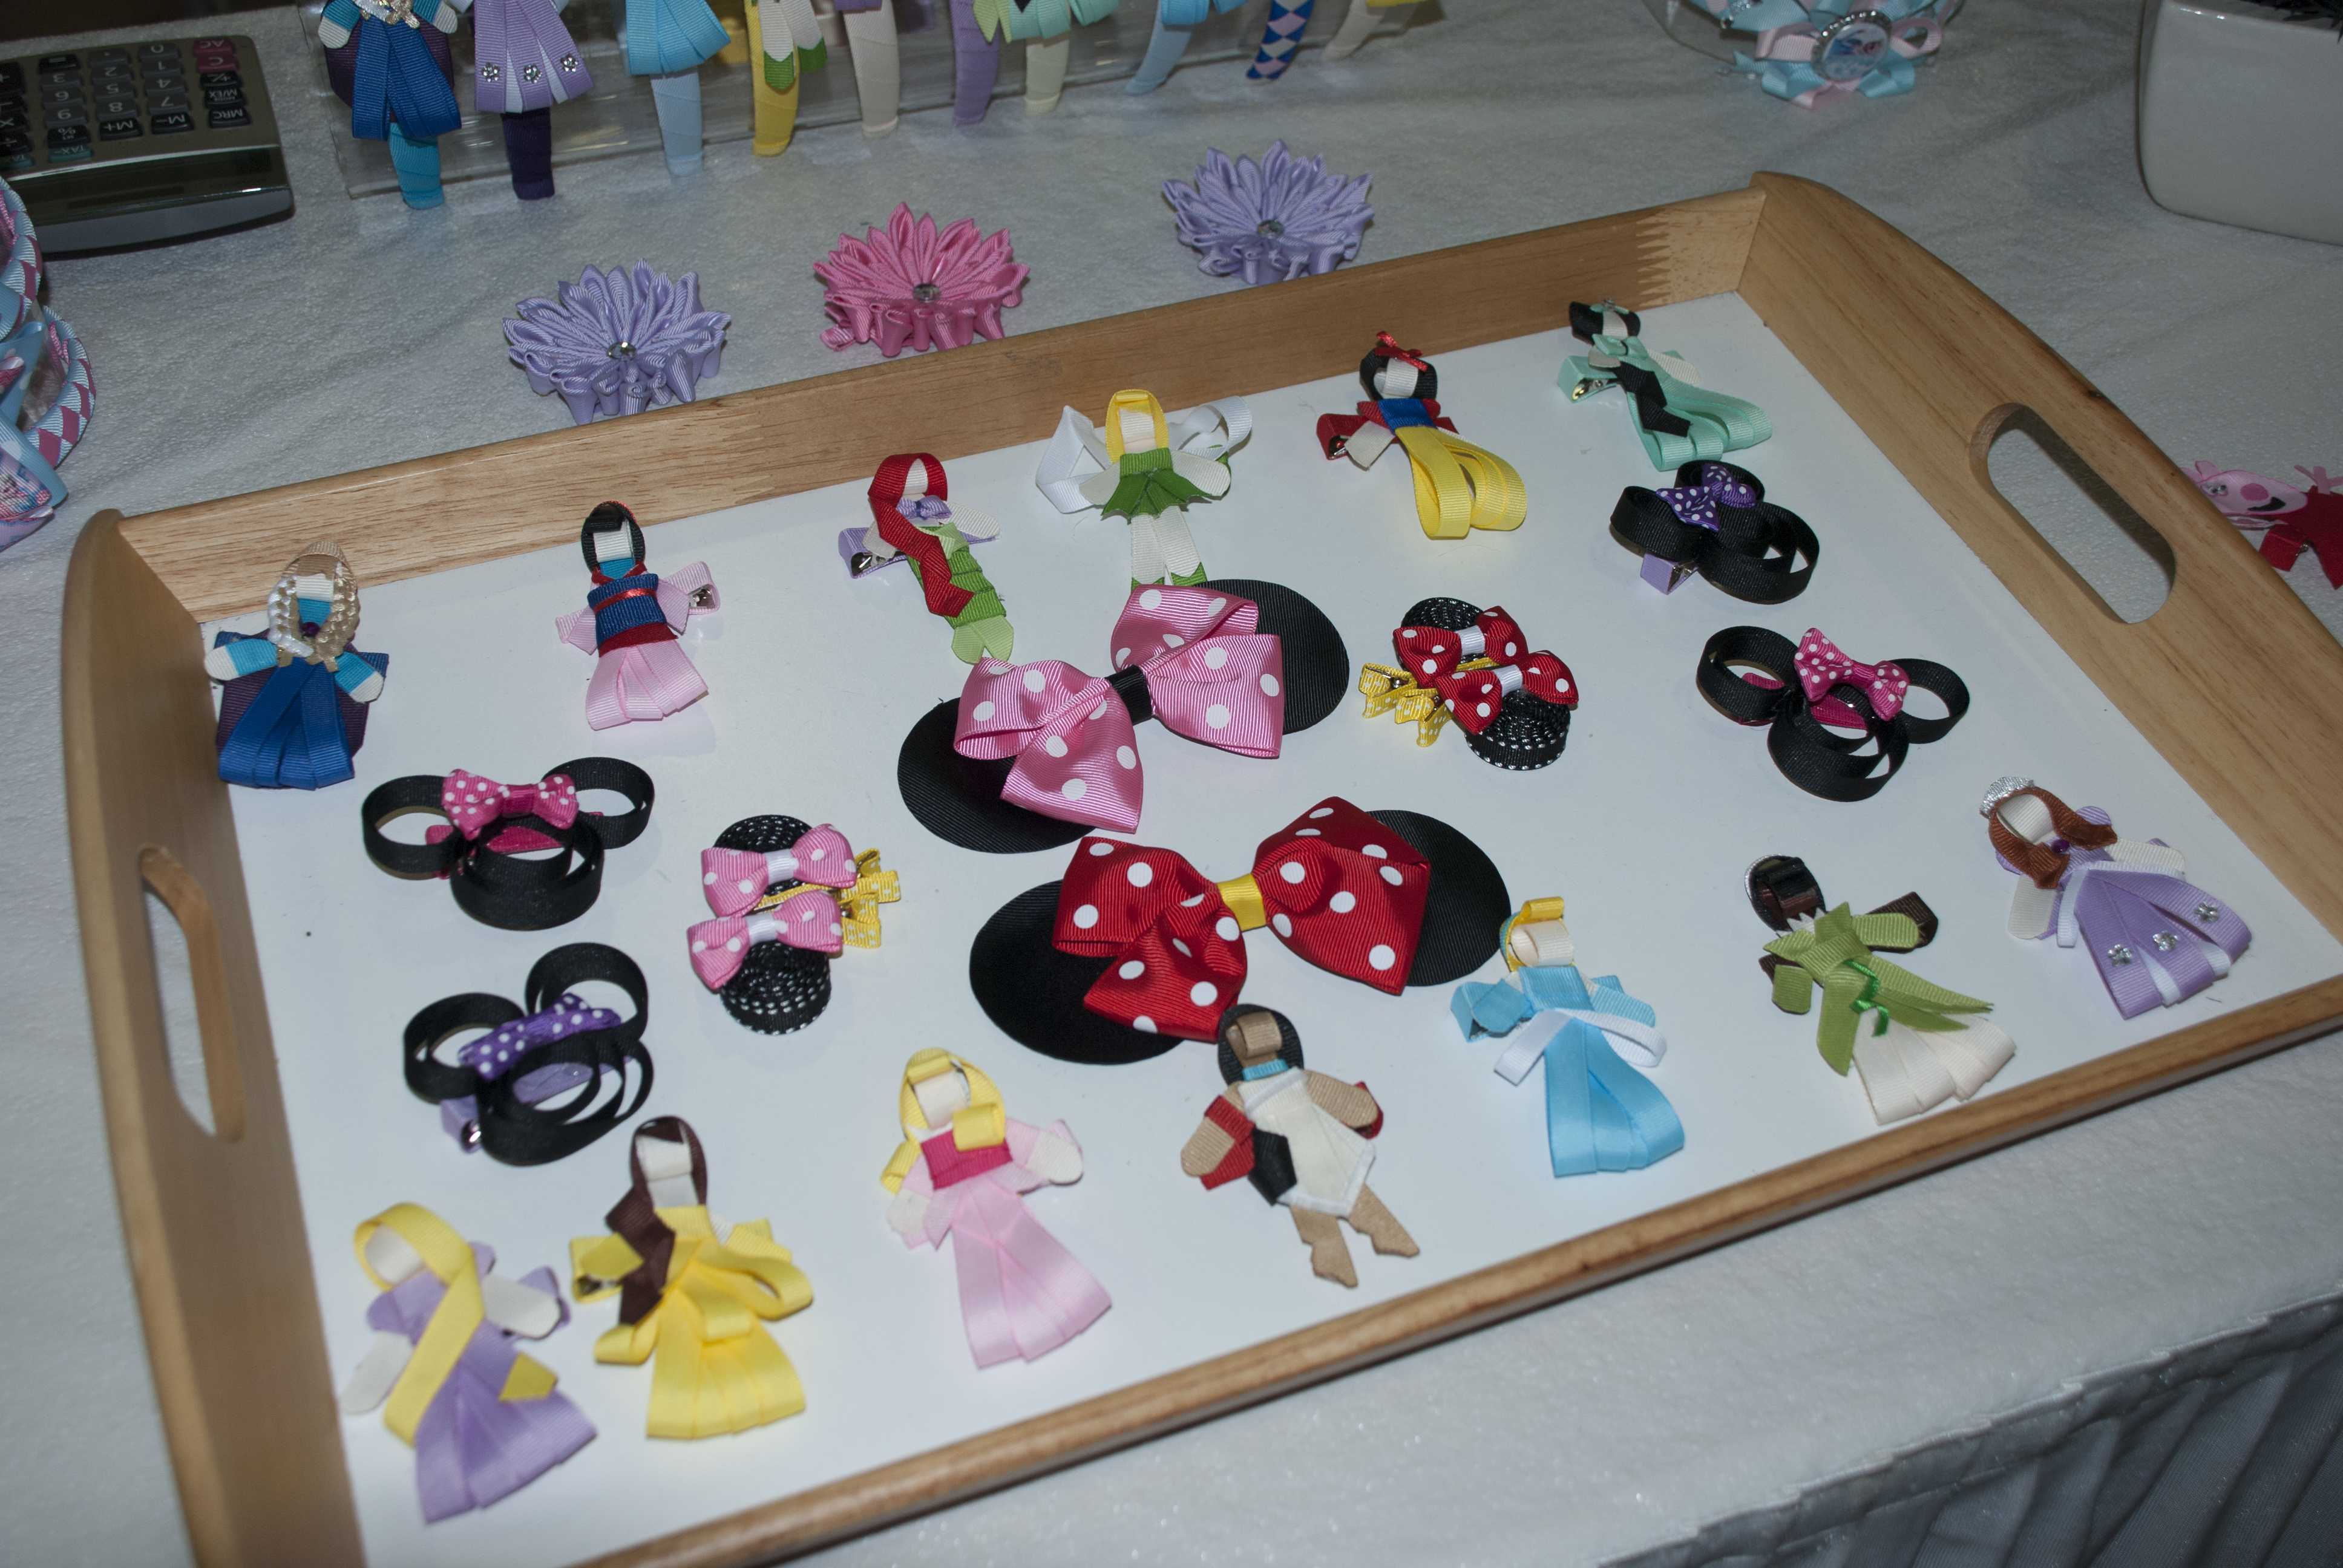
Lucky Cat Headwear
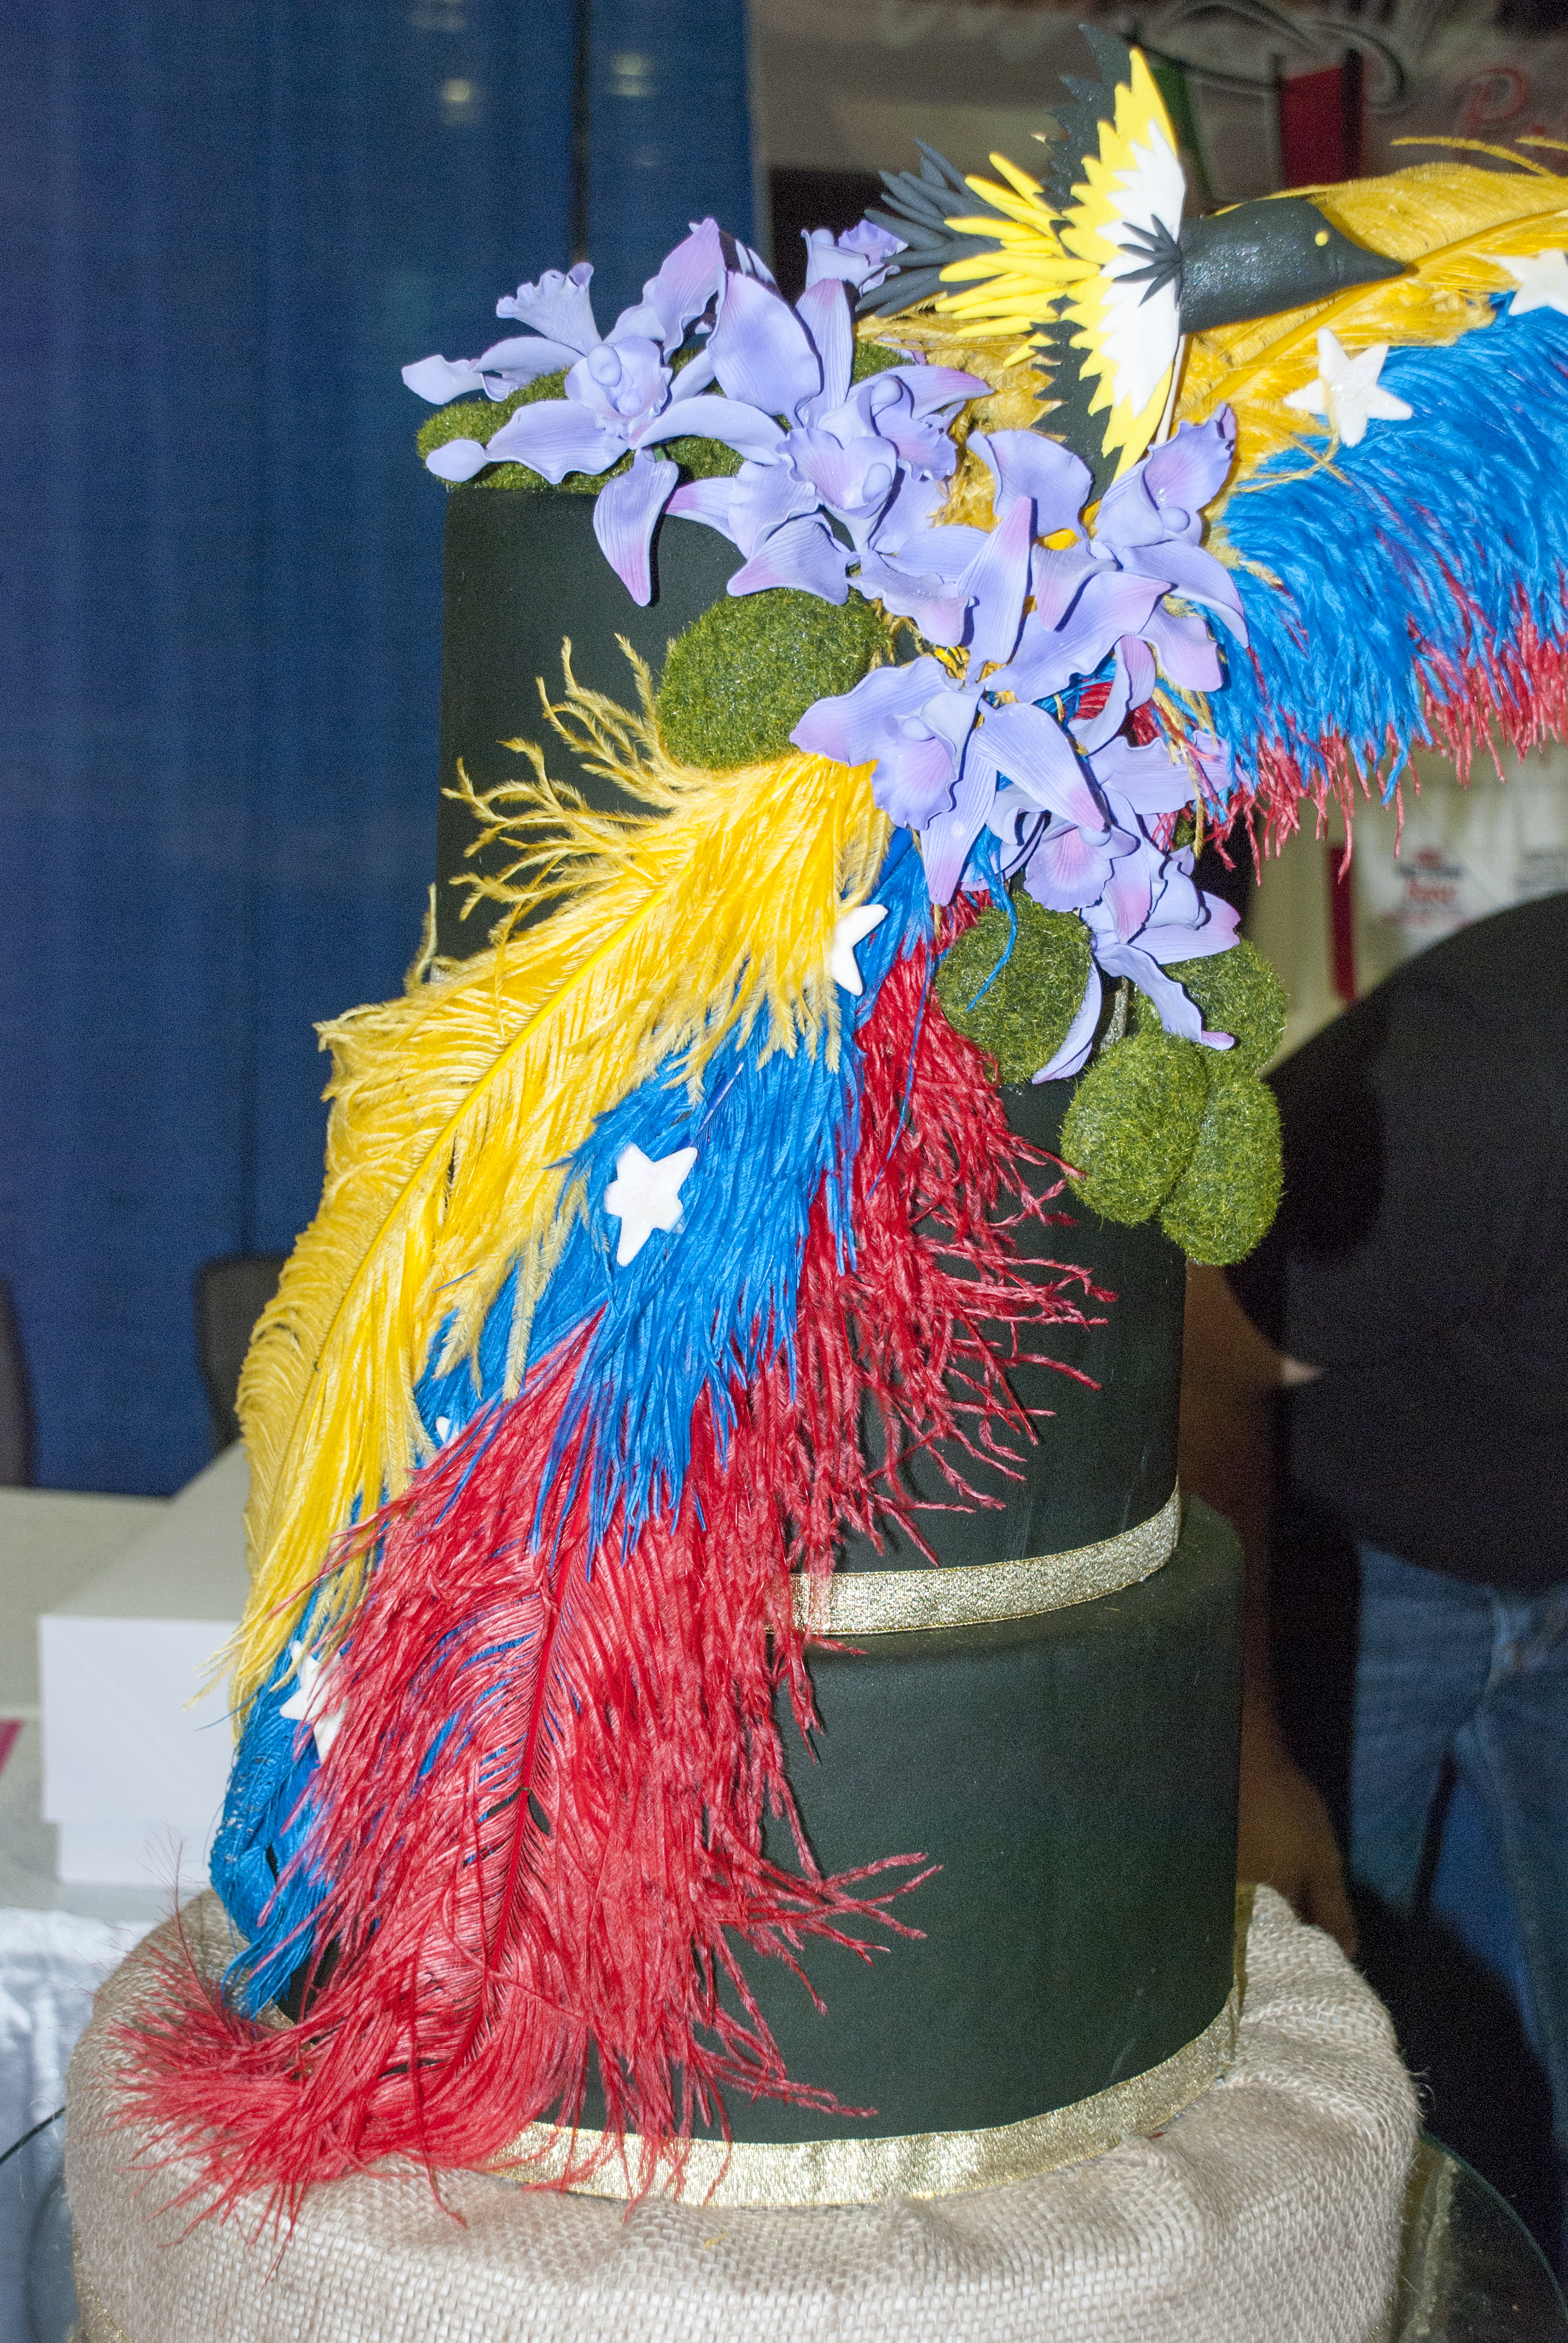
One Million Cakes Design Factory
Then we stumbled upon a stand I know my mom would have loved. My mom and dad used to go some weekends to a special place in Caracas just to stop and get a Cocada. A Cocada is a coconut drink made with fresh coconut, milk, sugar, ice and optional condensed milk and cinnamon. I don’t know if I have mentioned this before or not, but I have an absurd hatred towards coconut. Initially as a kid, I merely disliked anything that smelled like coconut, and I concluded that if I didn’t like the smell, I would most likely not like the taste. As a teenager, I thought I would grow out of this absurd hatred and decided to give coconut a try, since my mom was making bienmesabe and she had fresh grated coconut laying around in the kitchen. I took a pinch of it, placed it on my tongue and immediately spit it out, became nauseous and almost sick to my stomach. I never tried it again, or ate anything with coconut. However, my sister, my husband and my friend Ann took a free sample from the cute friends at La Caracola Cocada, and they said that it was absolutely delicious and refreshing. My sister even went as far as to say that it was better than the one she had with our dad back at that same place my mom and dad used to go to in Caracas.
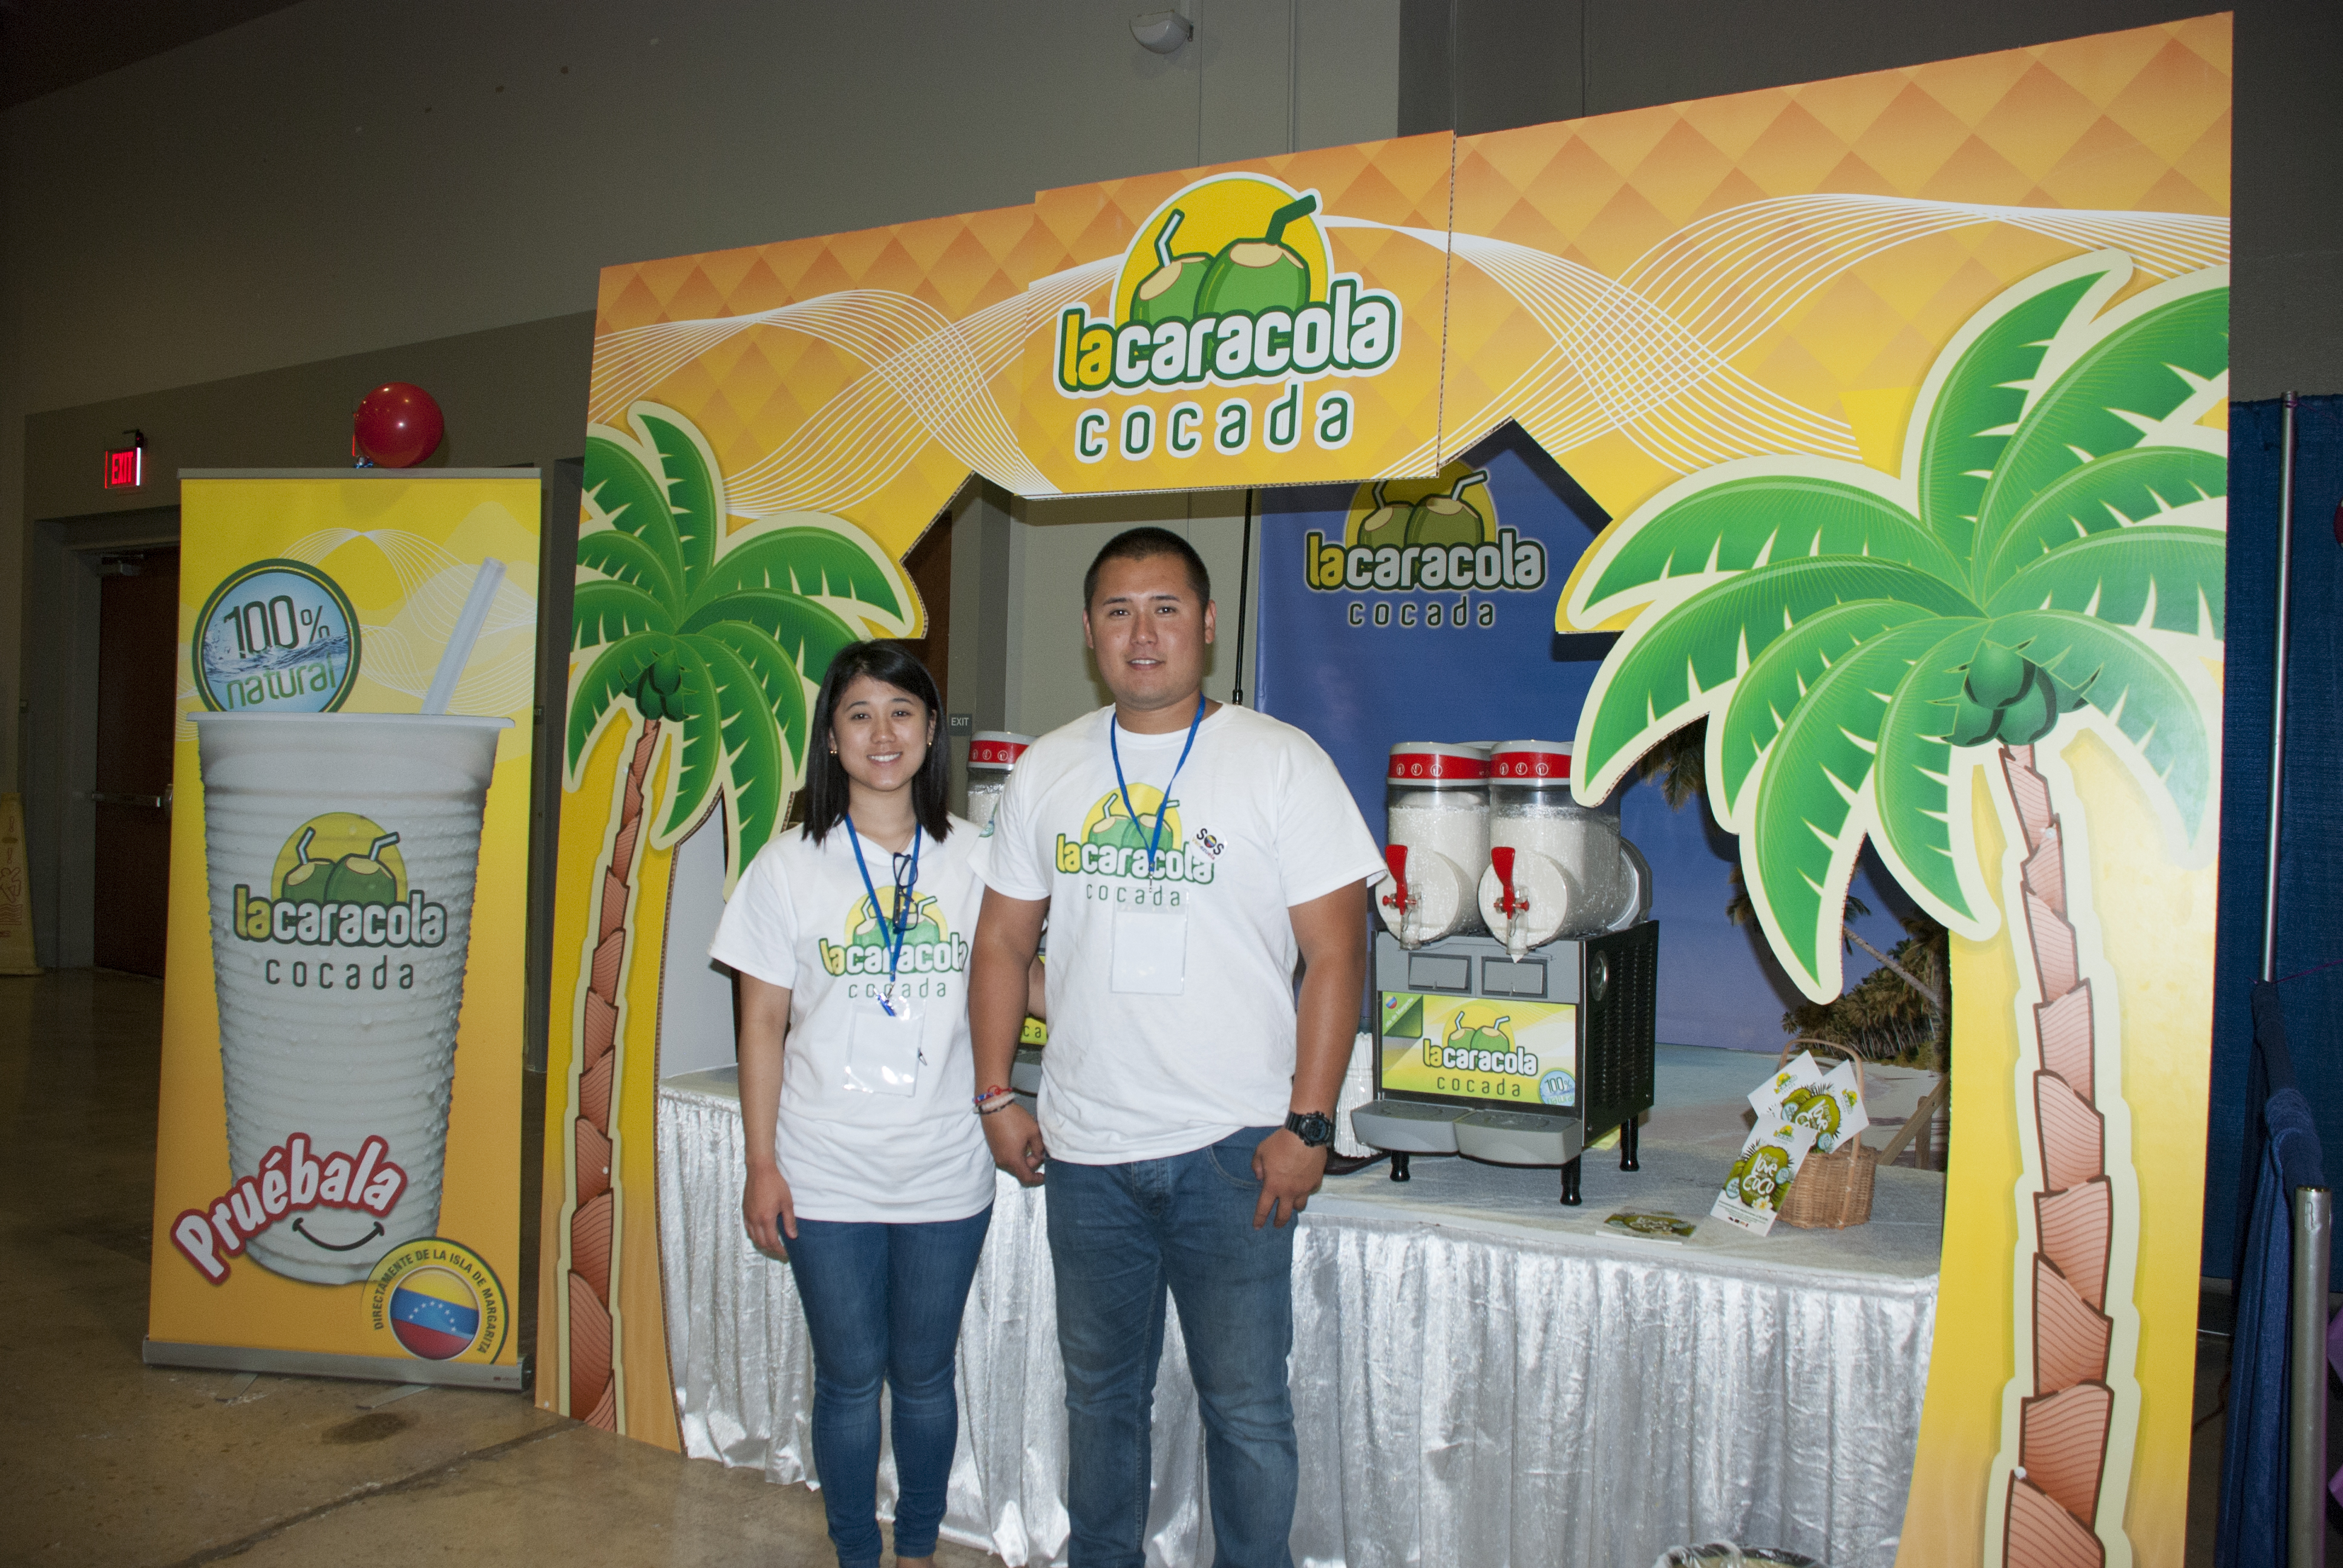
La Caracola Cocada
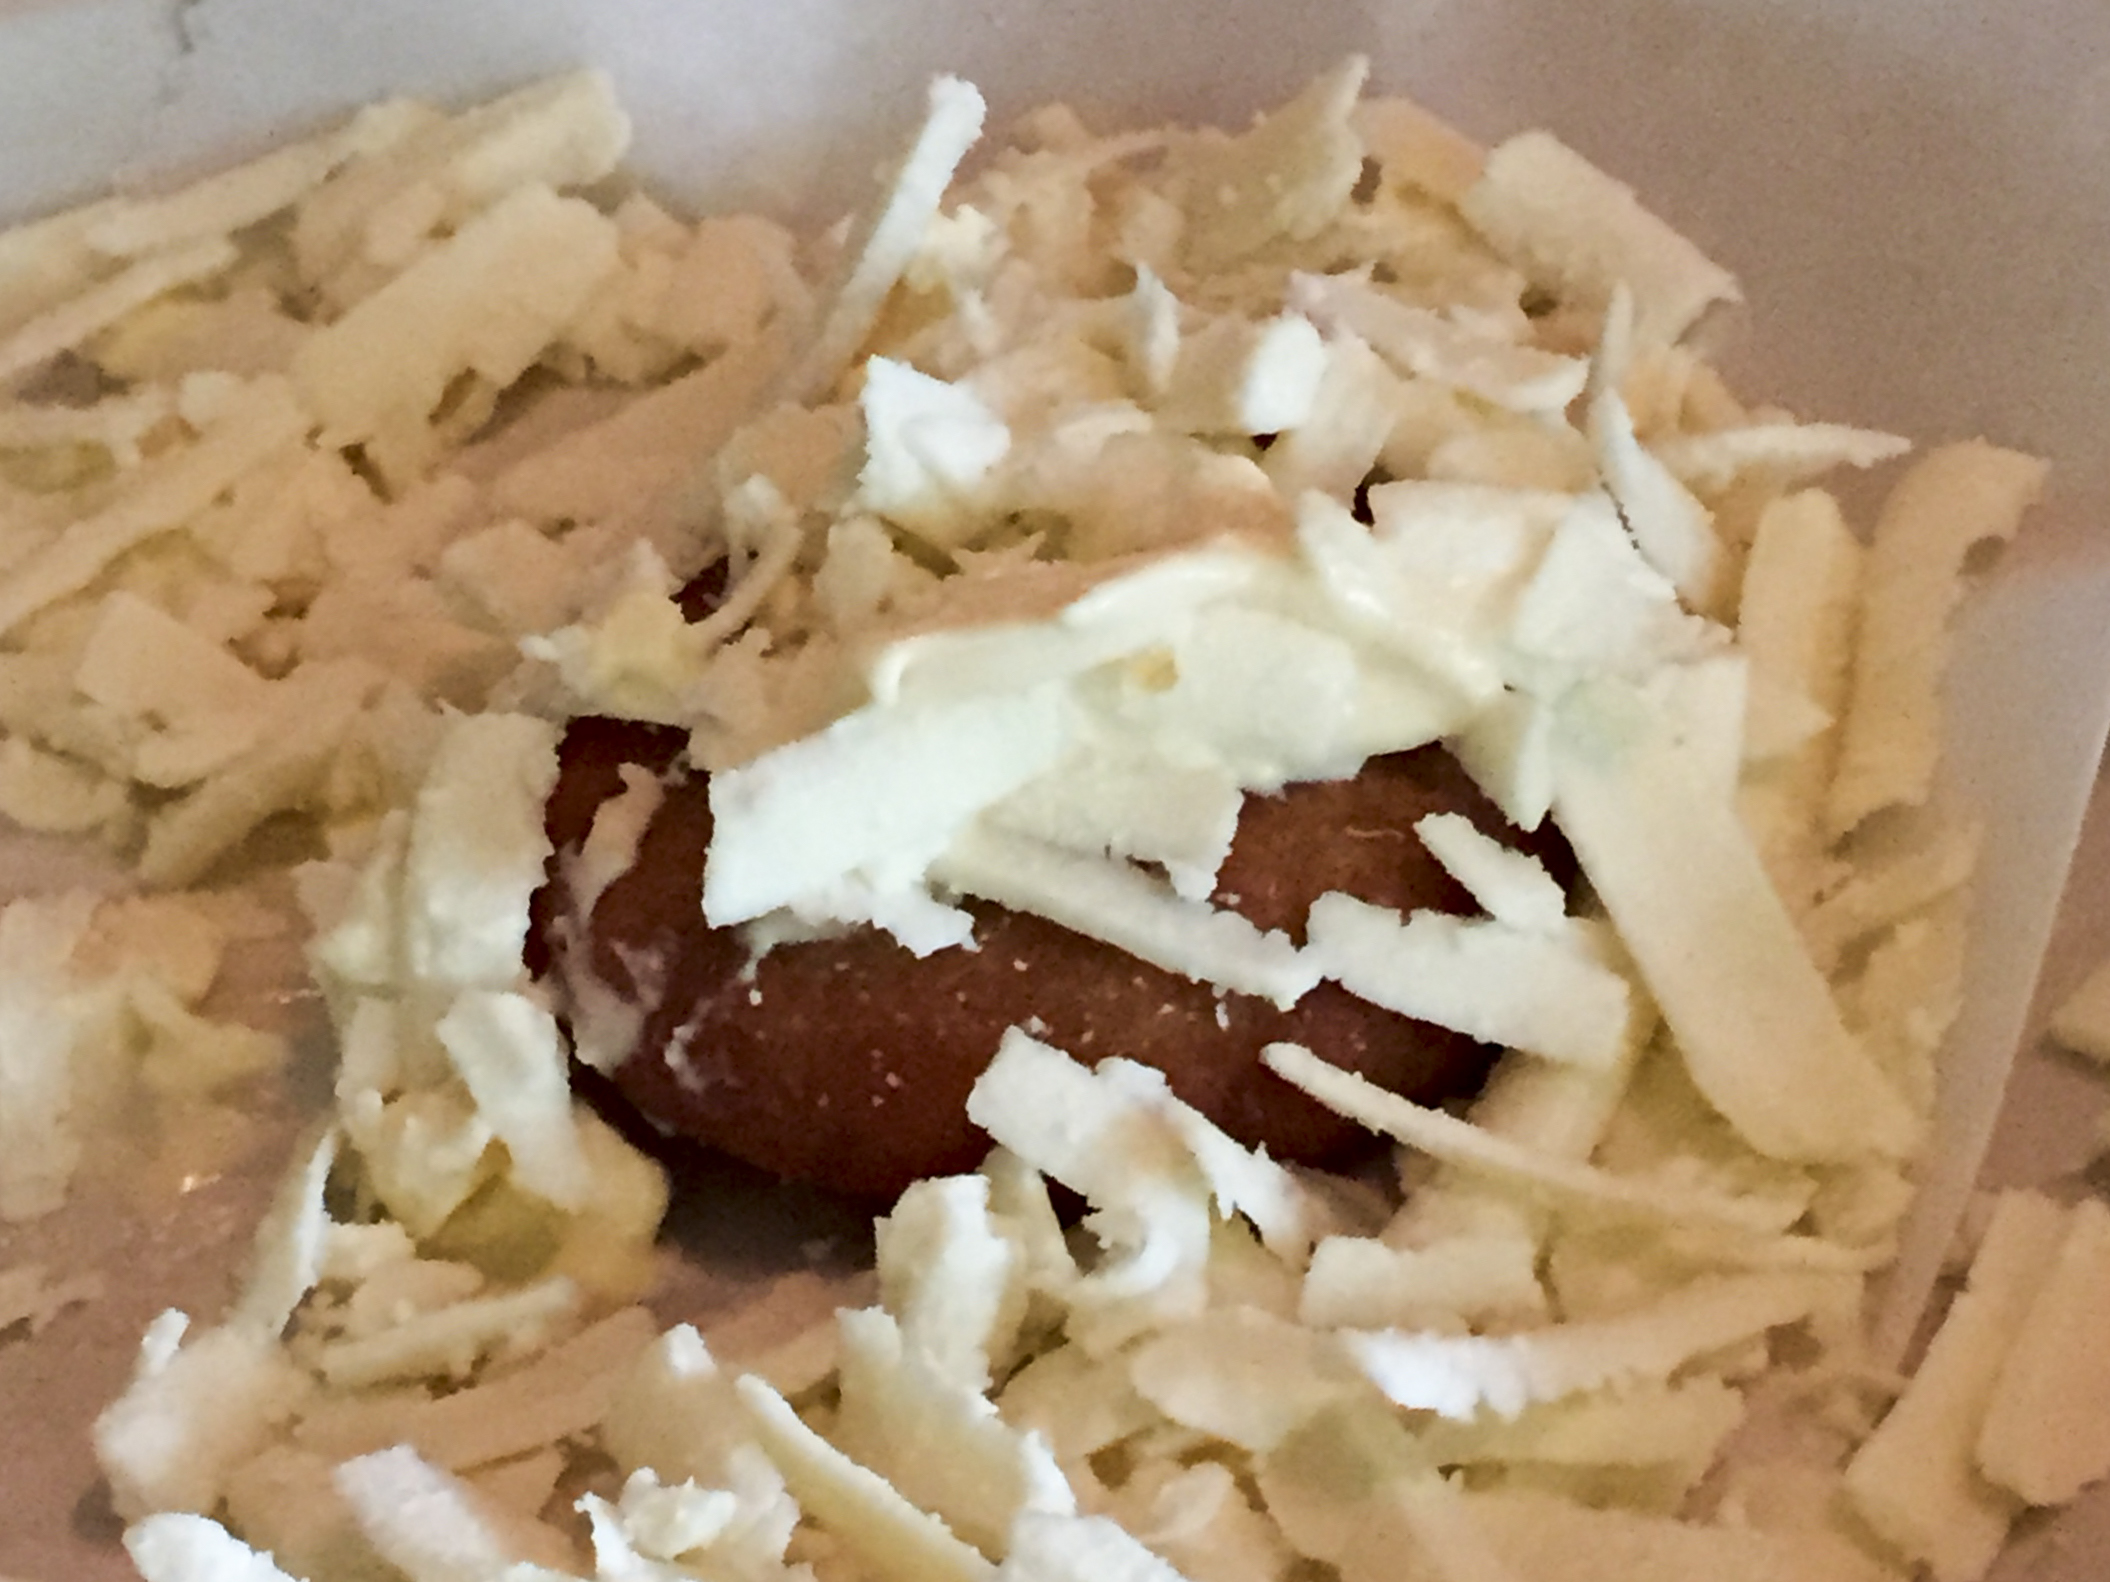
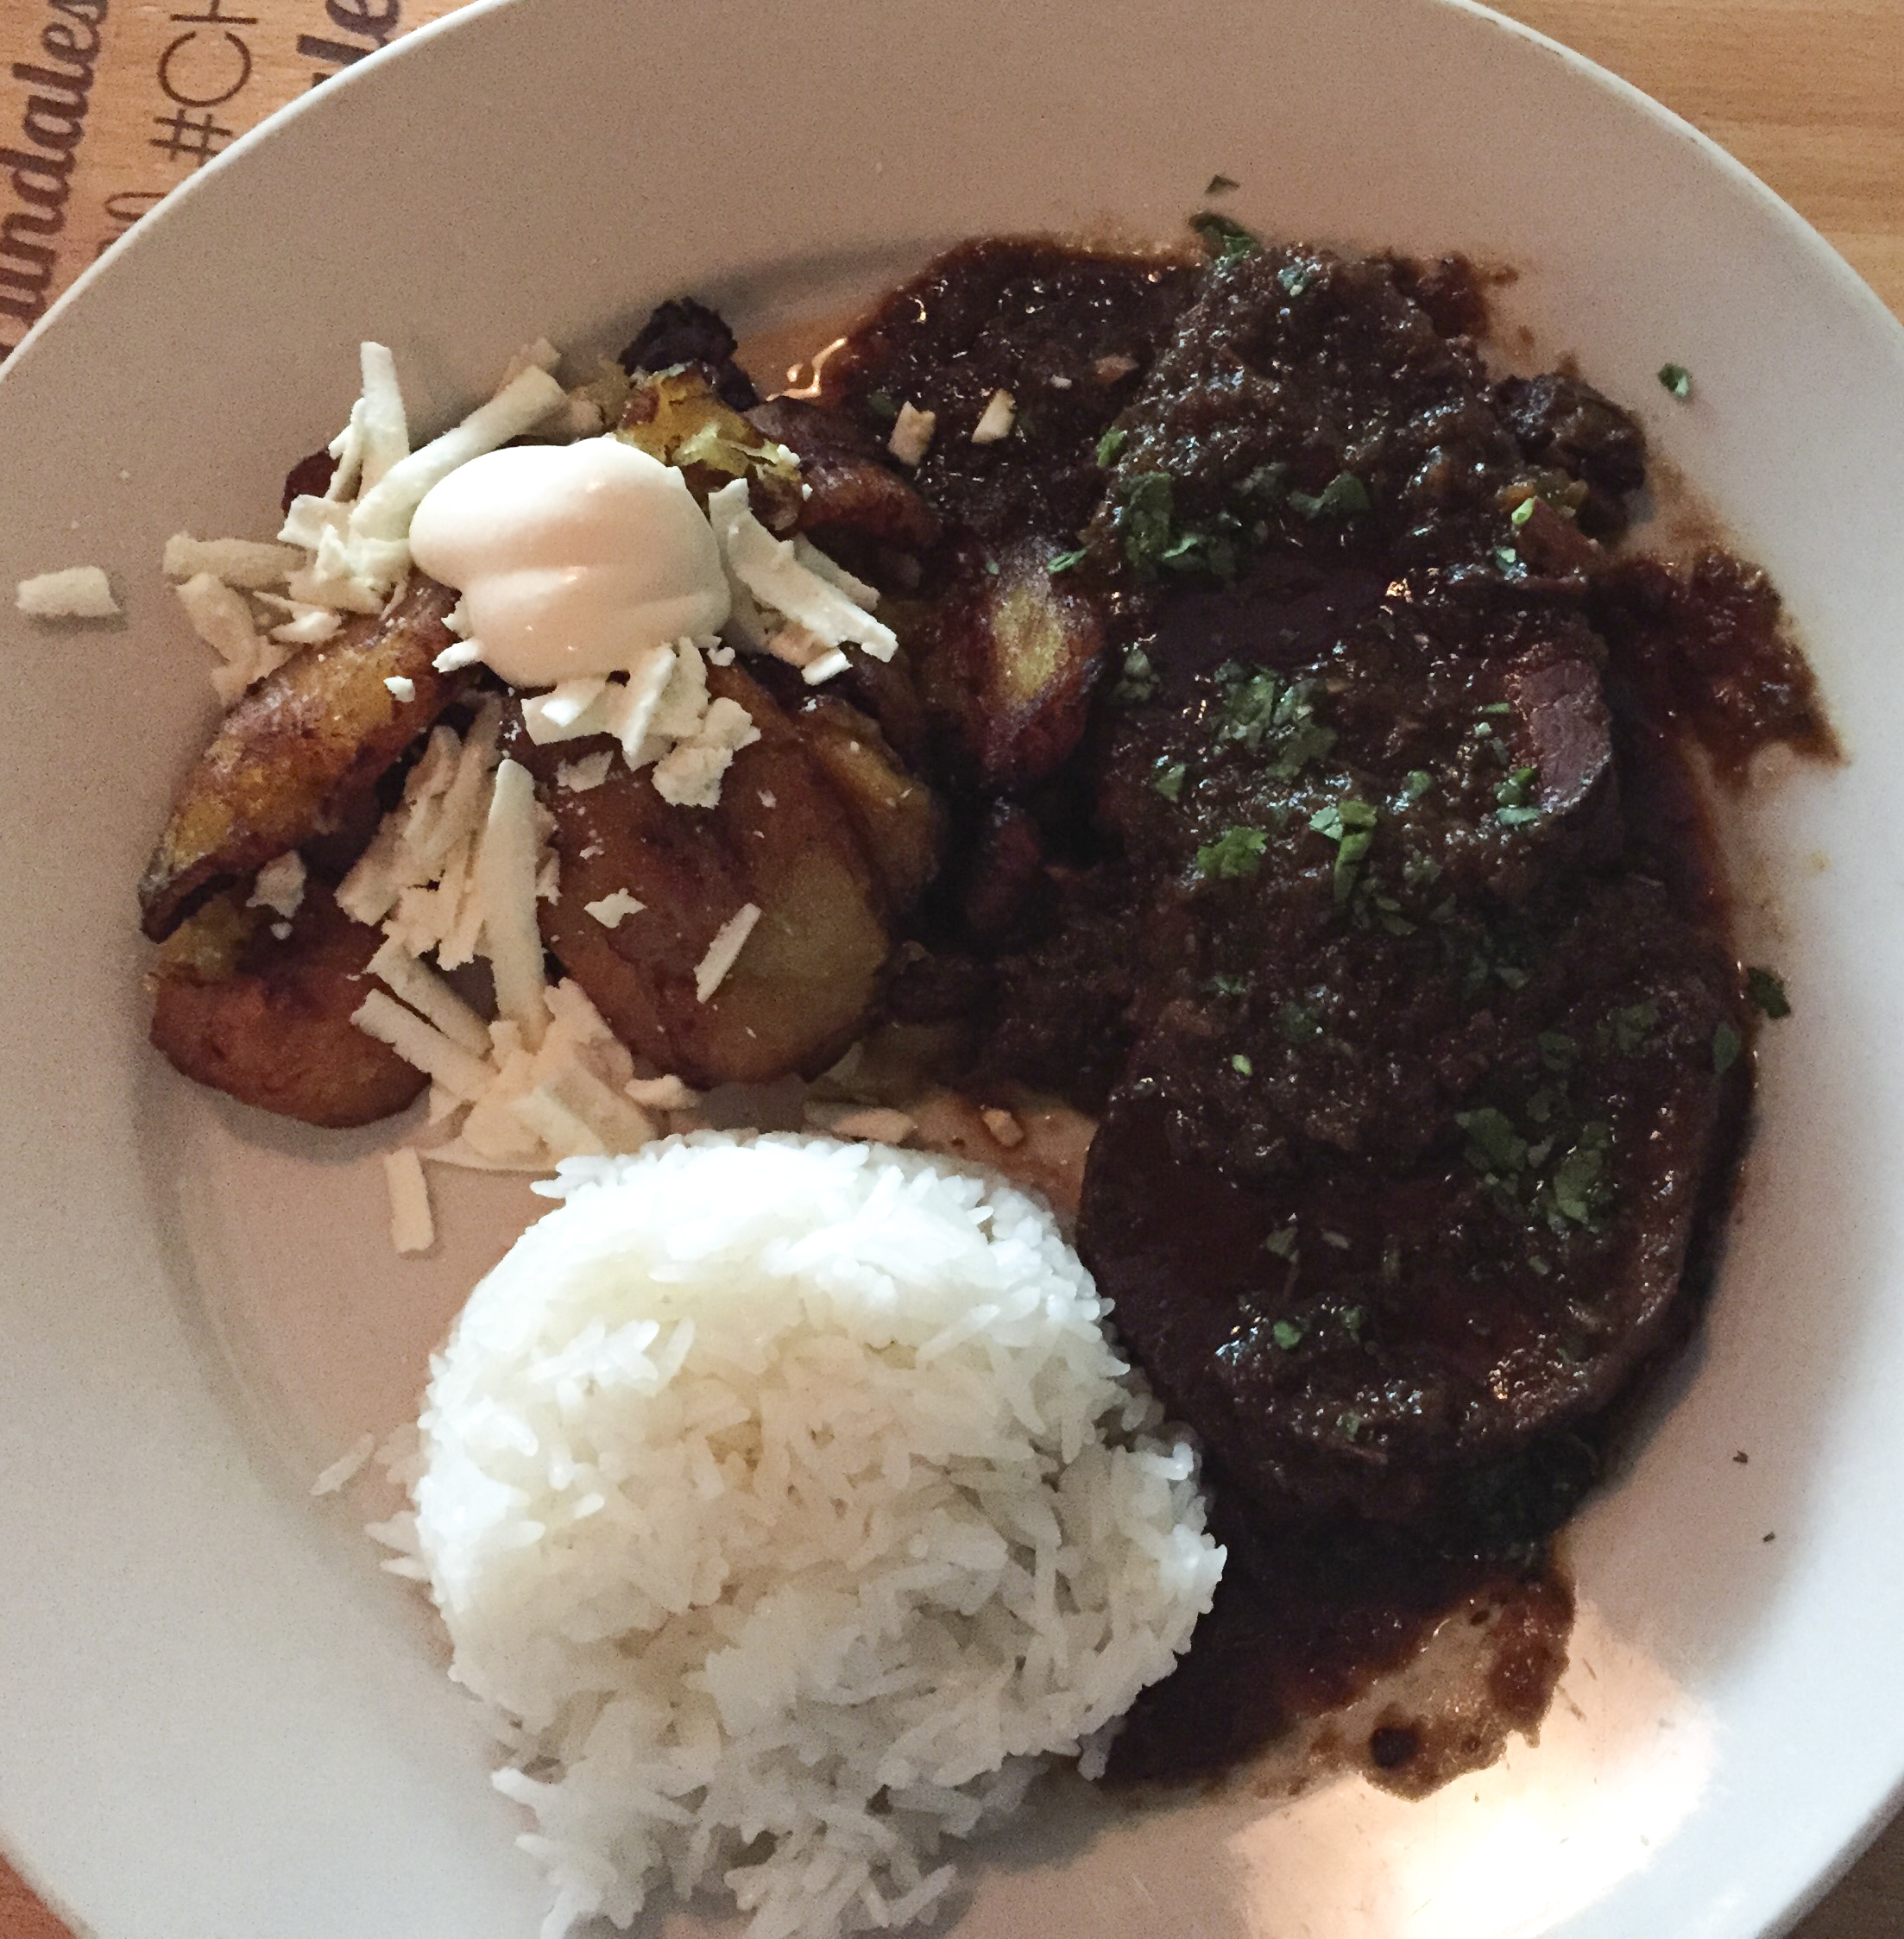
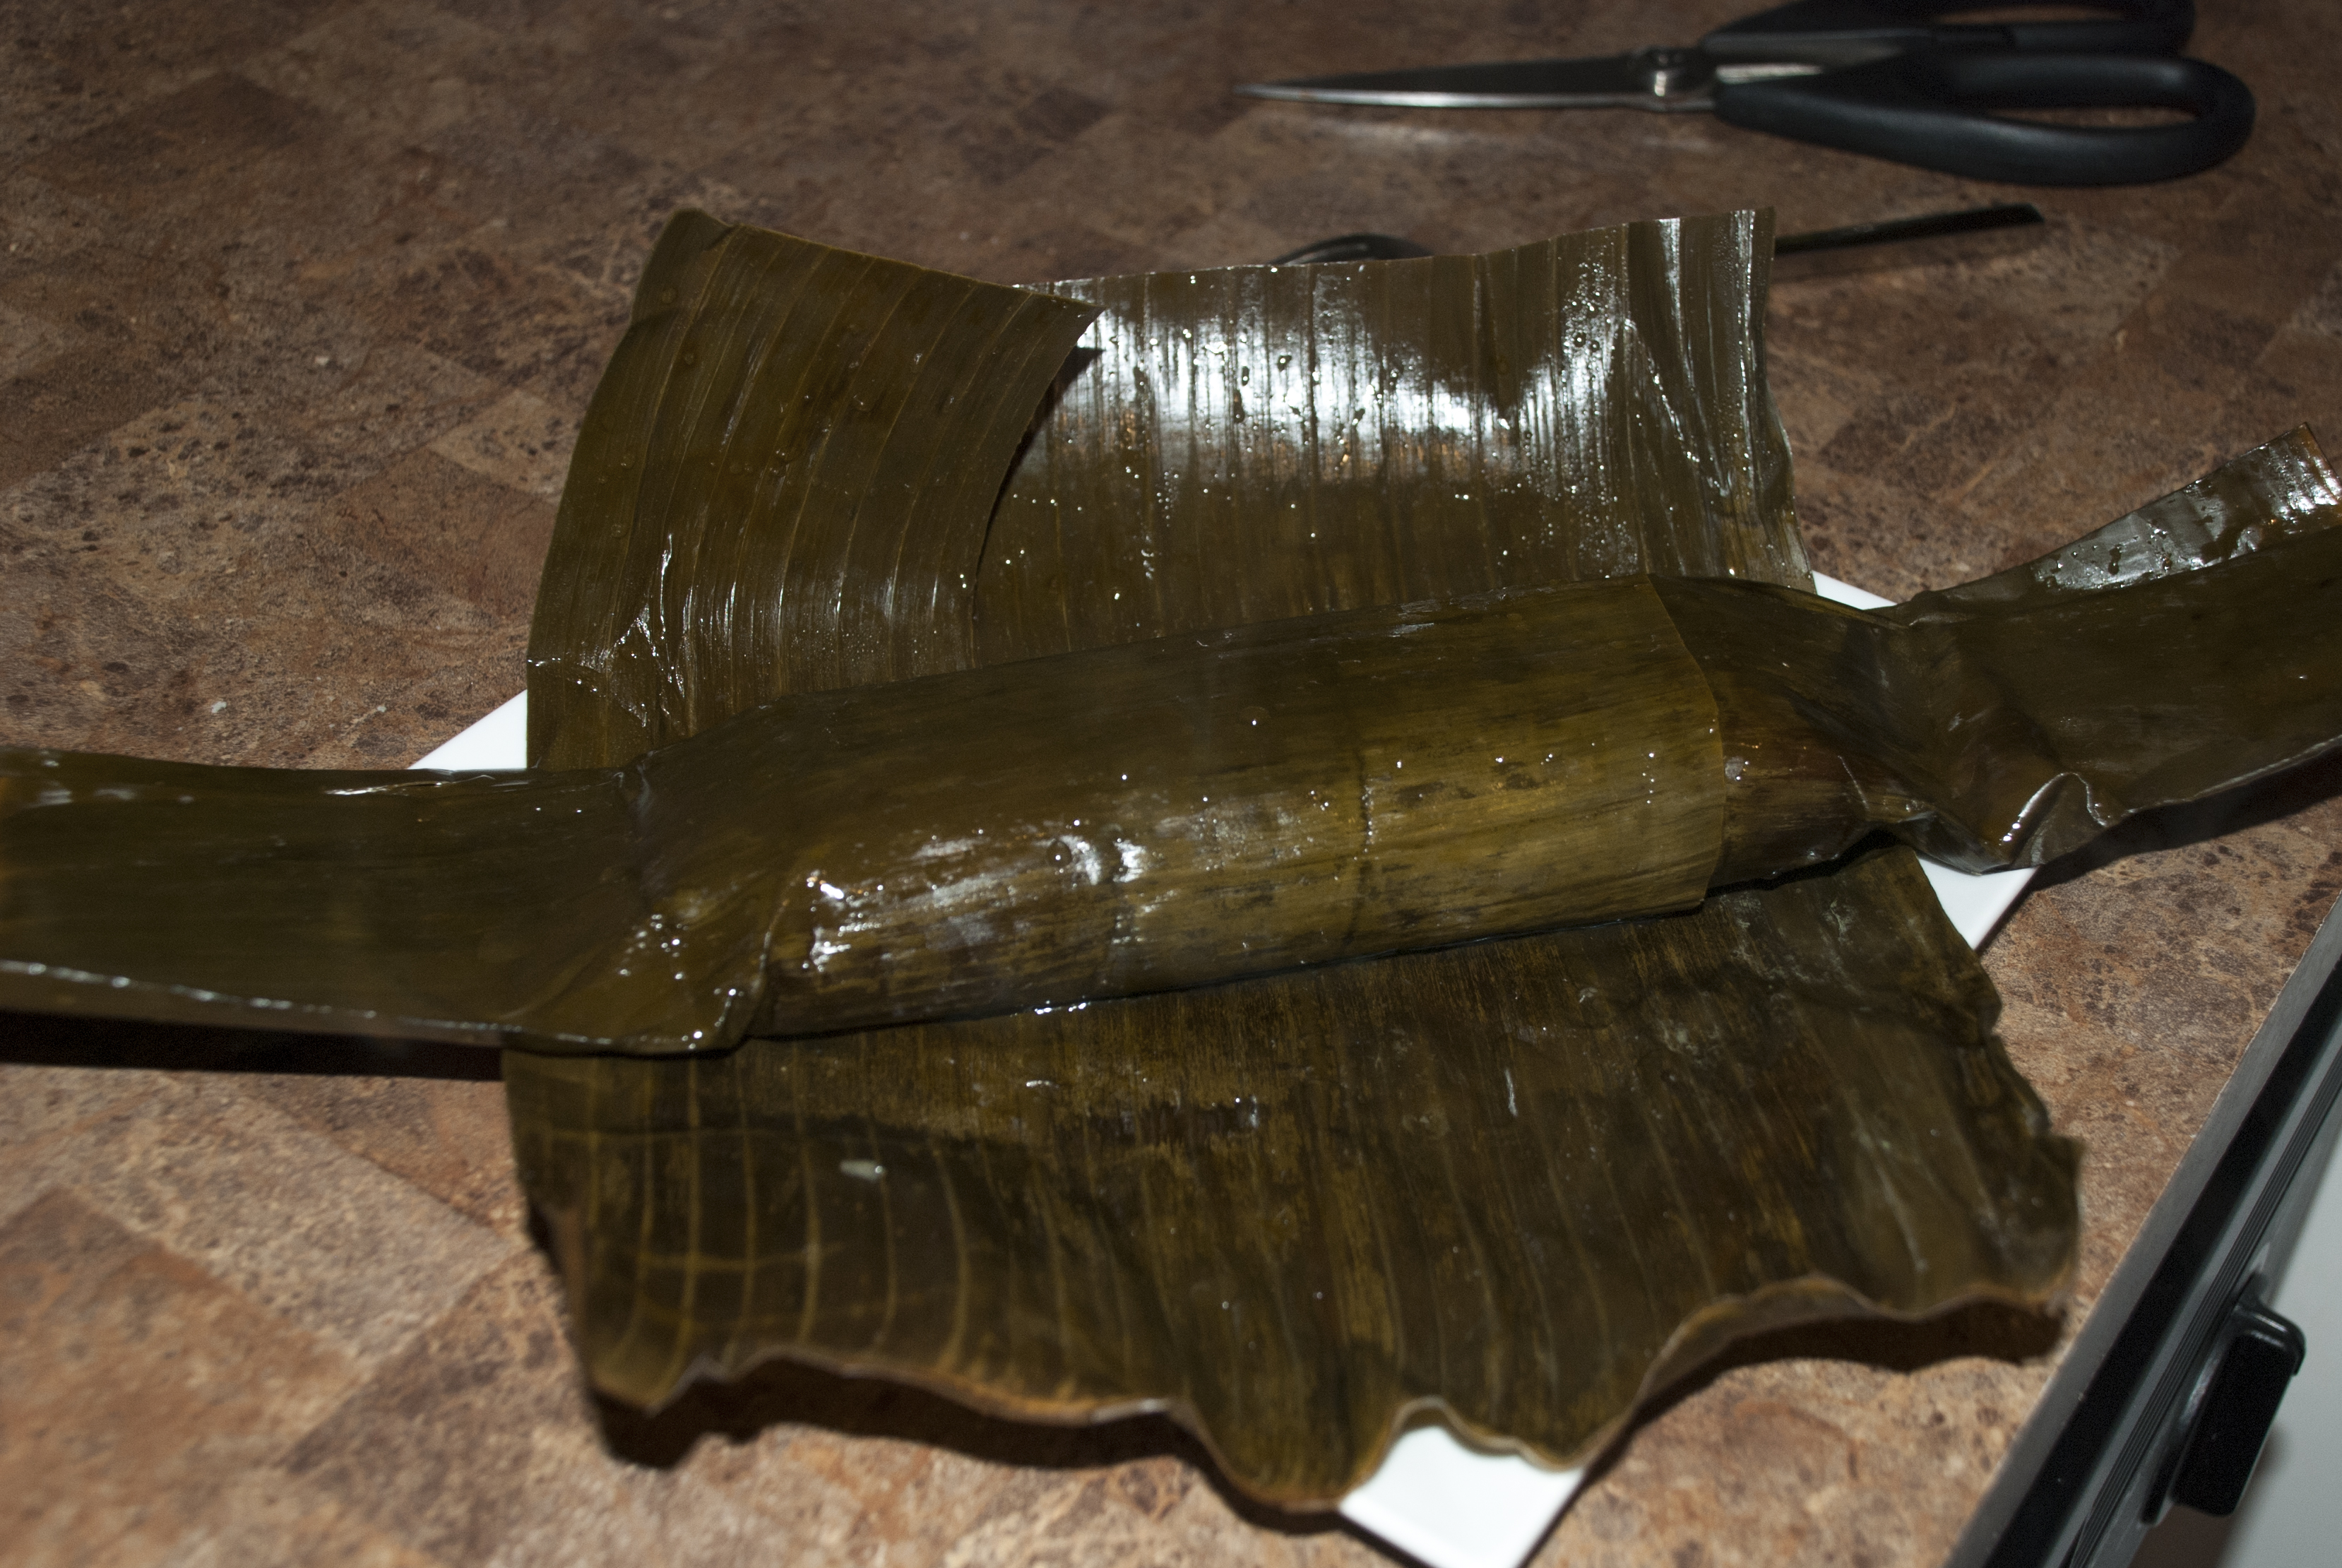
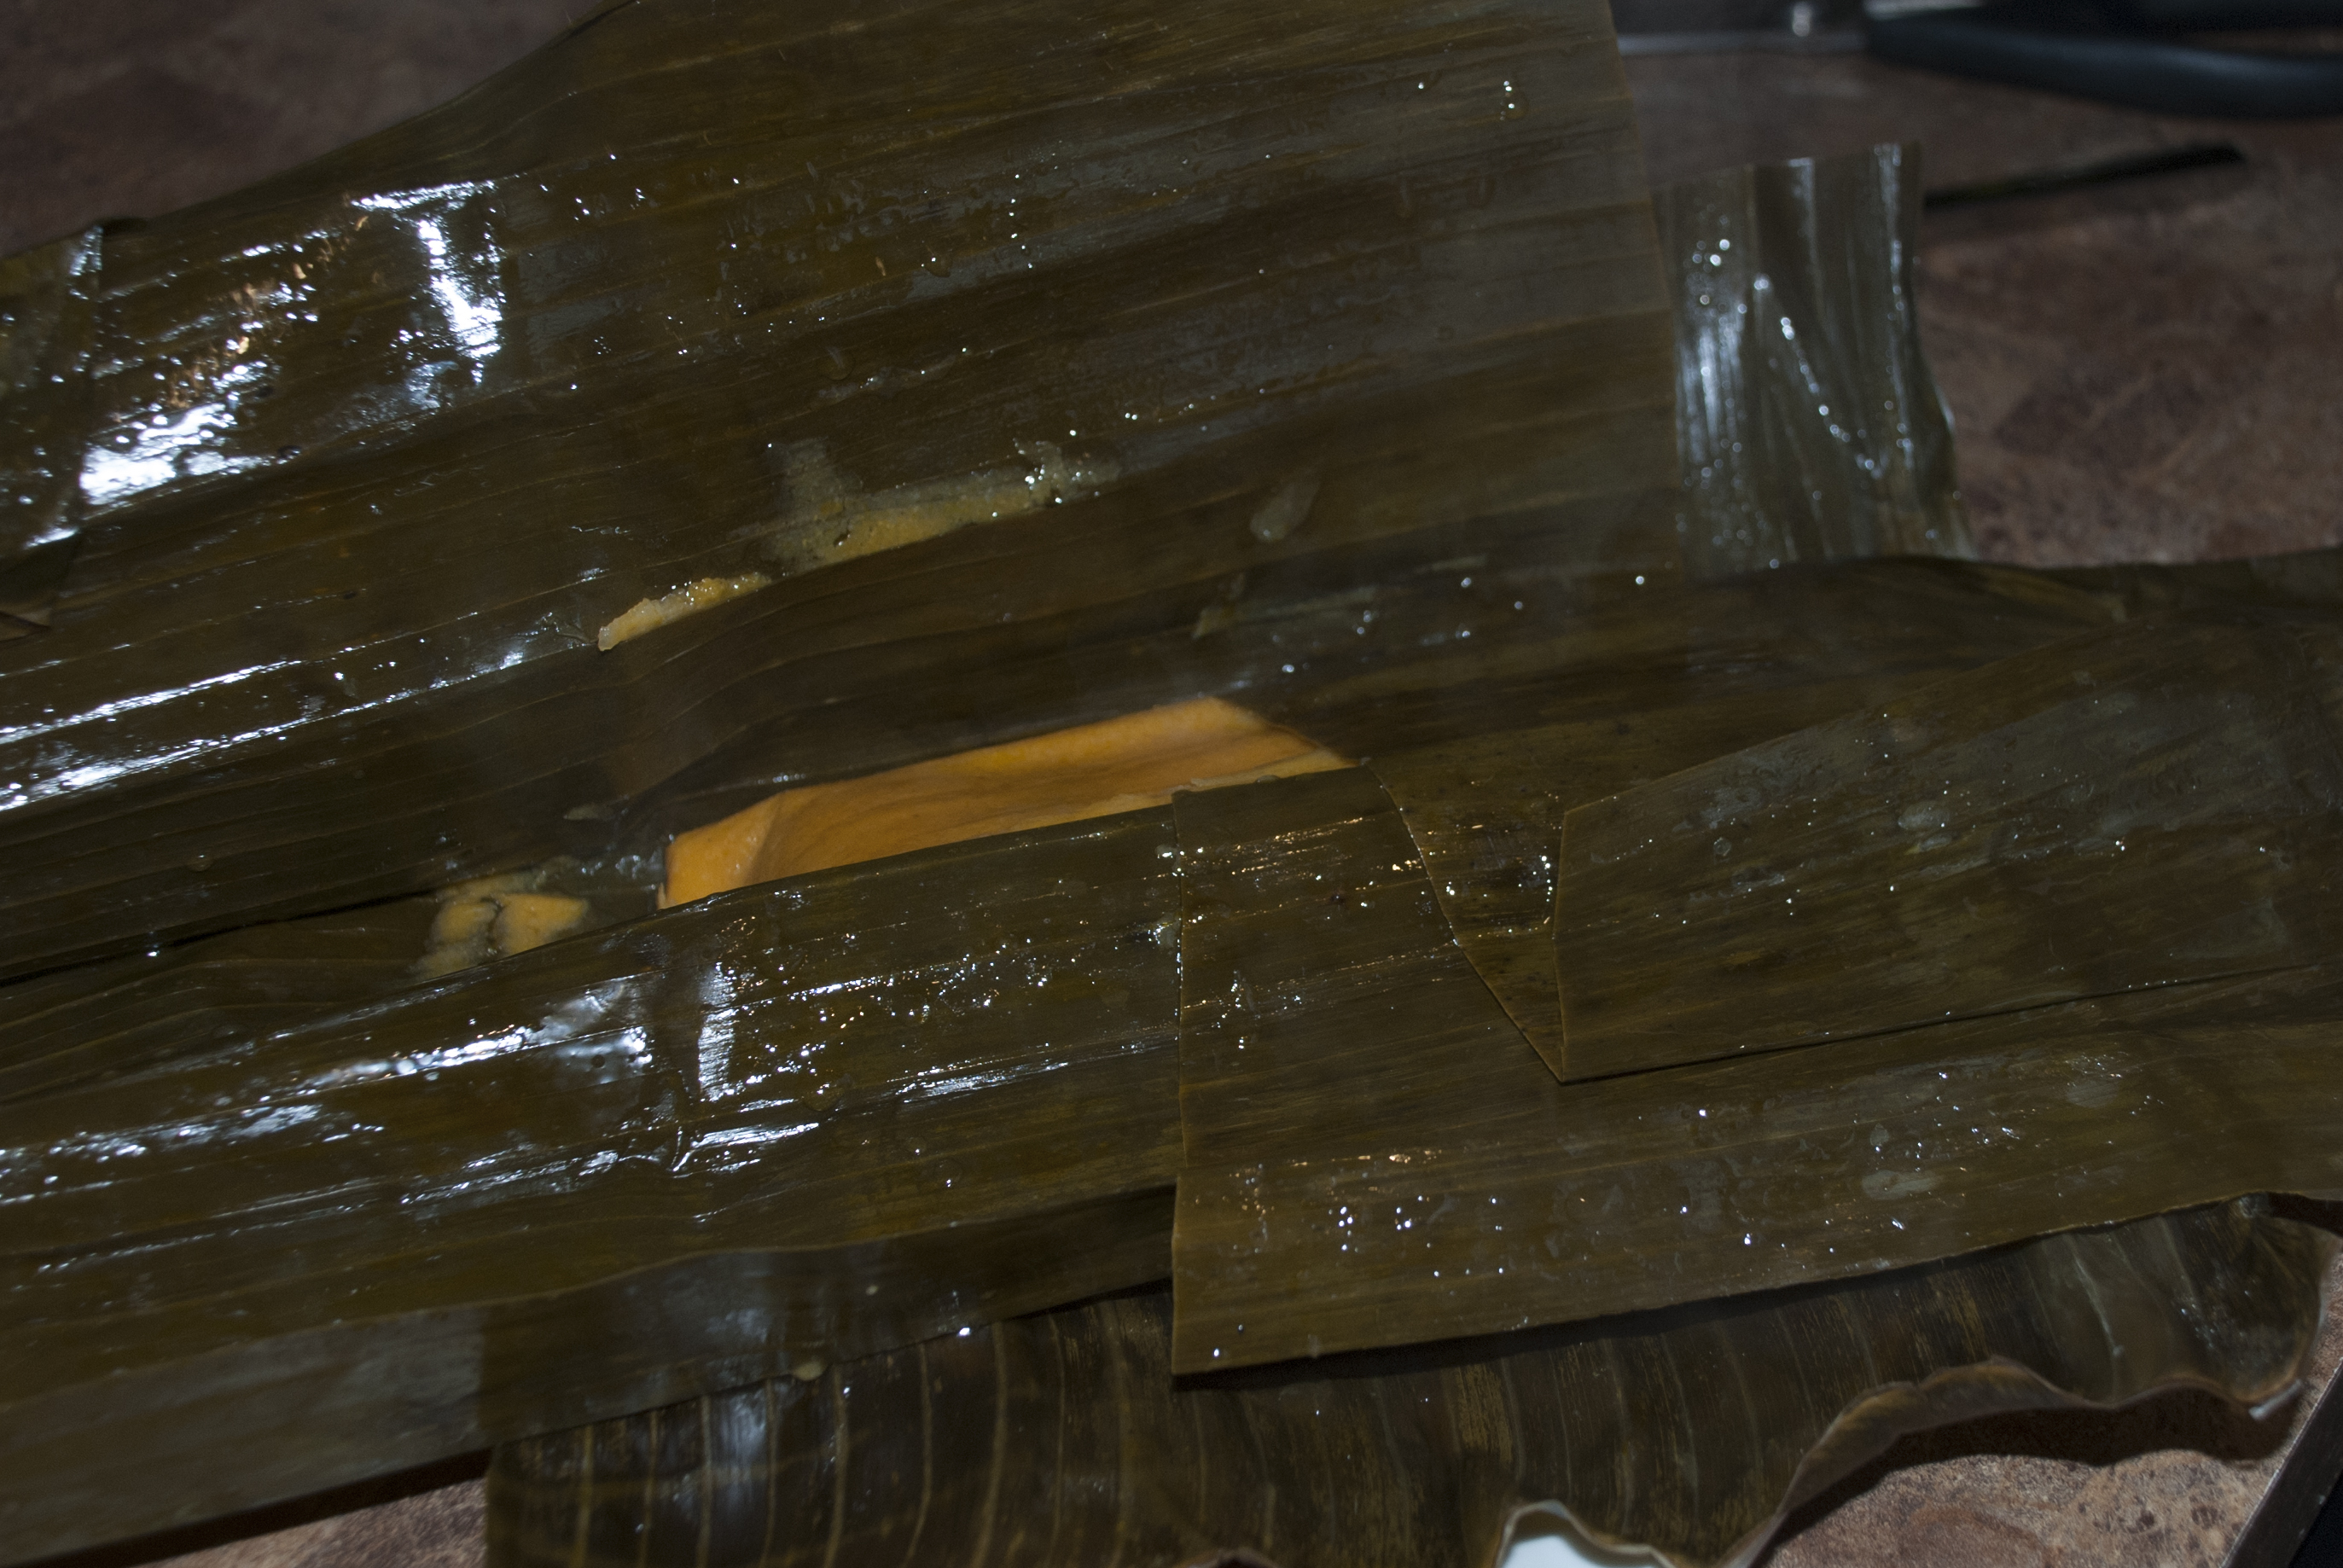
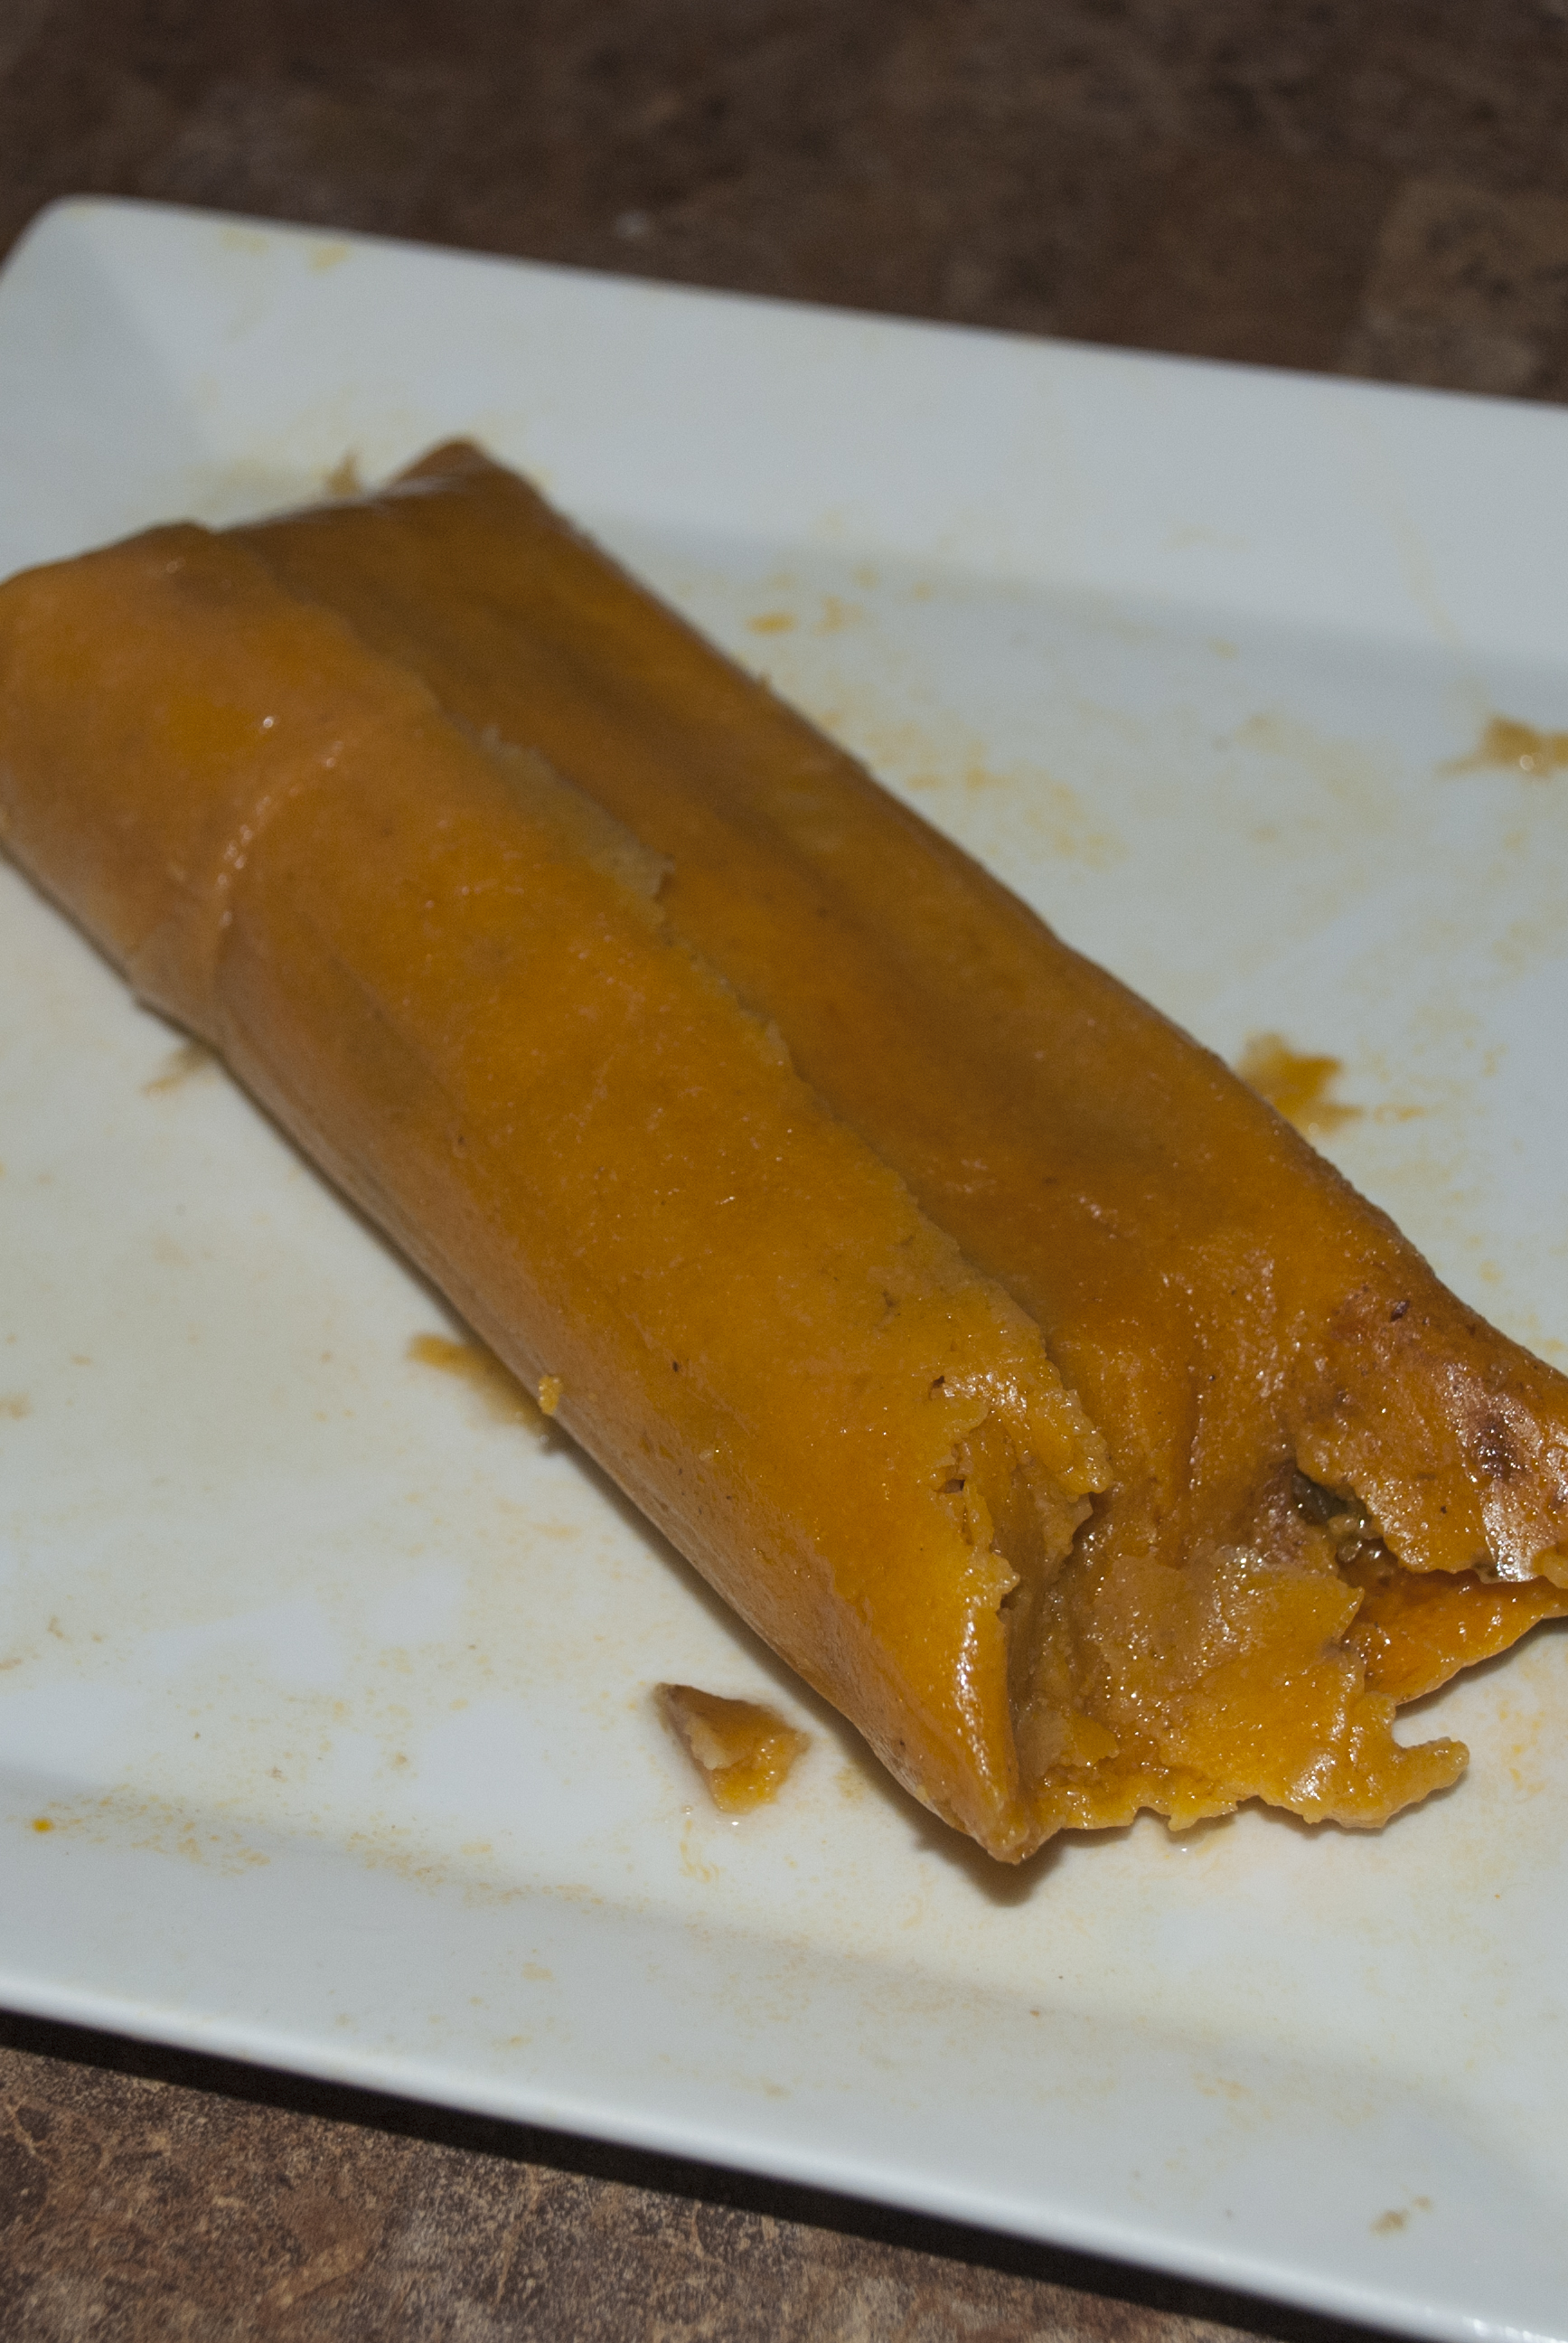
We kept going and found ourselves in front of La Reina Del Golfeado’ booth. A Venezuelan delicacy I had completely forgotten about, right there in front of me. We had to buy one. We were so full by all these samples, we only needed one, and split it four ways, but usually I would’ve eaten one all by myself. A golfeado is a breadlike pastry/dessert that is rolled in a spiral shape, they are soft and caramelized with sugarcane and anise seeds, so it smells and tastes a bit like licorice. Served with a delicious slice of queso de mano. It was to die for.
Overall, I was glad that my acquaintance and the Venezuelan artist inspired me to attend this event. I enjoyed spending time with my family and friends, surrounded by the familiarity of my country, the culture, the music, the food and the colors. The only thing I must say, is that the event organizers should have marketed the event a bit more, and perhaps attempt to respond to inquiries from the attendees. It is wrong of me to think that I could possibly transcribe to you the entire list of vendors, artist, food, celebrity, and bands that encompassed the entire event. So all I can say is that if you want to Sentir Venezuela, you must definitely attend this even next time. So, here is the info for the event:
Phone Number: 786.447.7793
E-mail: info@sentirvenezuela.com
Website: http://www.sentirvenezuela.com/
Facebook: https://www.facebook.com/sentirvenezuelaevent
Twitter: https://twitter.com/SVenezuela1
Instagram: https://instagram.com/sentirvenezuela/