Tag Archives: Venezuelan Recipe

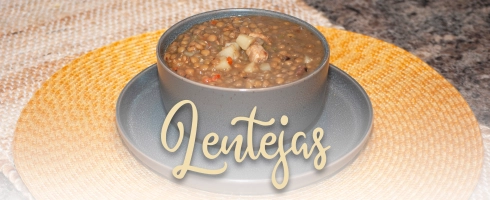
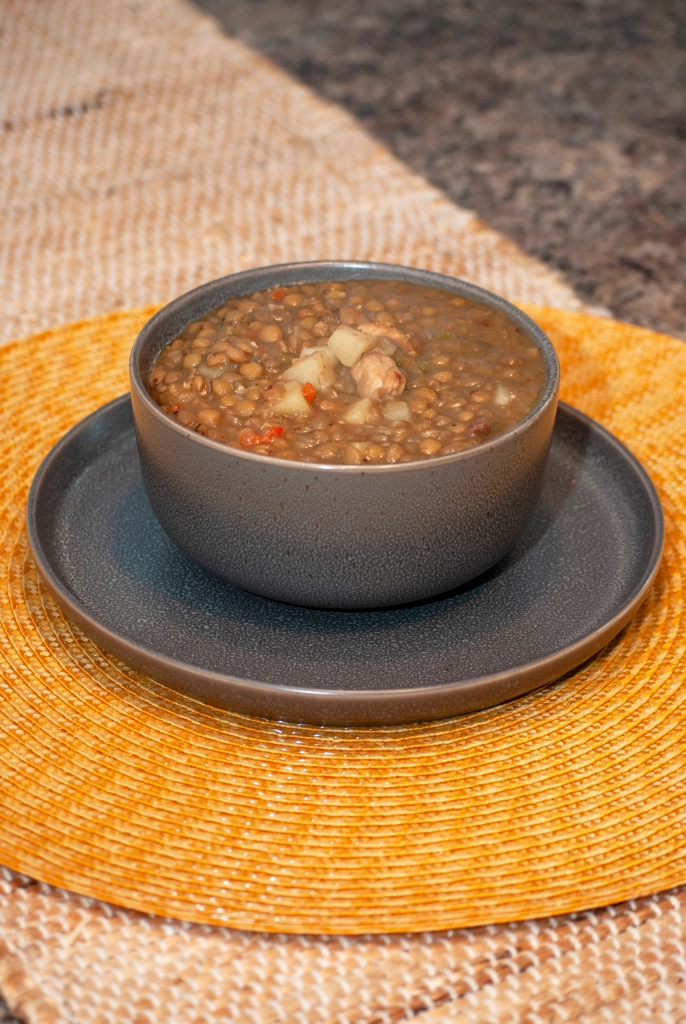
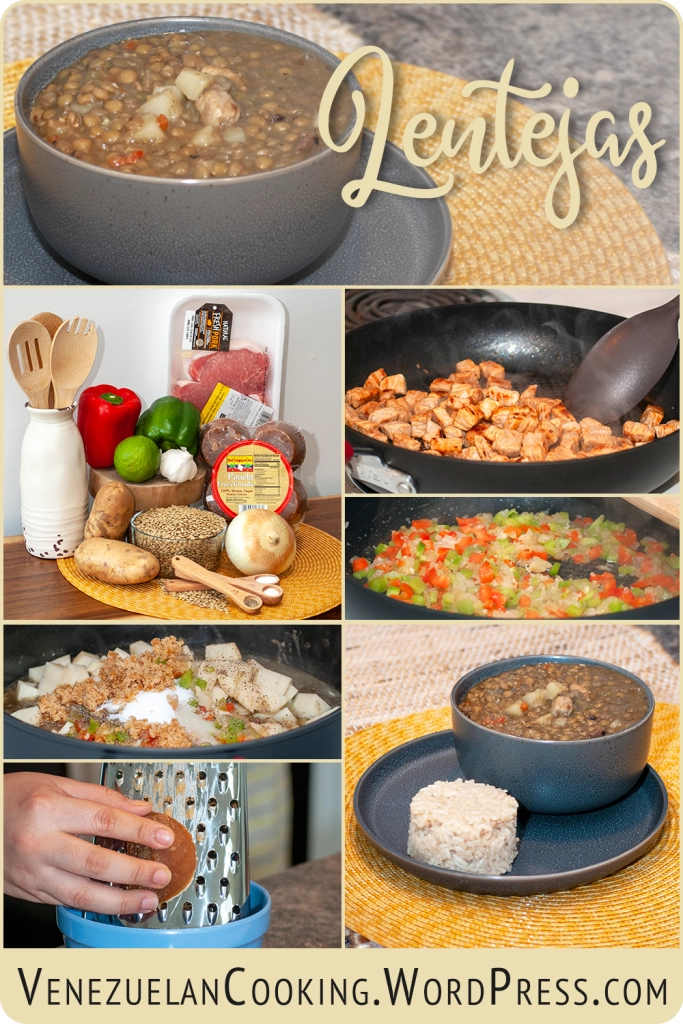
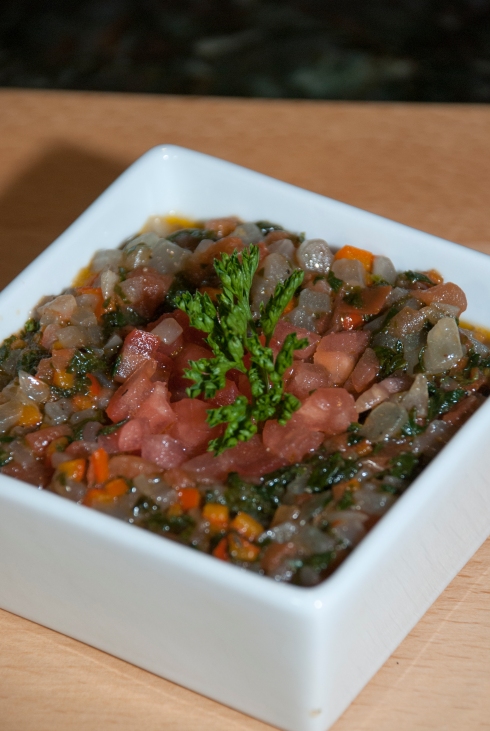
Recipe: Sopa de Lentejas | Venezuelan Lentil Soup

30 Dec

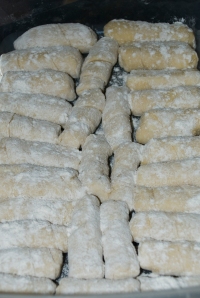
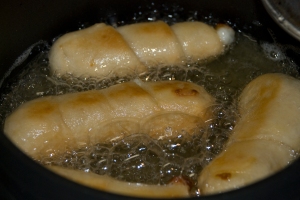
One of the things I love about being Venezuelan and about my country and my culture is our traditions, folklore, old wives’ tales, customs, practices, unwritten laws, conventions, beliefs and legends. We have an endless supply of all of these. Some are older than Venezuela itself; some are new and created by the new generations; some are funny; some are crazy; some are appropriated from ancestors of other countries; some are 100% Venezuelan; and we definitely have some that are simply iconoclastic. However, there are good traditions and those usually revolve around our food. Such is the case of the Venezuelan Christmas Dinner and Christmas traditions. And of course, all the traditional pasapalos (h’ordeuvres) we serve in Venezuelan weddings, like tequeños.

Being a born-and-raised Venezuelan and living in the US for over 15 years, I have definitely found myself explaining (or trying to explain) those unconventional traditions to my american friends. Sometimes I really can’t explain them myself and I just end up saying “It’s just what we do”.

Most Venezuelans are religious, and some are very superstitious, a lot of our traditions reflect that. Some traditions are only present in certain celebrations or time of the year. I will name a few that I definitely grew up with, just for the purpose of illustrating that endless supply, but know that this is definitely not an all-inclusive list. These are the unconventional ones I have a hard time explaining to non-Venezuelans, as well as a few that are specific Venezuelan New Year’s Eve traditions, since it’s almost that time of the year, and they would be a great way to say goodbye to this crazy year that has been 2020.


¡Bendición! This one is hard to explain. Venezuelans ask for a blessing. Most children are taught to request a blessing from their elders when they say hello. However, as kids we don’t really understand this custom and we basically end up asking for a blessing from anyone who we think is older than us or any adults. The word Bendición literally means blessing, so you say “Bendición abuela” (blessing grandma) and then she responds by giving you the blessing with “Dios te bendiga” (God bless you). You are supposed to say this to your parents, aunts and uncles, and grandparents. But again, you don’t really understand or get the rules as a kid, so you end up saying it to anyone who is older than you, including cousins, strangers, your friends’ parents, your parents’ friends, and even the dog. This custom stays with you even when you become an adult, but you understand the rules now and only say it to family members and those you know expect you to say it, especially if they are religious. If you forget, your family member will surely remind you with a “¿Que? ¿Tú no pides la bendición?” (What? You don’t ask for a blessing?).

One doesn’t place one’s purse on the floor. Throughout my childhood I was always scolded when accidentally placing a woman’s purse on the floor. The belief is that if you do so, your money will run/escape from your purse. This means that you will be losing money in the near feature.

Pass the salt. Venezuelans believe when you pass the salt to someone else at the table, you must place it on the table, and the other person must pick it up from the table. You cannot pass the salt from your hand directly to the other person’s hand. If you do so, there will be a fight/disagreement between the both of you.

The never-ending Happy Birthday song. I’m sure you’ve heard the Spanish version, which is Cumpleaños Felíz. However, unless you have been to a Venezuelan birthday celebration, you probably haven’t heard our super long prologue to Cumpleaños Felíz, which seems to get longer and longer every year. Basically, you have to make sure you have long enough candles, so they don’t reach the cake before the song is over. Here are the entire lyrics for the song (the most traditional version).

Ay, qué noche tan preciosa,
 es la noche de tu día,
 todos llenos de alegría
 en esta fecha natal

 Tus más íntimos amigos
 esta noche te acompañan,
 te saludan y desean
 un mundo de felicidad.

 Yo por mi parte deseo
 lleno de luz este día,
 todos llenos de alegría
 en esta fecha natal.

 Y que esta luna plateada
 brille su luz para ti,
 y ruego a Dios porque pases
 un cumpleaños feliz.

 Cumpleaños feliz.
 te deseamos a ti,
 Cumpleaños…
 Cumpleaños feliz.


Here are Just Some of the Crazy Venezuelan New Year’s Eve Traditions

Luggage. Those who wish to travel in the new year should take their luggage and walk with them down the street or around the block. They say the further you walk, the longer your trips will be.

Yellow Underwear. This tradition states that in order to attract good luck in the new year, you should wear yellow underwear on New Year’s Eve.

12 Grapes for 12 Bell Tolls. You must eat one grape for each of the 12 bell tolls at midnight. For each grape, you can have one wish for the new year, you make one wish per grape as you eat each grape.

Lentejas de la suerte | Lucky Lentils. This one is definitely the reason for this post and recipe.  There is a tradition in Venezuela where you eat lentil soup during New Year’s Eve or New Year’s Day. Some prefer to just eat a spoonful during NYE and some a bowl for lunch or dinner on NYD. It was supposedly an Italian tradition in the middle Ages, that we later adopted. Some people believe it was just an overproduction of lentils during the season that led to them being consumed at a national level during Christmas. Others say that it used to be that people would gift friends and family a bag of lentils to wish them good fortune in the new year. The current belief is that eating lentils, or even just holding a handful of uncooked lentils, means that you will have a new year filled with abundance, riches and money. This is usually accompanied with carrying cash on your hand or pockets on NYE. The most common tradition is to serve a big bowl of lentils on New Year’s Eve and provide a spoon for each guest at the table so they can have a spoonful at the end of the 12th bell toll.


Nevertheless, reading all the other traditions we have to do, like the eating of the 12 grapes for each 12-bell tolls at the end of the night, I am not sure how you’re supposed to complete all these traditions/rituals as well as hug each family member and wish them a happy new year and answer your phone to hear happy new year from those abroad. So maybe just pick one of these funny and silly traditions and just make sure you enjoy your time with your family and friends. Also, I would love to hear from the rest of you, so make sure you write your own crazy Venezuelan traditions on the comment section at the end of this post, and if you do end up picking the lentil tradition, be sure to try my recipe below.

Finally, a big thanks and shoutout to my sister, Mariale, for making this delicious recipe with me this year.


Note: The most traditional and original recipe for this lentil soup uses one pound of pork ribs with very little fat and cut in medium sized pieces. However, most people prepare them with bacon because it’s easier. Other options are pancetta, pork chops or in our case, pork loins. Another ingredient that is up for debate is the tomatoes, some people add them, some people don’t.

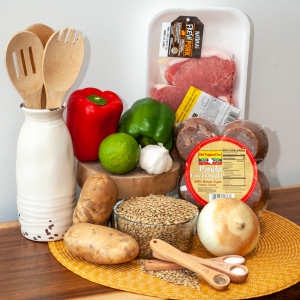
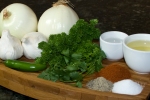
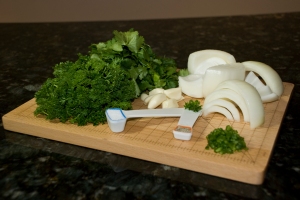
Venezuelan Lentil Soup Ingredients

What you need:
– 1 lb. Bag of Lentils
– 12 Cups of Water
– 1/3 Large Onion, cut in half
– 1 lb. Pork Loin Center Cut Boneless Chops
– ¼ Cup of Water
– 1 Lime
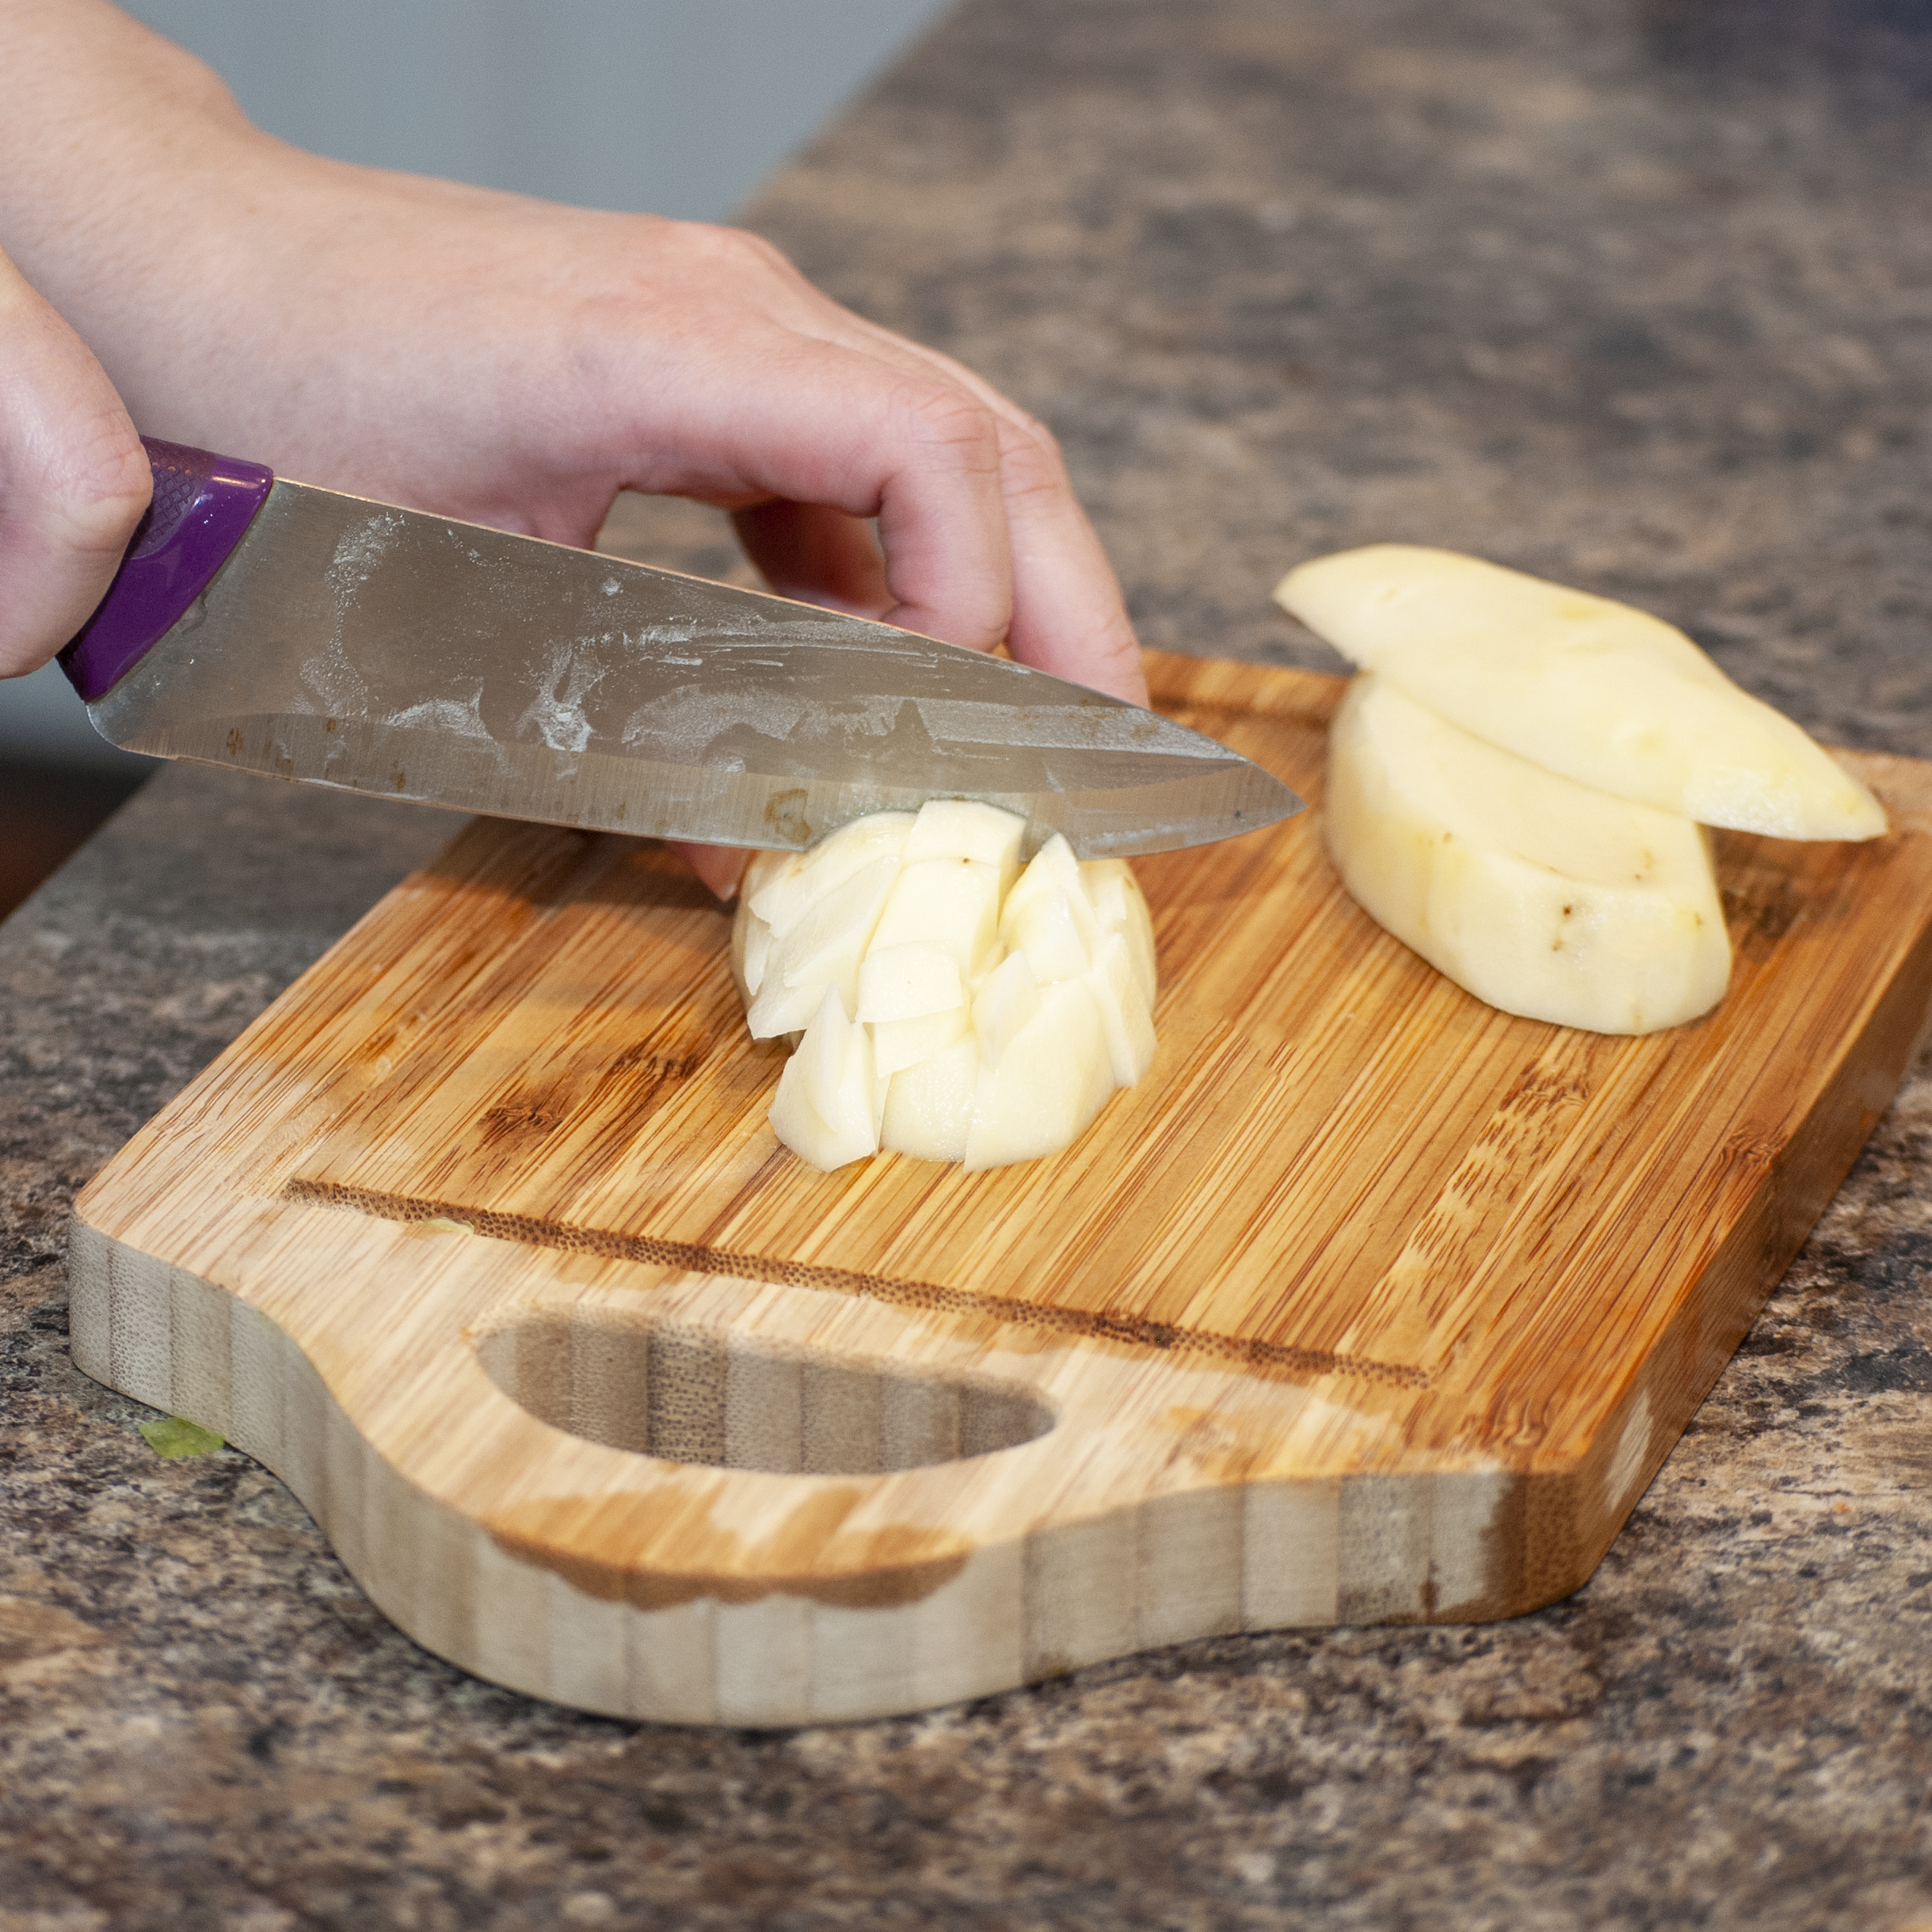
– 1 lb. Potatoes, peeled and cut in small pieces
– 5 tsp. Salt
– ¼ tsp. Pepper
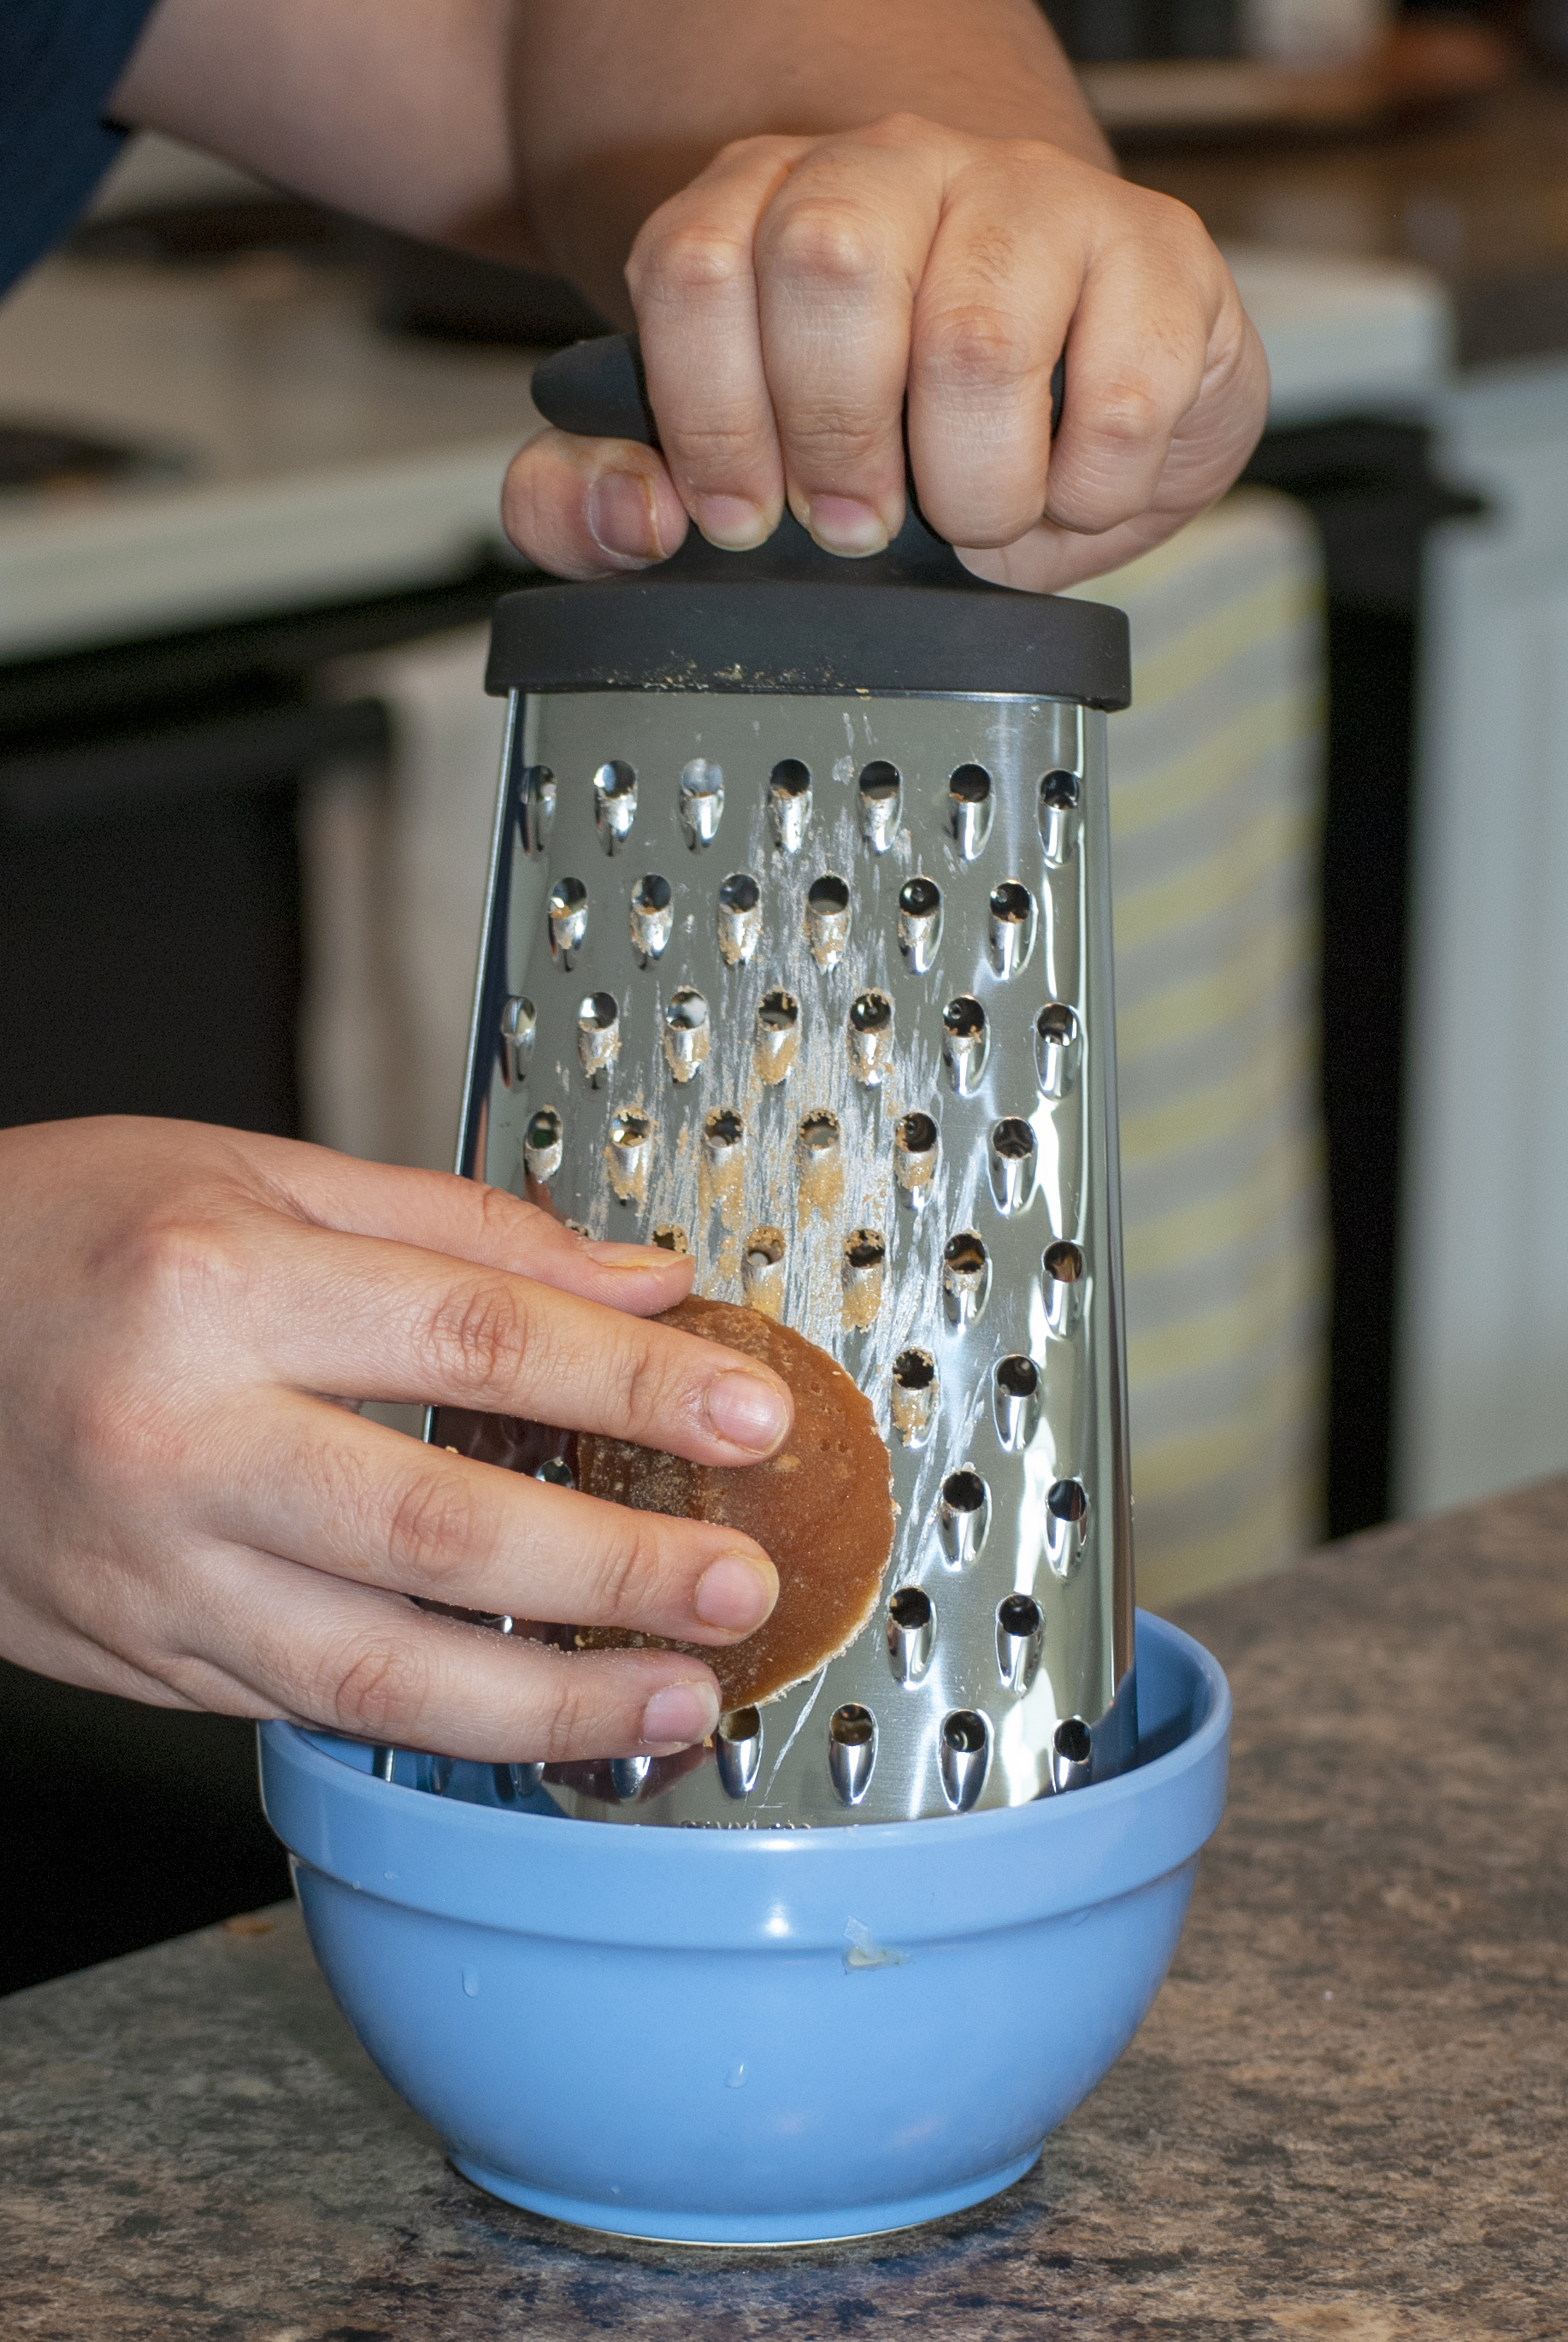
– 2 tbsp. Grated Papelón
Sofrito:
– 1 tbsp. Extra Virgin Olive Oil
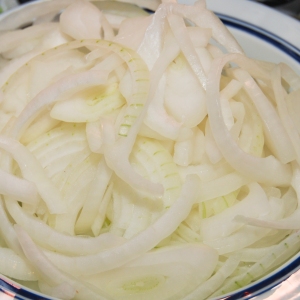
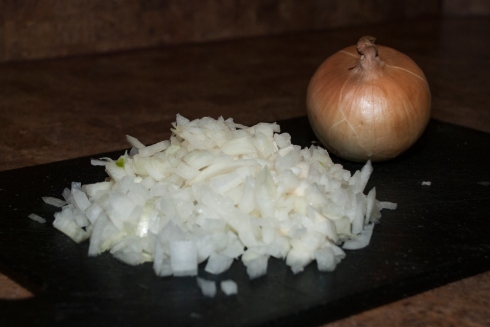
– 2/3 Large Onion, diced
– 3 Garlic Cloves, chopped
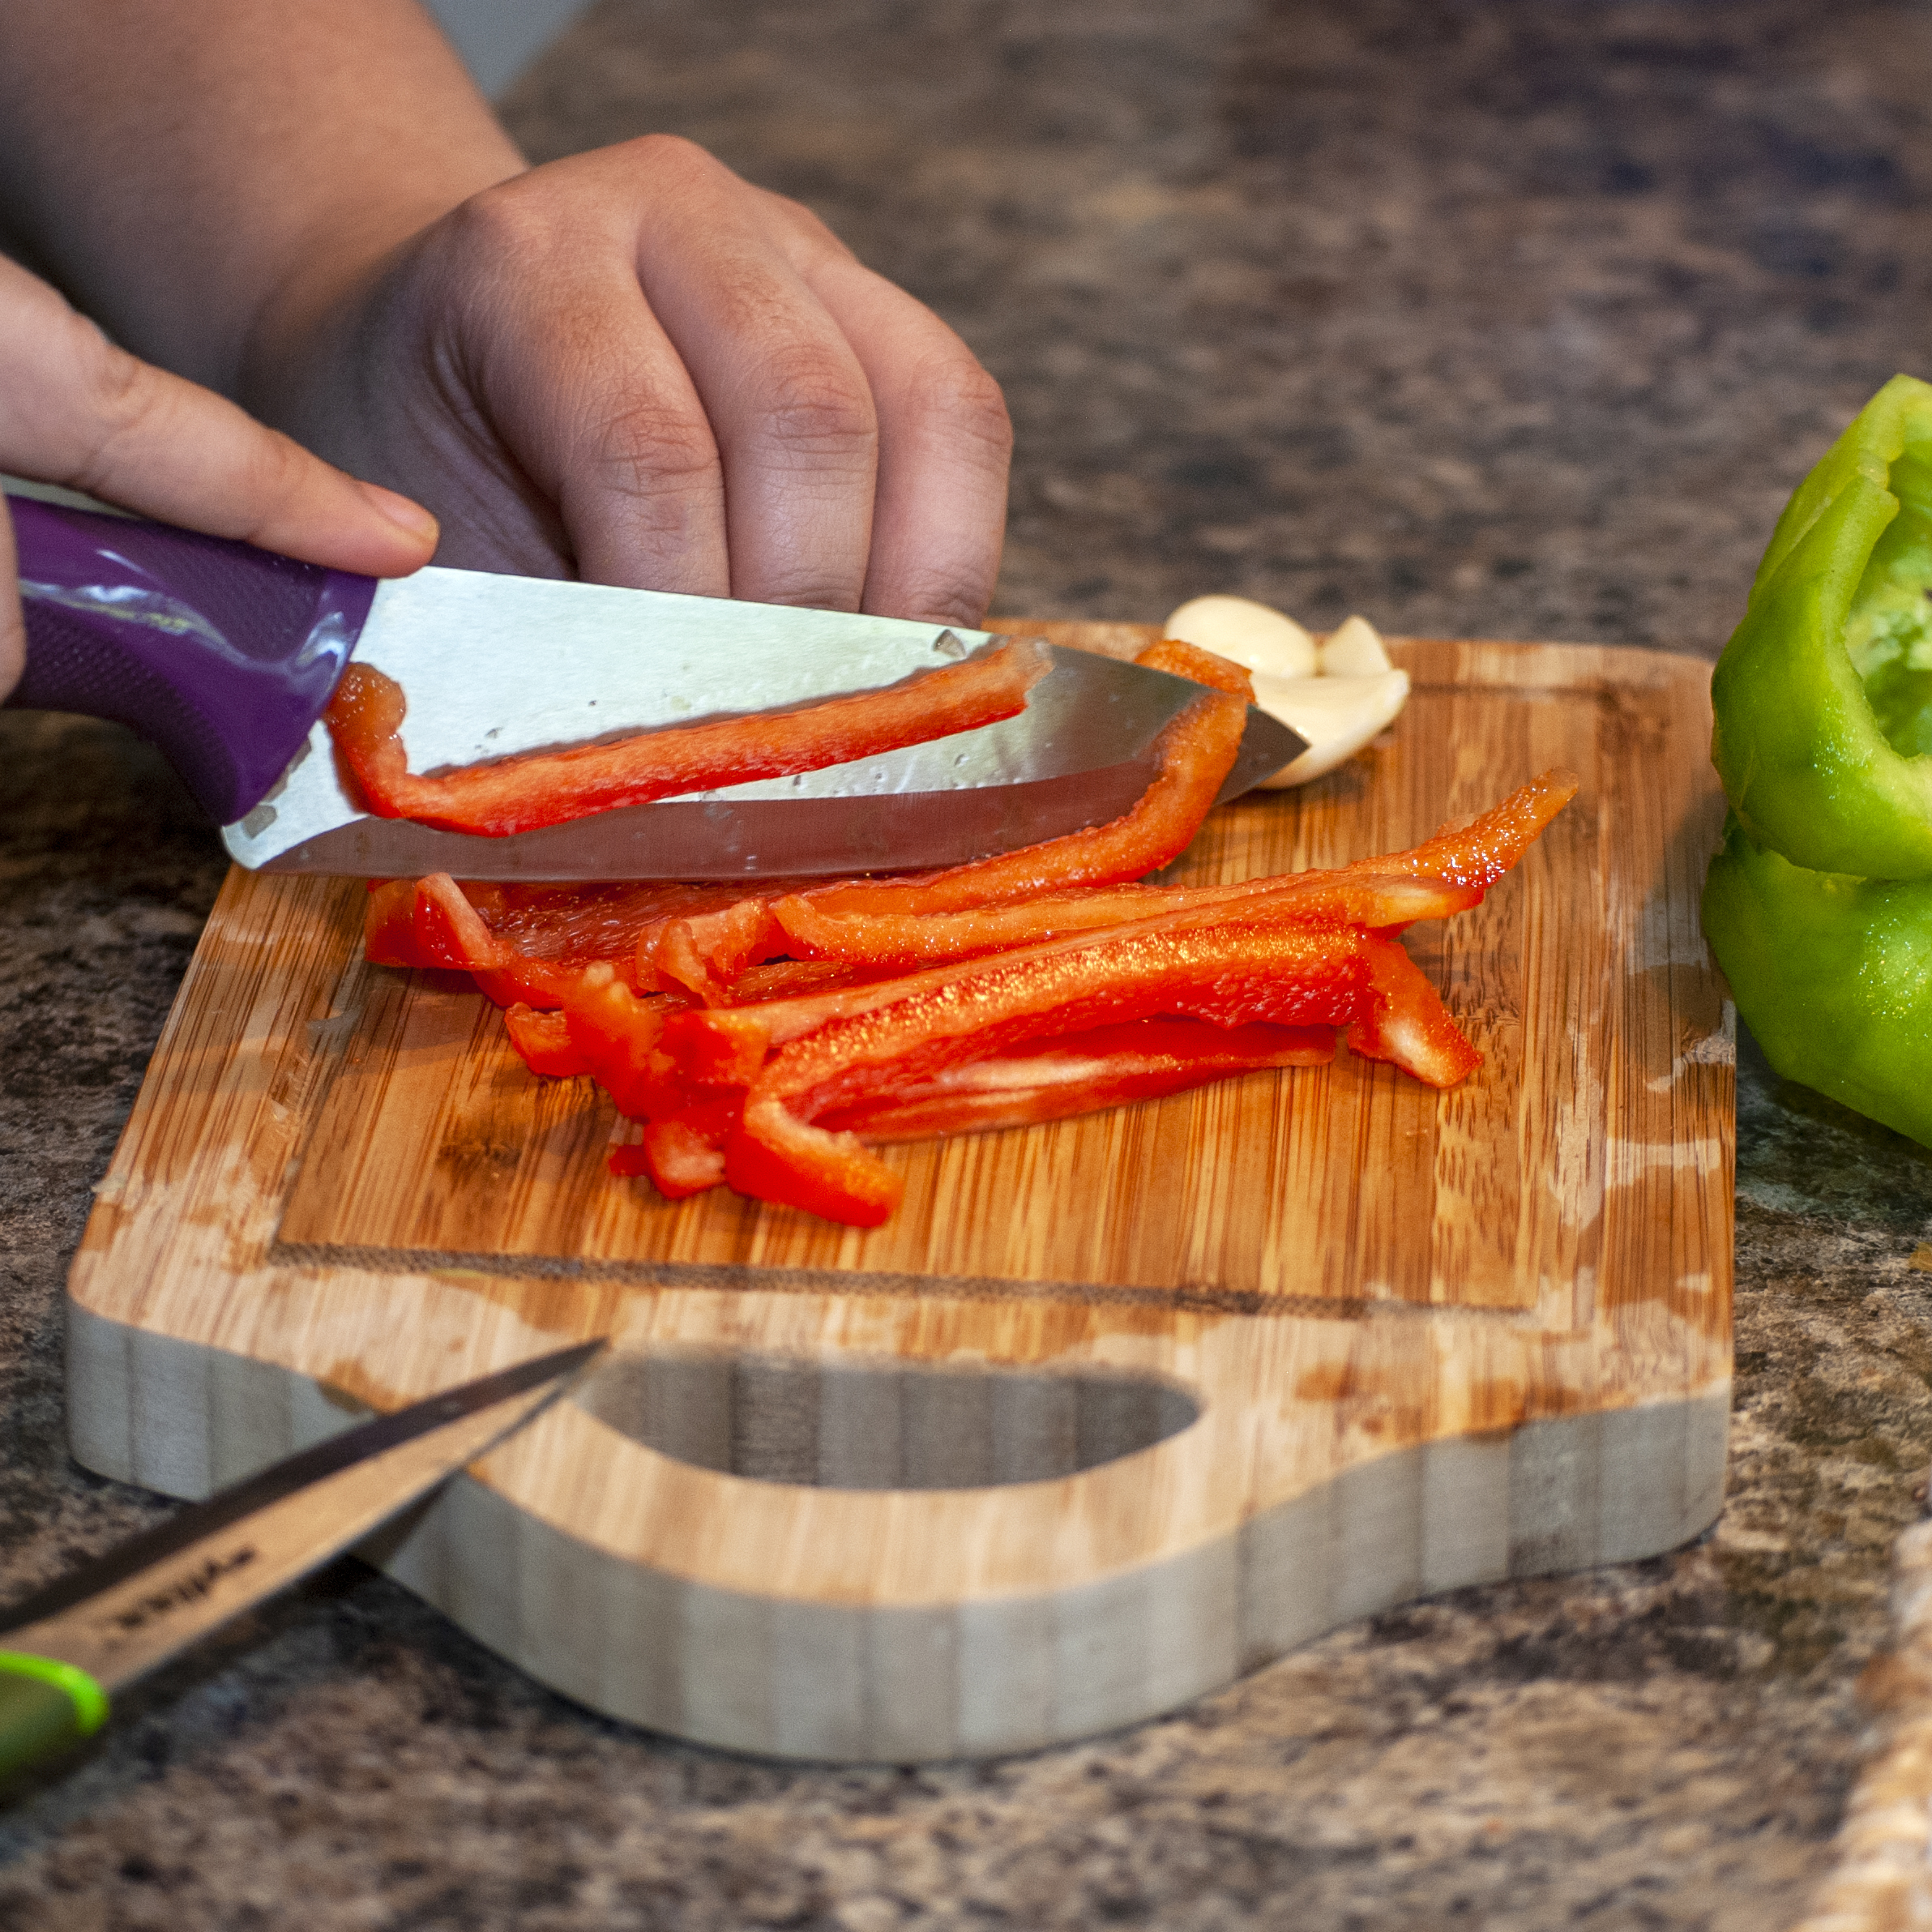
– ½ Green Bell Pepper, diced
– ½ Red Bell Pepper, diced
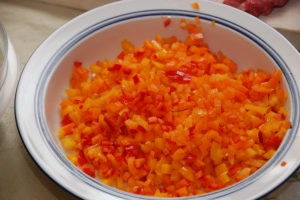
– ½ Cup Tomatoes, diced without seeds

Preparation:
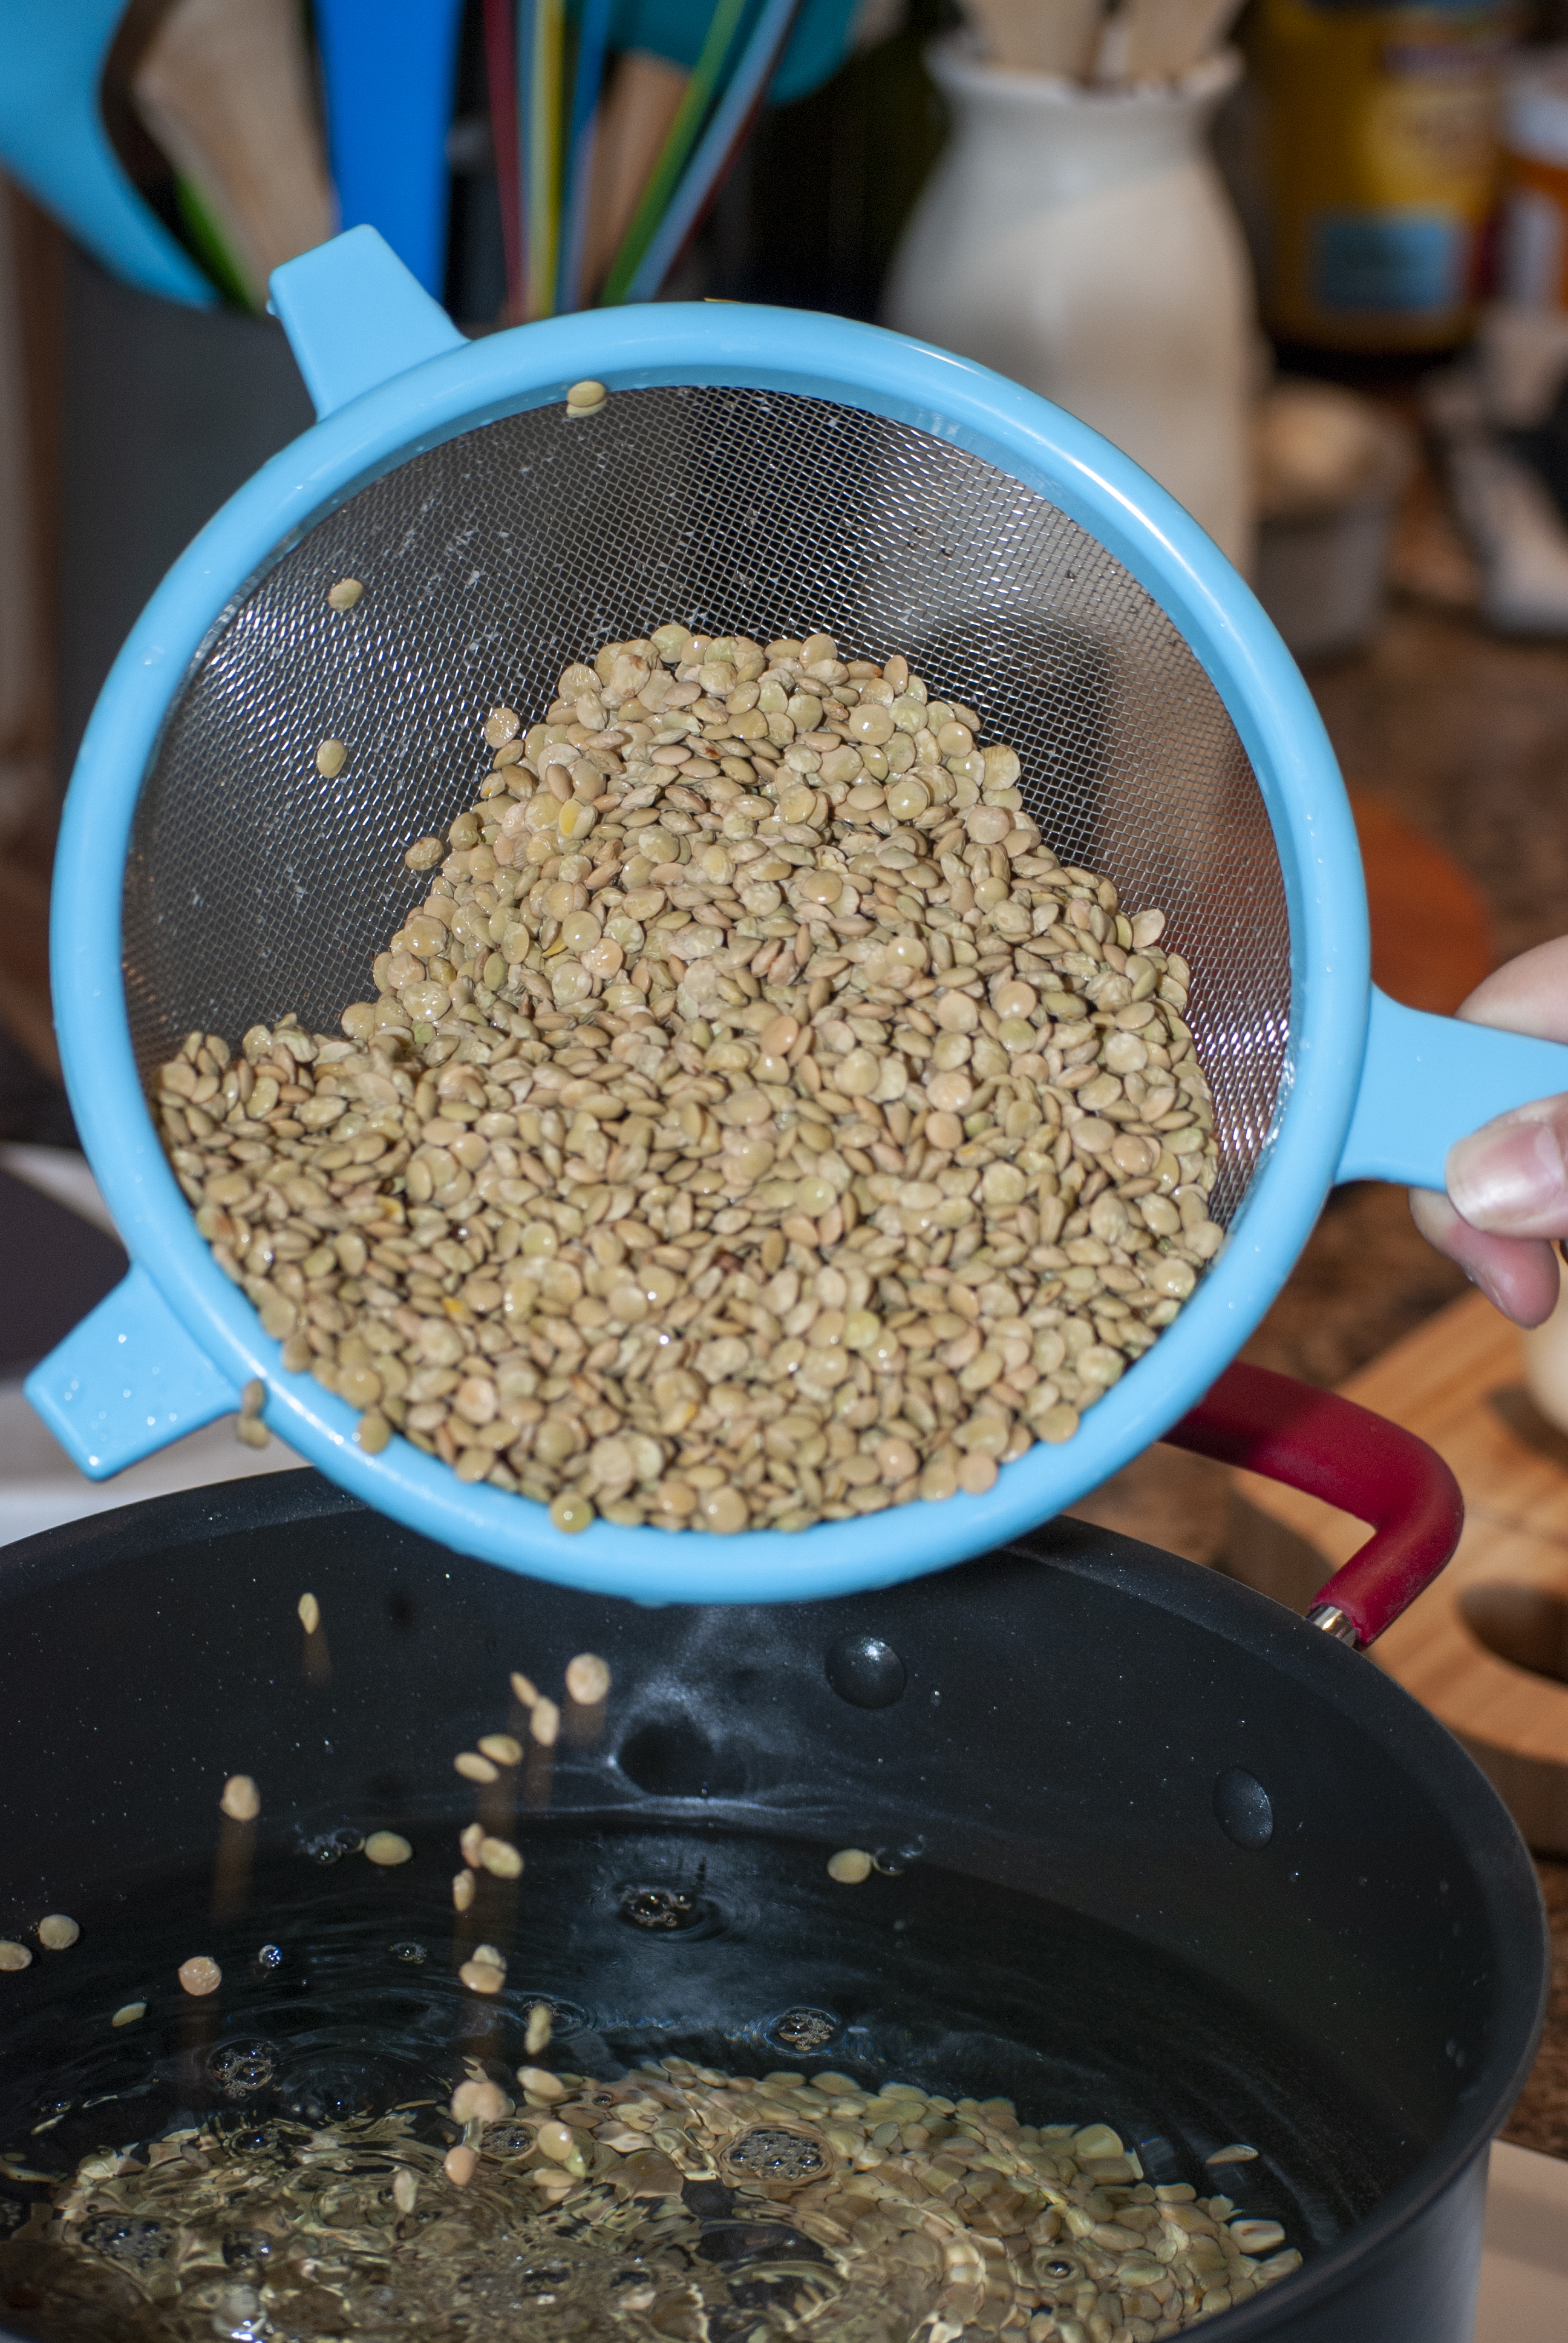
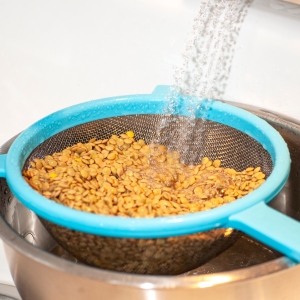
1. Wash the lentils using a strainer and water.

Wash Lentils

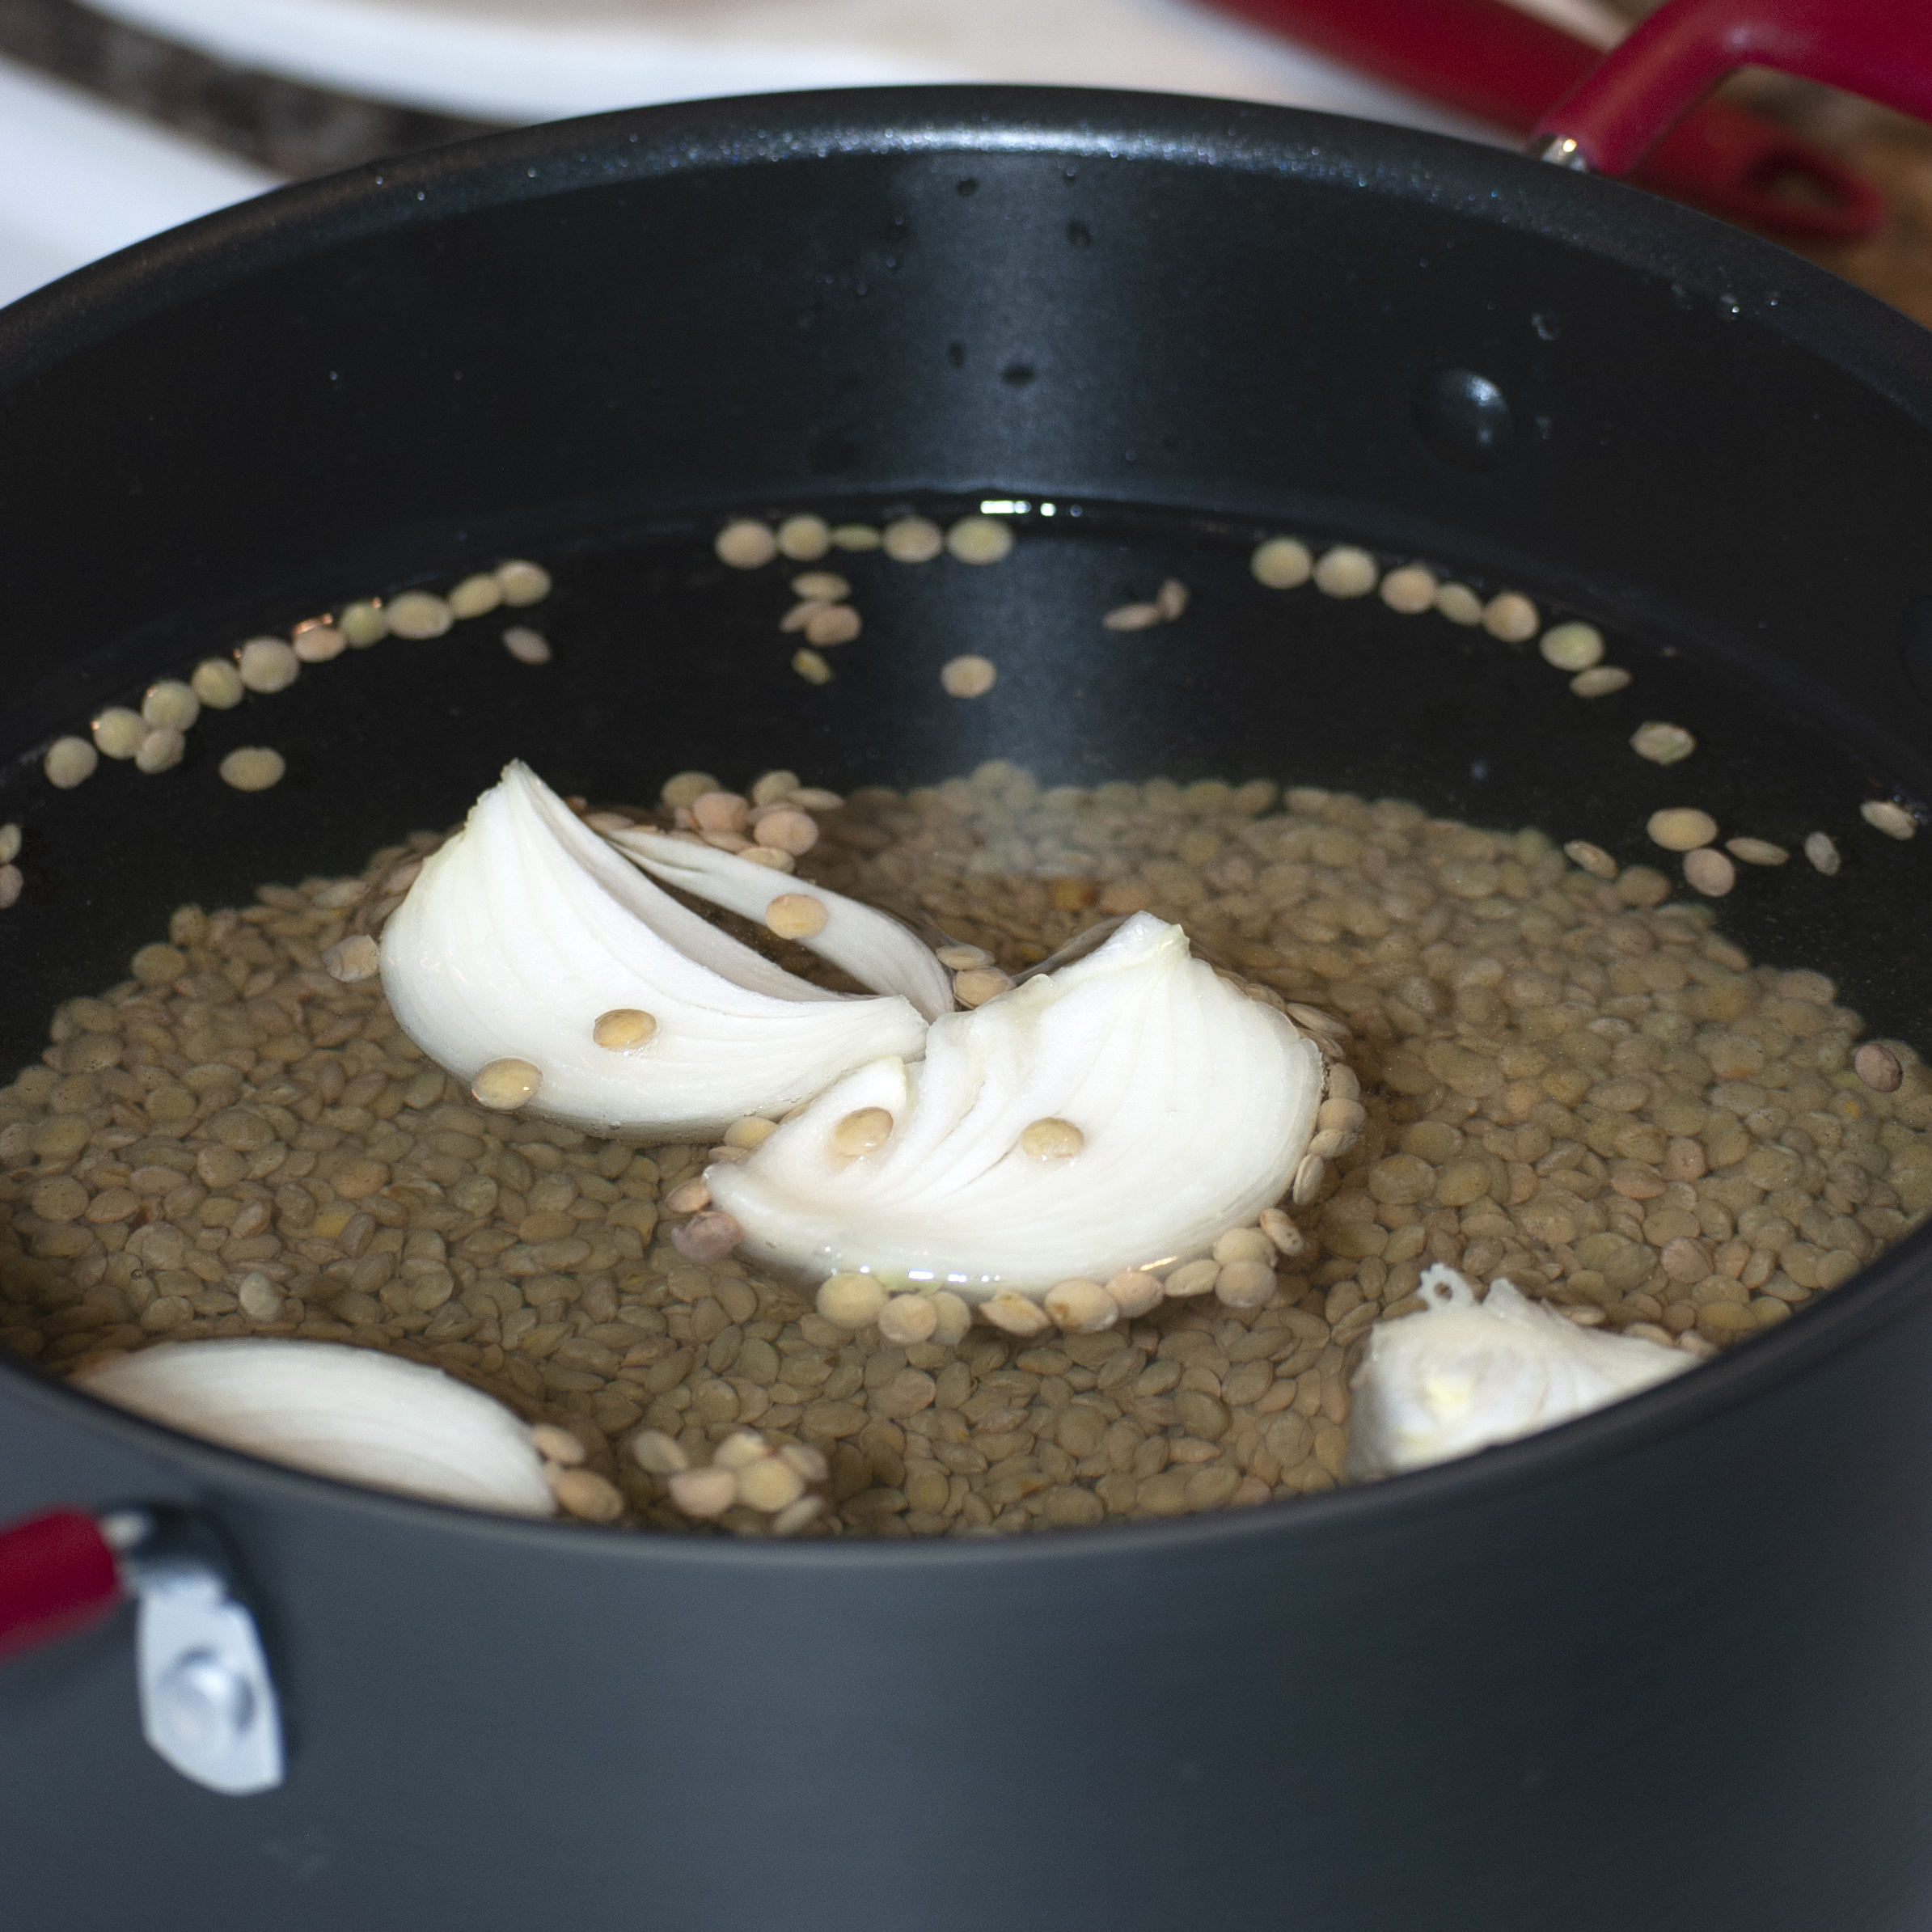
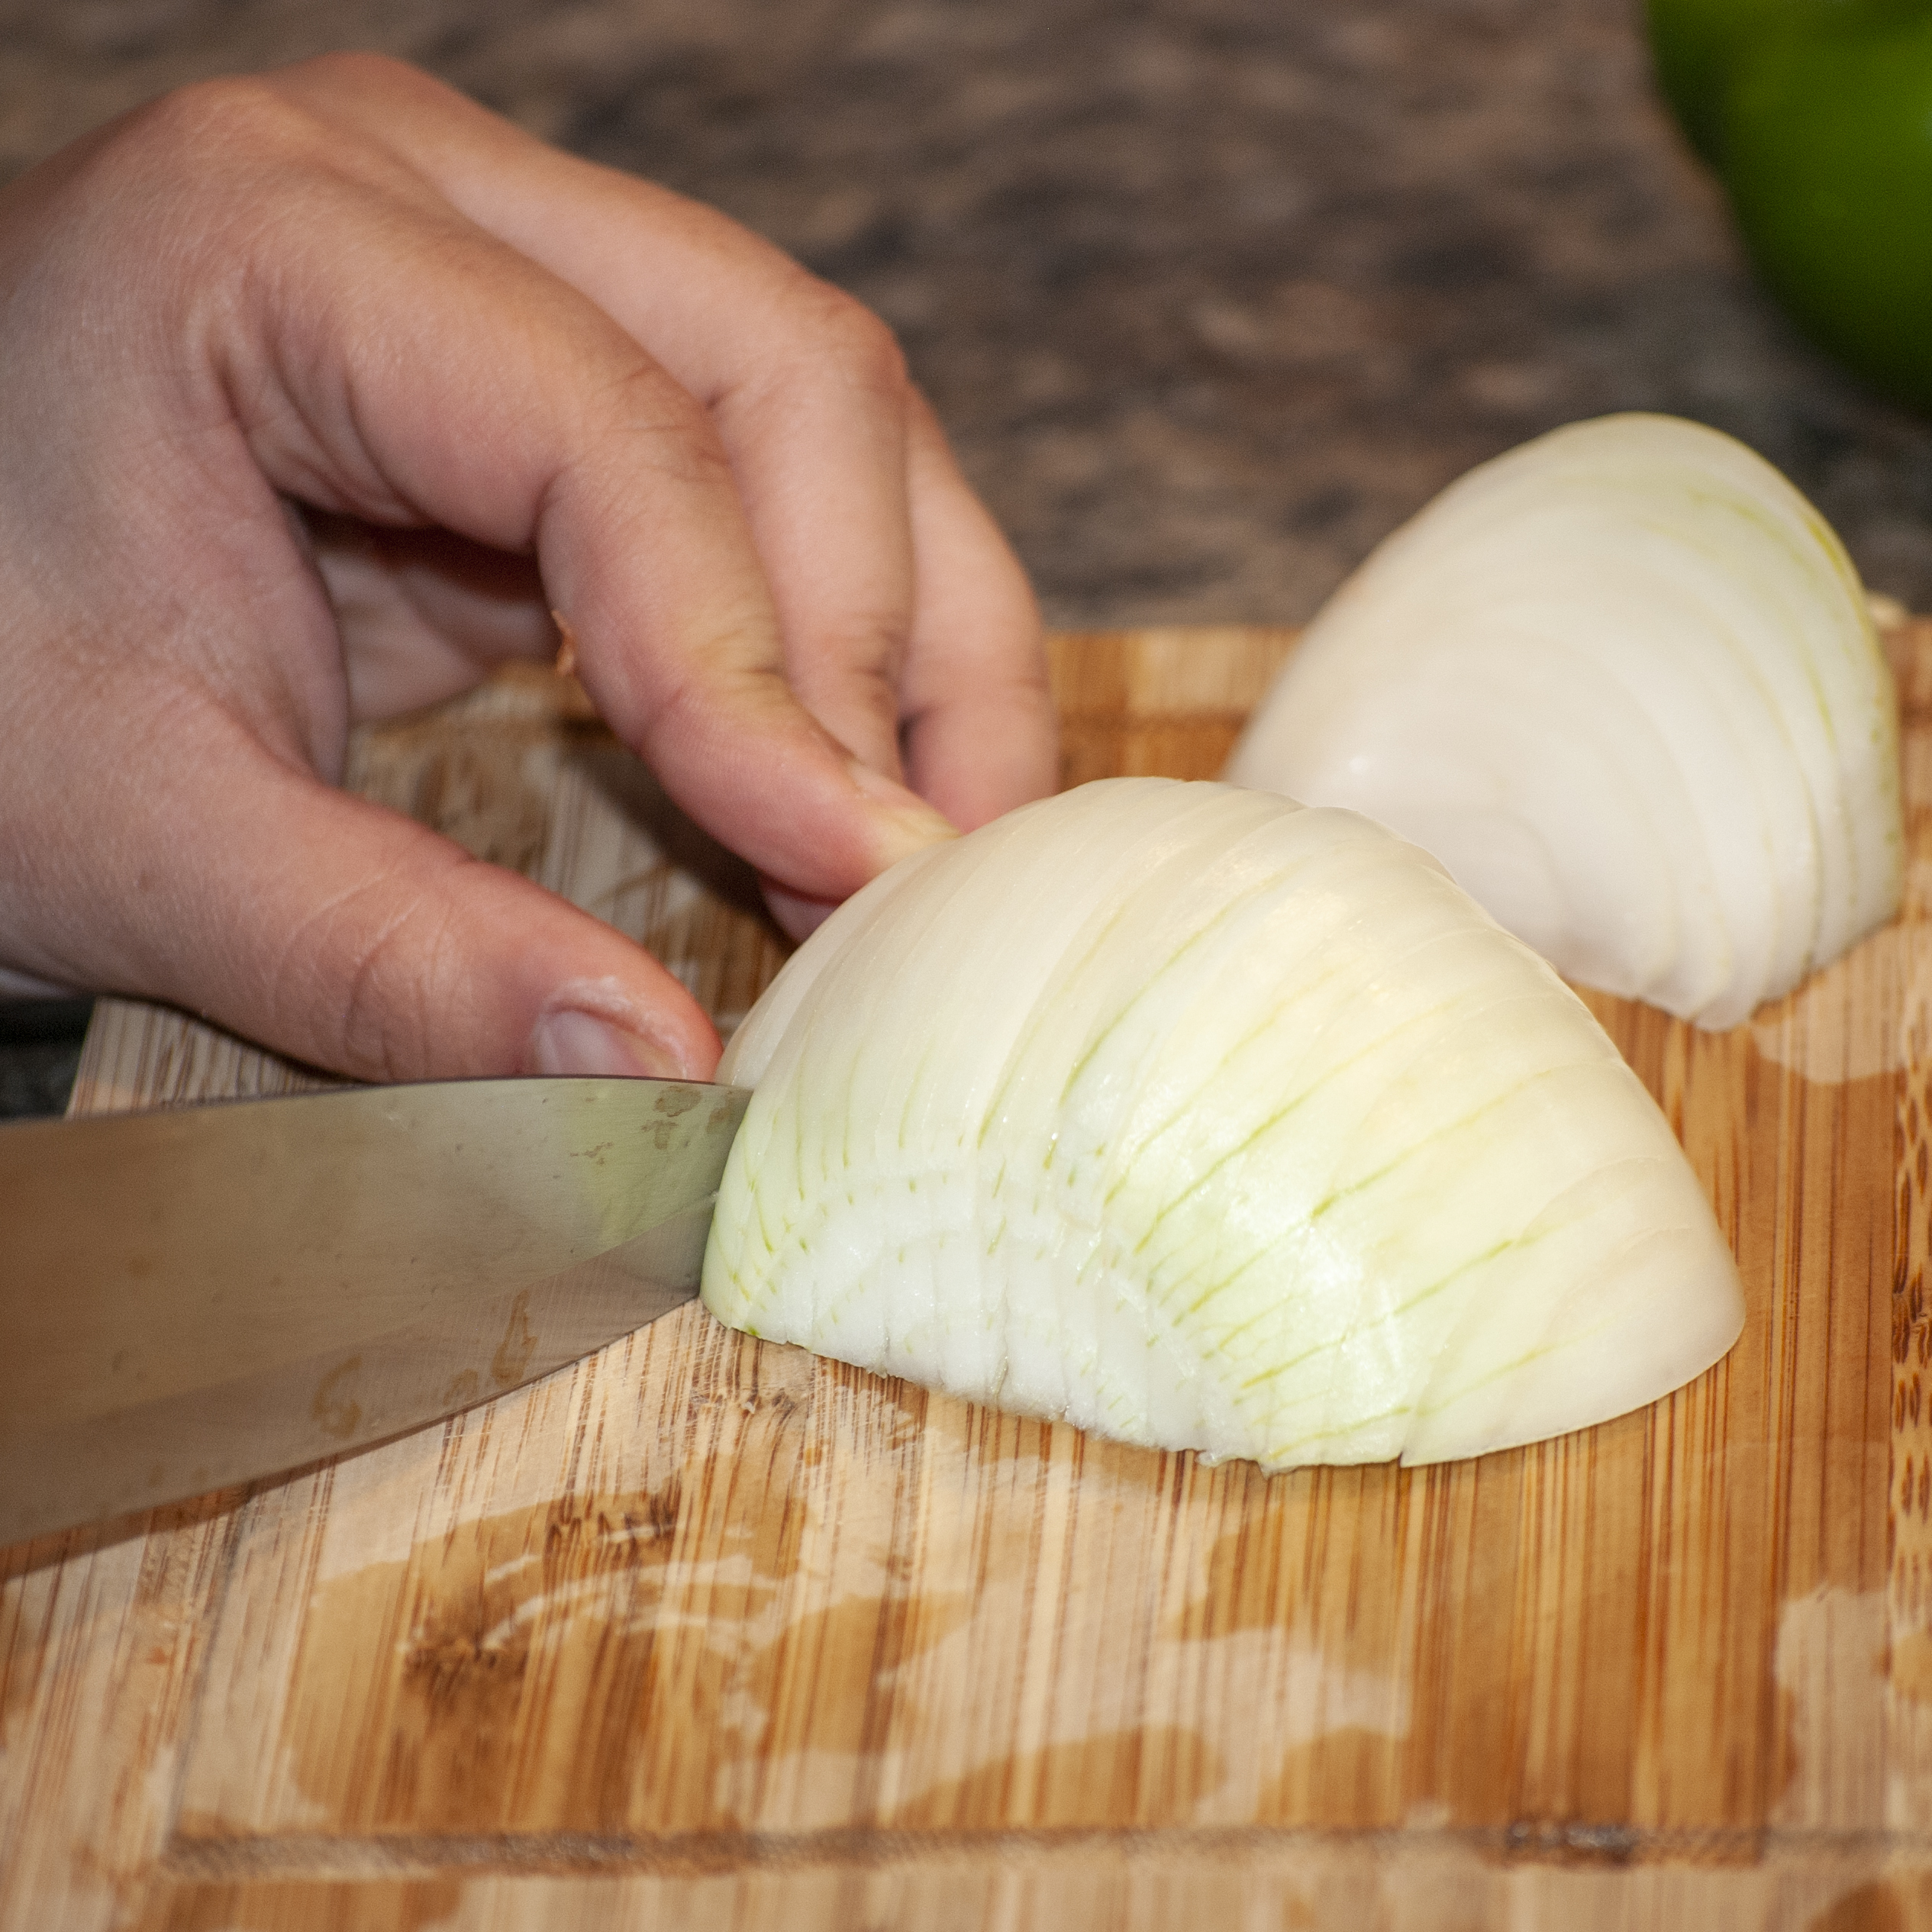
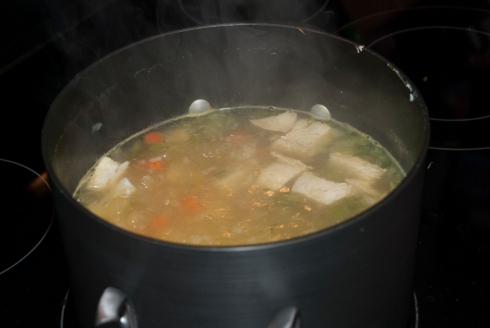
2. On a large pot, add the 12 cups of water, the lentils and 1/3 of the large onion cut in large pieces. Cook at high heat until boiling and then cook at medium heat until the lentils soften, about 20 minutes.

3. In the meantime, remove the extra fat from the pork, and then wash with running water and use the lemon cut in wedges to rub and wash the pork. Then cut in small cubes of about half inch each.

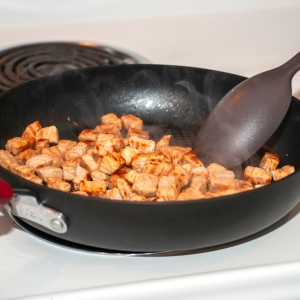
4. On a small pan add the ¼ cup of water and the pork pieces. Bring to a boil and then cook at high heat until the water has completely evaporated, and the pork starts to brown. About 10 to 15 minutes.

5. At this point the lentils should have soften. Add the pork pieces to the lentil pot, bring to a boil again on high heat and then cook on medium heat for 30 additional minutes.
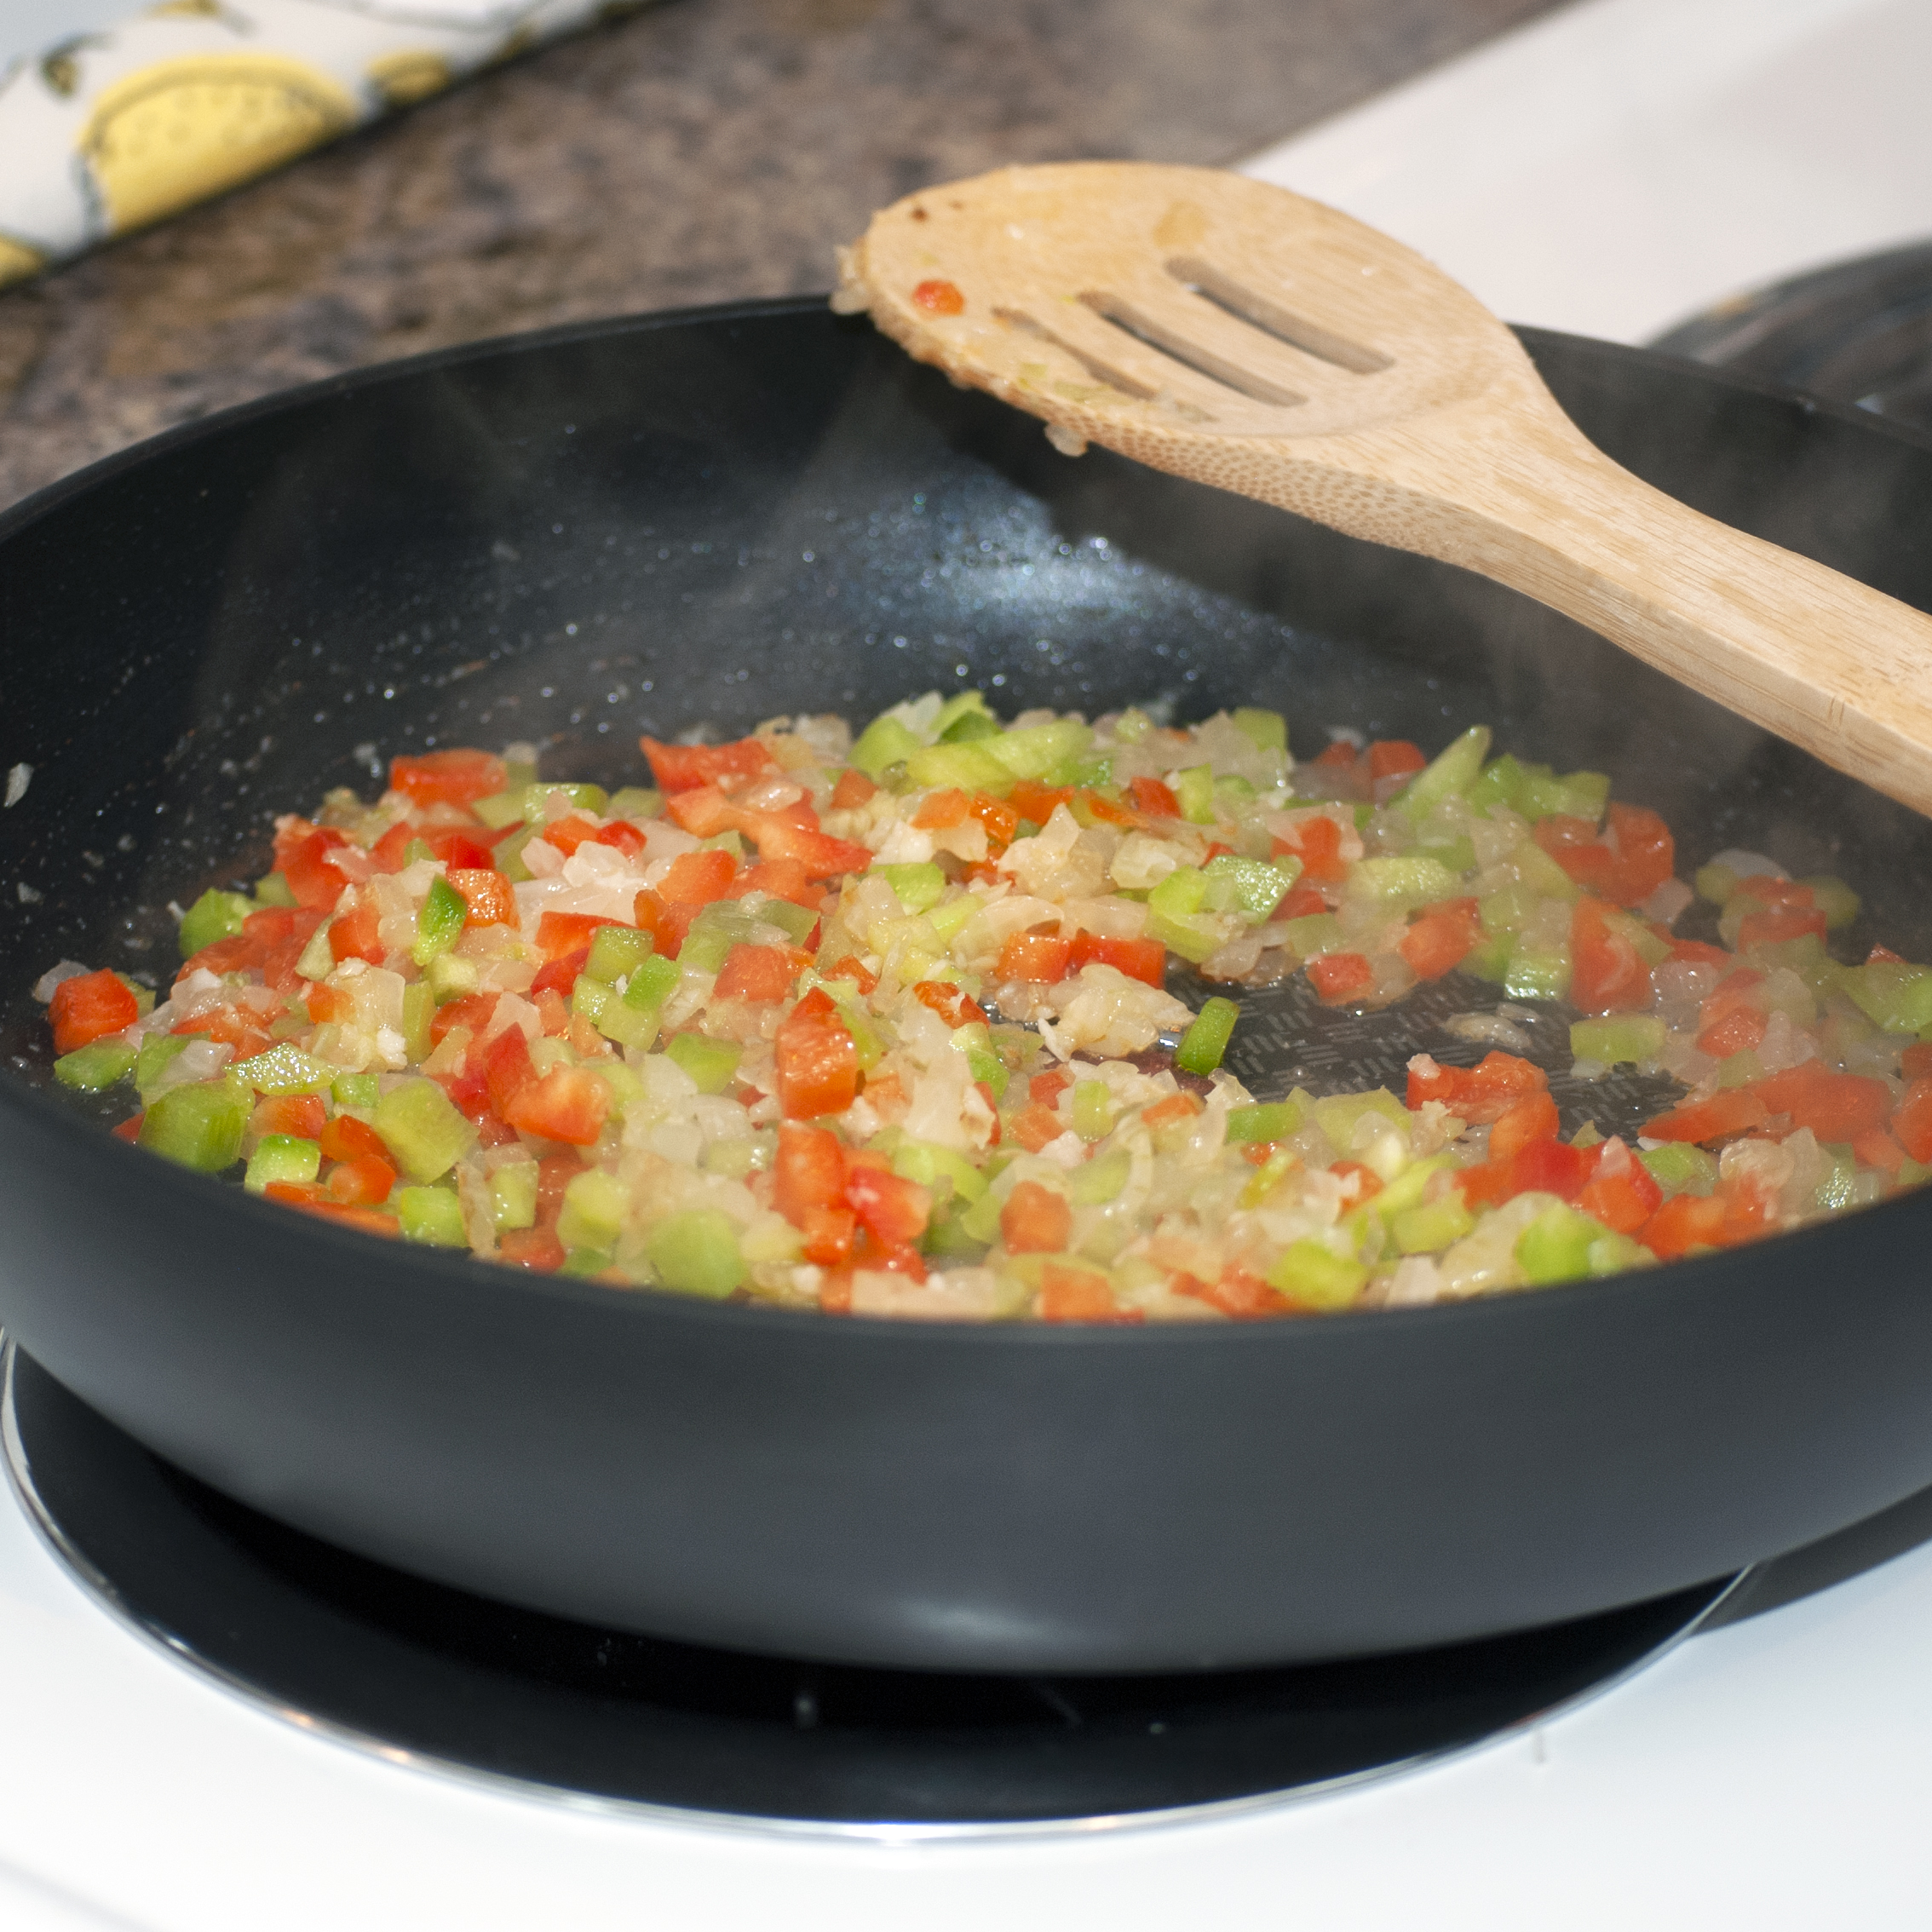
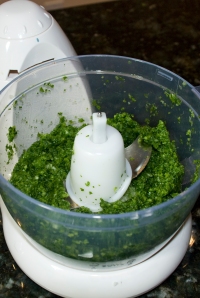
6. On a small pan start to make the sofrito adding the olive oil, the rest of the diced onion, and the chopped garlic cloves and cook at medium to high heat for 5 minutes.
7. Add the bell peppers and tomatoes to the sofrito and cook for another 5 minutes.

8. Add the sofrito mix to the pot with the lentils without draining it.
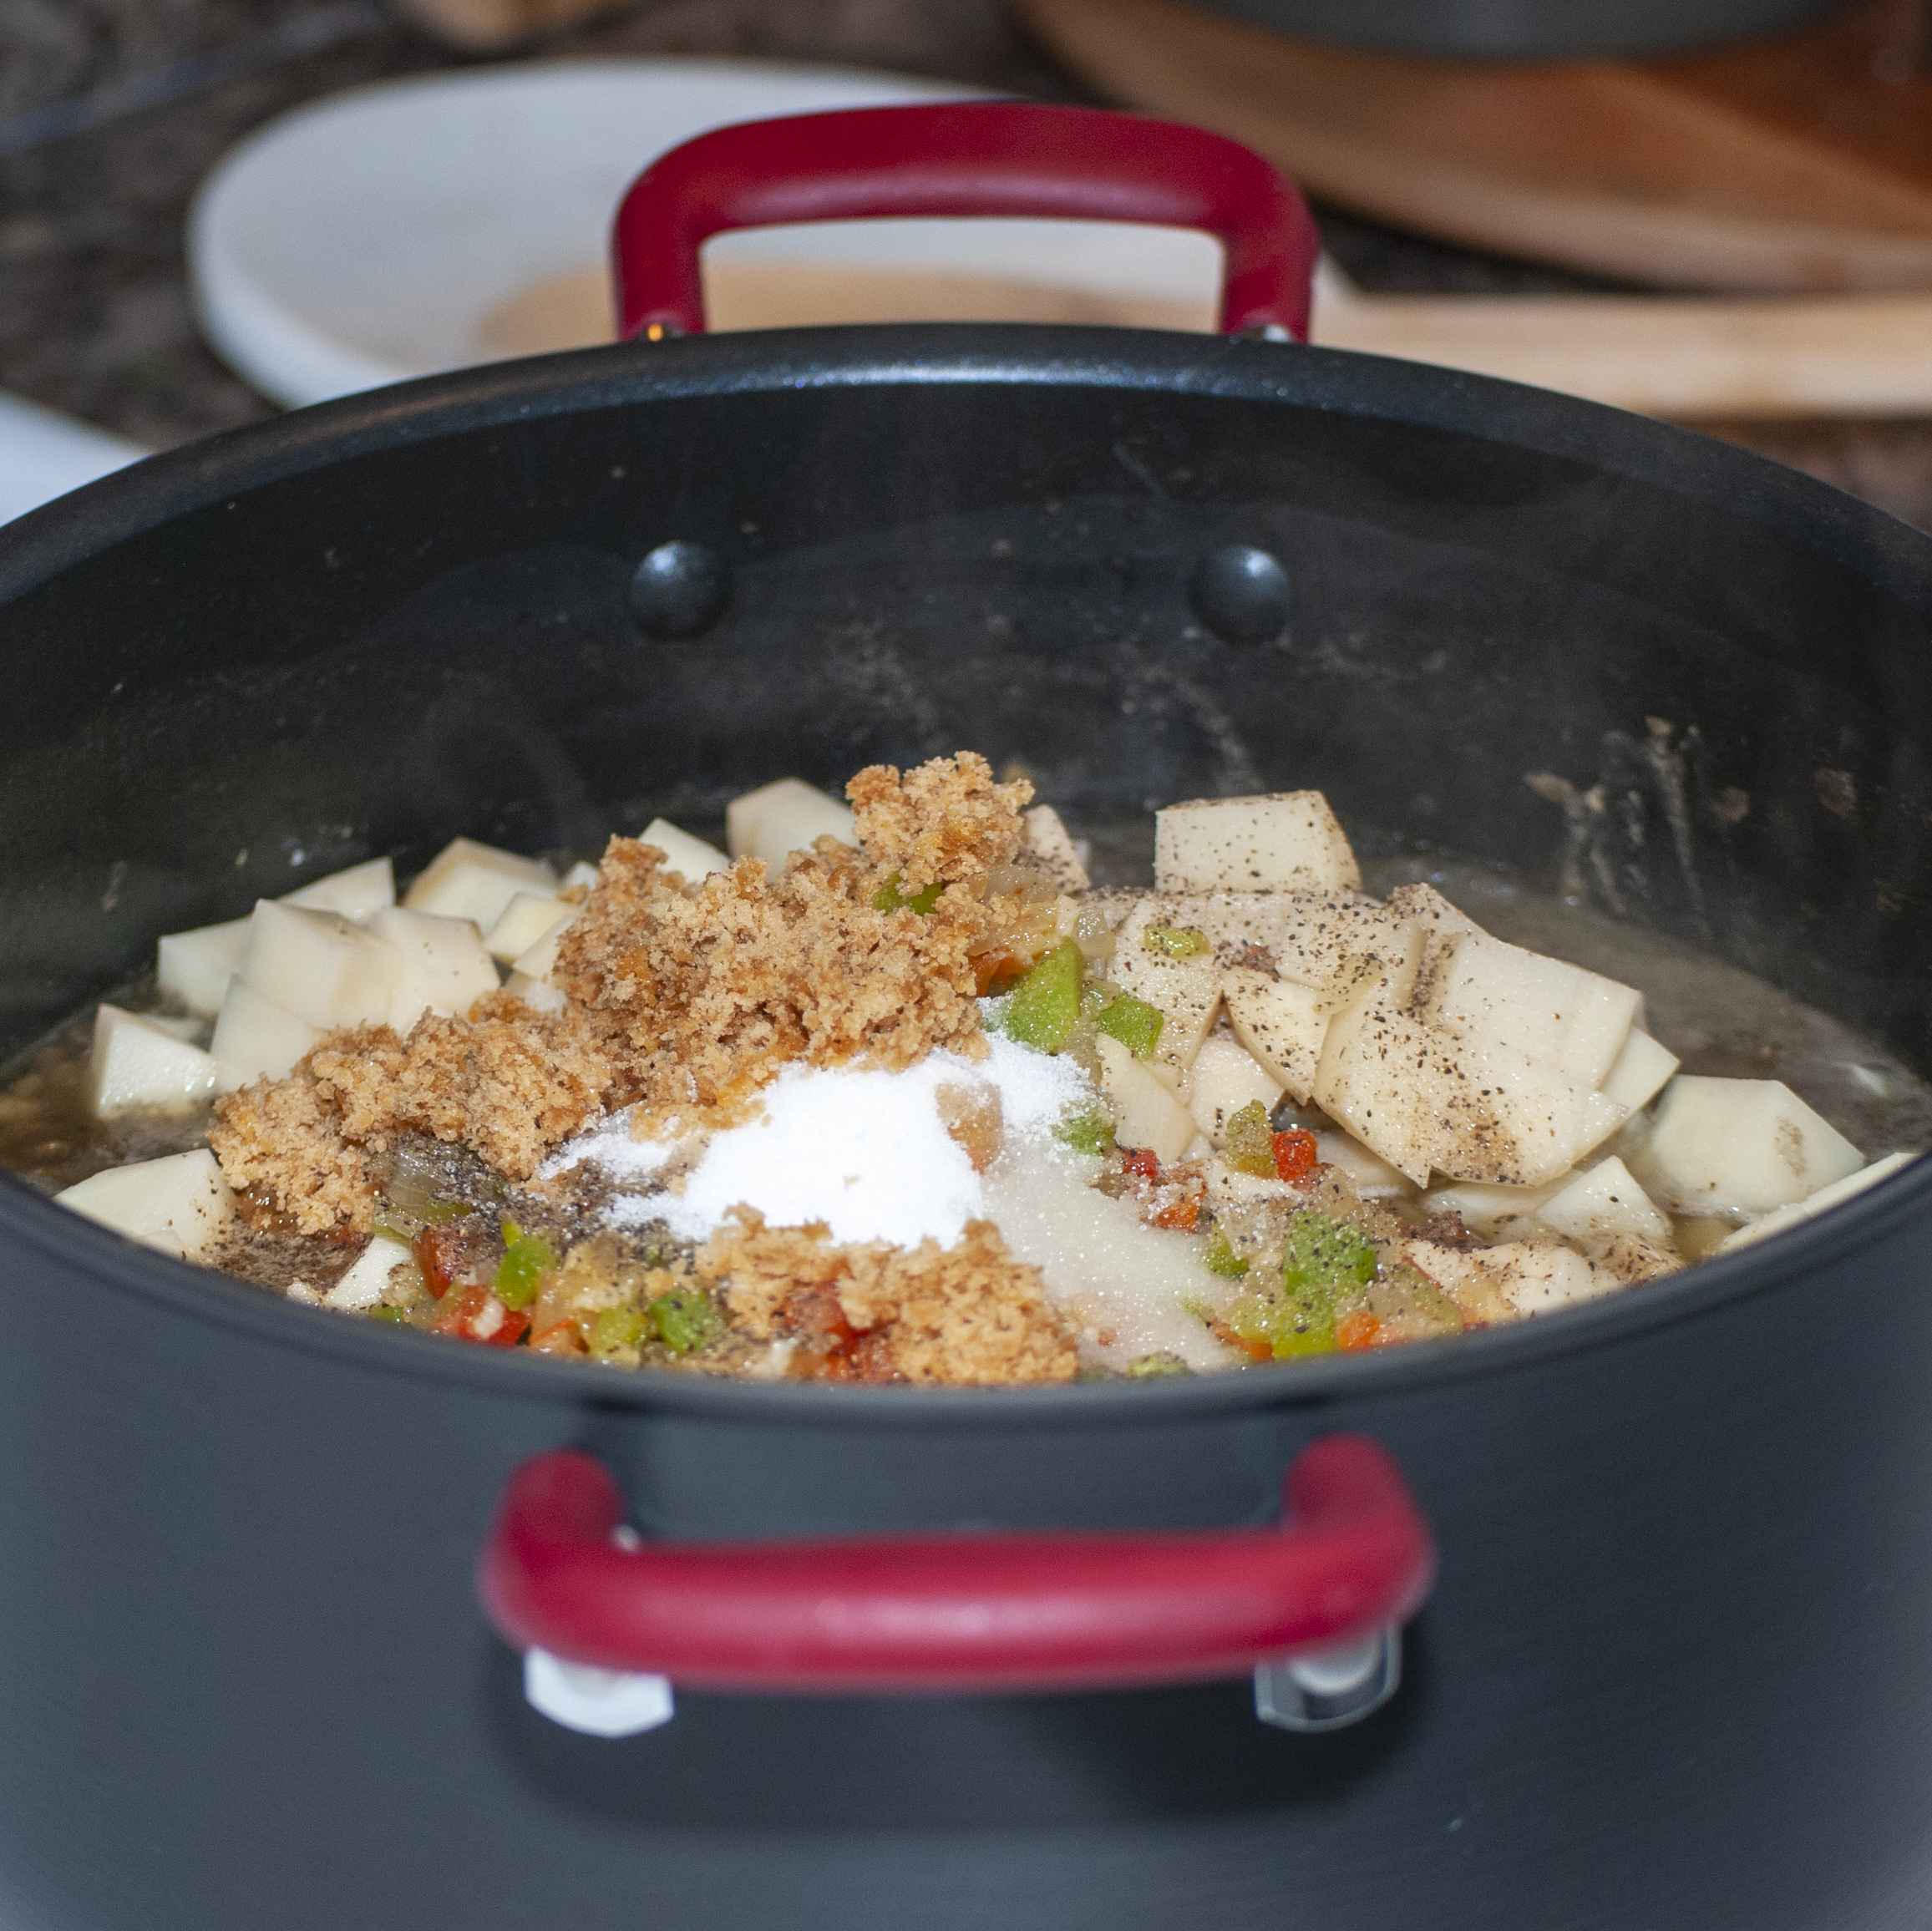
9. Add the peeled and cut potatoes, salt, pepper and grated papelón. Turn to high heat again and once it starts to boil, cook at medium heat for another 20 minutes, or until the soup starts to thicken a bit.

10. Before serving, remove the big chunks of onion.
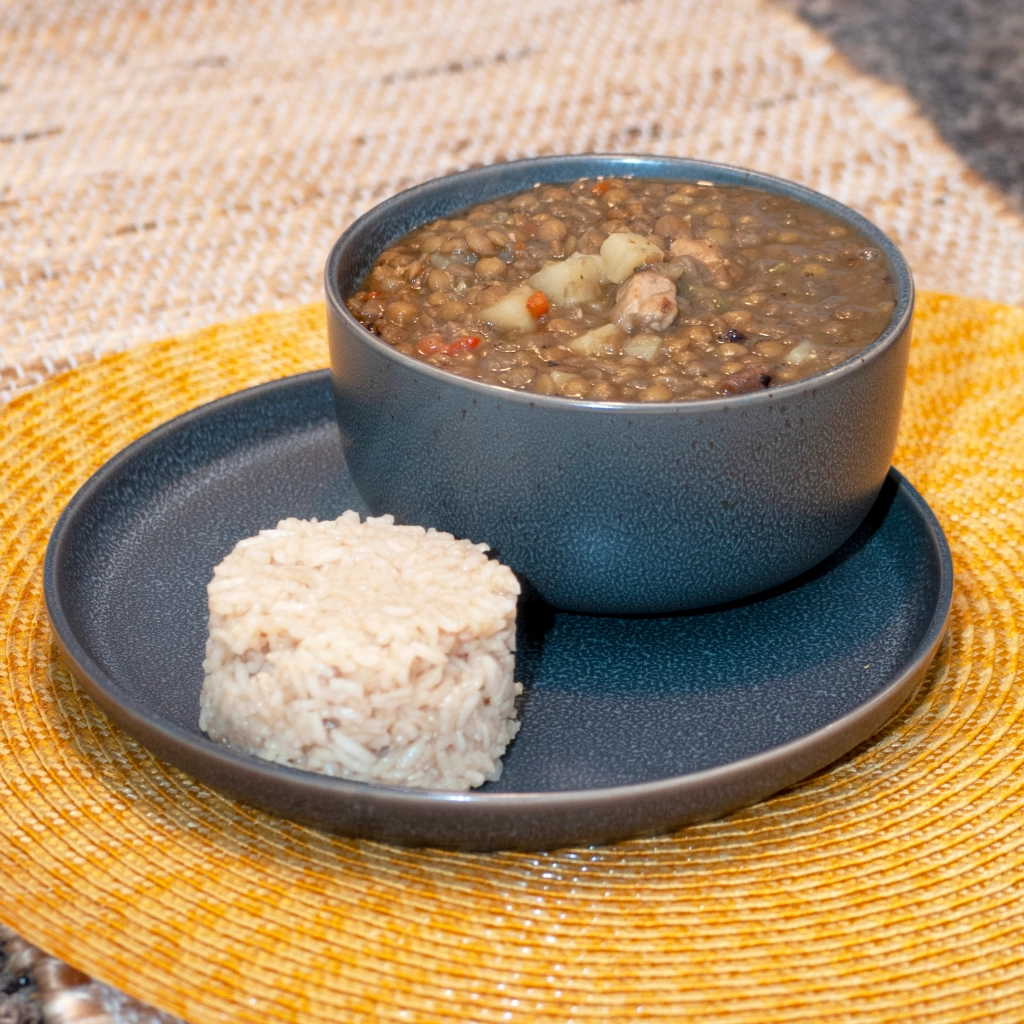
11. Serve as a main dish in a soup bowl, serve with a side of rice, or serve as a side dish.

Sopa de Lentejas | Venezuelan Lentil Soup

¡Buen Provecho!

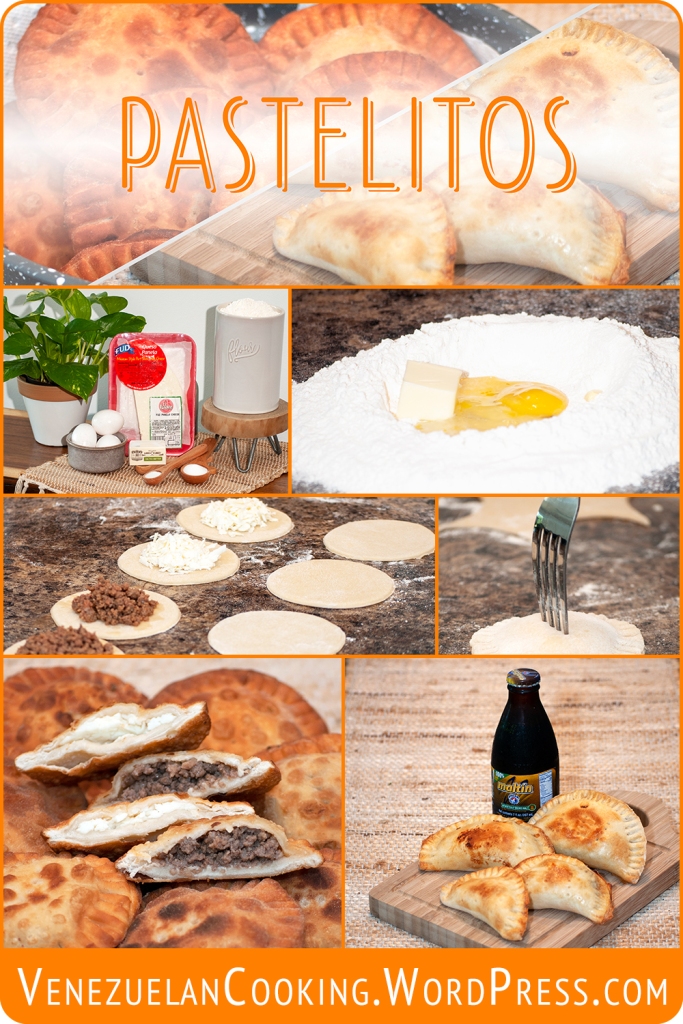
Recipe: Pastelitos de Carne y Queso | Venezuelan Savory Beef and Cheese Pastelitos

23 Aug

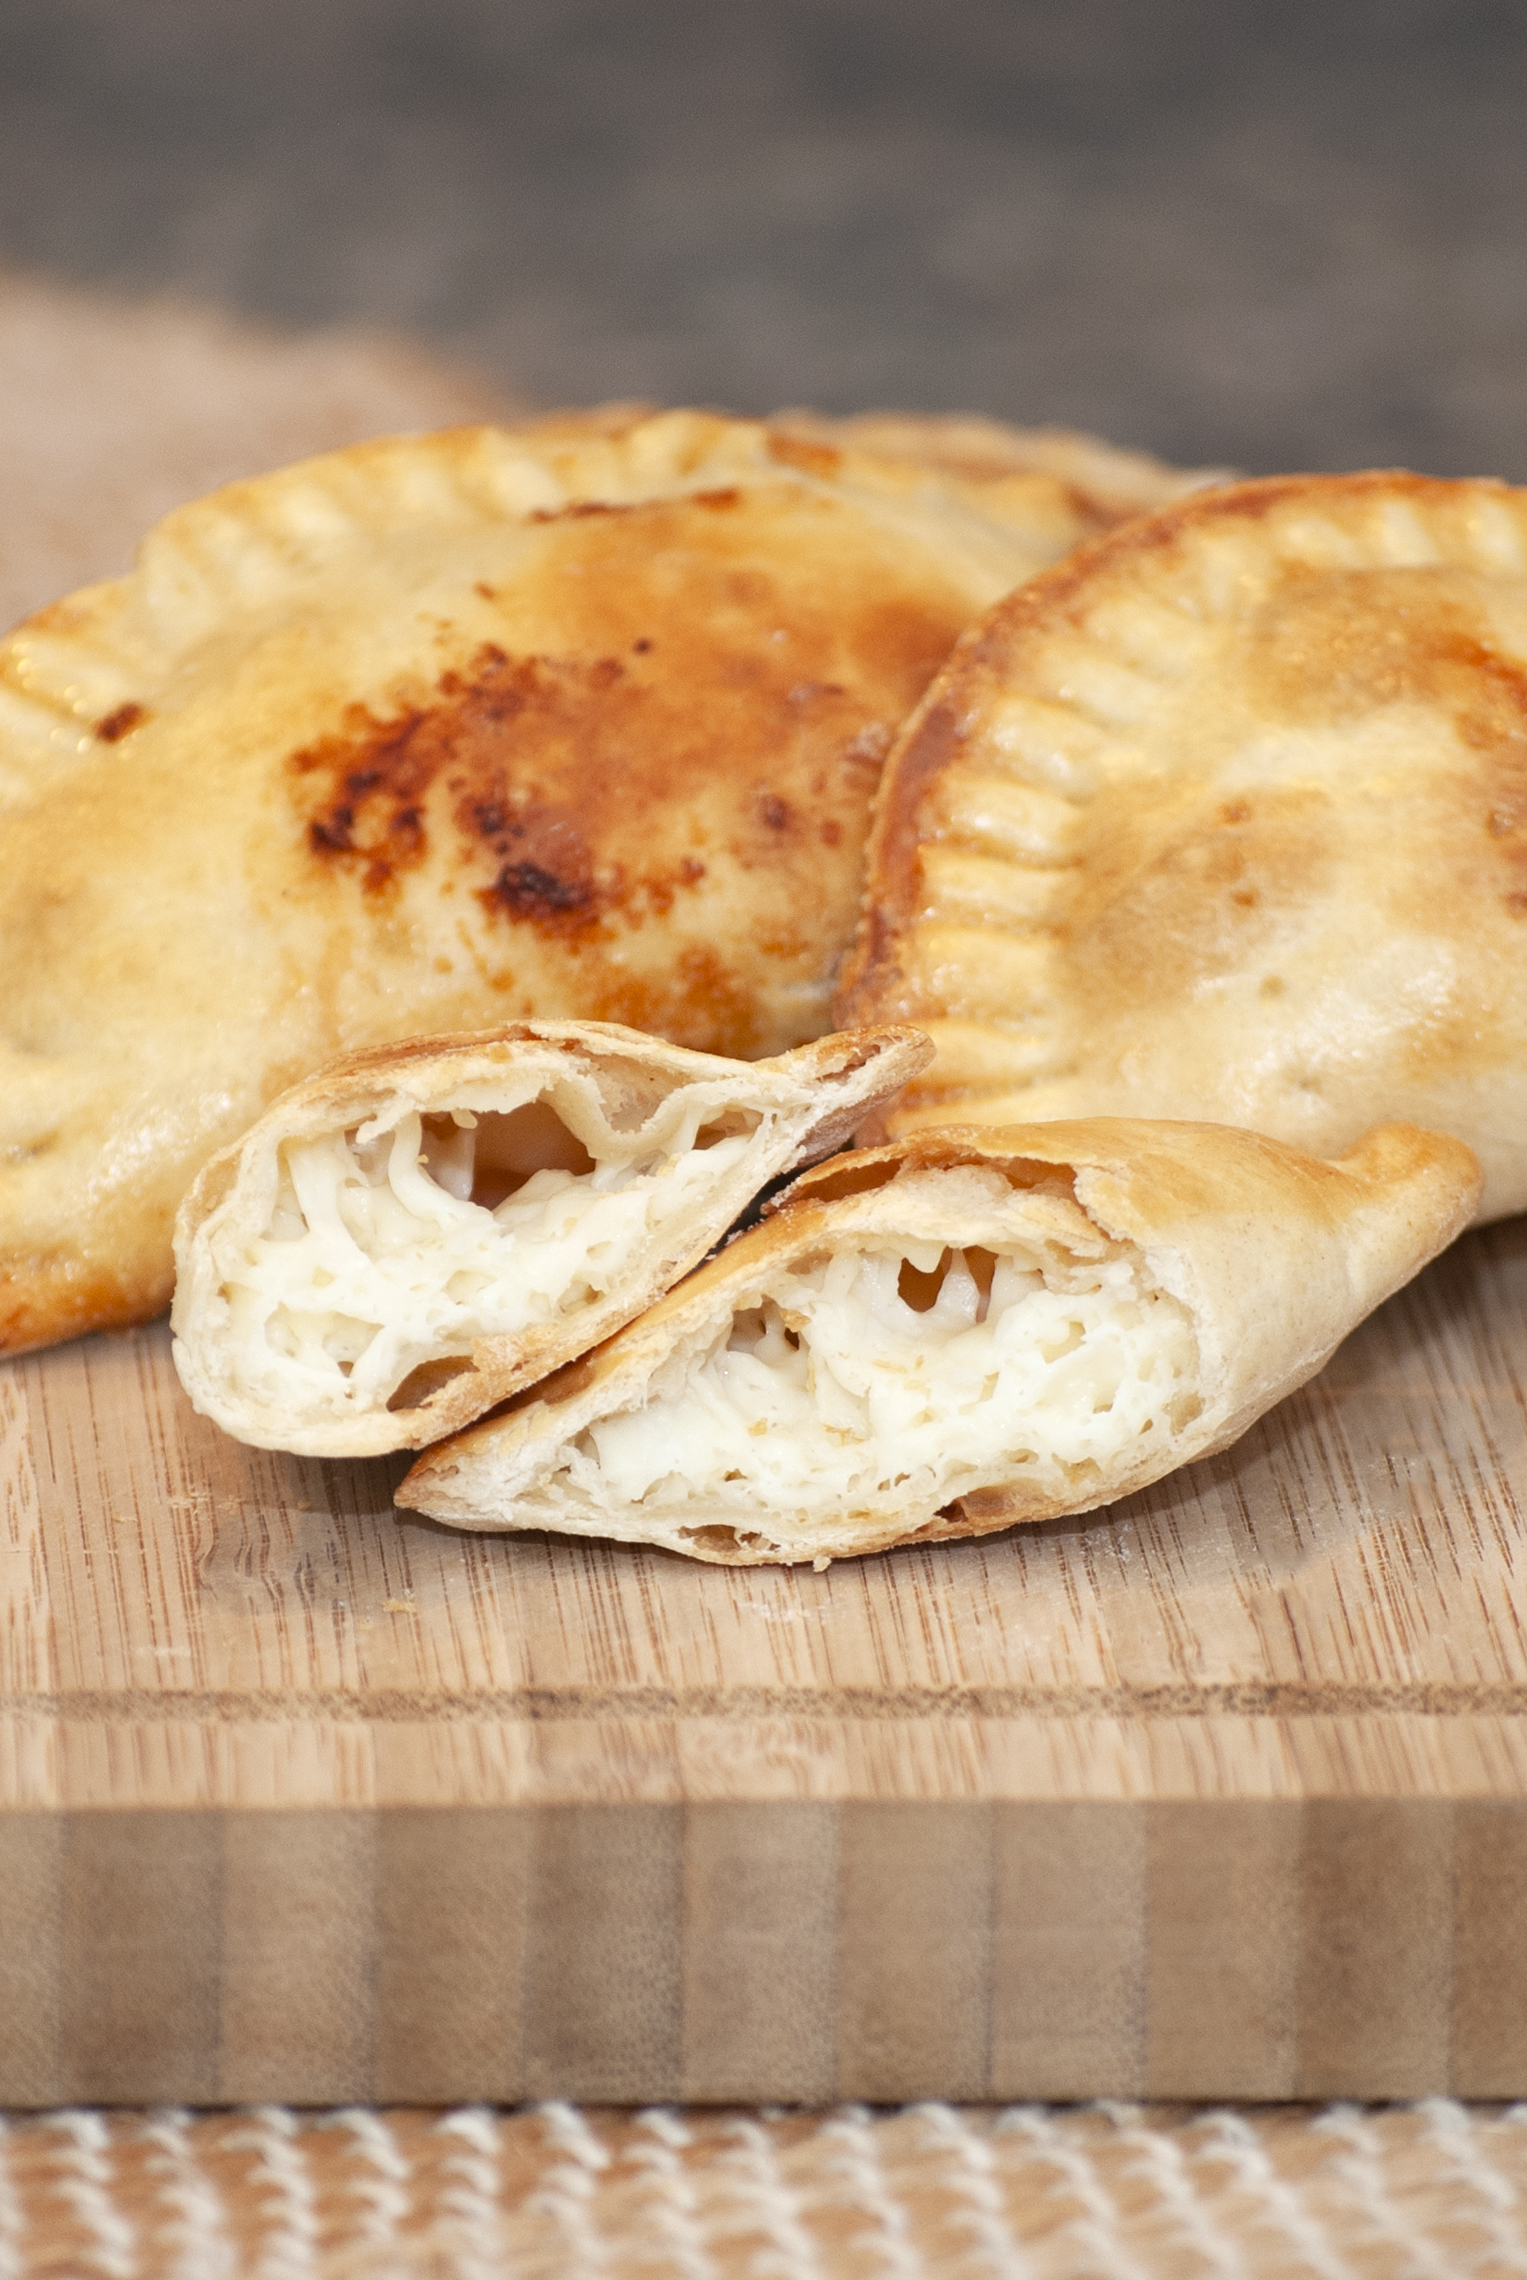
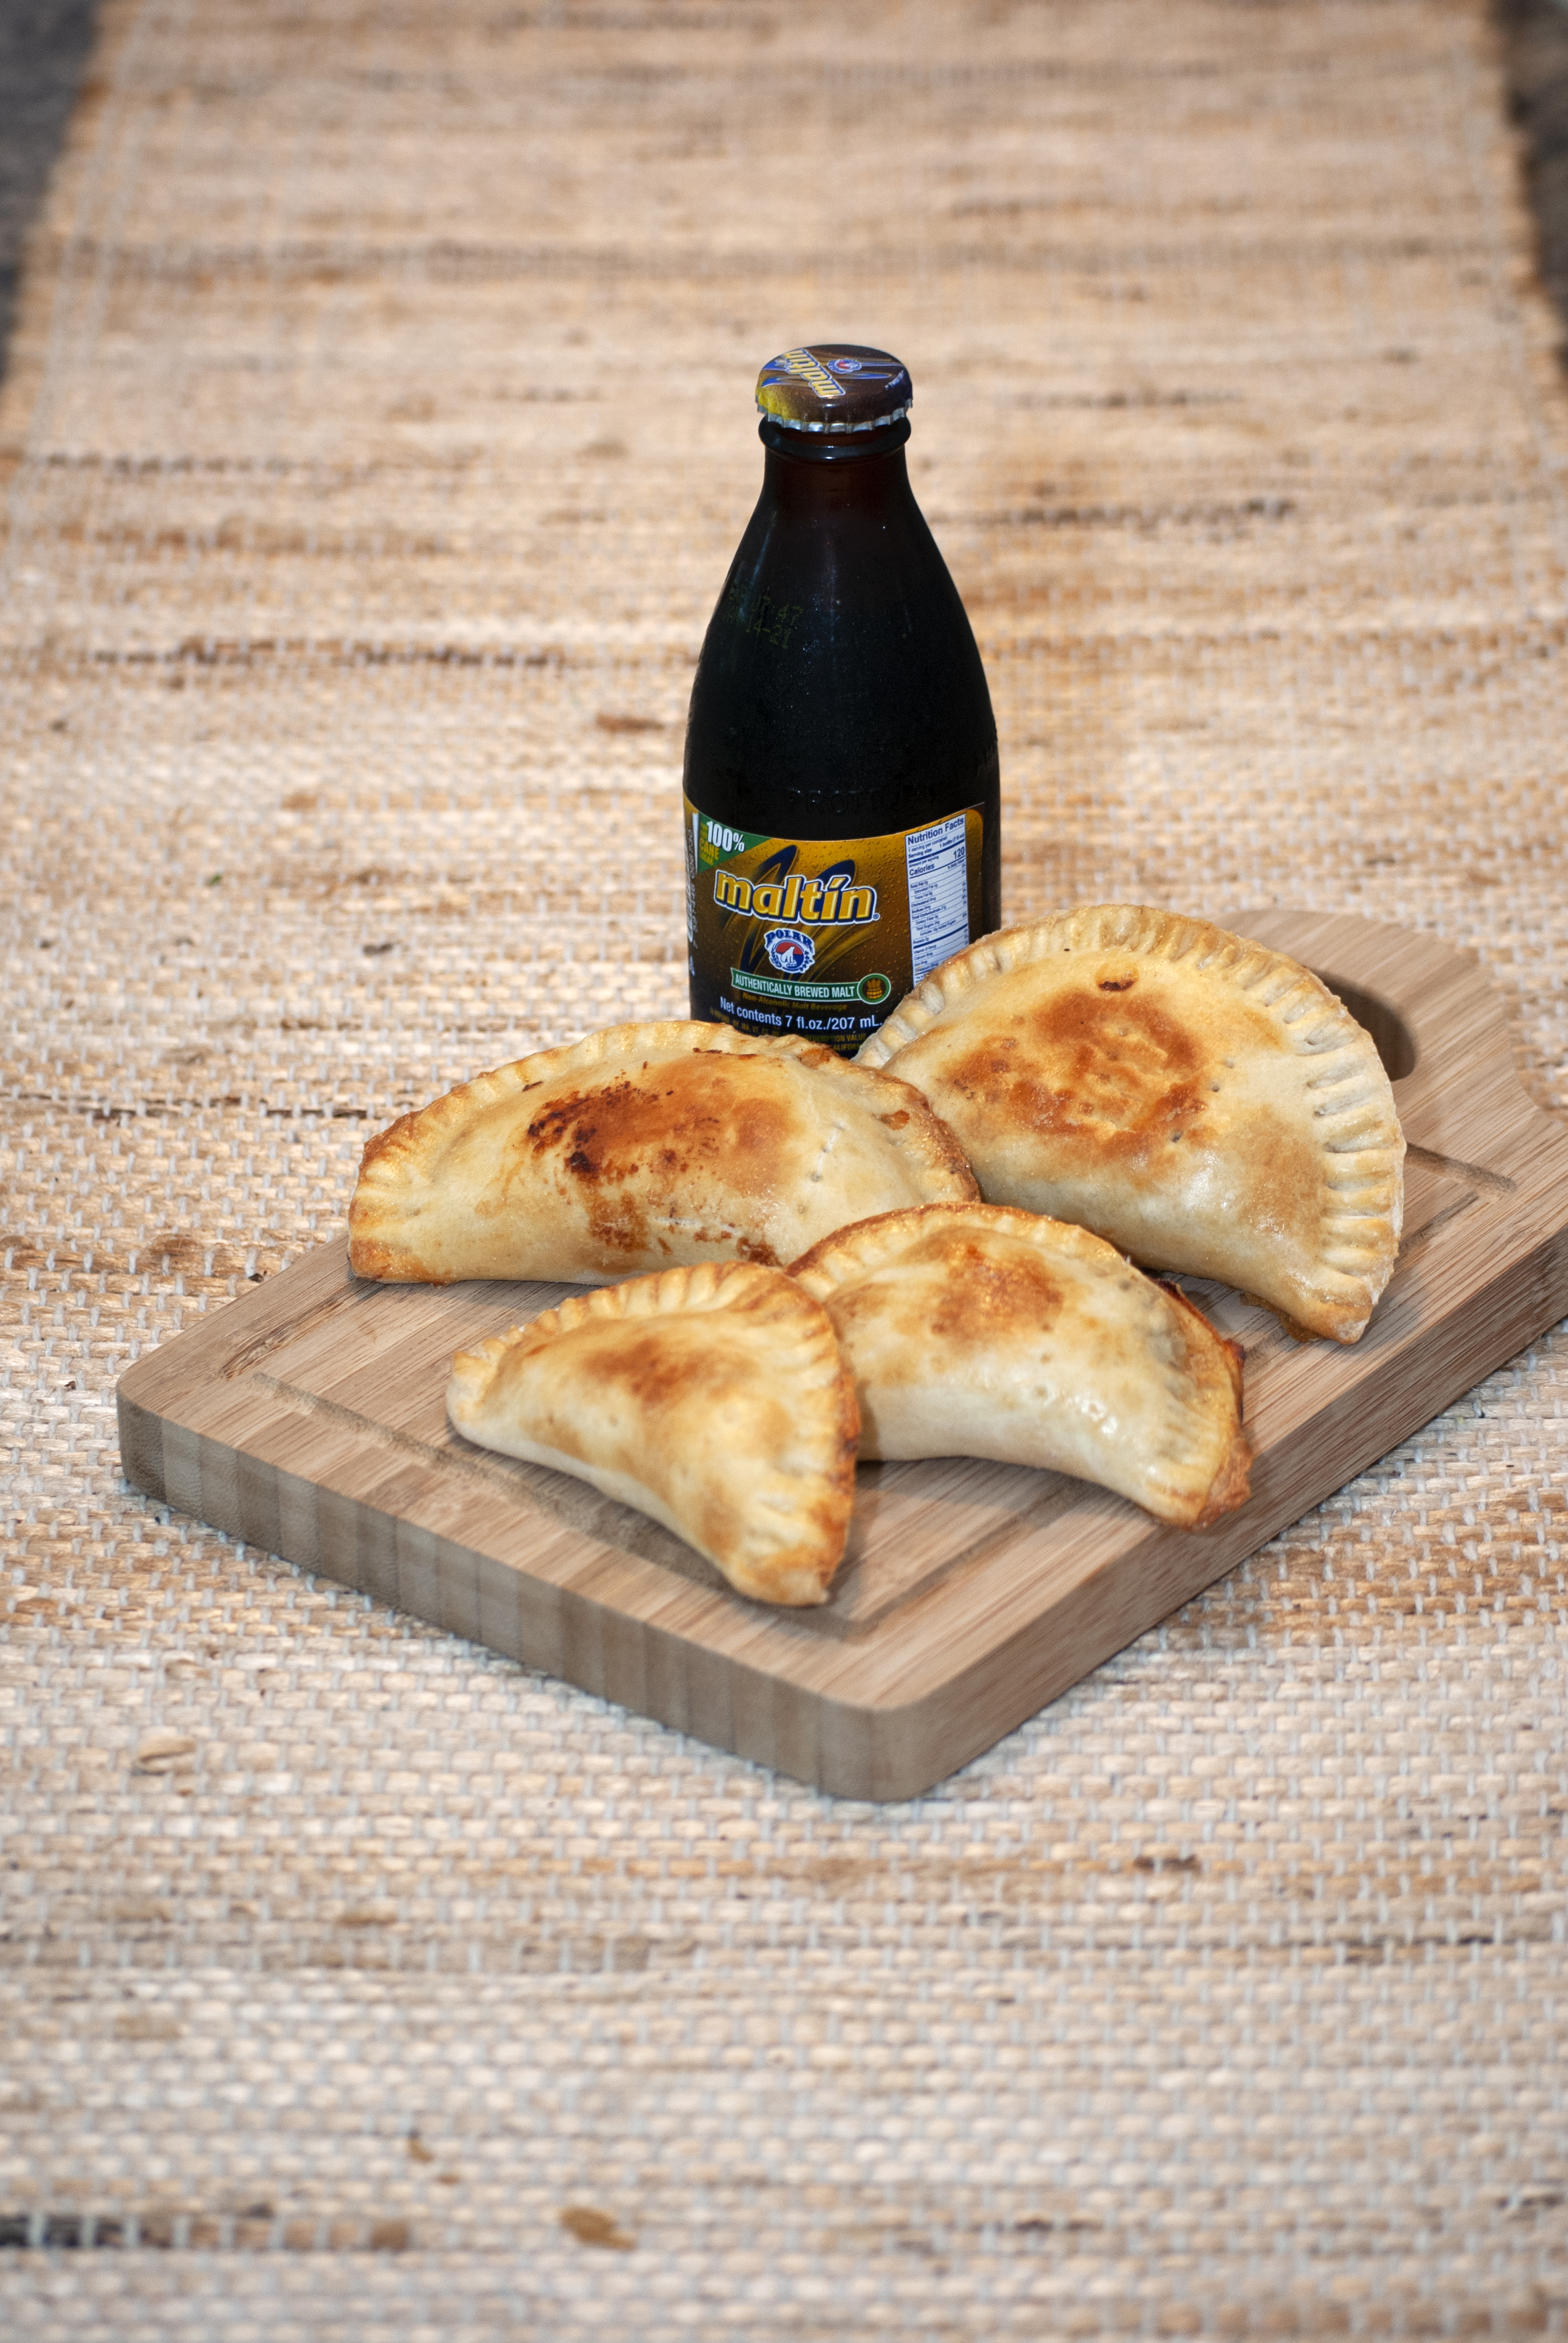
So… what is a pastelito? I deliberately left the pastelito word on the English part of the title of this recipe same as in Spanish. Pastelitos, to me, do not have a real translation in English, much like Arepas or Empanadas. However, I can give you a few examples of other food items across the world that are SIMILAR to pastelitos, but definitely not the same. The key differences being the filling and the ingredients for the dough.

Some examples that could be similar to pastelitos are Greek Bougatsas; Aloo Pies in Trinidad and Tobago; Bridies and Cornish Pasty in the United Kingdom; Curry puffs in Southeast Asia; Knish in Eastern Europe; an Öçpoçmaq in Russia; Panzarottis in Italy; Paste in Mexico; Pastel in Brazil; Maltese Pastizzis; Pâté Chauds in Vietnam; Pithiviers in France; Samosas in the Indian subcontinent; turnovers, hot pockets, or a very small portable pot pie here in the US.

Pastelitos are definitely a staple of my childhood in Venezuela. The recipe for pastelitos is a bit more complex than empanadas, so they are not usually cooked at home… unless you’re lucky enough to have an avid baker in the house.

One of those times I would enjoy pastelitos would be in school. As I mentioned in other posts, my mom was a super-mom who would serve homemade breakfast, lunch and dinner every day. Consequently, I rarely took any big meals to school in my lunchbox. Mostly I took beverages and healthy snacks, plus a few chucherías now and then. When I was older and I would receive cash gifts or money for completing chores, I would purchase snacks in the school’s Cantina. I attended three different schools in Venezuela, and I can still remember all three different cantinas in each one.

La cantina escolar, was the school’s cafeteria. However, unlike here in the US, la cantina was usually independently operated by someone else as a business inside the school, and not by the school itself. Usually, it was a relative of someone else who worked at the school, or even a parent. La cantina usually offered a wide variety of selections, from chucherías, to small snacks like pastelitos, empanadas, tequeños, or even a full meal like a Pabellón Criollo. They also had a variety of drinks, including chicha, malta, fresh fruit juices, papelon con limon, and sodas. It was basically like a small food kiosk or small restaurant inside the school. In some schools I had only one recreo (recess), but in others the day was divided by two recess periods. Either way, the cantinas would usually be packed during recreo, so I almost never wanted to buy anything. First, I would always have a big breakfast and lunch at home, plus I brought my own lunchbox, so I didn’t feel the need to buy anything in the cantina. Second, buying something in the cantina could mean that you would spend half your recess time standing in line. However, on those PT days were we would burn a ton of calories working out, I would always buy something at the cantina after PT class, when there was no line. The most common combo at the cantina that I used to buy would be an empanada and a malta; a tequeño and a malta; or a pastelito and a malta. Obviously, I love malta.

Another time where I recall eating and enjoying pastelitos was on random trips downtown with my mom. My mom was always running errands en el centro, or downtown. One of my absolute favorite errands to run with my mom was right before school started and we had to go shopping for school supplies. It was a whole adventure as a kid. We would take taxis, buses, the subway, and we also walked a lot. Going from bookstore to bookstore finding all the school supplies I needed. Most of those times we would still be running errands by lunch time, so we would have to eat somewhere before continuing our shopping. Sometimes, we would end up in a Panadería. Panaderías in Venezuela are like going to food-Disneyland for a kid. Panaderías are small food establishments where you can find pan (bread), in any type shape and form; coffee; sweets; cakes; sandwiches; pastelitos; empanadas; tequeños; meals; deli; etc. It’s like the grownups’ version of the cantina escolar. It’s like a bakery, but with a ton more options than just bread.

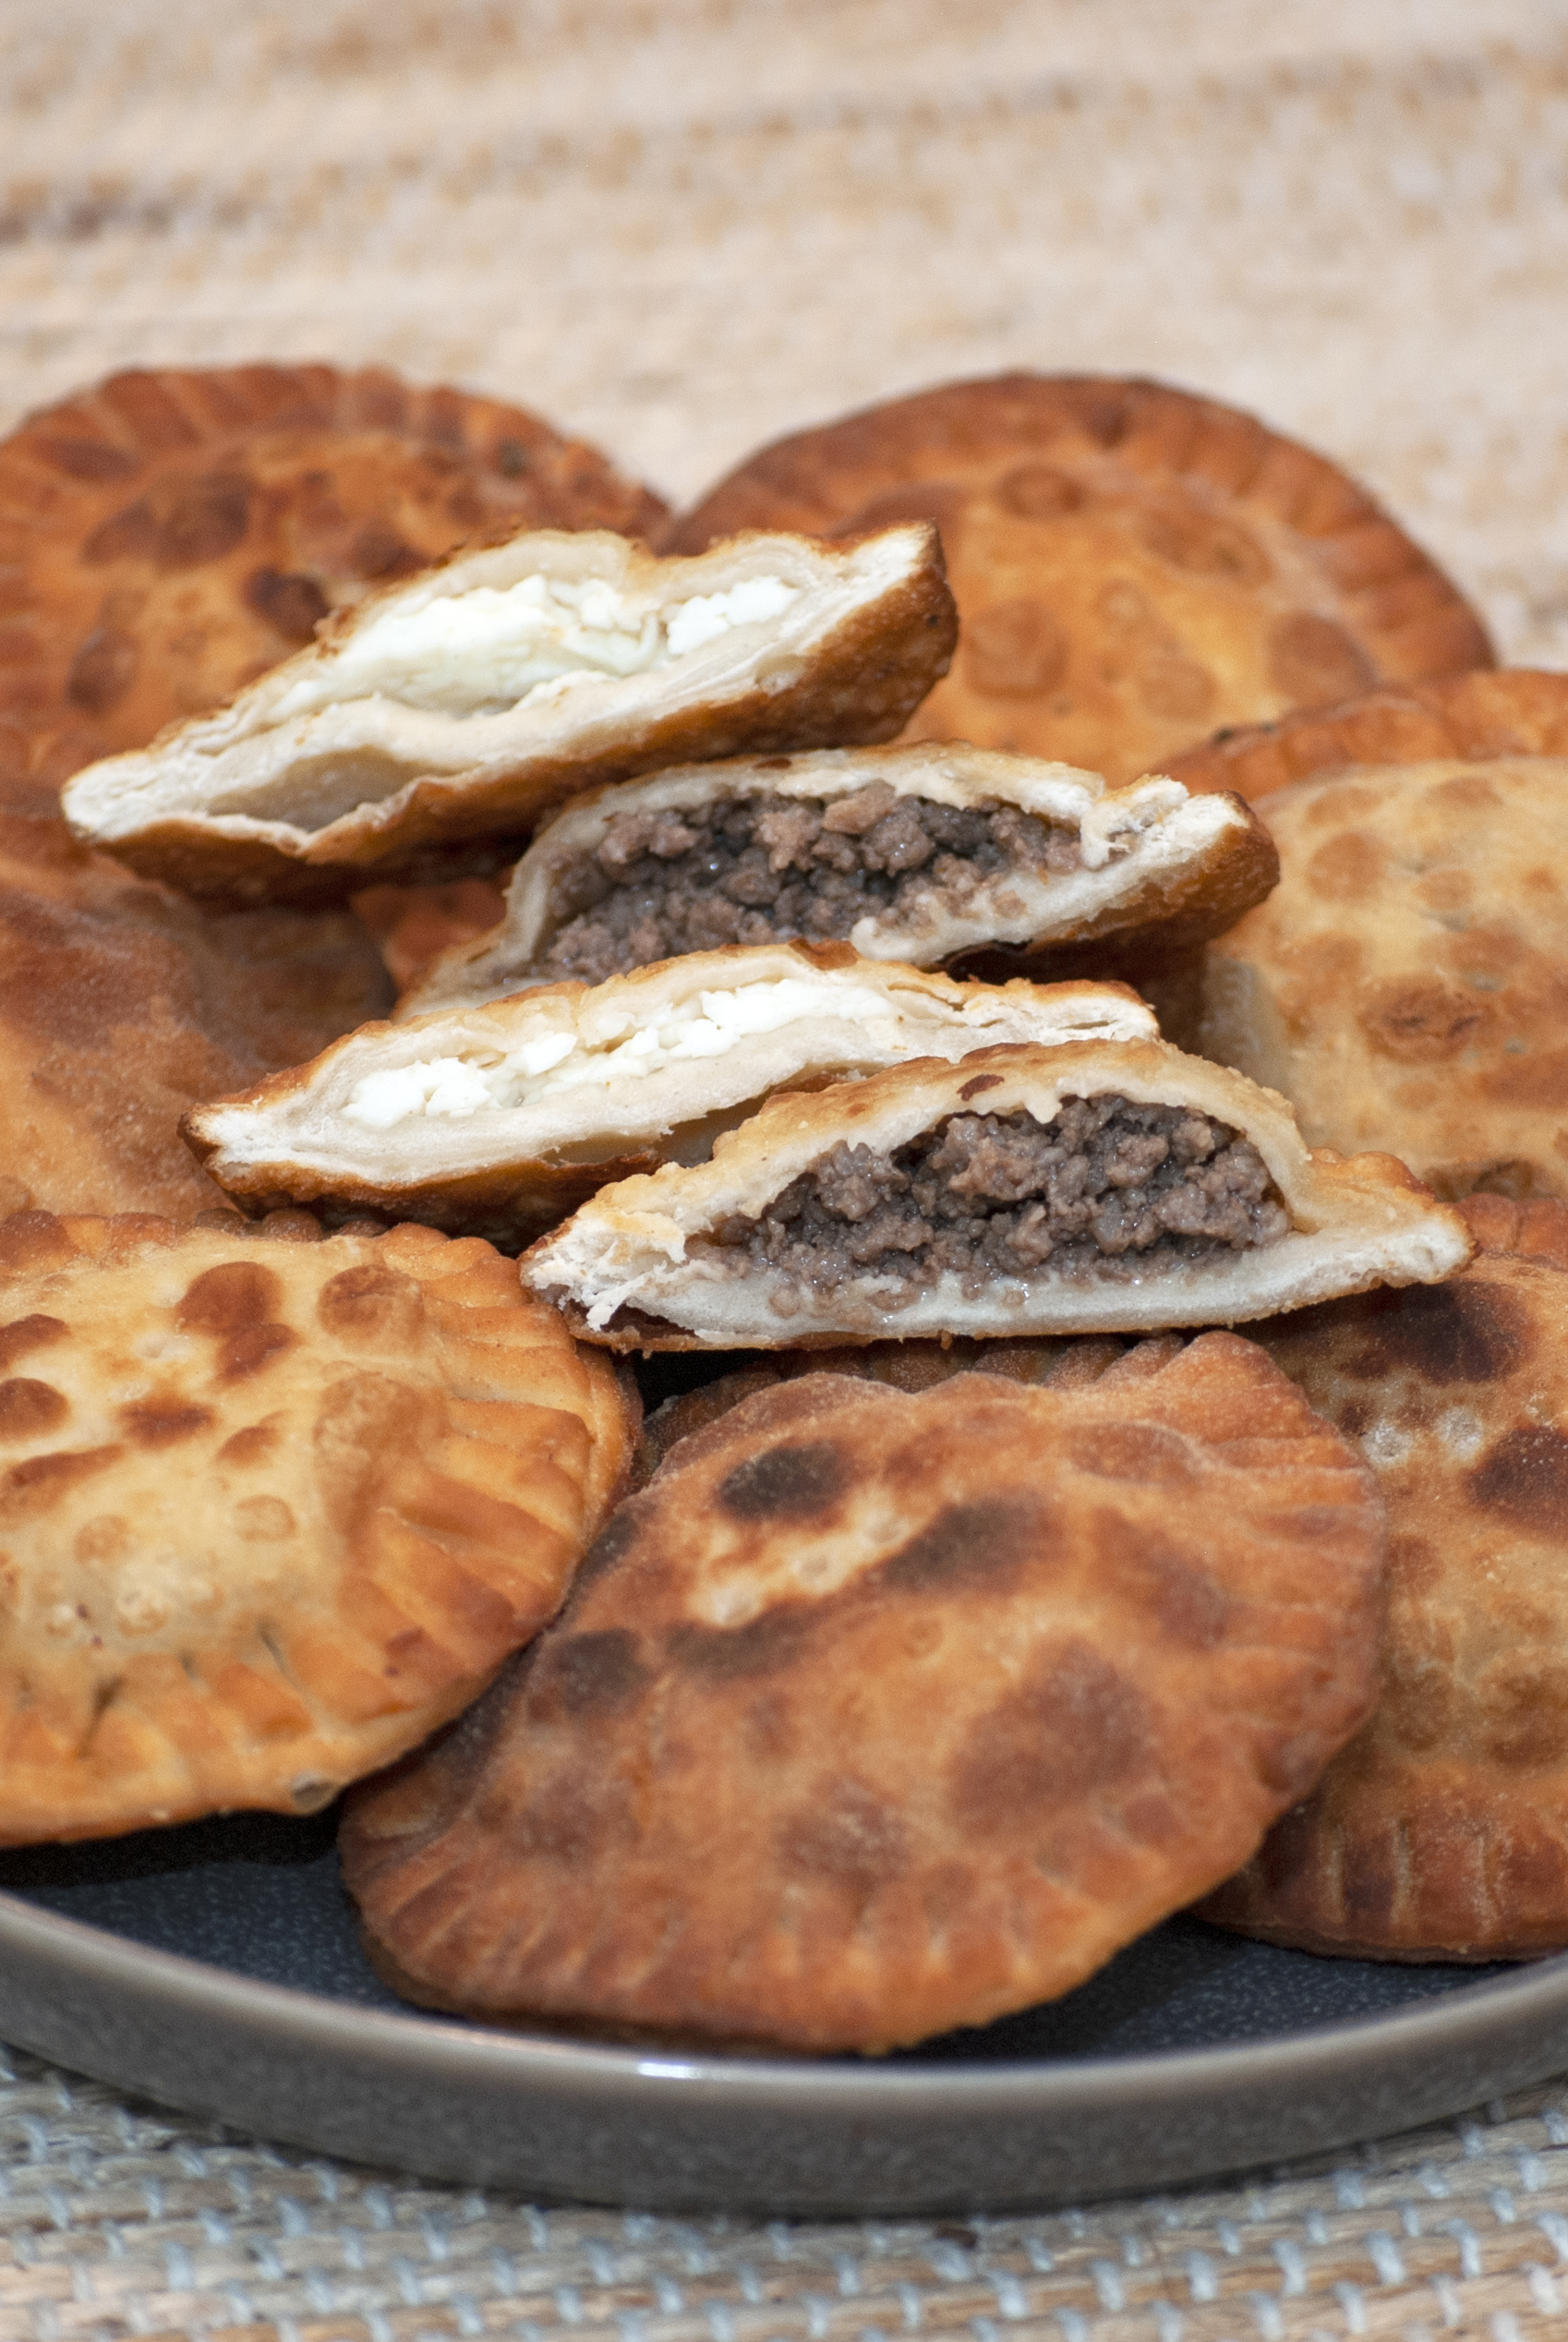
Both cantinas and panaderías serve these Venezuelan pastelitos. Venezuelans eat pastelitos for breakfast, lunch, dinner, as a snack or as pasapalos (hors d’oeuvre / appetizers) at parties. Pastelitos can come in many shapes and have many fillings. They can be round, square, moon-shaped, triangles, rectangles, etc. They can be filled with sweet or savory fillings. The most popular fillings are ground beef, cheese, and chicken. However, you can find many different fillings across different regions in Venezuela. For example, in the Andes you can find the common ones as well as trout, chickpeas, rice, eggs, and even cheese with guava jelly or guava paste. For this recipe, I am focusing on the salty (savory) type of pastelitos. Pastelitos can be deep fried or baked. This recipe works for both.

Note: This recipe is supposed to yield 50 pastelitos, however I think that this will depend on the shape and size of your pastelitos.

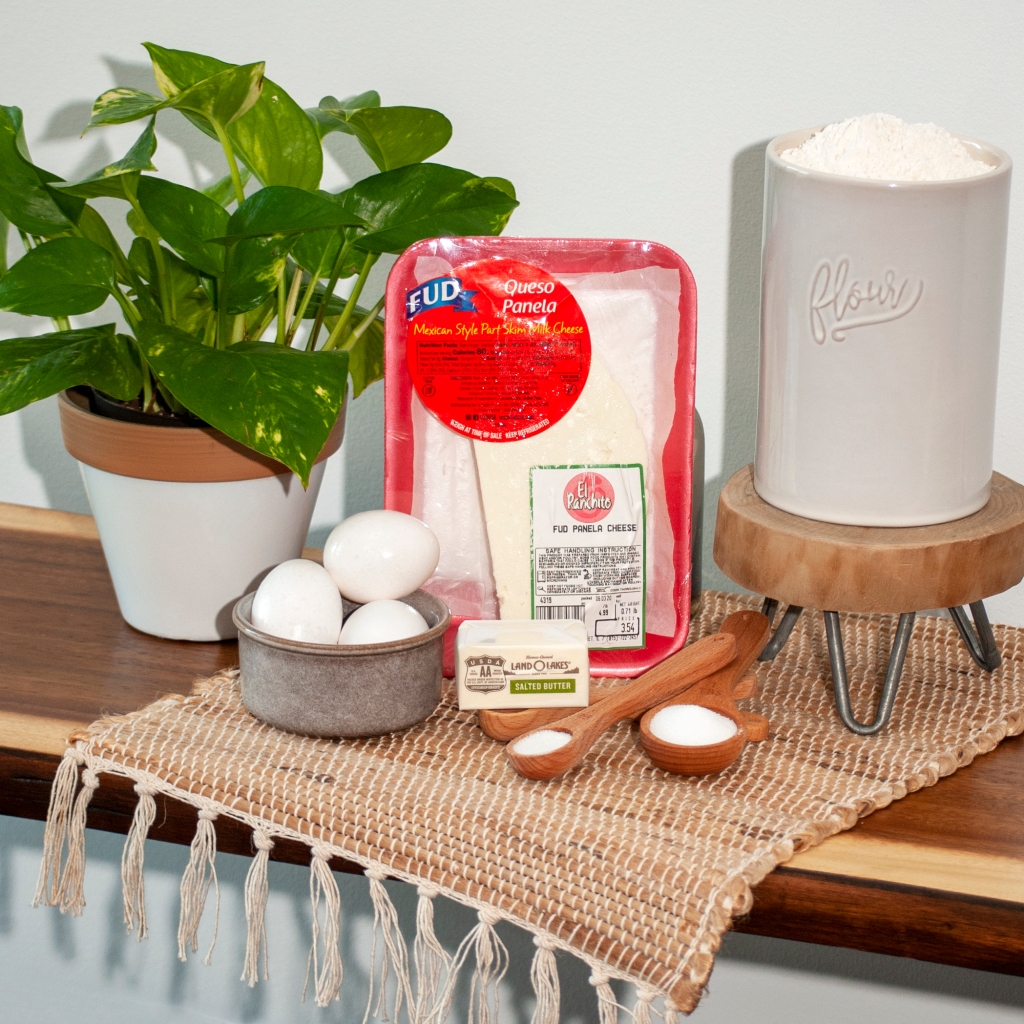
Ingredients for Venezuelan Pastelitos

What you need:
– 4 cups of all-purpose flour
– 1 ½ tsp salt
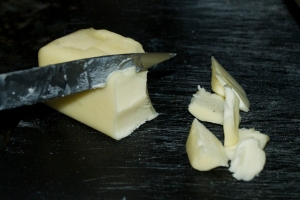
– 3 tbsp butter (room temperature)
– 1 whole egg
– 2 egg yolks
– 1 tbsp sugar
– ¾ cup water
– Frying oil
– Paper Towels

Fillings: as mentioned above fillings can vary, but for this recipe I am using cooked ground beef and Mexican Queso Panela, which was the closest I could find to the Venezuelan Queso Blanco. The cheese should be a white hard or semi-hard cheese good for grating, and it should also be somewhat salty.

Preparation:
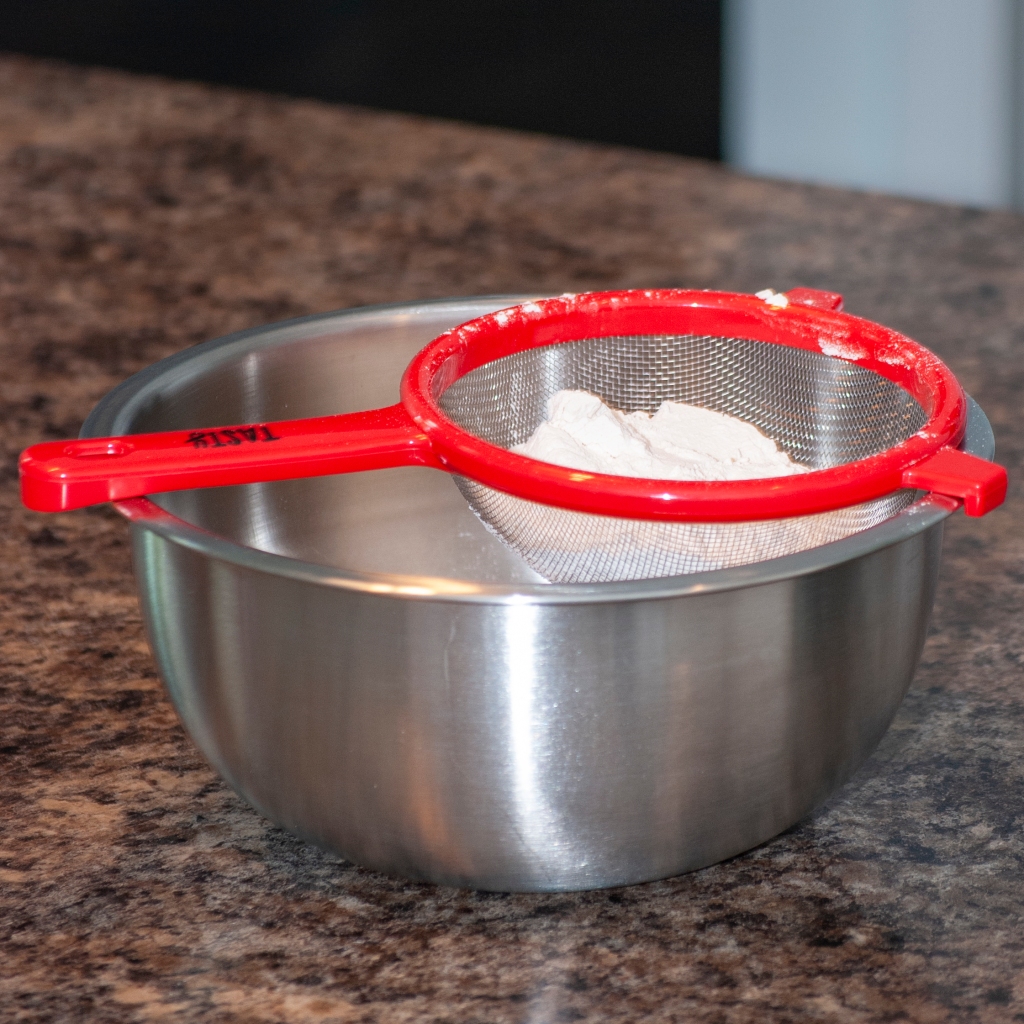
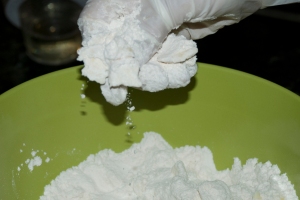
1. Sift the flour. If you don’t have an actual sifter, you can use a mesh strainer like I did.

Venezuelan Pastelitos

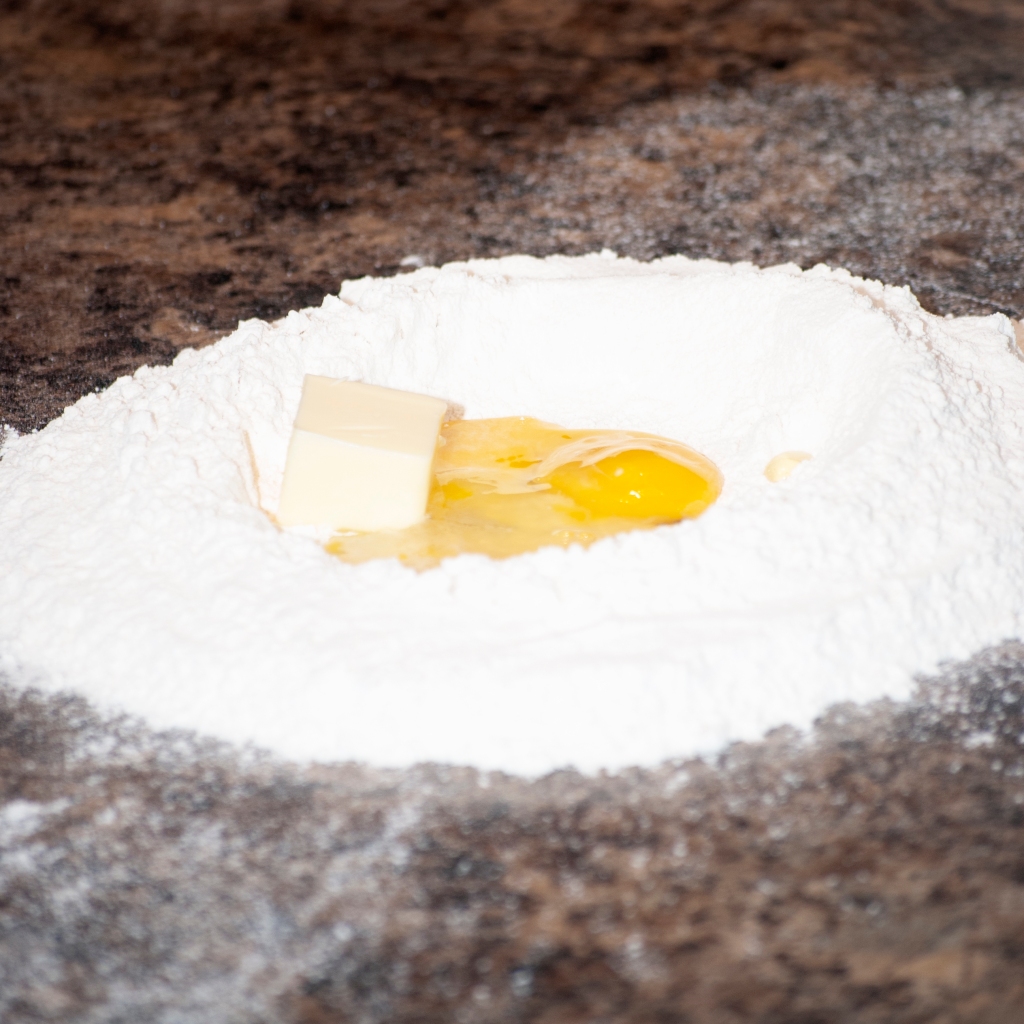
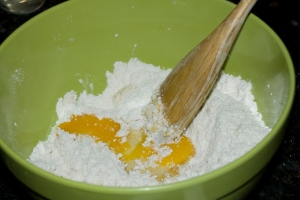
2. On a large and clean flat surface, combine the flour and salt. Mix well. Then create an opening in the center of the flour and add the butter, eggs and sugar.

Mix ingredients

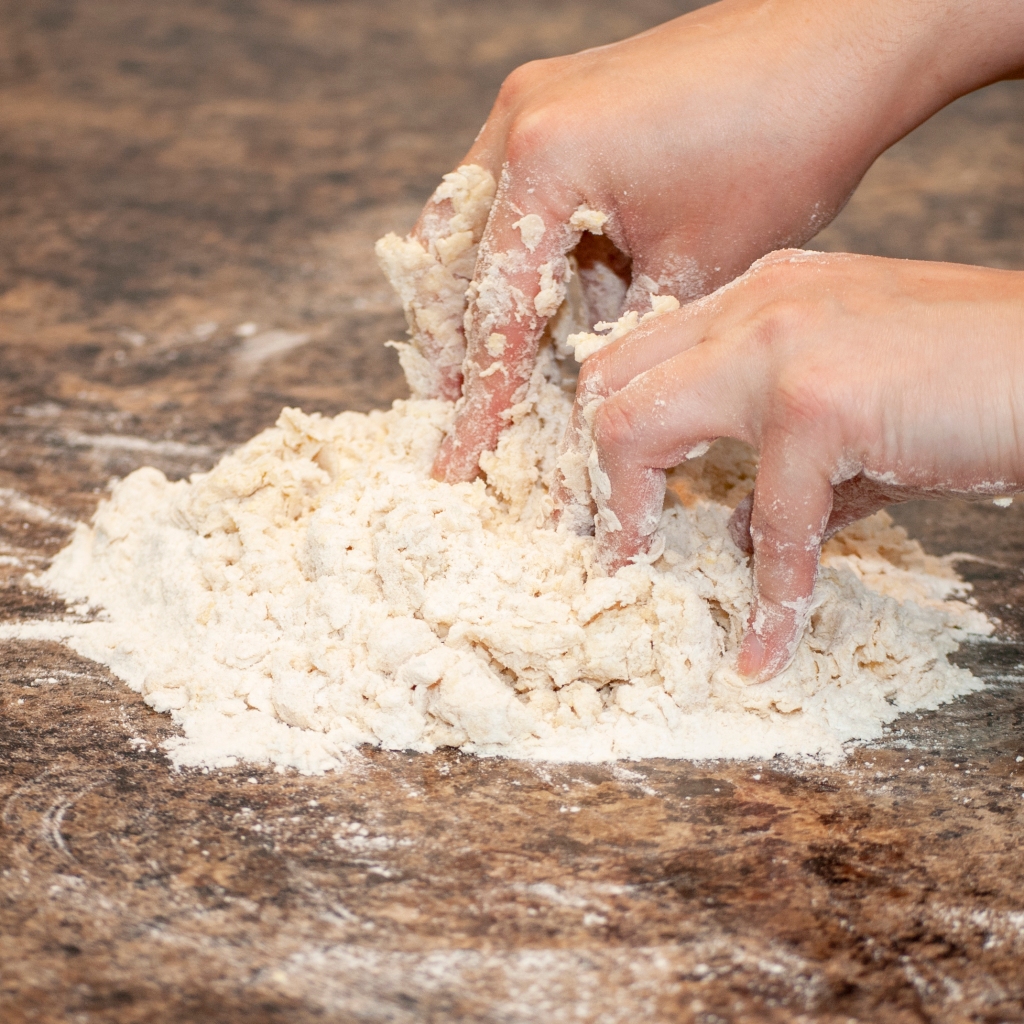
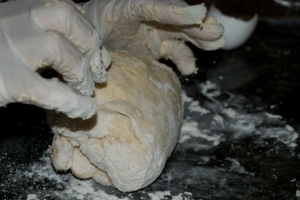
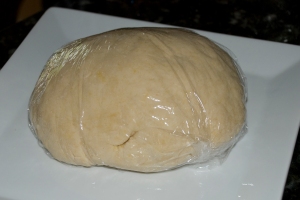
3. Start mixing all the ingredients with the tips of your fingers. Add water bit by bit as you mix. Mix until the dough is uniform, humid and soft. Dough should not stick to the table or your fingers when done.

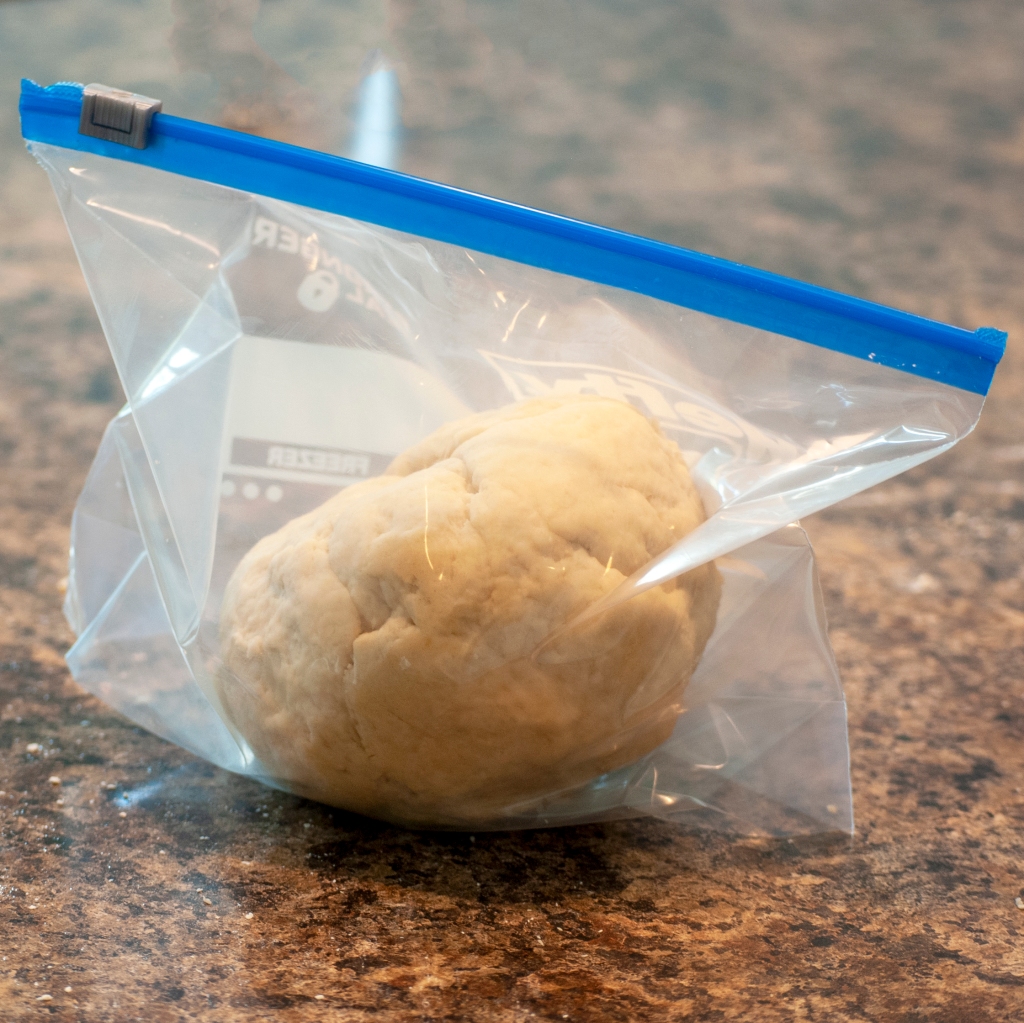
4. Cover with plastic, or keep in a ziplock bag and let it rest for one hour.

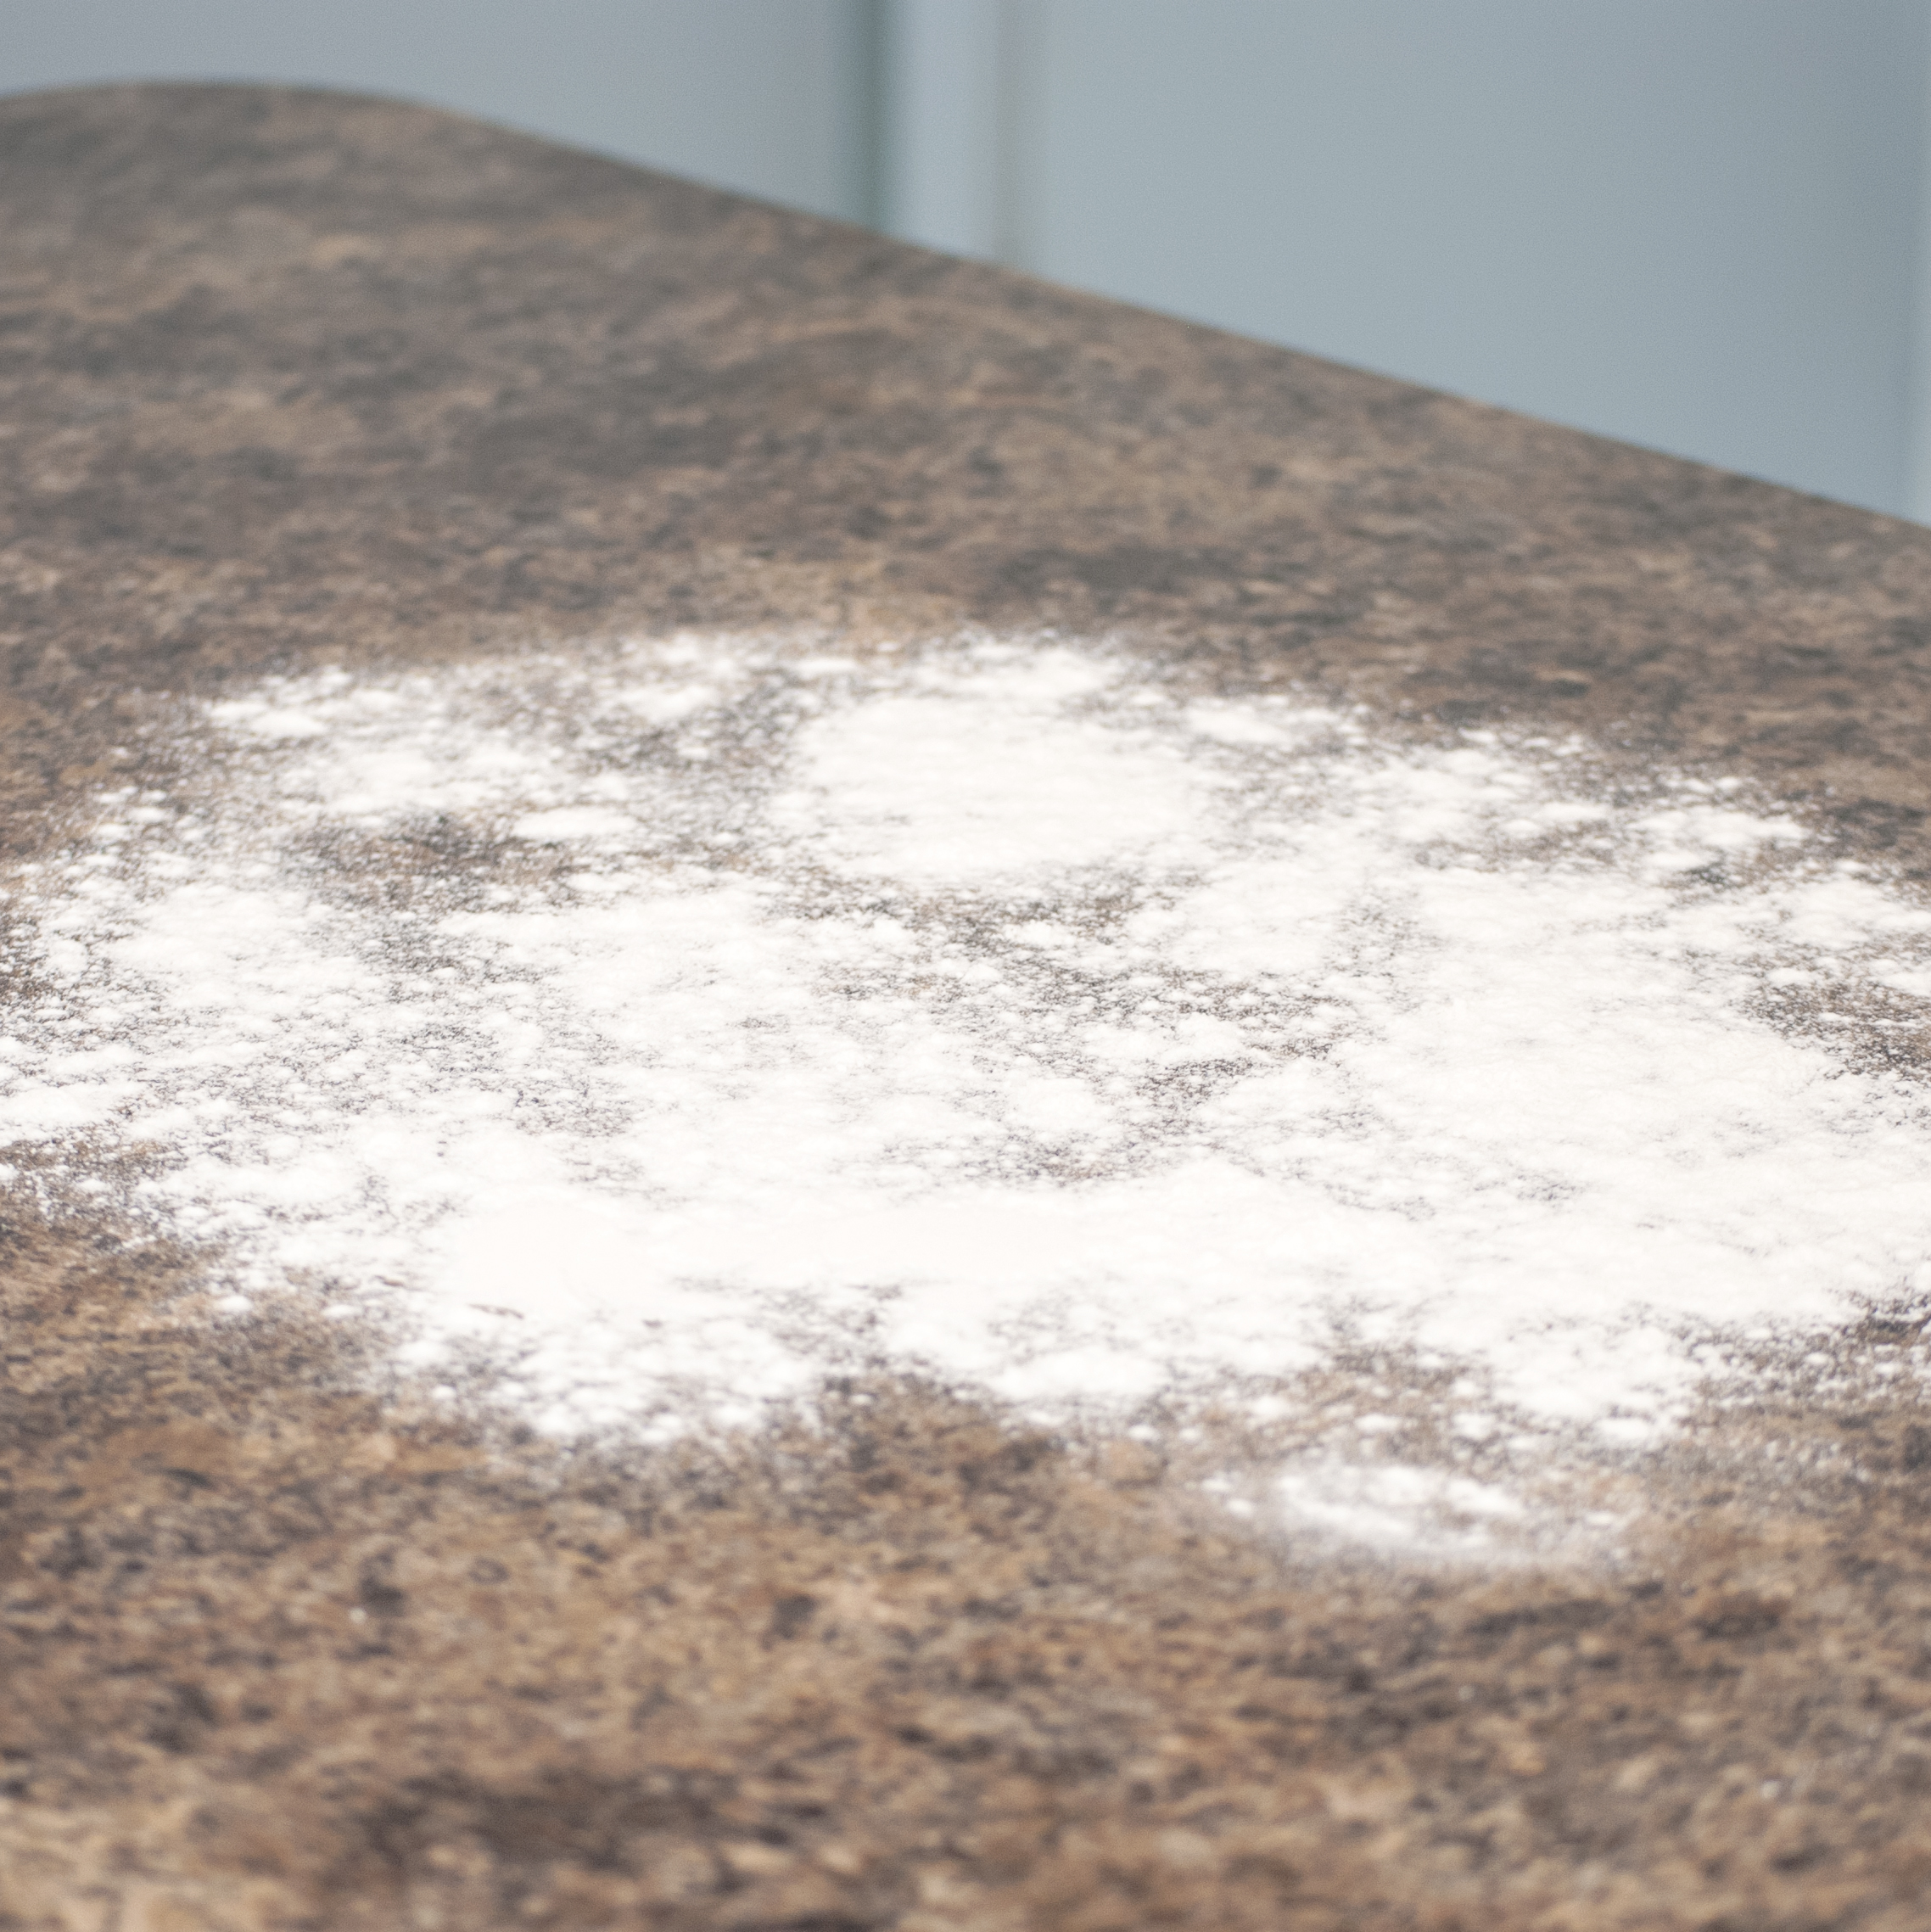
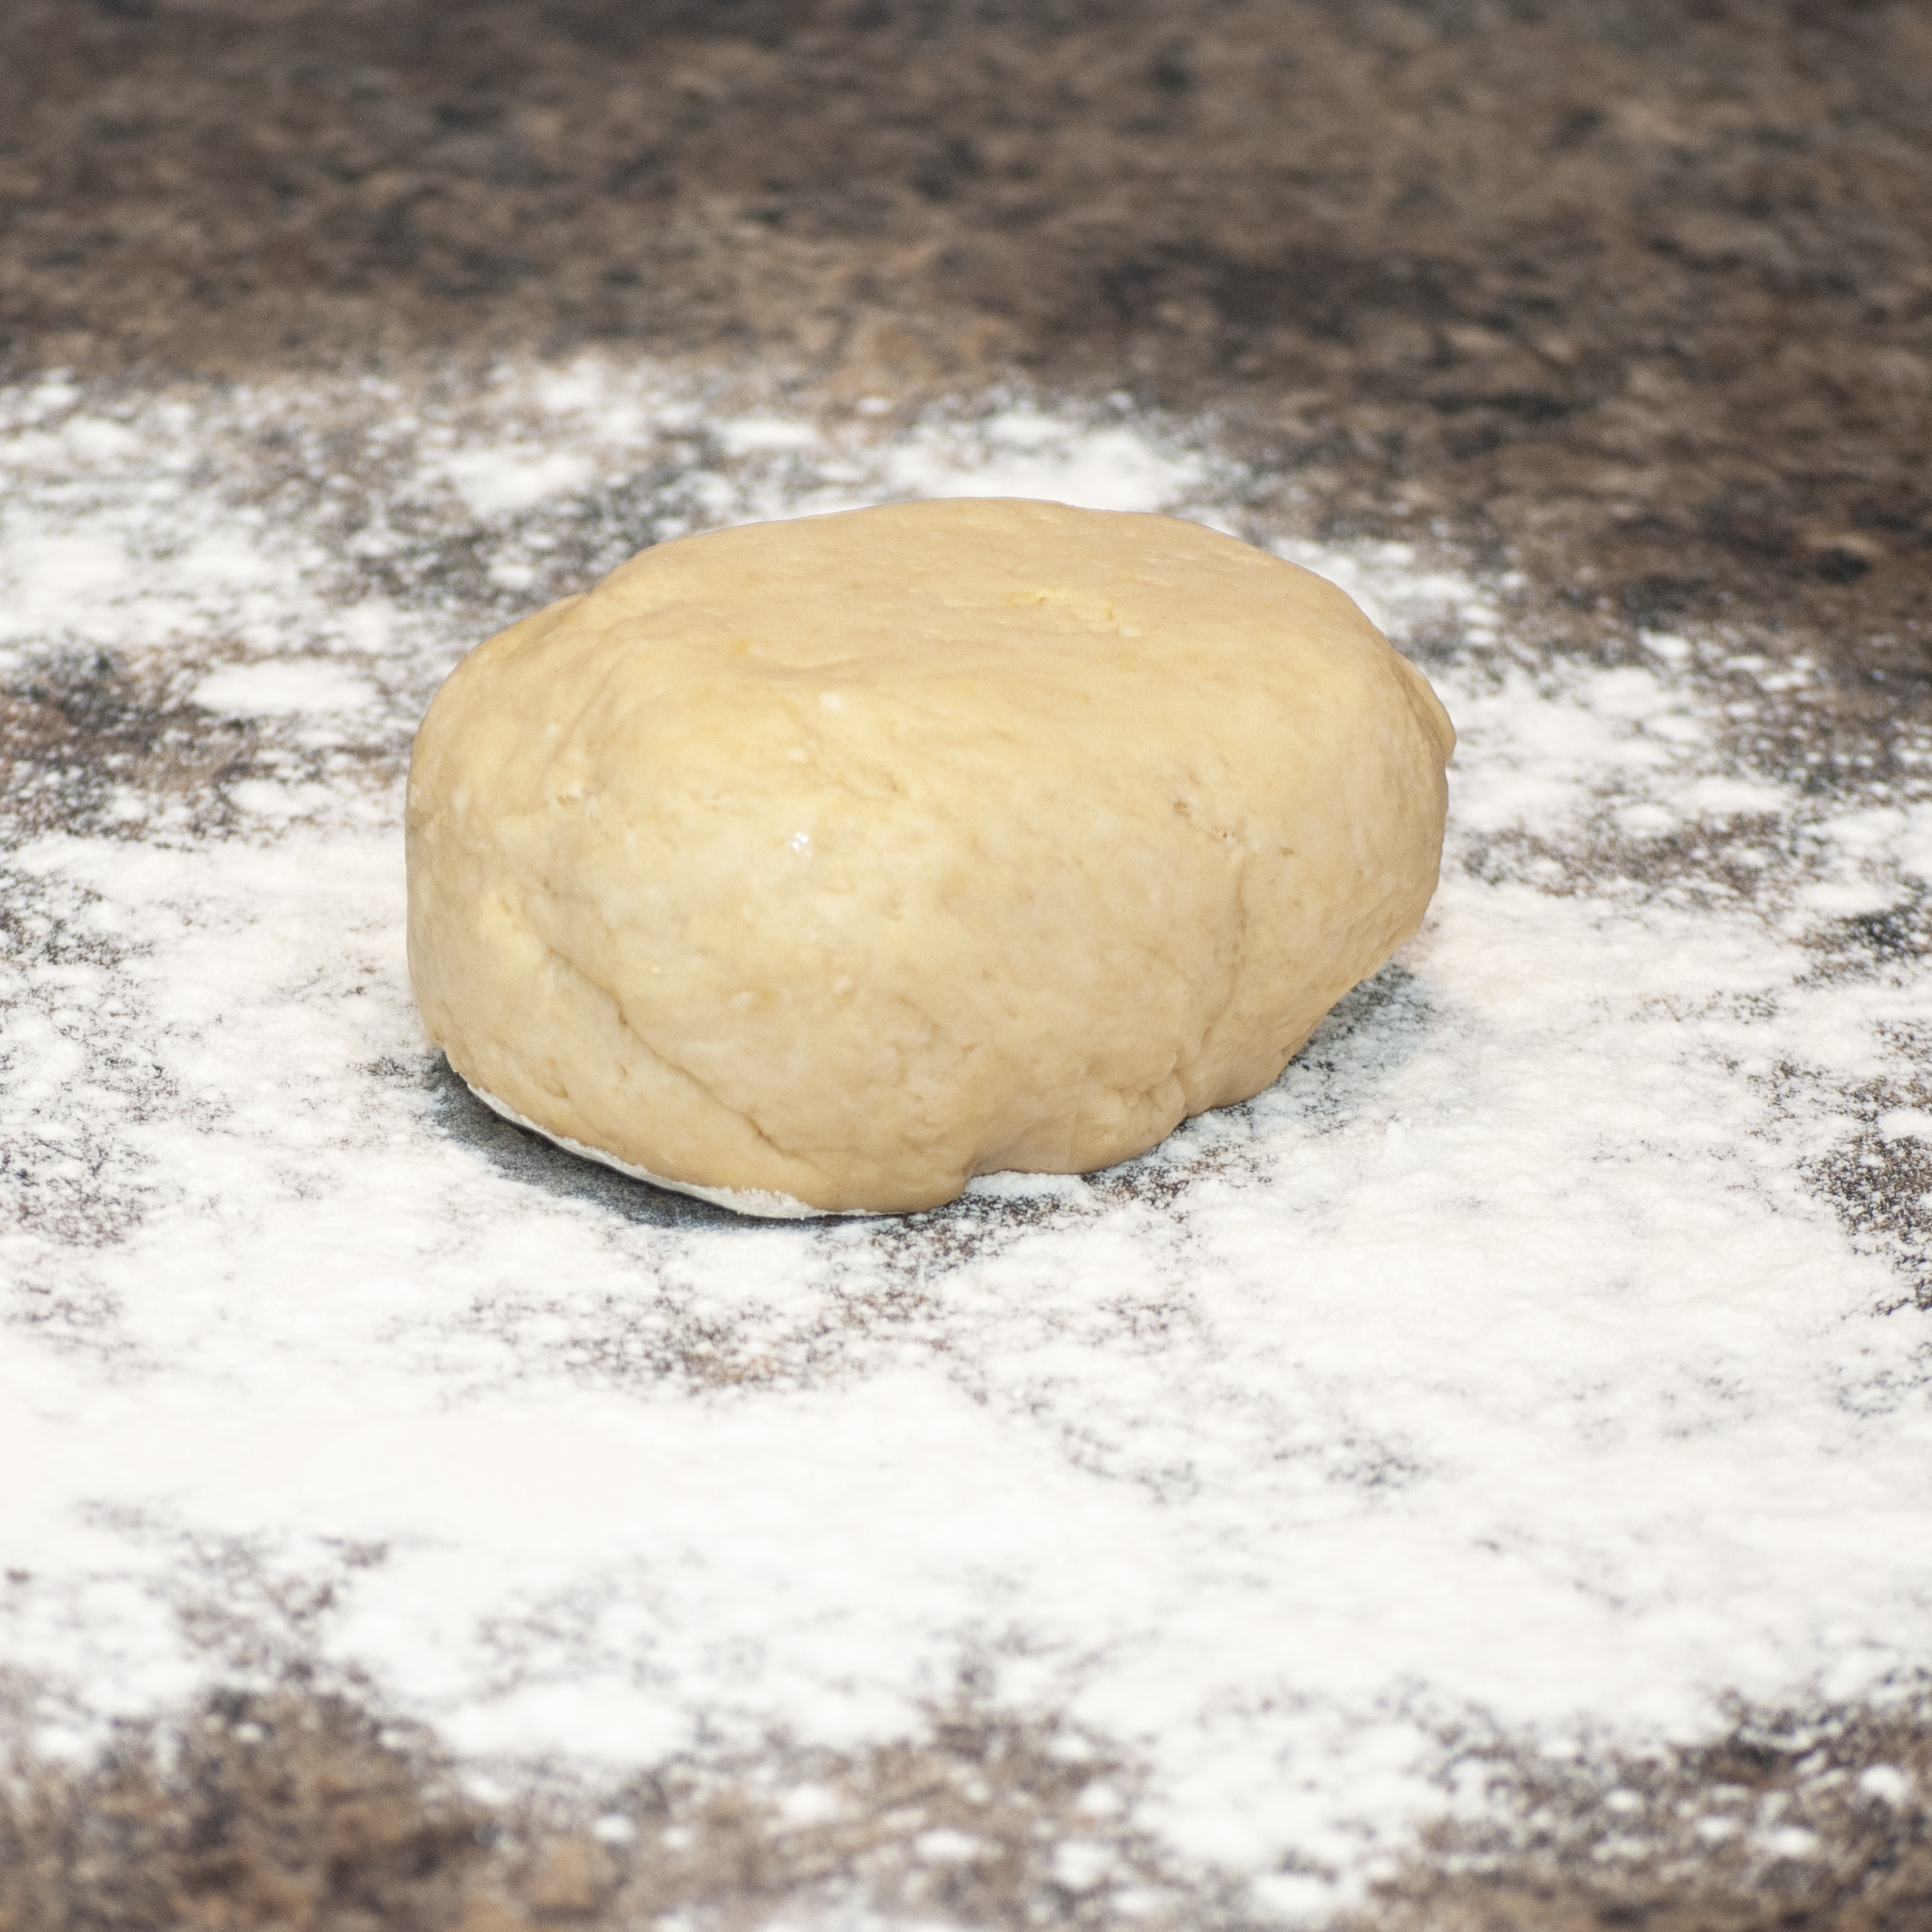
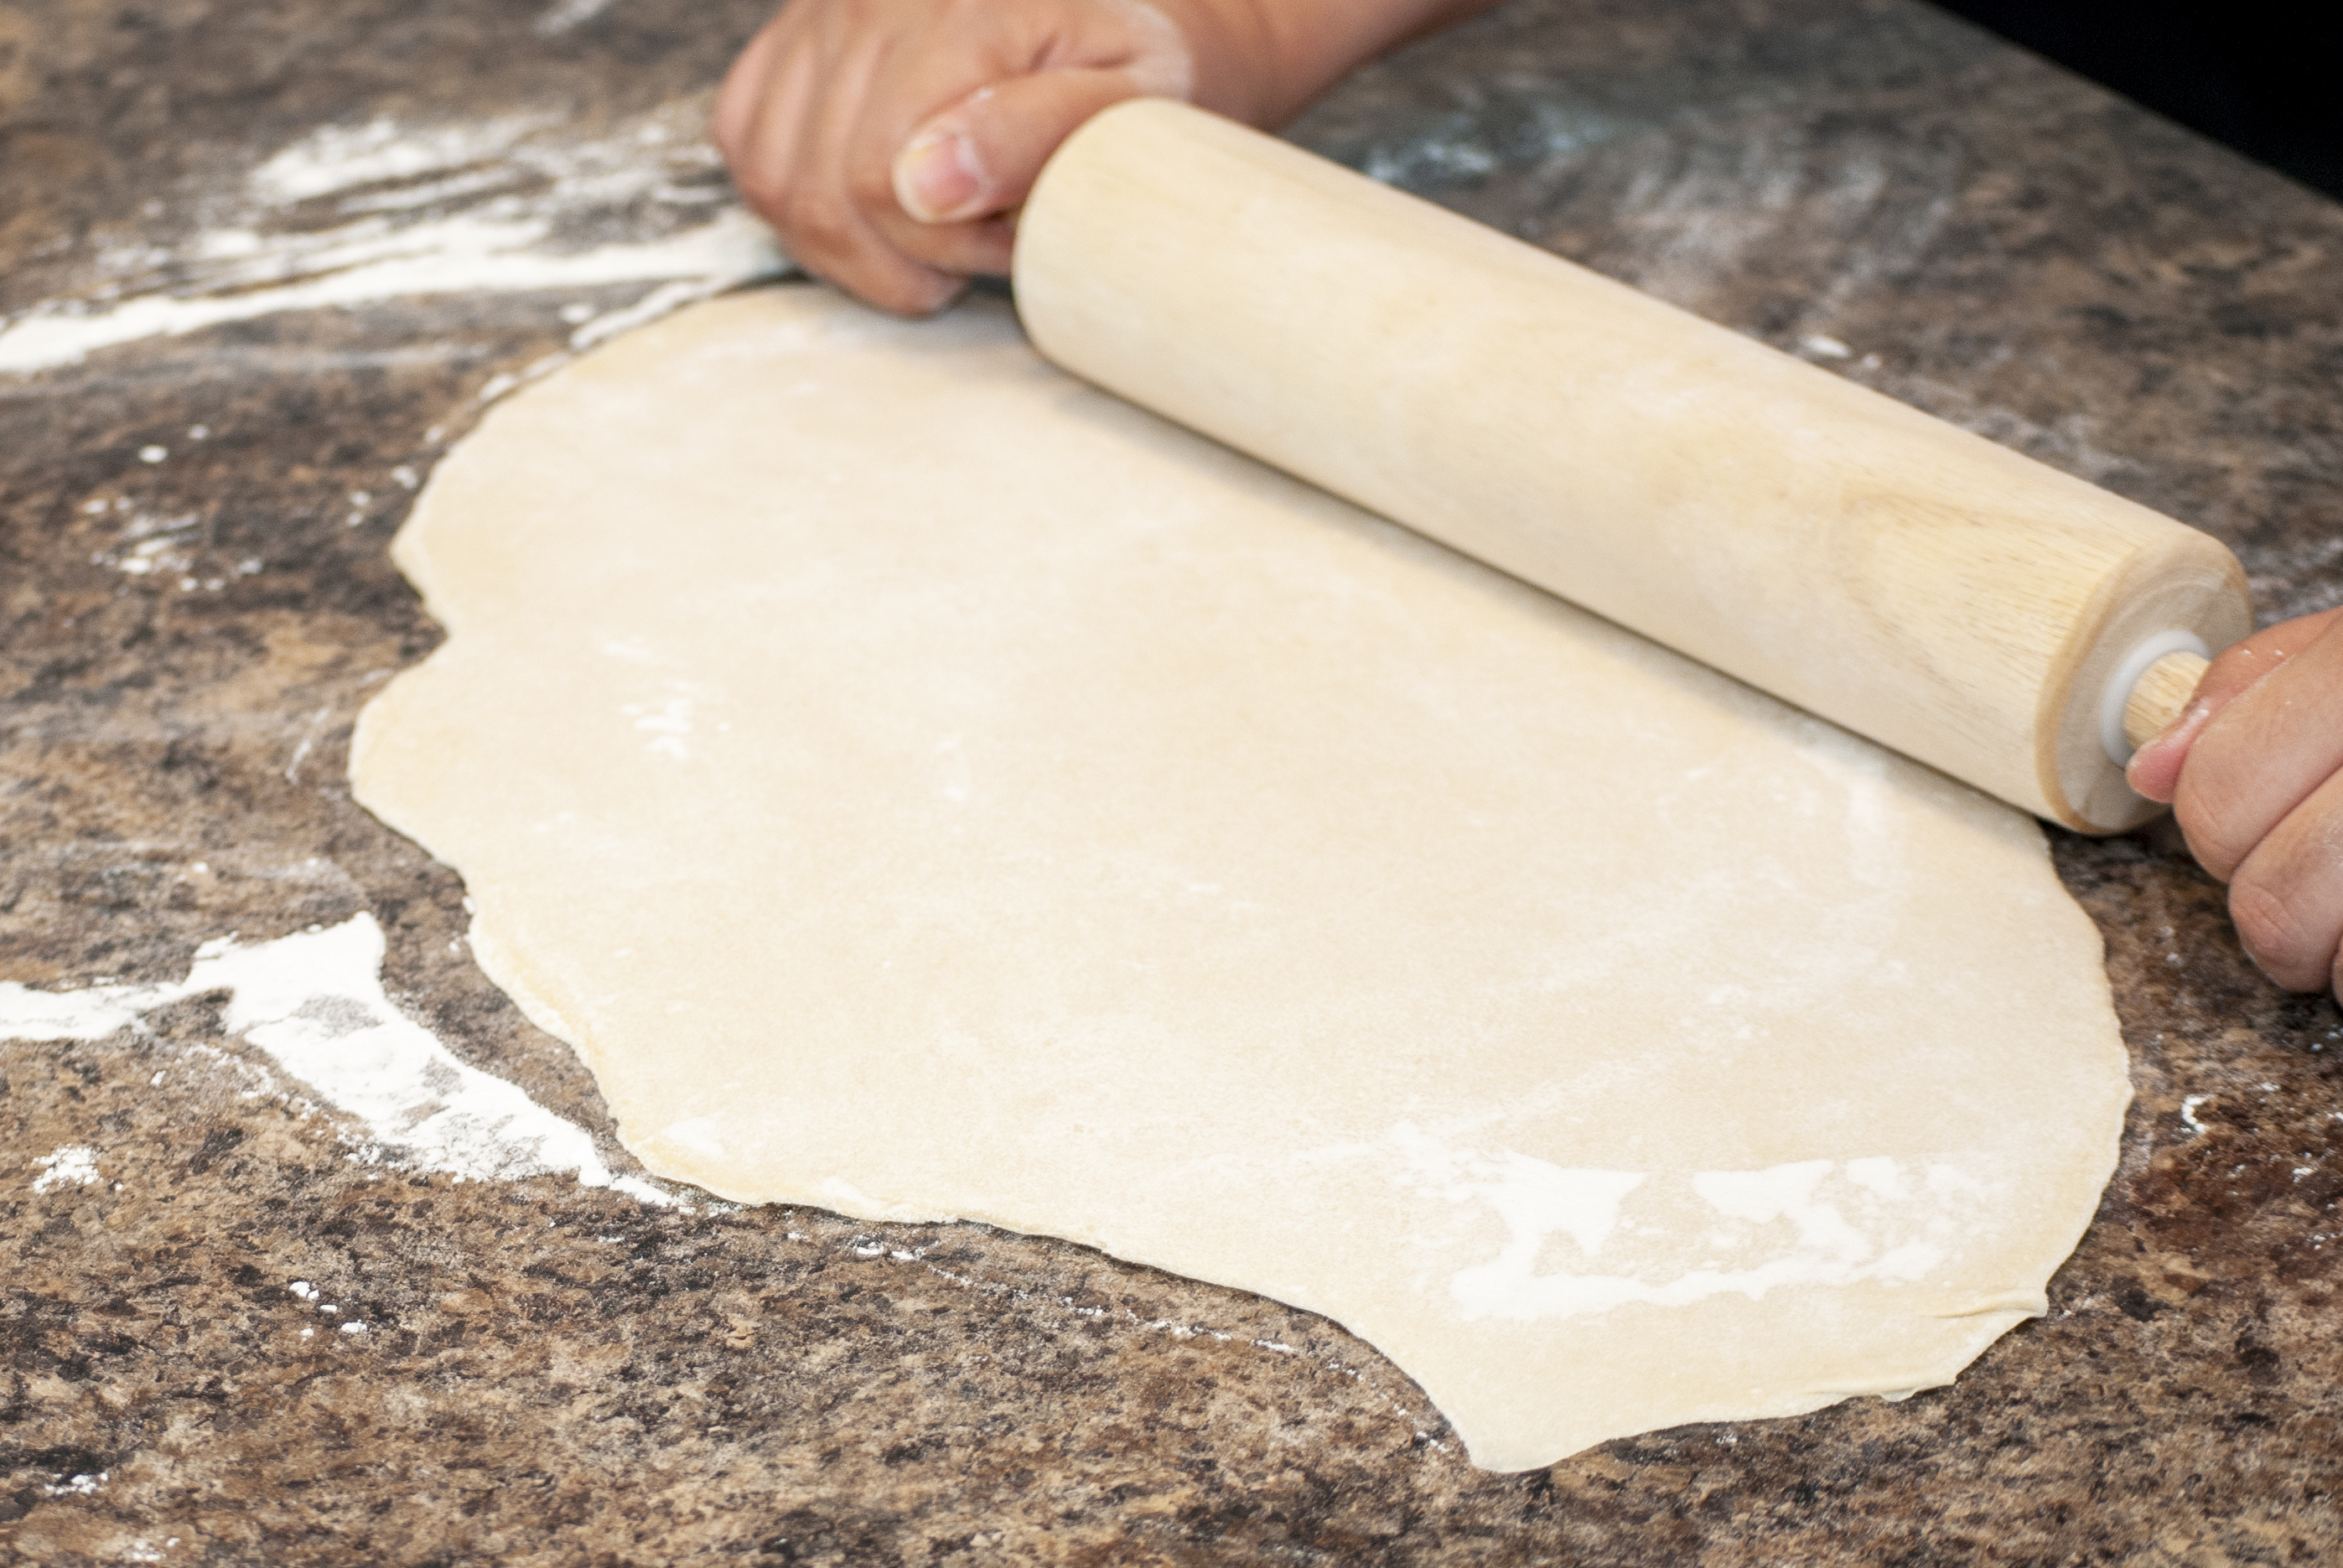
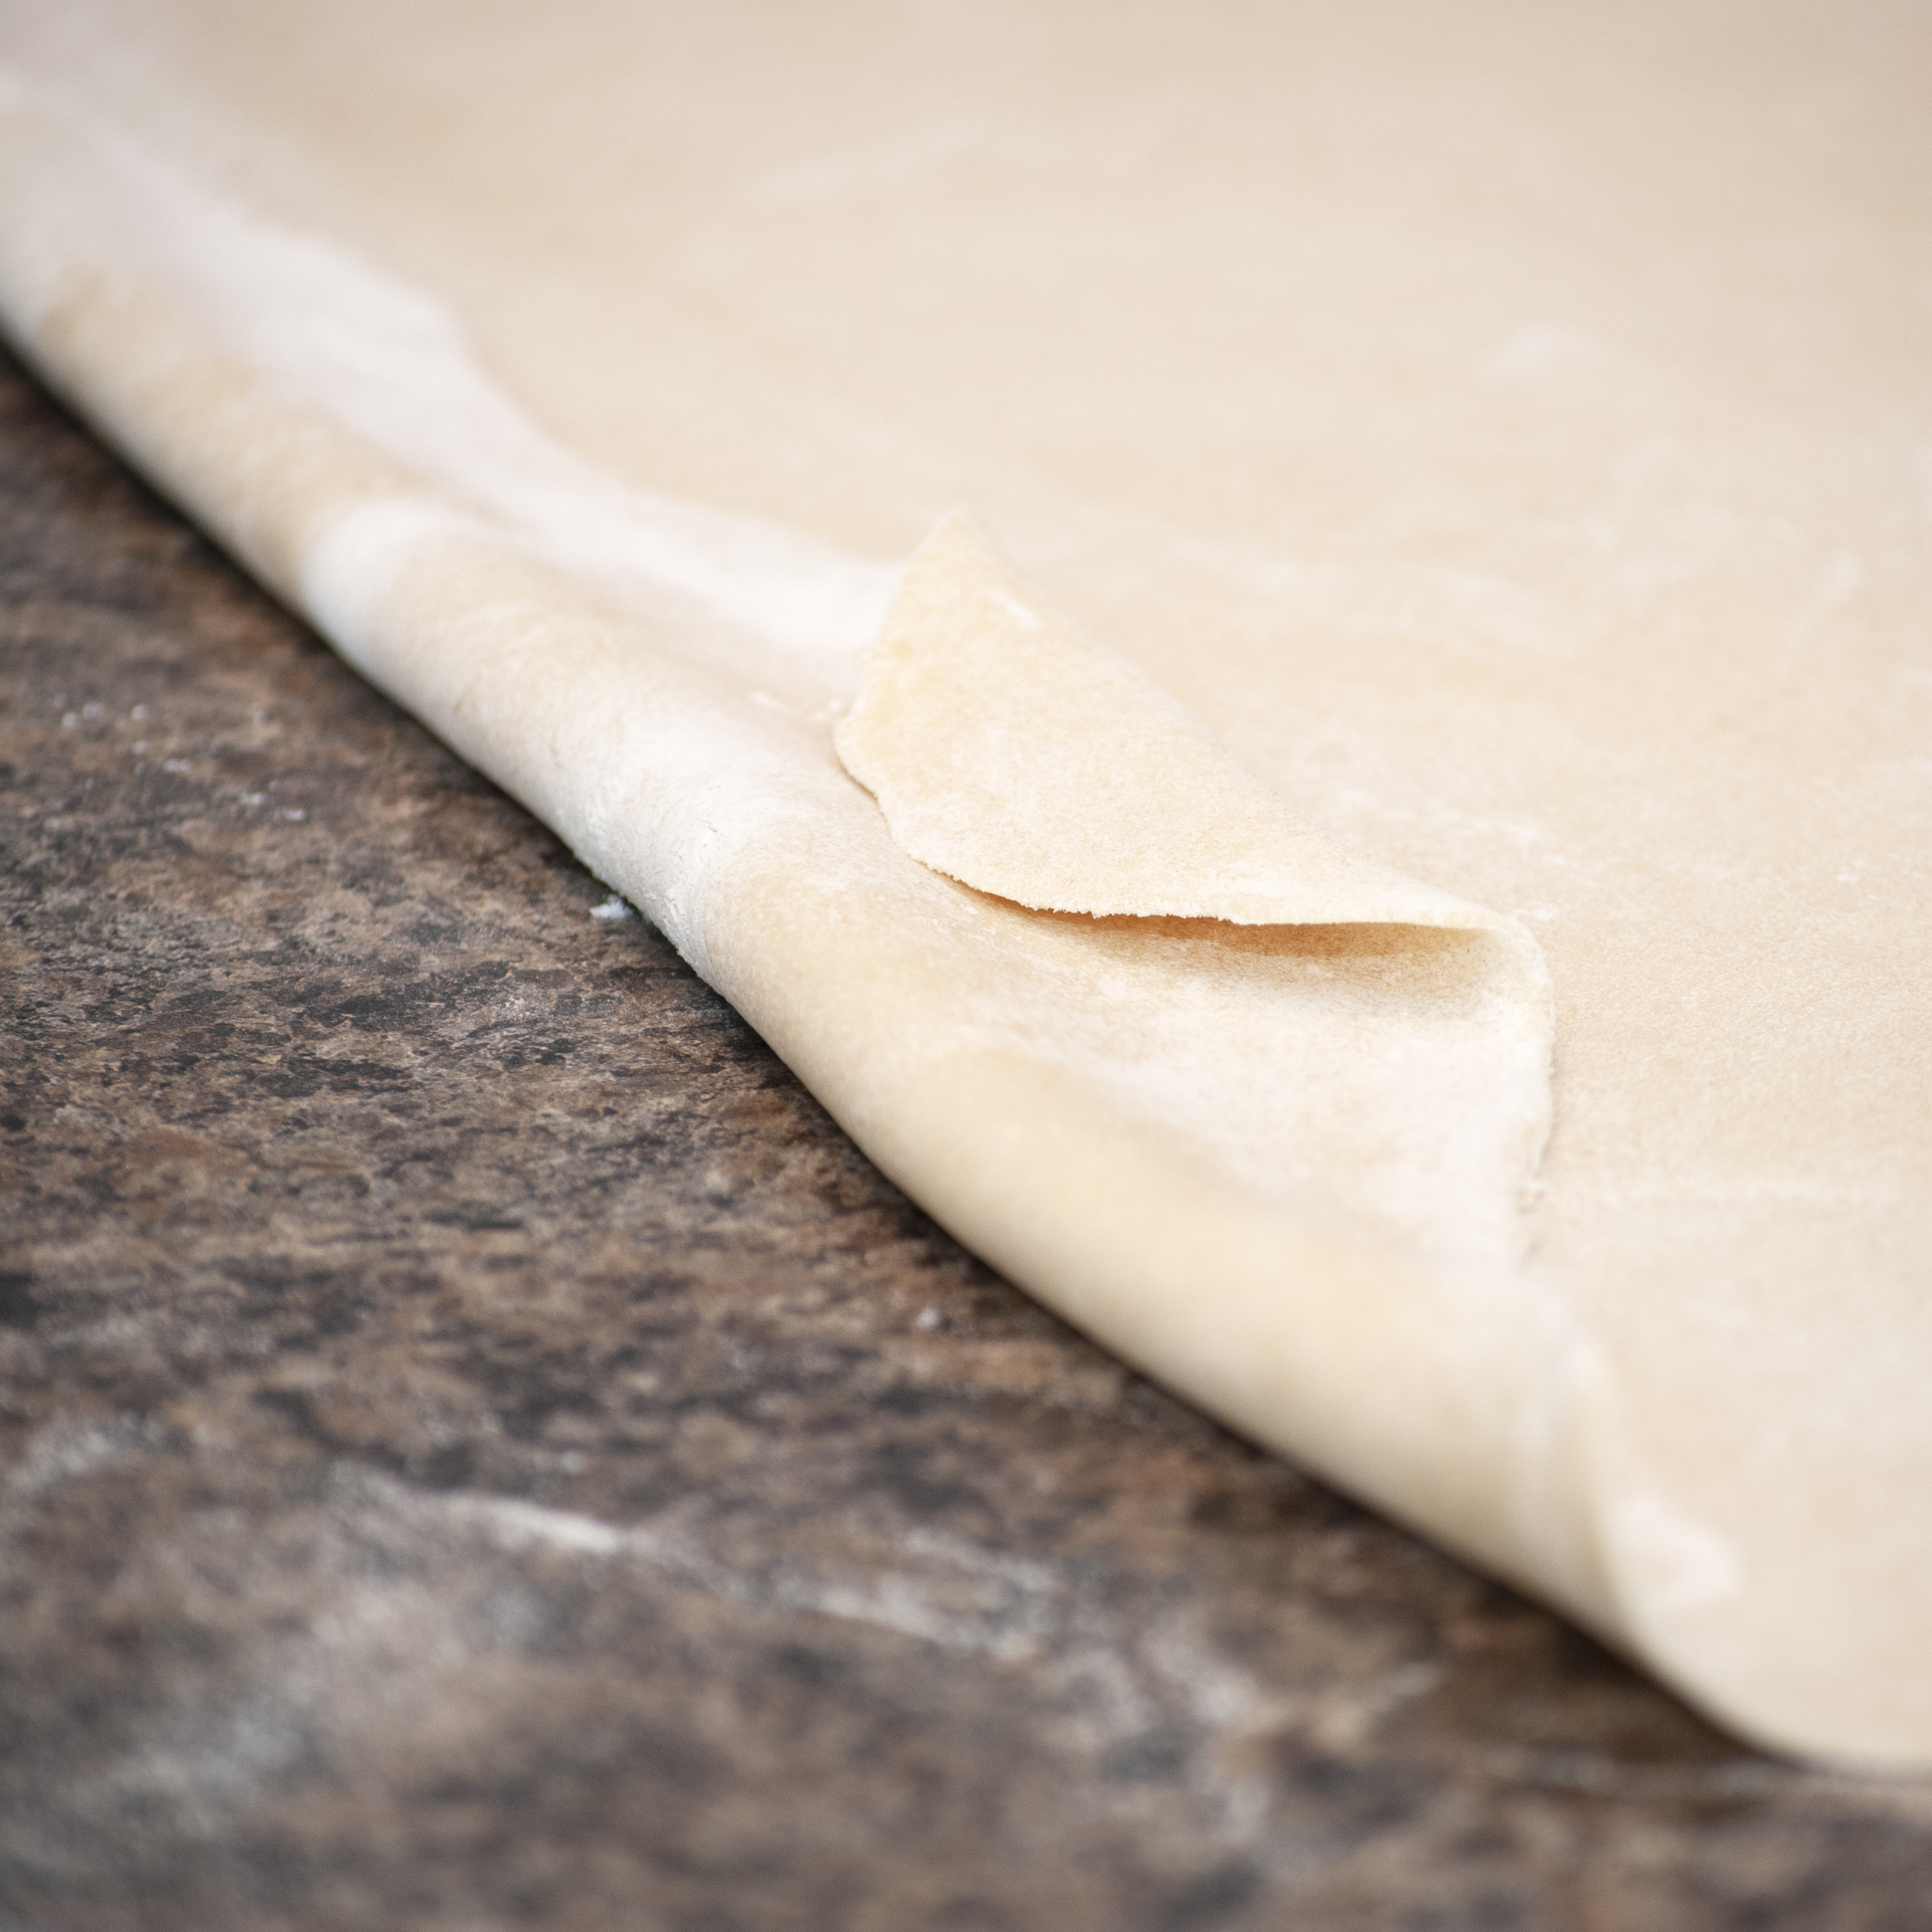
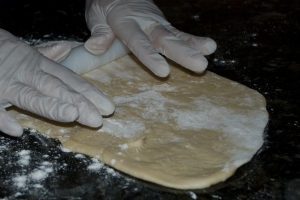
5. Once again, on a large and clean flat surface, sprinkle some flour and begin extending the dough with a rolling pin. You should extend the dough very thin but without breaking it. A little less than ¼ of an inch.

From this step forward I will explain the fried and
baked processes separately

Pastelitos Fritos | Fried Pastelitos

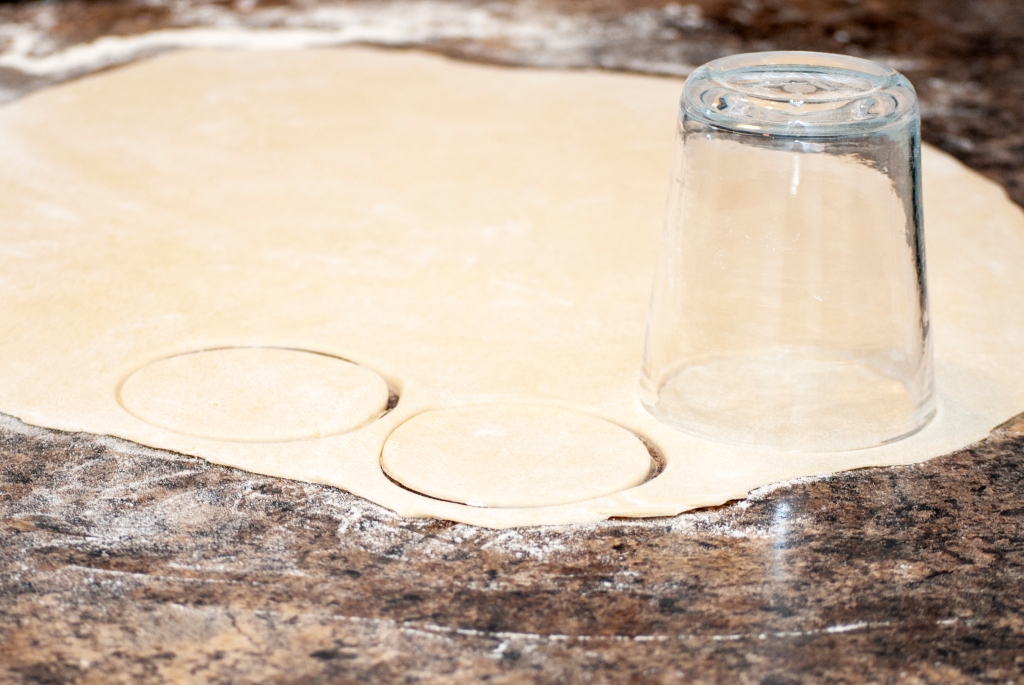
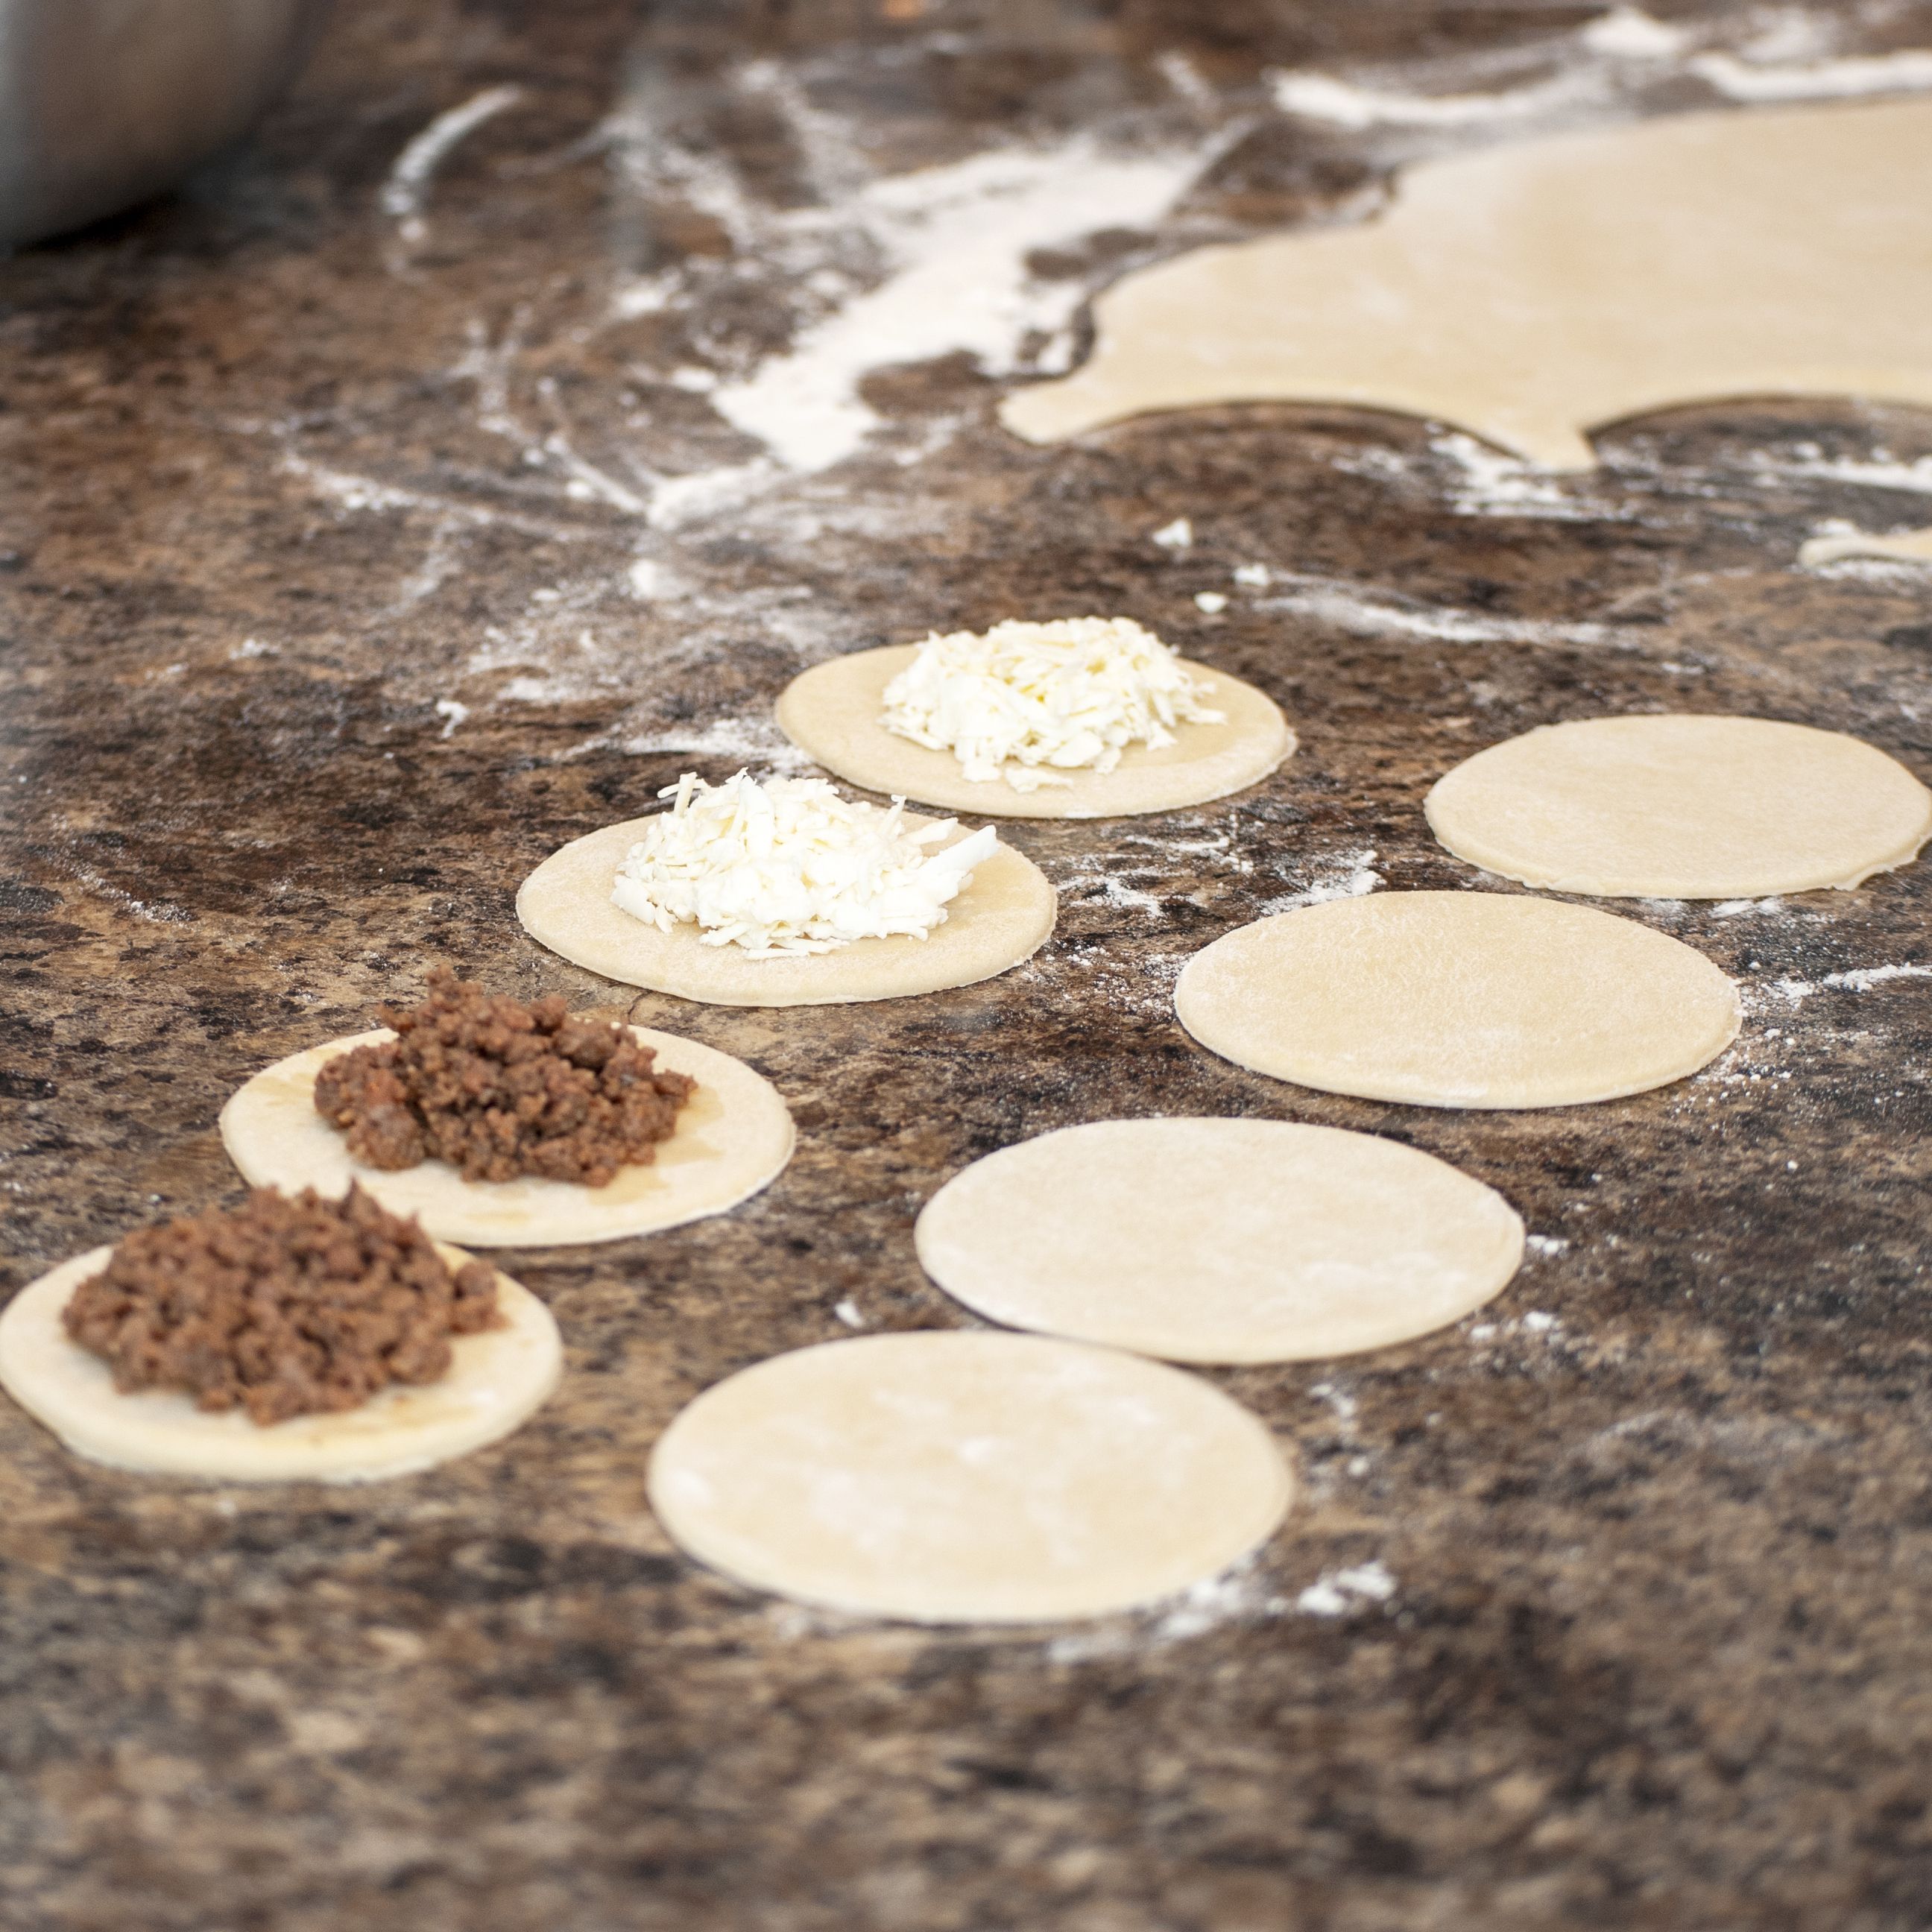
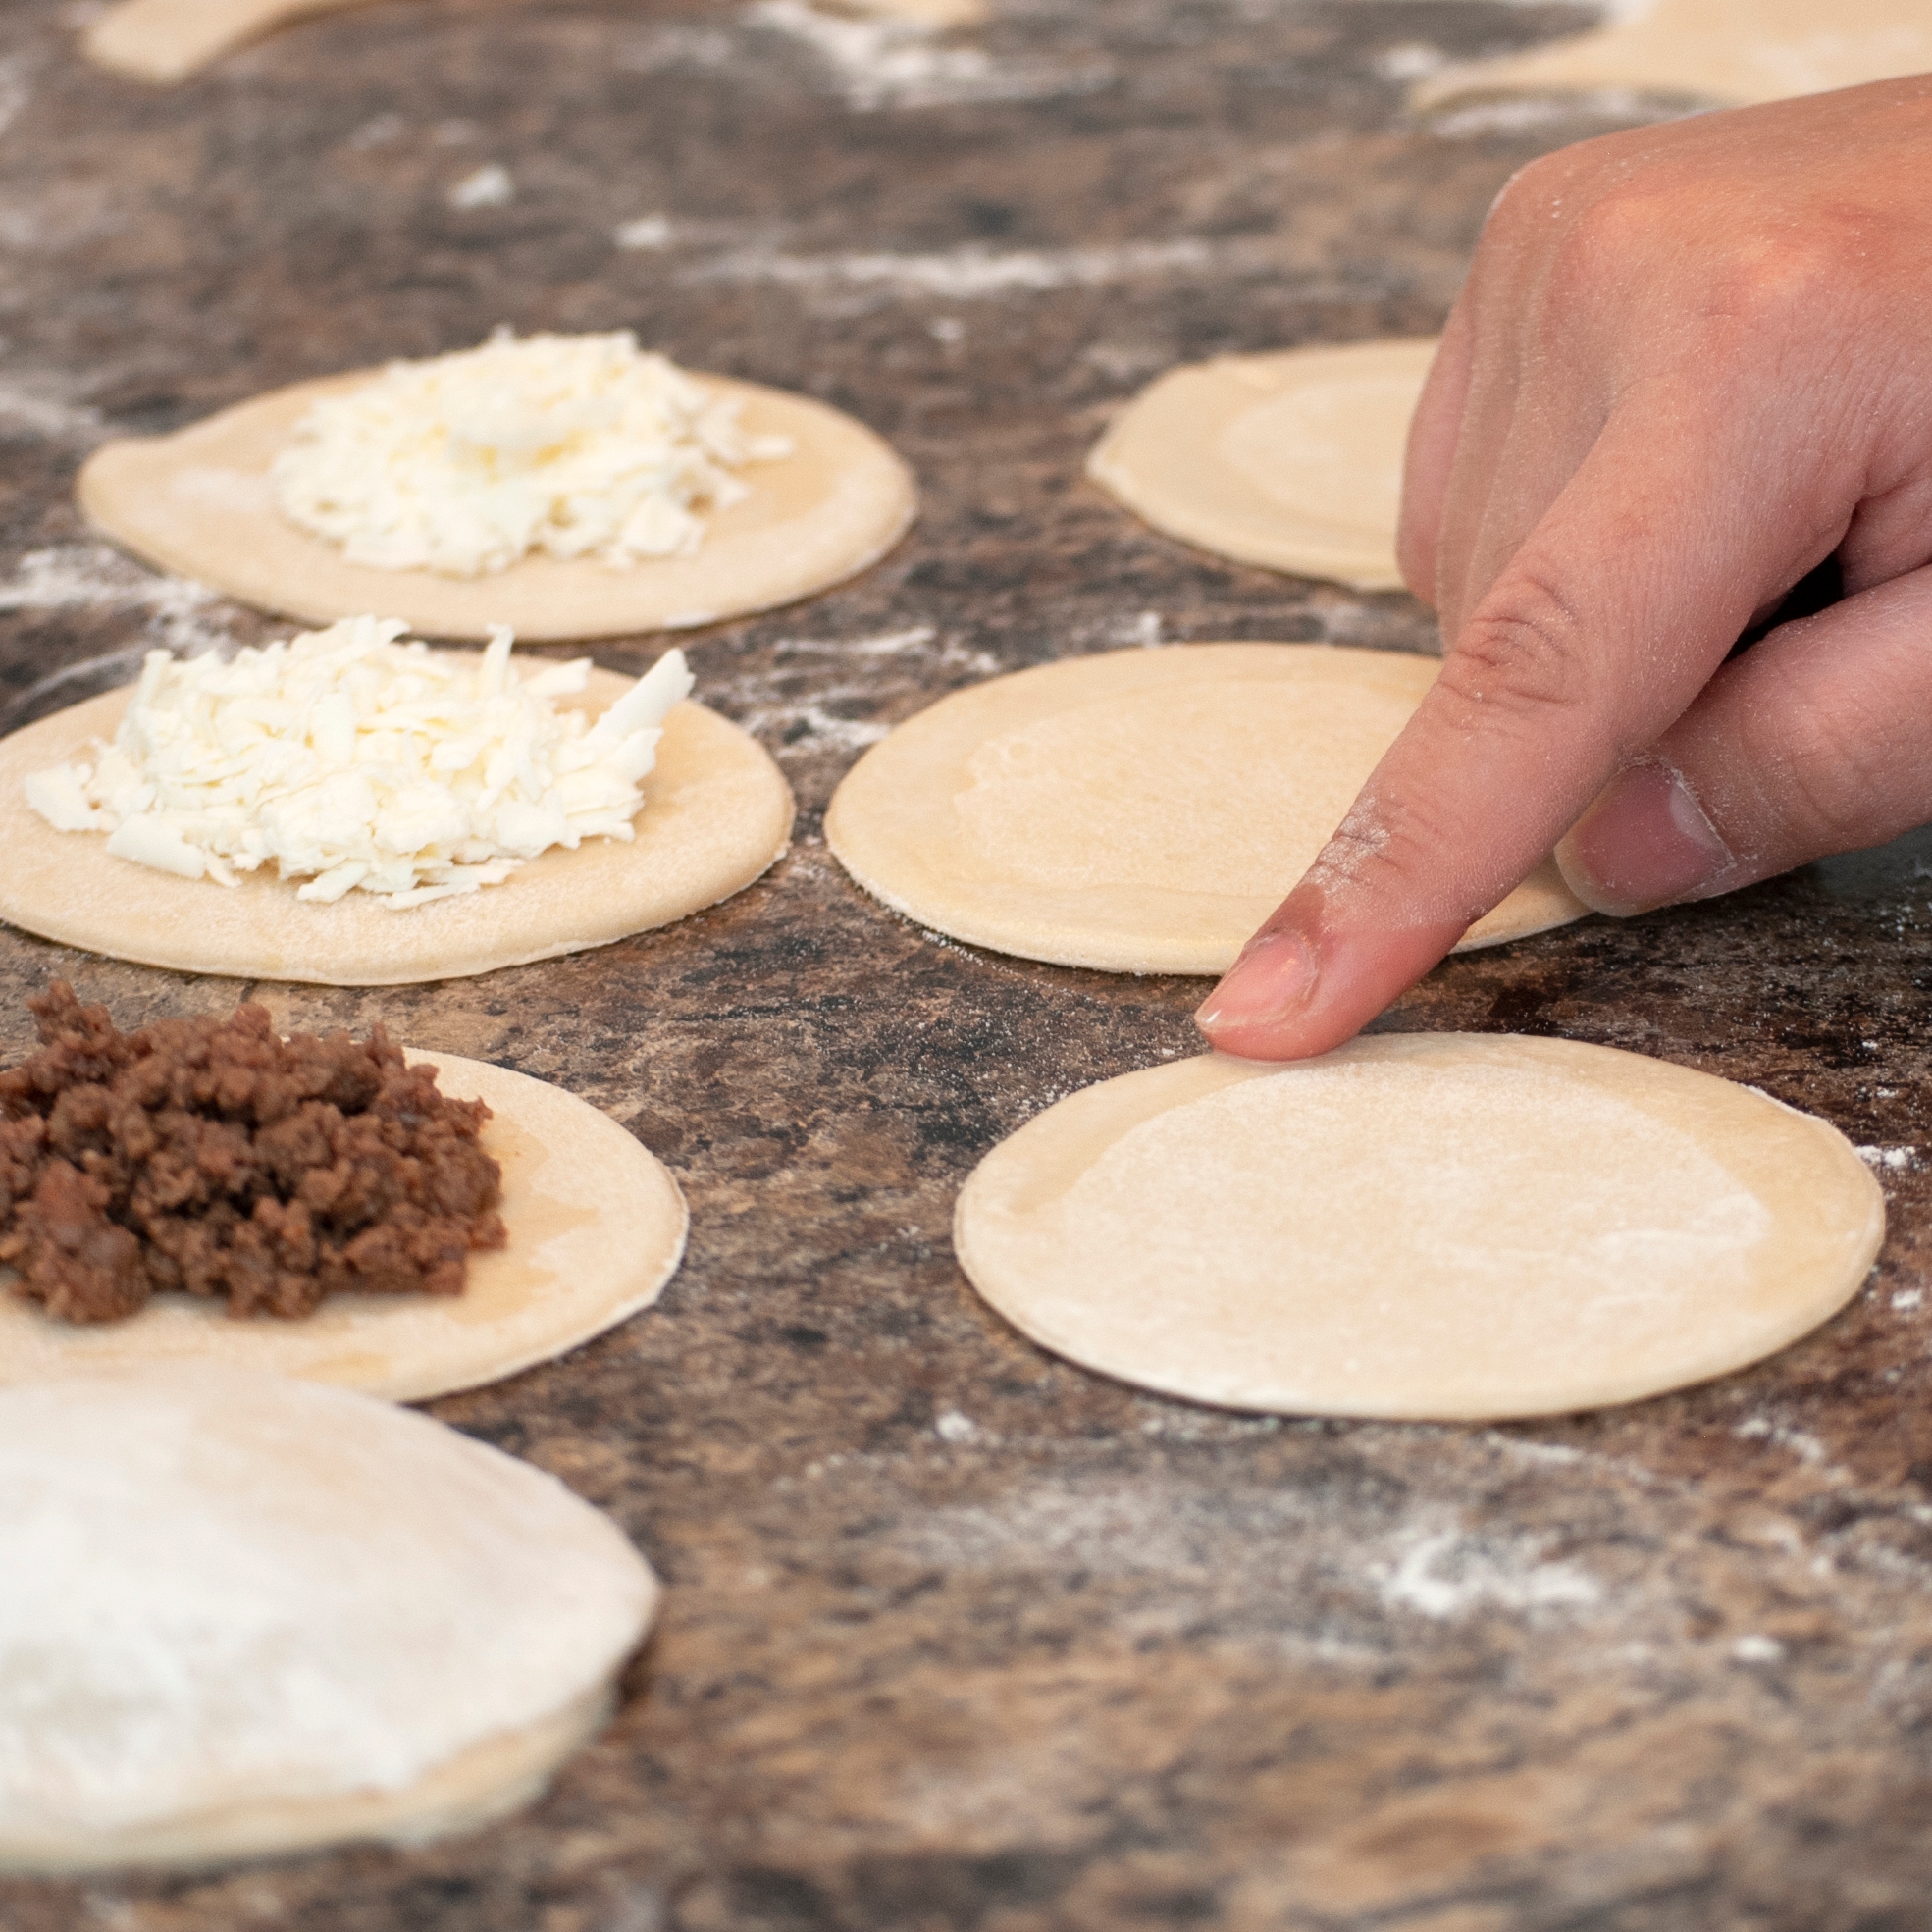
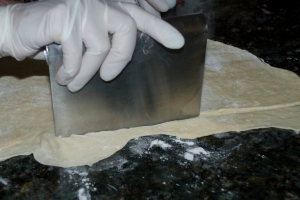
6. You can begin assembling the pastelitos. You can do it however is easiest for you. One way is to cut the dough with a knife in two equal parts; on one side add small portions of filling separating each one by roughly two inches; then add the rest of the dough on top and use a small round mold or cup to cut each section. That way seems faster. My sister and I opted for a different strategy. First, cut out the circles, as many as you can, but make sure it’s an even number. We used a drinking glass of about 3 to 4 inch diameter. Take half of the circles and those will be your bottoms.

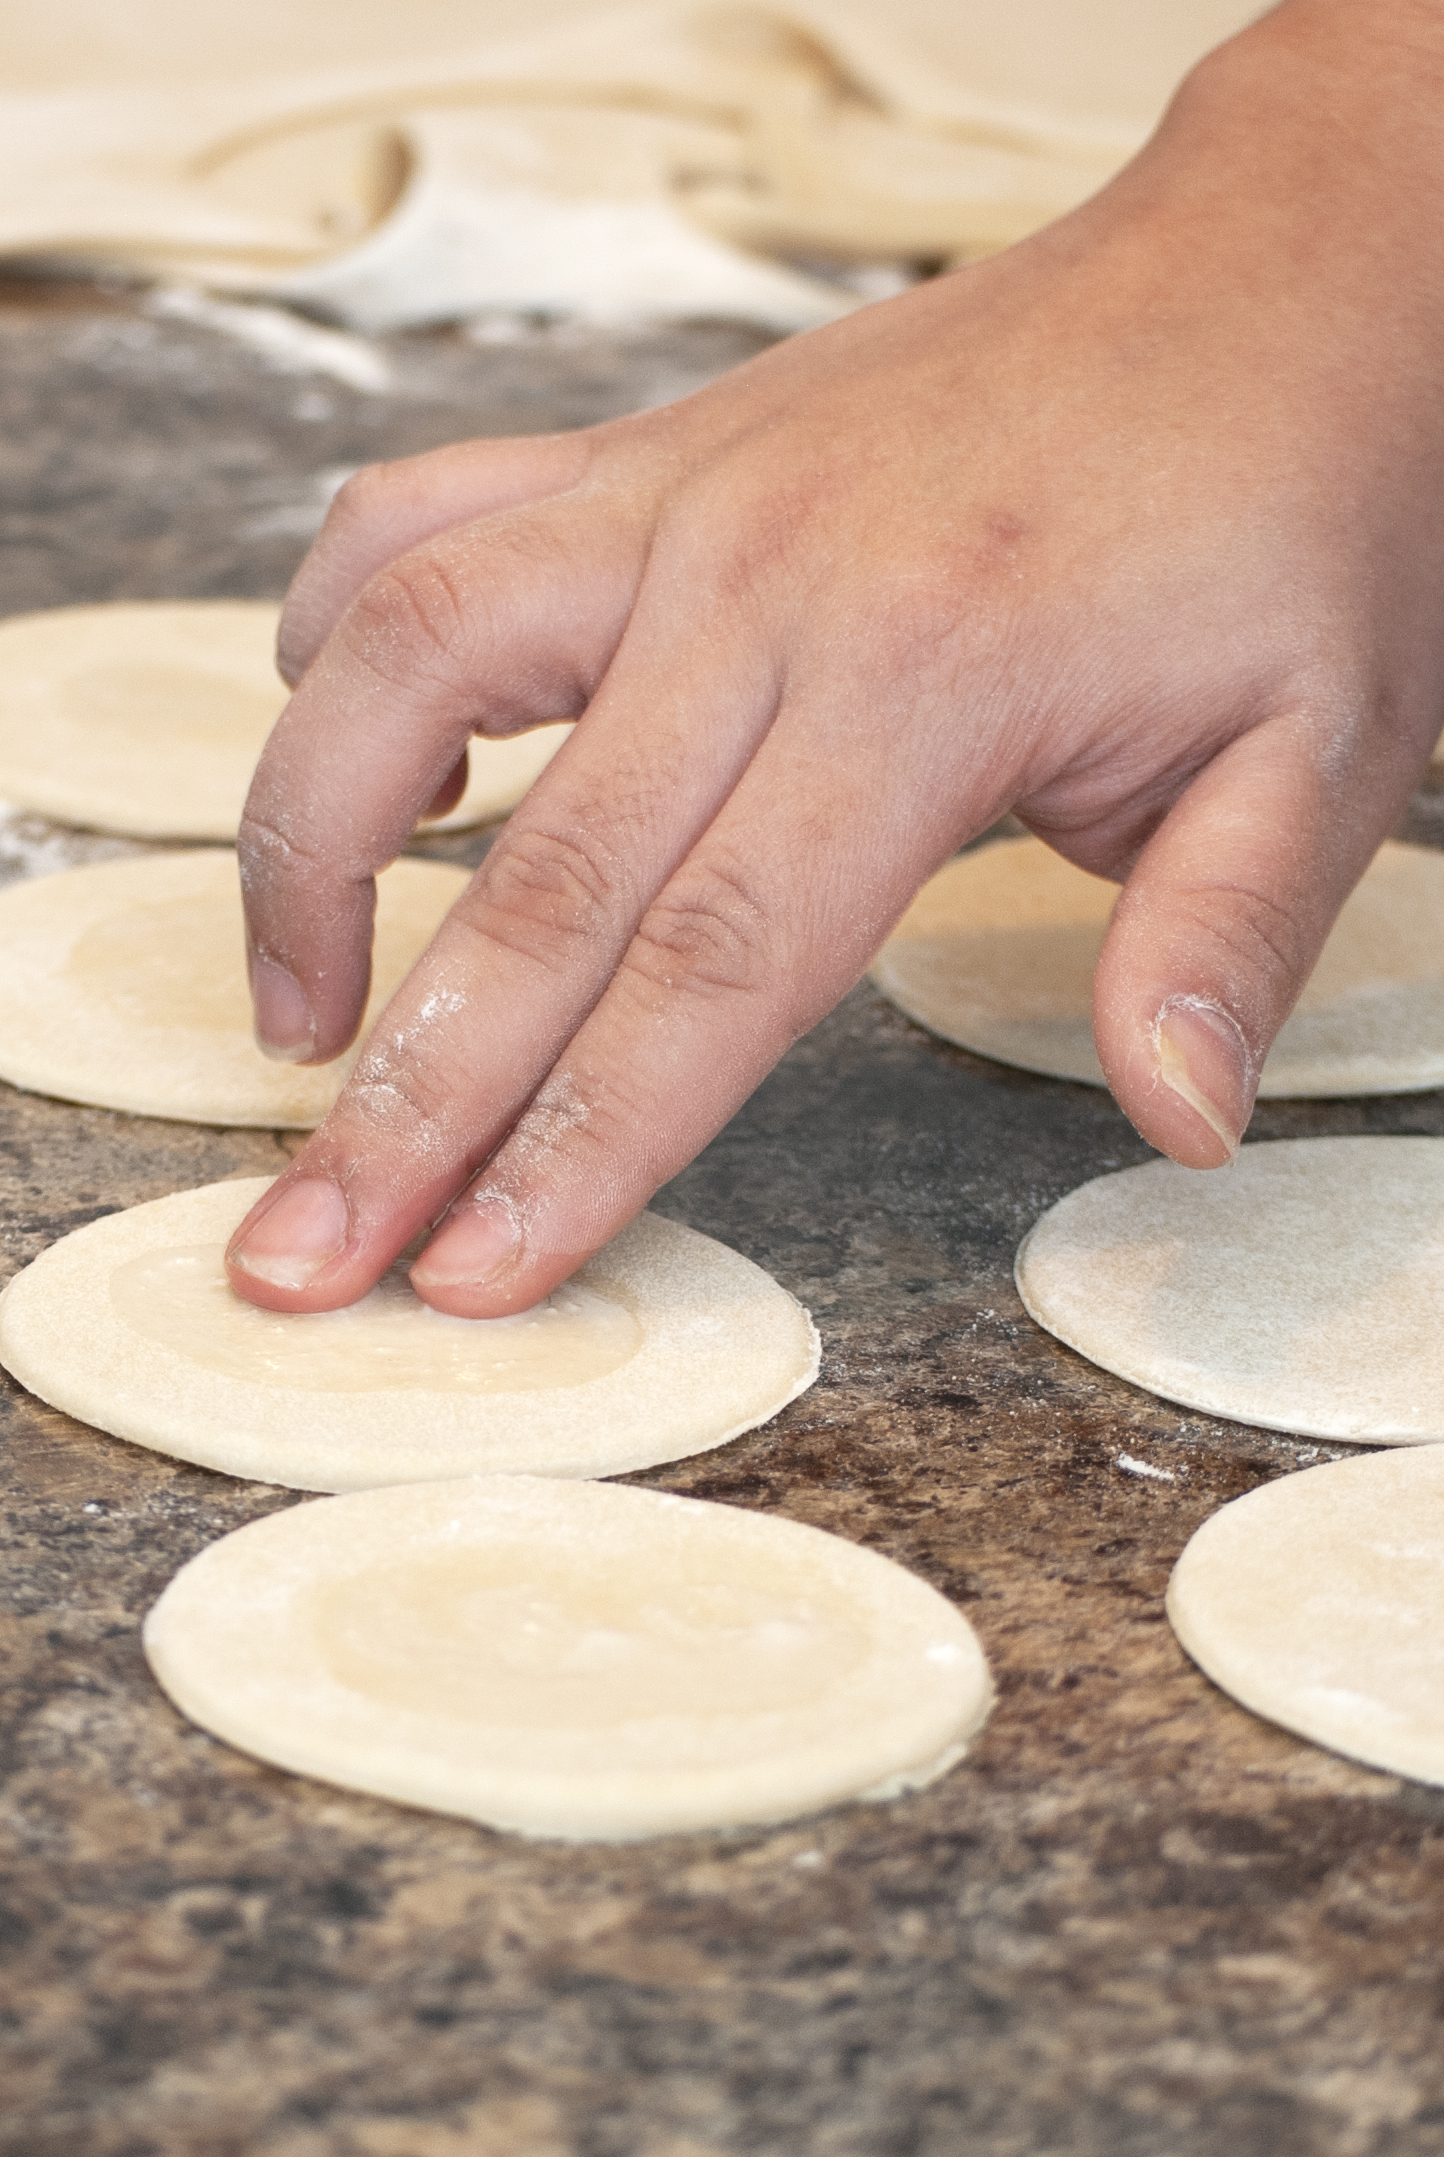
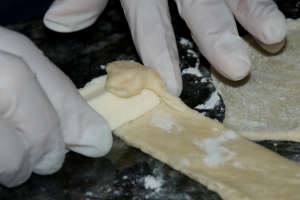
7. Place all the bottoms in rows and with a little bit of water, dampen the middle area where the filling will go. Add the filling, or different fillings, in the center of each bottom. You can be a bit more generous with the cheese, since it will melt when cooked and it will seem like it has less filling than the beef ones.

8. With a bit of water dampen the border of the bottom dough to help it seal with the top. Place all the rest of the circles, the tops, on top of each bottom with filling. Using a fork, press all around the border to seal and decorate each pastelito. Also, stick the fork on the top of the pastelito so the air can escape while frying. This also serves as decoration, or you can use different marks for different fillings, so they are easier to distinguish. For example, you can do 2 holes for beef and 4 for cheese.

9. With enough oil to cover the pastelitos, proceed to deep fry them until golden brown.

10. Remove the pastelitos from the oil and place on paper towels to eliminate the excess oil.

11. Serve with optional guasacaca, salsa verde, or your favorite mojo sauces. Sauces are usually served with the beef or chicken pastelitos. Enjoy with a Malta, of course.

Pastelitos Horneados | Baked Pastelitos

6. Preheat your oven at 350ºF.

7. You can follow the same procedure as the fried pastelitos’ step 6. Or you can try a different shape and technique, like we did. First, cut a larger circle than what we used for the fried pastelitos, about 5 to 6 inch diameter. Cut as many as you can from the entire dough.

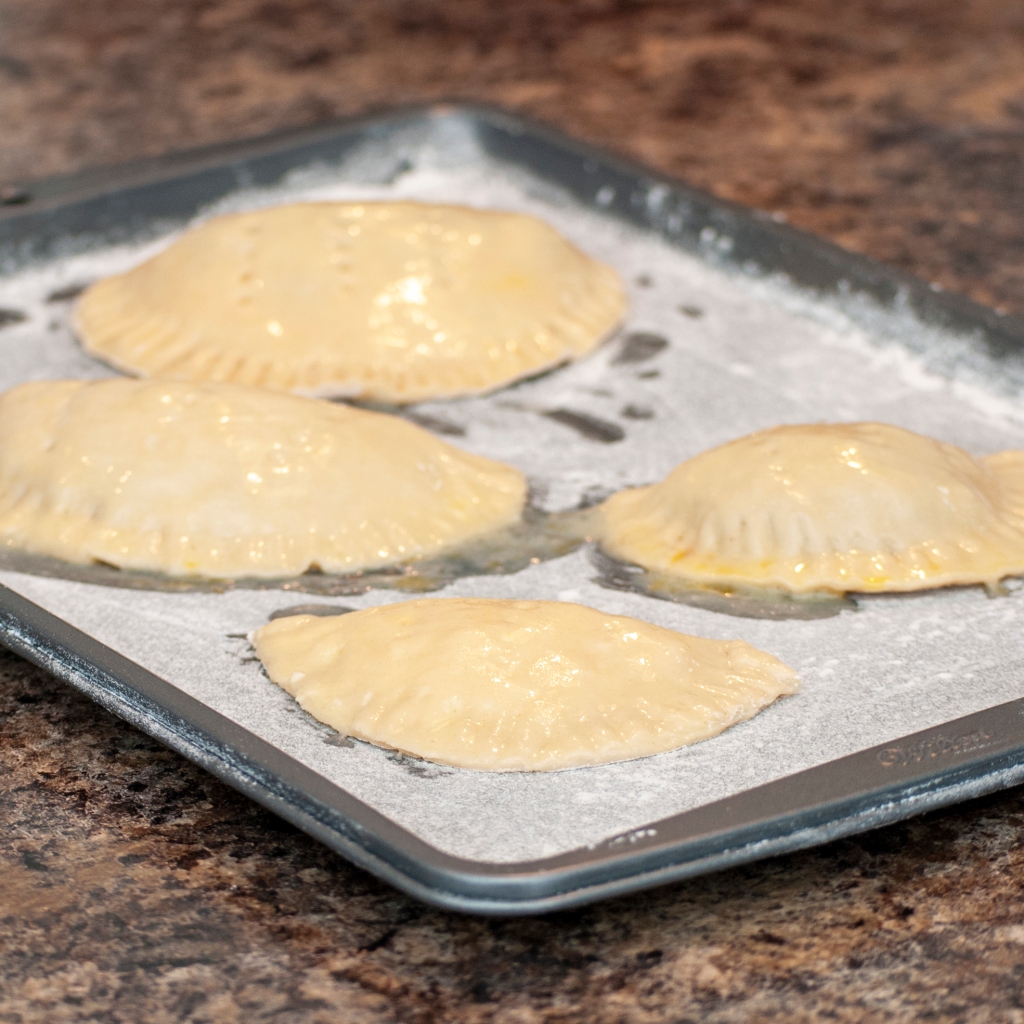
8. Dampen only one half of each circle where the filling will go, and then add filling to only one side of each circle. Then you will fold the circle in half (much like the empanadas). Use a fork to press all around the border to seal and decorate each pastelito. This will give you a half circle, or moon shape for each pastelito.

9. Prep a baking sheet with baking paper or parchment paper. If you don’t have any, you can grease it with butter and add flour so the pastelitos won’t stick. Then add the pastelitos on the baking sheet. Brush each pastelito with a bit of egg yolk.

10. Bake for 20-25 minutes at 350ºF.

11. Serve with optional guasacaca, salsa verde, or your favorite mojo sauces. Sauces are usually served with the beef or chicken pastelitos. Enjoy with a Malta, of course.

¡Buen Provecho!

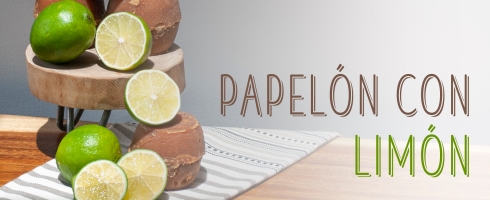
Recipe: Papelón con limón | Venezuelan Sugarcane Lime Beverage

19 Jul

It has definitely been a long time since the last post. There is a reason, or perhaps an excuse, as to why I hadn’t posted anything in a while. As you may recall, I had started this blog back in June 2011. The main reason for starting the blog back then was that I was living in Montgomery, Alabama and it was very hard to find Venezuelan food and ingredients, so I had to learn how to make them myself. I figured many Venezuelan expats were probably on the same boat, and that’s how it all began.

I moved back to Florida in 2012 and that is when the post’s frequency decreased. You see, in South Florida there are plenty of Venezuelan restaurants and markets where you can find all kinds of Venezuelan food and ingredients. With easy access to all of that and a demanding job, I had very little time to devote to this blog. Not to mention, my mom moved in with me and we were cooking delicious Venezuelan recipes almost every day.

I have been living in Omaha, Nebraska for the past 2 years. As you can imagine, I am back to missing and craving Venezuelan food and ingredients. There is only one Venezuelan restaurant and one Venezuelan food truck, and the Venezuelan ingredients are very hard to find, even in Hispanic food markets around town.

With the 2020 COVID-19 pandemic, I was forced to take a week of unpaid vacation in June, and I decided to visit my sister who lives in a very small town in Illinois. She was also missing all her Venezuelan food favorites. So, we decided to make a few. I would like to obviously thank my sister for hosting the great-quarantine-Venezuelan-food-cookout-of-2020, where all the new recipes that I will be posting soon came from.

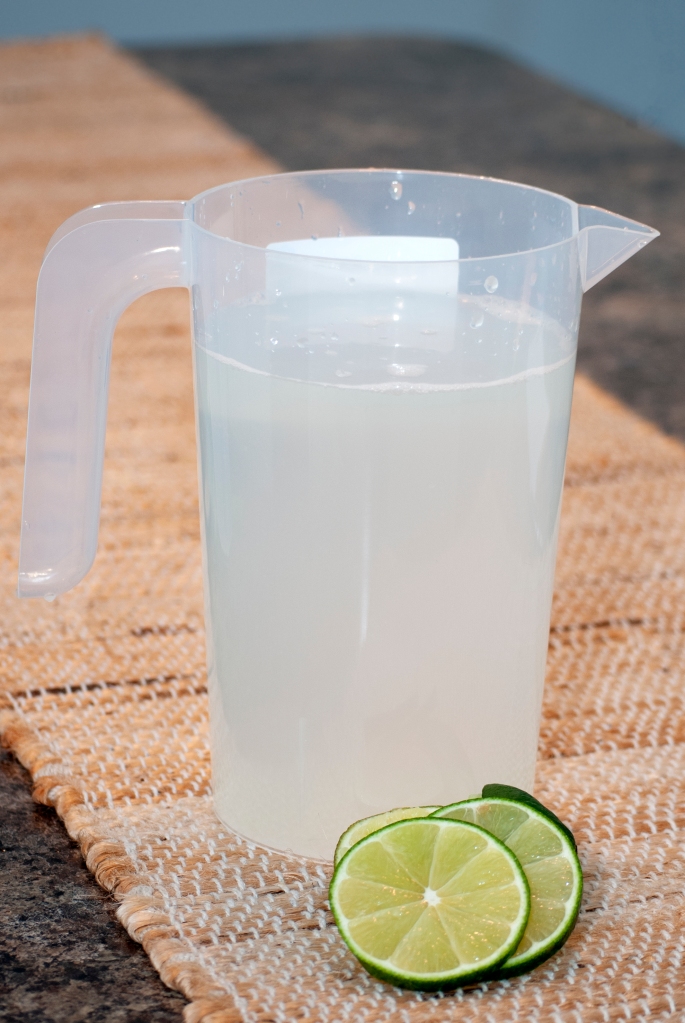
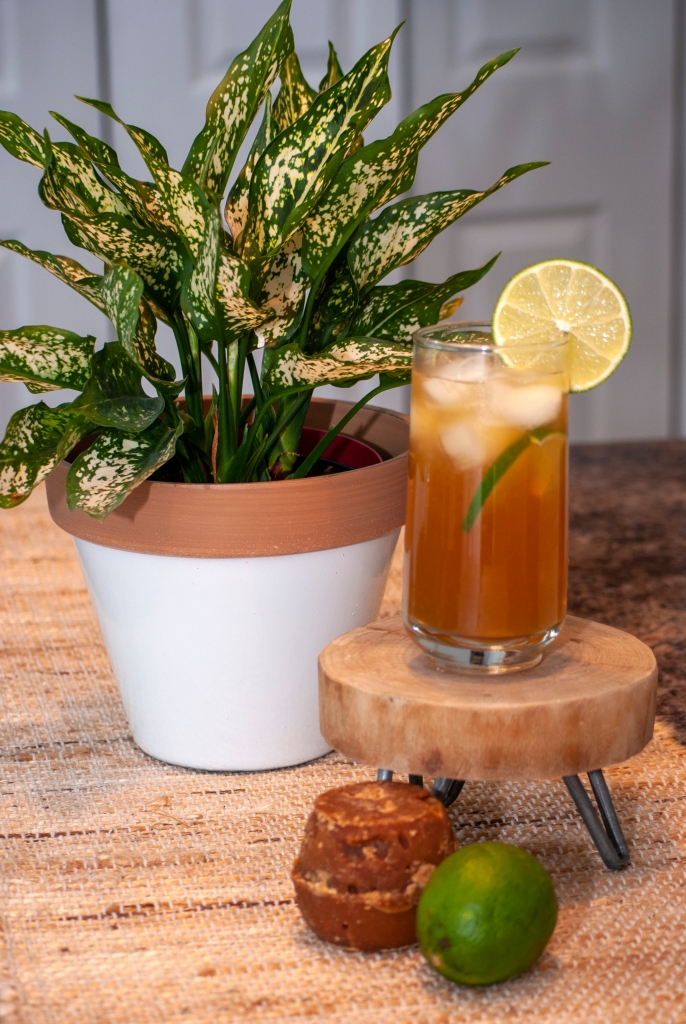
I am starting with an easy one, Papelón con Limón. I always found it odd that in Venezuela we call the green one limón, and here is called lime, instead of lemon. That’s why the title of this recipe might be confusing to some. Just to be clear, for this recipe whether I write lime or lemon, please know I mean the green one, not the yellow one. Papelón con limón is a very traditional Venezuelan drink. It is also known as Guarapo de papelón con limón, Panela con limón, Aguadulce, Raspadura, or Aguapanela. It is a kind of sweet lemonade. It is said that it comes from the old sugar cane mills that existed during the colonial time in Venezuela. This beverage was very popular during the emancipation battles in both the patriot and realist camps. Nowadays, people will have a big jug of it always available in the fridge to drink as a cold and refreshing thirst quencher, to offer guests, or to accompany any meal.

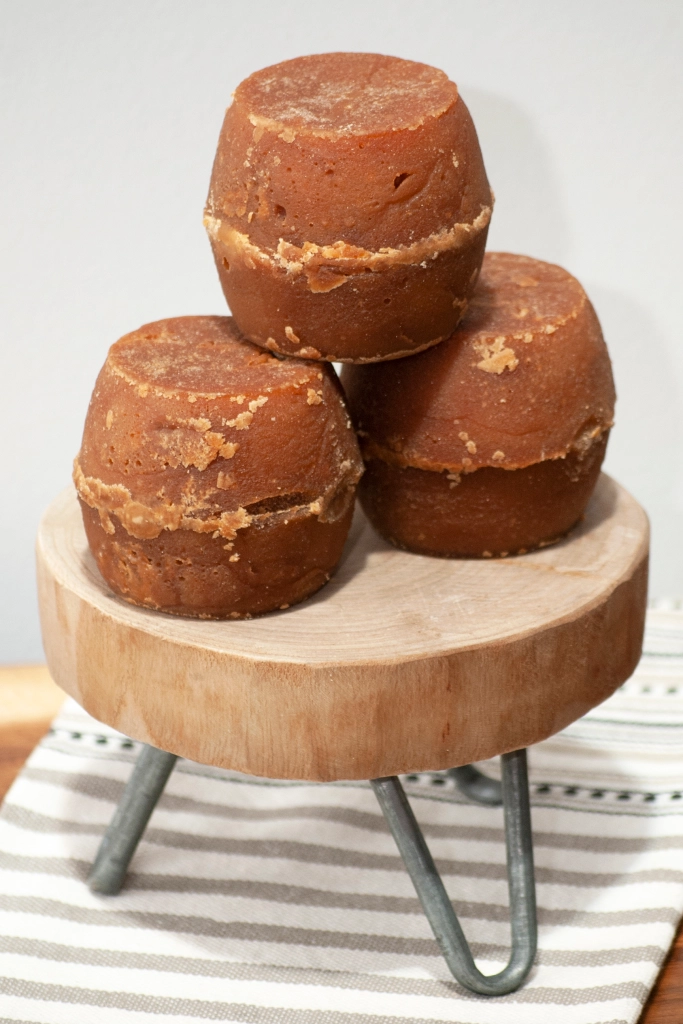
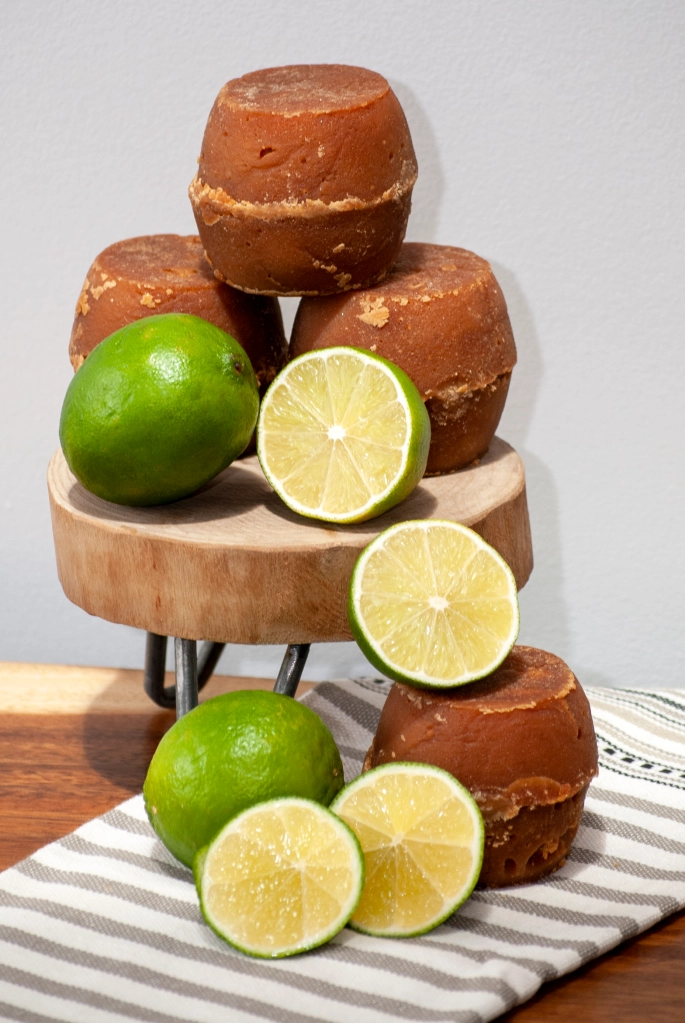
By now you must be thinking, what is papelón? Papelón is simply unrefined whole cane sugar. It is a solid brown block of whole cane sugar. There are many different names for it from different Latin American countries like Papelón, Panela, Rapadura, Chancaca, Piloncillo, Dulce de Panela, etc., but you can find it in most supermarkets in the Hispanic foods isle. One common mistake people make is thinking that papelón is the same as brown sugar. It is not. Papelón is a solid block of sucrose made from boiling and evaporating sugarcane juice. The sugar cane used to be extracted in those mills, then it was converted in some sort of syrup or caramel, which is then solidified in many different shapes. Brown sugar is just white refined sugar with a bit of molasses added back to it.

Panela, Rapadura, Chancaca, Piloncillo, Dulce de Panela.

Some households in Venezuela always have grated papelón that they use instead of sugar to sweeten their coffee or anything else. Since papelón comes in a solid block form, people usually grate it and keep it already grated for using as a sweetener. You may find papelón is sold in many different shapes here in the US; a square block, a cone, a round block, or the ones we found pictured above. They are all the same, just shaped differently. Papelón is also used in many other traditional Venezuelan recipes like Asado Negro and Golfeados.

Papelón con limón

What you need:
– 1 or 2 blocks of papelón, grated
– 2 Whole limes, juiced
– 1 ½ Liters of water
– Ice

Preparation:
1. In a large enough pitcher add the drinking water.

Water

2. Add the juice of 2 whole limes.
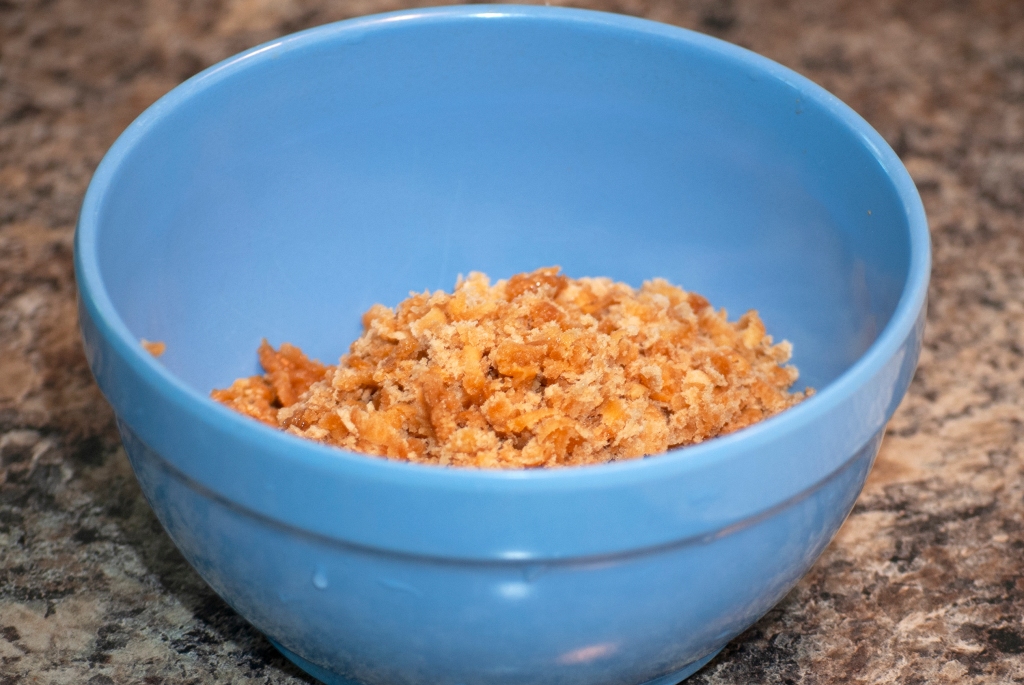
3. Add the grated papelón.

Grated Papelón

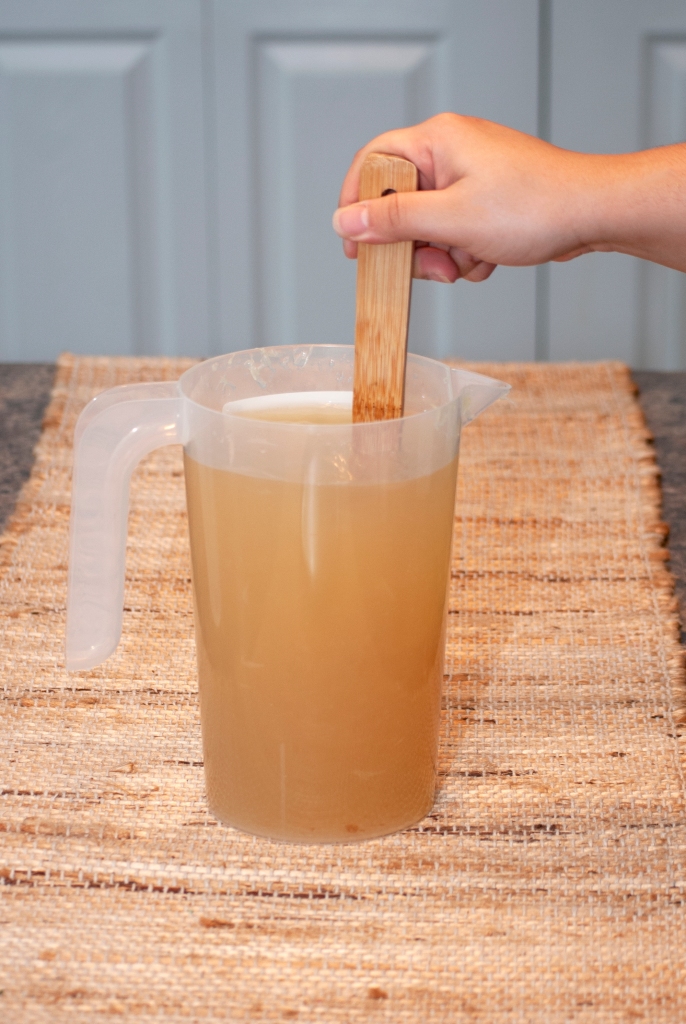
4. Stir until the papelón is fully dissolved.

Stir

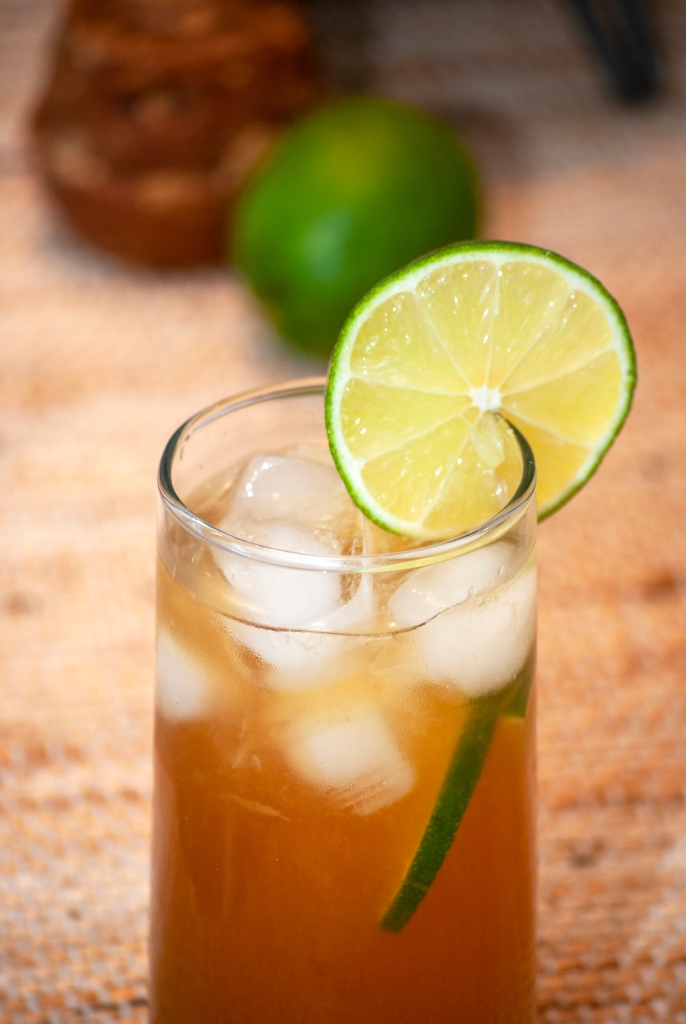
5. Serve over ice in a tall glass.

Papelón con Limón
Papelón con Limón

Note: There are other more traditional and complicated recipes where you boil the solid block of papelón until it dissolves and let it cool, and then add the lime juice and pour over ice. Some other recipes state to let the entire block of papelón dissolve in the water first, before you add the lime juice and ice and you have to strain it, but that seems like it would take forever. This recipe is simpler, since we grate the papelón before using it, making it a lot easier to dissolve.

Papelón con Limón

Rating: 1 out of 5.

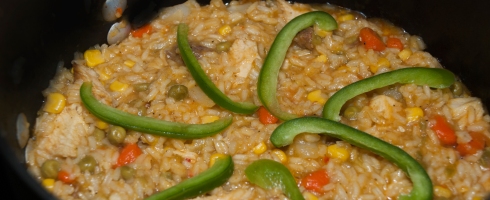
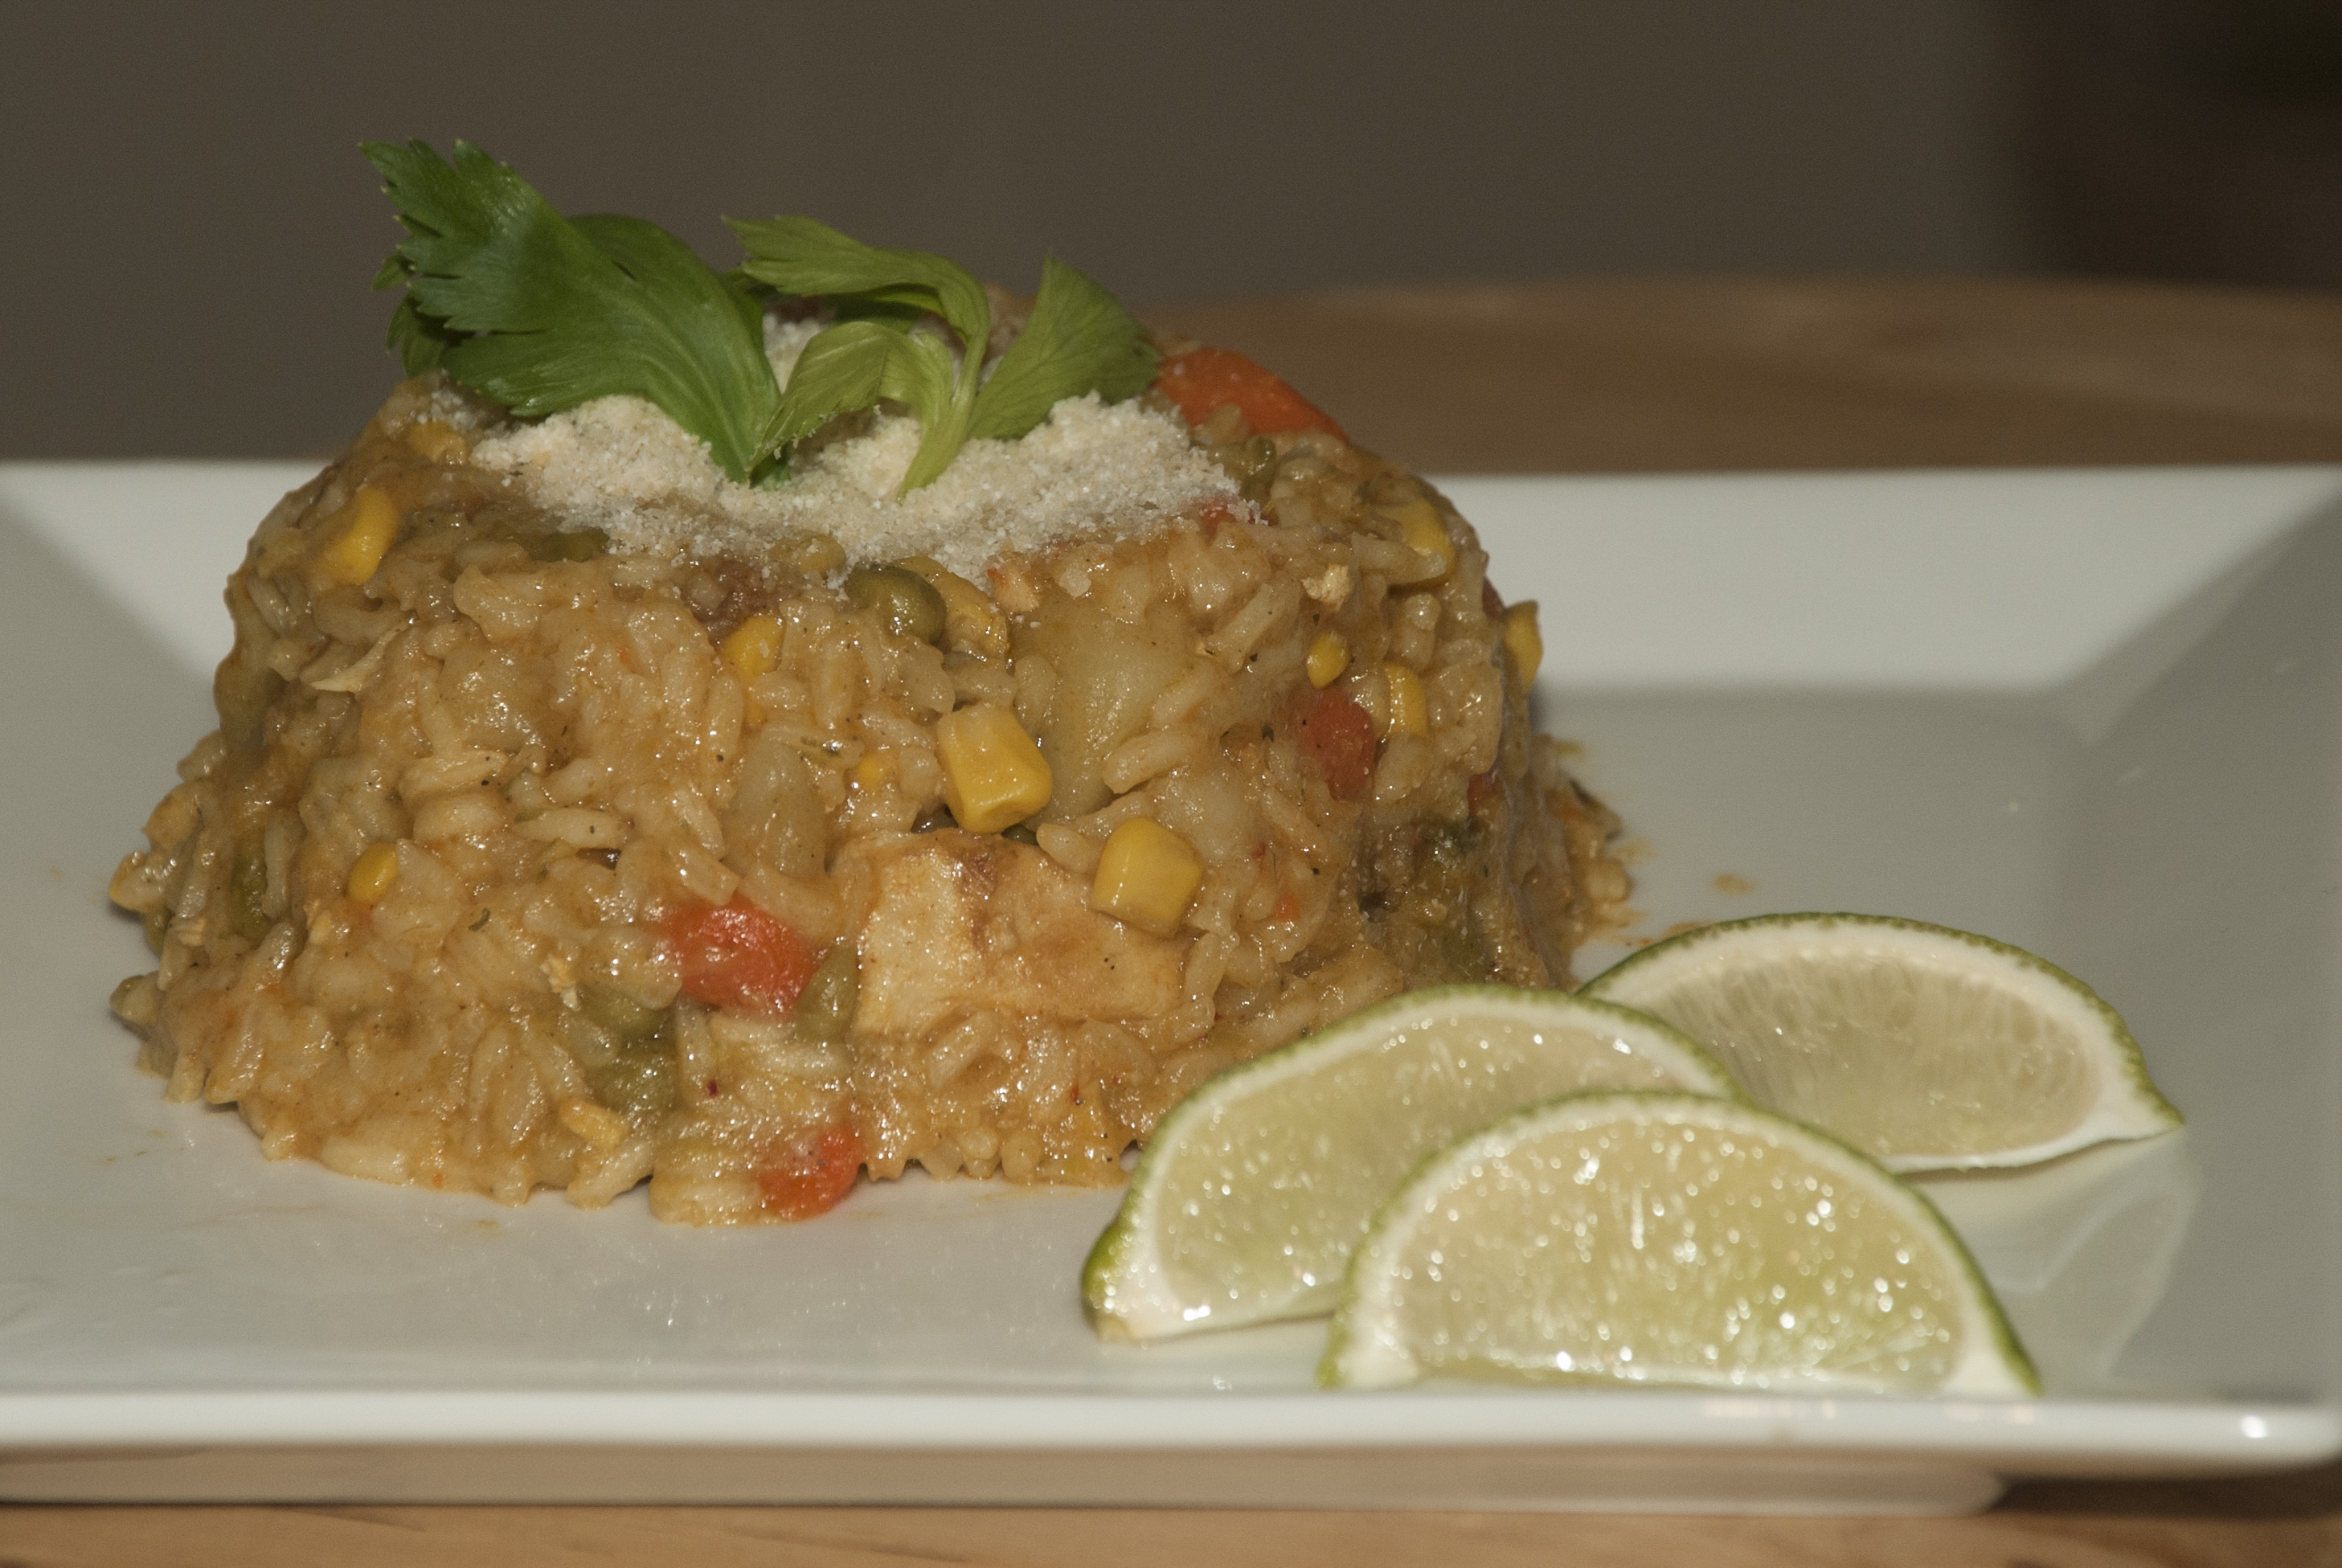
Recipe: Arroz con Pollo | Venezuelan Rice And Chicken

4 Oct Arroz con Pollo | Venezuelan Rice And Chicken

It is custom in our culture that women are the ones in charge of cooking within the family unit. However, there are two specialties that my dad was always in charge of preparing. At least once Sunday every month, he would be in charge of making Parrillas at my grandparents’ house, and a different Sunday he would be in charge of making Arroz con Pollo at our house. He has been perfecting his Arroz con Pollo recipe all these years and still to this day, he makes it at least once a month for himself. Arroz con pollo, previously known as pollo en arroz (chicken in rice), is a main dish in which the rice leaves its usual spot as a side and becomes the main event. The rice absorbs all the flavors and colors of the chicken and other ingredients.

Recently my dad traveled to the US to visit, it was a big surprise for us because we had no idea he was coming. He stayed over for a month, and we begged him to make his famous arroz con pollo for us one day. I had been trying to recreate his arroz con pollo for years so I could include it on this blog, and I had no luck. From being unable to find the perfect rice, to not knowing the amount for each ingredient, to overcooking the rice and ending up with arroz-con-pollo pâté… finally, I was able to learn from the pro, how to make the perfect arroz con pollo. As my dad was cooking, we would remember all those Sundays he used to prepare it at home, and he would explain all the tips and tricks to make it perfect. He even said his arroz con pollo is like a Venezuelan Paella with chicken instead of seafood, for those of us who don’t like seafood (my dad is not a big fan of seafood, unlike my mom who eats almost everything from the sea). He also mentioned I would have to put this disclaimer out there: “this is merely ONE way of making Venezuelan Arroz con Pollo… my way”.

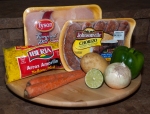
Arroz Con Pollo Ingredients

Arroz Con Pollo Ingredients

What you need:
– 2 Chicken Breasts
– 2 Medium Potatoes
– 2 Carrot Sticks
– 1 Bell Pepper
– 1 Large Onion
– 2 Chorizos
– 3 Chicken Bouillon Cubes
– 2 Cups of Yellow Rice
– 1 Teaspoon Olive Oil

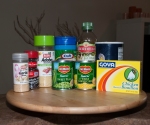
Arroz Con Pollo Ingredients

Arroz Con Pollo Ingredients

– ½ Tablespoon Garlic Powder
– ½ Tablespoon Adobo
– Salt to taste
– Pepper to taste
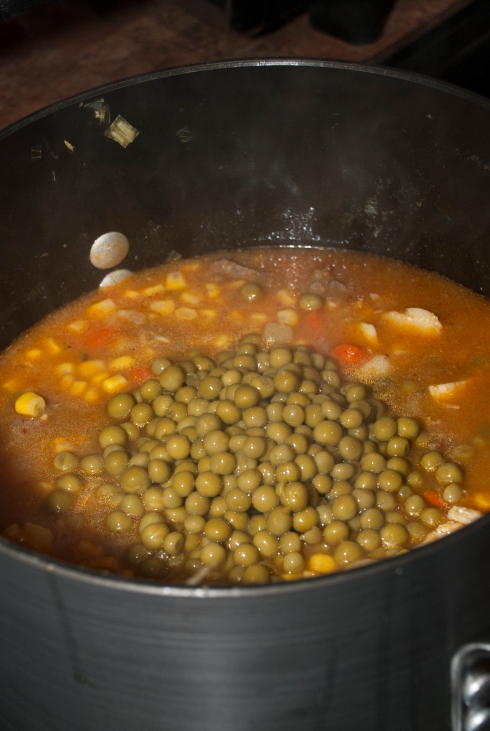
– 1 Small Can of Sweet Peas
– 1 Small Can of Whole Kernel Corn
– Parmesan Cheese to taste
– Limes (Lime Juice) to taste
– Olive Oil to taste

Preparation:
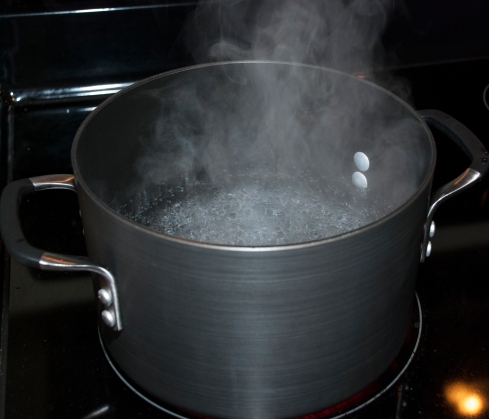
1. In a large enough pot (like a 3 Qt. Saucepan), bring about 1.5 to 2 Qt. water to a boil, on high temperature.

Boil Water

Boil Water

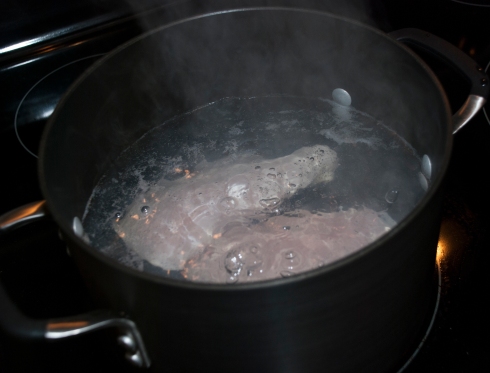
2. Add the 2 chicken breasts to the boiling water, and lower the temperature to medium.

Add Chicken Breasts

Add Chicken Breasts

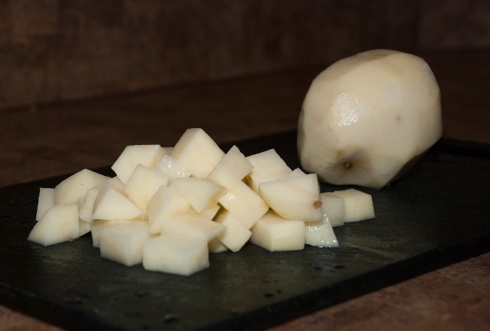
3. Peel, wash, and cut the potatoes. Then add to the pot.

Potatoes

Potatoes

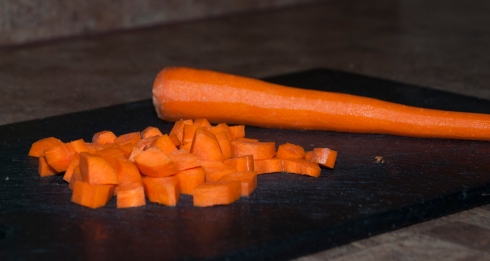
4. Peel, wash, and cut the carrots. Then add to the pot.

Carrots

Carrots

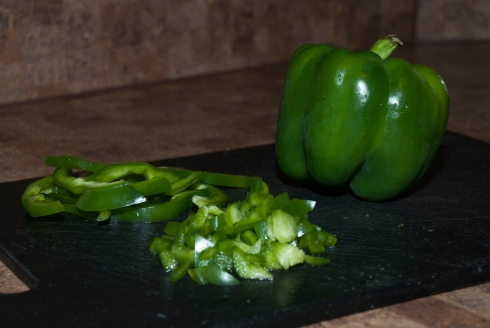
5. Wash and cut in small cubes ¾ of the bell pepper and add to the pot. Leave the other ¼ of the pepper cut in thin slices, and set aside (we will use it to garnish the plate afterward).

Bell Peppers

Bell Peppers

6. Chop the onion and add it to the pot.

Onion

Onion

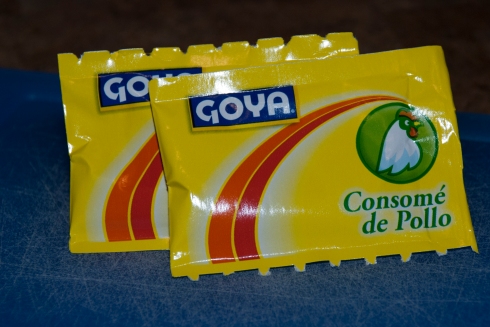
7. Add 2 chicken bouillon cubes (or 1 packet) to the pot.

Chicken Bouillon

Chicken Bouillon

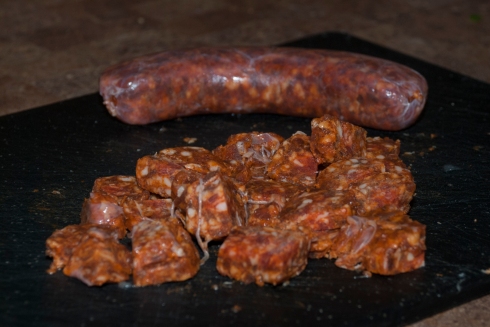
8. Take the chorizo out of the freezer and slice it. It is better to cut it while it’s still frozen than when it has been thawed, since it will become a mess. Set aside.

Cut the Chorizo

Cut the Chorizo

9. Taste the chicken broth from the pot, and if needed, add another chicken bouillon cube (or half a packet). Set the temperature to high again and cook for another 15 minutes.

Chicken Broth

Chicken Broth

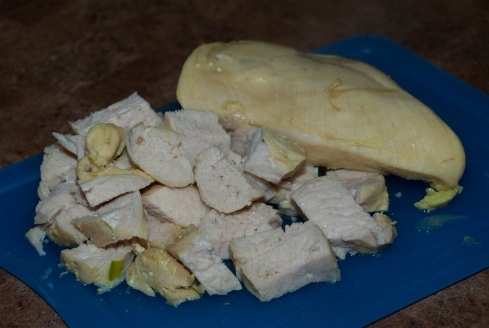
10. After everything has been cooking for about 45 minutes (since you first added the chicken breasts in the pot), take the chicken breasts out of the pot, cut them in small cubes, and then return it to the pot. Bring the temperature back to medium.

Remove Chicken and Cut

Remove Chicken and Cut

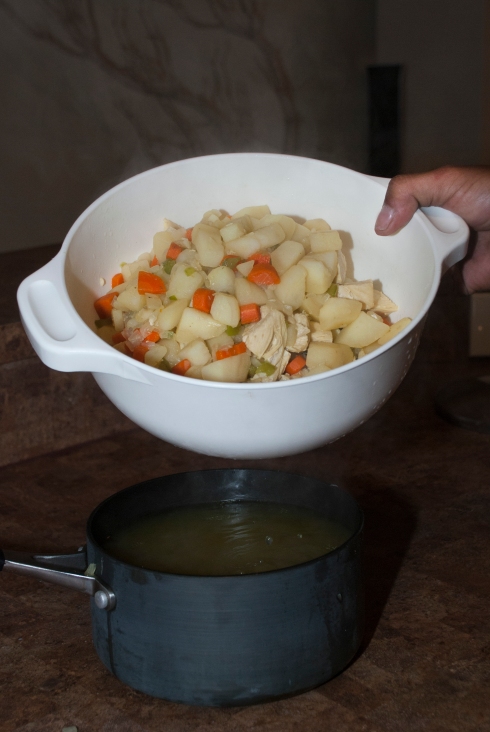
11. After 10 minutes. Drain all of the liquid out of the pot, keep all ingredients and also keep the broth in a separate container. We will use the broth later to cook the rice in it, so don’t throw it away.

Drain The Ingredients, Keep The Broth

Drain The Ingredients, Keep The Broth

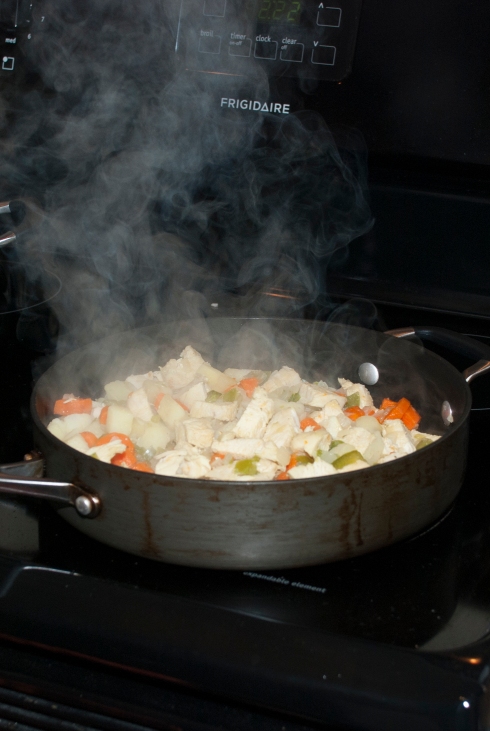
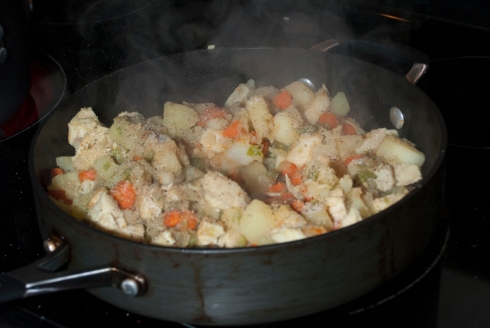
12. In a large enough saucepan add a little bit of olive oil and turn up the heat to medium. Add all of the drained ingredients from the pot to the pan.

Sauteé Ingredients

Sauté Ingredients

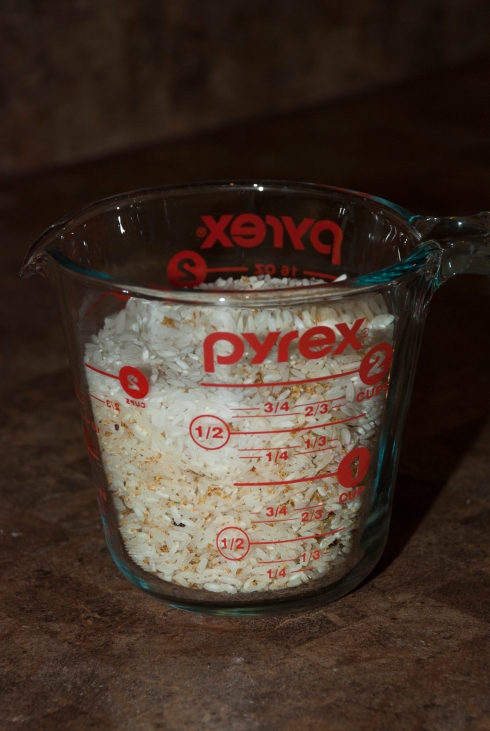
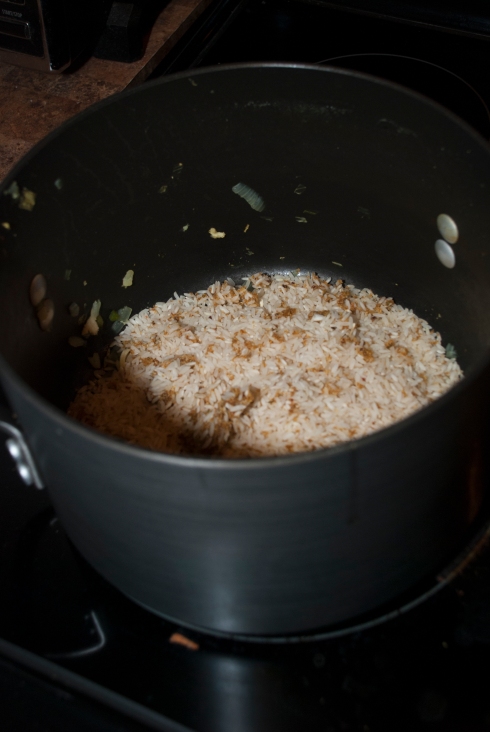
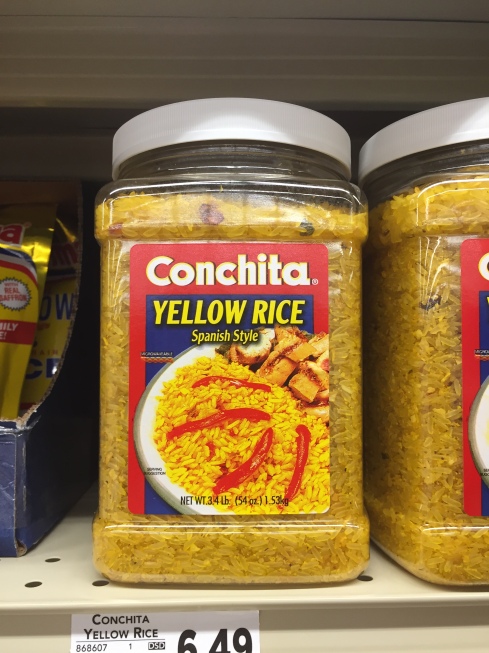
13. In the large pot you were using before, add a little bit of olive oil, add the 2 cups of Yellow Rice and sauté it a little bit. I have to say, my dad and I bought the Iberia brand of yellow rice and we were fooled. The package is transparent so you can see the rice, and the rice looks yellow because the package is yellow, not the rice. It says yellow rice because it brings that yellow powder in it which turns the rice yellow when you cook it, but the rice is not yellow straight from the package. There are other brands that have the yellow rice already pre-stained yellow, and you should get that one instead. I saw that the Conchita brand has a clear container, and you can see that the rice is already yellow.

2 Cups of Rice

2 Cups of Rice

Sauté The Rice

Sauté The Rice

Actual Yellow Rice

Actual Yellow Rice

14. In the meantime, sauté the other ingredients in the other pan.
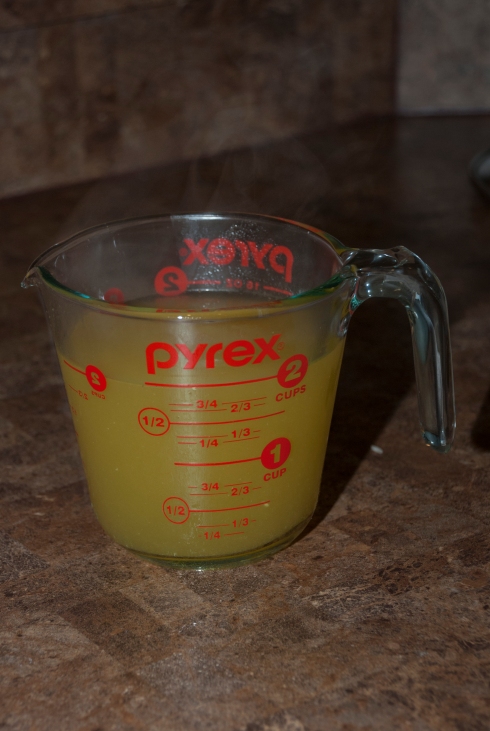
15. Once you sauté the rice just a little bit, add 4 cups of the chicken broth to the rice. Cook as directed in the rice package. Usually, turn the heat to high, bring to a boil. Then, lower the temperature and cover.

4 Cups of Rice

4 Cups of Rice

16. Add the adobo, garlic powder, salt, and pepper to the other ingredients in the other pan, then stir.

Add Seasoning

Add Seasoning

17. Add the chorizo to the ingredients in the pan, mix well.

Add Chorizo

Add Chorizo

Mix And Continue Cooking

Mix And Continue Cooking

18. Meanwhile, drain the cans of peas and corn.
19. Add all the ingredients from the pan to the pot with the rice. Stir thoroughly so that the rice mixes well with everything else.

Combine All Ingredients

Combine All Ingredients

20. Add the cans of peas and corn and mix well together.

Add Corn

Add Corn

Add Peas

Add Peas

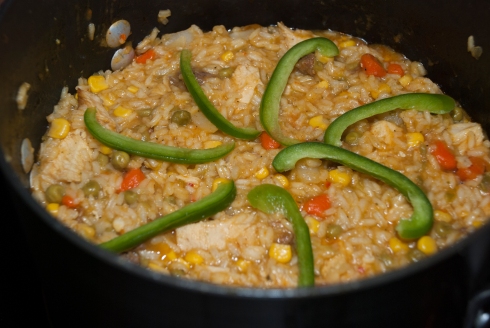
21. Take the temperature to low and cover, then cook for about 25 to 30 minutes or until the rice is thoroughly cooked.
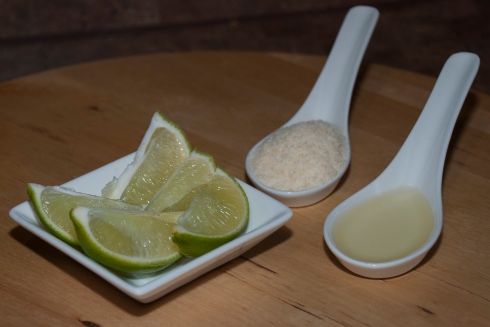
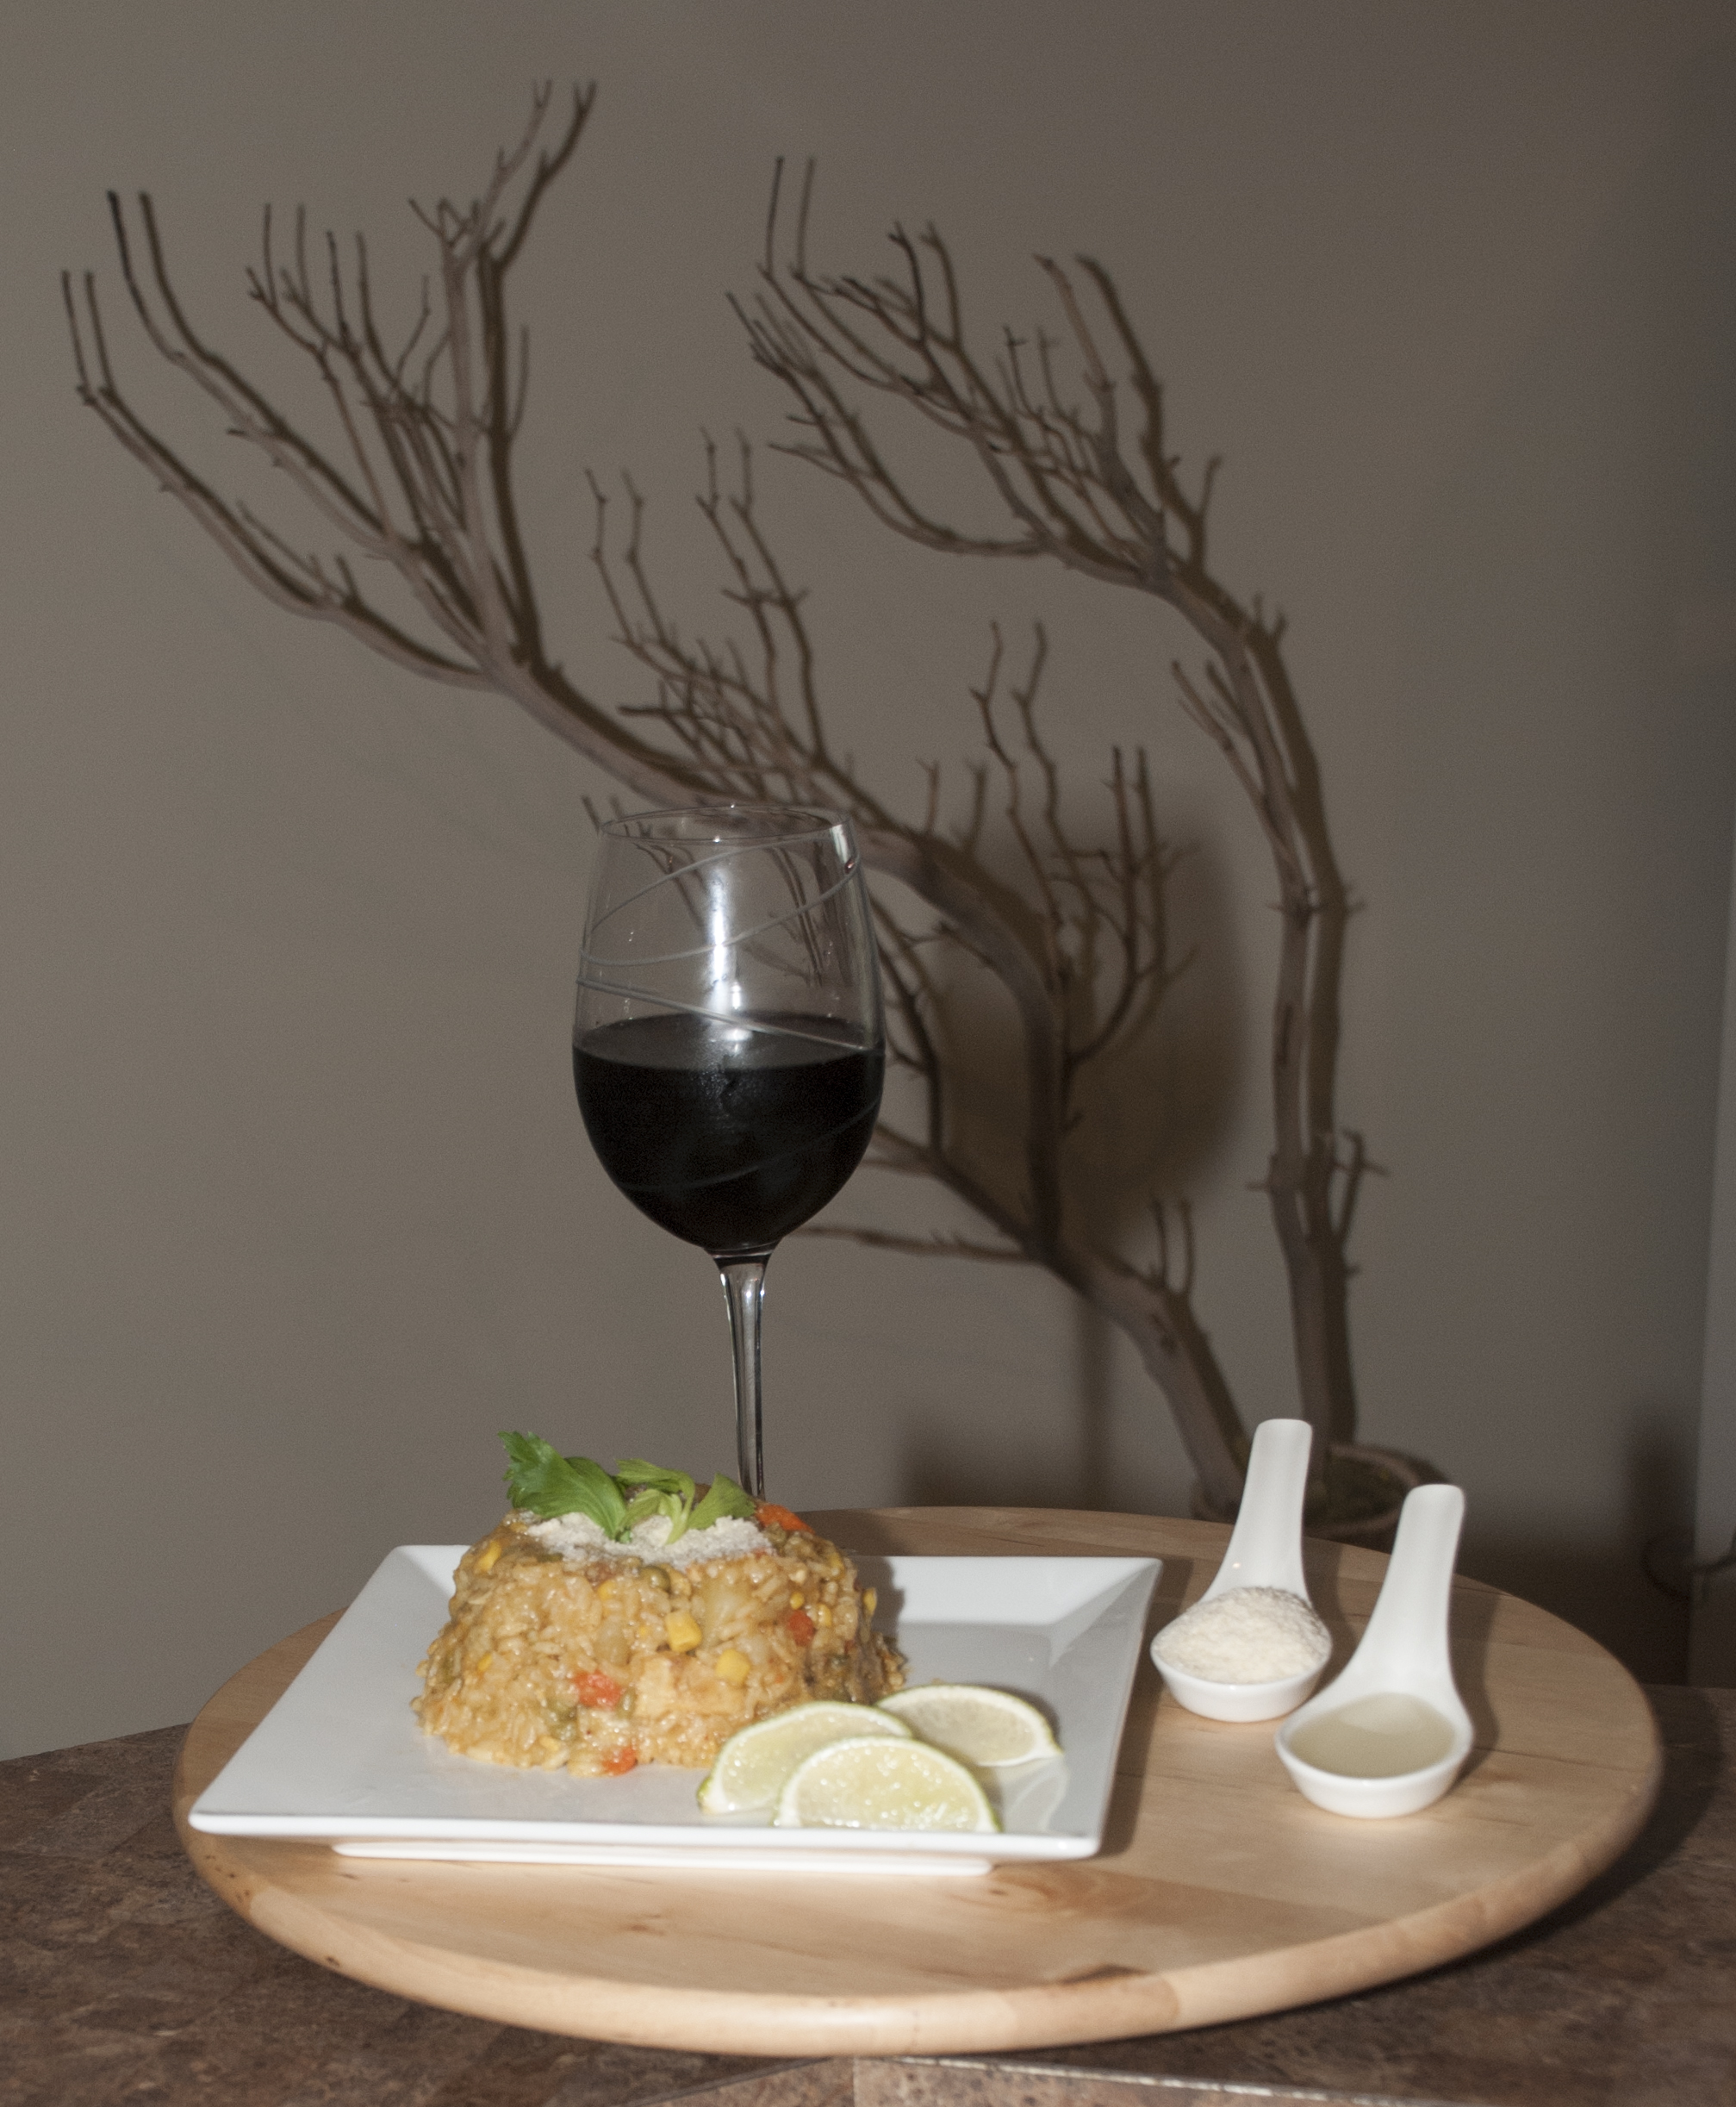
22. Serve hot with optional toppings: olive oil, Parmesan cheese, and lime juice. Use the rest of the bell pepper to decorate.

Arroz con Pollo | Venezuelan Rice And Chicken

Arroz con Pollo | Venezuelan Rice And Chicken

Optional Toppings

Optional Toppings

Arroz con Pollo | Venezuelan Rice And Chicken

Arroz con Pollo | Venezuelan Rice And Chicken

Arroz con Pollo | Venezuelan Rice And Chicken

Arroz con Pollo | Venezuelan Rice And Chicken

Note: This recipe usually includes Venezuelan Ají Dulce, but we were unable to find any. Most recipes don’t add the corn, but I thought my dad’s addition of the corn was delicious.

¡Buen Provecho!

¡Gracias Pa!
This is another very special post, and I dedicate it to my dad
Alejandro R. Ojeda

Venezuelan Event Recap: Expo Sentir Venezuela

3 May Expo Sentir Venezuela 2015 Mascot

Expo Sentir Venezuela 2015

Expo Sentir Venezuela 2015

Last week I learned from an acquaintance about a Venezuelan event going on last weekend. She was looking to borrow a falda llanera, which is a typical skirt used in the folkloric Joropo dances in Venezuela. I was curious as to why she needed to borrow such a specific item. She said she was attending a Venezuelan event that same weekend, and that I should go to this event as well. I was surprised that I didn’t hear anything about this event prior to my friend mentioning it to me, but I wasn’t surprised that she knew about it, after all, I can always count on her to know all the Venezuelan happenings in South Florida.

My decision to attend the event was kind of a serendipitous series of events, which started last year around July. You see…  I listen to a Venezuelan radio station almost all day long at work.  They are one of the very few stations left that report news that the government attempts to hide from the masses; Radio Caracas Radio. In one of their shows, De Todo Un Poco, they have a section for Venezuelan entrepreneurs and as I listened to them describe the artwork of a young Venezuelan artist, I had to Google him, and I found his online blog. I saw his artwork featuring the Venezuelan flag, and immediately fell in love with it. I even contacted him via twitter to ask where I could get his artwork, but of course, it was only available in Venezuela. A couple of months ago, my grandparents mentioned they would be flying to the US to spend the summer here, I immediately wrote them an e-mail with a few encarguitos, meaning I placed an ‘order’ for a few Venezuelan products that they usually bring to our entire family from Venezuela, to Miami. Within my order I asked if they could find this artist and his artwork, because I wanted to own an illustration for my home. Fast-forward to last week, I went to this event’s website, after hearing about it, and realized that the artwork they used for their mascot, was something I recognized immediately as a piece by that same Venezuelan artist.  As it turns out, he created that piece specifically for the event mascot; Chamo.  I immediately contacted the artist again via twitter, and asked if by any chance he was planning to attend the event, and if I would be able to purchase one of his pieces there, and he replied immediately that he was in fact attending the event, and he would have his own booth there, with all of his pieces available for purchasing and even a few other surprises. Of course, right then and there, I decided couldn’t miss it.

Expo Sentir Venezuela 2015 Mascot

Expo Sentir Venezuela 2015 Mascot

The event was called Sentir Venezuela, or Expo Sentir Venezuela, which translates into Feel Venezuela, or Expo Feel Venezuela. The event took place at the Miami Airport Convention Center from Friday, April 24th in the afternoon through Sunday April 26th. Since this was a last minute weekend plan, we decided to attend on Sunday. Although, if they have this event again, I would most likely plan to attend during Saturday, since it seems that was the busiest day, with the most surprises and presentations. The tickets were $10 if you bought them online, or $12 if you bought them there. It was advertised as “A unique and vivacious event celebrating the eternal Venezuela, the Great Nation that Simon Bolivar dreamed of; one of brotherhood, pride, and beauty. Let’s celebrate its music and its joy, it’s unique cuisine and folklore, its wonderful artistic expressions. Let’s celebrate together with “el Bravo Pueblo!” LET’S SENTIR VENEZUELA!.

They had a variety of vendors including artwork, paintings, sculptures, photography, crafts, food samples, prepared foods, pastries, arepas, bread, cakes, shaved ice, tequeños, cheeses, all kinds of different Venezuelan brands products like harina p.a.n., nucita, chocolate de leche, flips, granadina garlin, susy, samba, pepito, leche la campiña, as well as companies such as banks, insurance providers, realtors, printers, local Venezuelan TV channels, radio stations, newspapers, associations, and groups, not to mention Venezuelan flags on EVERYTHING like pins, bows, scarves, bracelets, necklaces, rings, shoes, shirts, pants, even shirt sleeves… Overall they had an incredible wide array of products unique to Venezuelan culture. They also highlighted a stage with live music and entertainment featuring several Venezuelan artists and bands, and a dance team showcasing the best of Venezuelan folklore, as well as special entertainment and activities for kids.

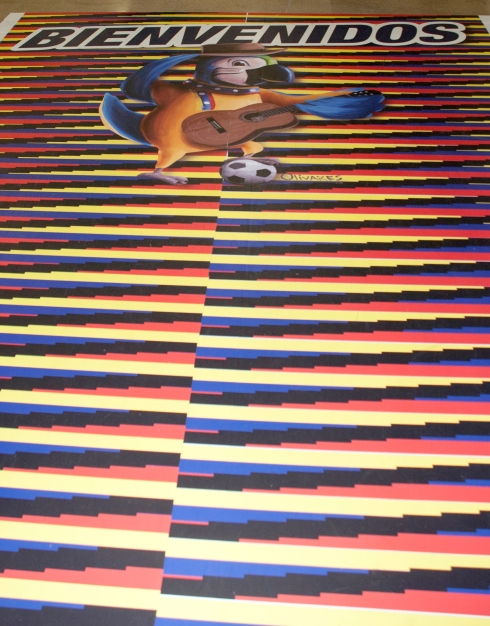
Sunday was a beautiful sunny day in Miami, but I was glad to know the event was indoors, since it was way too hot to be outside. We arrived at the Miami Airport Convention Center about half an hour after the event had opened its doors for their last day. It was not crowded at all… as my hubby pointed out; true Venezuelans would arrive way latter during the day, in true Venezuelan fashion. I wanted to be there early, because it was already the last day of the expo and I wanted to make sure to get an illustration from the Venezuelan artist I mentioned earlier. As we walked into the event itself, we stepped onto a familiar floor… They had a printed vinyl, sort of red-carpet welcome, but instead of a read carpet it was a replica of the famous floor located inside the Caracas International Airport, which is a very familiar design known to all Venezuelans, designed originally by renowned Venezuelan kinetic and op artist, Carlos Cruz-Diez. Nowadays, there is a famous and sad tradition of Venezuelans leaving the country taking photos of their feet on top of the recognizable pattern on the floor, saying goodbye to their home country. That day though, it had a different meaning; it was welcoming us to feel Venezuela, and it did feel for a second, as I looked down, as if I was actually arriving at the Caracas International Airport in Venezuela.

Welcome To Expo Sentir Venezuela

Welcome To Expo Sentir Venezuela

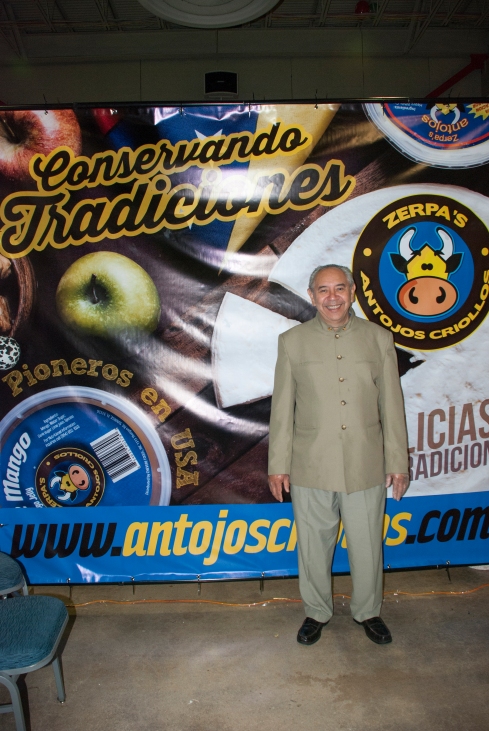
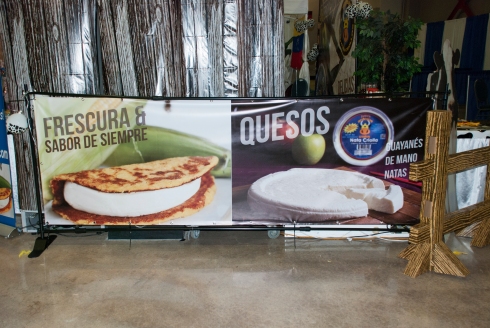
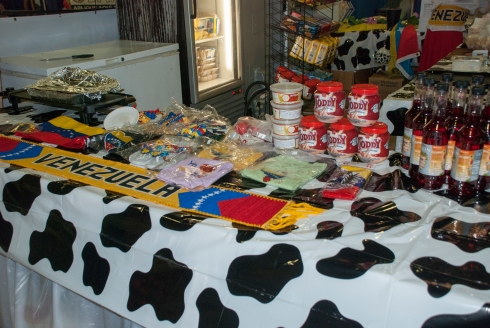
We started by saying hello to my acquaintance and her family at their booth, the Zerpa’s Antojos Criollos booth and one of the top booths in the entire event. El Sr. Zerpa (as you may recall from my previous post) is known throughout the Venezuelan community in South Florida, as el señor de los quesos. His company sells the absolute best Venezuelan cheeses around. Not only do they sell Venezuelan cheeses like Queso Guayanés, Queso de Mano, Queso Telita, Queso Duro Tipo Llanero, and Nata Criolla, retail and wholesale, but they also sell prepared and frozen food items and products for you to make and enjoy at home like Cachapas, Bollitos, Cachapas en Hoja, Hallaquitas, Tequeños, Empanadas, Pastelitos, Cachitos, Pandebono, Churros, Colombian Empanadas, Pan de Jamón, Hallacas, Punta Trasera, Guasacaca, Huevos de Codorniz, Frescolita, Malta Polar, Chinotto, Papelón con Limón, Salsa Verde, Ají Dulce, Dulce De Lechosa, Flan, Jalea de Mango, and much more. Their booth was quite large and beautifully decorated in a cow skin pattern, to match their logo mascot, Mariposa the cow, a cardboard cutout of a cow with barn-like fence over it; very clever considering their main selling product is cheese. They had a table showcasing their products, and samples of their delicious cheeses. They also had a new addition to their product line, Granadina Carlin, which I had been looking for, for a long time. Of course I got myself a bottle, and I promise an exciting drink recipe to come soon. I sampled their Queso Guayanés and it was to die for. They also have other Venezuelan brands products for purchasing like Harina P.A.N., Toddy, Samba, Ovomaltina, Toronto, Susy, Nucita, Chocolate Carré, Pirulín and Nestea. They were also featuring these new types of Tequeños, called MaizQuesitos, which are tequeños, but made with corn dough. Here is their contact information:

Phone Number: 305.456.3571 | 954.652.1058 | 754.234.4855
Website: http://antojoscriollos.com/
Facebook: https://www.facebook.com/zerpasAntojosCriollos
Instagram: https://instagram.com/antojoscriollos/
Yelp: http://www.yelp.com/biz/zerpas-antojos-criollos-sweetwater
Urbanspoon: http://www.urbanspoon.com/r/12/1655495/restaurant/Miami/Doral-Miami-Springs/Zerpas-Antojos-Criollos-Doral

Zerpa's Antojos Criollos

Zerpa’s Antojos Criollos

Zerpa's Antojos Criollos

Zerpa’s Antojos Criollos

Zerpa's Antojos Criollos

Zerpa’s Antojos Criollos

The next thing we did was have breakfast. I had purposefully left home without eating anything so I could have enough space for breakfast and all the delicious samples they had. We had breakfast at the Don Pan Bakery Booth. Don Pan International Pan is a very well known Venezuelan bakery and café, which actually started in Venezuela, and now they have several locations all over South Florida, Dominican Republic and Panamá. The closest one to where I live is the one in Sunrise, right outside the Sawgrass Mall. I had a cachito de jamón and a delicious café con leche, my sister had a cachito de jamón y queso and an empanada de jamón y queso, my hubby had an empanada de carne and an empanada de jamón y queso, and my friend Ann had something I had never seen or heard of before. It was a pastry filled with cream-cheese and it had sugar on top. We also took a Pan Andino to go and ate it at home the next day with café con leche and it was very good.  Here is don pan’s info:

Website: http://www.donpan.com/
Facebook: https://www.facebook.com/DonPanBakery
Twitter: https://twitter.com/DonPanBakery
Instagram: https://instagram.com/donpanbakery

After we ate and had a little bit more energy, we started to walk around the expo and checked out all the different booths. We tried some samples at the shaved ice booth, I had the passion fruit flavor, and my hubby, sister and friend had the coconut flavor. They were good. We also saw a lot of different companies promoting their businesses. Companies like the Venezuelan Business Club, BienvenidosVenezolanos.com, PaVenezolanos, a couple of realtors, immigration lawyers, etc.

We finally arrived at the artist’s booth, Oscar Olivares’ booth. He was there tending to a lot of customers with the help of his mother, Maribel Matos. His booth was a colorful one, filled with the Venezuelan flag design spread out on prints, canvases, tote bags, coin purses, caricatures, and much more. I introduced myself and told him how I was practically stalking him on twitter ever since I heard his interview on the radio last year, and I was so exited to finally meet him and have the opportunity to purchase one of his illustrations. He is so humble and modest, and he is very young.

Oscar is just 19 years old. He was born in Caracas, and began drawing at age 6, but it wasn’t until he was 15 that LaVinotinto.com hired him as the first-ever official illustrator for the national Venezuelan soccer team. His artwork depicted the love of the fans for the team and the game, focusing on the stands as the main subject for his illustrations. He participated in the Caracas Comic Con as a caricaturist in 2013. He is a self-taught artist, since ever since he was little, he did not enjoy being told what to draw, but he would rather draw whatever he was inspired to draw. In 2014 he was inspired, and he was inspired by all the political and sociological tumultuous evens in our country, to bring hope, unity and concisions to society by way of his illustrations. This is when he created his series of art with the Venezuelan flag and the concept of the arepa as the sun (Arte con la Bandera de Venezuela y el concepto del Sol como Arepa).

When I first saw his illustrations with the Venezuelan flag, I was very impressed. I am a graphic designer by profession, and I have to combine colors every day that I don’t necessarily find appealing. Most of the times I dislike combinations of primary colors such as red and blue, because it is hard to read and the two colors so close to each other cause visual vibration and afterimage effects. Generally, I would not pick the colors of our Venezuelan flag for any design, and I would most likely dislike any design that would use the primary colors. However, Oscar’s art made me love my flag colors all over again. His use of the colors is so cleverly done, that the visual vibration and afterimage effect is inexistent. He uses abstract shapes in different shades of each primary color to create depth and uses white and black to highlight the shapes of other elements in his illustrations. But perhaps the most interesting thing about his illustrations is the concept behind them. The elements of our Venezuelan culture that make us who we are, and the recognizable symbols and pop culture humor that is truly representative of Venezuelans.

Oscar Olivares, Venezuelan Artist @ Expo Sentir Venezuela 2015

Oscar Olivares, Venezuelan Artist @ Expo Sentir Venezuela 2015

I asked Oscar about the meaning of the arepa as the sun, and he sees the arepa as a common element between all Venezuelans, those with the government (red) and the opposition (blue). The arepa is not just literally something that unites all Venezuelans, since it is our staple food, but he sees it as the common ground; the light. The light that could bring together both sides of our divided country, not literally the arepa, but as a representation of something we all have in common. If we can find common ground in the fact that all Venezuelans love arepas, we can find common ground in other matters as well.

I asked him about finding the necessary materials to continue his work in Venezuela, since I know those kinds of imported products like paints, brushes, paper and canvas must be hard to find in a Venezuela where medicine, food and even toilet paper is also hard to find. He explained that the scarcity of such products was one of the reasons he started creating art digitally by composing illustrations by hand first, scanning it, and filling in the colors with computer software such as Photoshop. Unfortunately for him, he said some art galleries are not receptive to digital art and it makes it harder for him to get exposure that way.

After finally making a decision I purchased a print of the art with the Venezuelan flag, which he explained was the very first piece he created in that series. I also purchased a piece of the arepa surrounded by the red and the blue, because I really enjoyed his explanation of the importance of the arepa as a symbol of unity. And we also purchased a tote bag illustrated with one of the pieces of the art with the Venezuelan flag collection. He even gave us a free Venezuelan chocolate for purchasing 2 pieces. Here is Oscar Olivares’ info:

Website/Blog: http://soyeljugadornumero12.blogspot.com/
Twitter: https://twitter.com/olivarescfc
Instagram: https://instagram.com/olivarescfc

Oscar Olivares Venezuelan Artist at Expo Sentir Venezuela 2015. "Araguaney y fase lunar"

Oscar Olivares Venezuelan Artist at Expo Sentir Venezuela 2015. “Araguaney y fase lunar”

Oscar Olivares Venezuelan Artist at Expo Sentir Venezuela 2015. "Unidad"

Oscar Olivares Venezuelan Artist at Expo Sentir Venezuela 2015. “Unidad”

We continued on with the rest of the expo. We saw more artwork being displayed and we saw the artwork of Gerardo Fernández, a Venezuelan artist that creates these beautiful sculptures called escaladores or the acrobats, which I had seen previously at a high-end store where I purchased a rug for my living room before. His artwork was being sold by a store specifically dedicated to sell artwork by Venezuelan artist, Samán Arte. We also saw some beautiful bows and headwear for girls by the talented Lucky Cat Headwear. They were some beautifully decorated ones with the Venezuelan flag, and also the Venezuelan soccer team color (vinotinto – wine color), some incredible ones with the American flag, and some very cute ones of all the Disney princesses. We also saw a beautiful cake design by One Million Cakes Design Factory.

Gerardo Fernández' acrobats, sold by Samán Arte

Gerardo Fernández’ acrobats, sold by Samán Arte

Lucky Cat Headwear

Lucky Cat Headwear

Lucky Cat Headwear

Lucky Cat Headwear

One Million Cakes Design Factory

One Million Cakes Design Factory

Then we stumbled upon a stand I know my mom would have loved. My mom and dad used to go some weekends to a special place in Caracas just to stop and get a Cocada. A Cocada is a coconut drink made with fresh coconut, milk, sugar, ice and optional condensed milk and cinnamon. I don’t know if I have mentioned this before or not, but I have an absurd hatred towards coconut. Initially as a kid, I merely disliked anything that smelled like coconut, and I concluded that if I didn’t like the smell, I would most likely not like the taste. As a teenager, I thought I would grow out of this absurd hatred and decided to give coconut a try, since my mom was making bienmesabe and she had fresh grated coconut laying around in the kitchen. I took a pinch of it, placed it on my tongue and immediately spit it out, became nauseous and almost sick to my stomach. I never tried it again, or ate anything with coconut. However, my sister, my husband and my friend Ann took a free sample from the cute friends at La Caracola Cocada, and they said that it was absolutely delicious and refreshing. My sister even went as far as to say that it was better than the one she had with our dad back at that same place my mom and dad used to go to in Caracas.

La Caracola Cocada

La Caracola Cocada

We kept going and found ourselves in front of La Reina Del Golfeado’ booth. A Venezuelan delicacy I had completely forgotten about, right there in front of me. We had to buy one. We were so full by all these samples, we only needed one, and split it four ways, but usually I would’ve eaten one all by myself. A golfeado is a breadlike pastry/dessert that is rolled in a spiral shape, they are soft and caramelized with sugarcane and anise seeds, so it smells and tastes a bit like licorice. Served with a delicious slice of queso de mano. It was to die for.

Overall, I was glad that my acquaintance and the Venezuelan artist inspired me to attend this event.  I enjoyed spending time with my family and friends, surrounded by the familiarity of my country, the culture, the music, the food and the colors.  The only thing I must say, is that the event organizers should have marketed the event a bit more, and perhaps attempt to respond to inquiries from the attendees.  It is wrong of me to think that I could possibly transcribe to you the entire list of vendors, artist, food, celebrity, and bands that encompassed the entire event. So all I can say is that if you want to Sentir Venezuela, you must definitely attend this even next time.  So, here is the info for the event:

Phone Number: 786.447.7793
E-mail: info@sentirvenezuela.com
Website: http://www.sentirvenezuela.com/
Facebook: https://www.facebook.com/sentirvenezuelaevent
Twitter: https://twitter.com/SVenezuela1
Instagram: https://instagram.com/sentirvenezuela/

Recipe: Crema de Auyama | Venezuelan Cream of Squash Calabaza (Soup)

4 Jan Crema de Auyama | Venezuelan Cream of Squash Calabaza (Soup)

By now you must know how much I love soups and creams. I have given you the Apio Soup and the chicken soup recipes so far, but there are plenty more Venezuelan soup and cream recipes to come. Today I want to share with you another very popular Venezuelan creamy soup, the Crema de Auyama. The Auyama, pronounced awˈʝa.ma, is technically a fruit because it contains the seeds of the plant inside. However, most people consider it a vegetable. It most resembles the squash and pumpkin types. In Venezuela it is used in most soup preparations like Sancochos and it is also used on its own to create this cream. However, it is also used to create sweet recipes such as bread and cakes.

The Auyama is easy to cultivate and therefore it is sold in large quantities and at a cheaper price than other vegetables. It is rich in potassium, calcium, vitamin A, and fiber. It is also low in calories because it is mostly made out of water, but it is very tasty. It is believed that because it was easily cultivated, Europeans used it as fodder to feed their animals. Each plant can bear up to 8 fruits and it only takes 140 days to harvest. In Venezuela it is available all year long. However, the Auyama harvested in summer has a sandy-textured pulp and it works best for pasta fillings or cakes. On the other hand, the Auyama harvested in winter is the one that is best for creams and soups, because the pulp is more fibrous and pale, and it has more water content.

Here in the US, the type of pumpkin or squash that I believe to be the closest to the authentic Venezuelan Auyama is sold as Squash Calabaza. I have bought it at Publix and Sedano’s in big chunks (they cut it and sell each individual piece in cling wrap), I have also bought one at Wal-Mart sold as a whole (the whole Calabaza), but I think the ones that come cut in chunks are the ones that most resemble the Auyama taste. The Venezuelan Auyama belongs to the Curcubitaceae family, and the curcubita genre, in the varieties called máxima, moschata, mixta and pepo. Its size is large and it comes in different shapes and sizes, with skin that varies from green to yellow to orange, it can be either smooth or corrugated, and the pulp varies from pale yellow to bright yellow-orange. The taste also varies from very sweet to not so sweet. This is probably why it has been hard for me to find one that truly matches the Venezuelan Auyama taste.

This particular recipe is my sister’s very own recipe, so it is not a traditional recipe, but it is very close to it. My sister, Mariale Ojeda, a.k.a. The Soup Queen as we call her around here, is an expert at making delicious soups for me, the soup lover. This post was created by her, the recipe, the cooking and the photos are all hers. I have to say special thanks to her for all the soups she has been cooking for us lately and for this amazing recipe and post she created as a featured writer of Venezuelan Cooking.

Ingredients for Crema De Auyama

Ingredients for Crema De Auyama

What you need:
– 4 lbs. Auyama (Squash Calabaza)
– 6½ Cups Chicken Broth or Chicken Bouillon (enough to cover all the Auyama)
– 5 to 8 Stems of Cilantro
– 1 Teaspoon Minced Garlic
– ½ Chopped Onion
– 1/3 Sliced Bell Pepper
– ½ Stem Sliced Leek

Preparation:
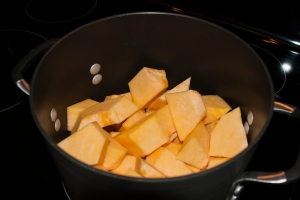
1. Peel the Auyama and remove the seeds. Cut it in big chunks.

Cut The Auyama In Big Chunks

Cut The Auyama In Big Chunks

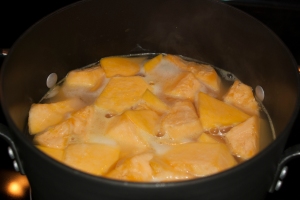
2. Place the chunks of Auyama in a large enough pot. Cover entirely with the chicken broth or chicken bouillon (1 bouillon cube per cup of water).

Cover With Chicken Broth

Cover With Chicken Broth\

3. Boil the Auyama at medium to high heat for about 13 minutes.
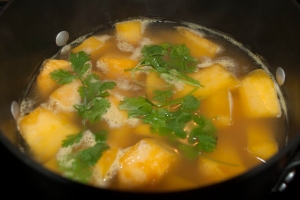
4. Add the cilantro and continue to boil for another 7 minutes.

Add Cilantro

Add Cilantro

5. Stir occasionally and remove accumulated foam from the top.
6. Meanwhile, cut the rest of the vegetables and heat up a pan with a little bit of olive oil.
7. Toss the veggies in the pan and sauté until brown, then set aside.

Sauté Veggies. Set Aside.

Sauté Veggies. Set Aside.

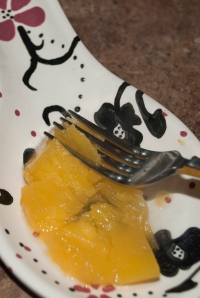
8. After about 20 minutes of boiling, test the Auyama by taking out a large piece and try to mash it with a fork, as if making mashed potatoes. If you can do this easily, then it’s done.

Test if the auyama is done

Test if the auyama is done

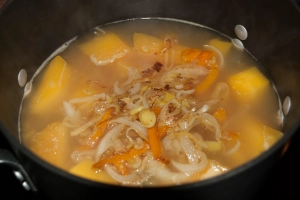
9. Add the sautéed vegetables to the Auyama pot, stir and remove pot from the heat. Let it cool down.

Add veggies to auyama

Add veggies to auyama

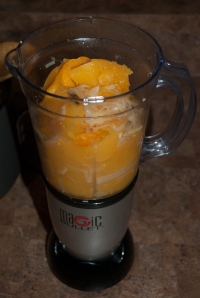
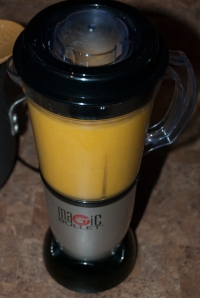
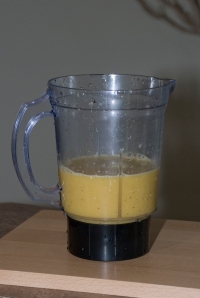
10. Once it has cooled down, grab all the solid pieces and place them in a blender or food processor.

Blend

Blend

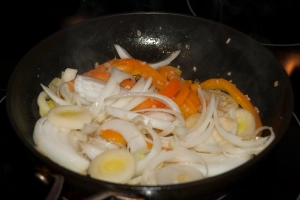
11. Blend together and gradually add as much of the liquid remaining on the pot as necessary, to reach the right creamy consistency. What you are looking for is a creamy soup consistency.

Creamy consistency

Creamy consistency

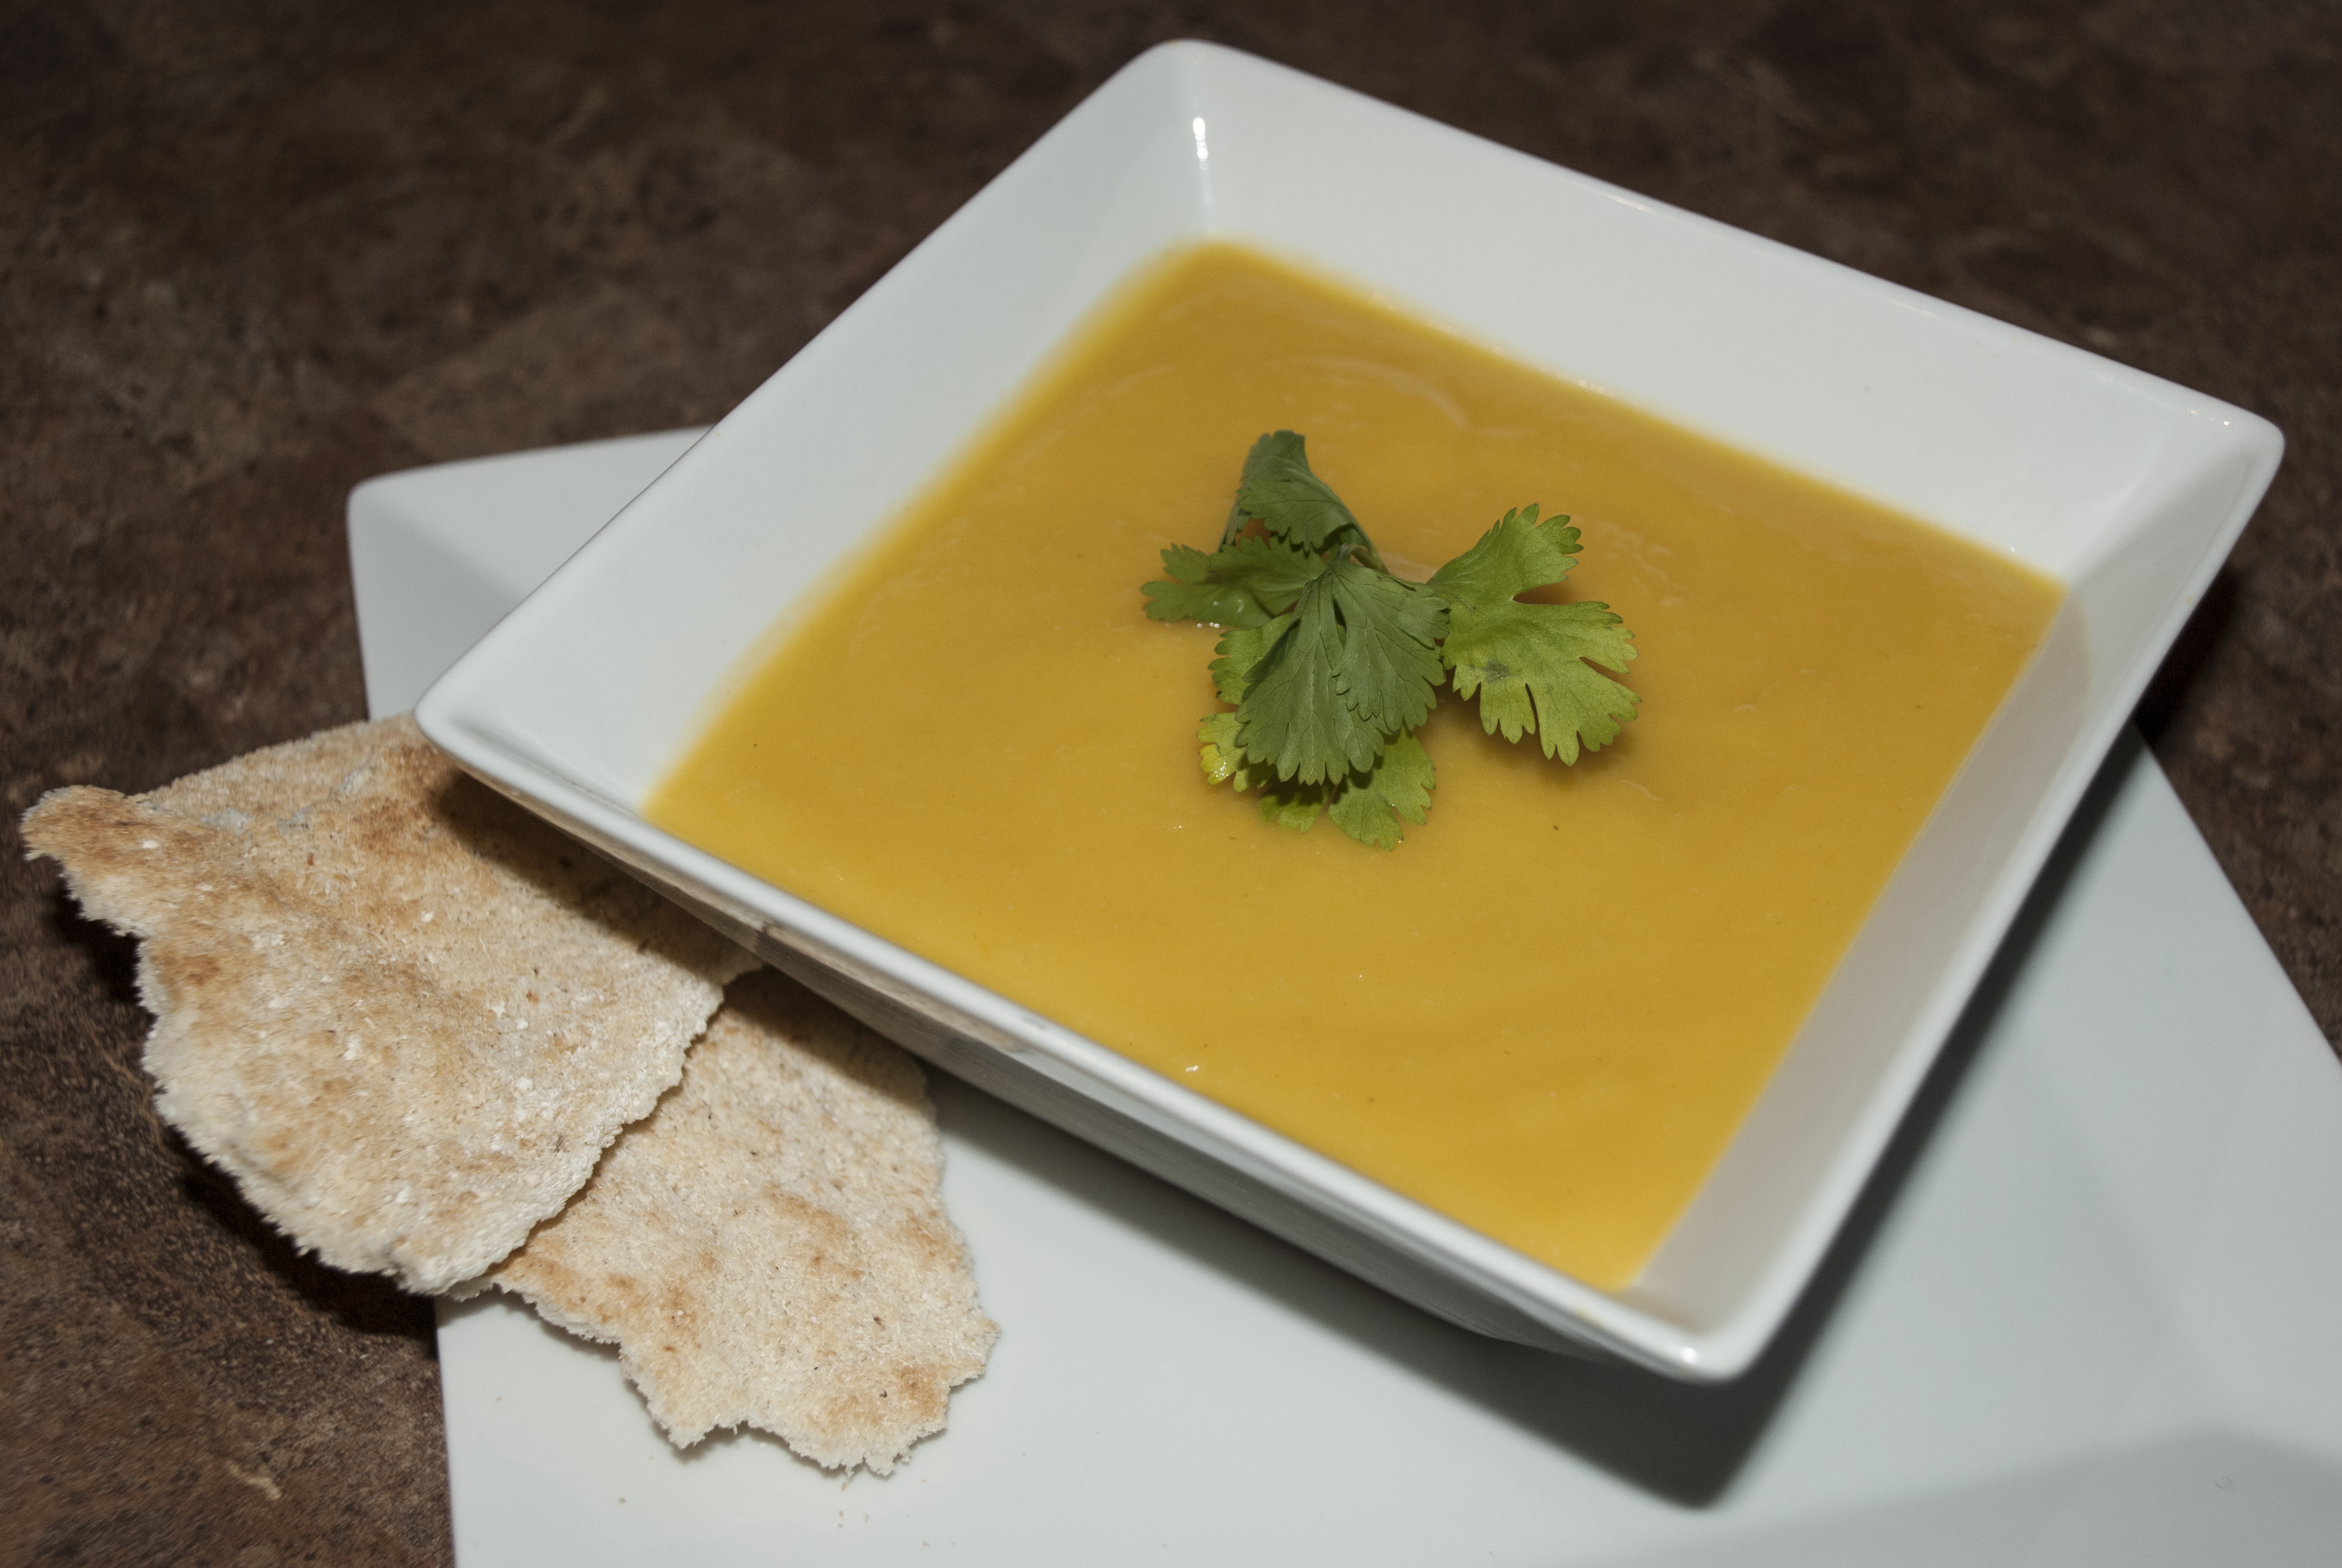
12. Serve hot with your favorite garnish and topping, like my sister and I do. Some of our favorite toppings include Parmesan cheese, cream cheese, avocado, rice, croutons and cassava bread.

Crema de Auyama | Venezuelan Cream of Squash Calabaza (Soup)

Crema de Auyama | Venezuelan Cream of Squash Calabaza (Soup)

Note: You can make a big batch of this Squash Calabaza creamy soup and store it in the fridge for a couple of days, or you can store it in the freezer for up to a month. Reheat on the stove and not on the microwave for better results.

¡Buen Provecho!

Recipe: Hallacas Venezolanas | Venezuelan Christmas Dinner Hallacas

1 Jan

I am truly exited to be able to share this recipe with my readers and followers. As a kid I was sometimes involved in the making of hallacas during Christmas in Venezuela, but with very little responsibility; something like handing over a piece of yarn, or a spoon. Finally, eleven years after moving to the US, I can say that I have truly been involved in, and enjoyed the hallaca making experience. If you haven’t read my previous post regarding Venezuelan Christmas traditions, you can take a look here, to understand the full scope of a traditional Venezuelan Christmas Dinner, celebrations, traditions and dishes, but for this post I am going to limit myself to only explaining the hallacas.
This past year (2014), my paternal grandparents came to spend Christmas here in Florida with the rest of my paternal family, which they usually do every year. However, this year was extra special because they didn’t come alone, they invited my great-grandmother (my paternal grandfather’s mother) to join us. My great-grandmother, la señora Nery Ruso (98), is my true role model and a great inspiration as a woman. From a very young age she was dedicated to working, studying, raising her children, and it paid off in a life filled with accolades, awards, medals, and the highest honors as an entrepreneur, writer, business owner, a true influential character in the Venezuelan society. Writing for the most important newspapers in the country, socializing with several presidents and their wives, marrying internationally recognized painters, founding recognized magazines and pageants. A true inspirational woman who worked hard to position herself into spots once only held by highly educated men.
As I was sitting there ready to learn how to make the traditional hallacas from my great-grandmother, my grandmother and my aunt, I asked my great-grandma, who we all call Bila (A nickname my dad gave her when he was a kid), if she knew where and how did the hallacas come from. Bila said the story she knows is the one I wrote on my previous post about Venezuelan Christmas. But the way she described it to me was even better. She said a long time ago there were the very rich families with European descendants and they used to have these giant parties with all kinds of dishes that their maids would prepare for them. At the end of the parties, the maids would clean up the tables and think what a waste to throw away such expensive ingredients like olives, capers, steaks, pork, chicken, and raisins. So the maids would chop up all the ingredients and make them into a stew, and since the corn dough was cheap they used that to make the outer envelope for the stew. She said eventually the rich people would come to try these inventions and they became what we know today as the hallaca.
The hallaca/hayaca (pronounced Ah-jac-kah) is an original traditional Venezuelan dish that we only consume during the month of December and during Christmas and it is the number one most important component for a true Venezuelan Christmas Dinner. The hallaca brings our families together even for the preparation, which can take up to 3 days and at the very least two people to make at least 50 Hallacas. The preparation itself is a reason to come together and celebrate, and create an assembly line with positions assigned, like the chopper, the cook, the dough kneader, the wrapper, and the knot maker. This year I was very fortunate to have these three women teach my sister and me how to make the hallacas. We made them over two days in the afternoons (because of my busy work schedule), at my aunt’s house, in the middle of her moving overseas. It was definitely a crazy experience, but all the fun we had and all the tips I learned were worth it. I felt blessed that there were three generations of experts each giving me their own tips and advice, at the end I was very tired, but the experience couldn’t have been any better and definitely worth it. Each person has their own way of making hallacas, each family has their own secret ingredient or traditions passed down from generation to generation, and techniques that are also improved upon generation to generation. For example, the flattening of the dough was and still is usually done by hand pressing with your fingers, but my aunt has a beautiful tortilla press (tortillera), which she bought in Mexico that she uses for hallaca making, and it makes it a lot faster and easier. Even tying the yarn can be a subject of debate. The funny part is my great-grandmother would want to teach me how to do it her way, my grandmother would want to teach me how to do it her way, and my aunt had her own way of doing it, which was different that both their ways. After taking in all that knowledge from those three generations I think I am confident in making hallacas on my own next year and sharing all this knowledge with you so you can also make them at home this year, or next year.  Each family and each region in the country has their own recipe and their own way of making the hallacas, but the process is basically the same.

A Few Tips Before We Begin
This is basically a summary of all I learned while making hallacas with my great-grandmother, my grandmother and my aunt.
a) The entire process is time consuming and it takes a toll on you physically. Be sure to set aside at least two entire days for making hallacas, and enlist the help of a couple of friends or family members. However, as my great-grandmother said… “Muchas manos en la olla ponen el caldo morado” – Too many hands on the pot, make the broth turn purple.
b) You will need a large area for the ‘assembly line’. You can use your dining table if you have a large enough one, but be sure to cover it either with newspaper, a tablecloth you don’t care about damaging, a plastic table cloth, or some other protective surface. Be sure you don’t have a carpet or rug you don’t wish to damage or stain either.
c) On that note, come prepared with a change of clothes that you don’t mind staining, or aprons…and some hairnets, or if you want to be cute and fancy like us, you can wear bandanas. You just want to make sure that hair doesn’t become an ingredient.
d) Be sure one of your helpers is the person in charge of cleaning up. You don’t want to wait until the end of the night when you are tired and have a mountain of dishes to wash. Be sure your helper is washing everything as you go, because sometimes you might need to use the same tool twice.
e) Be sure to gather all the tools and ingredients necessary at least a day before you begin, so you don’t have to send someone out to get them and loose a pair of helping hands. Also be sure the tools are nice and clean and ready to be used.
f) Be sure to empty out your fridge because you will need a lot of space to store the hallacas when ready. And also be sure you don’t make the hallacas way to far in advanced, otherwise you will have to freeze them, and they are better when they are not frozen. The weekend before Christmas is good enough.
g) Kitchen Tools. There are a few kitchen tools that would make your job a lot easier. You don’t have to buy the expensive brands, and you may even be able to borrow some of these from someone else. A tortilla press or tortillera is not something you would probably have in your home, but there are a few cheap wooden ones you can get online, like the ones from the IMUSA brand. They have a round cast iron one for $20 at Bed Bath and Beyond, but I am not sure if those are large enough. You are better off with a large rectangular one, which you can buy online from a Mexican store, on etsy or ebay. You could also make your own as shown here… or you could just use your hands or a rolling pin, or even a large heavy Pyrex baking pan. You will also need several cutting boards, sharp knives and keep your knife sharpener handy, several bowls and Tupperware containers to keep all the ingredients you have to chop beforehand, large stew pots and large pans, several clean wash cloths and scissors, extra large bowls for mixing the dough and keeping the stew, strainers, latex gloves, measuring cups, and measuring spoons.

What you need for 50 Hallacas:
Guiso | Stew (Filling):
– 5.5 lbs. Sirloin Tip Roast
– 3.5 lbs. Chicken Breast With Rib (No Skin)
– 2.5 lbs. Rib End Boneless Pork Roast
– 1 lb. Bacon
– 5 Lemons Cut In Half
– 1 Cup Vegetable Oil
– 6 Cups Chopped Onions
– 4 Cups Chopped Leeks
– 2 Cups Chopped Green Onions
– 3¼ Cups Minced Garlic
– ½ Cup Capers in ½ Cup Chicken Broth
– 2.5 lbs Red Bell Pepper, Grated without skin or seeds
– 5 Cups grated Tomatoes (No Skin or Seeds)
– 4 Chopped Sweet Peppers (Ají Dulce)
– 1 Cup White Wine
– ½ lb. Papelón Rallado (Grated shredded sugar cane blocks available in Latin stores)
– 1 Tablespoon Ground Black Pepper
– 2 Teaspoons Paprika
– 5 Tablespoons Salt
– ½ Teaspoon Mustard
– 2 Cups Chicken Broth
Masa | Dough:
– 9 lbs. Harina P.A.N.
– 4½ Cups Chicken Broth
– 17 Cups Water
– 5 Cups Oil
– 6 Tablespoons Annatto Seeds
Adornos | Garnish:
– 1 lb. Bacon (Same one that was cooked with the pork cut in long slices)
– 2 lb. Red Bell Peppers (Cut in long slices without skin or seeds)
– ½ lb. Sliced Almonds
– 1 lb. Medium Onions, cut in long rings or long slices
– ½ lb. Small Drained Capers
– 1 lb. Medium Pitted Green Olives, Drained
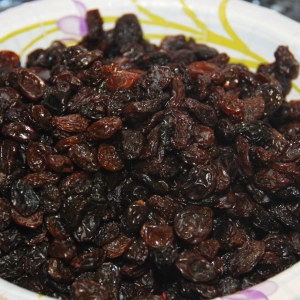
– ½ lb. Raisins
Envoltura | Wrapping:
– 10 lbs. Plaintain Leaves (about 10 bags)
– 2 rolls of Pabilo (Cotton Yarn, Butcher’s String, Kitchen Twine, etc)

Preparation:
DAY ONE
1. The first thing you want to do is prep and clean all the plantain leaves, cut them and separate them by size. As I mentioned before, this recipe can take up to three days in the making and you want all your assembling parts to be ready on the final day. Therefore, you can begin by prepping the plantain leaves on day one. You can even do it before day one, or you can do it while the stew is on the stove. Either way you should do it before you are ready to assemble the hallacas.  Here in the US, it is fairly easy to find plantain leaves. There are a couple of brands that sell plantain leaves in a bag, in the frozen section. They sell them as Hojas de plátano or Banana Leaves, although the real translation should be plantain leaves. They have Goya, La Fe, La Nuestra, El Sembrador, etc. You can buy either one. My aunt bought El Sembrador and La Fe brands. The plantain leaves are really large and they come all folded together inside the bag, and they are pretty cold when you handle them because they are frozen. Its best if you leave them out to thaw a bit before you begin this process, because they will be easier to handle.
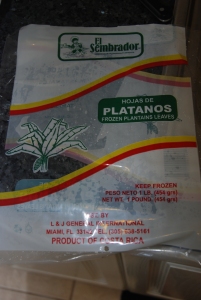
Hojas de Platanos | Plantain Leaves | Banana Leaves

Hojas de Plátanos | Plantain Leaves | Banana Leaves

If you look at the leaf, you can tell it has a main vein or central nerve, which is where it is attached to the tree, then a lot of little lines perpendicular to the vein/nerve that go from the nerve to the edge of the leave, lets call them little veins or little nerves. When you are working with the leaf, whether it is cleaning it or cutting it, you should always keep the side where these little veins or little nerves are most visible protruding, side up. And also lay them with those lines going away from you (you would see them vertically) and the line where the main nerve is, or used to be closest to you. Don’t worry I will illustrate all of these complicated terms below for you.
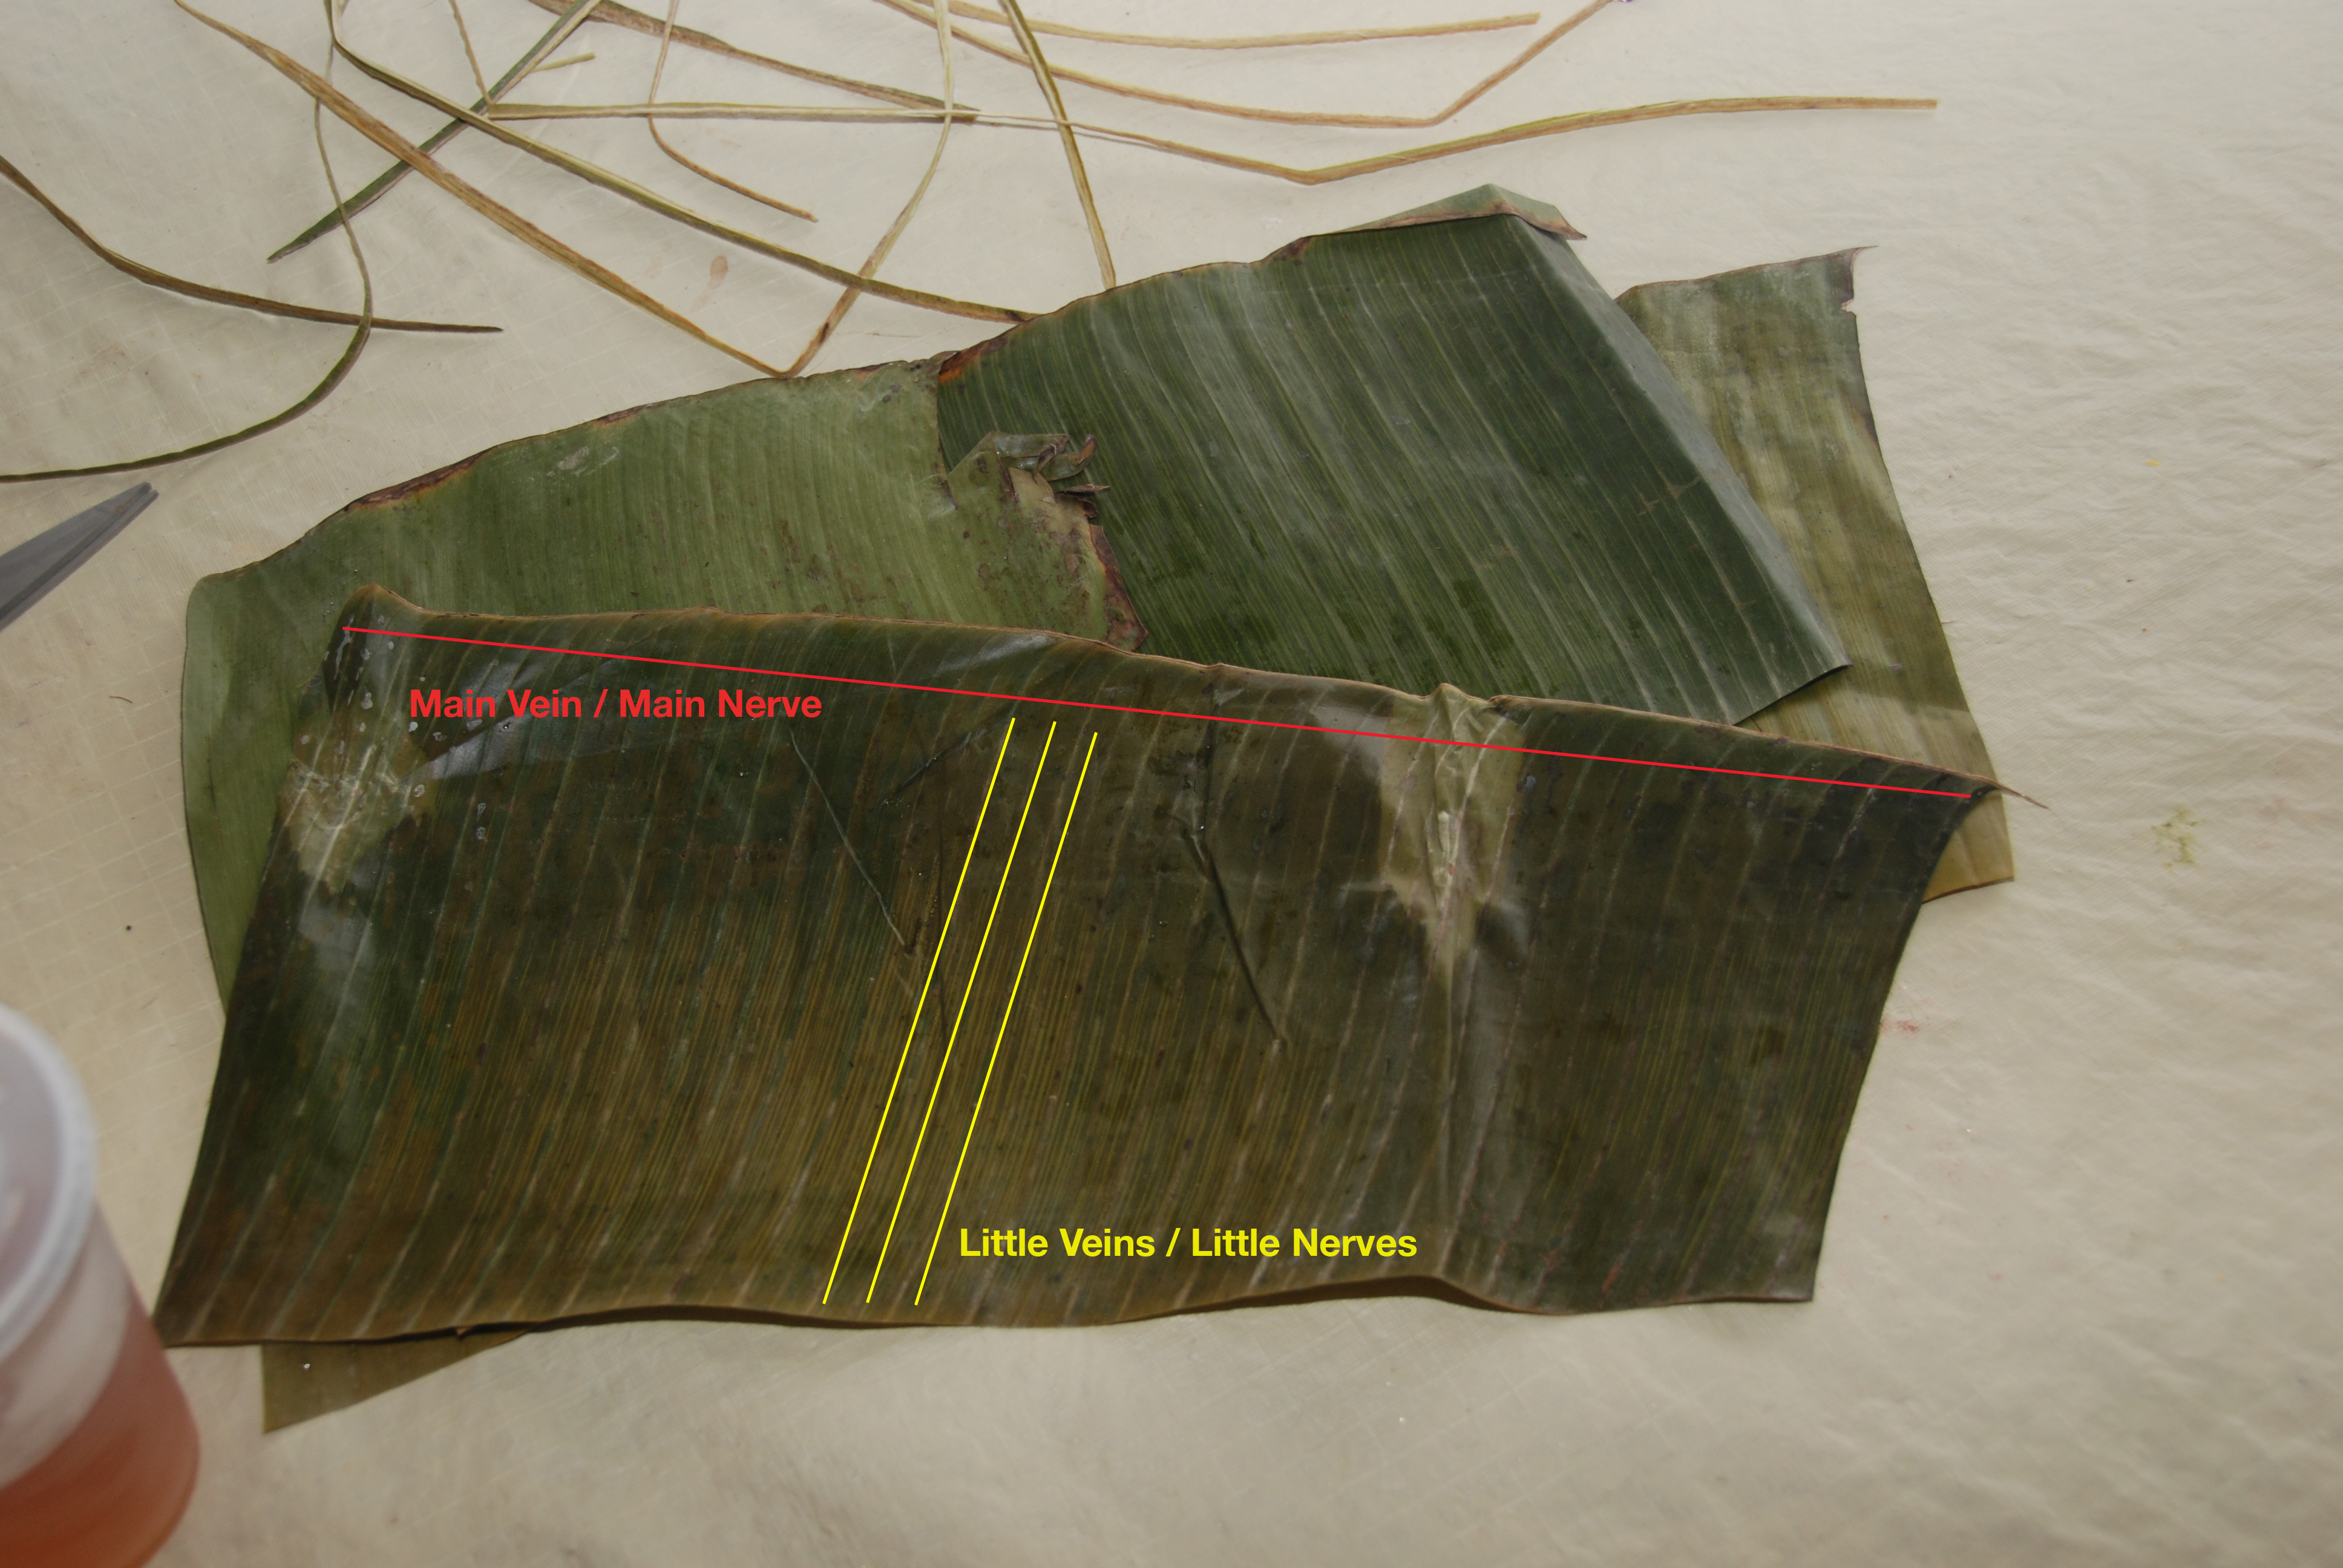
Plantain Leaf Parts

Plantain Leaf Parts

2. First you should open the bags and lay them all opened and flat on a large table. They are supposedly already cleaned, but you should clean them anyways with a wet kitchen towel or cloth. They are easily broken and torn in half so it is better to clean them all first and then proceed to cut the veins and cut them into all the different sizes you will need. Clean the leaves with a wet cloth and then dry them with a dry cloth.
3. Once you have cleaned them and dried them all, you can proceed to cut the vein or central nerve if you will. If you lay the long plantain leaf vertically in front of you, you will notice one side has a thick vein (the side that is most straight). You can proceed to cut the whole vain, which is only about half an inch from the edge.
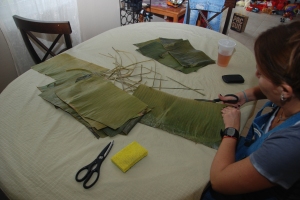
Cuttin the veins of the plantain leaves

Cutting the veins of the plantain leaves

4. Once you cut all the veins from all the leaves, you can proceed to classify and cut them into all the different shapes and sizes you will need. You can also proceed to tear apart the pieces, which are already torn, because if they already have a tear, they will eventually tear all the way.
5. The different pieces you will need are:
– La camisa | The Shirt: This is the main piece which is used to directly place the dough on. They can be roughly about 15” x 10” rectangles. You want to pick the best pieces for this category. You want them to be flexible and without any torn edges. These will also be used as the second piece, which goes on top of the shirt to prevent much water to getting into the shirt, which holds the hallacas itself. But this second piece will not be directly in touch with the dough, its just a second cover (I guess we can call it the jacket, lol… just kidding, that is not the official name)
– La Tapa | The Cover: These leaves are a bit smaller than the shirts, they are usually about 8” x 10” rectangles. They are used are a cover or top for the main ones. The more you cover up your hallacas, the less water will get into them.
– The faja | The Belt: These leaves are 3” to 5” wide times whatever width of the original plantain leave. They are used, as their name describes it, simple to hold in the hallacas and all those previous leaves together right before it is ties up with the thread.
*From one good entire plantain leaf you can probably get one or two shirts, a cover and a couple of belts.
*Someone asked me if they could make Venezuelan Hallacas without using the plantain leaves, the answer is no.  As you will understand by the end of this post, the plantain leaves are essential to the making of Venezuelan Hallacas, and they even give the that distinctive smell and taste.
DAY ONE (Continued) OR DAY TWO
Guiso | Stew (Filling):
1. Clean the pork and the chicken rubbing them with the lemon halves and then rinsing thoroughly with enough water.
2. In a large enough stewing pot with hot boiling water, cook the pork and the bacon on medium heat for 10 minutes. Remove from the pot and drain the meats (you can get rid of this liquid). Set the pork aside to cool down so it can be cut into small square pieces of about ½ an inch to ¾ of an inch. Cut the bacon in long strips and reserve it for the adornos | garnish.
3. In the meantime you can begin to chop up, de-skin, de-seed, and grate all the rest of the ingredients for the stew (filling), like the onions, leeks, green onions, garlic (mince it), red bell peppers (grate), tomatoes (grate), sweet peppers, sugar cane (grate), all in small little pieces.
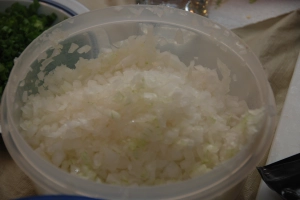
Chopped Onions
Chopped Onions

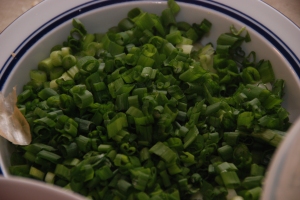
Chopped Green Onions

Chopped Green Onions

Chopped Ají Dulce | Sweet Peppers

Chopped Ají Dulce | Sweet Peppers

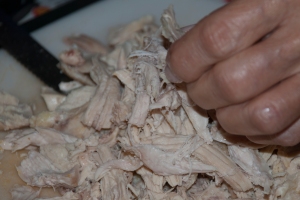
3. In a different pot with enough water, cook the chicken at medium heat until it is thoroughly cooked, but not too long. Remove the chicken from the broth, and drain the broth and let it cool (we will be using it later). Take ½ Cup of this broth and put all the capers in it, save the rest of the broth. Let the chicken cool down and once it is manageable, shred only half of it into long strings of about 2 to 3 inches long.
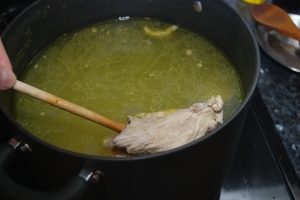
Chicken Broth & Chicken
Chicken Broth & Chicken

Shredding the Chicken

Shredding the Chicken

4. In yet another large pot, add the oil and stir-fry at high heat the onions, leeks and green onions for about 5 minutes or until they brown. Add the garlic and the capers along with the chicken broth they have been soaking in, and cook at medium heat for about 15 minutes or until it begins to boil.
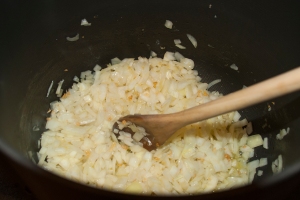
Frying the Ingredients

Frying the Ingredients

5. Add the bell peppers, tomatoes and sweet peppers and let it cook for 10 more minutes at medium heat.
6. Add the wine, sugar cane, pepper, paprika, salt, mustard, 2 cups of the chicken broth we saved earlier, and cook at medium heat for 15 minutes or until it begins to boil.
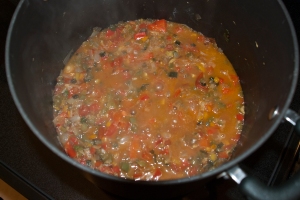
Adding the liquids

Adding the liquids

7. Add the beef and the pork we cooked earlier, cover, and continue to cook at medium heat for 40 minutes.
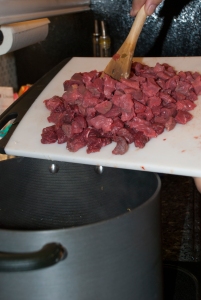
Adding the Beef

Adding the Beef

8. Add the half of the chicken you didn’t shred before and continue to cook for 15 more minutes making sure the meats are not disintegrating and they are still in small pieces.
9. Taste the stew and add more salt if necessary.
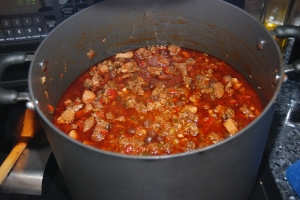
Add Salt To Taste

Add Salt To Taste

10. Remove from the heat and let it cool down. If your stew if too liquid, you can thicken it by adding one tablespoon of Harina P.A.N. dissolved in water. Add as many as necessary to get the right consistency.
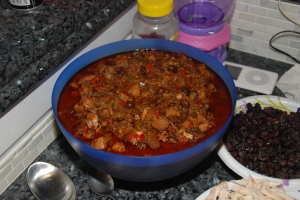
The Stew Is Ready

The Stew Is Ready

11. You can cut and prep all the garnishes while you are cooking the stew so you have them ready before you begin with the next step.
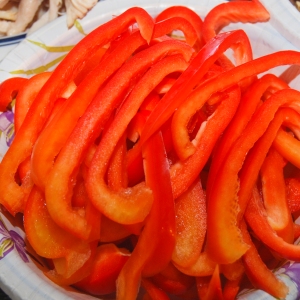
Garnish : Red Bell Peppers
Garnish : Red Bell Peppers

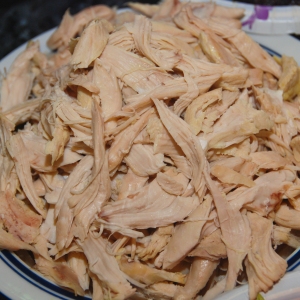
Garnish : Shredded Chicken
Garnish : Shredded Chicken

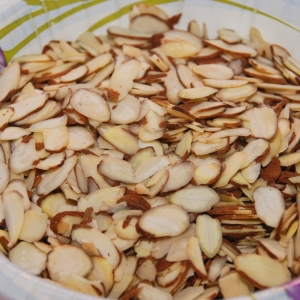
Garnish: Almonds
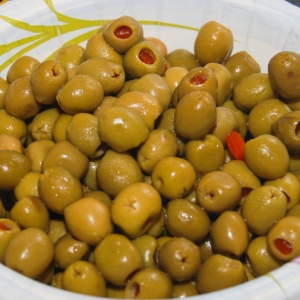
Garnish: Almonds

Garnish: Olives

Garnish: Olives

Garnish: Onions

Garnish: Onions

Garnish: Raisins

Garnish: Raisins

DAY TWO OR THREE
Masa | Dough:
1. In a large pan, heat up the oil and the annatto seeds at low heat. This step is the process by which we are tinting the oil to the necessary color we need to give the hallacas its famous color. The annatto seeds are the ones that give this reddish caramel color to the oil, and the oil then turns the dough its bright orange/yellow color. Once the oil is tinted it can be placed in a measuring cup, making sure to drain all the annatto seeds from it first. Let it cool.
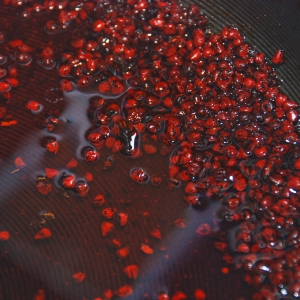
Making Annatto Oil
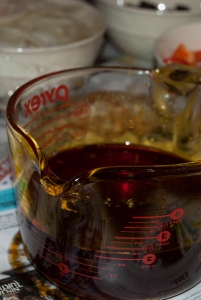
Making Annatto Oil

Annatto Oil

Annatto Oil

2. In a very large bowl, like extra extra large mixing bowl, add the Harina P.A.N. and add one cup of oil and two cups of the colored/tinted annatto oil we just made. Add the chicken broth that we saved, and add the salt and water, and mix in together with both hands until you have a fine and soft dough, that is easily manageable. It is a bit softer than your usual Harina P.A.N. mix for arepas, because it has oil in it.
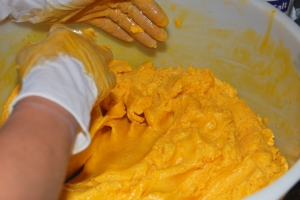
Making The Dough
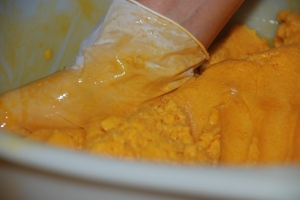
Making The Dough

Making The Dough

Making The Dough

3. You can add more Harina P.A.N. more salt, or more annatto oil to make it just the right consistency or the right color. You can also divide all the ingredients in half and make two batches at a time instead of the whole batch at once.
4. Divide the dough into small little balls the size of a small orange, or two to three inches in diameter.

The Set Up:
1. Now that you have everything you need ready, you need to set up your assembly line in a large enough table. What you will need (in this order) is:
– Plantain Leaves: The Shirts
– The rest of your annatto oil (you should have some left over, but if you don’t you can make some more, following the steps above, it’s pretty easy)
– The dough
– The Stew
– All the garnishes ready in different little bowls
– Plantain Leaves: The covers and The Belts
– The Thread
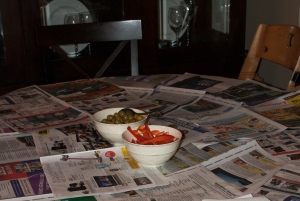
Setting Up The Work Area
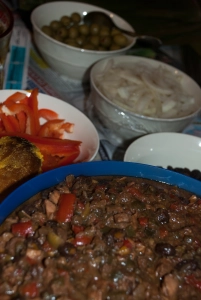
Setting Up The Work Area
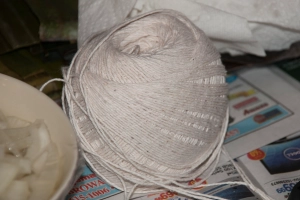
Setting Up The Work Area
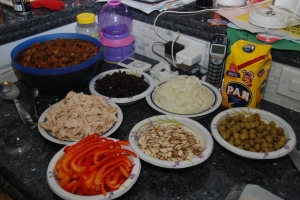
Setting Up The Work Area
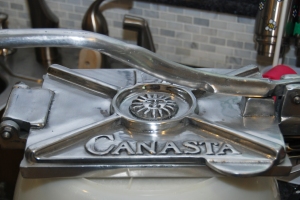
Setting Up The Work Area
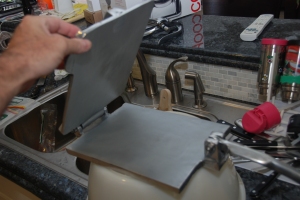
Setting Up The Work Area
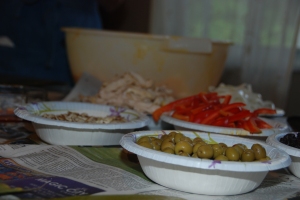
Setting Up The Work Area

Setting Up The Work Area

Setting Up The Work Area

Setting Up The Work Area

Setting Up The Work Area

Setting Up The Work Area

Setting Up The Work Area

Setting Up The Work Area

Envoltura | Wrapping (The fun part):
1. Now that everything is set up and ready to go, we can begin assembling each hallaca. The first step is to grab one plantain leave (the shirt) and lay it flat in front of you. Be sure to place the leaf with the lines going vertically from side to side in front of you, and the protruding and most visible parts of the little veins or little nerves side up.
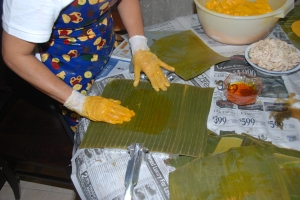
Start with an empty shirt

Start with an empty shirt

2. With a small clean kitchen rag or towel (I used my hands because I was wearing gloves, remember I told you, you will need gloves for all this), grab some annatto oil and spread it in a circular motion on top of the leave.
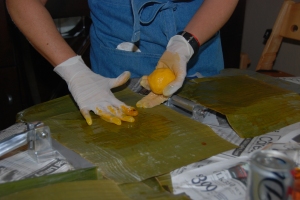
Add Annatto Oil

Add Annatto Oil

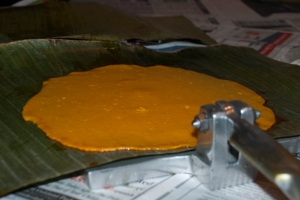
3.  Grab one of the balls of dough and place it in the middle of the leaf. If you have an awesome tortilla press like my aunt has, just press it and voila! If not you have to press the dough lightly with your fingers until its flat. You can also use a heavy plate or any other way you can come up with to flatten the dough faster and easily. Use another shirt on top of that one covered with annatto oil if you use any other method other than the manual method to flatten the dough. The flat dough should be about 4 millimeters thick and be flattened in a circular shape.
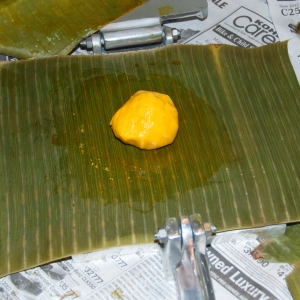
Set a ball of dough in the center
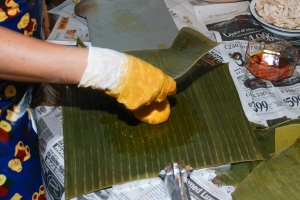
Set a ball of dough in the center

Cover with another plantain leave with annatto oil on it
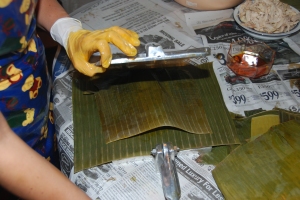
Cover with another plantain leave with annatto oil on it

Close the press
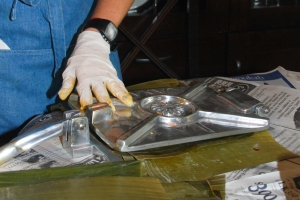
Close the press

Press down a bit

Press down a bit

Press down fully, but not too much
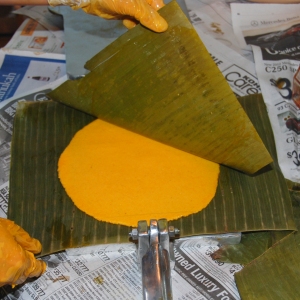
Press down fully, but not too much

Open the Press and Remove the top leaf
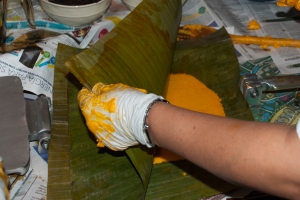
Open the Press and Remove the top leaf

Easy as Pie
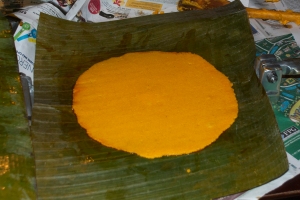
Easy as Pie

Voila!

Voila!

Beautifully pressed hallaca dough

Beautifully pressed hallaca dough

4. With a large spoon that measures out about half a cup (or 8 tablespoons), pour some of the stew in the center of your flattened dough.
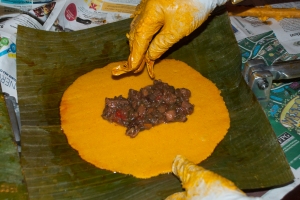
Add the stew

Add the stew

5. Add all the garnishes as follows for each hallaca: 2 strips of bacon, 2 strips of red bell pepper, 2 sliced almonds, 2 strips of onions or one onion ring, 2 green olives, 4 capers, and 6 raisins.
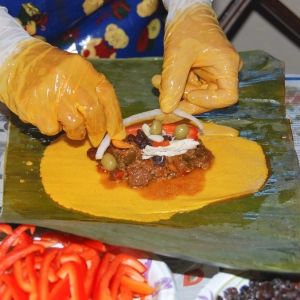
Add garnishes

Add garnishes

6. Proceed to close the hallaca by folding in the top and bottom of the leaf towards the center, once the leaves meet in the center on top of the hallaca dough, fold that piece a couple times (the extra leaf), and lay it flat then fold the sides in.
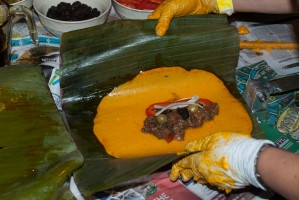
Closing an hallaca (my aunt's method)

Closing an hallaca (my aunt’s method)
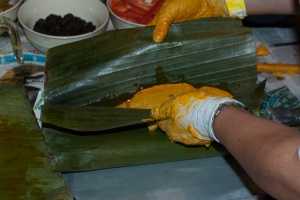
Closing an hallaca (my aunt's method)

Closing an hallaca (my aunt’s method)
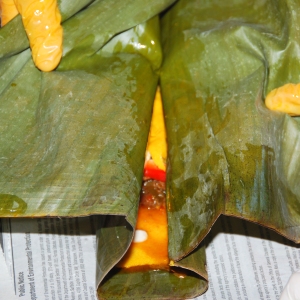
Closing an hallaca (my aunt's method)

Closing an hallaca (my aunt’s method)
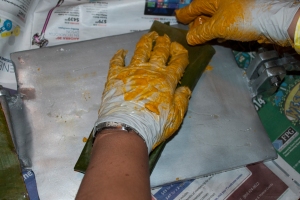
Closing an hallaca (my aunt's method)

Closing an hallaca (my aunt’s method)
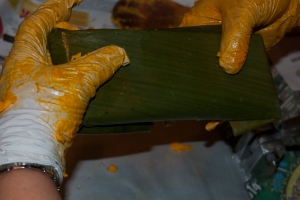
Closing an hallaca (my aunt's method)

Closing an hallaca (my aunt’s method)
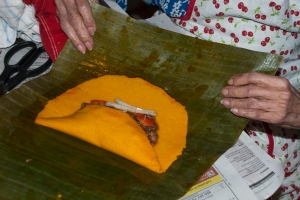
Closing an hallaca (my great-grandmother's method)

Closing an hallaca (my great-grandmother’s method)
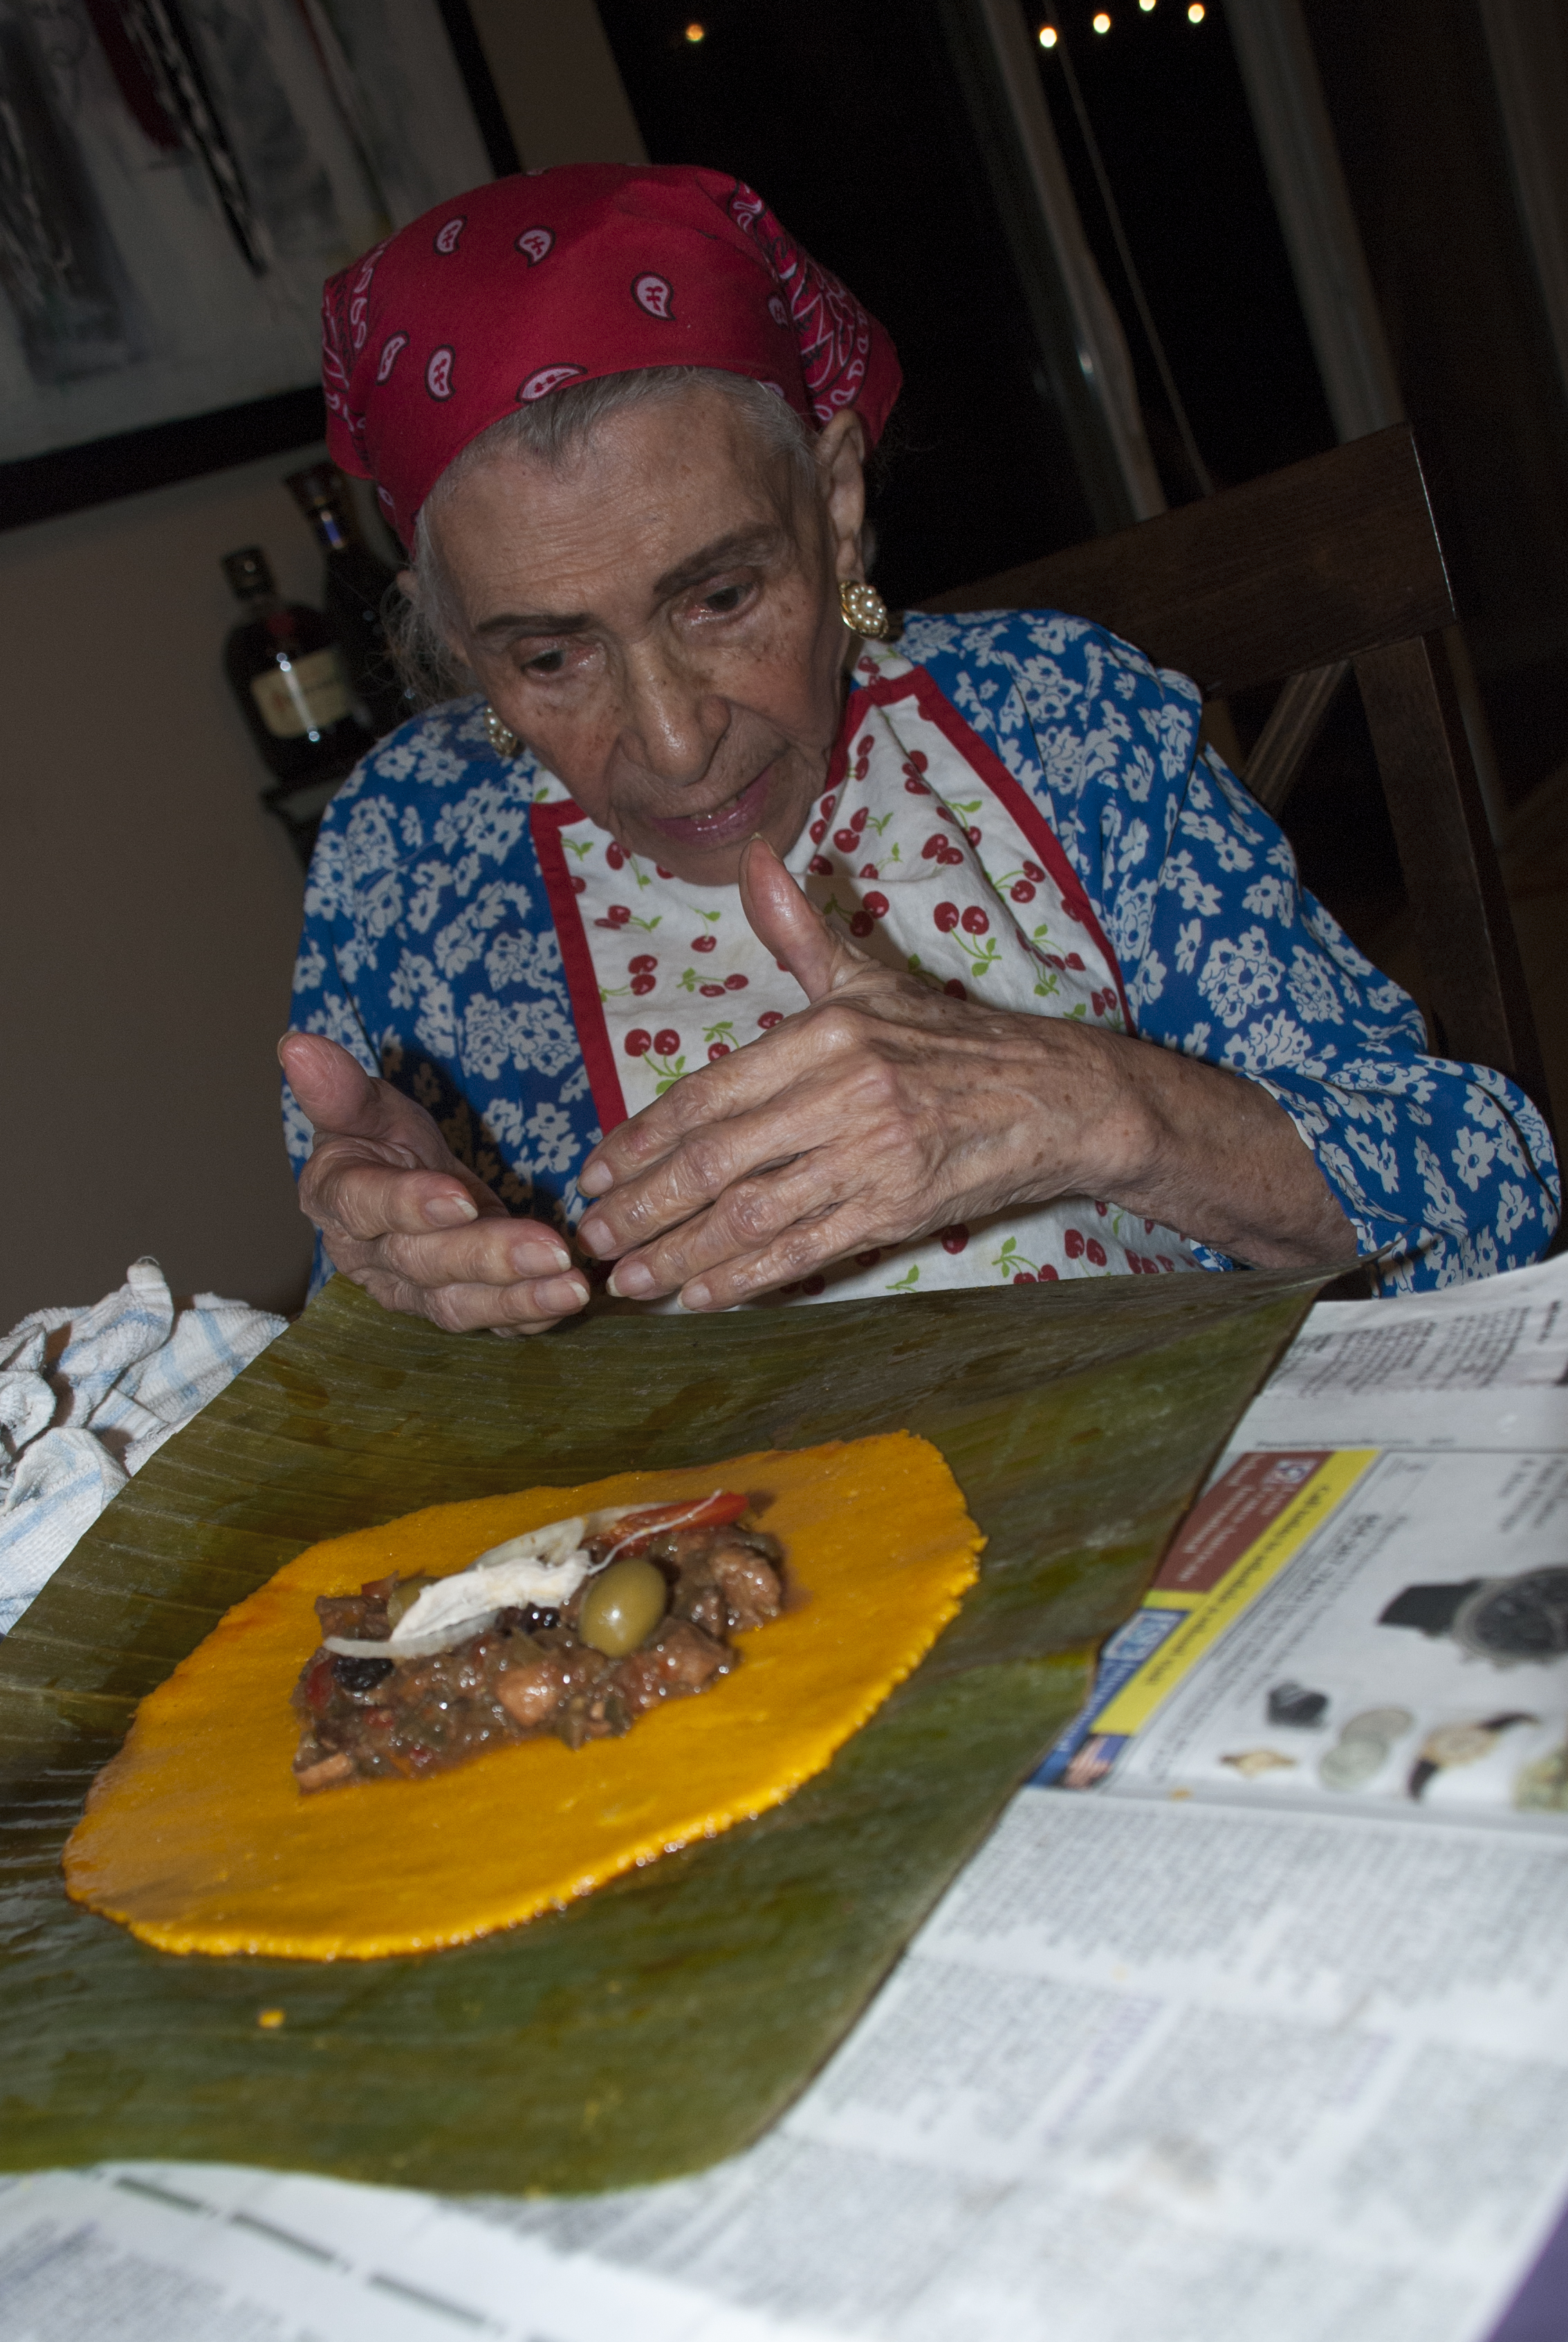
Closing an hallaca (my great-grandmother's method)

Closing an hallaca (my great-grandmother’s method)
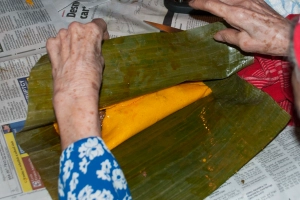
Closing an hallaca (my great-grandmother's method)

Closing an hallaca (my great-grandmother’s method)
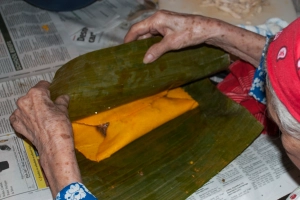
Closing an hallaca (my great-grandmother's method)

Closing an hallaca (my great-grandmother’s method)

7. Cover it again with another leaf (the shirt) if necessary. Then wrap it again with a cover and finally add the belt to it.
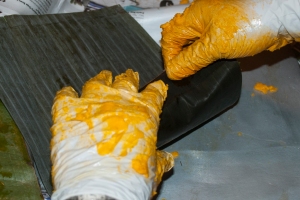
Wrapping an hallaca
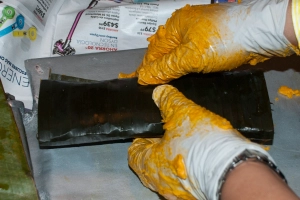
Wrapping an hallaca
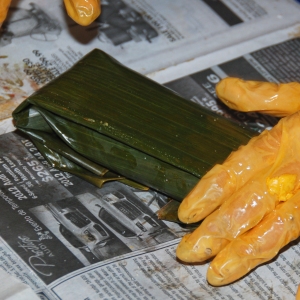
Wrapping an hallaca
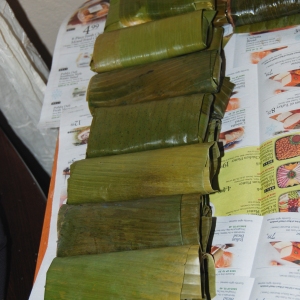
Wrapping an hallaca

Wrapping an hallaca

Wrapping an hallaca

Wrapped Hallacas Ready To Be Tied Up

Wrapped Hallacas Ready To Be Tied Up

8. Tie up as you would a gift (as shown in the photo) and tie up with a knot.
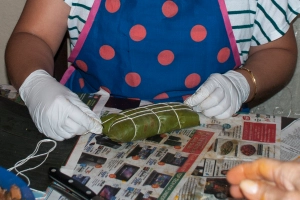
Tie them up
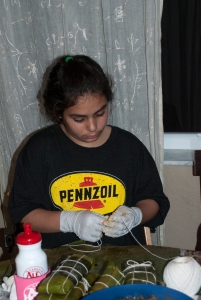
Tie them up

Even the little ones can help

Even the little ones can help

9. Set aside one next to another, preferably not one top of another. If you run out of space you can do up to two layers, but not more than that.
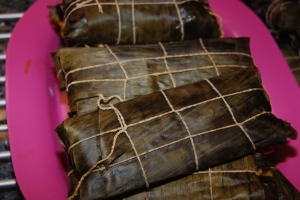
Hallacas

Hallacas

10.  Continue until you run out of ingredients. You should end up with about 50 hallacas in total.

Cooking:
1. In a large enough pot heat up enough water (about half the size of the pot). Add a bit of salt. Cook at high heat until the water boils. Add as many hallacas as you can fit, they must all be completely submerged in the water. You can do it in batches as they become ready from the assembly line. You can also add some of the left over plantain leaves on top to help keep them submerged and also add aroma to them. Cover and let them cook for about 1 hour. You might want to have several pots and timers on your stove to keep track of you different batches.
2. Once cooked, remove them from the pot and let them drain. The easiest way is to drain them on a clean sink, and stand them up one next to the other so they can drain the water inside them a lot faster.
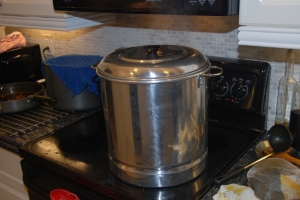
Boiling Hallacas
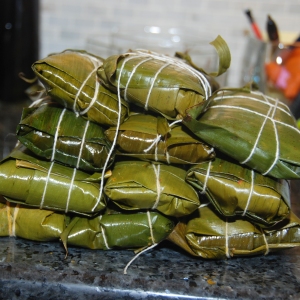
Boiling Hallacas

The Hallacas Are Ready

The Hallacas Are Ready

Serving:
1. Let it cool for a minute, but not too long, you don’t want it to get cold.
2. Lay them flat on a large enough serving plate that will serve as the ‘opening plate’. Cut the thread and carefully open each layer of plantain leave until you get to the hallaca. Use the last plantain leave to lift up the hallaca and carefully slide it on to the plate where it will actually be served.
3. Just to clarify… you do not eat the plantain leaf.
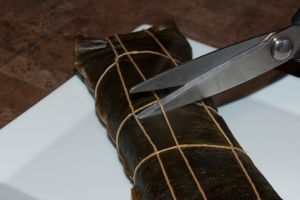
Serving An Hallaca
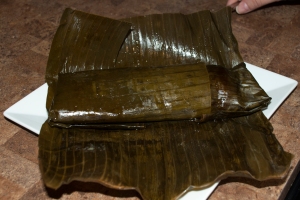
Serving An Hallaca
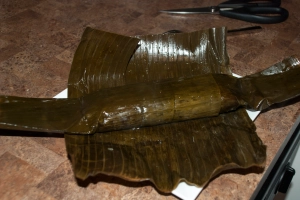
Serving An Hallaca
Serving An Hallaca
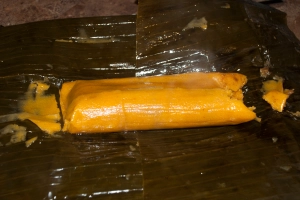
Serving An Hallaca
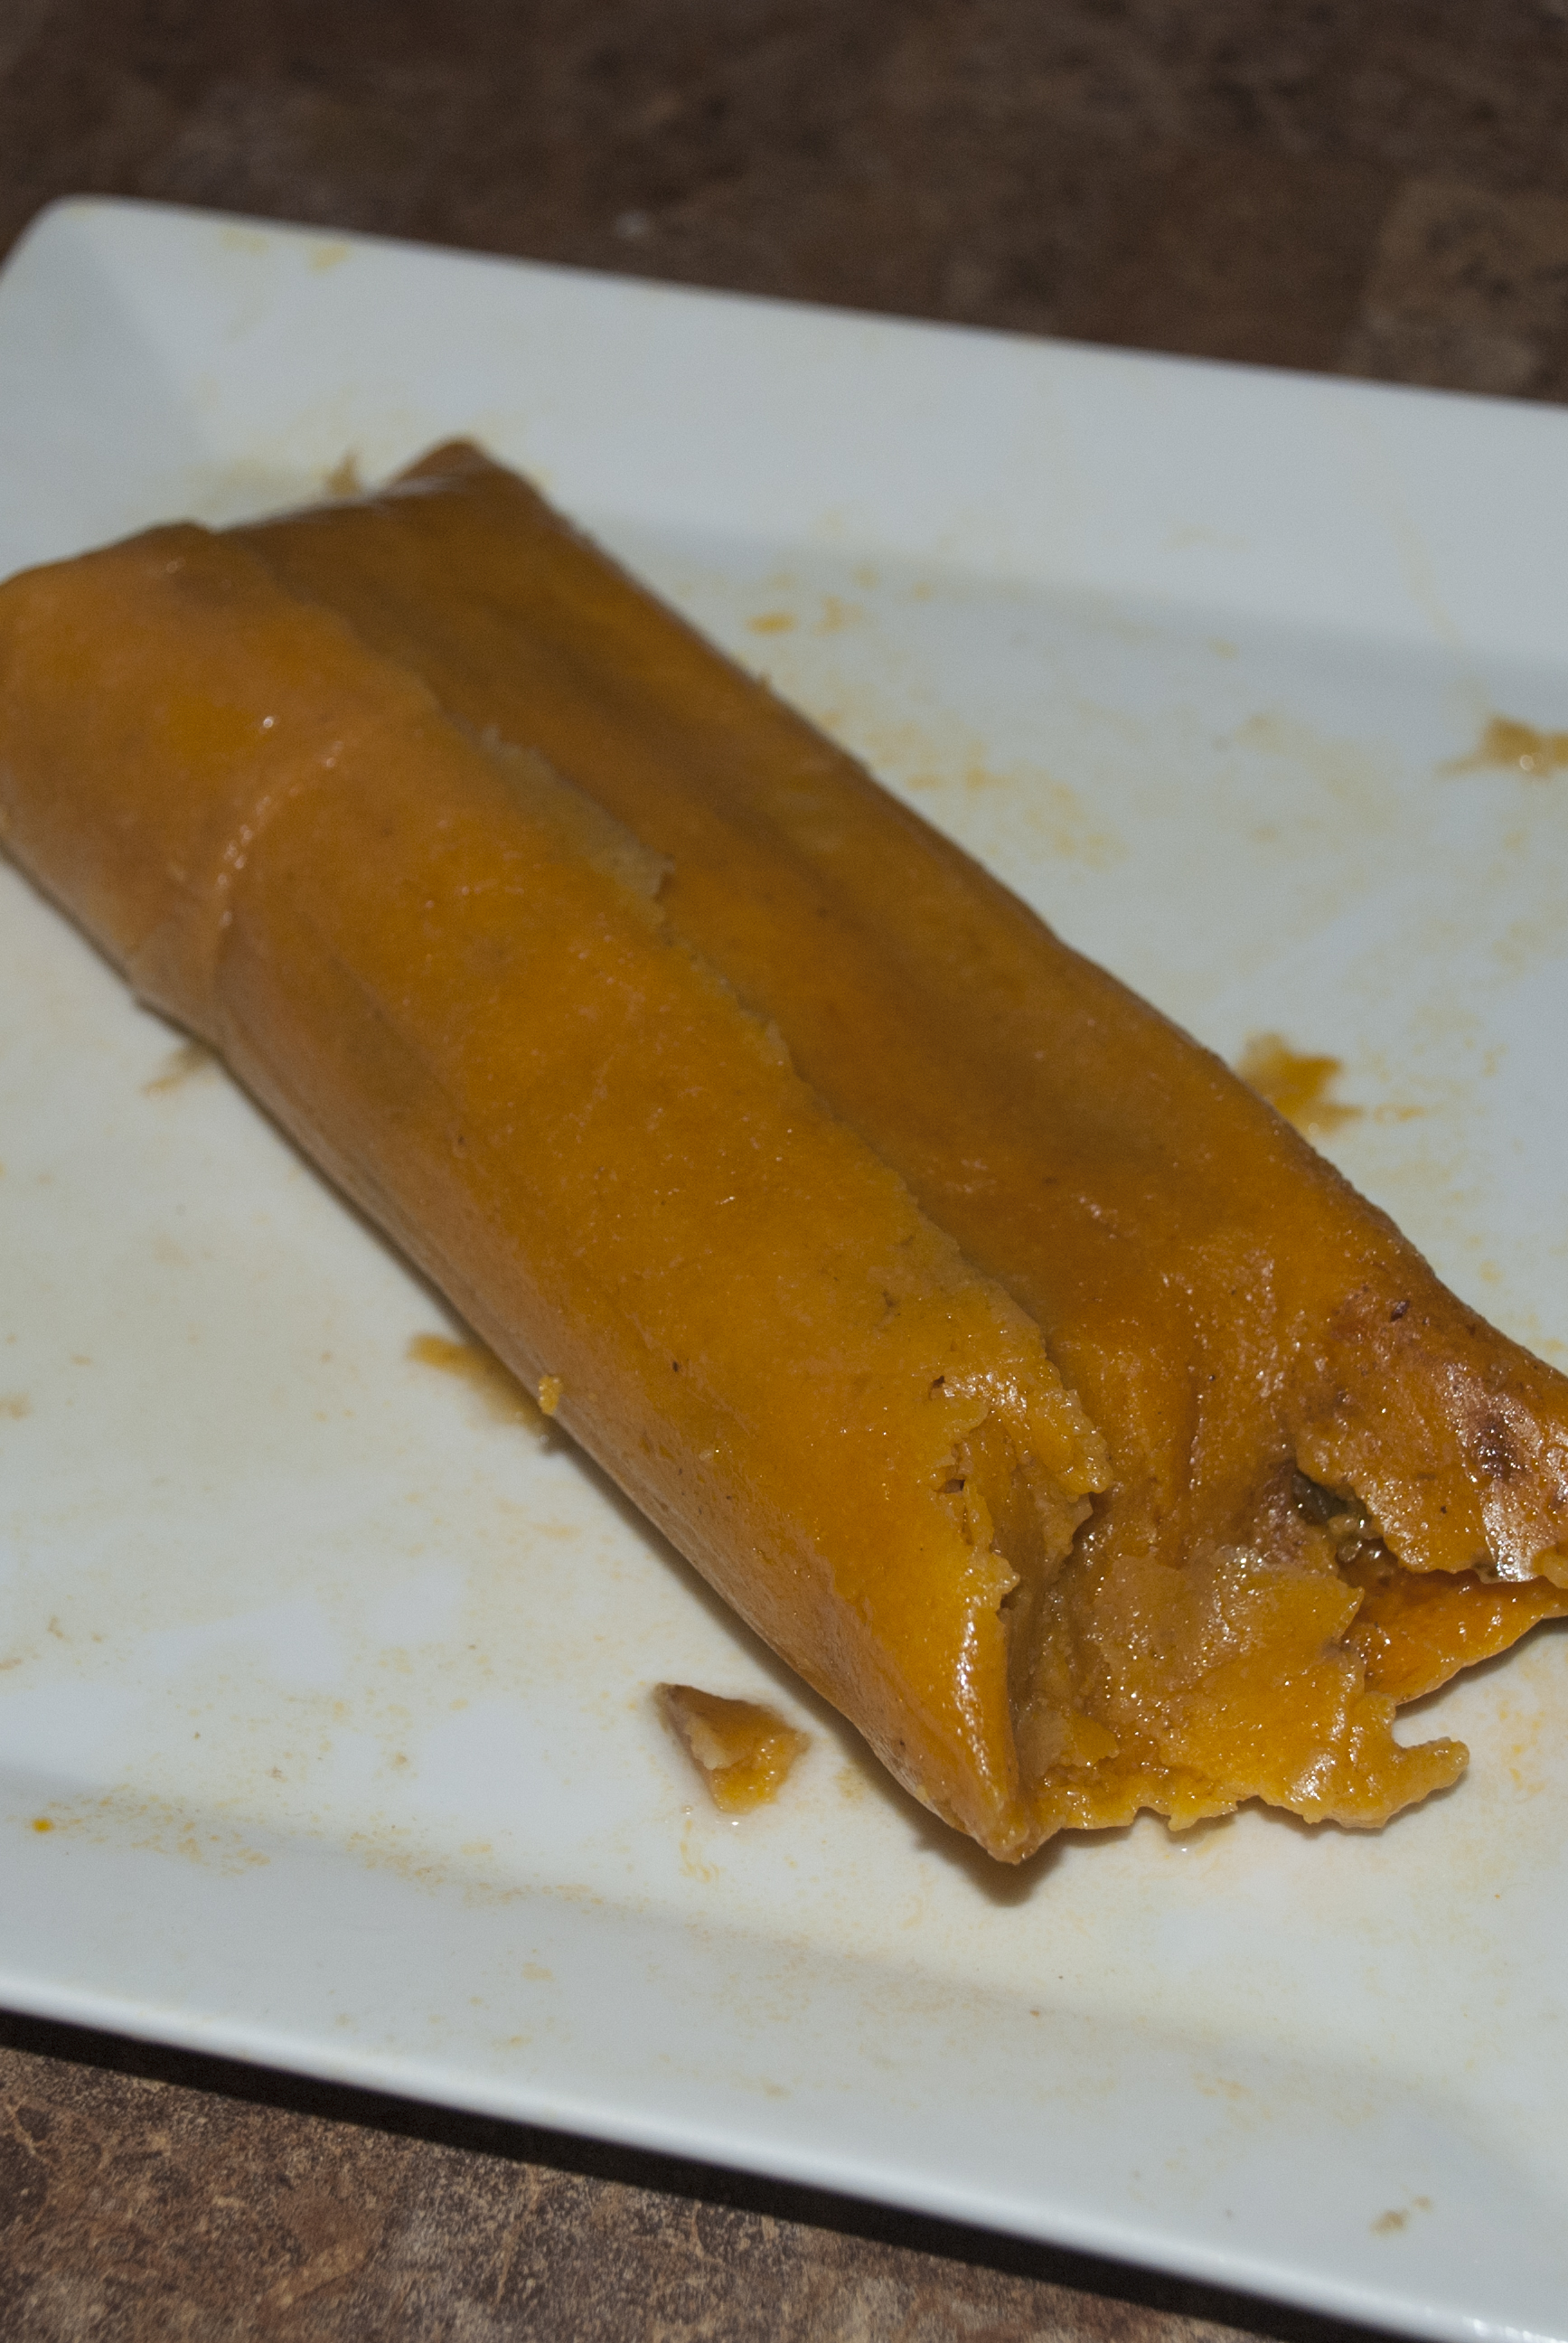
Serving An Hallaca

Serving An Hallaca

Serving An Hallaca

Serving An Hallaca

Serving An Hallaca

Recipe: Hallacas Venezolanas  | Venezuelan Christmas Dinner Hallacas
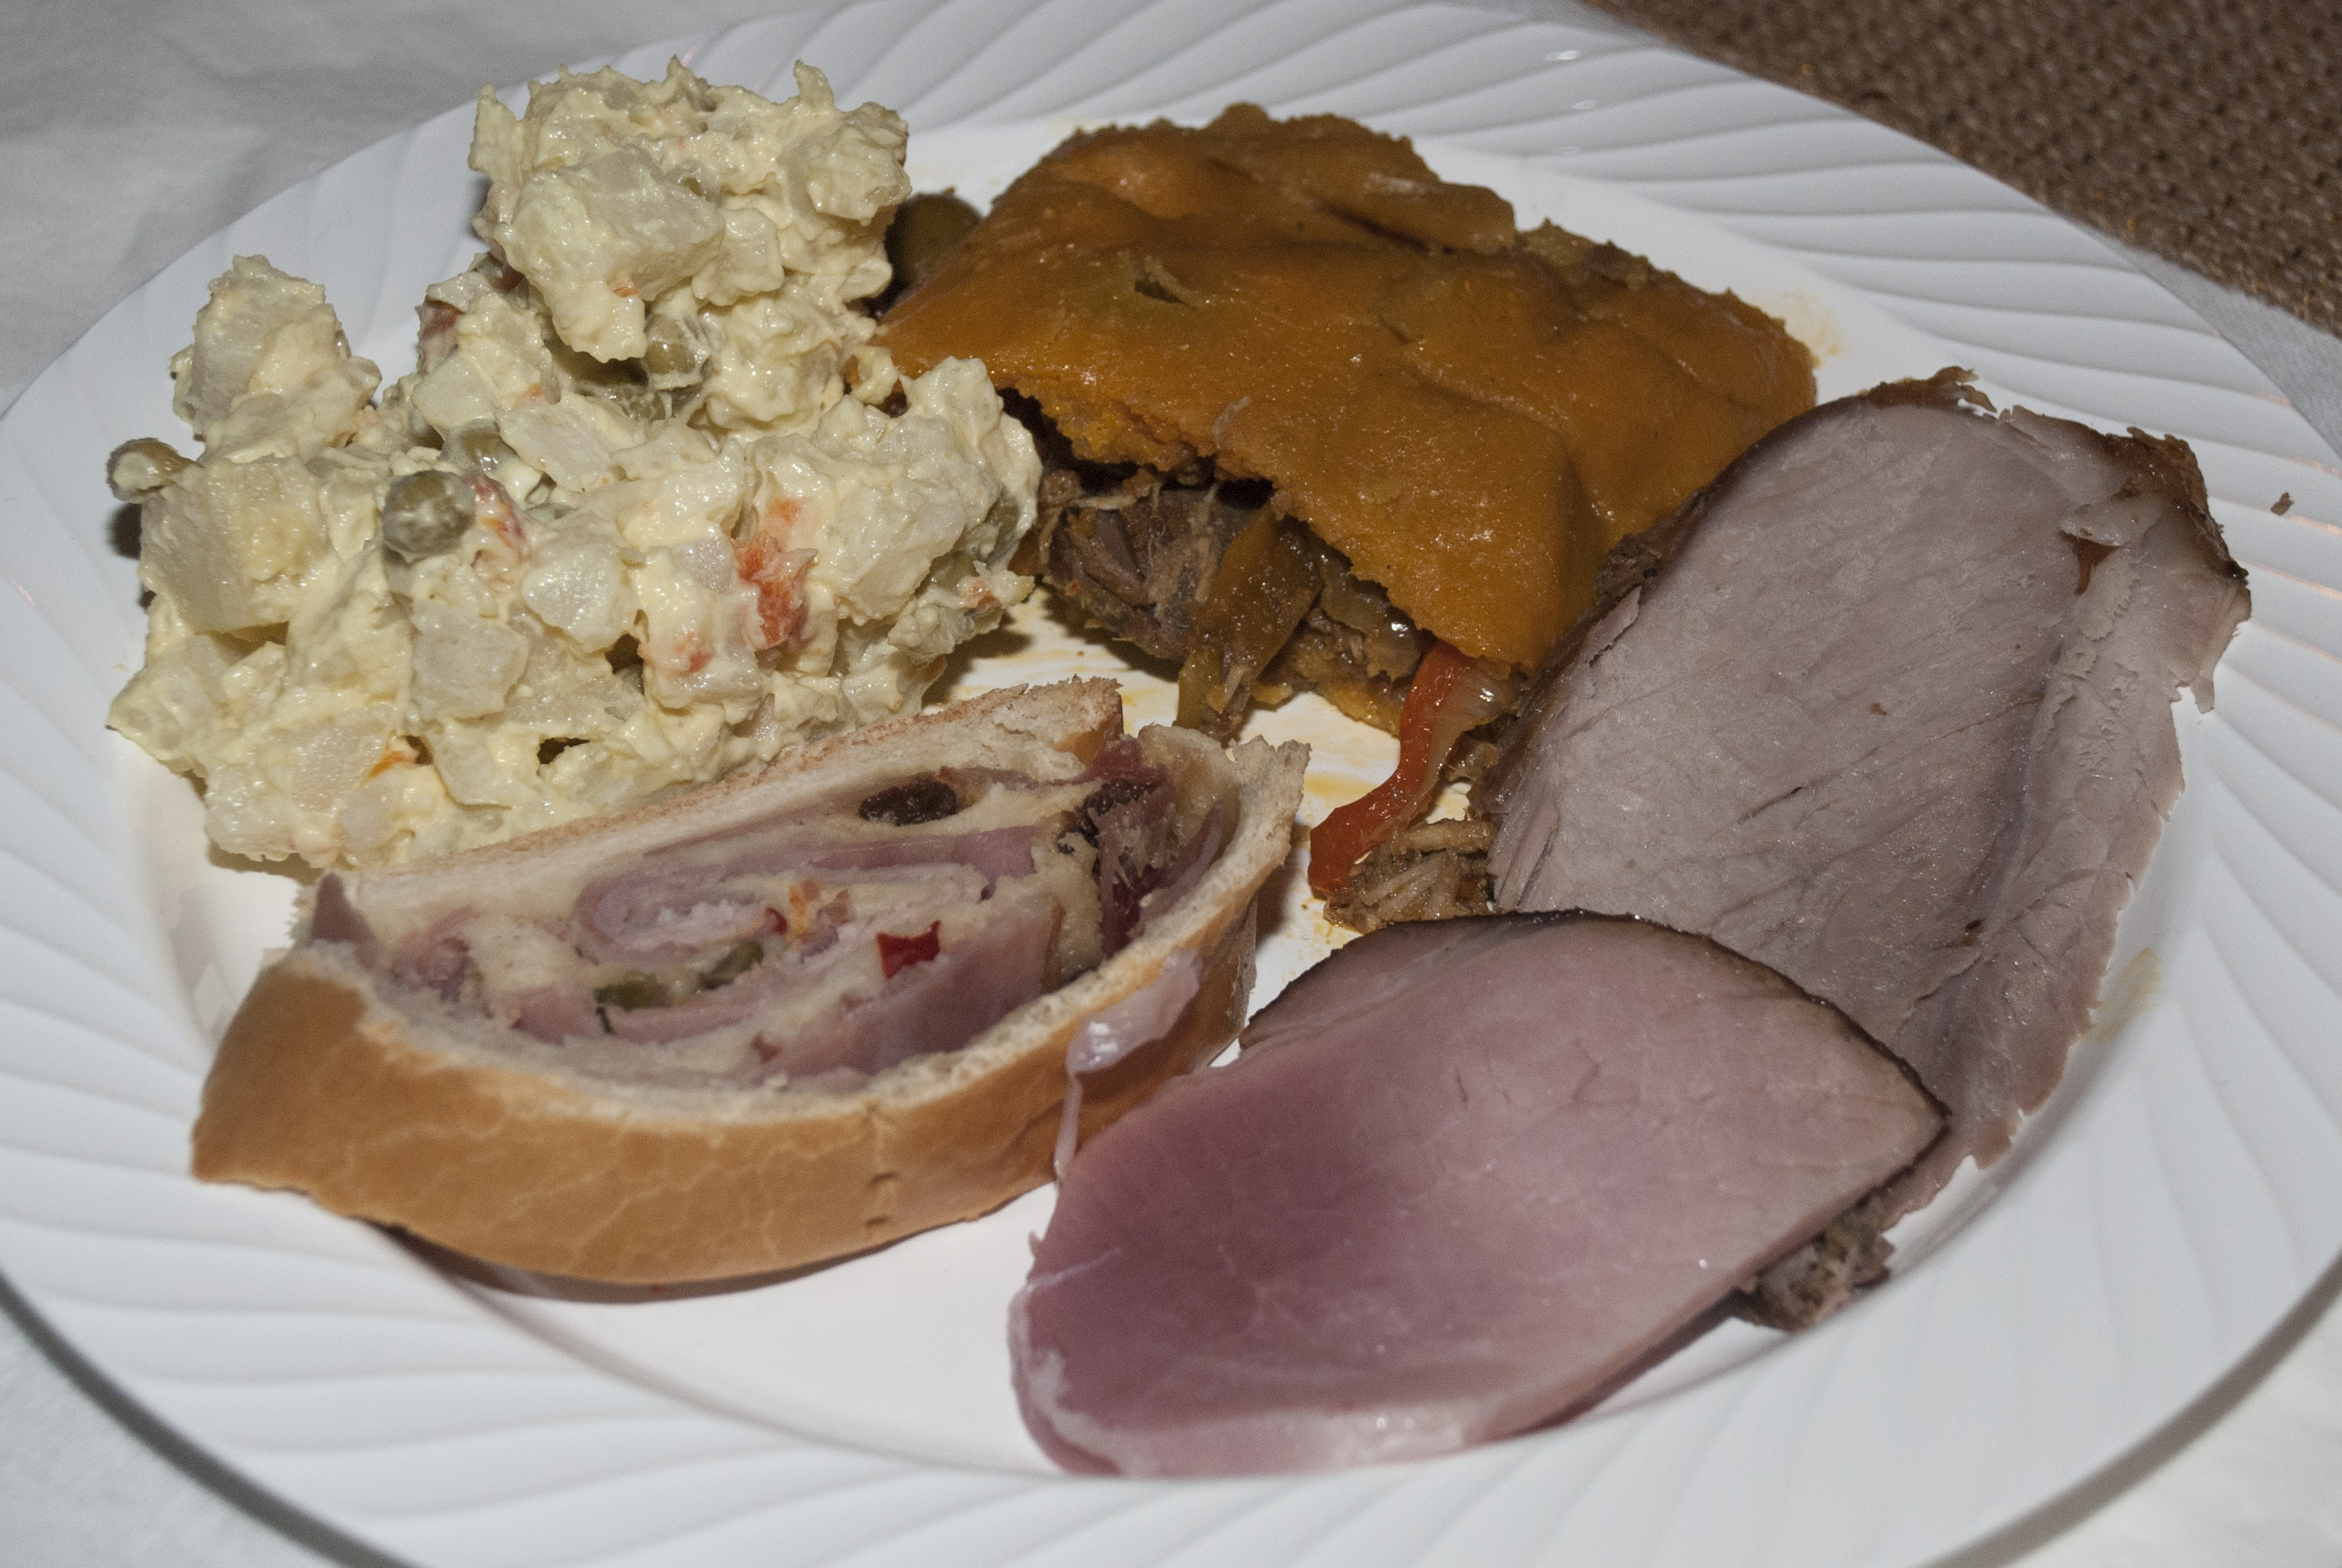
Recipe: Hallacas Venezolanas | Venezuelan Christmas Dinner Hallacas


Venezuelan Christmas Dinner Plate

Venezuelan Christmas Dinner Plate

Storing:
1. After you make your entire batch of 50 hallacas and you wish to store them, you can let them all cool down and then keep in the fridge for up to 4 weeks.
2. If you are planning on freezing your hallacas its better to freeze them before they are cooked so that the dough maintains itself better. In this case, you can take them straight from the freezer and then boil them as described above.
3. If you do freeze them after they have already been cooked, you should thaw them to room temperature before you boil them again.

Re-heating:
1. To reheat your hallacas, take them out of the fridge and boil them in enough water to cover all the ones you wish to serve at the moment. Add a little bit of salt to the water. Boil them for 15 to 20 minutes, turning them at the half point.

Bollos de Hallaca:
1. If you run out of some ingredients, or if you already have the number of hallacas you wish to make and still have some leftovers of the ingredients, you can make bollos de hallaca.
2. To do so, simply add all the leftover dough, stew, and garnishes and mix them all together to form the compact dough.
3. You wrap them the same way you did with the hallacas, but add a distinction, like a little bow made of a string of plantain leaf, or a different tying method, or just something distinctive to set them apart from the hallacas. It is basically the same thing, except the bollos are all mixed in together in a uniform mass, and the hallaca has all the stew and ingredients inside and the dough outside serving as a pocket or container.
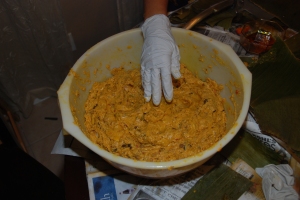
Bollos de Hallaca
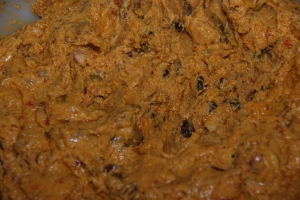
Bollos de Hallaca
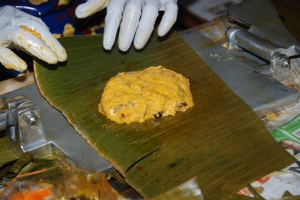
Bollos de Hallaca
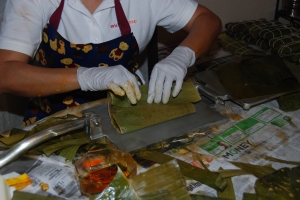
Bollos de Hallaca
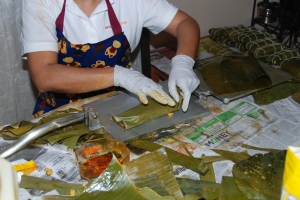
Bollos de Hallaca
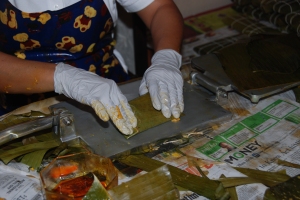
Bollos de Hallaca
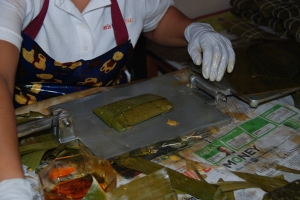
Bollos de Hallaca

Bollos de Hallaca

Bollos de Hallaca

Bollos de Hallaca

Bollos de Hallaca

Bollos de Hallaca

Bollos de Hallaca

Bollos de Hallaca

¡Buen Provecho!

¡Gracias A Todos!

This post is very special to me and I will never forget the two days I spend making hallacas with my family, and I dedicate it to everyone involved in making hallacas possible for Christmas 2014:
Nery Russo, Felípe Ramón Ojeda Russo, Ana C. Sandoval de Ojeda, María Gabriela Ojeda de Sucre, Fernando Sucre, Marialejandra Ojeda, Raymond Wolowicz, and even little miss Andrea Sucre.
You were all involved in a small or big way, you all taught me something and you all sacrificed your time and busy schedule so we could all make hallacas together! I love you all!

*This post was supposed to be out by December 24th, but you guys know (by reading this post) how Venezuelan Christmases can be, so it is a little bit late.

Recipe: Ensalada de Gallina | Venezuelan Christmas Dinner Chicken Salad

14 Dec Recipe: Ensalada de Gallina | Venezuelan Christmas Dinner Chicken Salad

“Pollito chicken, gallina hen
lápiz pencil y pluma pen”

This is a short verse of a popular Spanish children’s song that helped us learn English when we were kids.  It was the first thing I thought of when researching today’s recipe and the history behind it.  The literal translation for this recipe is actually hen salad, not chicken salad.  The original recipe from the early 1940’s included hen, specifically.  However, as time passed and availability of chicken versus hen specifically became larger and more cost effective, the chicken replaced the hen in this traditional recipe.  Probably, due to hen being smaller and having less meat content and their meat also requires more time to cook thoroughly.  The difference between chicken and hen, if you don’t know, is that chicken refers to both the male and female versions, while hen refers only to the female chicken.  Nevertheless, the name of the recipe retained its original denomination: Ensalada de Gallina, Hen Salad.
The chicken salad is another important component in the Venezuelan Christmas Dinner Plate.  However, unlike the hallacas and the pan de jamón, the chicken salad is not exclusive to Christmas.  The chicken salad is prepared all year long, and it is quite versatile, taking the stage as a main dish, but also as a side, as a cracker topper or dip, and even as a filling inside arepas.  The chicken salad is also very popular in any birthday party or any other celebration or family gathering in Venezuela.  The best part of this recipe is that it is the easiest one to prepare out of all the Venezuelan Christmas recipes.  This is probably why it is usually prepared last, even on the same day of the Christmas dinner, which we usually celebrate on Christmas Eve.  It must be refrigerated, but it is best when consumed the same day or the day after, but not longer than that, since it can become bitter very quickly.
It is believed that this recipe originated in the most humble stoves in Caracas’ shacks.  When the leftovers of chicken stews such as the chicken, potatoes and carrots where mixed together with mayo to create this cold salad.  When the dish found its way to the wealthier parts of town, they gave it the name of Russian Salad in order for it to sound more sophisticated and fancy than hen salad.  They picked the name Russian Salad, because in fact our Venezuelan Hen / Chicken salad is very similar to the Russian Salad.  The Russian Salad was created around 1860 by an Italian chef in Moscow, and it originally contained deer meat.  With time, the original recipe was changed, but it had already crossed over to other countries, such as Ukraine, where green peas and chicken were cheaper and thus added on to the original recipe.

 Ensalada de Gallina  | Venezuelan Christmas Dinner Chicken Salad

Ensalada de Gallina | Venezuelan Christmas Dinner Chicken Salad

What you need:
For Cooking The Chicken
– 1½ lbs. Boneless, Skinless Chicken Breasts
– 1 Lemon (Juice)
– Enough Water to Boil Chicken Breasts
– ¼ Onion
– 1Cilantro Stems
– 1 Green Onion Stems
– 1 Celery Stick
– 1 Chopped Garlic Clove
– 1 Leek Stick
– 1 Ají Dulce Venezolano (without seeds or veins)
– 1 Tablespoon Salt
For the Salad
– 2 Small To Medium Potatoes
– 2 Medium To Large Carrot Sticks
– 1 Red, Green or Yellow Apple (Peeled)
– ¼ Cup Canned Green/Sweet Peas (No Salt Added)
– ½ Onion (Optional)
– 1 Red Bell Pepper (Optional)
– 2 Celery Sticks (Optional)
– 2 Cilantro Stems
For The Sauce
– 1 Cup Mayo
– 2 Tablespoons Mustard
– 3 Tablespoons White Vinegar
– ½ Tablespoon White Pepper
– ½ Teaspoon Salt
– ½ Teaspoon Worcestershire Sauce (Optional)
Preparation:
1. Clean the chicken breasts using the juice of one lemon and rinse thoroughly with water.

Rinse thoroughly with water

Rinse thoroughly with water

2. In a large enough pot, add the chicken, onion, cilantro, green onion, celery, leek, ají dulce Venezolano, and the salt.  You don’t have to worry about chopping these ingredients, they are being used to add flavor to the chicken.  Use enough water to cover all the ingredients and cook everything at medium heat for about 30 minutes, or until the chicken is done.
3. Remove the chicken from the pot, drain and set aside to cool down.

Set aside to cool down

Set aside to cool down

4. Wash and peel the potatoes.  Cook the potatoes with enough water and a little bit of salt.  Boil for about 10 minutes.  You want them to be done, but still firm so they don’t get mushy while making the salad.

Cook the potatoes

Cook the potatoes

5. Wash and peel the carrots.  Cook the carrots separately with enough water and a little bit of salt. Boil for about 20 minutes.

Cook the carrots separately

Cook the carrots separately

6. Once the potatoes and carrots are done, cool them down in a big bowl with some cold water and ice.

Cool down the potatoes and carrots

Cool down the potatoes and carrots

7. Your chicken should be cooled down by now.  Shred the chicken breasts using your hands or two forks.

Shred the chicken breasts

Shred the chicken breasts

Shredded chicken breasts

Shredded chicken breasts

8. Begin to cut the potatoes, carrots, apple, celery, and bell pepper in small cubes. Finely chop the onion using a food processor.  Chop the cilantro as well.

Cut the potatoes in small cubes

Cut the potatoes in small cubes

Cut the carrots in small cubes

Cut the carrots in small cubes

Cut the apple in small cubes

Cut the apple in small cubes

Cut the celery in small cubes

Cut the celery in small cubes

Cut the red bell pepper in small cubes

Cut the red bell pepper in small cubes

Chop the cilantro

Chop the cilantro

Finely chop the onion

Finely chop the onion

9. In a large enough bowl, combine the chicken with the finely chopped onion.  Then add this to all the other ingredients chopped and cubed in the previous step, plus the green peas.

Combine the chicken with the finely chopped onion

Combine the chicken with the finely chopped onion

Combine

Combine

10. Add the mayo, mustard, vinegar, salt and pepper and mix all the ingredients together.  Adjust the salt and mayo if necessary to taste.

Add the sauce ingredients

Add the sauce ingredients

Mix well, but carefully

Mix well, but carefully

11. Decorate as you wish. Refrigerate for at least 2 hours before eating.  Serve cold.

Recipe: Ensalada de Gallina  | Venezuelan Christmas Dinner Chicken Salad

Recipe: Ensalada de Gallina | Venezuelan Christmas Dinner Chicken Salad

Recipe: Ensalada de Gallina  | Venezuelan Christmas Dinner Chicken Salad

Recipe: Ensalada de Gallina | Venezuelan Christmas Dinner Chicken Salad

¡Buen Provecho!

Recipe: Pan de Jamón | Venezuelan Christmas Dinner Ham Bread

7 Dec Recipe: Pan de Jamón | Venezuelan Christmas Dinner Ham Bread

It’s beginning to look a lot like Christmas around here. One thing I didn’t have in this blog is Venezuelan Christmas Recipes… until now. I have a very informative post about Venezuelan Christmas celebrations, traditions, dinner and gifts, but I did not have any actual Christmas recipes until now. I wanted to wait until I had a couple of them, so the recipes I will post this month will be all part of the Venezuelan Christmas Dinner Recipe collection, but I have been working on them since 2012. It was hard for me to cook all the recipes at once by myself, so I had to wait for guests like my sister who visited from Venezuela back in 2012, and my grandmother and even my great grandmother to help create and compile all the recipes.
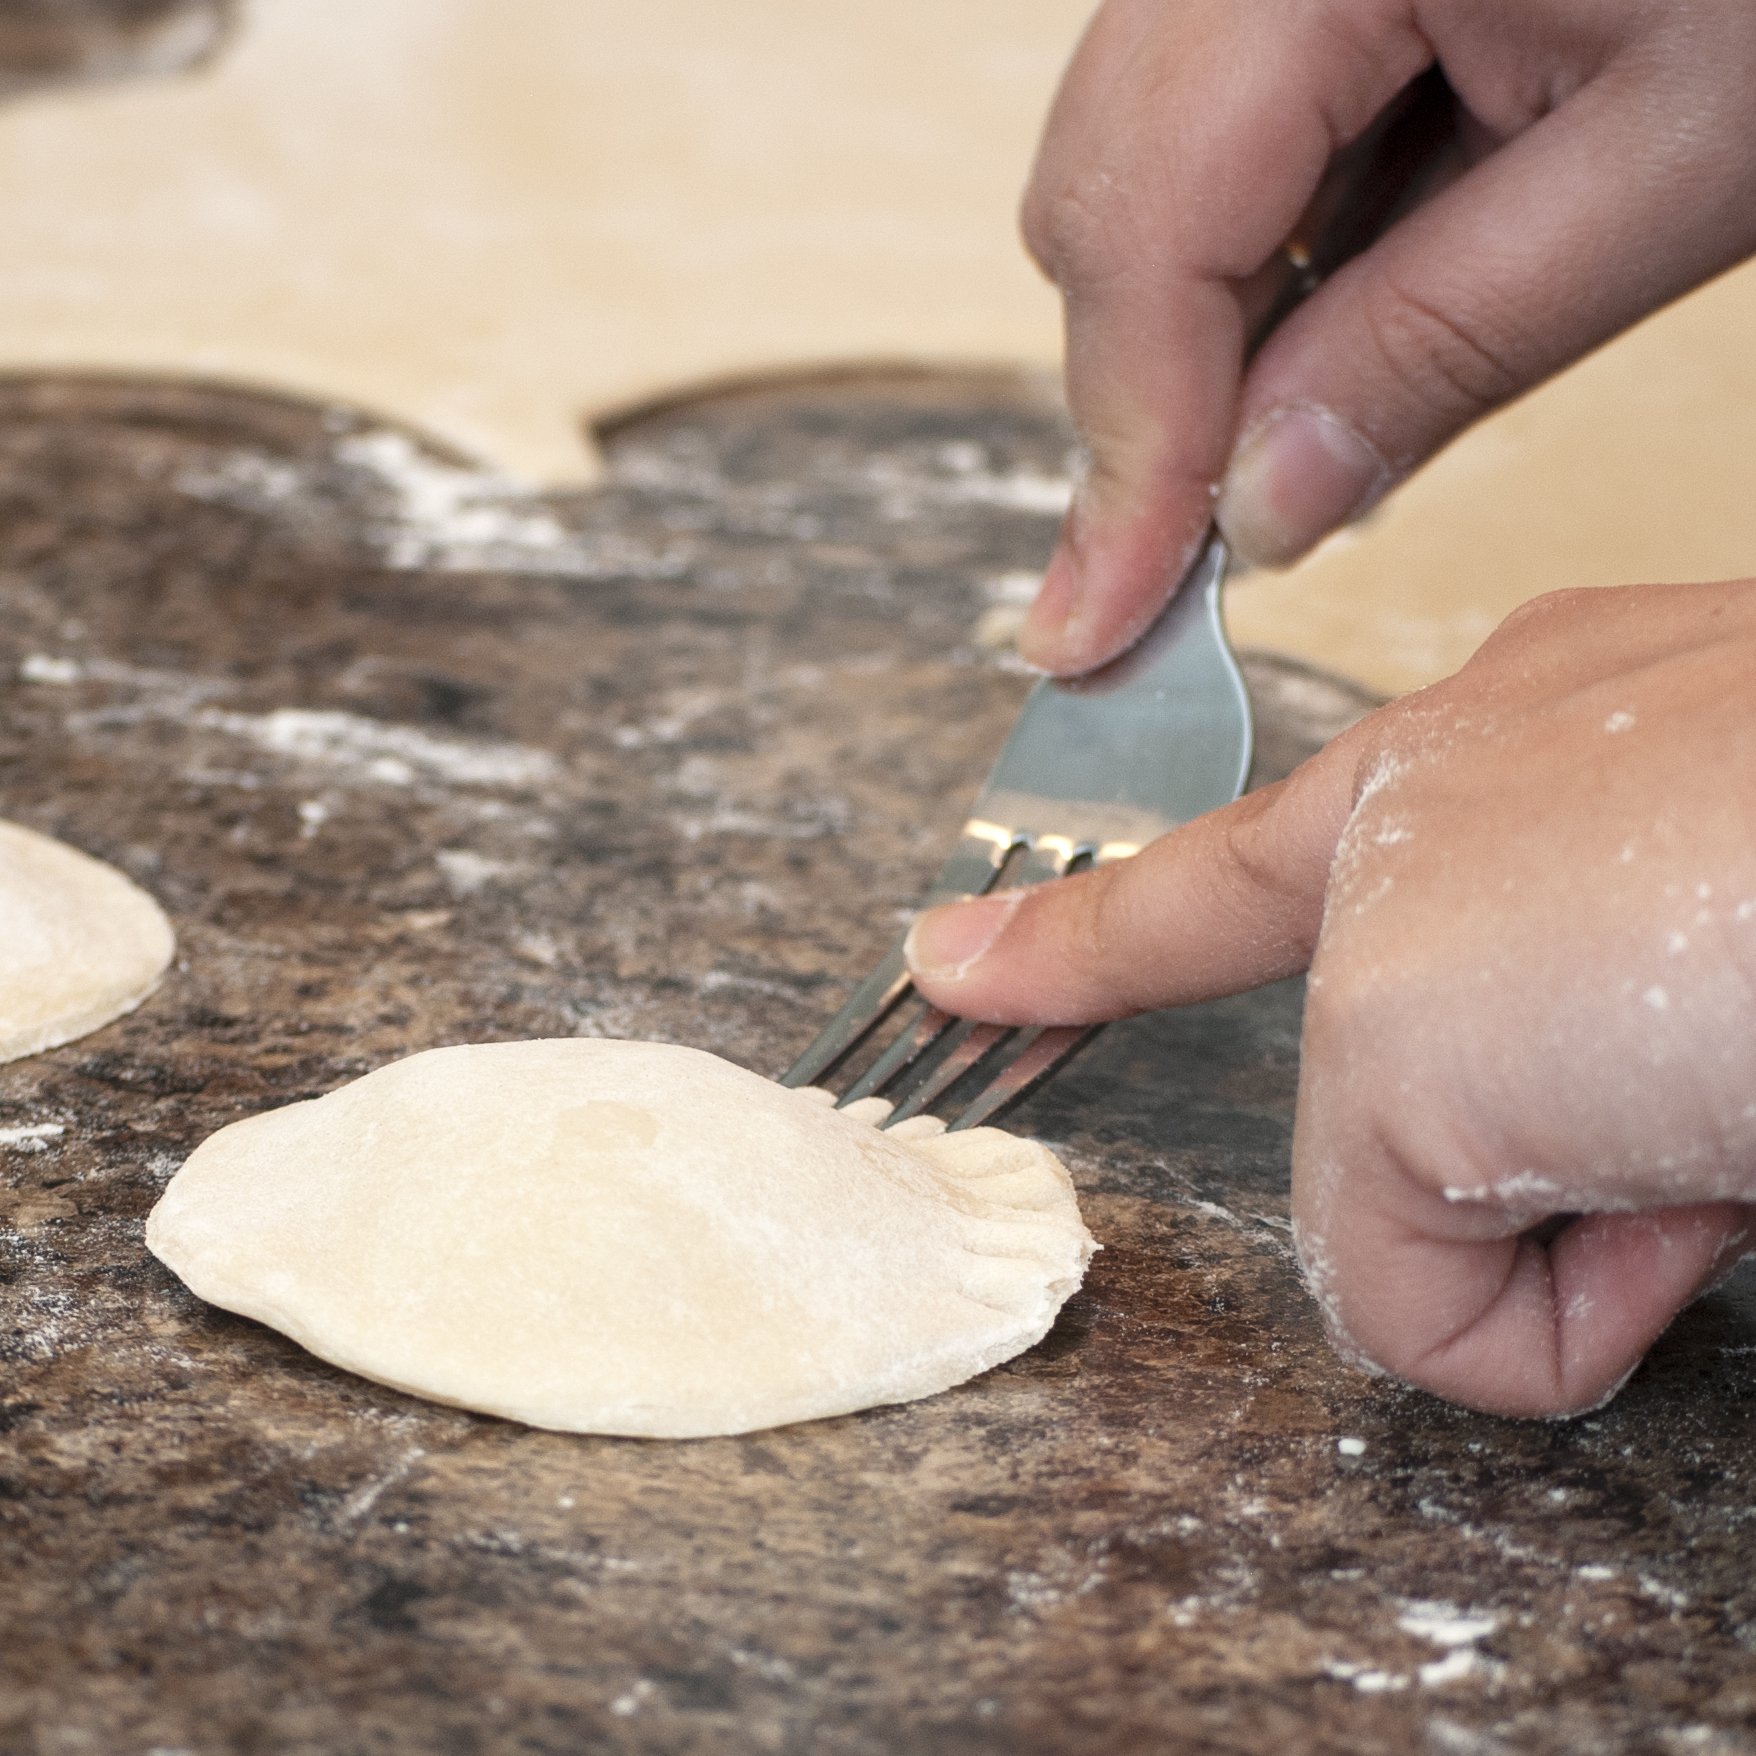
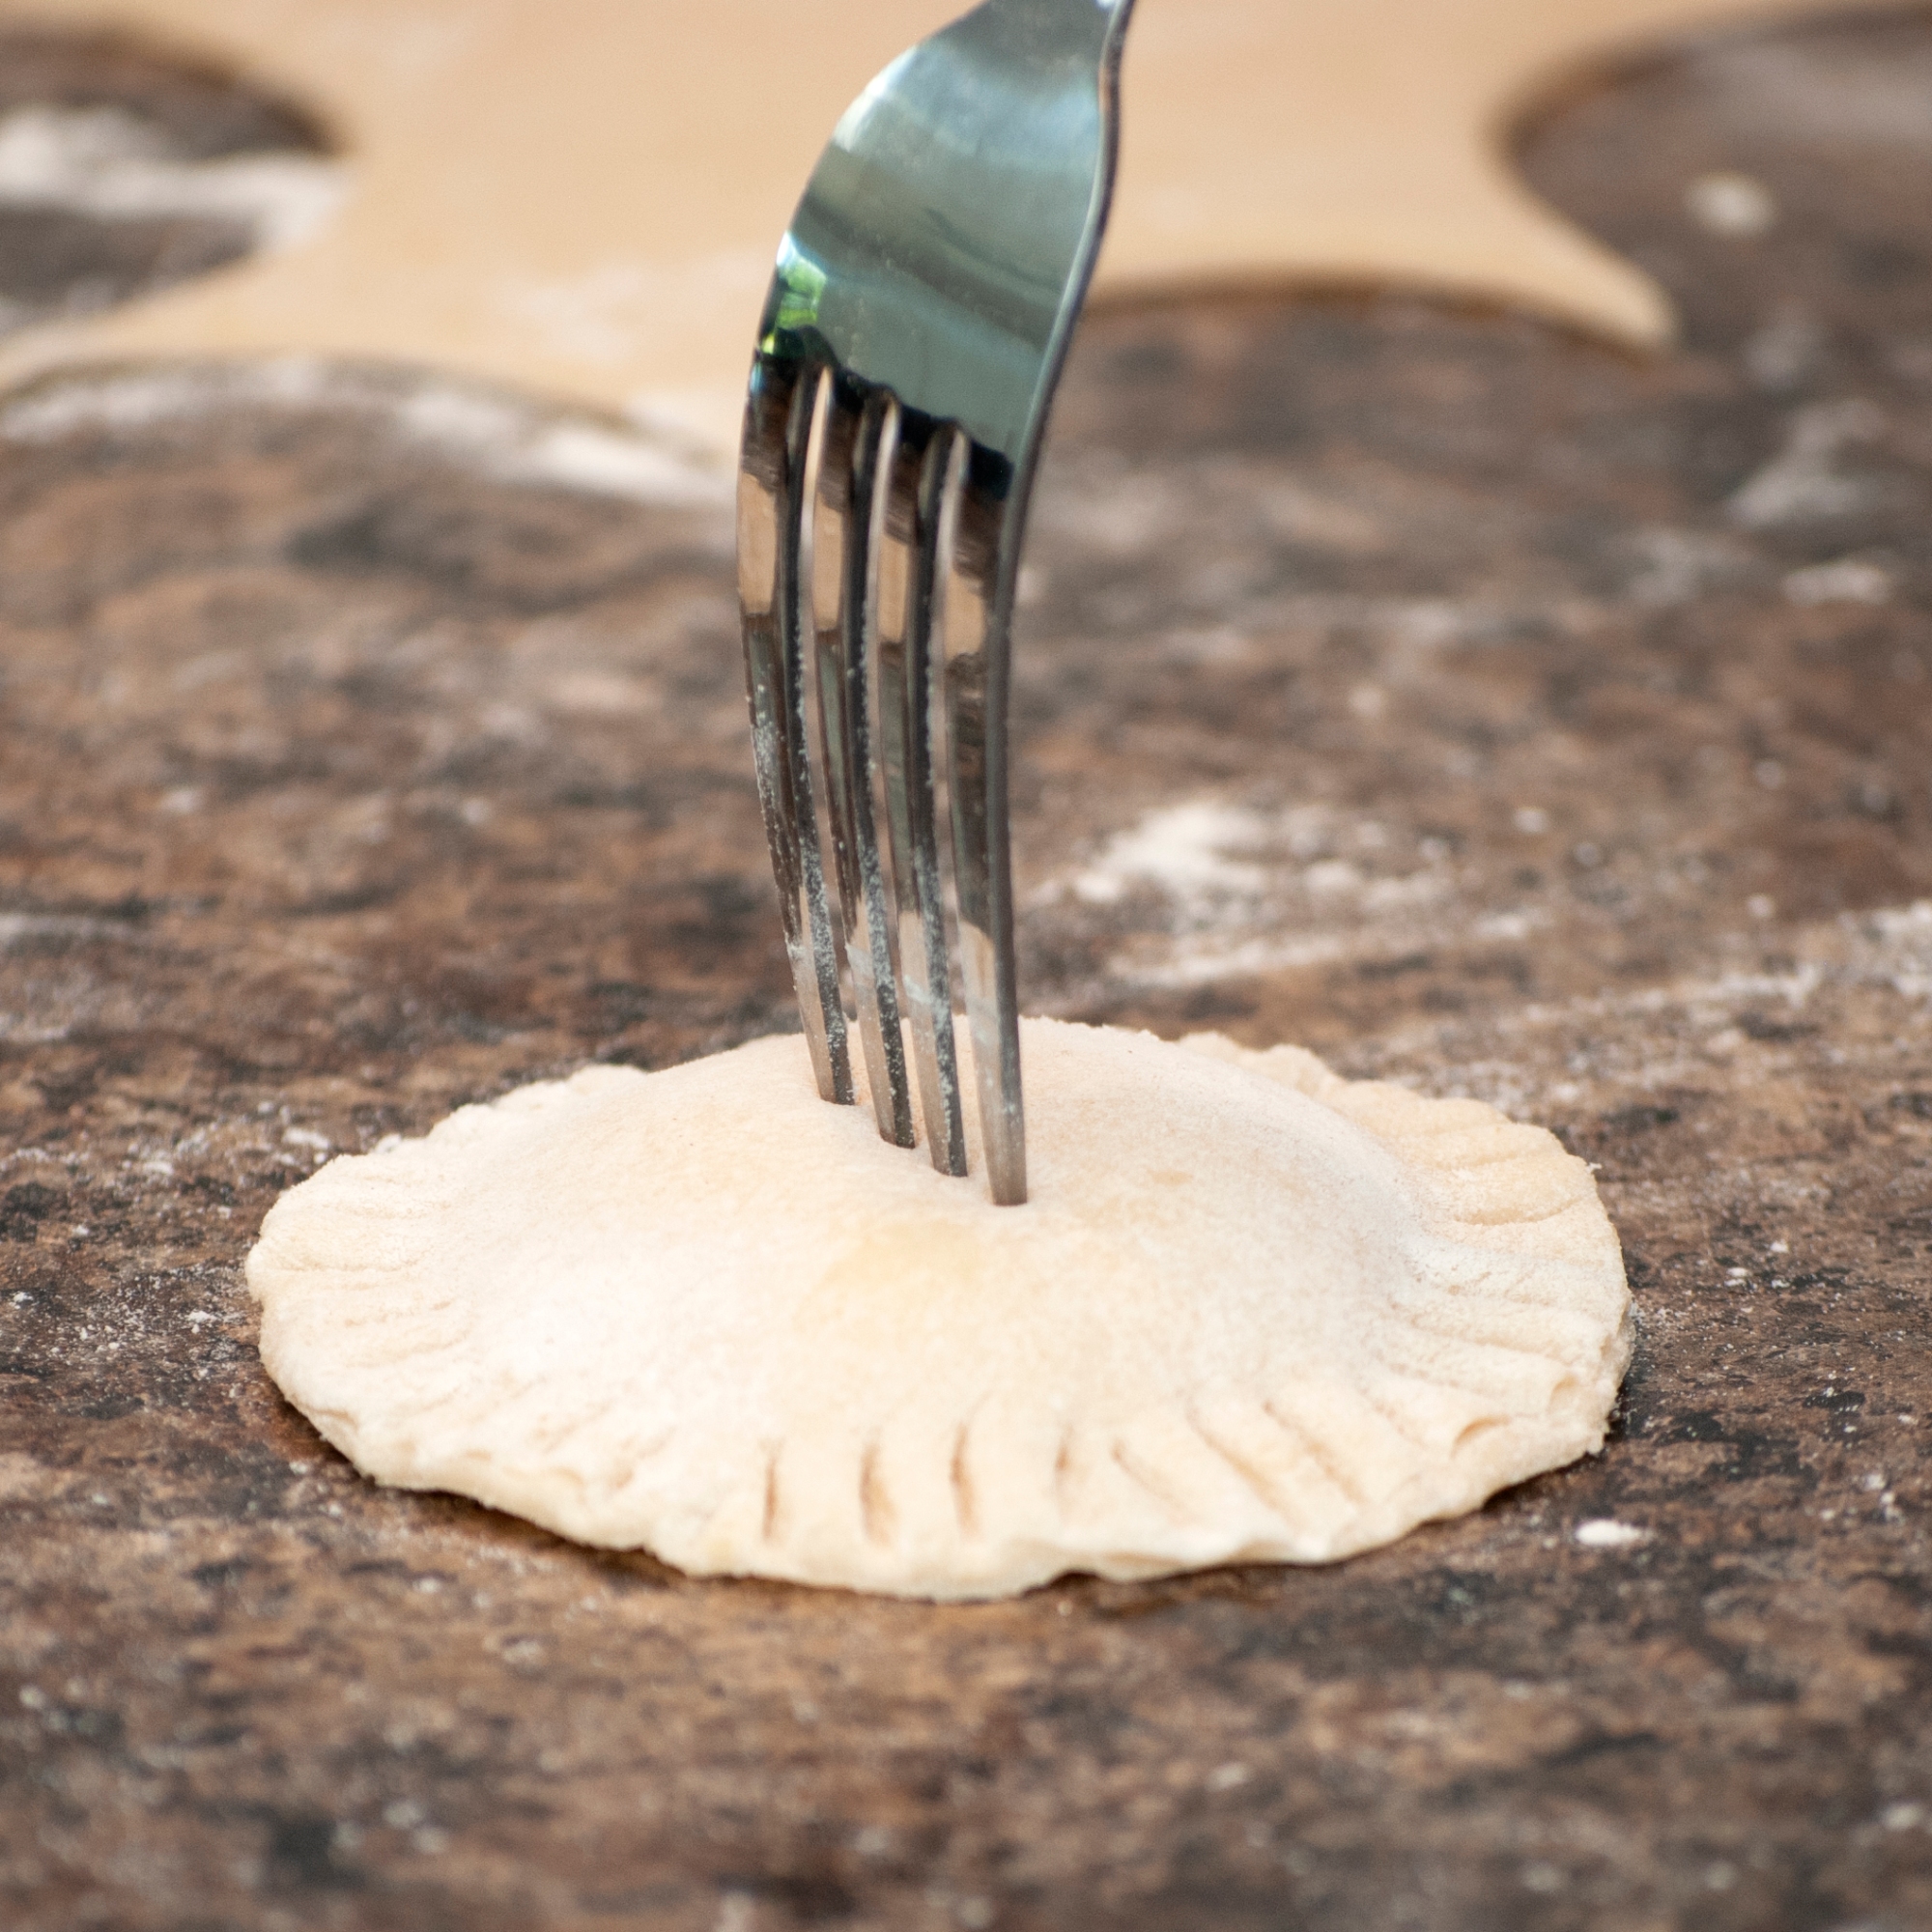
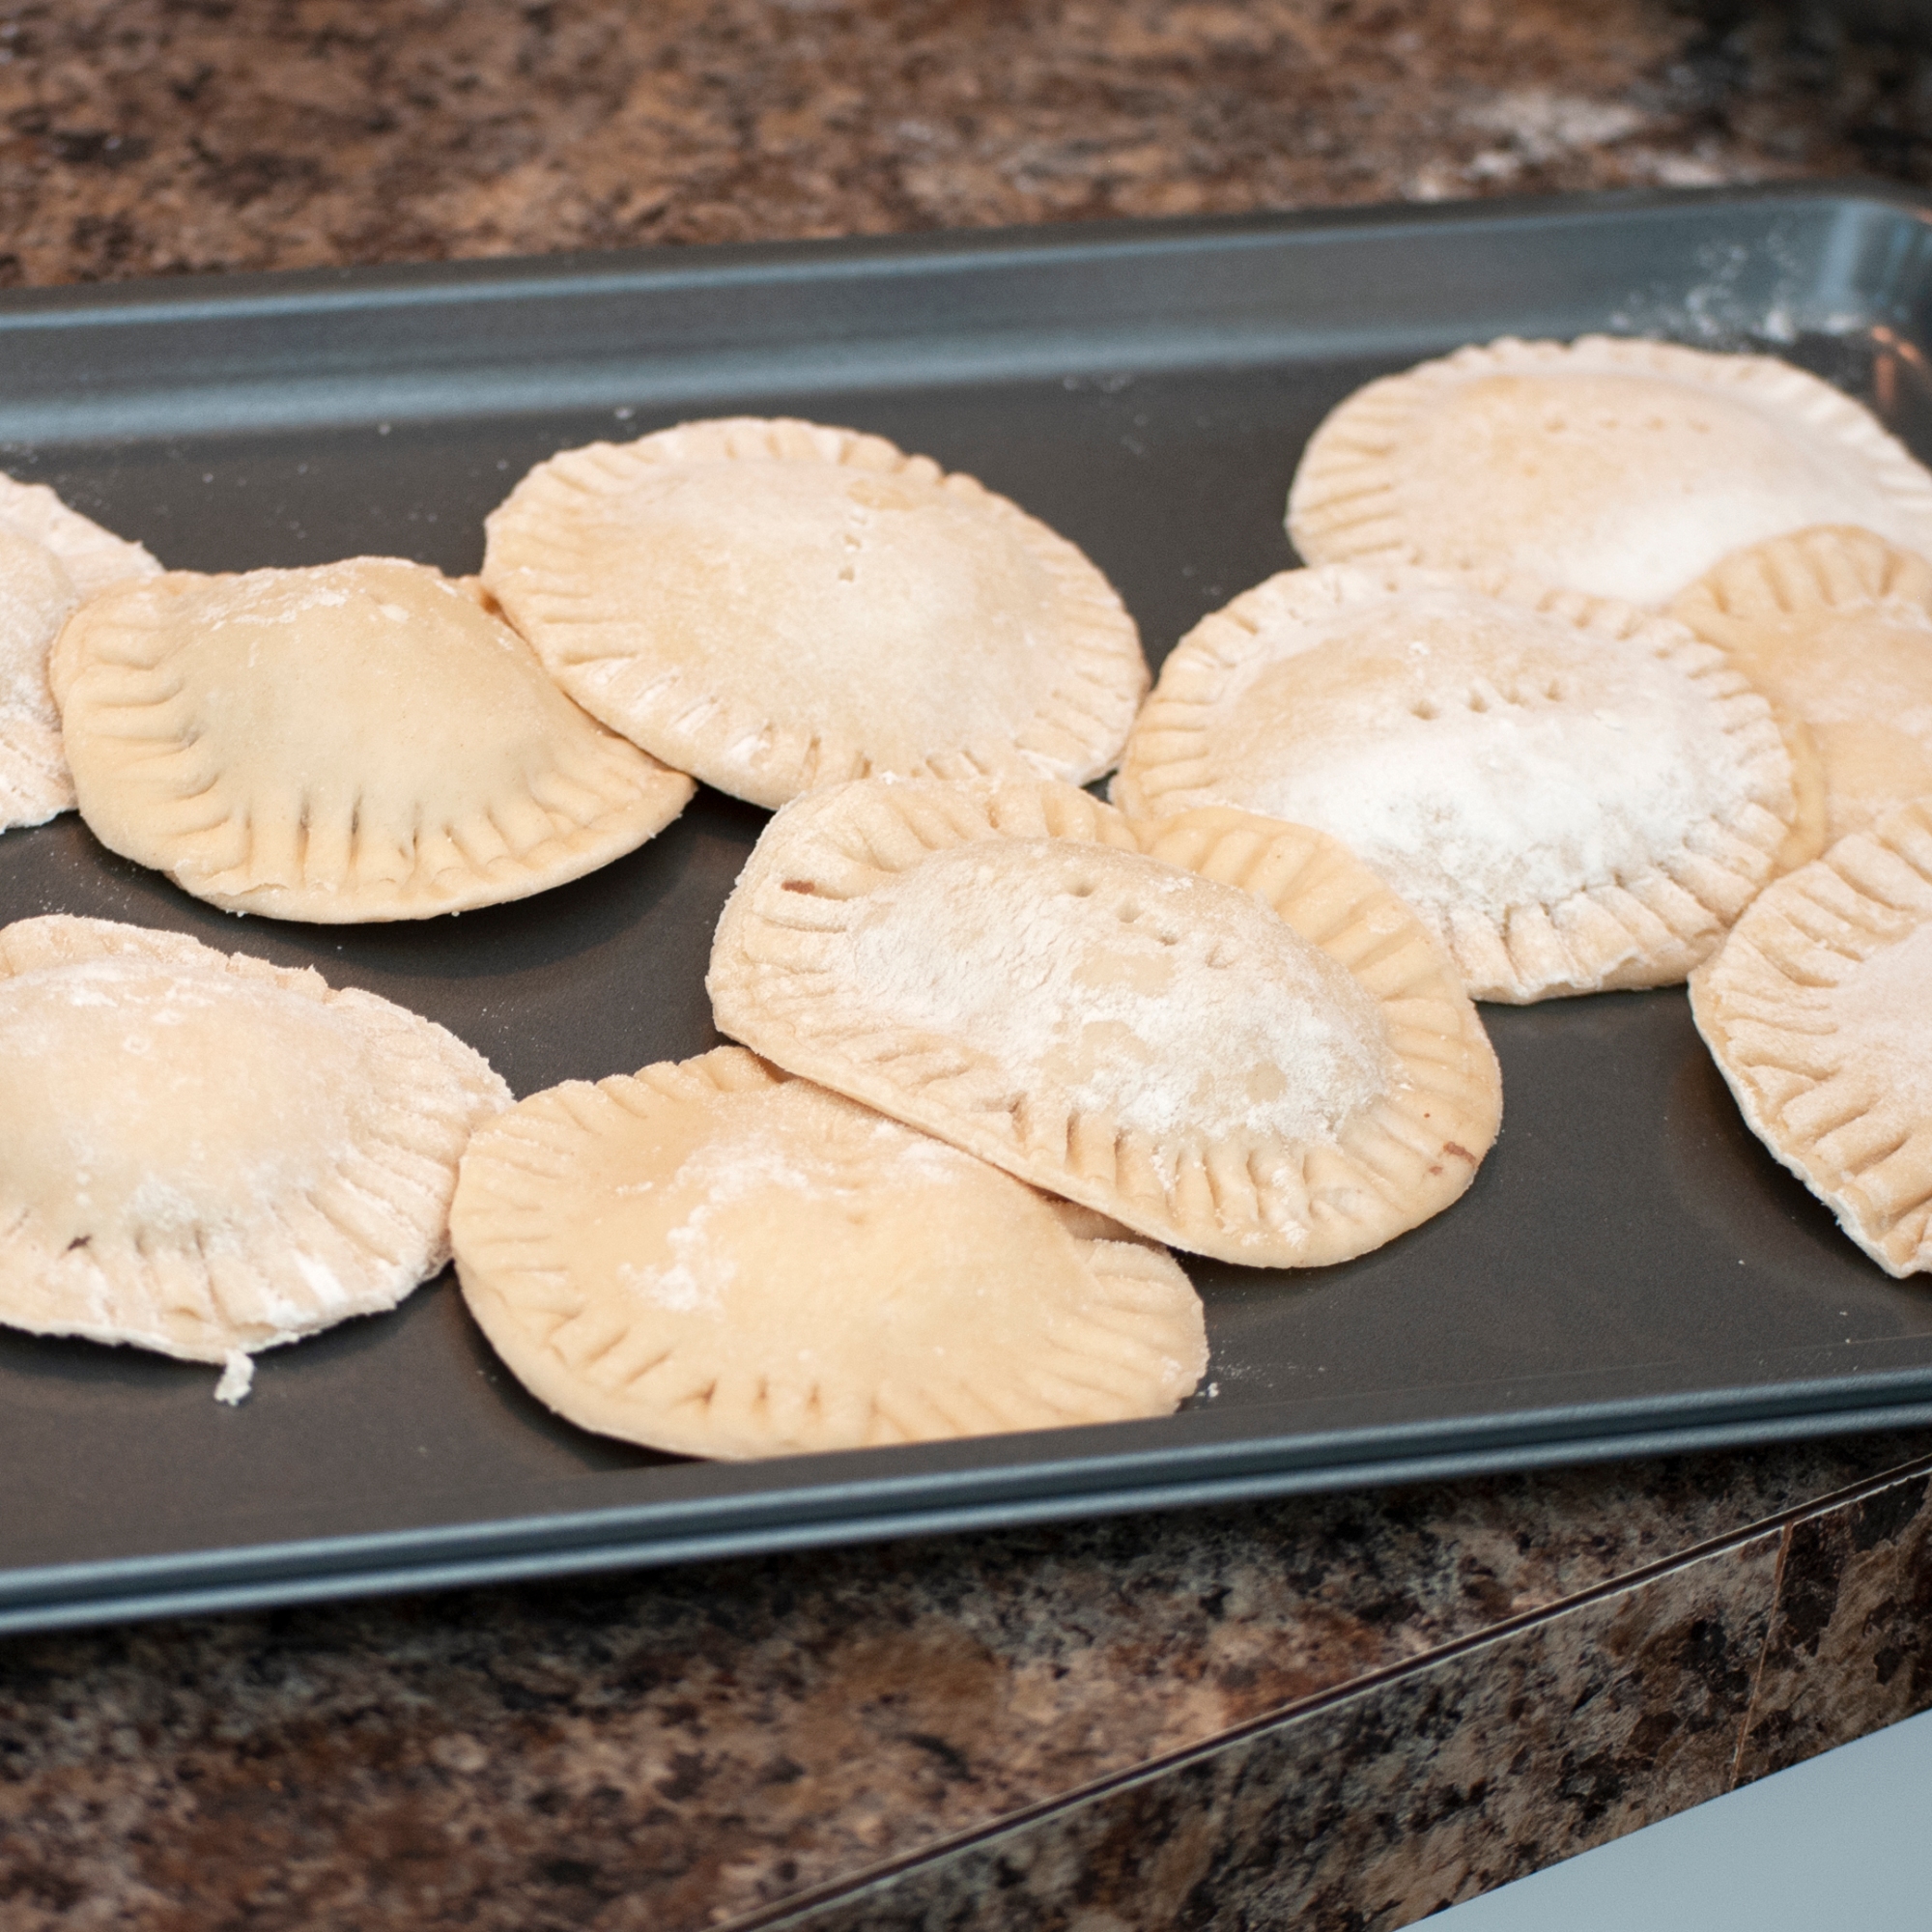
This recipe is for the #2 most important Venezuelan Christmas Dinner component; Pan de Jamón. The first component is obviously the Hallaca, I am hoping to be able to cook some hallacas with the help of the rest of the family this year to be able to add a recipe for them to this collection. It is believed that the production of pan de jamón began in the 1900’s, and has gradually been incorporated in to the Christmas dinner traditions ever since. It is said that it was originally created in a Panadería (a Venezuelan Bakery/Deli/Café) in the capital city, Caracas. First, it was only made with ham filling, then some other fillings where added including walnuts, almonds and even capers, until it became the version that we know today.
The pan de jamón is usually bought at the panadería, however, there are some families who make them at home. So now I am sharing this recipe with you, so you can make it at home yourself, like I did with my sister. I would like to give her a special thank you for her help with this recipe and blog post back in Christmas 2012.

Ingredients for Pan de Jamón

Ingredients for Pan de Jamón

What you need:
For the Dough
– 2 Cups Milk (Room Temperature)
– 1 Teaspoon Sugar
– 1½ Tablespoon Yeast
– 8 Cups of All Purpose Flour
– 1 Stick of Butter (Soft but not melted)
– 1 Tablespoon Salt
– 3 Tablespoons Sugar
– 3 Eggs
For the Filling
– 2.2 lbs. of Boiled Ham (Sliced)
– ¼ Cup Raisins
– ½ Cup Pitted Green Olives
For the Glaze
– 2 Egg Yolks
– 2 Tablespoons Water
– 1 Teaspoon Salt

Preparation:
1. In a large enough mixing bowl, add the milk. Then, dissolve the teaspoon of sugar in the milk and then add the yeast but don’t stir it in. Cover with a kitchen towel and let it rest for about 20 minutes in an area with little to no airflow.

Mix Milk, Sugar and Yeast

Mix Milk, Sugar and Yeast

2. After the 20 minutes, add only 4 cups of the flour and mix it very well using your fingers.
3. Make a ball with the dough and leave it in the bowl, cover it with cling wrap and put a kitchen towel on top. Let it sit in an area with no airflow for about 2 hours, or until it doubles in size.

Knead dough and cover

Knead dough and cover

4. After 2 hours, add the rest of the flour and continue to mix it in very well with your fingers, kneading the dough with both hands.

Kneading

Kneading

5. If your dough is dry, you can add two tablespoons of cold milk and knead it in. If on the contrary, your dough is too wet, you can sprinkle more dough on top and continue to knead the dough until it is uniform and consistent.
6. Cover again, as before, and let it sit for another 4 hours.
7. Take the dough out of the fridge and sprinkle some more flour on your working table. Add the soft butter, the salt, the rest of the sugar and the eggs (one by one). Knead the dough with all the ingredients very well. Until you have a very well worked dough that is uniform and without clumps. At the end you can lift it up from the table as high as you can, and let it fall on the table repeatedly until the dough easily lifts of the table and doesn’t stick to your hands.

The dough is ready

The dough is ready

8. Divide the ball of dough in three equal parts. You can cut one small piece and set aside for decorations if you wish. Grab one part and extend it as a rectangle over your working table (be sure to sprinkle your working surface with more flour). Extend the dough using a rolling pin until the dough is about ¼ to ½ an inch.

Divide in 3 equal portions

Divide in 3 equal portions

One portion

One portion

Extend dough with rolling pin

Extend dough with rolling pin

9. Now its time to add the fillings. Begin with a layer of the ham. Add the raisins and olives. Make sure that they are well distributed. Remember to divide the olives and raisins in three equal parts for each bread. Be sure to leave an empty space of about ½ and inch border from the edge of your rectangle without any filling.

Adding the ham

Adding the ham

10. Grab one end of your dough rectangle and begin to roll the entire thing from one end to the other.

Rolling the bread

Rolling the bread

11. Close the ends with your fingertips. At this point you can use that little bit of dough for any decorations.

Close off the ends

Close off the ends

12. Grease a baking sheet with butter and place the bread on the sheet. Cover the bread with a kitchen towel and let it sit for another hour.
13. Preheat your oven to 400°F.
14. Place the bread in the oven (one at a time) for 30 minutes.
15. Take the bread out of the oven and using a brush, cover the top of the bread with the glaze mixture (mix all the glaze ingredients in a bowl).

Glaze

Glaze

16. Place the bread back in the oven for another 10 minutes.

Recipe: Pan de Jamón | Venezuelan Christmas Dinner Ham Bread

Recipe: Pan de Jamón | Venezuelan Christmas Dinner Ham Bread

Recipe: Pan de Jamón | Venezuelan Christmas Dinner Ham Bread

Recipe: Pan de Jamón | Venezuelan Christmas Dinner Ham Bread

¡Buen Provecho!

International Recipe Day: Risotto ai Funghi | Risotto con Champiñones

30 Nov

Welcome to a new section in this Venezuelan Cooking blog. I introduce International Recipe Day to you. As I have mentioned before, Venezuela is a big melting pot of a lot of different cultures and influences. Some of our traditional family recipes include recipes that come from our ancestors, who came from other countries to Venezuela a long time ago. One example, which I posted a while back, is the Tortilla Española. In my family, we have a lot of these recipes and one of them is the Risotto with Mushrooms. I used to not care for Risotto, but once I tried my grandma Ana’s Risotto, I changed my mind.
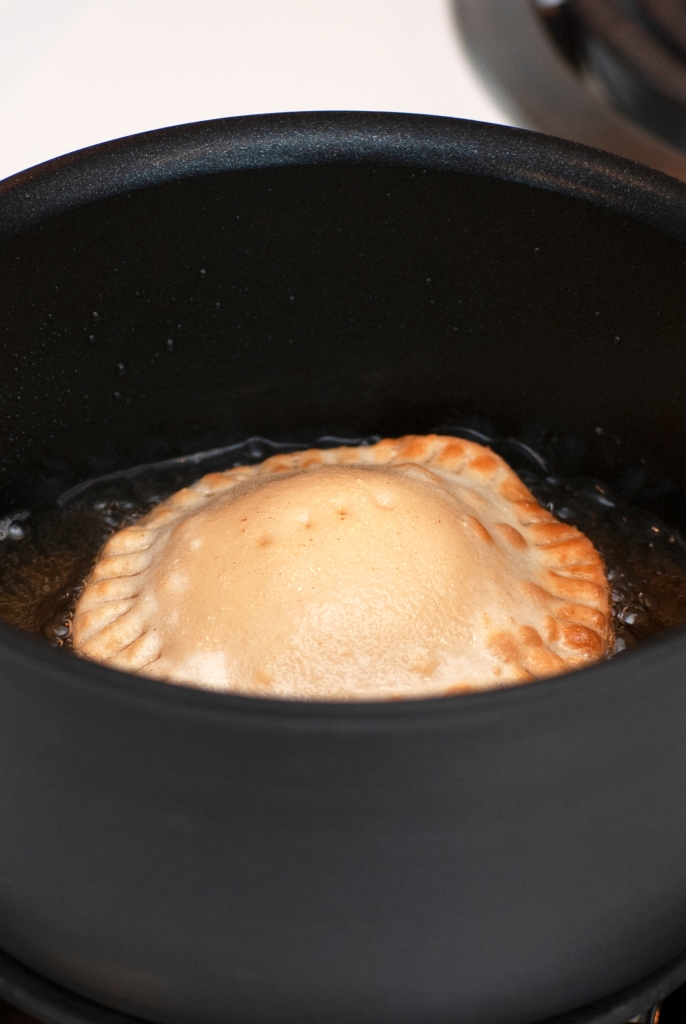
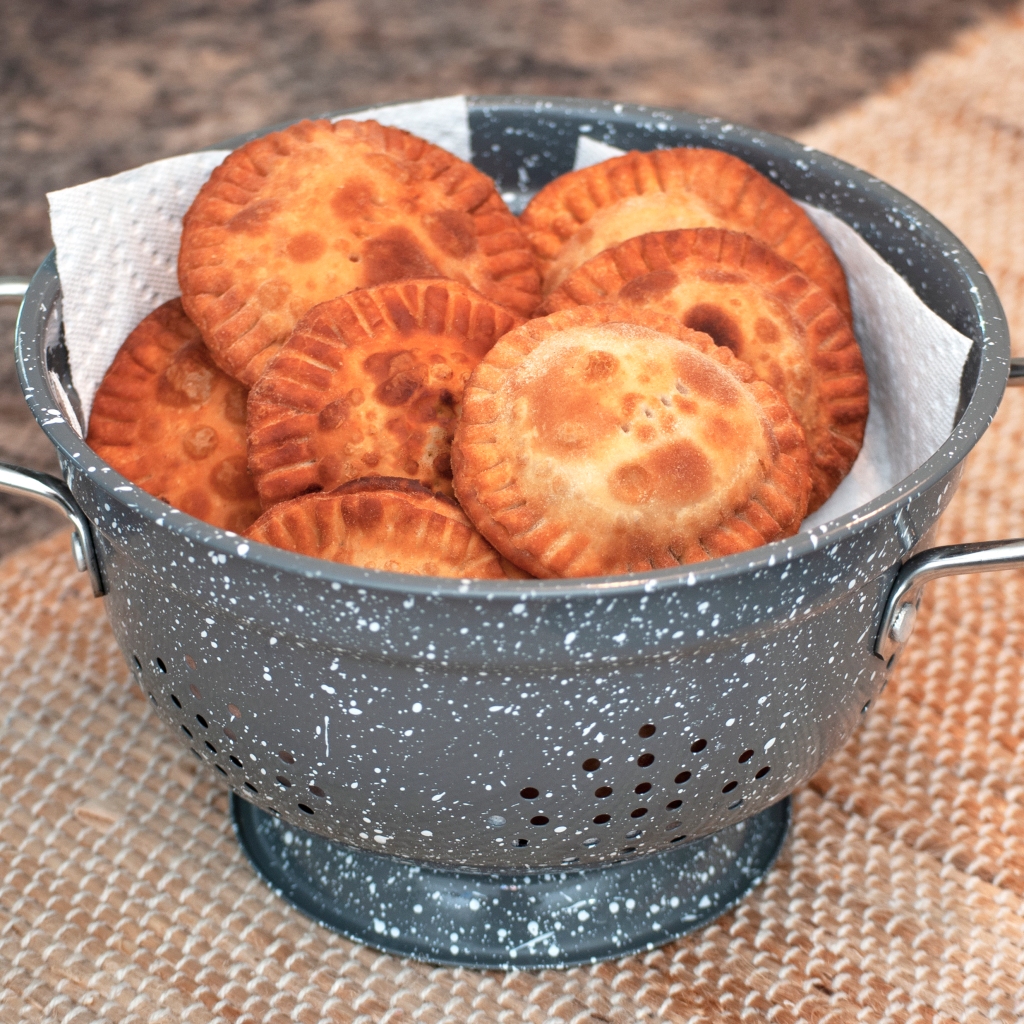
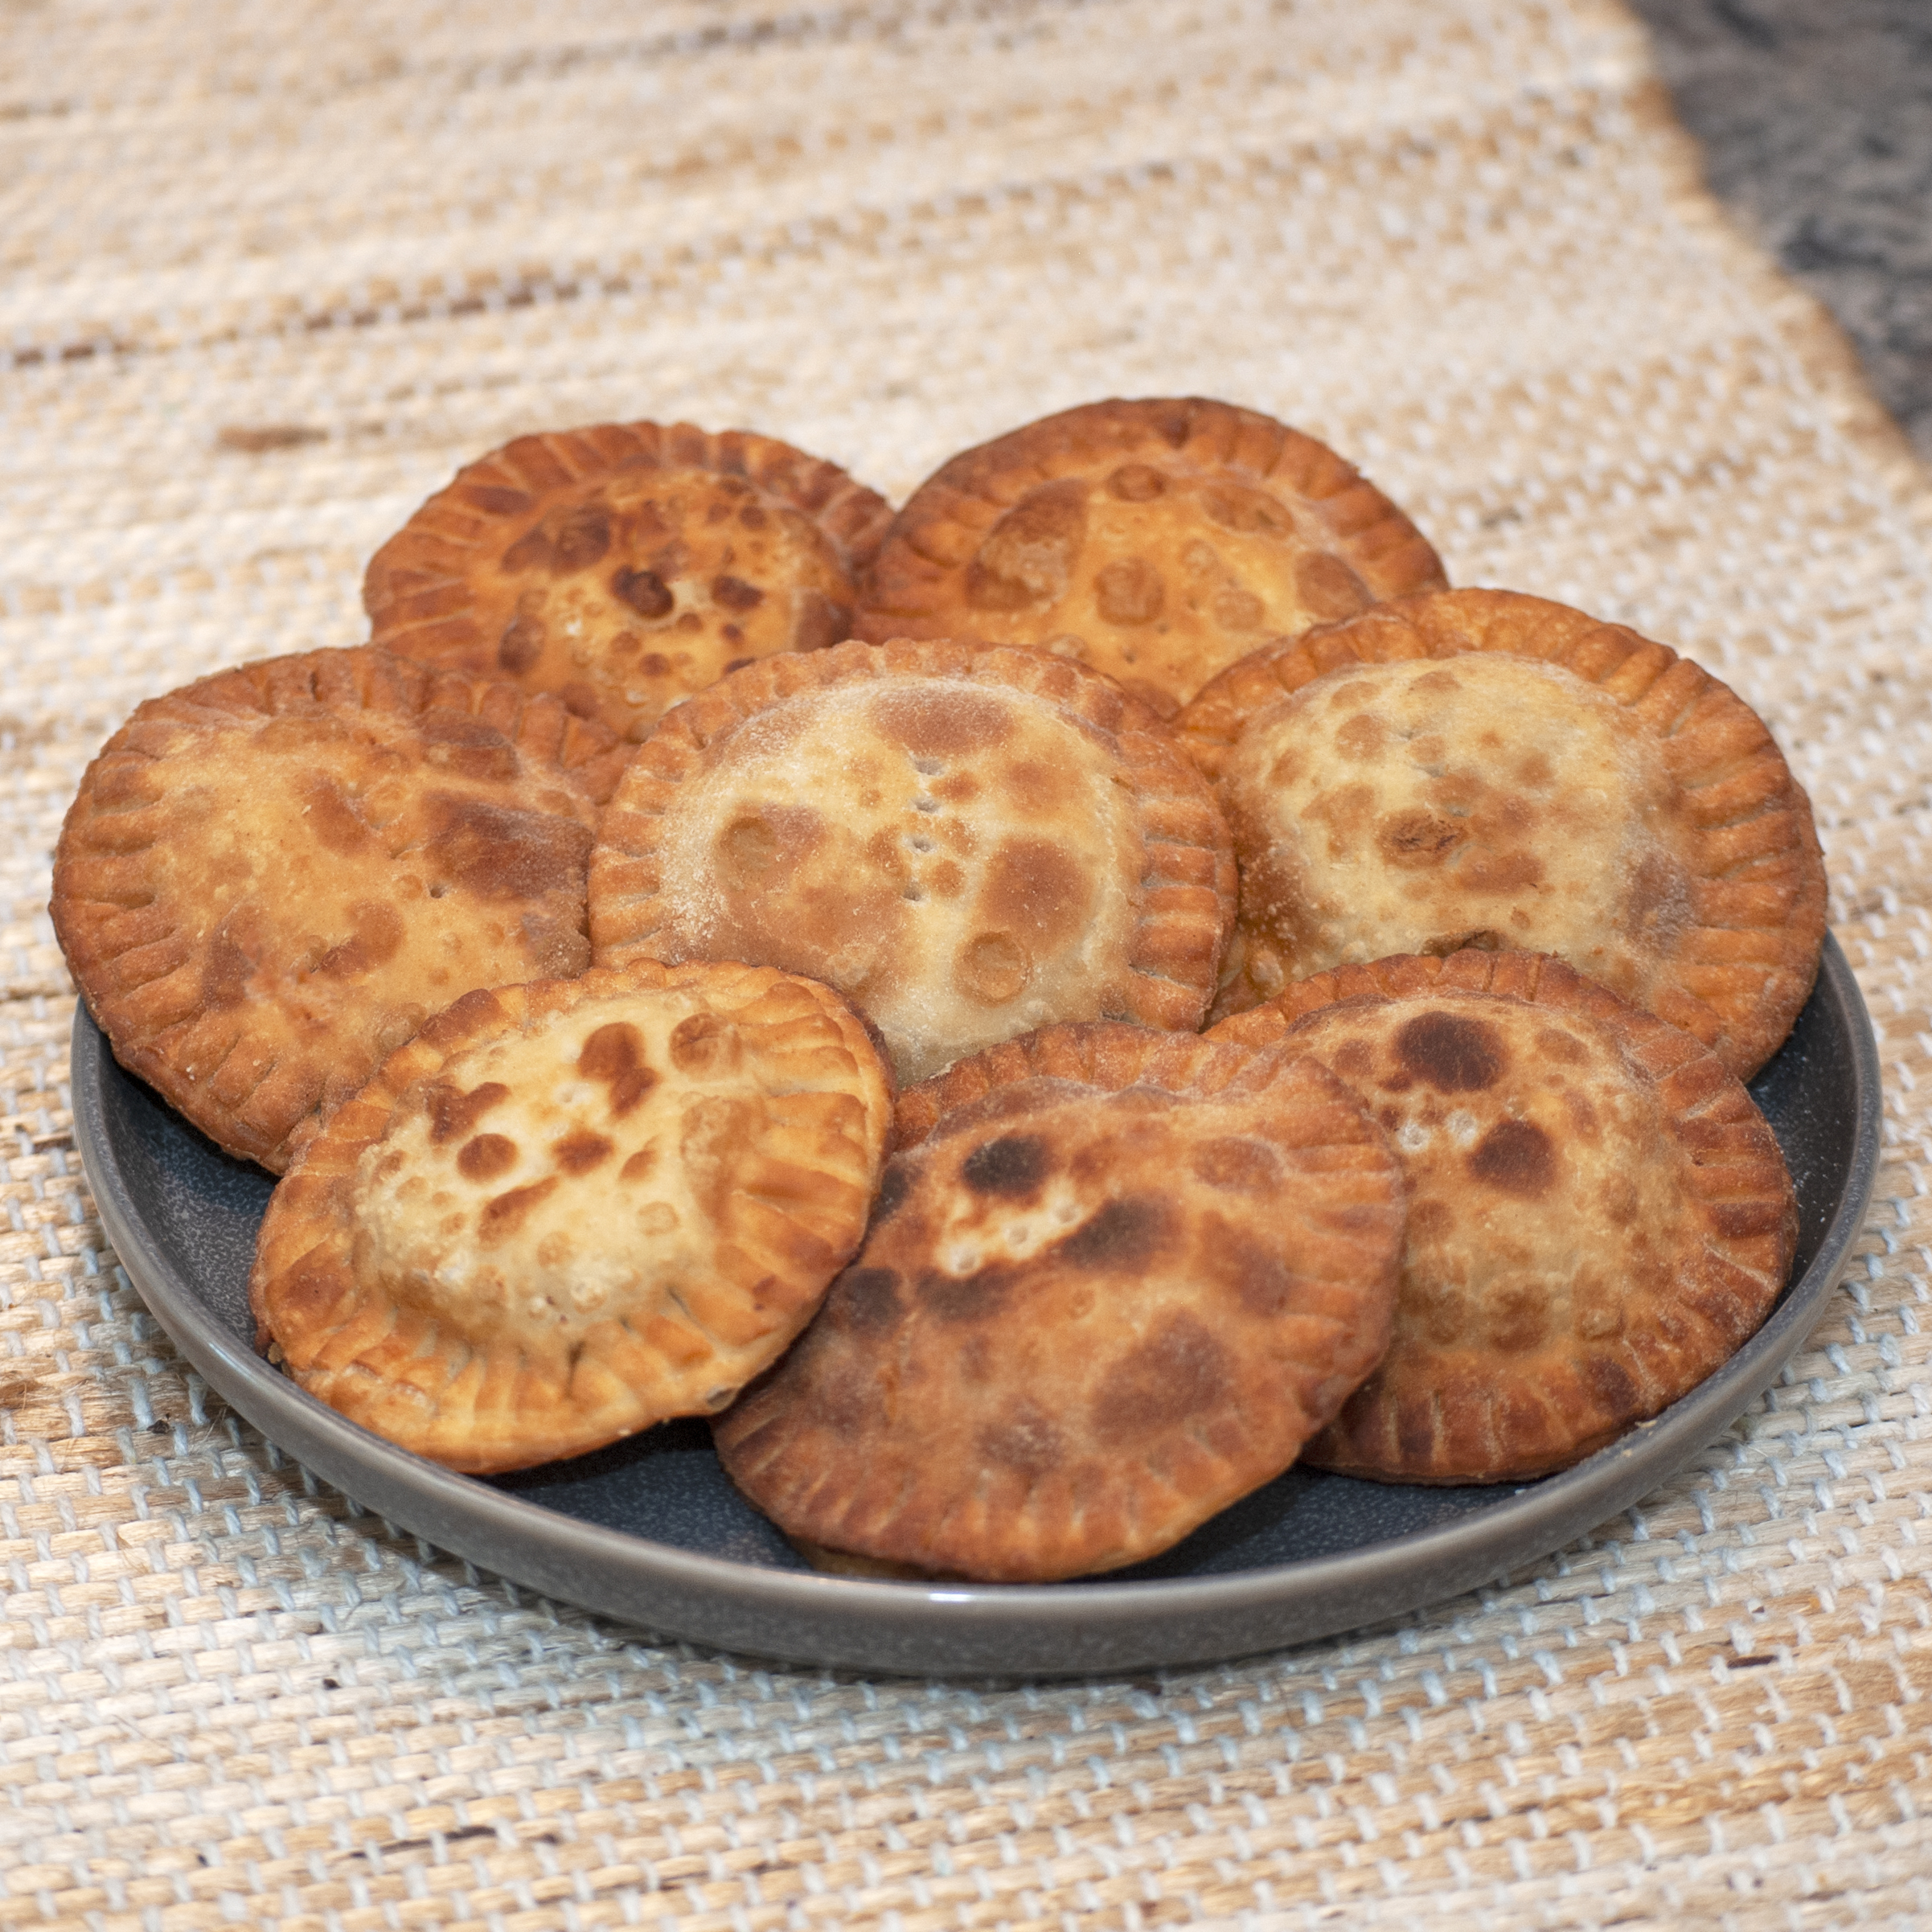
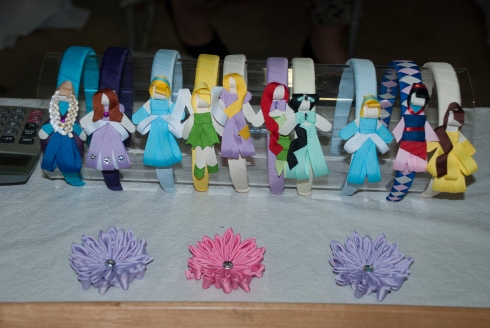
Recently my grandma Ana came to visit from Venezuela, as she usually does every year, and I wanted to cook something with her again like we did with the Tequeños and the Pollo a la Ana. She suggested we tried the Risotto because it was a simple recipe, so I invited her over to our new apartment to cook some Risotto together, and it was delicious.

The Risotto is a traditional Italian recipe. It is believed that the Arabs were the first to introduce rice to Italy and Spain during the Middle Ages. Like most other foods, rice was initially only consumed by wealthy people until it became widely spread and was no longer a delicacy. Much like the evolution of Spain’s Paella, the Risotto evolved from a cooking technique that was becoming very popular around that era; slow cooking.

The best thing about Risotto is that it can be served as the main dish, which is what they do in Italy, but it can also be served as a complementary dish to another dish, like the Ossobuco. Risotto can also be enhanced with many other complementary ingredients such as mushrooms, asparagus, shrimp, lobster, scallops, sausage, pumpkin, etc. It is truly a versatile dish that you can make your own, just like my grandma did.

Ingredients for Risotto Ai Funghi

Ingredients for Risotto Ai Funghi

What you need:
– 3 Cups Arborio Rice
– 2 Boxes White Mushrooms
– 1 Box Shitake Mushrooms
– 1½ Large Onion
– 2 Cups White Wine
– 1 Cup Fresh Parmesan Cheese
– 1 Stick of Butter
– 1 48oz. Carton of Beef or Chicken Broth
– ¼ Cup Cooking Oil
– 1 Teaspoon Olive Oil
– 1 Tablespoon Salt

Preparation:
1. Cut the onion in small cubes. In the meantime, in a big enough pot, begin to heat up the oil at medium heat.

Cut the onion in small cubes

Cut the onion in small cubes

2. Add the onions to the pot and cook at medium heat until golden brown.
3. Wash the mushrooms if necessary, but don’t over soak them, because they will get too mushy.
4. Add the olive oil to the pot.
5. On a separate smaller saucepan, add about half of the chicken broth and maintain it hot but not boiling, at medium heat.

Maintain the chicken broth hot at a medium temperature

Maintain the chicken broth hot at a medium temperature

6. Add the mushrooms to the pot with the onions, along with the wine. Continue to cook and stir for about 7 minutes.

Add the mushrooms and wine

Add the mushrooms and wine

7. Once the mix begins to dry a bit, add the rice to the big pot with the onions and mushrooms.
8. Begin adding the hot broth bit by bit with a ladle, while you stir it in to the rice, cooking at low heat.
9. Continue adding the broth and cooking at low heat until you have added all the broth or until the rice is cooked throughly. Add the salt.
10. Be sure that you add the broth very slowly over time, so as to not make the rice and mixture too mushy.
11. Once the rice is almost done, add the butter and the Parmesan cheese to the mixture and cook until done.

Add butter and Parmesan cheese

Add butter and Parmesan cheese

12. Serve with fresh Parmesan cheese on top.

International Recipe Day: Risotto ai Funghi | Risotto con Champiñones

International Recipe Day: Risotto ai Funghi | Risotto con Champiñones

¡Gracias Tabue!
This is another very special post, and I dedicate it to my grandmother
Ana C. Sandoval de Ojeda.

Note: I have to apologize for being so hungry and exited to try my grandma’s risotto the day we cooked it, that I didn’t remember to take the final plated photo.  So what you see here is a stock photo. I owe you one.

¡Buen Provecho!

Recipe: Pay de Parchita | Venezuelan Passion Fruit Pie

26 Oct

I’m not usually a fruit dessert lover. My philosophy is that if it doesn’t include chocolate, then it’s not worth it. However, there is one fruit desert that I absolutely love, and that is Passion Fruit Pie. Passion Fruit is a tropical, exotic and seeded fruit native from South America, specifically from Brazil. The passion fruit in Venezuela is known as parchita or maracuyá, and it can have either a yellow-orange or a red-purple skin. Its shape is oval and the skin is tough and smooth. You can tell when it is ripe because the skin gets softer and wrinkled. So don’t pick the prettiest ones when buying passion fruit, on the contrary, pick the ugly ones. Just make sure they don’t smell sour or have any dark or bruised spots. On the inside both the yellow and the red versions look the same. The inside of a passion fruit is filled with black oval shaped seeds surrounded by a yellow gooey pulp. The flavor of the passion fruit is a bit sour and the aroma is very powerful. The pulp is used to make juices, mousses, cakes, ice cream, jelly and jam and to prepare different kinds of sauces, vinaigrettes and salsas. It may be hard to find passion fruit at your regular supermarket store, so try to call them ahead of time and make sure they have some ripe ones available. The fruit is available year-round so it shouldn’t be too hard to find some. Your best bet is places like Whole Foods, the Fresh market or even any farmers market near you. I would go for the farmers markets first, because the other places may be expensive, I had to pay around $3 per each fruit (crazy!).

Parchita, Maracuyá, Passion Fruit

Parchita, Maracuyá, Passion Fruit

Parchita, Maracuyá, Passion Fruit

Parchita, Maracuyá, Passion Fruit

The passion fruit comes from the passionflowers plant called Passiflora. It is said that the passionflowers’ name came to be around the sixteenth century, when the first Christian missionaries came to South America and found these flowers to be a good sign that their mission would be a successful one. The name came to be because they believed that the flower symbolized the death of Christ (the Passion of Christ). The flower itself has five petals and five sepals, which they believed to represent the disciples without Peter and Judas. The flower also has two rows of colorful filaments, which they believed to signify the halo around Christ’s head or the crown of thorns. The flower has five stamens and three spreading styles with flattened heads, which they believed to represent the wounds and the nails respectively. The flower has tendrils that look like the whips used to afflict Christ. Finally, the leaves look like fists or handgrips, believed to be those of the soldiers. Weather you believe in all this symbolism or not, you have to admit it’s a pretty cool name for a fruit.

A long time ago, my paternal grandfather used to own a restaurant called TACÚ back in Caracas. I used to work there as a hostess. My mom used to make whole desserts and sell them to TACÚ to be resold by the slice. She used to make all kinds of delicious Venezuelan desserts, and one of them was this Passion Fruit Pie. One time, our oven at home wasn’t working so my mom had to bake her desserts elsewhere. She went to my paternal grandparents’ house to bake the desserts there. My grandpa, being the passion fruit lover he is –he eats one almost every morning for breakfast– said the passion fruit pie my mom was finishing up didn’t look too presentable, and that she should leave it at his house and make another one again to be sold at the restaurant. The truth is he just wanted to keep the pie at home, and eat it himself, which he did. So now I am sharing with all of you my mom’s famous and secret Passion Fruit Pie recipe that all the clients at TACÚ (and the owner himself) loved.

2014-10-12 Pie de Parchita 025 EDITWhat you need:
For the Crust
– 1 whole package of Galletas María Puig (María Cookies) – 250 gr.
– 180 g. Margarine or Butter
– 2 tbsp. Sugar
– ¼ tsp. ground cinnamon
For the Filling
– 2 c. Passion Fruit juice (freshly squeezed)
– 5 tbsp. Corn Starch
– 3 egg yolks
– 1 cup sugar
For the Meringue
– 3 egg whites
– ½ cup sugar
– ¼ tsp. ground cinnamon

Preparation:
The Crust
1. Preheat your oven to 350°.
2. Use a food processor or blender to grind up all the Galletas María Puig until they are finely ground. The Puig brand is a Venezuelan brand, and the Galletas María, or María Cookies are a staple in traditional Venezuelan brands. I understand it would be hard to find the original Galletas María Puig, however you can purchase other brands that are not the exact same, but they are very similar to the original María Cookies. Some of the other brands of María Cookies can be found at Wal-Mart, Publix, and Sedanos. The other brands are Goya, Iberia, La Fé, Conchita, Rio and Gullon among others. Just make sure that the entire package amounts to 250 gr., which means for some of the brands you may have to buy 2 packages.

Blend the María Cookies

Blend the María Cookies

3. Melt the butter or margarine at low heat in a small pot.

Melt the butter or margarine

Melt the butter or margarine

4. In a large bowl combine the María Cookies, the melted butter, the sugar and the ground cinnamon. Mix well with a wooden spoon, and also with your hands to make sure there are no large pieces of cookies left behind and no clumps in the mix.

Mix the ingredients

Mix the ingredients

5. In a round 9-inch pie Pyrex add the mixture and press gently with your fingers to mold and shape the mixture evenly into the Pyrex.

Shape the mixture evenly into the Pyrex

Shape the mixture evenly into the Pyrex

6. Bake for 15 minutes at 350°. Once done, let it cool down a bit and then put it in the fridge while you make the filling.

The Filling
7. First you must make the fresh passion fruit juice. Take each passion fruit and cut it in half, then with a spoon, scoop out all the pulp and seeds into a food processor or blender. After you have taken the juice of all the passion fruits you have (I used about 10), blend them as much as you can. The seeds will create these black spots on the mixture when you blend them, but don’t worry, that just makes your pie look even better, because it was made with fresh fruit and the seeds are edible. I did strain it a bit after I blended it, just to remove any big pieces of seeds left behind, and I used a very tight strainer. After you make the juice, it will be very strong and sour/bitter so you will have to add some water to water it down. I ended up with about 1½ cups of juice concentrate, and then I added ½ cup of water to complete the 2 cups of juice. There is no telling how much juice concentrate you will end up with, or how much water you will have to add, but you can guestimate with these measurements I provide from what I got.

Blend the Passion Fruit pulp and seeds

Blend the Passion Fruit pulp and seeds

Blended passion fruit juice

Blended passion fruit juice

Strained Passion Fruit juice

Strained Passion Fruit juice

8. In a medium saucepan, add the sifted cornstarch, the sugar, and mix in at medium heat. Little by little, add the passion fruit juice, and mix constantly. Add the 3 egg yolks (lightly beaten), and continue to mix. Cook the mixture at medium temperature until it comes to a boil. Cook for one more minute and then remove from the heat and let it cool down.

Combine ingredients in sauce pan

Combine ingredients in sauce pan

Combine ingredients in sauce pan

Combine ingredients in sauce pan

9. Take the crust out of the fridge and add the filling mixture on top. Be sure that the crust isn’t hot when you add the filling on top of it. Let it sit for a bit and then put it in the fridge one more time for it to harden while you make the meringue.

Add the filling on top of the crust

Add the filling on top of the crust

The Meringue
10. Making the perfect meringue can be a bit tricky, so if you have already mastered this task, you can just go ahead and use your own meringue recipe. There are all kinds of rules that people believe you must follow to create the perfect mile high meringue, but I am just going to tell you, I am no meringue expert, and the two times I have made it, it has come out just fine.  I just whipped the egg whites with an electrical handheld mixer and then added the sugar slowly until I reached the desired consistency.  However, you can Google the steps to creating the perfect mile high meringue and you can follow them, but don’t be surprised if it doesn’t come out just right. Here is a good blog post on Meringue.

Add meringue on top

Add meringue on top

11. After you make the meringue, using a pastry bag and tip, decorate the pie top with the meringue making swirls to create dollops with tips all around the pie top. Sprinkle the cinnamon on top just to decorate. Then bake the whole pie again for 15 minutes at 350°. You just want to brown the meringue, so keep an eye on it.
12. You can store it in the fridge after it cools down a bit. Serve cold.

Pay de Parchita | Venezuelan Passion Fruit Pie

Pay de Parchita | Venezuelan Passion Fruit Pie

Pay de Parchita | Venezuelan Passion Fruit Pie Individual Portion

Pay de Parchita | Venezuelan Passion Fruit Pie Individual Portion

Pay de Parchita | Venezuelan Passion Fruit Pie Individual Portion

Pay de Parchita | Venezuelan Passion Fruit Pie Individual Portion

¡Buen Provecho!

¡Gracias Mami & Mariale!
This post is very special to me, and I dedicate it both to my mother (the owner of this recipe), and to my sister for helping me throughout the whole process from searching for the right parchitas all over town up to tasting the first bite and taking us back in time when we lived in Venezuela and ate my mom’s passion fruit pie when she used to make it a long, long time ago.

Recipe: Hervido o Sancocho De Gallina | Venezuelan Chicken Soup

10 Sep Hervido o Sancocho De Gallina | Venezuelan Chicken Soup

Soups are one of my favorite dishes. The Apio Soup is at the top of the list of course, but I generally like any type of soup. Growing up, it was a given that I would have at least one cup of soup before lunch every time I went to my paternal grandparents’ house after school. They always had apio soup, auyama soup, and I would even eat the spinach soup. Looking back I realize it was their way of feeding us our daily serving of veggies without dealing with us ‘picky-eaters’. However, when visiting my maternal grandparents, the tradition was to eat the soup as a main dish. This is because they would prepare sancochos or hervidos, either made from chicken base or fish base. My maternal family lives on the coast, so fish is the most common dish on the table. It was also a trick to get me to eat fish. And I would; I would eat all the veggies and all the fish, as long as it was in the soup.

All soups are not created equally, and they do not serve the same purpose. The soups I ate at my paternal grandparents’ house in the city were appetizers, a small serving before the main dish for lunch. The soups I ate at my maternal grandparent’s house had been cooked in two large pots, or maybe even three, to feed everyone in the family as a main dish, accompanied by some arepas, casabe, and avocado.

The word sancocho comes from the Latin sub-coctum, wich means to cook at a low heat. That is precisely what sancocho is, and even though it is also called hervido, which means boiled, in order to make sancocho, you must never let the water actually come to a boil. People also call sancocho the actual family gathering where they meet to enjoy this delicious dish.

Soups (sopas) are basic broths with small pieces of solid foods like vegetables, chicken, beef, sometimes rice, pasta or even dough balls, some even have milk or eggs. Some of these soups end up being creams (cremas) if those ingredients are all blended together. Stews (sancocho o hervido), on the other hand, are hearty enough to be the main dish, with big pieces of vegetables and roots, corn and even plantains. Sancochos and/or hervidos can be made with chicken, beef, fish or even pork based broths, and some people even make ‘cruzado’ (mixed/crossed) when they make it from two or even three different base broths. Stews can also be made into creams when blended together.

To me, there is nothing like a good cup of soup, cream, or stew when you have the flu.

Ingredients: Hervido o Sancocho De Gallina | Venezuelan Chicken Soup

Ingredients: Hervido o Sancocho De Gallina | Venezuelan Chicken Soup

What you need:
– 1 Whole Chicken
– 1 Lemon (to clean the chicken)
– 2 Small Onions
– 2 Large Leeks
– 2 Bell Peppers
– 2 Cilantro Stems
– 1 Lb. Yuca
– 1 Lb. Apio
– 1 Lb. Ocumo (Sold as Malanga in the US)
– 1 Lb. Auyama (Sold as “calabaza” – Cucurbita moschata or ayote or zapallo, is a type of pumpkin squash)
– 1 Lb. Batata Blanca Alargada (Sold as Boniato or White Sweet Potato)
– 3 Large Ears of Corn
– 8 Garlic Cloves
– 2 Small Stems of Spearmint
– 2 Tablespoons Salt
– 1 Teaspoon Pepper
– Water

Preparation:
1. First cut the chicken, or if you want to make your life easier, buy the pieces separately (breasts and drums, bones included). Wash the chicken pieces by using two halves of the lemon to scrub it and then rinse it and damp dry with paper towels.
2. Place the chicken in a large enough pot and fill with water, about half the pot, enough to cover the chicken. Add the ears of corn as well; cut them in thirds or fourths. Bring to a boil.
3. Add the leeks, bell peppers and the onions. You can wash these and then cut in large pieces, since they will be removed later.
4. Cook for about one hour to an hour and a half or until the chicken is thoroughly cooked. Add the cilantro right around half way through cooking the chicken. Add more water as necessary.
5. You will notice that a layer of foam will start to form on the top as you cook. You should keep an eye on the pot and remove the foam as it starts to collect on the top.
6. Once the chicken is cooked, remove the chicken from the broth and set aside to cool for a bit. In the meantime strain the broth, so that you remove all the pieces of onion, leek, bell peppers and cilantro. Be sure to keep the broth, since we will use it to cook the rest of the ingredients.

Remove the chicken from the broth and set aside to cool for a bit.

Remove the chicken from the broth and set aside to cool for a bit.

7. Use however much broth you have, hopefully around 11 Cups. Wash, cut and peel (if necessary) the rest of the ingredients in large pieces (Yuca, Apio, Boniato, Malanga, Calabaza, etc.), and add them to the pot with the broth. Also add the garlic, the salt and the pepper.
8. Boil on high for about 30 minutes or until all the vegetables are ready. In the meantime you can shred the chicken using a fork to remove the meat from the bones and set aside the meat to add it to the soup later on. You can leave some bigger pieces of chicken as well.
9. When the vegetables are almost done, you can add the chicken, the spearmint and a little bit more cilantro.
10. Turn the heat to low and continue to cook for about 5 more minutes. Remove the cilantro and spearmint.
11. Serve hot with casabe or a plain arepa. It is also a custom to add a couple of pieces of avocado.
12. You can also take out the chicken and corn from the soup, and blend the soup into a cream, and then add back the chicken and the corn, for a delicious cream version of this soup.

Hervido o Sancocho De Gallina | Venezuelan Chicken Soup

Hervido o Sancocho De Gallina | Venezuelan Chicken Soup

Note: When cutting the Malanga, you should wear gloves because it might sting if you get it on your skin or eyes.
Optional: Some people add other types of vegetables and ingredients in the soups like potatoes, carrots, zucchini, yam, bollos, hallaquitas, plantains, etc.

¡Buen Provecho!

Recipe: Perico Venezolano | Venezuelan Scrambled Eggs

24 Jul Perico | Venezuelan Scrambled Eggs

Venezuelan scrambled eggs are just like Venezuelans; anything but plain.  Scrambled eggs were too boring, so we incorporated a few things to make them extra special.  Throw some onions and tomatoes, and you’ve got very colorful and tasty scrambled eggs.  I don’t know why do we call these extra special scrambled eggs Perico, but I think it is because perico is the Spanish word for parakeet, and when you add tomatoes to scrambled eggs, they get a red tint to them, just like our parakeets.

When I was a kid, my mom used to make arepas con perico usually on the weekends.  I didn’t like perico when I was a kid, but as an adult I love it.  Especially because with just a few tweaks, like using only the egg whites and no oil, you can make a lighter breakfast.

Ingredients: Perico

Ingredients: Perico

What you need:
– 1/8 C. Oil
– 1 Tbsp. Butter
– ½ C. Onion
– ½ C. Tomato
– ½ Tsp. Salt
– 1/8 Tsp. Pepper
– 3 Eggs

Preparation:
1.  Chop the onion and tomato in small cubes.  It is recommended to take the seeds and skin from the tomato, but… who has time for that on a Saturday morning?  I like tomatoes; skin, seeds, and all.

Chop Onion and Tomato

Chop Onion and Tomato

2.  In a large enough frying pan, add the oil and the butter and heat on medium.  You can skip either the butter OR the oil if you prefer a lighter option.
3.  Add the onion and fry until it browns (about 4 minutes).

Fry Onion

Fry Onion

4.  Add the tomato, salt and pepper, and fry for another 6 to 7 minutes, or until the mixture dries up a bit.

Add Tomato

Add Tomato

5.  Beat the eggs and add them to the mix (you can use egg whites only for a lighter option as well).  Continue frying and mixing for about 3 minutes until the eggs cook thoroughly and become dry, but at the same time keeping it loose and without clumping it together.  You can also add some milk to the beaten eggs to make them fluffier.
6.  Serve hot with arepas… I happened to have some avocado nearby, and it was just the perfect addition to this breakfast for champs.

Perico | Venezuelan Scrambled Eggs

Perico | Venezuelan Scrambled Eggs

Desayuno Venezolano | Venezuelan Breakfast

Desayuno Venezolano | Venezuelan Breakfast

Note:  Perico can be served just like any other scrambled egg dish; with bacon or sausage, and toast.  It can also be served as an arepa filling (relleno de arepa), already inside an arepa. (Avocado addition is great here too… as you can probably tell by now… I love avocado)

Arepa Rellena con Perico | Perico Filled Arepa

Arepa Rellena con Perico | Perico Filled Arepa

Arepa Rellena con Perico | Perico Filled Arepa

Arepa Rellena con Perico | Perico Filled Arepa

*Serves 2

¡Buen Provecho!

Recipe: Mojo de Cilantro y Perejil | Venezuelan Cilantro & Parsley Mojo Sauce

17 Jul Mojo de Cilantro y Perejil | Venezuelan Cilantro & Parsley Mojo Sauce

This is another type of mojo, like the ones most restaurants have at the table, just like they have salt and pepper.  Personally, I prefer the cilantro and parsley mojo over the mojo isleño.  You can use any mojo as a topping for tostones, hallaquitas, yuca sancochada, yuca frita, parrilla, and empanadas.  You can also use this mojo as a topping for grilled fish, chicken, pork or steaks.

Ingredients Mojo Venezolano

Ingredients Mojo Venezolano

What you need:
– 1 Tbsp. Vegetable Oil
– 1 to 2 Sweet Peppers (Ají Dulce)
– ½ Onion
– ½ Tomato
– ¼ Cup Cilantro Leaves
– ¼ Cup Parsley Leaves
– 1 Tbsp. Wine Vinegar
– 1 Tsp. Salt
– ½ Tsp. Pepper

Preparation:
1.  Do not wash the cilantro or the parsley at first.  Take the leaves and measure out first, not too tightly, and then proceed to wash them. (Note: It doesn’t matter if you use curly parsley or regular parsley)
2. Finely chop all the ingredients.

Finely Chop All Ingredients

Finely Chop All Ingredients

3. In a medium frying pan add the oil and begin to fry the onion and the sweet pepper for about 3 minutes.
4. Add the tomatoes, cilantro and parsley, and continue to fry for about 3 more minutes.  Remove from heat.

Fry All Ingredients

Fry All Ingredients

5. Add the wine vinegar, the salt and the pepper.  Try the mixture and add more salt to taste if necessary.

Mojo de Cilantro y Perejil | Venezuelan Cilantro & Parsley Mojo Sauce

Mojo de Cilantro y Perejil | Venezuelan Cilantro & Parsley Mojo Sauce

6.  Serve as a topping of your favorite recipes, such as fish, potatoes, meats, arepas, boiled yuca or hallaquitas.

Mojo de Cilantro y Perejil | Venezuelan Cilantro & Parsley Mojo Sauce

Mojo de Cilantro y Perejil | Venezuelan Cilantro & Parsley Mojo Sauce

¡Buen Provecho!

Recipe: Mojo Isleño Venezolano | Venezuelan Mojo Sauce

5 Jun Venezuelan Mojo Isleño

When I lived in Venezuela, going out to have lunch or dinner at a restaurant wasn’t an everyday thing.  It was more of a luxury.  Middle class families, such as mine, did not eat at a restaurant very often.  But one thing I remember about the few times we ate out is the mojo, or what people think its called Venezuelan Green Sauce.  Mojos are a type of sauce that most restaurants have at the table like they have salt and pepper.  It’s a must.  They are on the table for you to use as you wish.  You can use it as a spread on your bread or hallaquitas, as a sauce for your meat, as a dressing for your potatoes or yuca, even for your soup.  You name it.  Most mojos are prepared with a mixture of herbs, vegetables, oil and vinegar.  Every restaurant has their own recipe and ingredients and some serve both a regular version, and a spicier version.  Personally I like to use mojos as a topping for tostones, hallaquitas, yuca sancochada, yuca frita, parrilla, and empanadas.

Venezuelan Mojo Isleño Ingredients

Venezuelan Mojo Isleño Ingredients

What you need:

– 1 ½ Medium Onions
– 8 Garlic Cloves
– 1 ½ Cups Cilantro Leaves (no stems)
– ½ Cup Parsley Leaves (no stems)
– 1 or 2 Ajíes Picantes (Chili Peppers or Red Chilies)
– 1/8 Cup Bread Crumbs
– ½ Cup Beef Stock
– ¼ Cup Vegetable Oil
– ¼ Cup Vinegar
– ¼ Teaspoon Black Pepper
– 1 Teaspoon Salt
– ½ Tablespoon Paprika

Preparation:
1.  Do not wash the parsley and cilantro at first.  Take the leaves and measure out first, not too tightly, and then proceed to wash them.

Venezuelan Mojo Isleño Ingredients

Venezuelan Mojo Isleño Ingredients

2.  Using a food processor, blend the onions, garlic (I suggest you mince it first), parsley, cilantro, chili peppers (without the veins or seeds).

Blend Ingredients

Blend Ingredients

Green Paste

Green Paste

3.  After you have blended all the ingredients very well and obtained sort of a green paste, mix in the breadcrumbs with a spoon.

Breadcrumbs

Breadcrumbs

4.  Place the mixture in a pot and add the beef stock, vegetable oil, vinegar, salt, pepper, and paprika.
5.  Cook to a boil, and then continue cooking in high heat for about 12 minutes until it turns into a yellow-greenish color and a thick consistency.

Boil

Boil

6.  Serve as a topping for your favorite recipes, such as fish, potatoes, meats, arepas, boiled yuca or hallaquitas.

Venezuelan Mojo Isleño

Venezuelan Mojo Isleño

Venezuelan Mojo Isleño

Venezuelan Mojo Isleño

*Note:  My mojo looks very green, because I was unable to find the red chili peppers, so I used a green jalapeño instead.

¡Buen Provecho!

Recipe: Chicha Venezolana | Venezuelan Chicha (Rice Drink)

1 Apr Chicha Venezolana | Venezuelan Chicha (Rice Drink)

Growing up in Venezuela is one of those things I would never wish to change about my life.  All the experiences, good and bad, are what make me who I am today.  Although there were some tough times, there were also plenty of great times that fill the good memories I have of Venezuela nowadays.

I was fortunate to have a loving family who valued education above all things.  I was fortunate to have parents and grandparents who made sure I could attend the best schools, private bilingual schools.  Attending a bilingual private school had advantages and disadvantages.  Of course, they were all advantages, but when you are 12 years old, you probably don’t think that having to take 16 subjects all year long (8 in English and 8 in Spanish) is an advantage at all.  Now I that I live in the US, and people can’t tell that I am from a different country, because I don’t have an accent, make me realize all the advantages.

One other advantage I remember fondly from being in a private school is definitely the food.  The school had what we call a “cantina escolar”, the school’s cafeteria.  And no, the ‘cantina’ did not serve any alcohol!  They sold anything and everything from arepas to empanadas, pabellón criollo, breakfast, tequeños, tequeñón, and anything else you might think of.

One year, my school hired a ‘carrito de chicha’, a little cart much like a hot dog cart that would sell chicha.  This tiny cart would be downstairs and my friends and I would run down during recess to get some chicha.  What is chicha? you ask?  Only the most refreshing drink you’ve ever had.  There is just something about the cold, creamy, sweet chicha that gave you enough energy to run all over during recess and still be awake for the next 4 class periods.

Venezuelan Chicha is a refreshing drink made with rice.  Back in the day, people used to soak the rice overnight, and then let it dry and grind it, then blend it and add sugar and sell it on the street as refreshment.  Nowadays, we even have commercialized chicha brands that you can buy at the store just like a carton of milk.

So now you can make your own chicha at home, and it’s very easy.  The best part is that you don’t have to wait a day while you soak the rice, or use a grinder.  Because let’s face it, who even owns a grinder?

Ingredients for Venezuelan Chicha

Ingredients for Venezuelan Chicha

What you need:

– 1 Cup White Rice
– 10 Cups Water
– ½ Teaspoon Salt
– ¾ Cup Sugar
– 1 Cup Powdered Milk
– 1 Tablespoon Vanilla Extract
– Condensed Milk (optional)
– Ground Cinnamon
– Cinnamon Sticks
– Ice

Preparation:

1. In a large enough pot, bring the 10 cups of water to a boil.
2. Once the water is boiling, add the rice, the salt, and one cinnamon stick and continue to boil for about 30 minutes, or until the rice is quite mushy.

Boil the Rice

Boil the Rice

3. Remove the pot from the heat and set aside to cool.  At this point, also remove the cinnamon stick.
4. While the rice is still a bit warm, add the sugar and vanilla extract and stir by hand.
5. Add the powdered milk little by little so it doesn’t clump up, and stir by hand.
6. Let the mixture cool down a bit longer.
7. Using a blender, liquefy the mixture.  You will probably need to do this about 2 cups at a time, because the entire batch will not fit in an average size blender.

Blend

Blend

8. Put the mixture in a pitcher and in the fridge to cool down completely.
9. Once cool, you can serve it in many different ways.  You can serve it with crushed ice, like a smoothie.  Or you can serve it with ice cubes.  But it’s always served with ice.  You can sprinkle some ground cinnamon on top, and you can also add some condensed milk.

Venezuelan Chicha with Cinnamon

Venezuelan Chicha with Cinnamon

Venezuelan Chicha with Cinnamon and Condensed Milk

Venezuelan Chicha with Cinnamon and Condensed Milk

Chicha Venezolana | Venezuelan Chicha (Rice Drink)

Chicha Venezolana | Venezuelan Chicha (Rice Drink)

¡Buen Provecho!

Recipe: Ensalada de Remolacha | Venezuelan Beet Salad

25 Mar Ensalada de Remolacha | Venezuelan Beet Salad

I wasn’t sure how to call this recipe, and I don’t know where it came from or how it came to be. All I know is that I have always called this salad the “Ensalada Rusa”, which means Russian Salad. I just didn’t want to call this recipe the ‘Venezuelan Russian Salad’, because that doesn’t make sense. However, I am pretty sure that is not the name for this salad, because when I Google it I get the recipes for a different salad, a salad similar to chicken salad or Olivier Salad.
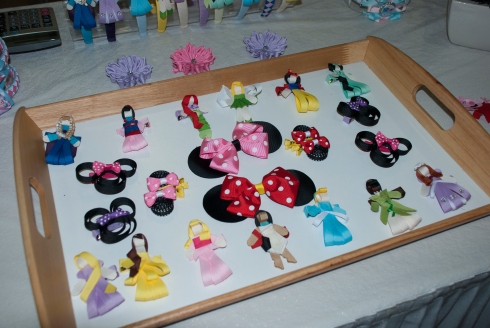
When I was a kid I was not a fan of the word salad or “ensalada”. When I would ask “What’s for lunch?”, I didnt want to hear that salad was on the menu. However, my mom used to make this beet salad all the time, because she knew it was the one salad I would eat, and even ask for seconds. My grandma also used to make the same beet salad, but she included lettuce in it, and I wasn’t a fan of the lettuce addition. I would still eat it, but I probably wouldn’t ask for seconds. This salad is delicious, mainly because it’s not really a salad. I consider it more of a side dish, a carb-loaded side dish. And who doesn’t love carbs?

These past holidays my sister came to visit us from Venezuela and I asked her to help me cook some of my favorite dishes so I could blog about them and post the recipes. As soon as she told me she always makes this salad back home, I knew I had to go buy the ingredients and have her show me how to make it. I had never found a good recipe online, and I wanted to know how my mom used to make it. So we bought all the ingredients and she made it for me. It was just like my mom used to make it, and it was very easy, too.

One thing you must know… this salad is pink! My sister and I even thought it would be a great salad or side dish to serve at a bachelorette’s party, girl’s baby shower or party… or any pink themed party!

Ingredients Venezuelan Beet Salad

Ingredients Venezuelan Beet Salad

What you need:
– 3 Small to Medium Potatoes
– 3 Eggs
– 2 Beets
– 2 to 3 Carrot Sticks
– ¼ Chopped Onion
– ½ Cup Mayo
– 1 Teaspoon Vinegar
– 1 ½ Teaspoon Lemon Juice
– 1 Teaspoon Salt

Preparation:

1. Rinse all the vegetables. You don’t have to peel the beets, in fact, you shouldn’t. But you can peel the potatoes and carrots if you wish to save some time.
2. Boil the beets in a large pot with enough water to cover them entirely. You don’t have to boil all the vegetables separately, but it is preferred that you do. (Beets usually take around 45 minutes)
3. On a separate pot boil the potatoes and carrots. (About 15-20 minutes)
4. On a separate pot, boil the eggs. (About 7 minutes – and peel once done)
5. Once all your vegetables are ready, you can put them in a bowl with cold water and ice so they are easier to handle.
6. Cut all the ingredients in small cubes and put them in a large bowl. Don’t forget the onion.

Venezuelan Beet Salad

Cut into small pieces

Venezuelan Beet Salad

Add vegetables and eggs in a large bowl

7. Add the mayo, vinegar and lemon juice and mix well, but delicately so you don’t smash any ingredients and it turns into puree.

Venezuelan Beet Salad

Add the mayo and mix delicately

8. Add salt to taste and you can add white pepper if you wish.
9. Serve cold.

Ensalada de Remolacha | Venezuelan Beet Salad

Ensalada de Remolacha | Venezuelan Beet Salad

Ensalada de Remolacha | Venezuelan Beet Salad

Ensalada de Remolacha | Venezuelan Beet Salad

¡Buen Provecho!

*Optional: Some people (like my grandma) like to add finely chopped lettuce to this salad. My mom also adds a bit of mustard sometimes. Other people add a bit of extra virgin olive oil and even a touch of soy sauce.

Recipe: Pollo A La Ana | Venezuelan Creamy Chicken

18 Mar Pollo A La Ana / Venezuelan Creamy Chicken

This recipe is one of my favorites. Not only because it is delicious, but because it was one of the very first recipes I learned how to prepare by heart. The name is in honor of my grandmother Ana Cecilia Sandoval de Ojeda. Even though she claims that we have all taken the recipe and changed it and improved up on it in our own way, she is still the main inspirational source for the original recipe, and many other recipes featured in my blog. This isn’t really a traditional Venezuelan recipe that everyone knows about, but it is definitely a big part of my life and memories of my childhood in Venezuela.
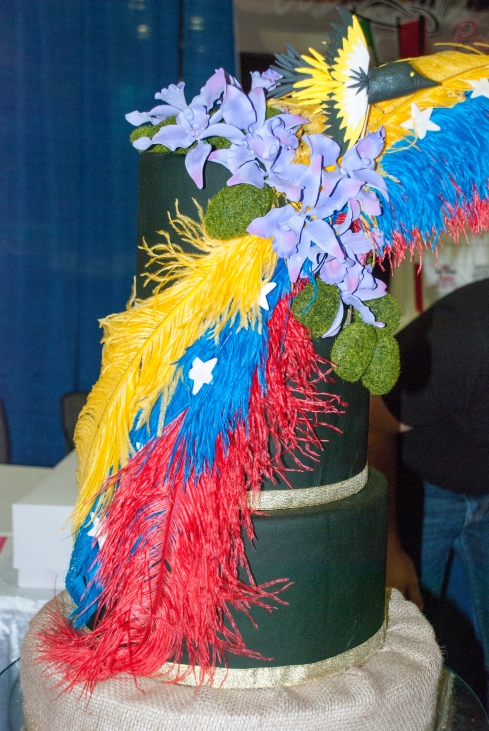
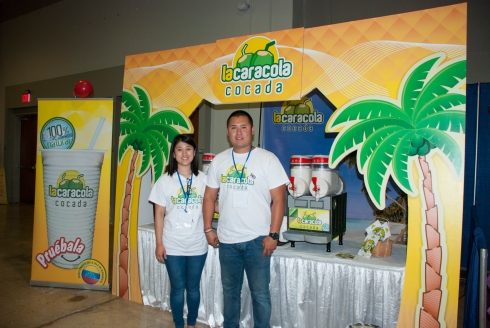
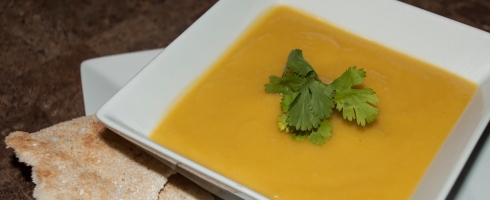
I first tried this delicious creamy chicken recipe when I was a kid and I used to visit my grandparents’ home almost every weekend. Sometimes I was dropped off at their house after school, too. And when I was lucky, I would eat my grandma’s creamy chicken for lunch. She would usually serve it with rice, some vegetables and baked plantains on the side. But the plate wasn’t ready until she poured some of the creamy sauce on top of my rice.
When I moved from Venezuela to the US, I sure missed my family and all the Venezuelan food I was so used to eating. I moved in with my aunt and my cousin. Life in the US was very different and we were always in a hurry, working and going to school at the same time. No one really had time to cook. However, we decided we needed to start cooking and eating home-cooked meals. My cousin and I, college students and part time employees, didn’t really know our way around the kitchen. We could make arepas, sandwiches, salads, eggs, and… that was pretty much it. One day we decided we needed to learn how to cook more complicated dishes and we both remembered our favorite creamy chicken, and we decided to give it a shot. We called grandma and our aunt for their recipes, but they gave us the basic steps and no measurements to go by, assuming these grown women should already know their way around the kitchen. After a couple of attempts and tweaks, and even after one time Whooper (my cousin’s dog) stole one of our chicken breasts, we finally nailed and perfected our own version of the creamy chicken. We served it with rice, plantains, and my now famous (don’t really know why) broccoli and cauliflower au-gratin. After a couple of times, our dish became popular in the family and we would be requested to prepare it at least once a month. We also prepared it when we had our boyfriends (at the time) come over for dinner, bragging about our cooking skills, as if we knew how to prepare any other complicated dishes. We even prepared it once for my (now) husband, and he loved it, even though he doesn’t care for chicken and he doesn’t like mushrooms.

Last time my grandmother came to the US, I invited her over to our place for a day of cooking. That day she taught me how to prepare the best tequeños ever, and I also asked her to show me how SHE makes the original version of this creamy chicken. She made it and showed me, but she wanted to include the changes and additions all of us in the family had made to the recipe, and it came out to be the best version of the creamy chicken I have ever had.

A couple of weeks ago, she was in a rush, and she didn’t have time to go through all her recipes, so she decided to just call me and ask me for the recipe. This particular moment in time, when my grandmother, my inspiration in the kitchen, my mentor, had called ME for a recipe, was the moment I felt like a real woman.

Therefore, I dedicate this one to my grandmother, Ana Cecilia Sandoval de Ojeda, with all my love.

What you need:

– 4 Chicken Breasts
– 1 Tablespoon Olive Oil (Extra Virgin if preferred)
– 1 Tablespoon Worcestershire Sauce
– ½ Teaspoon Soy Sauce
– 1 Teaspoon Adobo Seasoning (without Pepper)
– ¼ Onion (chopped in small pieces)
– 1 or 2 Garlic Cloves
– ½ Cup Sliced Mushrooms
– ½ to 1 Cup White Wine
– 1 Cup Heavy Whipping Cream
– 3 to 4 Shallots (optional)*
– 2 Tablespoons Chopped Cilantro (optional)*
– 1 Teaspoon Ground Nutmeg (optional)*
– ¼ Cup Sliced Almonds (optional)*

Preparation:

1. First wash the chicken breasts and dry them thoroughly. You can filet them in half (my grandma prefers it this way), you can cook them whole, or you can make your life easier and buy the thin ones instead (just buy double the amount – so 8 thin ones instead of 4 whole ones).

Filete Breasts

Filete Breasts

2. Season the chicken breasts with the olive oil, Worcestershire, soy sauce and adobo. Make sure to get it on both sides. It’s easier if you use a bowl for this step.
3. Leave the chicken breast to soak in all those flavors, and in the meantime cut the shallots and the onions, and begin to sauté them along with the minced garlic on a pan.

Chop Onions and Shallots

Chop Onions and Shallots

4. Add the chicken to the pan and begin to sauté them as well, because they will take a bit to cook thoroughly.
5. After the chicken is partially cooked, add the mushrooms and cilantro, and continue to cook for about 5 more minutes.

Slice Mushrooms

Slice Mushrooms

6. Add the wine to the pan and let it cook at medium heat.
7. When the chicken breasts and the mushrooms start to brown and there is little wine left, you can add the heavy whipping cream and let it cook for a while to mix all the flavors together. NOTE: Don’t let it cook for too long, or the sauce will start to become too thick.

Cook At Medium Heat

Cook At Medium Heat

8. At this point, you can add salt and pepper to taste (if needed), along with the ground nutmeg and almonds.
9. Serve hot with rice, vegetables and plantains.

Pollo A La Ana / Venezuelan Creamy Chicken

Pollo A La Ana / Venezuelan Creamy Chicken

*All the optional ingredients are the result of all of us changing and trying to make the recipe our own.  No matter which one you decide to include or leave out, this creamy chicken will surely be a favorite in your home.

¡Buen Provecho!

Recipe: Venezuelan Tequeños | Venezuelan Cheese Wrapped in Dough (Appetizers)

15 Sep Recipe: Venezuelan Tequeños | Venezuelan Cheese Wrapped in Dough (Appetizers)

There are a lot of great memories I have from my childhood in Venezuela.  Most of those come from the various family celebrations held at my grandparent’s house.  Birthday parties, graduation parties, mother’s day parties, anniversary parties, farewell parties, welcome parties, wedding parties and just-because parties.  Back then most of my family still lived in Venezuela, and those get-togethers could become quite packed.  First cousins, second cousins, third cousins, aunts, uncles, grandparents, great-grandparents, parents, godparents, friends, friends-of-friends, family dentist, even our piano teacher was invited.  Back when things didn’t cost so much, too.  My grandparents went all out to celebrate each and every one of these special occasions.  I remember they even used to hire waiters, tables, tents, caterers, cooks, and even a band sometimes.  Back then, most parties were like that, even if it was just a birthday party, it could look like what now is only done for weddings.  And just like in all well organized and catered parties, they always served hors d’oeuvres, or as we call them in Venezuela; “pasapalos”.  This word is actually quite funny, at least to me.  It is actually two words in one, “pasa” and “palos”.  The literal translations are “pasa” = pass, and “palos” = sticks.  What they mean in Venezuelan slang is “pasa” = to pass, and “palos” = drinks (the alcoholic kind).  Therefore pasapalos is something to pass drinks, in this case, an appetizer or small hors d’oeuvre.

One thing is certain though; a true Venezuelan party is not complete without the star “pasapalo”.  And that, of course, is the Tequeño. (Pronounced te-ke-nyos)

According to an article printed in a Venezuelan newspaper (sorry, the clipping I received didn’t have the paper’s name on it), the creation of Tequeños is attributed to Josefina Báez.  Josefina was a young entrepreneurial Venezuelan woman who, at the age of 15, created the now famous Tequeños.  Josefina owned a catering business of sorts, where she would make and sell other delicious Venezuelan pastries to local ‘bodegas’ (small grocery stores).  Josefina would also prepare pastries to entertain guests, such as her older sisters’ boyfriends.  Josefina one day decided to use some leftover dough from her pastry-making of the day and rolled up some cheese inside of it, and then she fried it and served it to their guest as simple “cheese wraps”.  Sooner than later, her cheese wraps became famous around the small city where she lived.  The city’s name is “Los Teques”, which doesn’t have any real translation, since it is a proper noun.  Usually people native from Los Teques are called “Tequeños”.  Therefore, once the cheese wraps were famous in this small city, another pastry maker from Los Teques, Luisa Casado, decided to sell Josefina’s cheese wraps to clients in other cities, eventually making it to Caracas, the capital city.  Once the cheese wraps were known in Caracas, they became even more popular.  They started ordering them and serving them as hors d’oeuvres in all kinds events such as baptisms and weddings, and people would begin to call these cheese wraps by the name of the people who would bring them to the city; the “Tequeños”.

You may notice that I did not call this post “cheese sticks”, because these are NOT your regular cheese sticks, they are way better.  However, the key to making real Venezuelan Tequeños, and not some other plain boring “cheese stick”, is the cheese.  You must have authentic Venezuelan Queso Blanco.  And trust me, if you do not live near an authentic Venezuelan market, you may not find the right cheese, but you could try to sample different cheeses at a Latin market near you and try to find a similar cheese.  Basically, the cheese has to be white, not too salty, and it has to melt easily, but does not become completely liquified, and it is also not watery inside its package.  Whatever you do, do not make Tequeños with Mozzarella.  You will have a very bland and boring ‘cheese stick’.

Ingredients for Venezuelan Tequeños

Ingredients for Venezuelan Tequeños

What you need:
– 2 Cups All Purpose Flour
– 1 Egg
– 4-5 Tablespoons Cold Water
– 2 Teaspoons Salt
– 5 Tablespoons Butter
(Cold, Straight From The Fridge)
– 2 Tablespoons Sugar
(or more if you like the dough to be sweeter)
– 500 Grams of Queso Blanco Venezolano (There is a round Mexican one called Gallo Blanco that could work, and I found one called El Latino that was very good)
– Vegetable Oil (for frying)
– Paper Towels

Preparation:
1.  Cut the cheese in strips of about 2-3″ long and ½” thick. Save inside Tupperware in fridge for later.

Cut the cheese in strips

Cut the cheese in strips

Queso Blanco El Latino

Queso Blanco El Latino

2. In a big mixing bowl, add the flour, the sugar, and the salt.  Mix well.
3. Take the butter out of the fridge and cut in little pieces.  Then add the butter to the mix and begin to mix it using the tip of your fingers to mash the butter together with the rest of the ingredients.  Mix well until the mixture is as fine as possible.  It will probably feel like little grains of rice.

Cut the butter

Cut the butter

Mix the butter with the rest of the ingredients using your fingertips

Mix the butter with the rest of the ingredients using your fingertips

4.  Add the egg and begin to mix with a wooden spoon.

Add egg and mix well

Add egg and mix well

5. Add the water and continue mixing, until all ingredients are well blended together.
6.  Once you have more uniform dough, take it out of the bowl and begin to knead it over a flat surface (use flour on the surface).  Knead for at least 5 minutes, as you would bread dough.

Knead dough

Knead dough

7.  Once you have a soft and uniform dough, cover it with clear wrap paper and let it sit for about ½ and hour or more.

Let dough rest for half an hour or more

Let dough rest for half an hour or more

8.  Place some flour on a clean flat and hard surface, like your countertop or cutting board.  Spread the flour evenly over the entire working surface (so the dough won’t stick to it).
9.  Using a rolling pin, begin to flatten the dough.  It shouldn’t be too thin or too thick.  Perhaps just a bit thinner than a ¼ of an inch.

Flatten dough with rolling pin

Flatten dough with rolling pin

10. Once flattened, cut strips from the dough of about ½ an inch thick by 10 inches long.

Cut dough in strips

Cut dough in strips

11.  Roll the sticks of cheese with the strips of dough by placing one end of the cheese stick at an angle on one end of the dough, then closing the tip and rolling until the cheese is covered.  Making sure the cheese is fully covered and the ends are sealed (you can dab your finger tips in water to help you seal the dough).

Roll the cheese with the strips of dough

Roll the cheese with the strips of dough

Roll all the way to the end

Roll all the way to the end

Be careful at the end

Be careful at the end

The perfect Venezuelan Tequeño (Rolled by my Grandma, Ana)

The perfect Venezuelan Tequeño (Rolled by my Grandma, Ana)

A little tip from Grandma: Tap the tips against your working surface to flatten them and to help seal them. Cover with flour.

A little tip from Grandma: Tap the tips against your working surface to flatten them and to help seal them. Cover with flour.

12. You can place the tequeños on a baking sheet or Tupperware and also spread some dough on the bottom and top of each row of tequeños.

This recipe was supposed to yield for 50 Tequeños, but I don't know what happened to us.  Let me know if you make it, how many did you get. We got 30 Tequeños.

This recipe was supposed to yield for 50 Tequeños, but I don’t know what happened to us. Let me know if you make it, how many did you get. We got 30 Tequeños.

13. Cover them with plastic wrapping paper, or Tupperware cover and keep in the freezer until ready to fry.
14.  When ready to fry and serve your tequeños, make sure you have enough vegetable oil and that the oil is not too hot.  Then you fry them straight from the freezer and do so slowly until they are golden brown.  Don’t fry them for too long or the cheese will begin to melt its way out of the dough, and you don’t want that to happen.

Fry the Tequeños straight from the freezer.

Fry the Tequeños straight from the freezer.

15. Place the tequeños on paper towels to remove the excess oil and serve while still hot.

Recipe: Venezuelan Tequeños | Venezuelan Cheese Wrapped in Dough (Appetizers)

Recipe: Venezuelan Tequeños | Venezuelan Cheese Wrapped in Dough (Appetizers)

Recipe: Venezuelan Tequeños | Venezuelan Cheese Wrapped in Dough (Appetizers)

Recipe: Venezuelan Tequeños | Venezuelan Cheese Wrapped in Dough (Appetizers)

¡Gracias Tabue!
This post is very special to me, and I dedicate it to my grandmother
Ana C. Sandoval de Ojeda.
She makes THE BEST Tequeños EVER, and I thank her for coming to my house, and teaching me how to make them.  I owe this blog a photo of the both of us in my kitchen. Love you!

¡Buen Provecho!

Recipe: Yuca Sancochada o Frita | Venezuelan Boiled or Fried Cassava

4 Apr

First and foremost, DO NOT EAT RAW YUCA!  Raw yuca contains two cyanogenic glucosides called linamarin and lotaustralin, which are decomposed by linamarase, thus liberating hydrogen cyanide.  I am no chemistry expert, but this stuff is highly toxic and you could become seriously ill and it could even be deadly.
So, now that I have scared you enough, lets talk about how yummy yucca is, if you dare to eat it, he he.  You have nothing to worry about, as long as you cook the yuca before you eat it.  In Venezuela we eat it all the time, and no one that I know of has ever died from eating yuca. So, seriously, don’t worry.  Just don’t eat it raw.
Yucca is a tuberous root, and in Venezuela we eat it in several different ways.  Yuca is served boiled as a side to our delicious parrillas, rotisserie chicken, or anything you can think of.  We also add it to soups.  We fry it to make delicious yuca fries.  We even prepare it differently to make casabe, a sort of yuca cracker.  So we use it much like you would a potato.  Boiled yuca is usually served hot with a little bit of butter, or a cilantro and parsley mojo, or Guasacaca (specially when eating at parrillas).  Fried yucca is usually served as a side much like French fries, with salt, but you could definitely dip it in a delicious Venezuelan Salsa Verde as well.

Cassava (yuca) roots, the Taínos' main crop

Boiled Yuca
What you need:

– 500 gr. yuca (about 1 large or 2 pieces)
– Enough water to cover the yuca
– Salt (to taste)
– Toppings (butter, cilantro and parsley mojo, guasacaca, salsa verde, etc).
Preparation:
1. Cut the tips of the yuca, then peel it and rinse it with water.

Cut, peel and rinse.

Cut, peel and rinse.

2. In a large enough pot, add the water and the yuca (make sure the water covers the yuca entirely).  Turn the stove to high heat until the water starts boiling and then continue to cook for about 30 minutes.

Boil the Yuca

Boil the Yuca

3. Add the salt and then continue to cook for about 15 to 30 more minutes or until the yuca is soft (test like a potato), or until it starts to open up.
4. Drain the yuca and serve hot.
5. You can serve it with butter, with salt, or with a cilantro and parsley mojo, salsa verde or guasacaca.

Yuca Sancochada | Boiled Yuca

Yuca Sancochada | Boiled Yuca

Fried Yuca
What you need:

– Same as above, plus oil for frying
Preparation:
1. Follow the instructions for Boiled Yuca.

Yuca Sancochada | Boiled Yuca

Yuca Sancochada | Boiled Yuca

2. Make sure you drain the yuca right away, and then let it cool completely. Or better yet, place it in your fridge for it to cool faster.
3. Cut the yuca into sticks.

Cut

Cut

4. Heat up enough frying oil and fry the yuca sticks until golden brown all over.
5. Serve hot and sprinkle with salt.
6. You can serve with a yummy dipping sauce like Venezuelan Salsa Verde or Guasacaca.

Yuca Frita | Fried Yuca

Yuca Frita | Fried Yuca

¡Buen Provecho!