“Pollito chicken, gallina hen
lápiz pencil y pluma pen”
This is a short verse of a popular Spanish children’s song that helped us learn English when we were kids. It was the first thing I thought of when researching today’s recipe and the history behind it. The literal translation for this recipe is actually hen salad, not chicken salad. The original recipe from the early 1940’s included hen, specifically. However, as time passed and availability of chicken versus hen specifically became larger and more cost effective, the chicken replaced the hen in this traditional recipe. Probably, due to hen being smaller and having less meat content and their meat also requires more time to cook thoroughly. The difference between chicken and hen, if you don’t know, is that chicken refers to both the male and female versions, while hen refers only to the female chicken. Nevertheless, the name of the recipe retained its original denomination: Ensalada de Gallina, Hen Salad.
The chicken salad is another important component in the Venezuelan Christmas Dinner Plate. However, unlike the hallacas and the pan de jamón, the chicken salad is not exclusive to Christmas. The chicken salad is prepared all year long, and it is quite versatile, taking the stage as a main dish, but also as a side, as a cracker topper or dip, and even as a filling inside arepas. The chicken salad is also very popular in any birthday party or any other celebration or family gathering in Venezuela. The best part of this recipe is that it is the easiest one to prepare out of all the Venezuelan Christmas recipes. This is probably why it is usually prepared last, even on the same day of the Christmas dinner, which we usually celebrate on Christmas Eve. It must be refrigerated, but it is best when consumed the same day or the day after, but not longer than that, since it can become bitter very quickly.
It is believed that this recipe originated in the most humble stoves in Caracas’ shacks. When the leftovers of chicken stews such as the chicken, potatoes and carrots where mixed together with mayo to create this cold salad. When the dish found its way to the wealthier parts of town, they gave it the name of Russian Salad in order for it to sound more sophisticated and fancy than hen salad. They picked the name Russian Salad, because in fact our Venezuelan Hen / Chicken salad is very similar to the Russian Salad. The Russian Salad was created around 1860 by an Italian chef in Moscow, and it originally contained deer meat. With time, the original recipe was changed, but it had already crossed over to other countries, such as Ukraine, where green peas and chicken were cheaper and thus added on to the original recipe.
Ensalada de Gallina | Venezuelan Christmas Dinner Chicken Salad
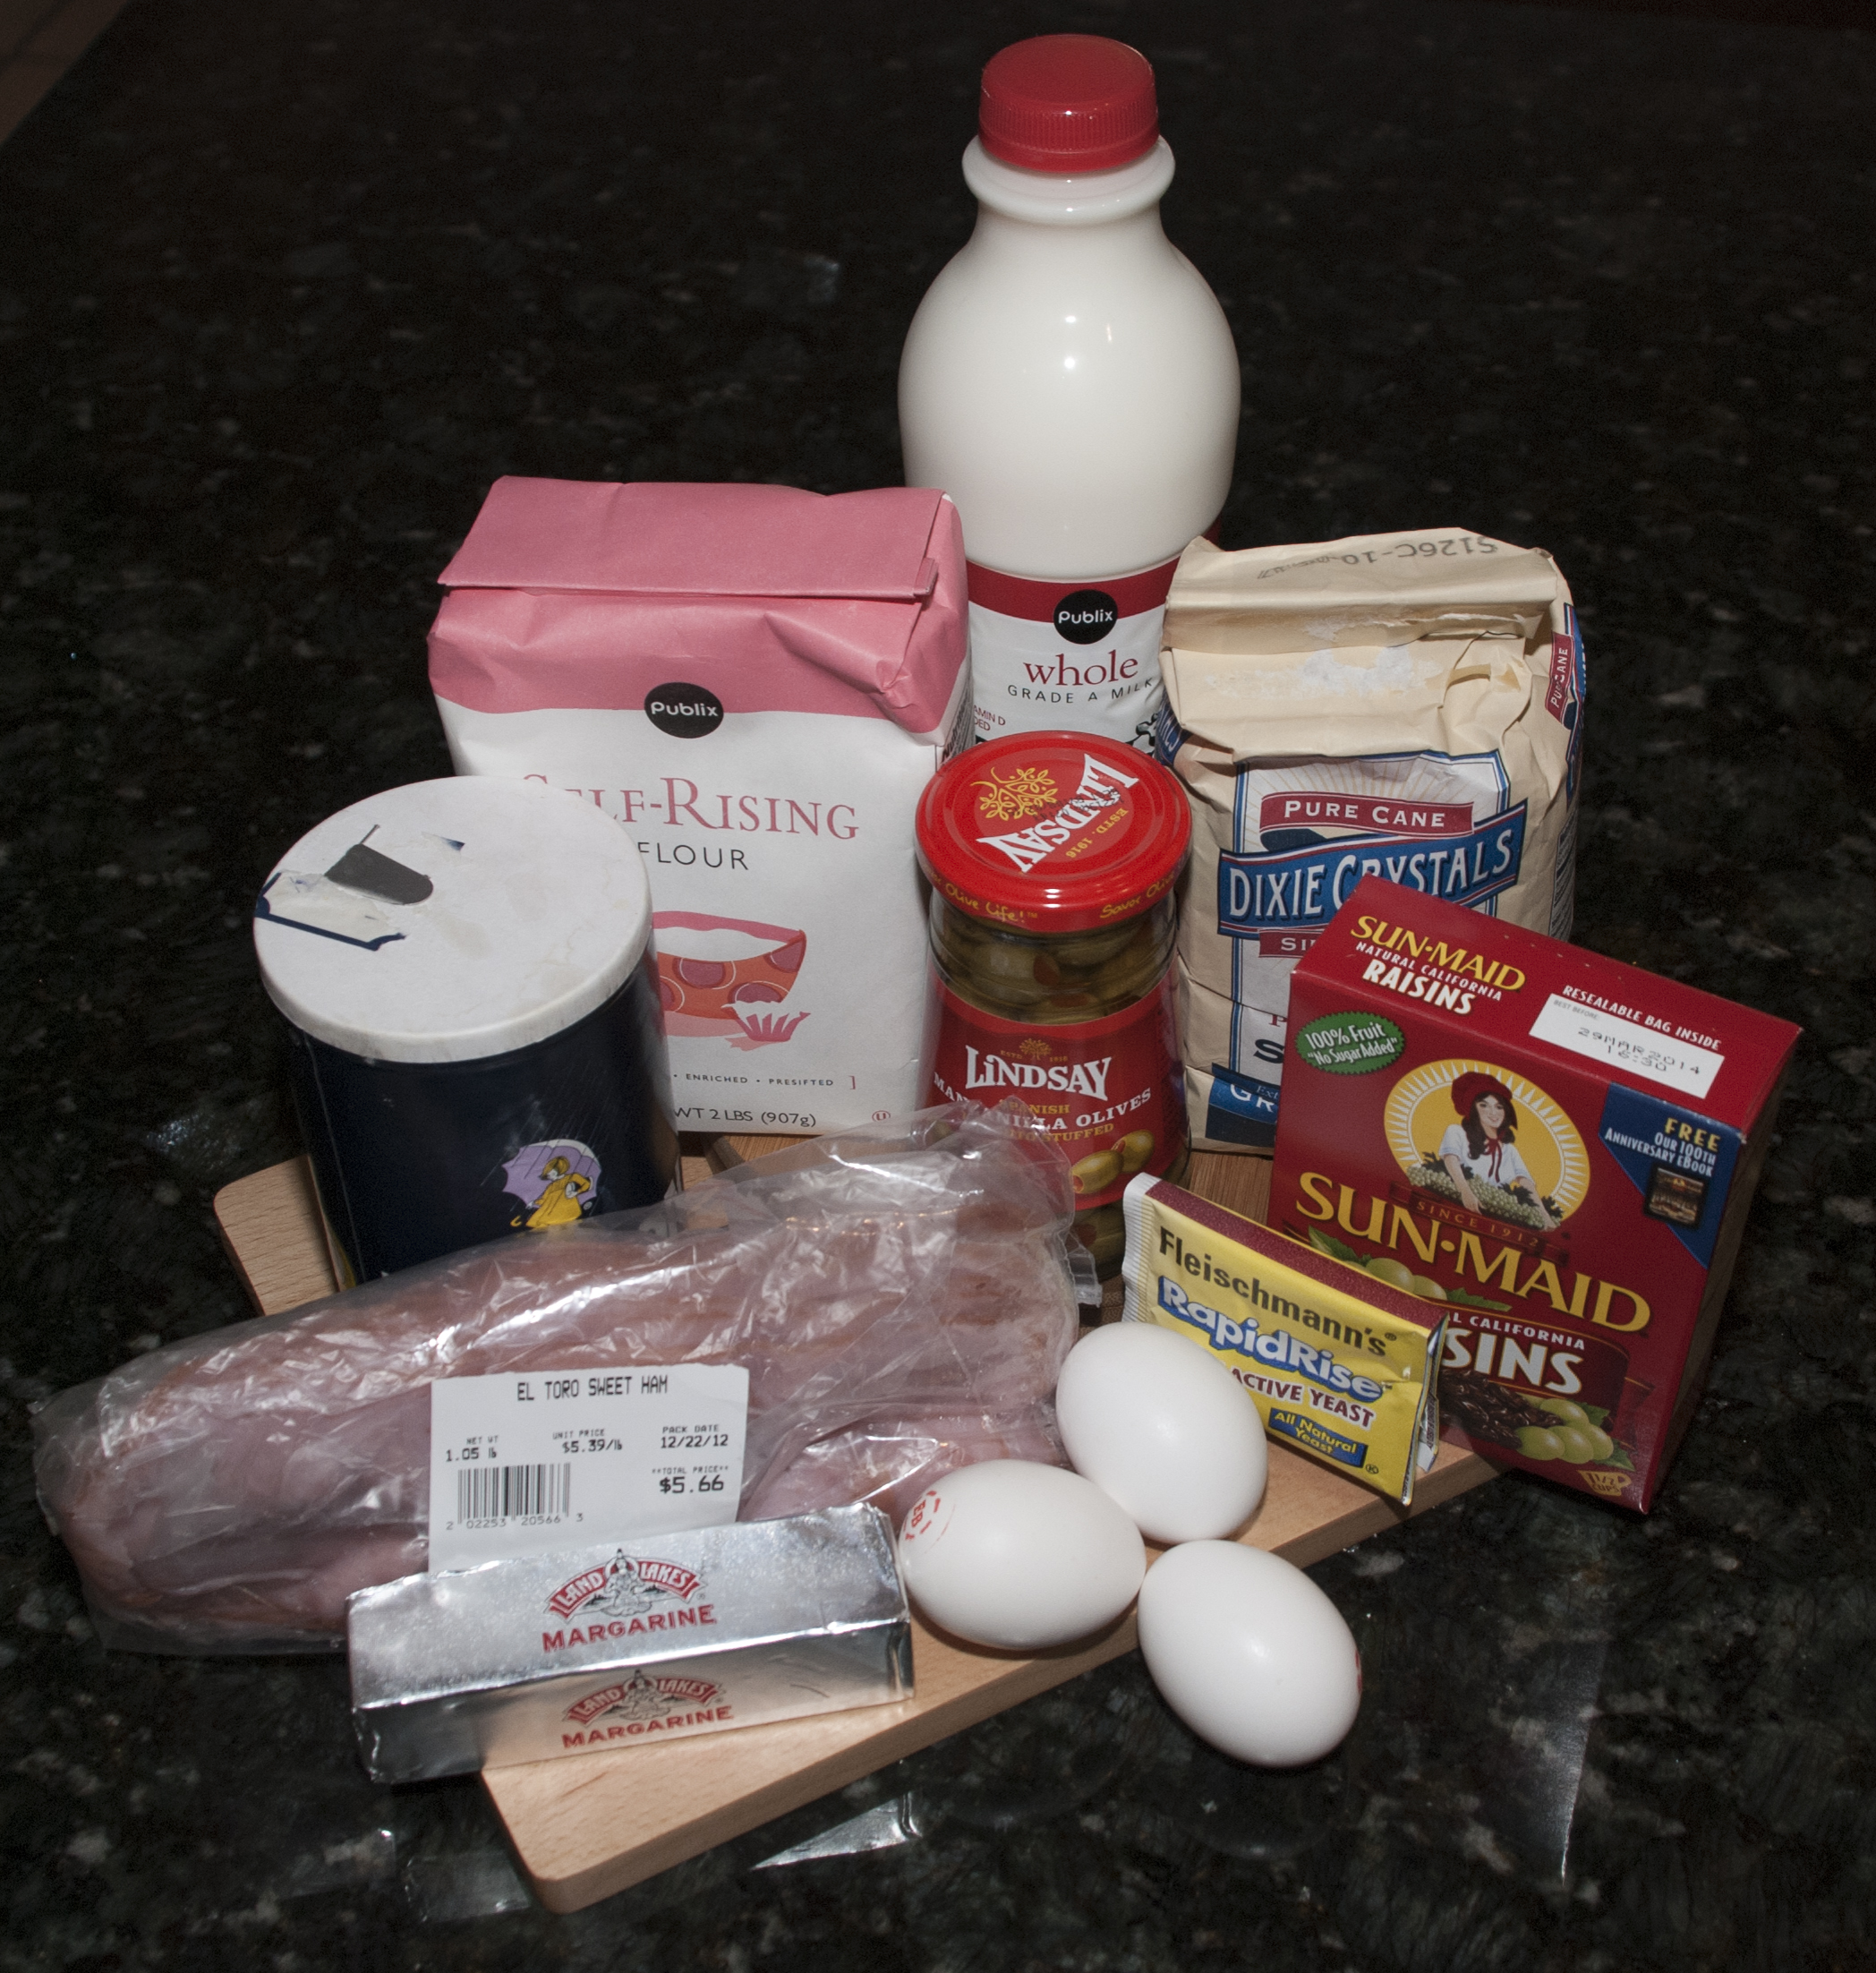
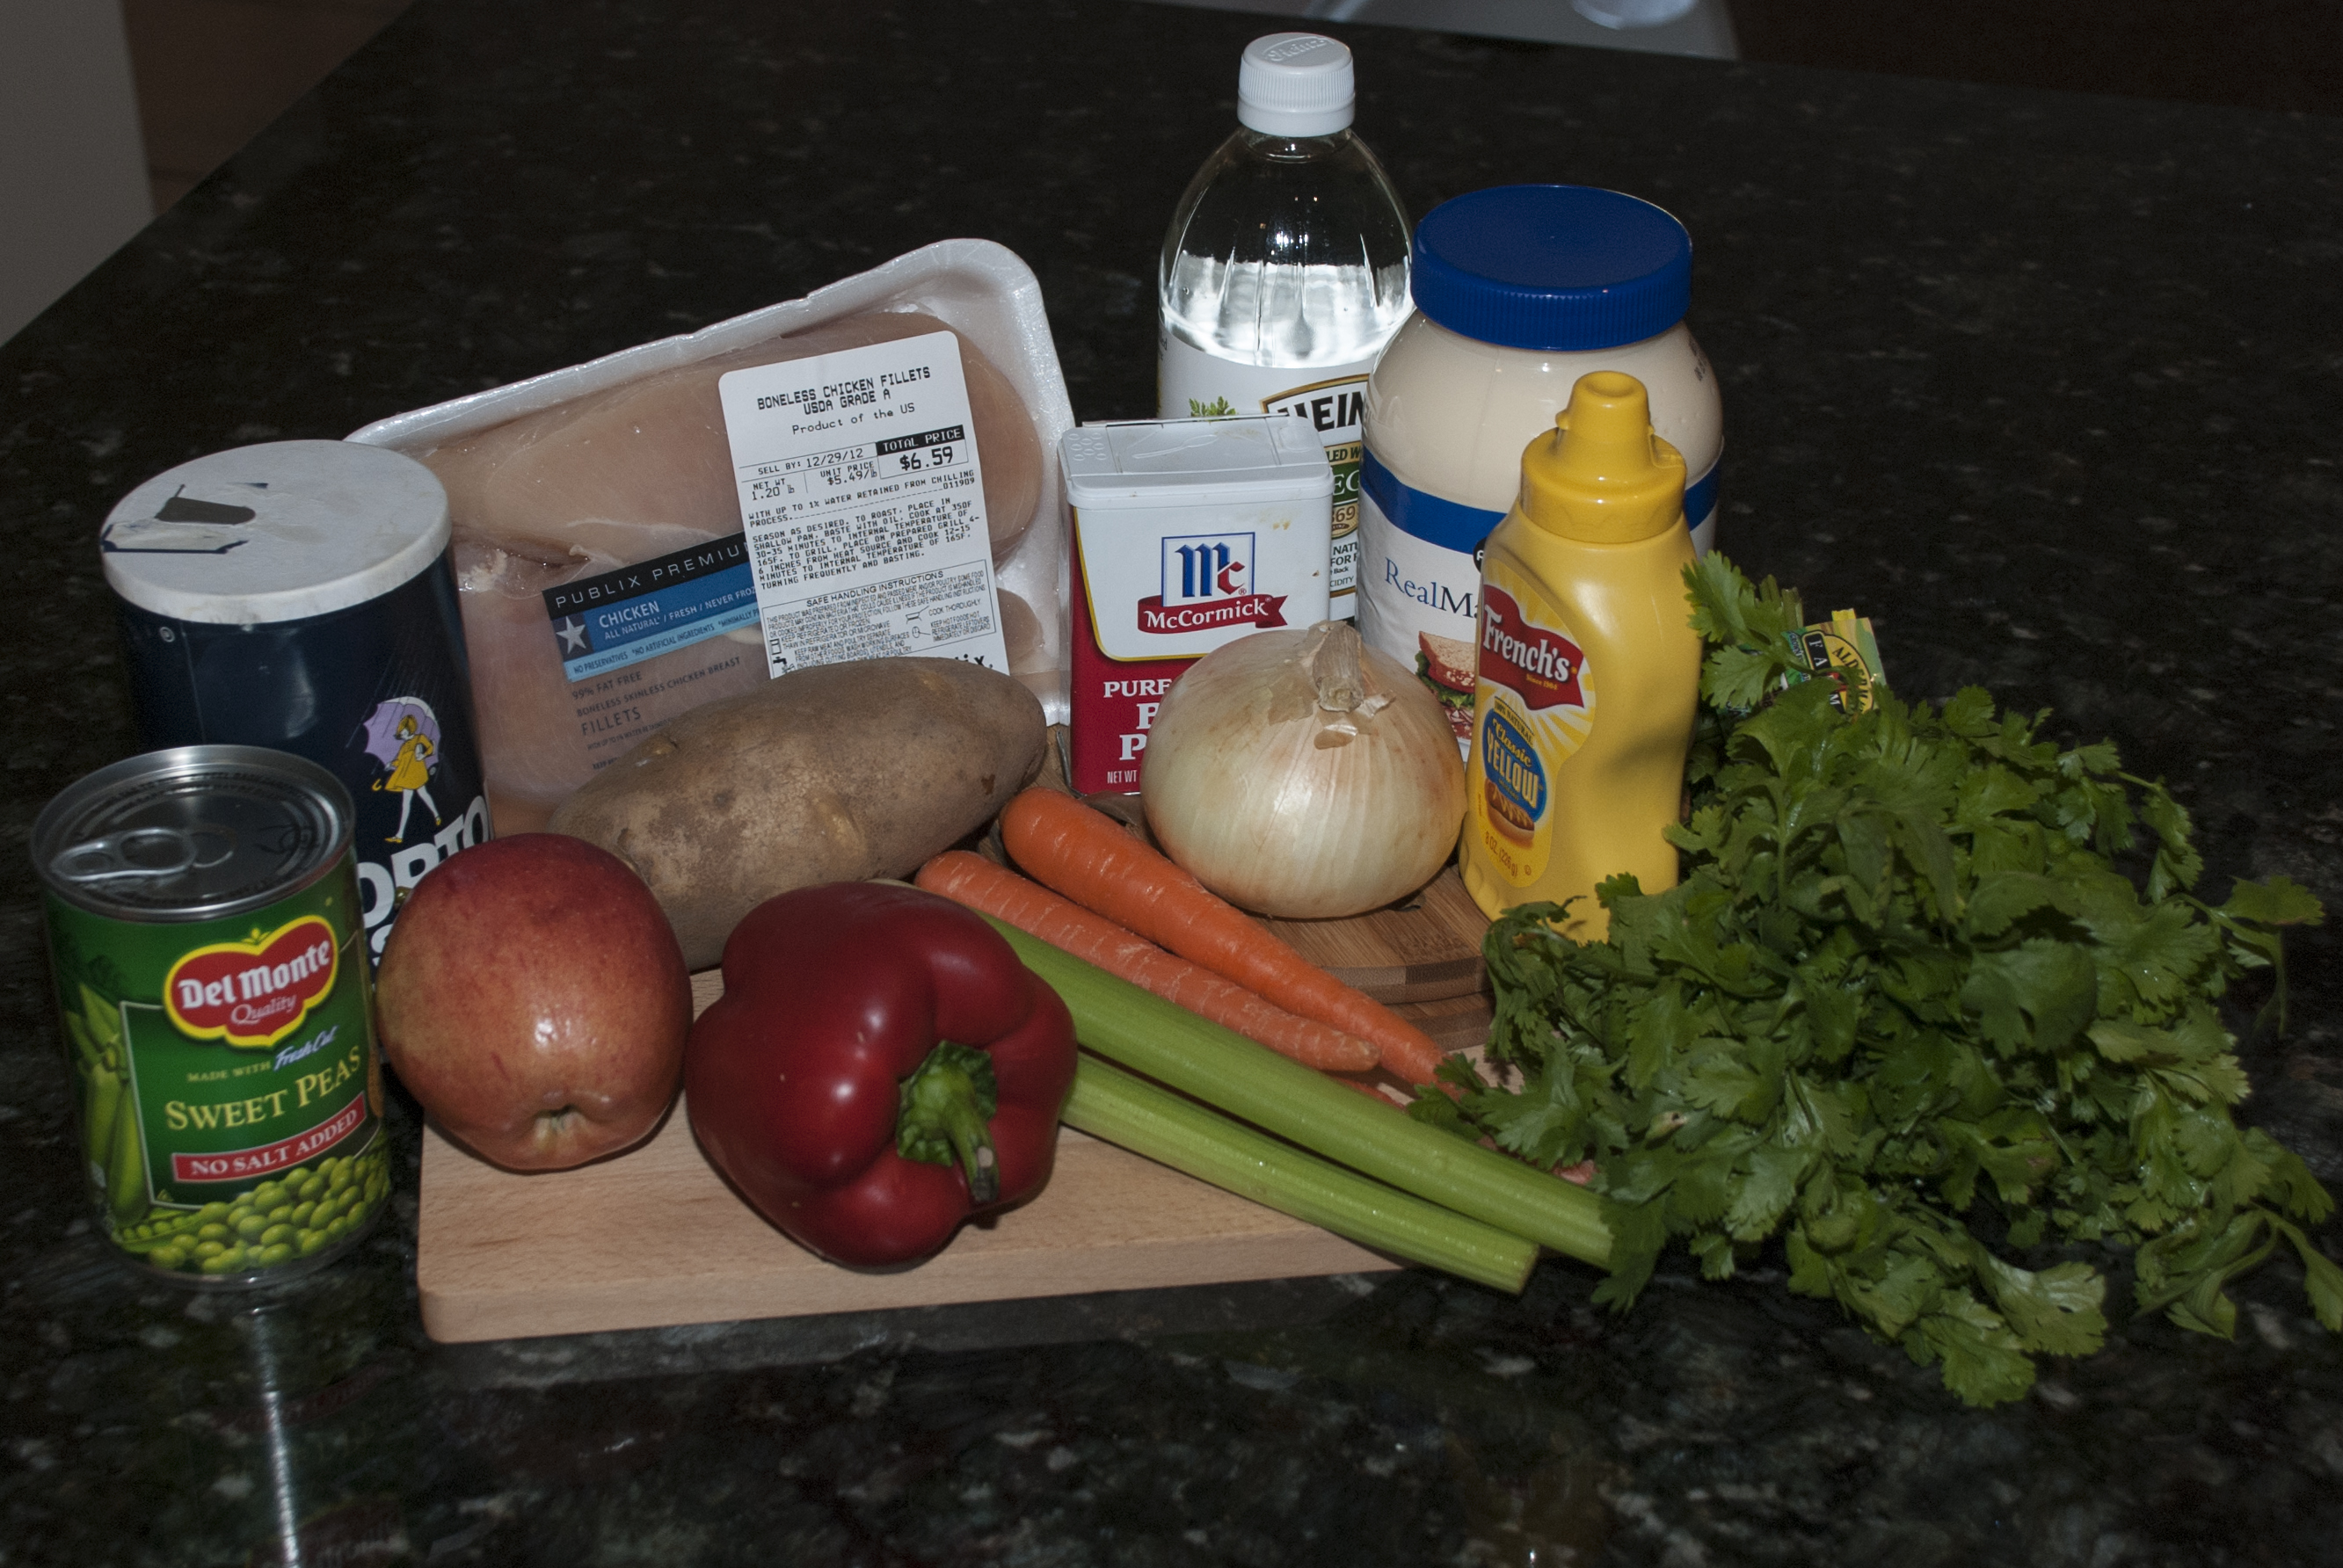
What you need:
For Cooking The Chicken
– 1½ lbs. Boneless, Skinless Chicken Breasts
– 1 Lemon (Juice)
– Enough Water to Boil Chicken Breasts
– ¼ Onion
– 1Cilantro Stems
– 1 Green Onion Stems
– 1 Celery Stick
– 1 Chopped Garlic Clove
– 1 Leek Stick
– 1 Ají Dulce Venezolano (without seeds or veins)
– 1 Tablespoon Salt
For the Salad
– 2 Small To Medium Potatoes
– 2 Medium To Large Carrot Sticks
– 1 Red, Green or Yellow Apple (Peeled)
– ¼ Cup Canned Green/Sweet Peas (No Salt Added)
– ½ Onion (Optional)
– 1 Red Bell Pepper (Optional)
– 2 Celery Sticks (Optional)
– 2 Cilantro Stems
For The Sauce
– 1 Cup Mayo
– 2 Tablespoons Mustard
– 3 Tablespoons White Vinegar
– ½ Tablespoon White Pepper
– ½ Teaspoon Salt
– ½ Teaspoon Worcestershire Sauce (Optional)
Preparation:
1. Clean the chicken breasts using the juice of one lemon and rinse thoroughly with water.
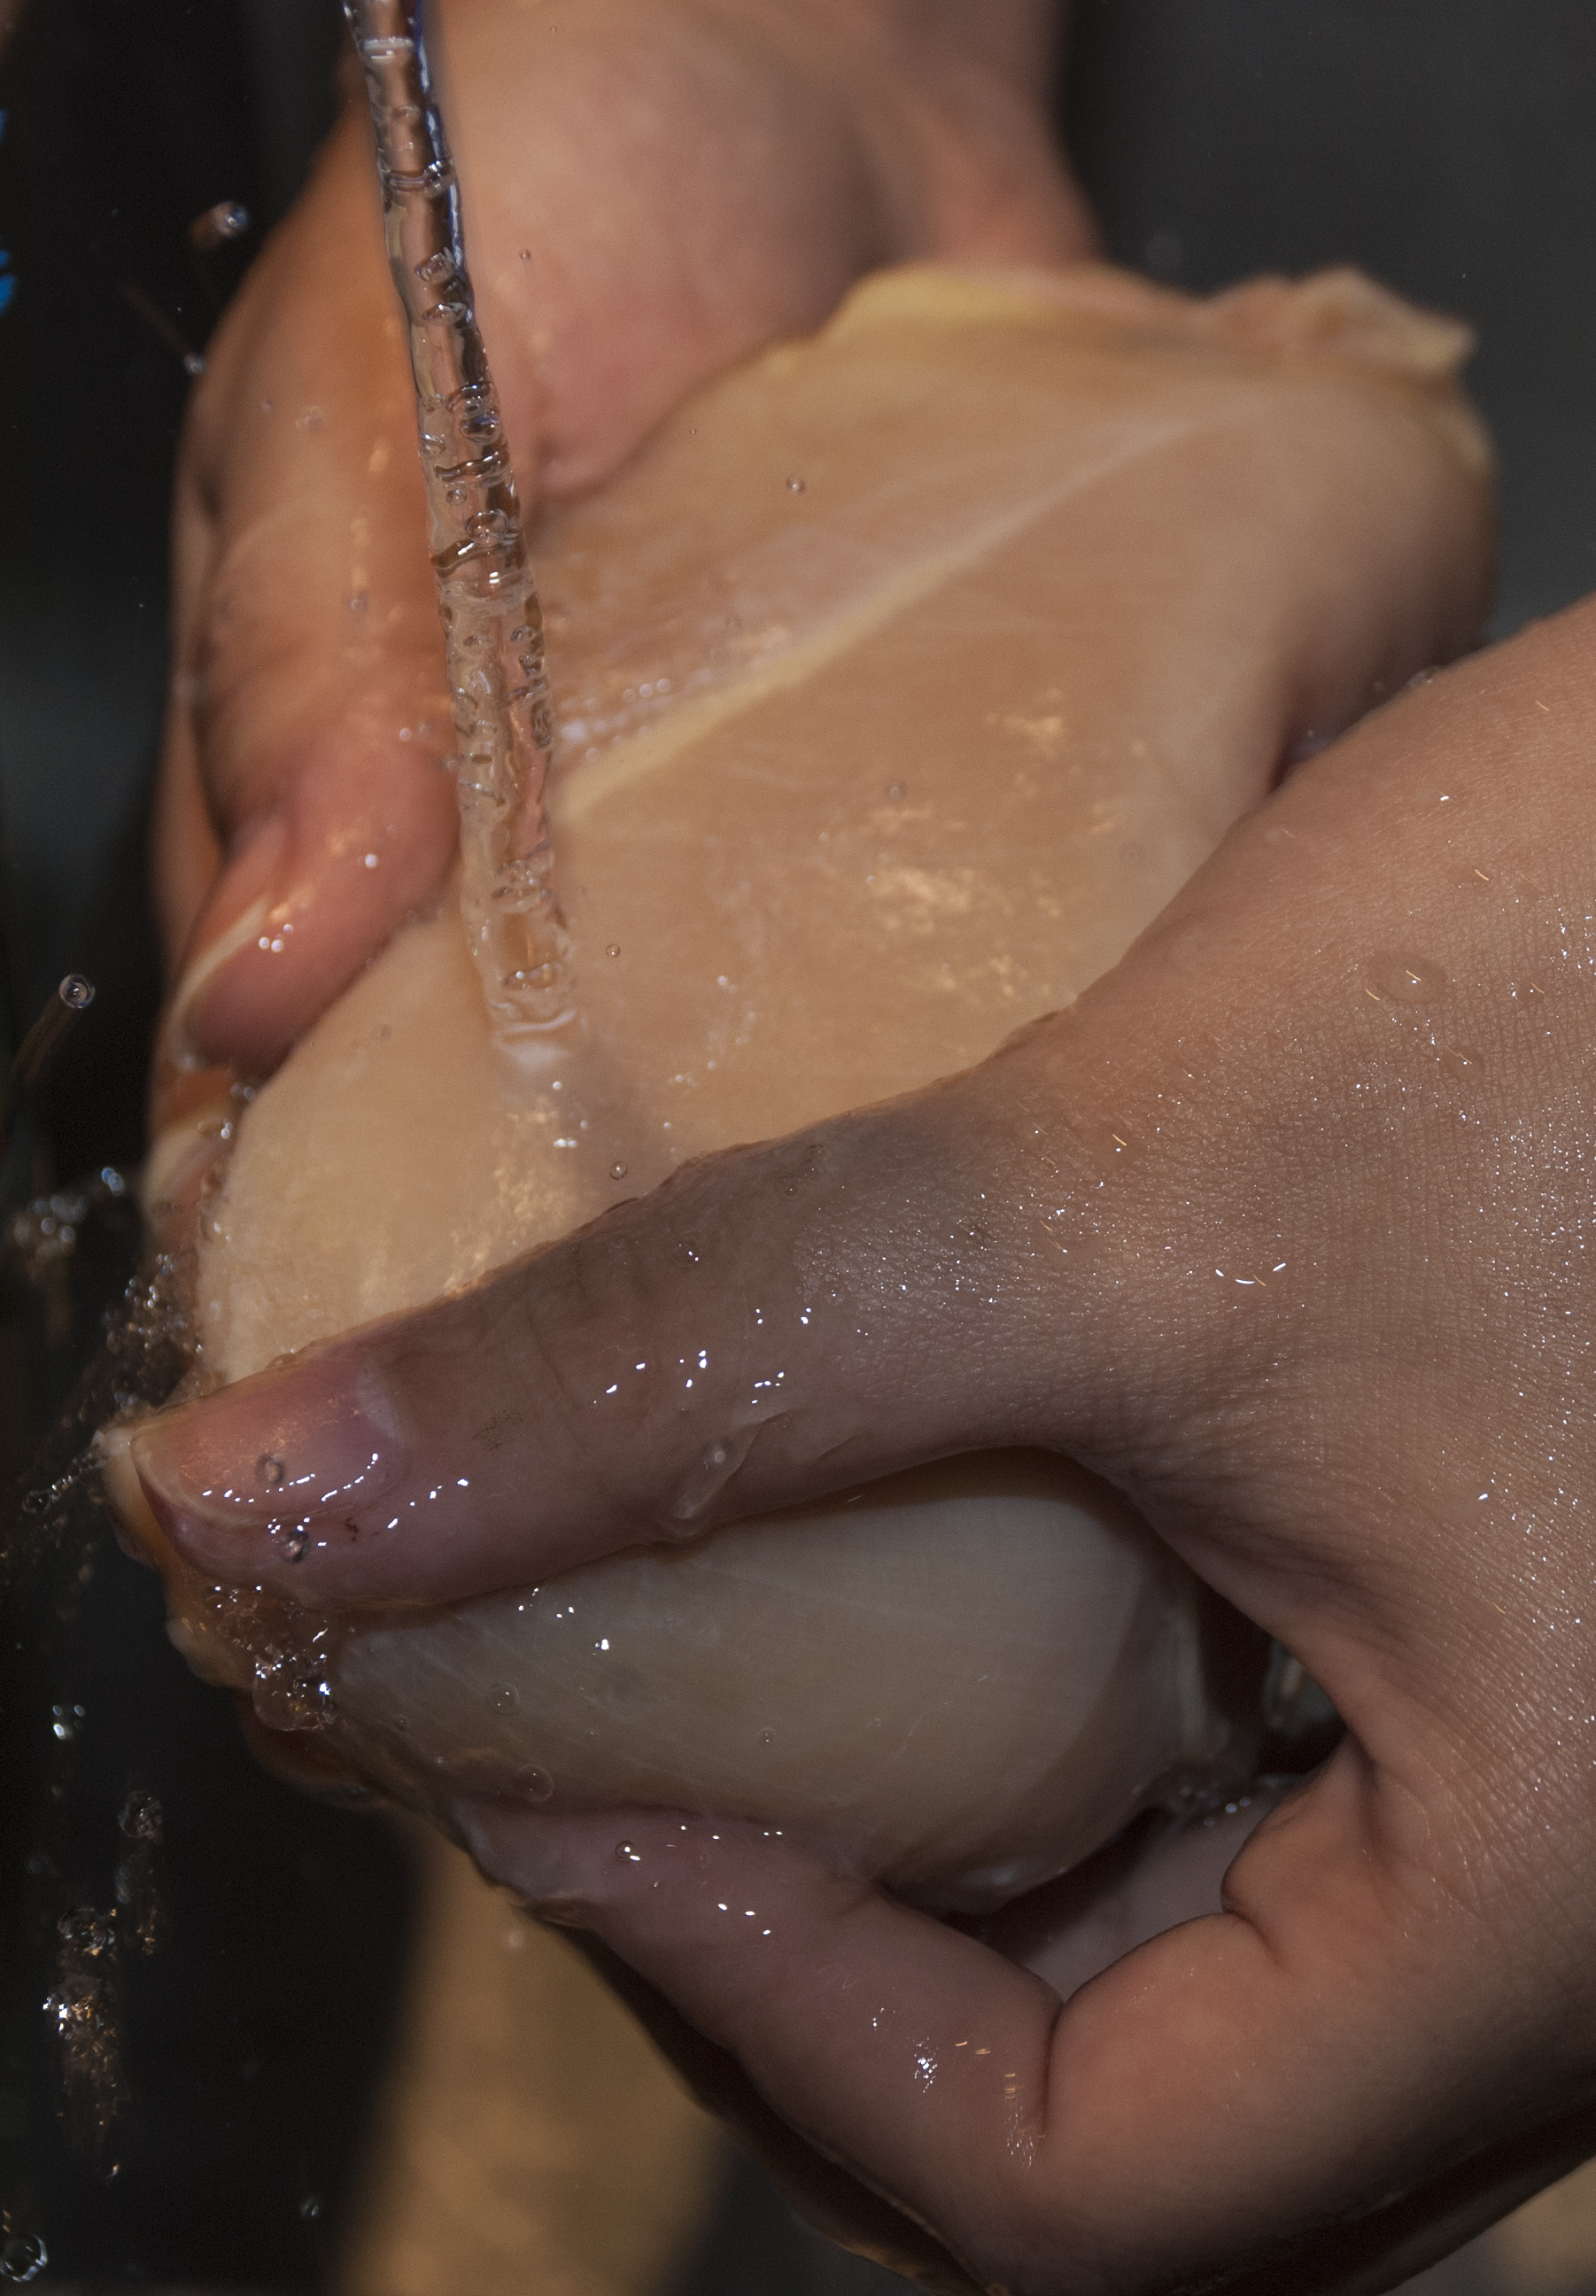
Rinse thoroughly with water
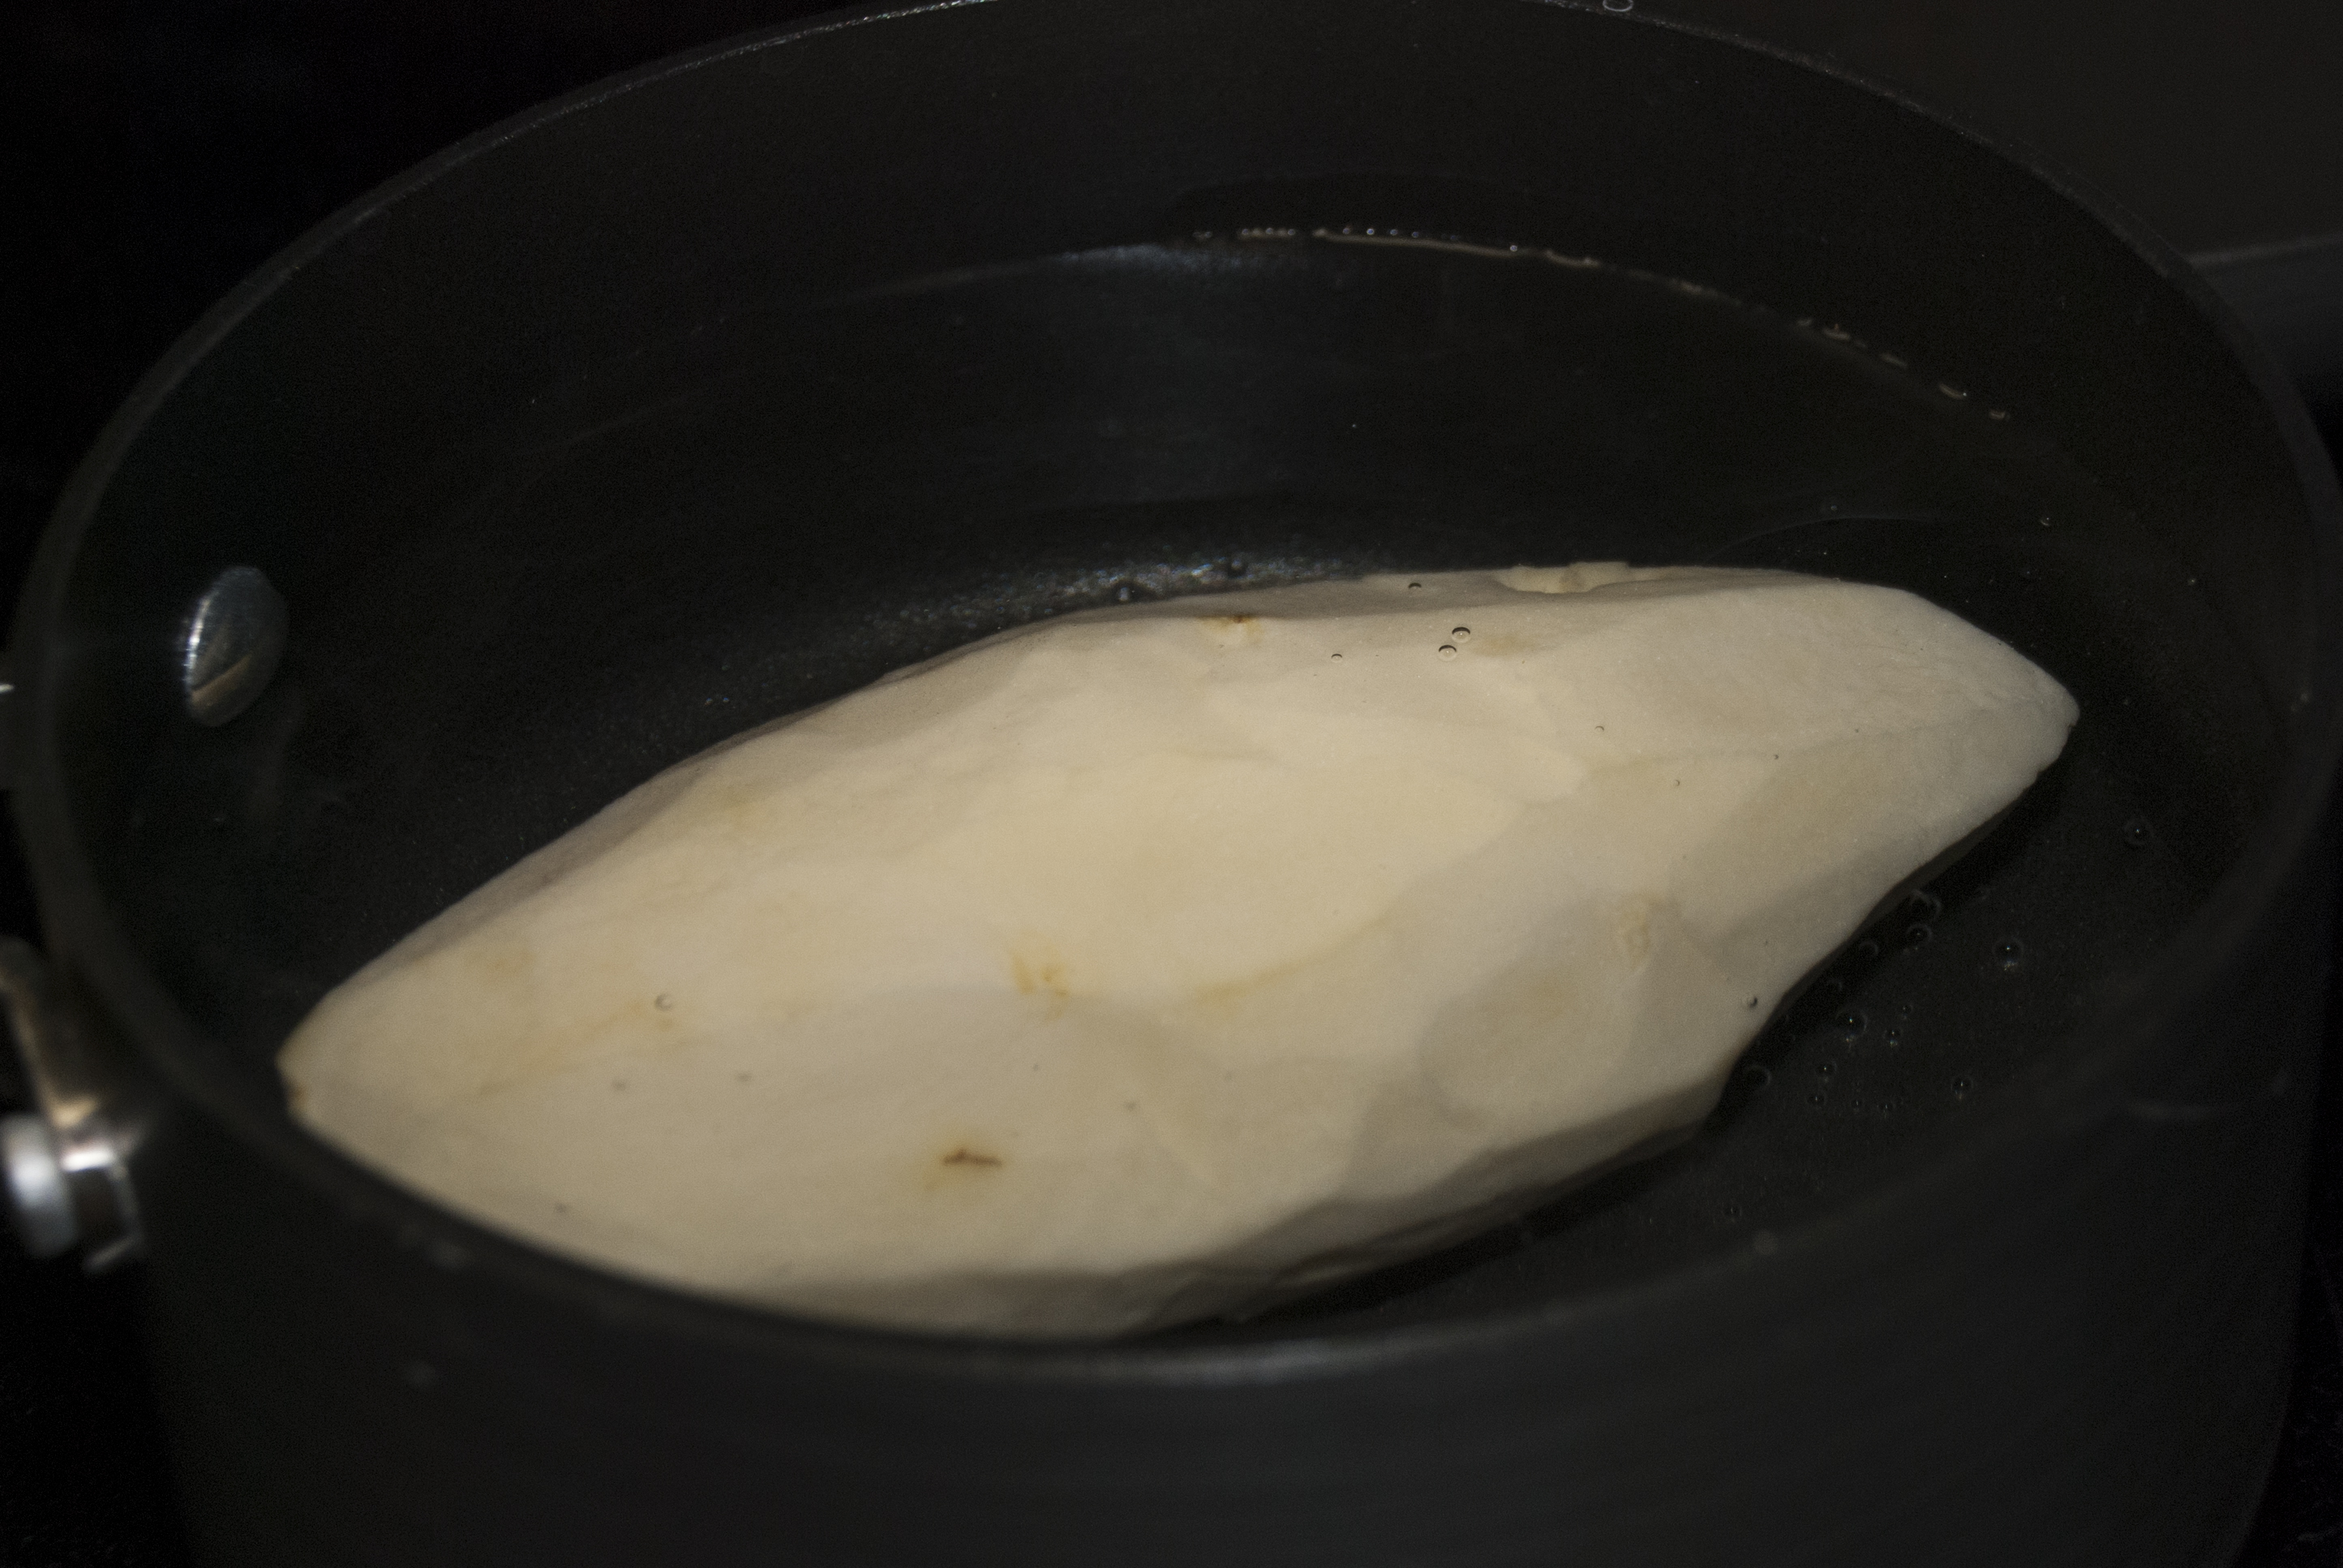
2. In a large enough pot, add the chicken, onion, cilantro, green onion, celery, leek, ají dulce Venezolano, and the salt. You don’t have to worry about chopping these ingredients, they are being used to add flavor to the chicken. Use enough water to cover all the ingredients and cook everything at medium heat for about 30 minutes, or until the chicken is done.
3. Remove the chicken from the pot, drain and set aside to cool down.
Set aside to cool down
4. Wash and peel the potatoes. Cook the potatoes with enough water and a little bit of salt. Boil for about 10 minutes. You want them to be done, but still firm so they don’t get mushy while making the salad.
Cook the potatoes
5. Wash and peel the carrots. Cook the carrots separately with enough water and a little bit of salt. Boil for about 20 minutes.
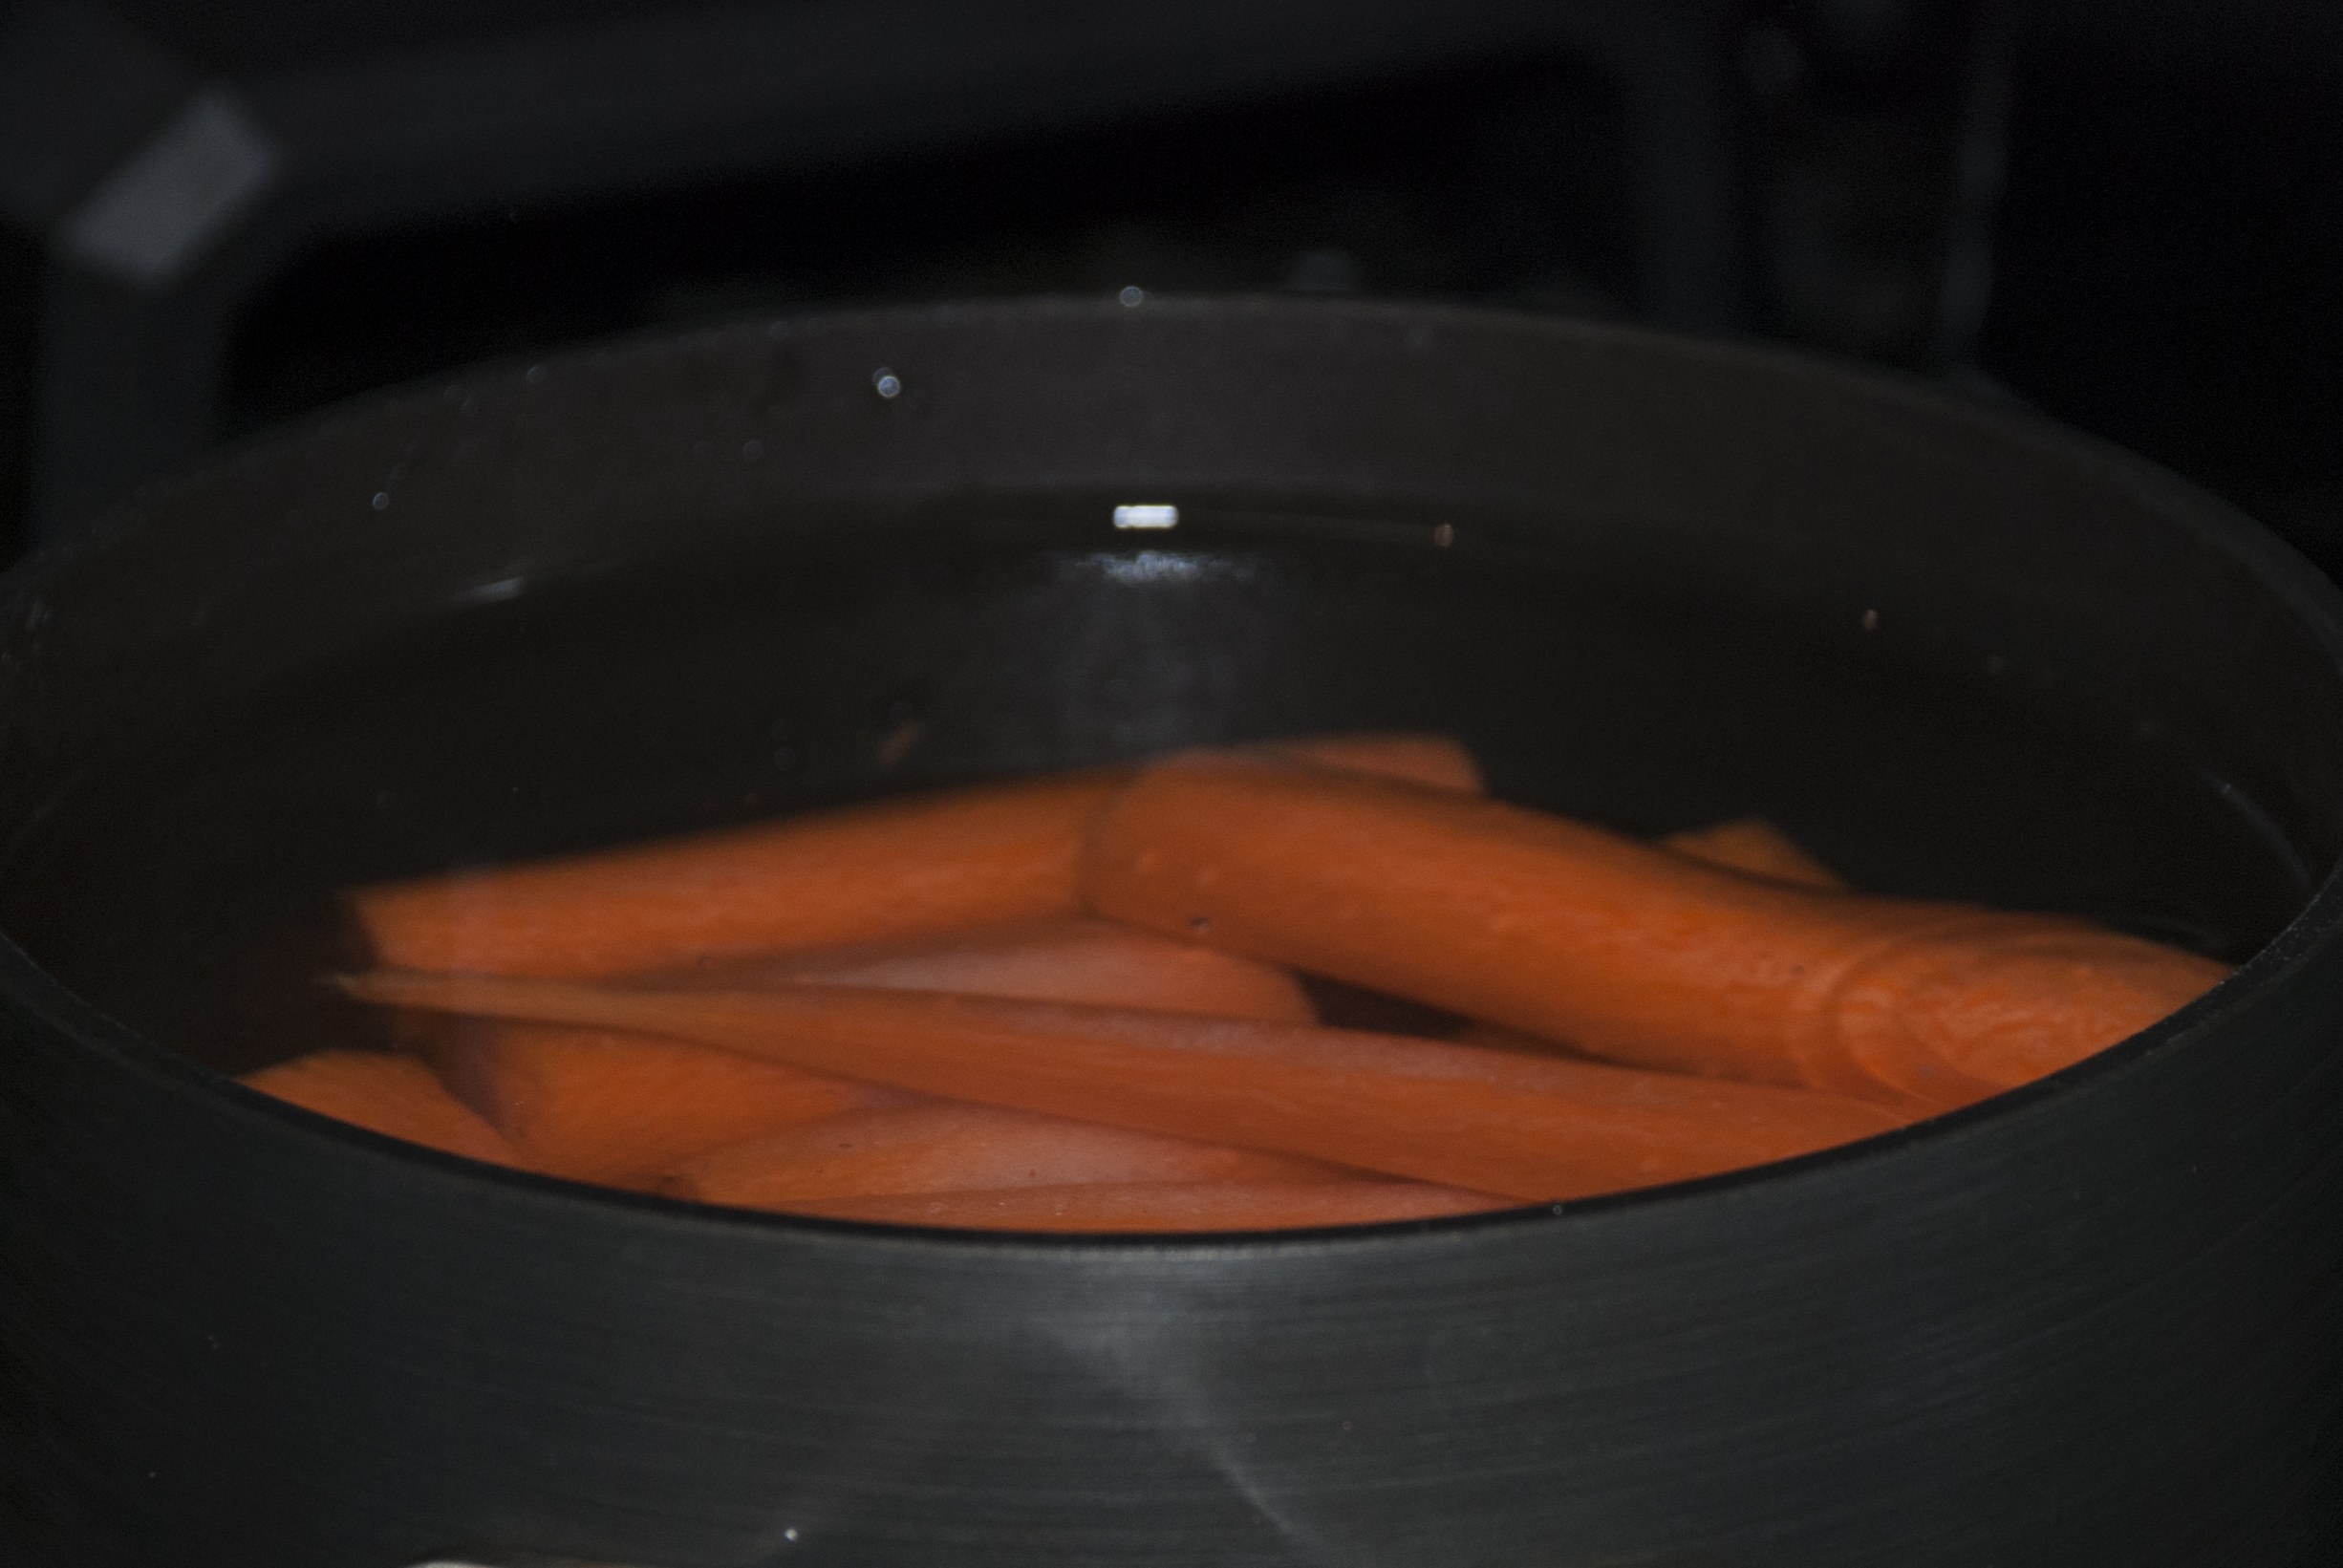
Cook the carrots separately
6. Once the potatoes and carrots are done, cool them down in a big bowl with some cold water and ice.

Cool down the potatoes and carrots
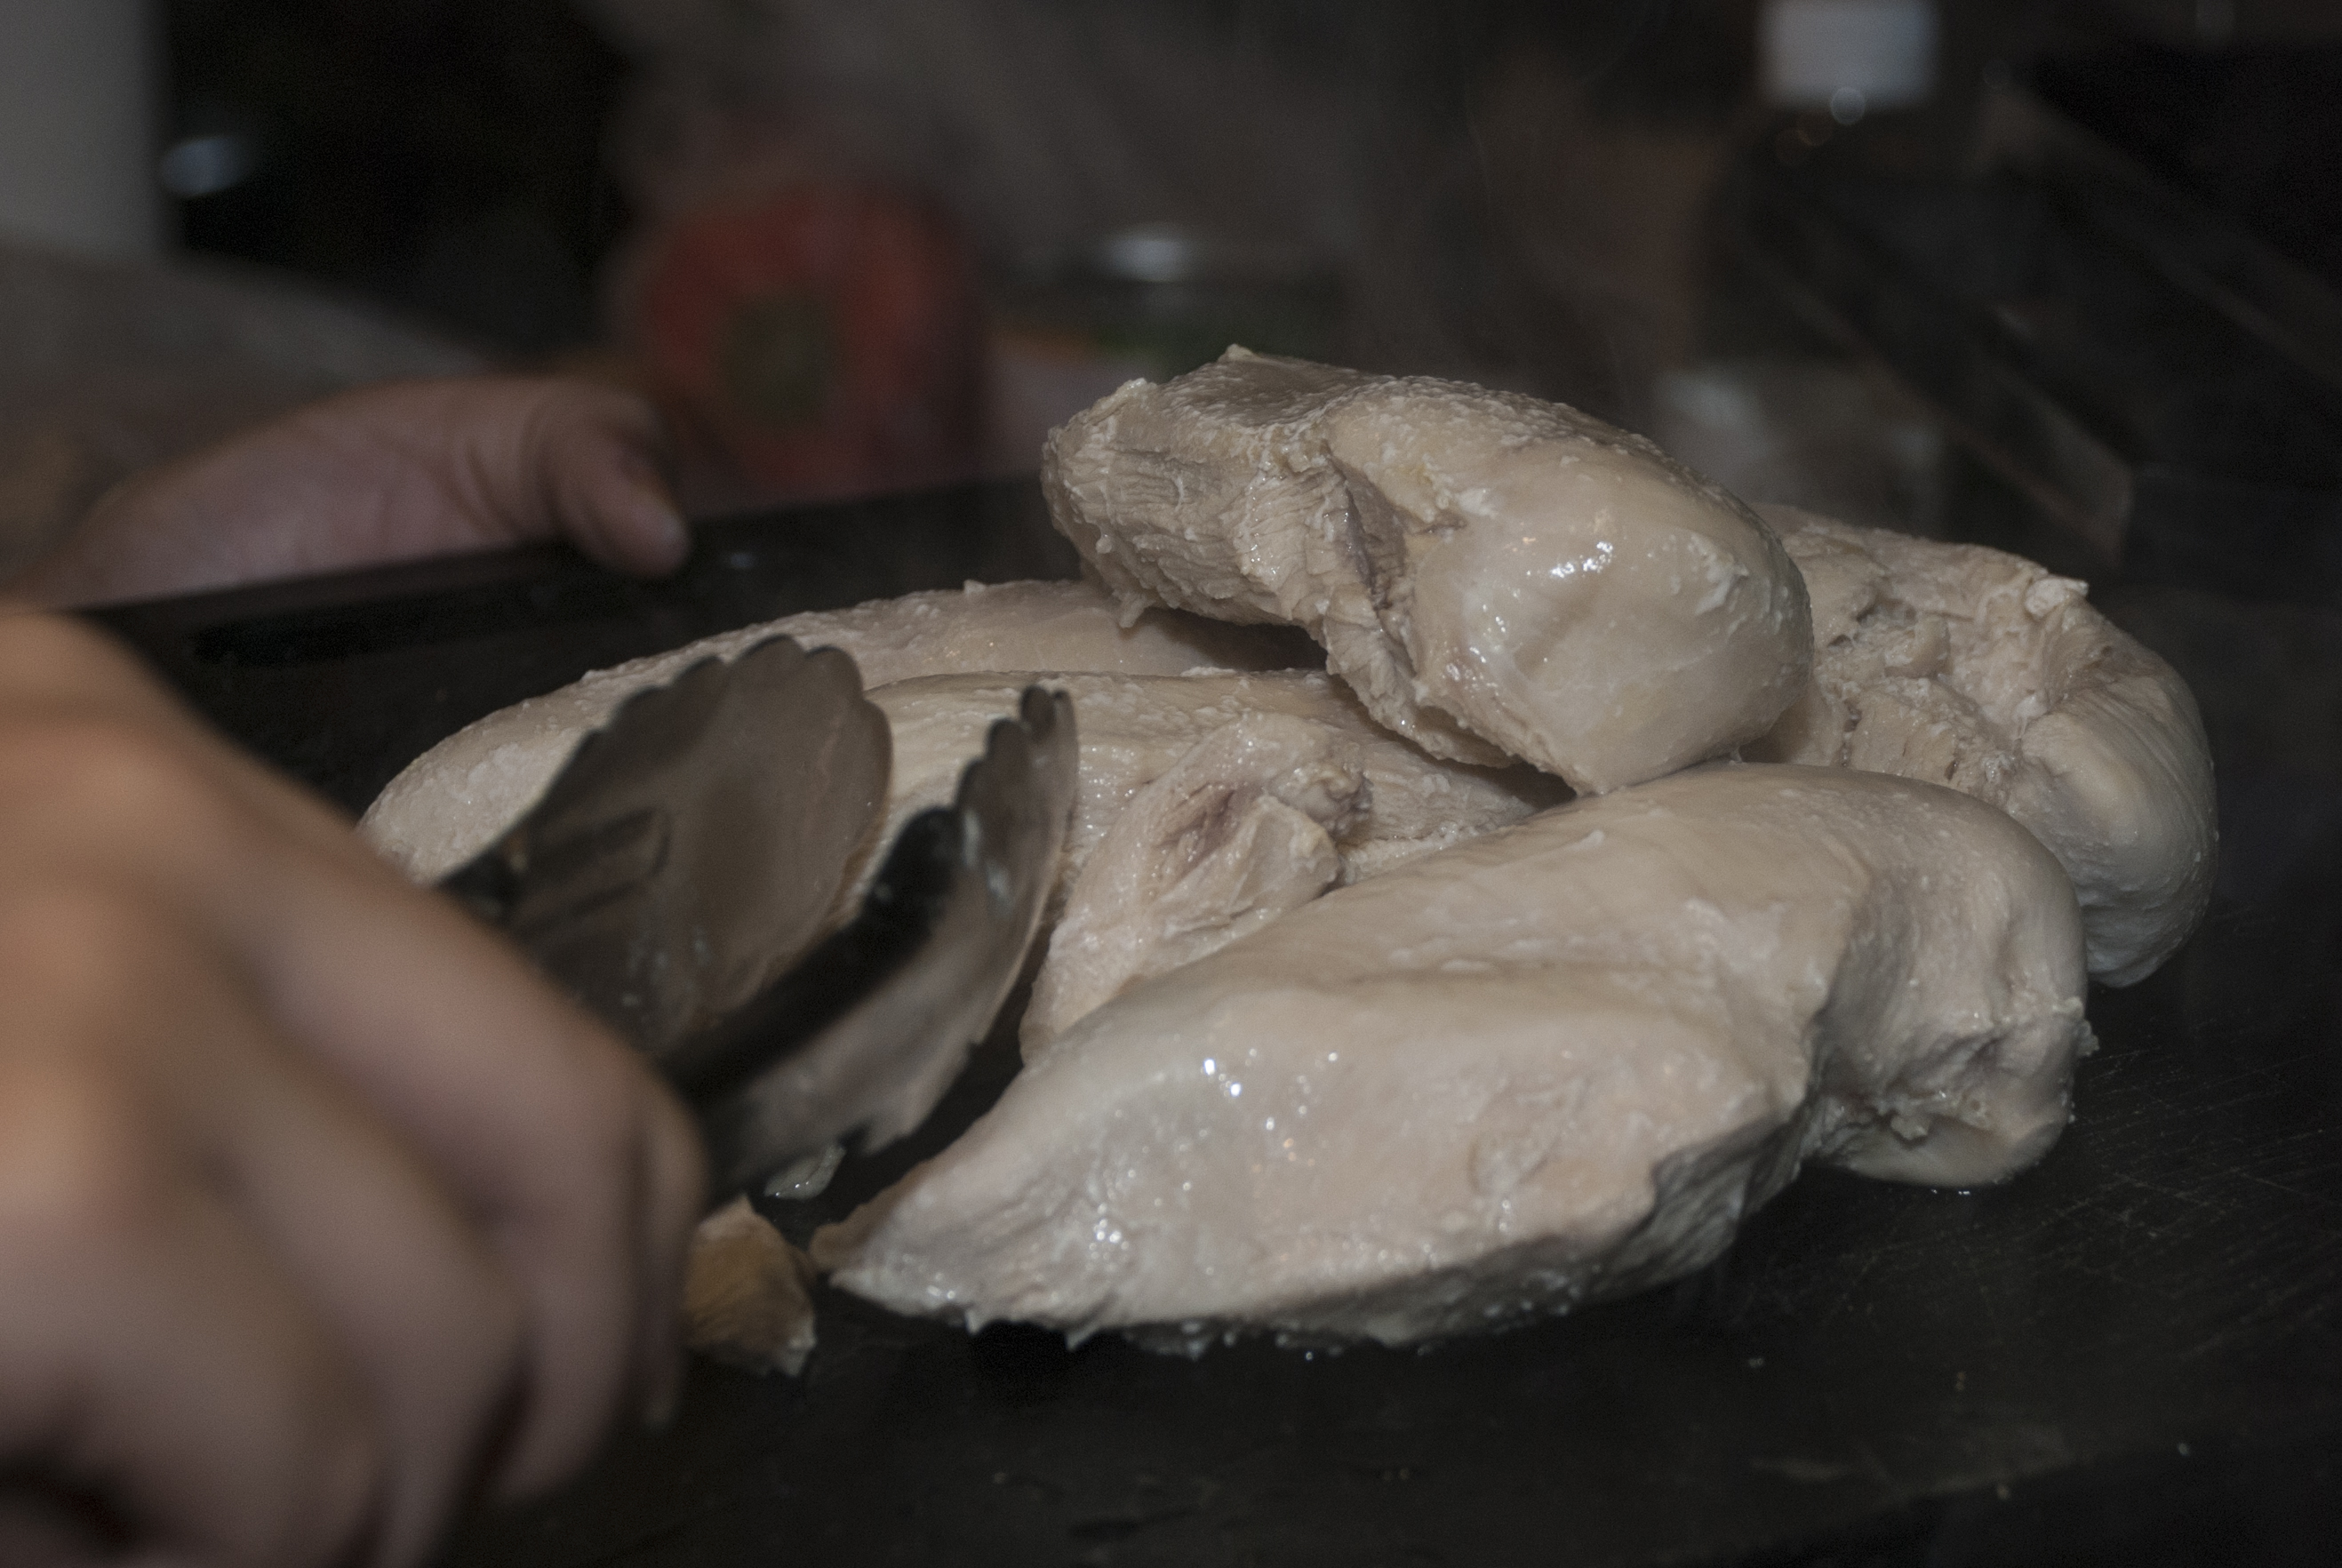
7. Your chicken should be cooled down by now. Shred the chicken breasts using your hands or two forks.
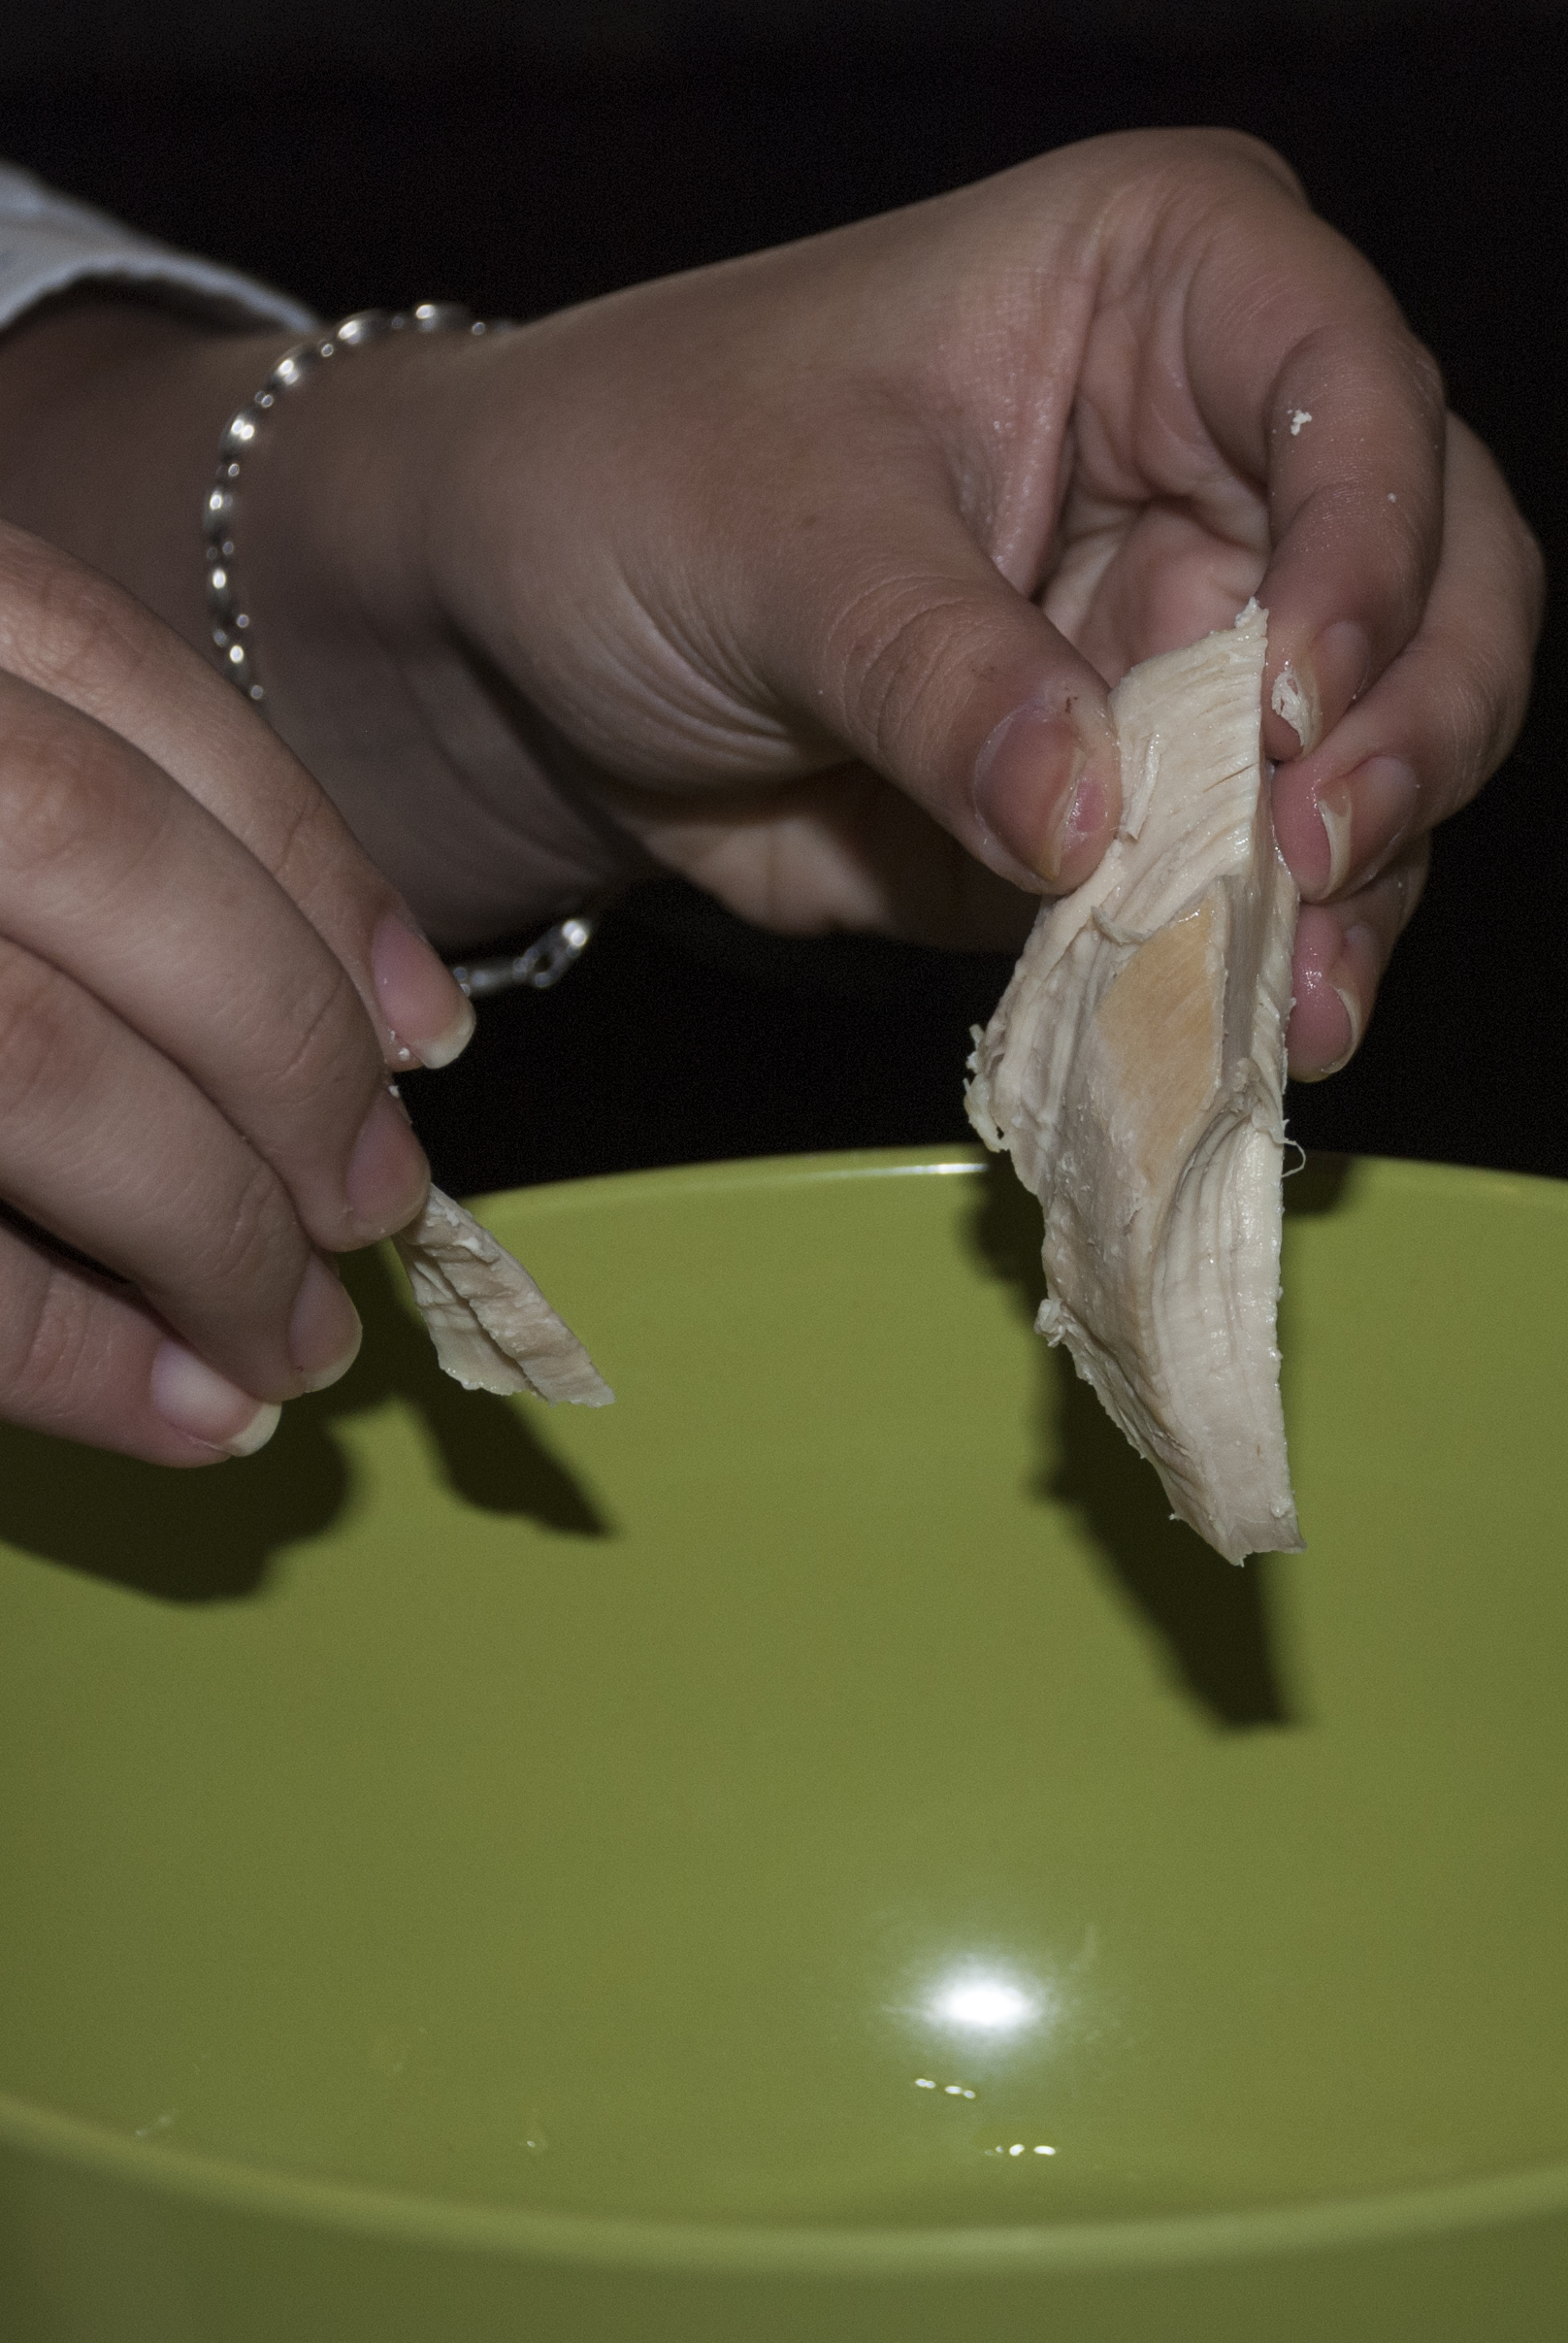
Shred the chicken breasts
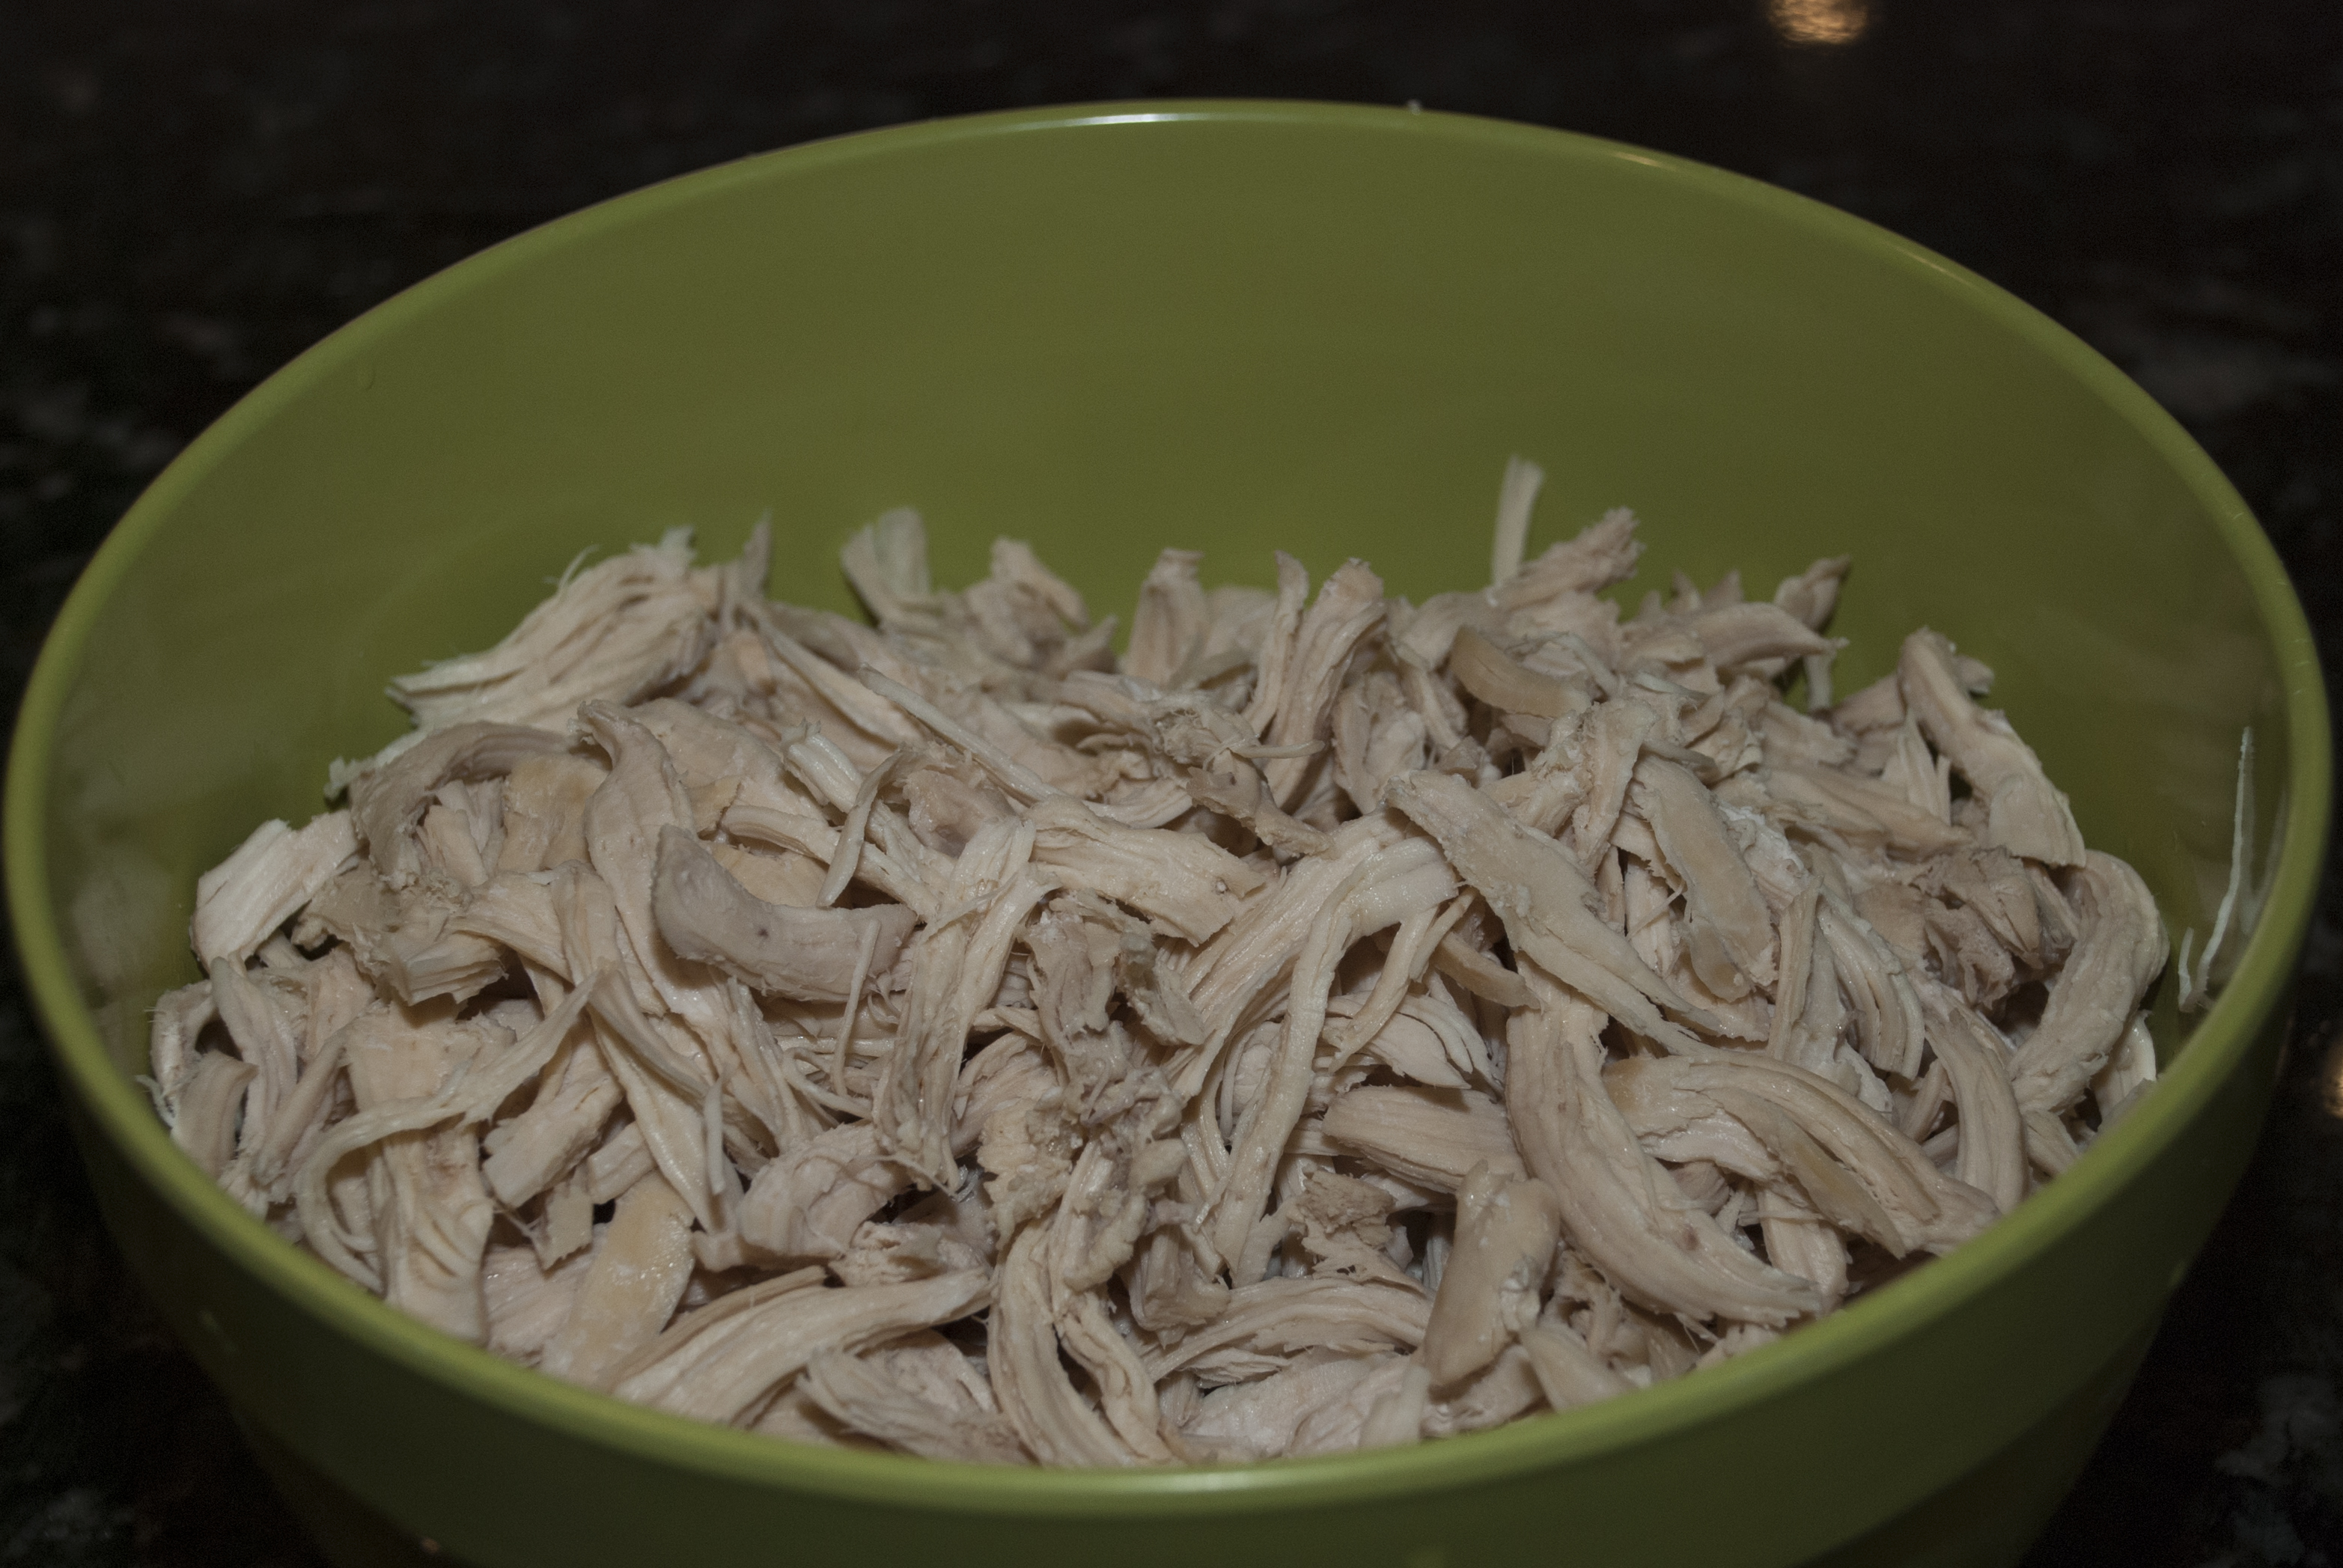
Shredded chicken breasts
8. Begin to cut the potatoes, carrots, apple, celery, and bell pepper in small cubes. Finely chop the onion using a food processor. Chop the cilantro as well.
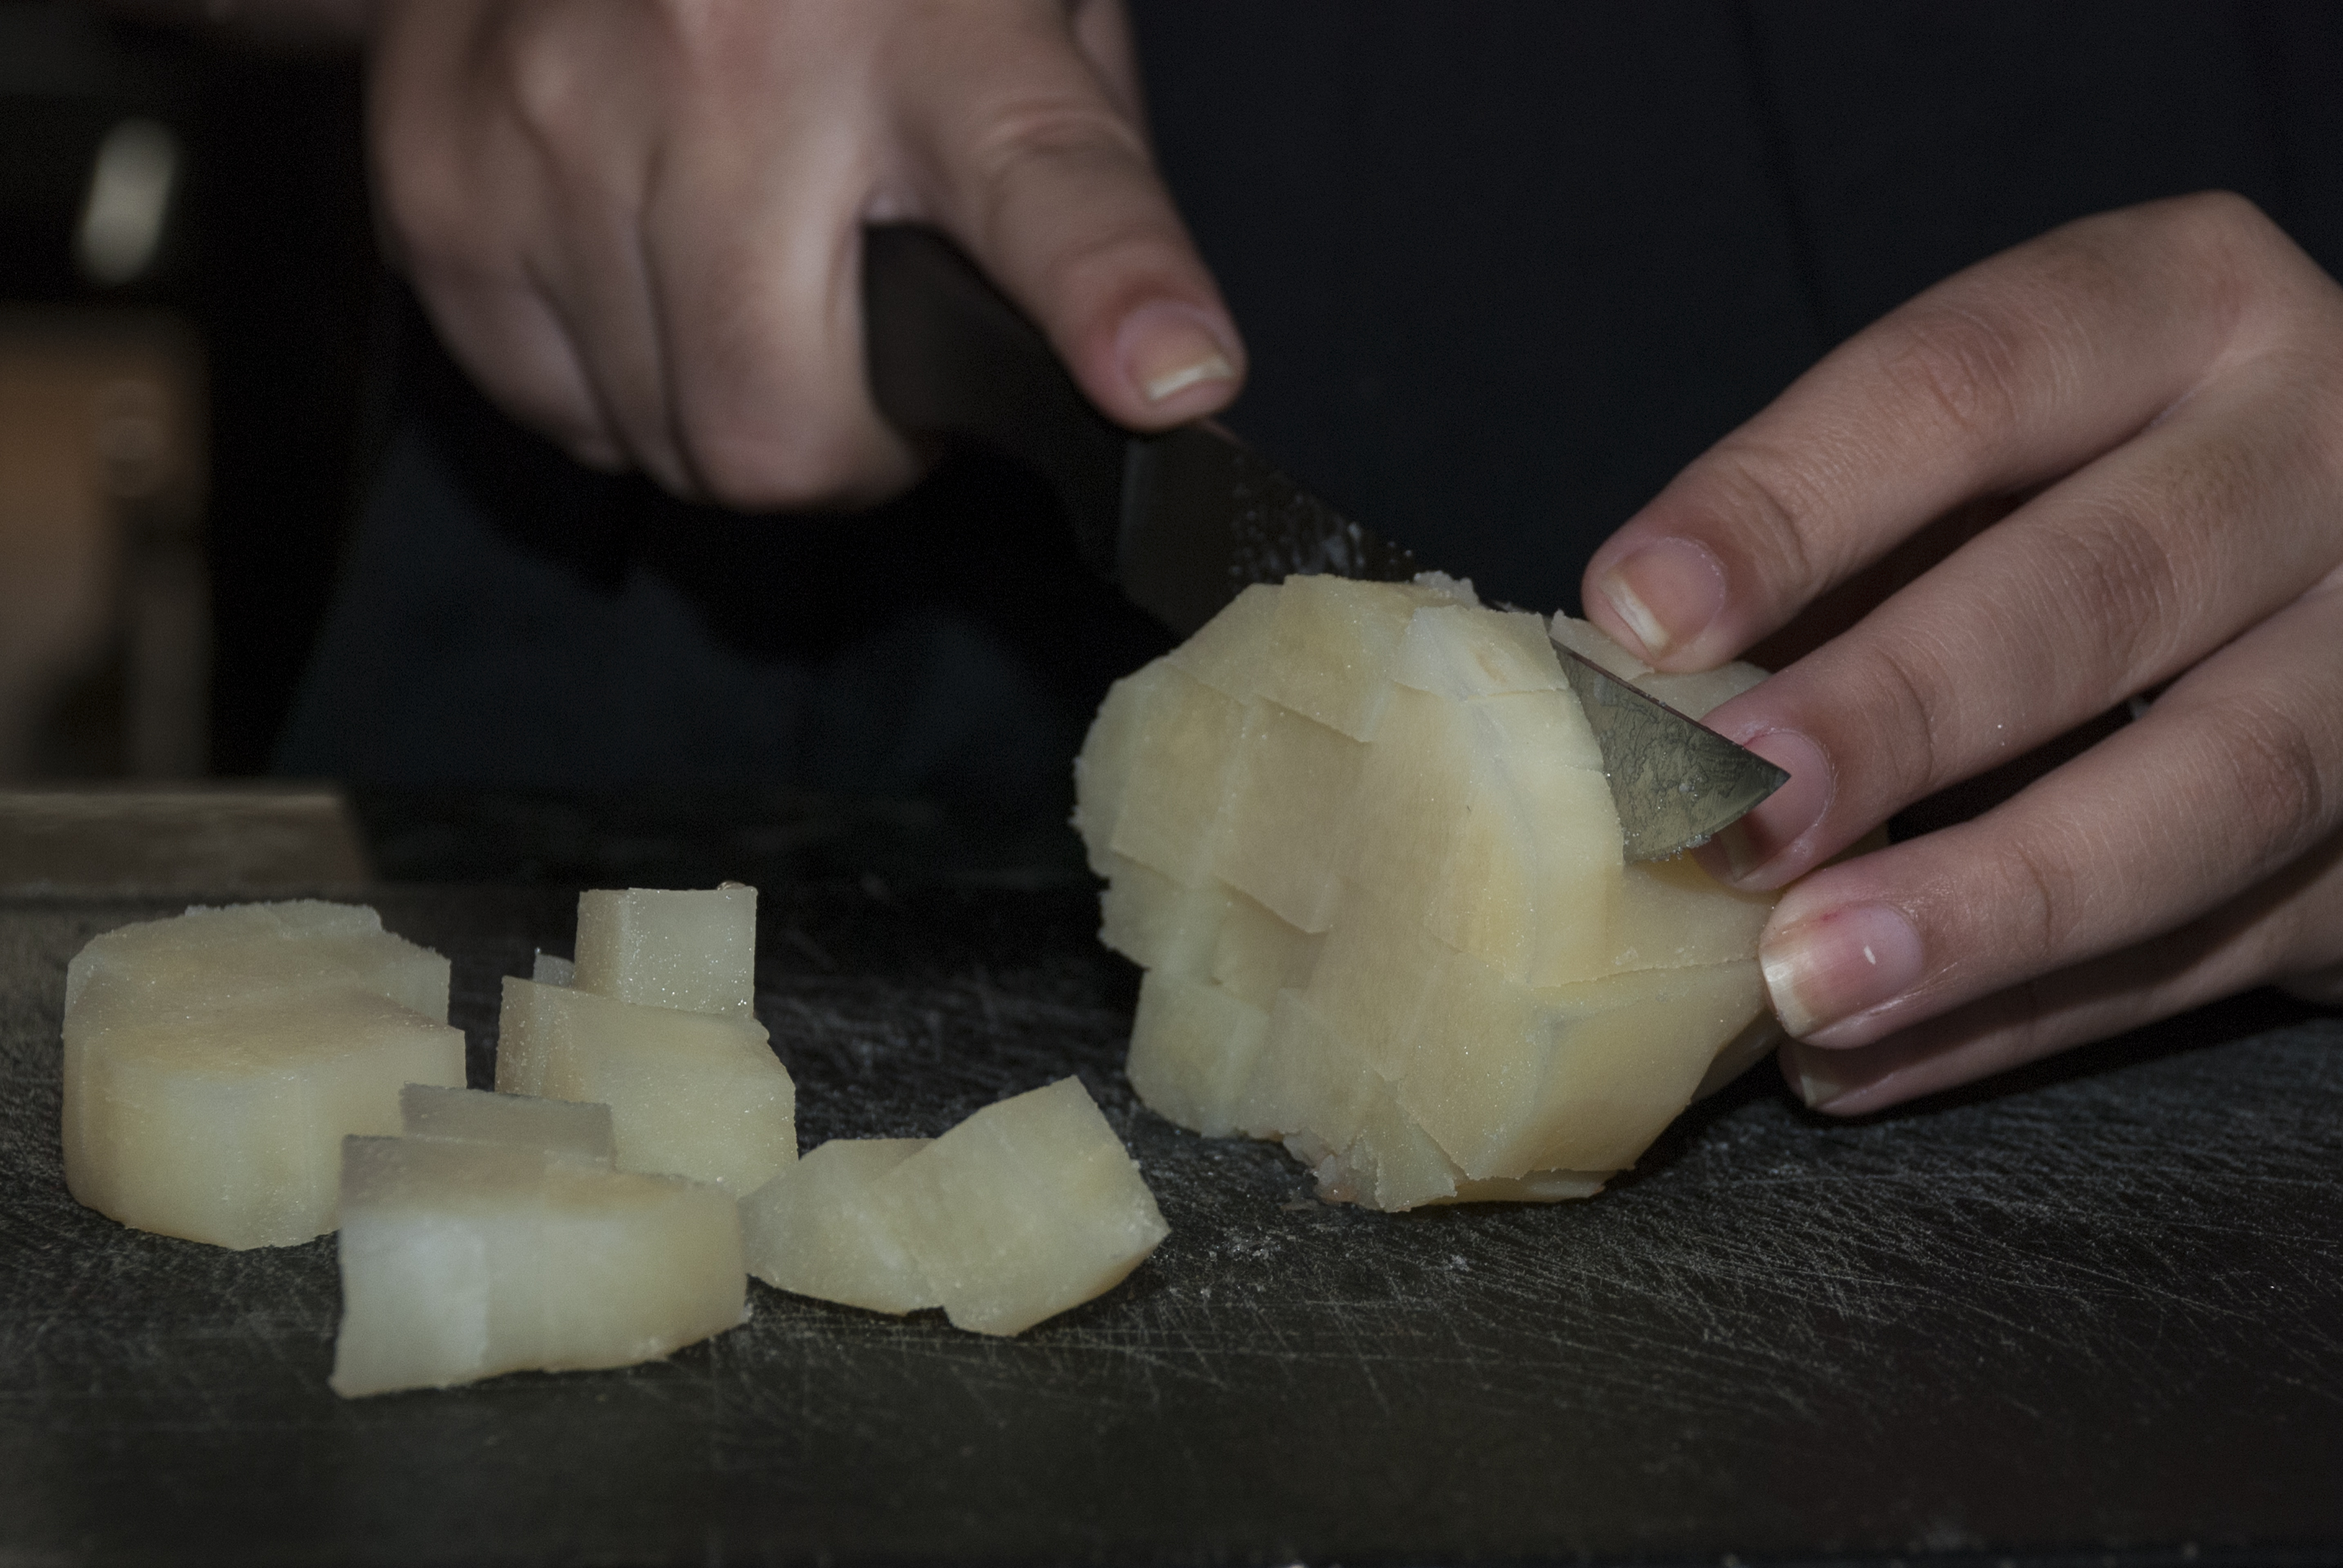
Cut the potatoes in small cubes

Cut the carrots in small cubes
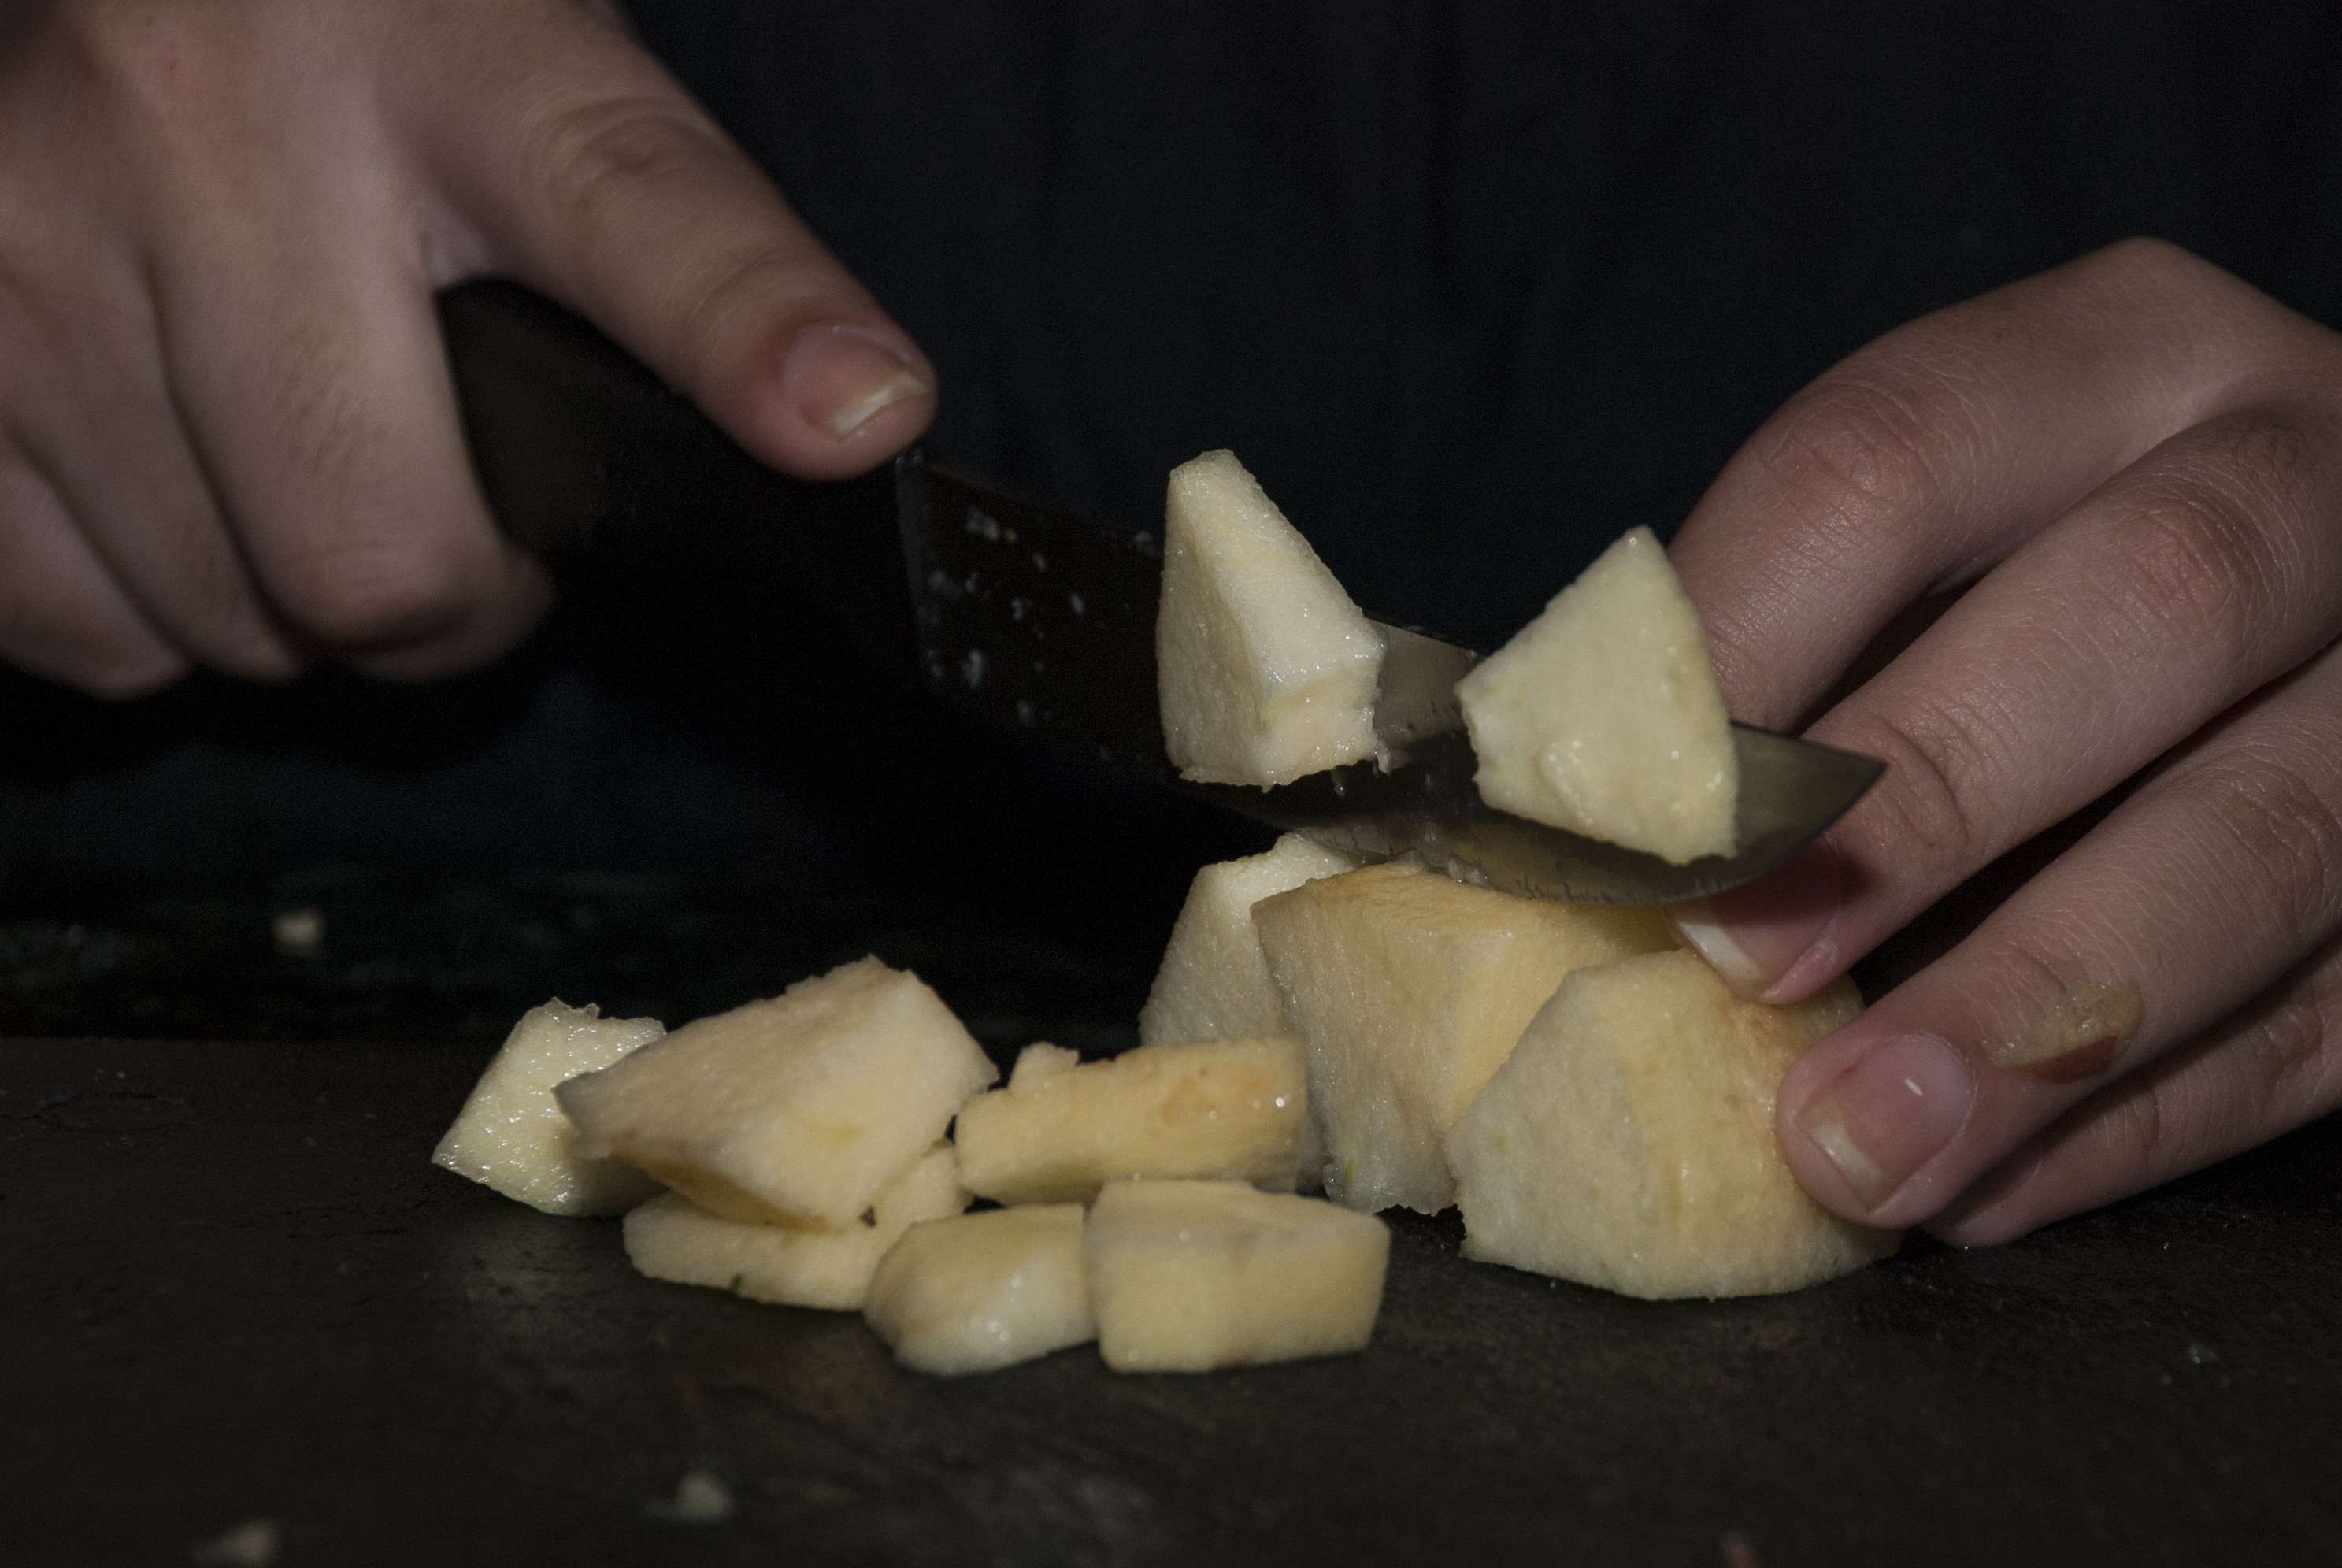
Cut the apple in small cubes
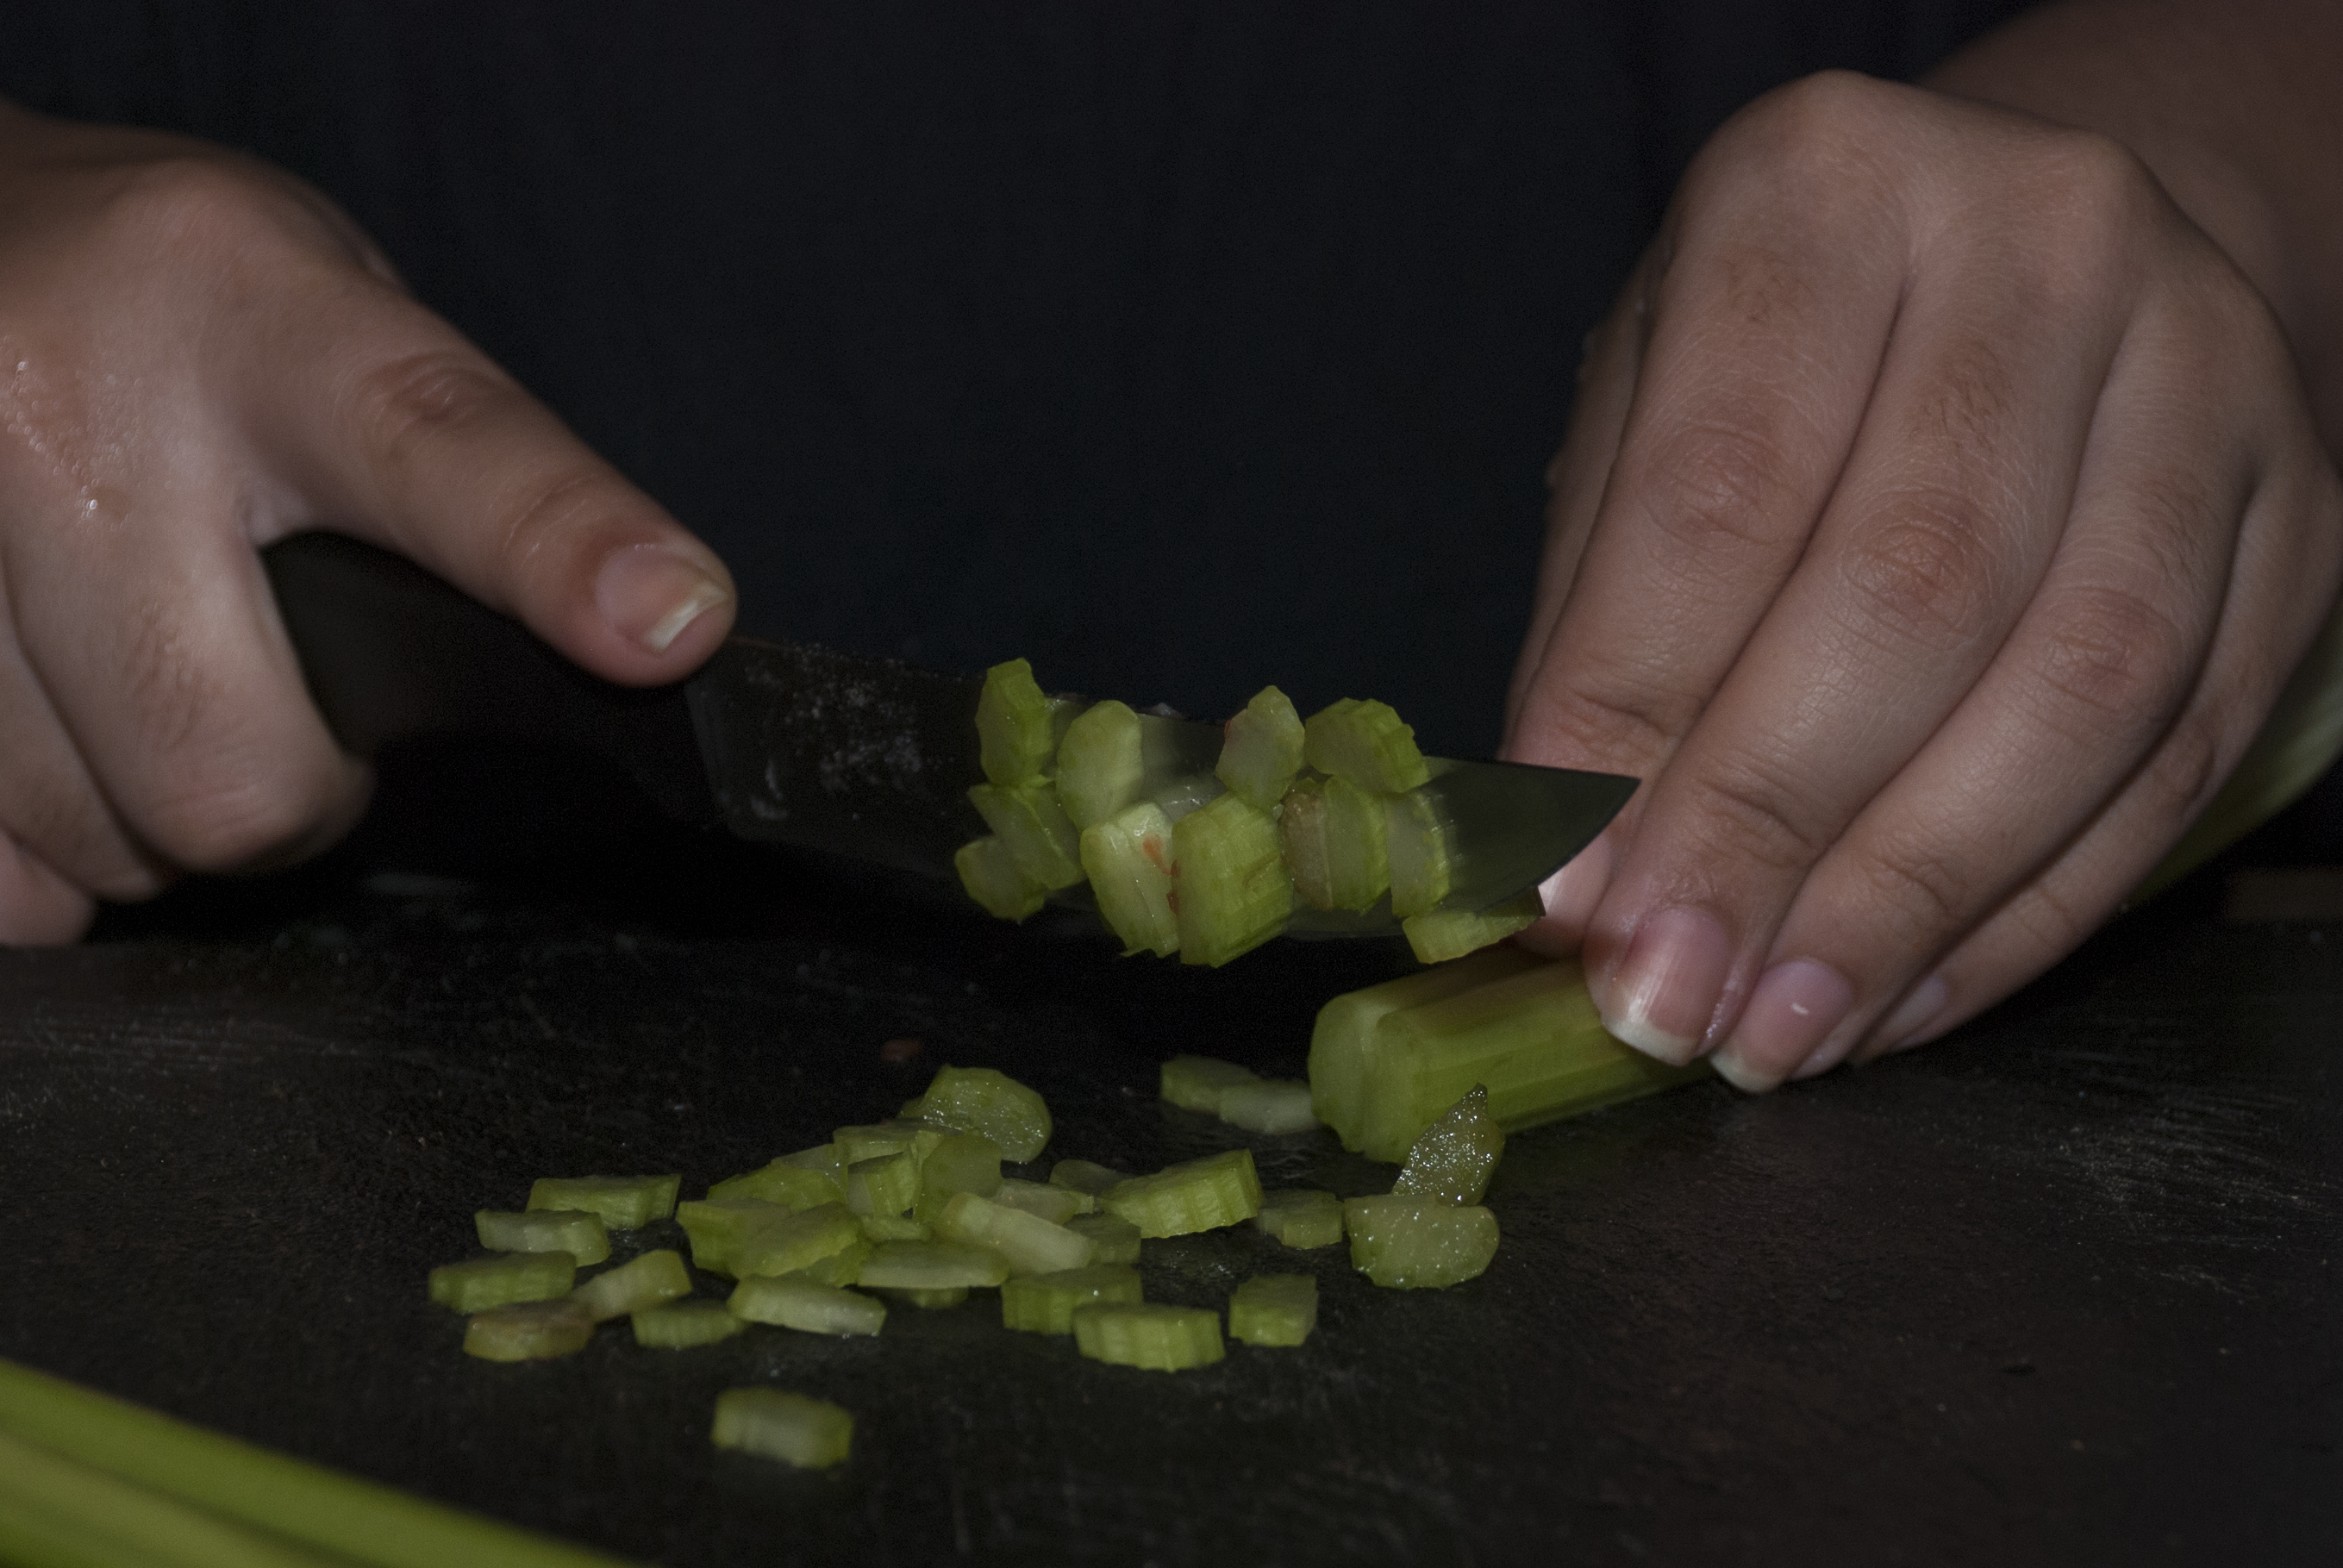
Cut the celery in small cubes
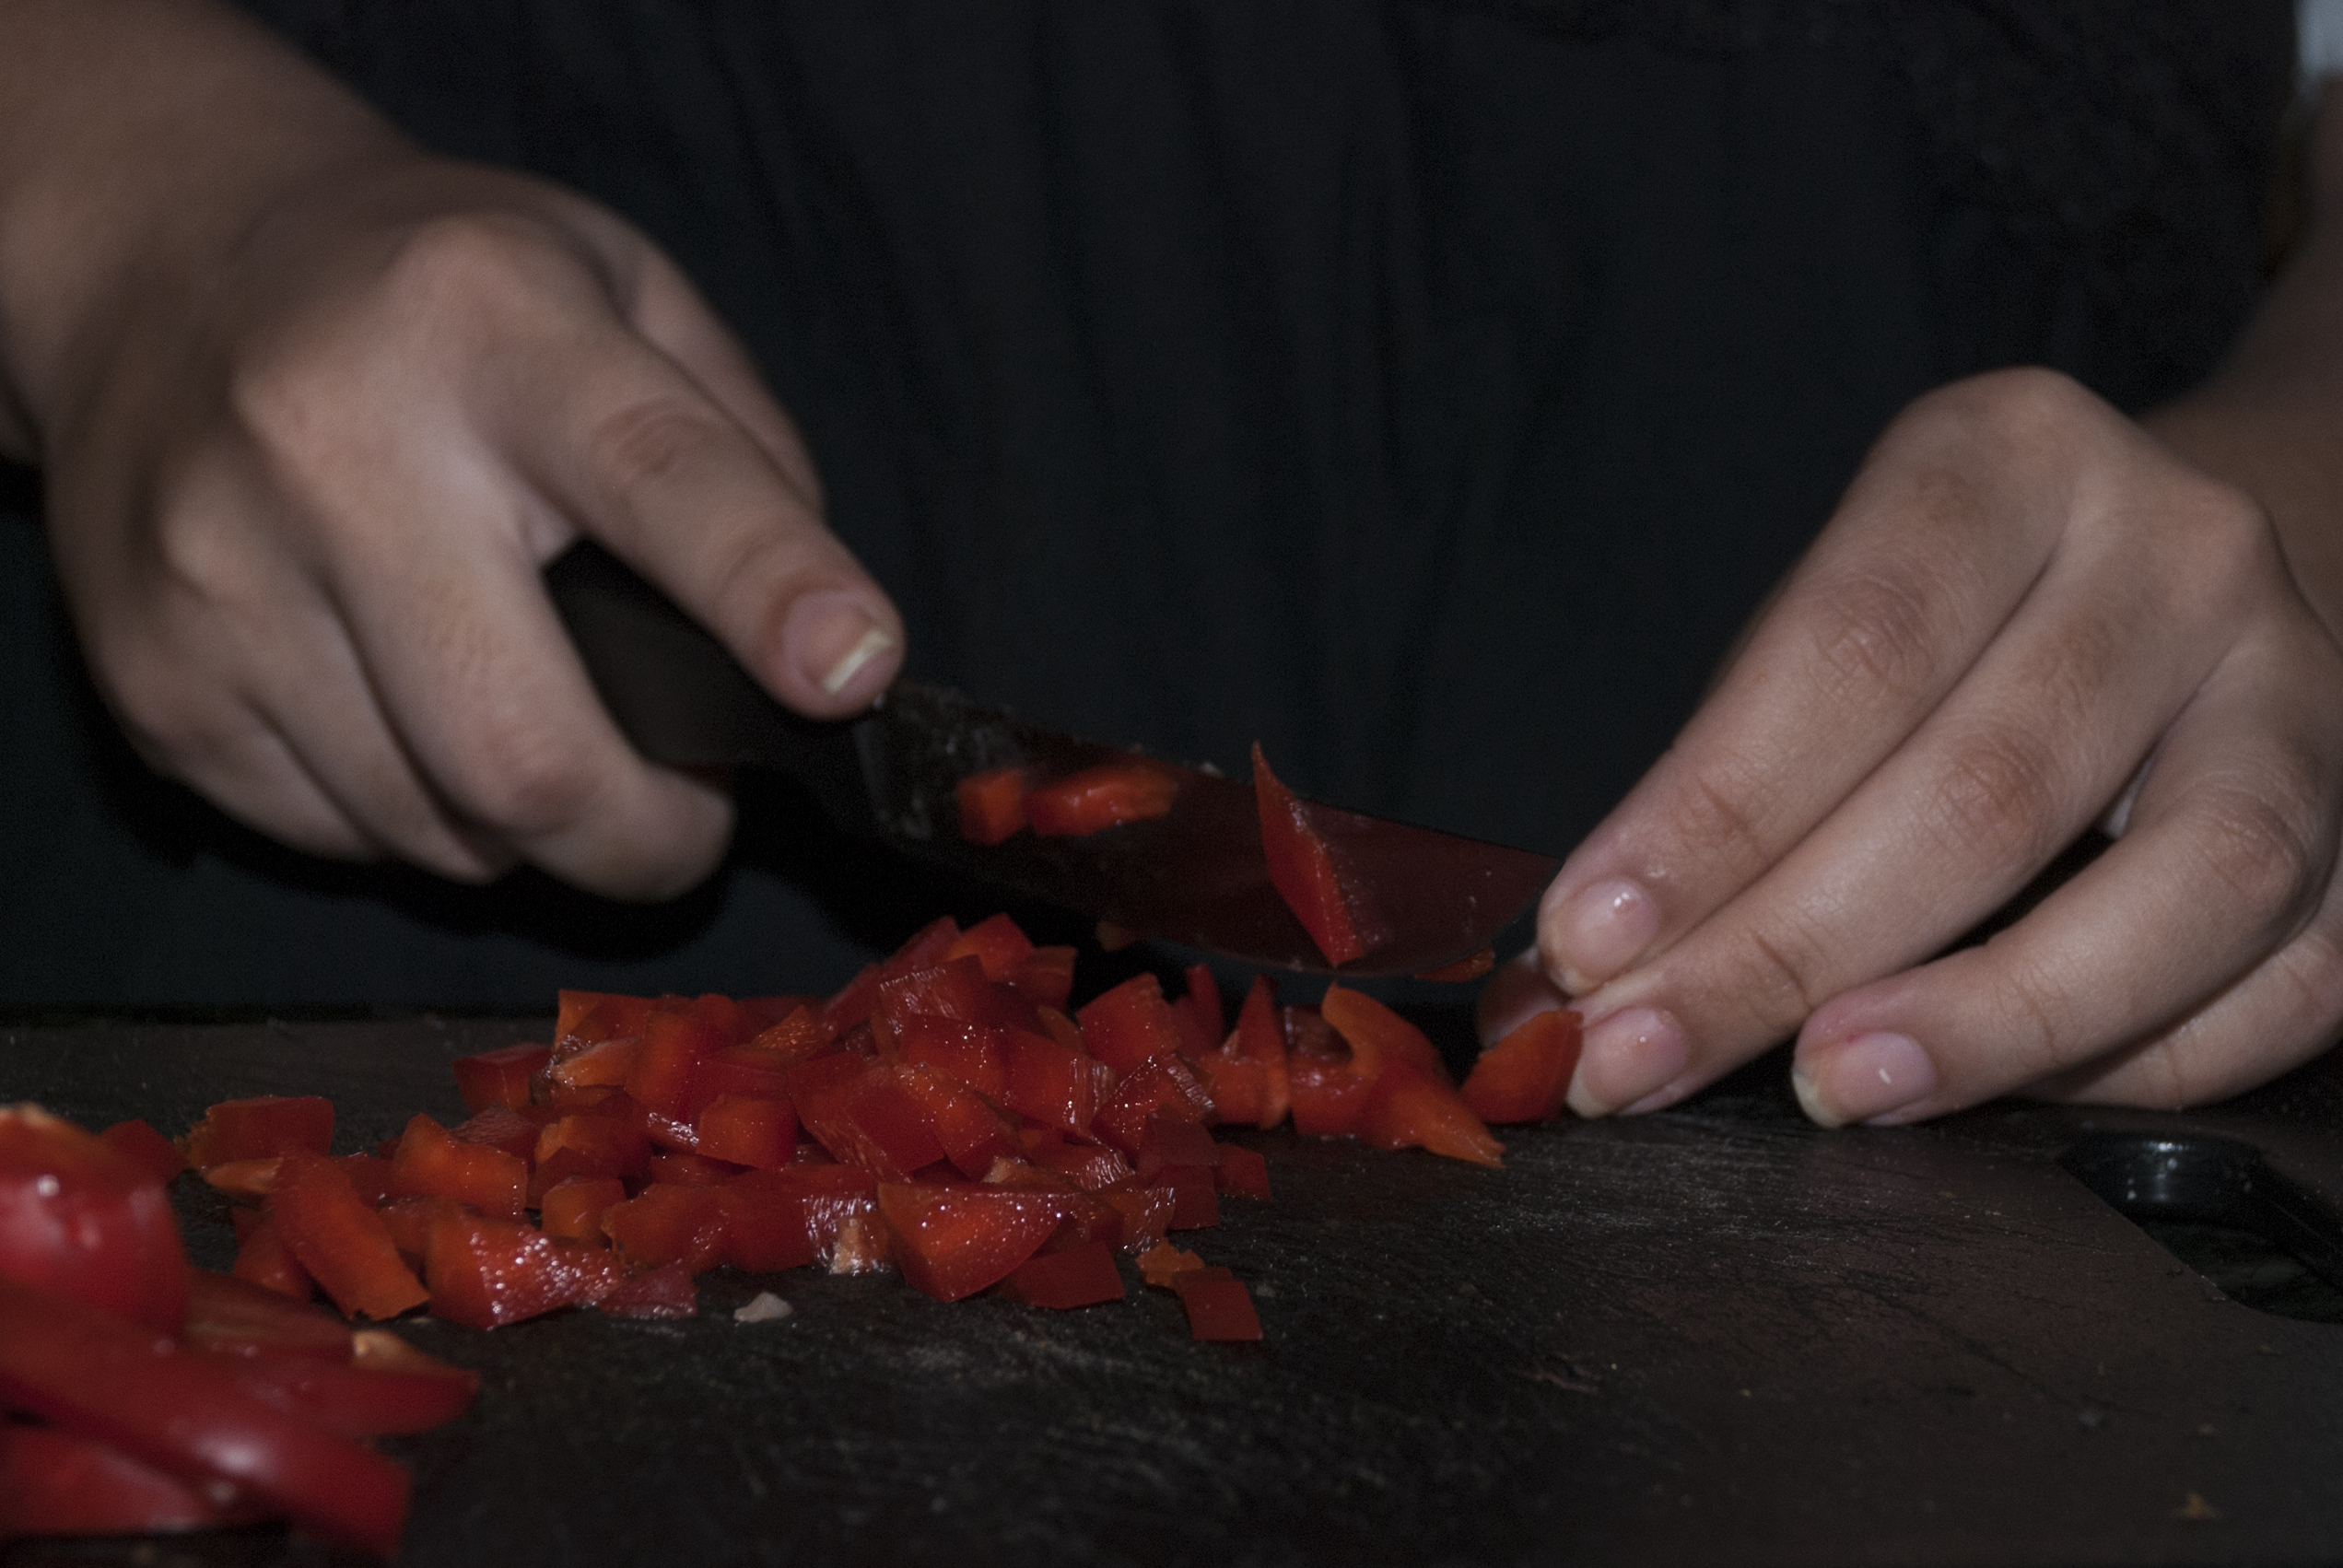
Cut the red bell pepper in small cubes
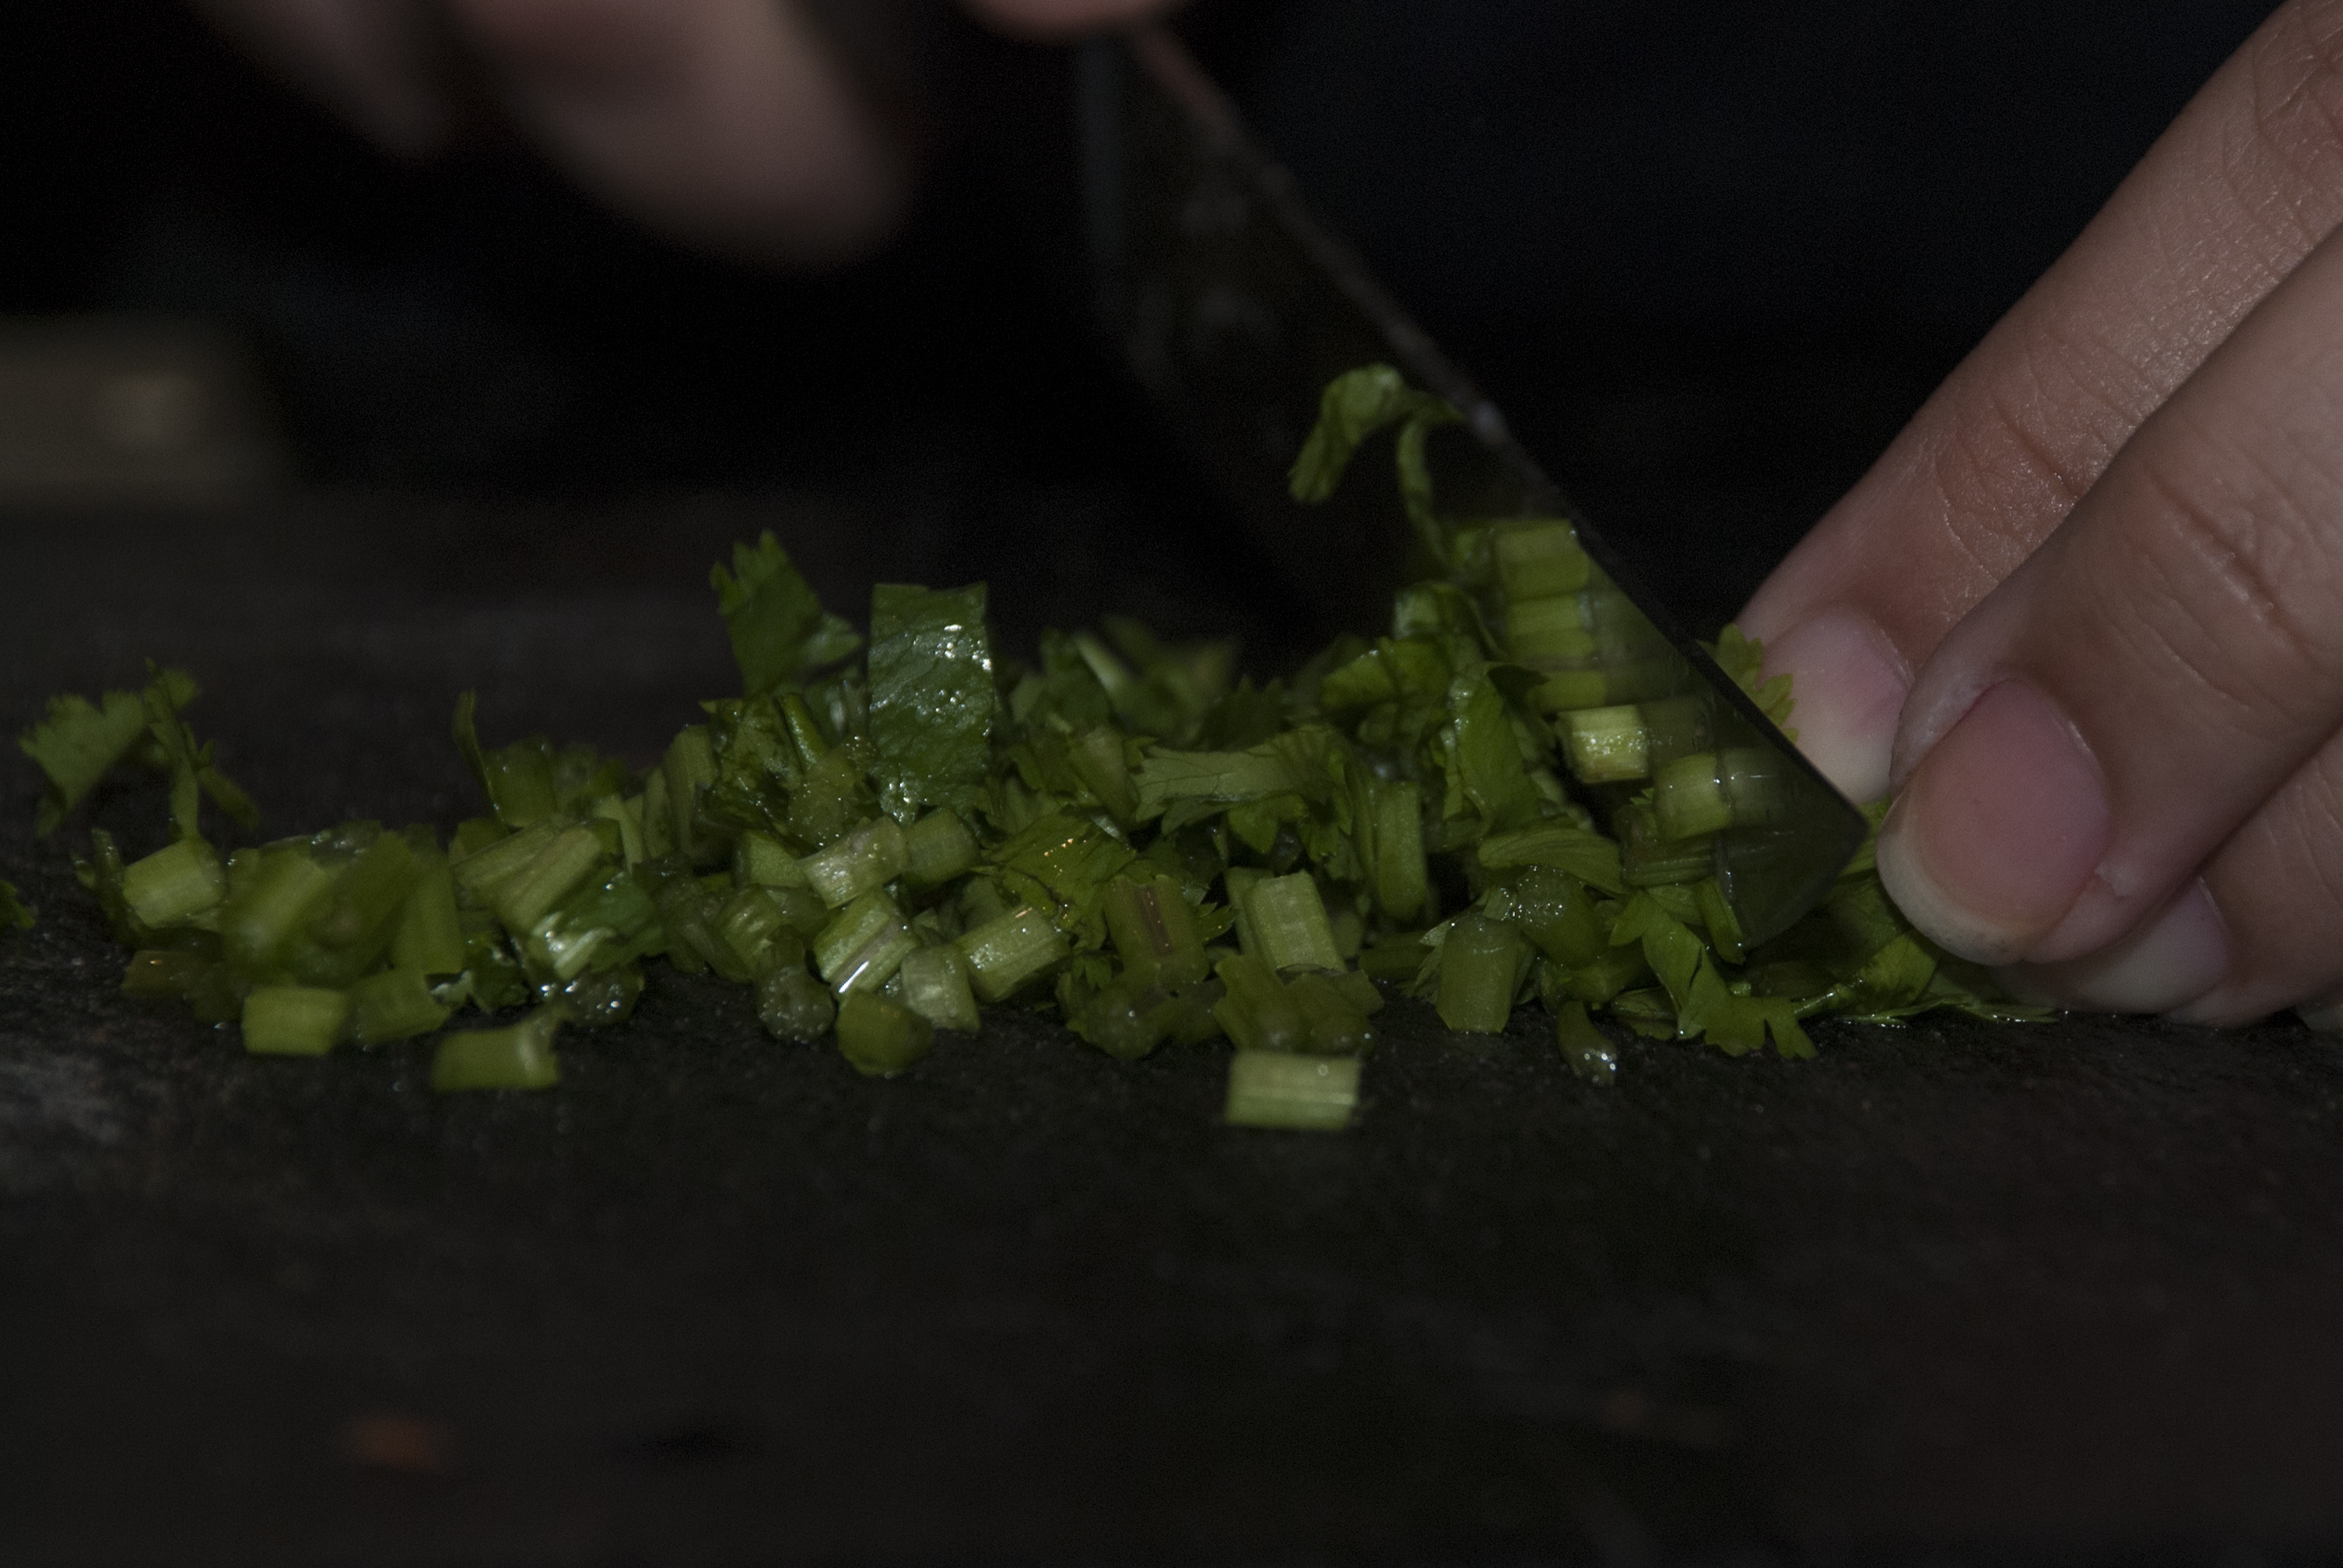
Chop the cilantro
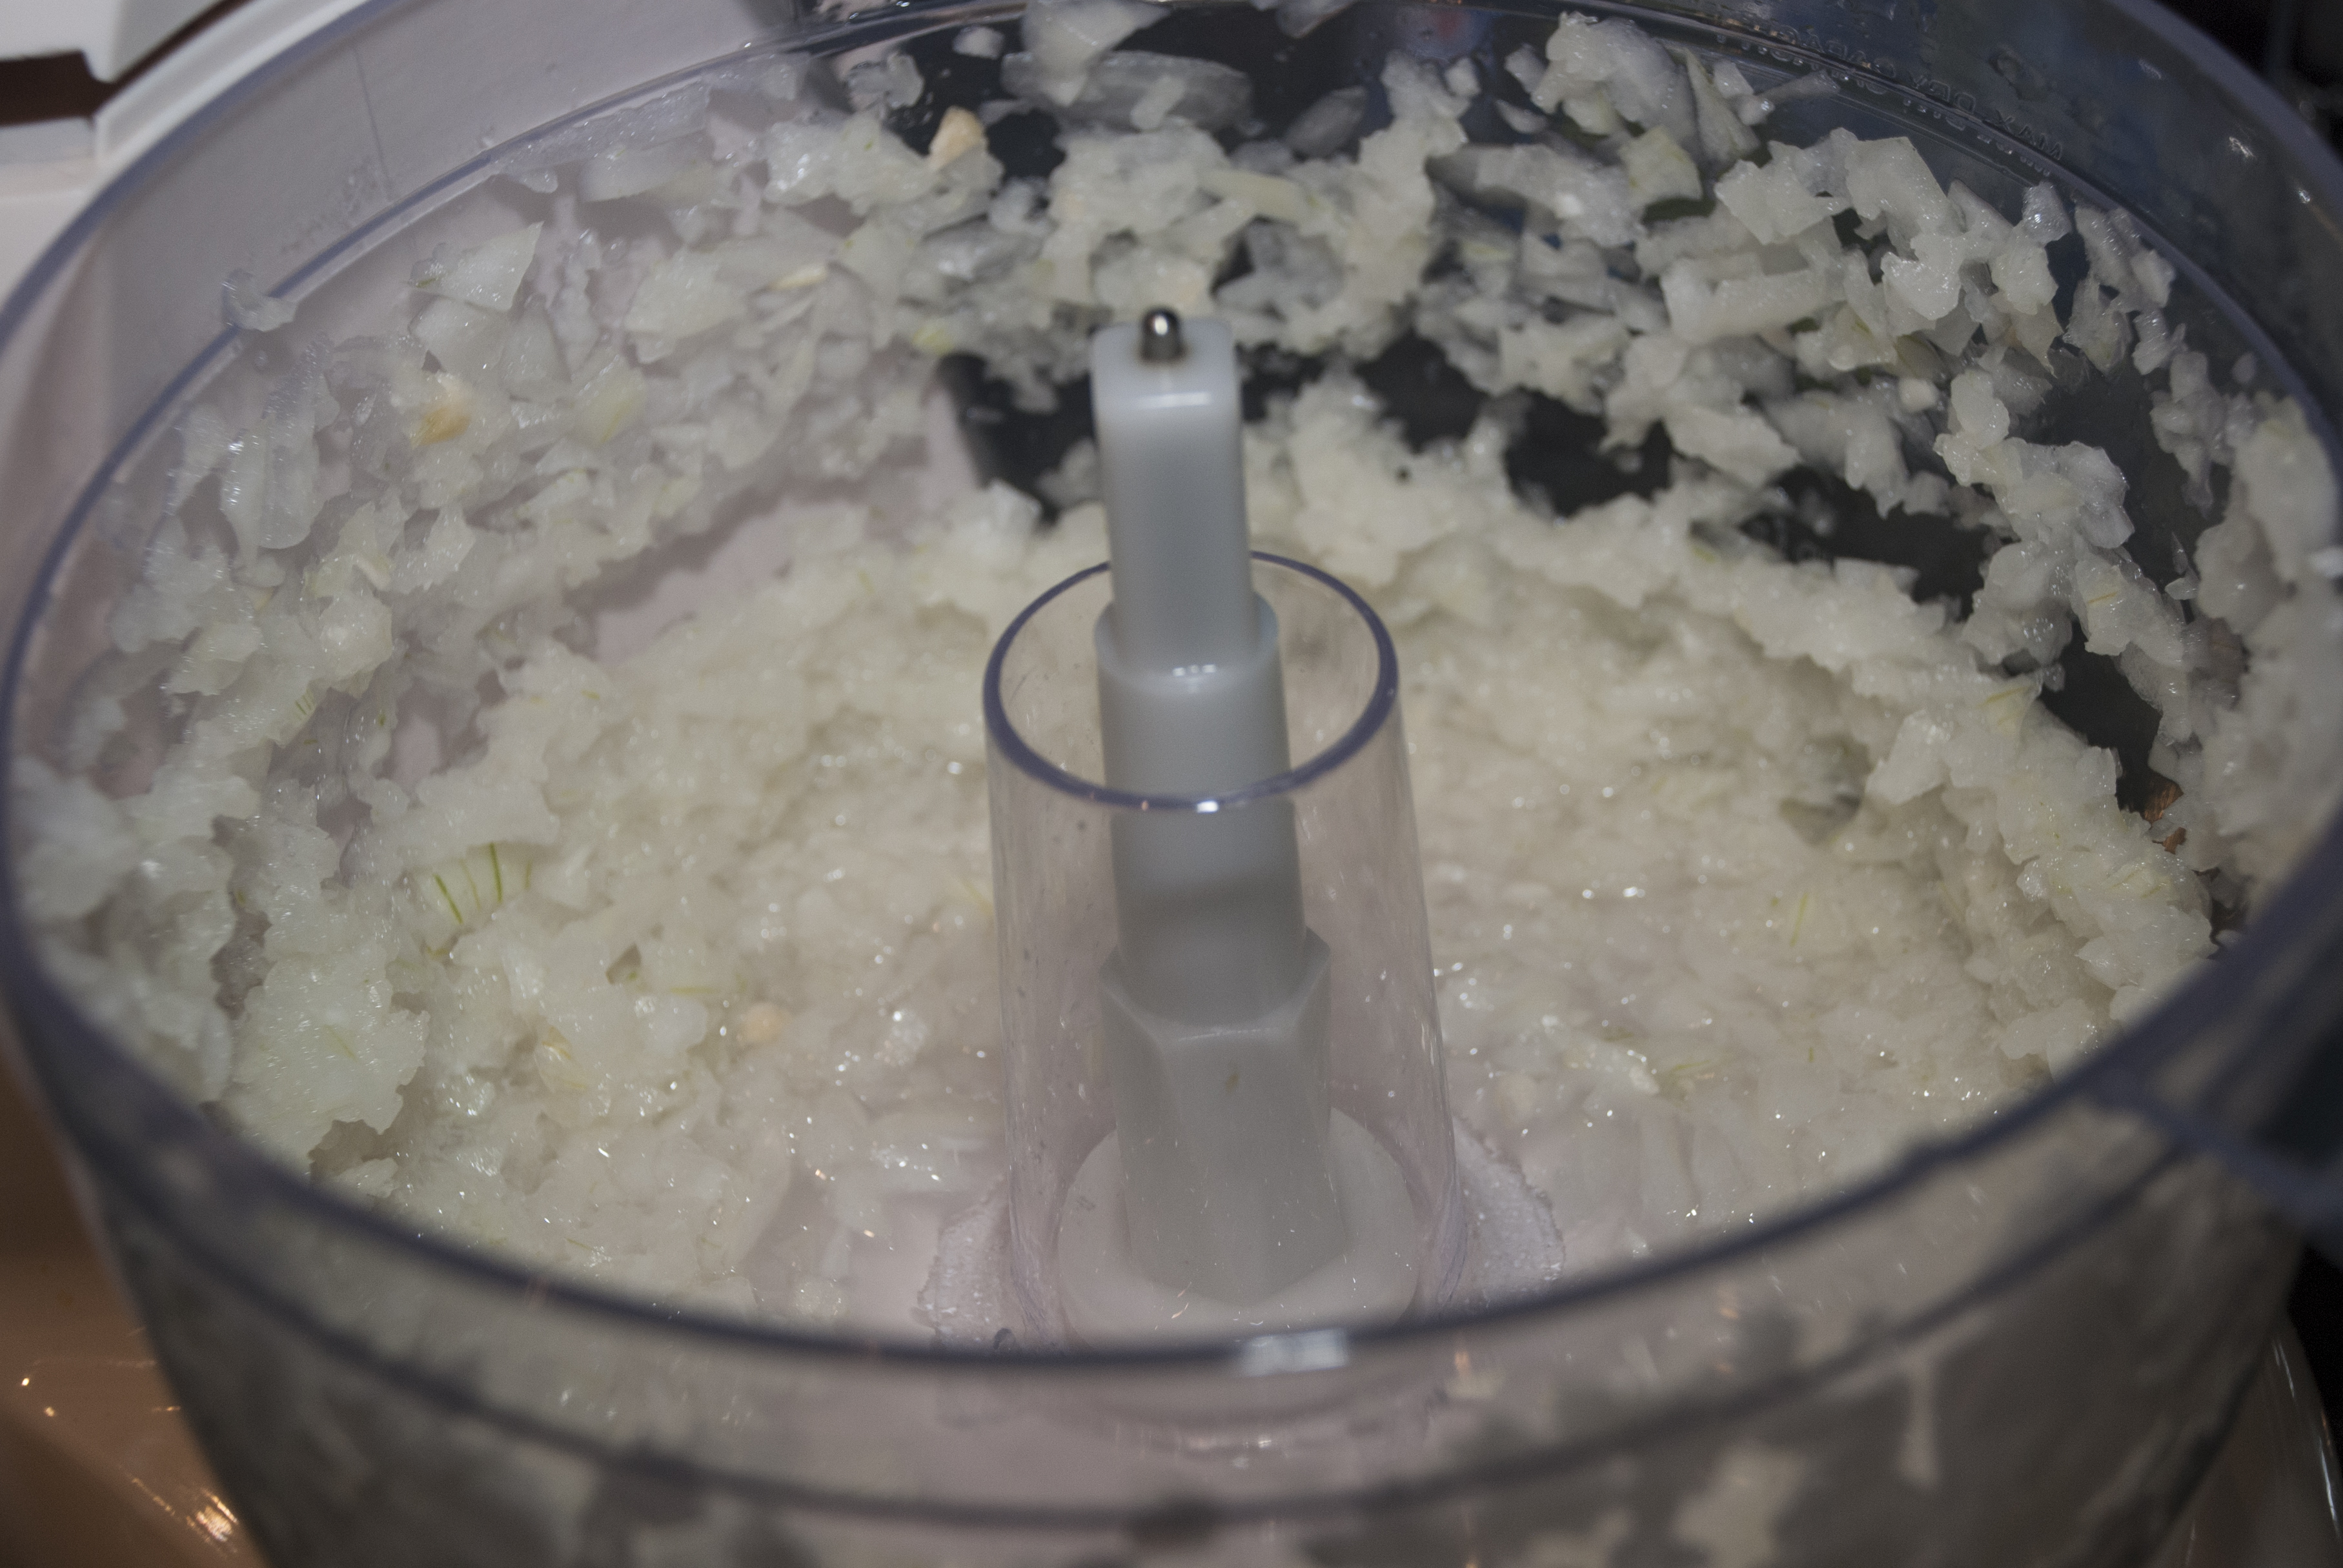
Finely chop the onion
9. In a large enough bowl, combine the chicken with the finely chopped onion. Then add this to all the other ingredients chopped and cubed in the previous step, plus the green peas.

Combine the chicken with the finely chopped onion
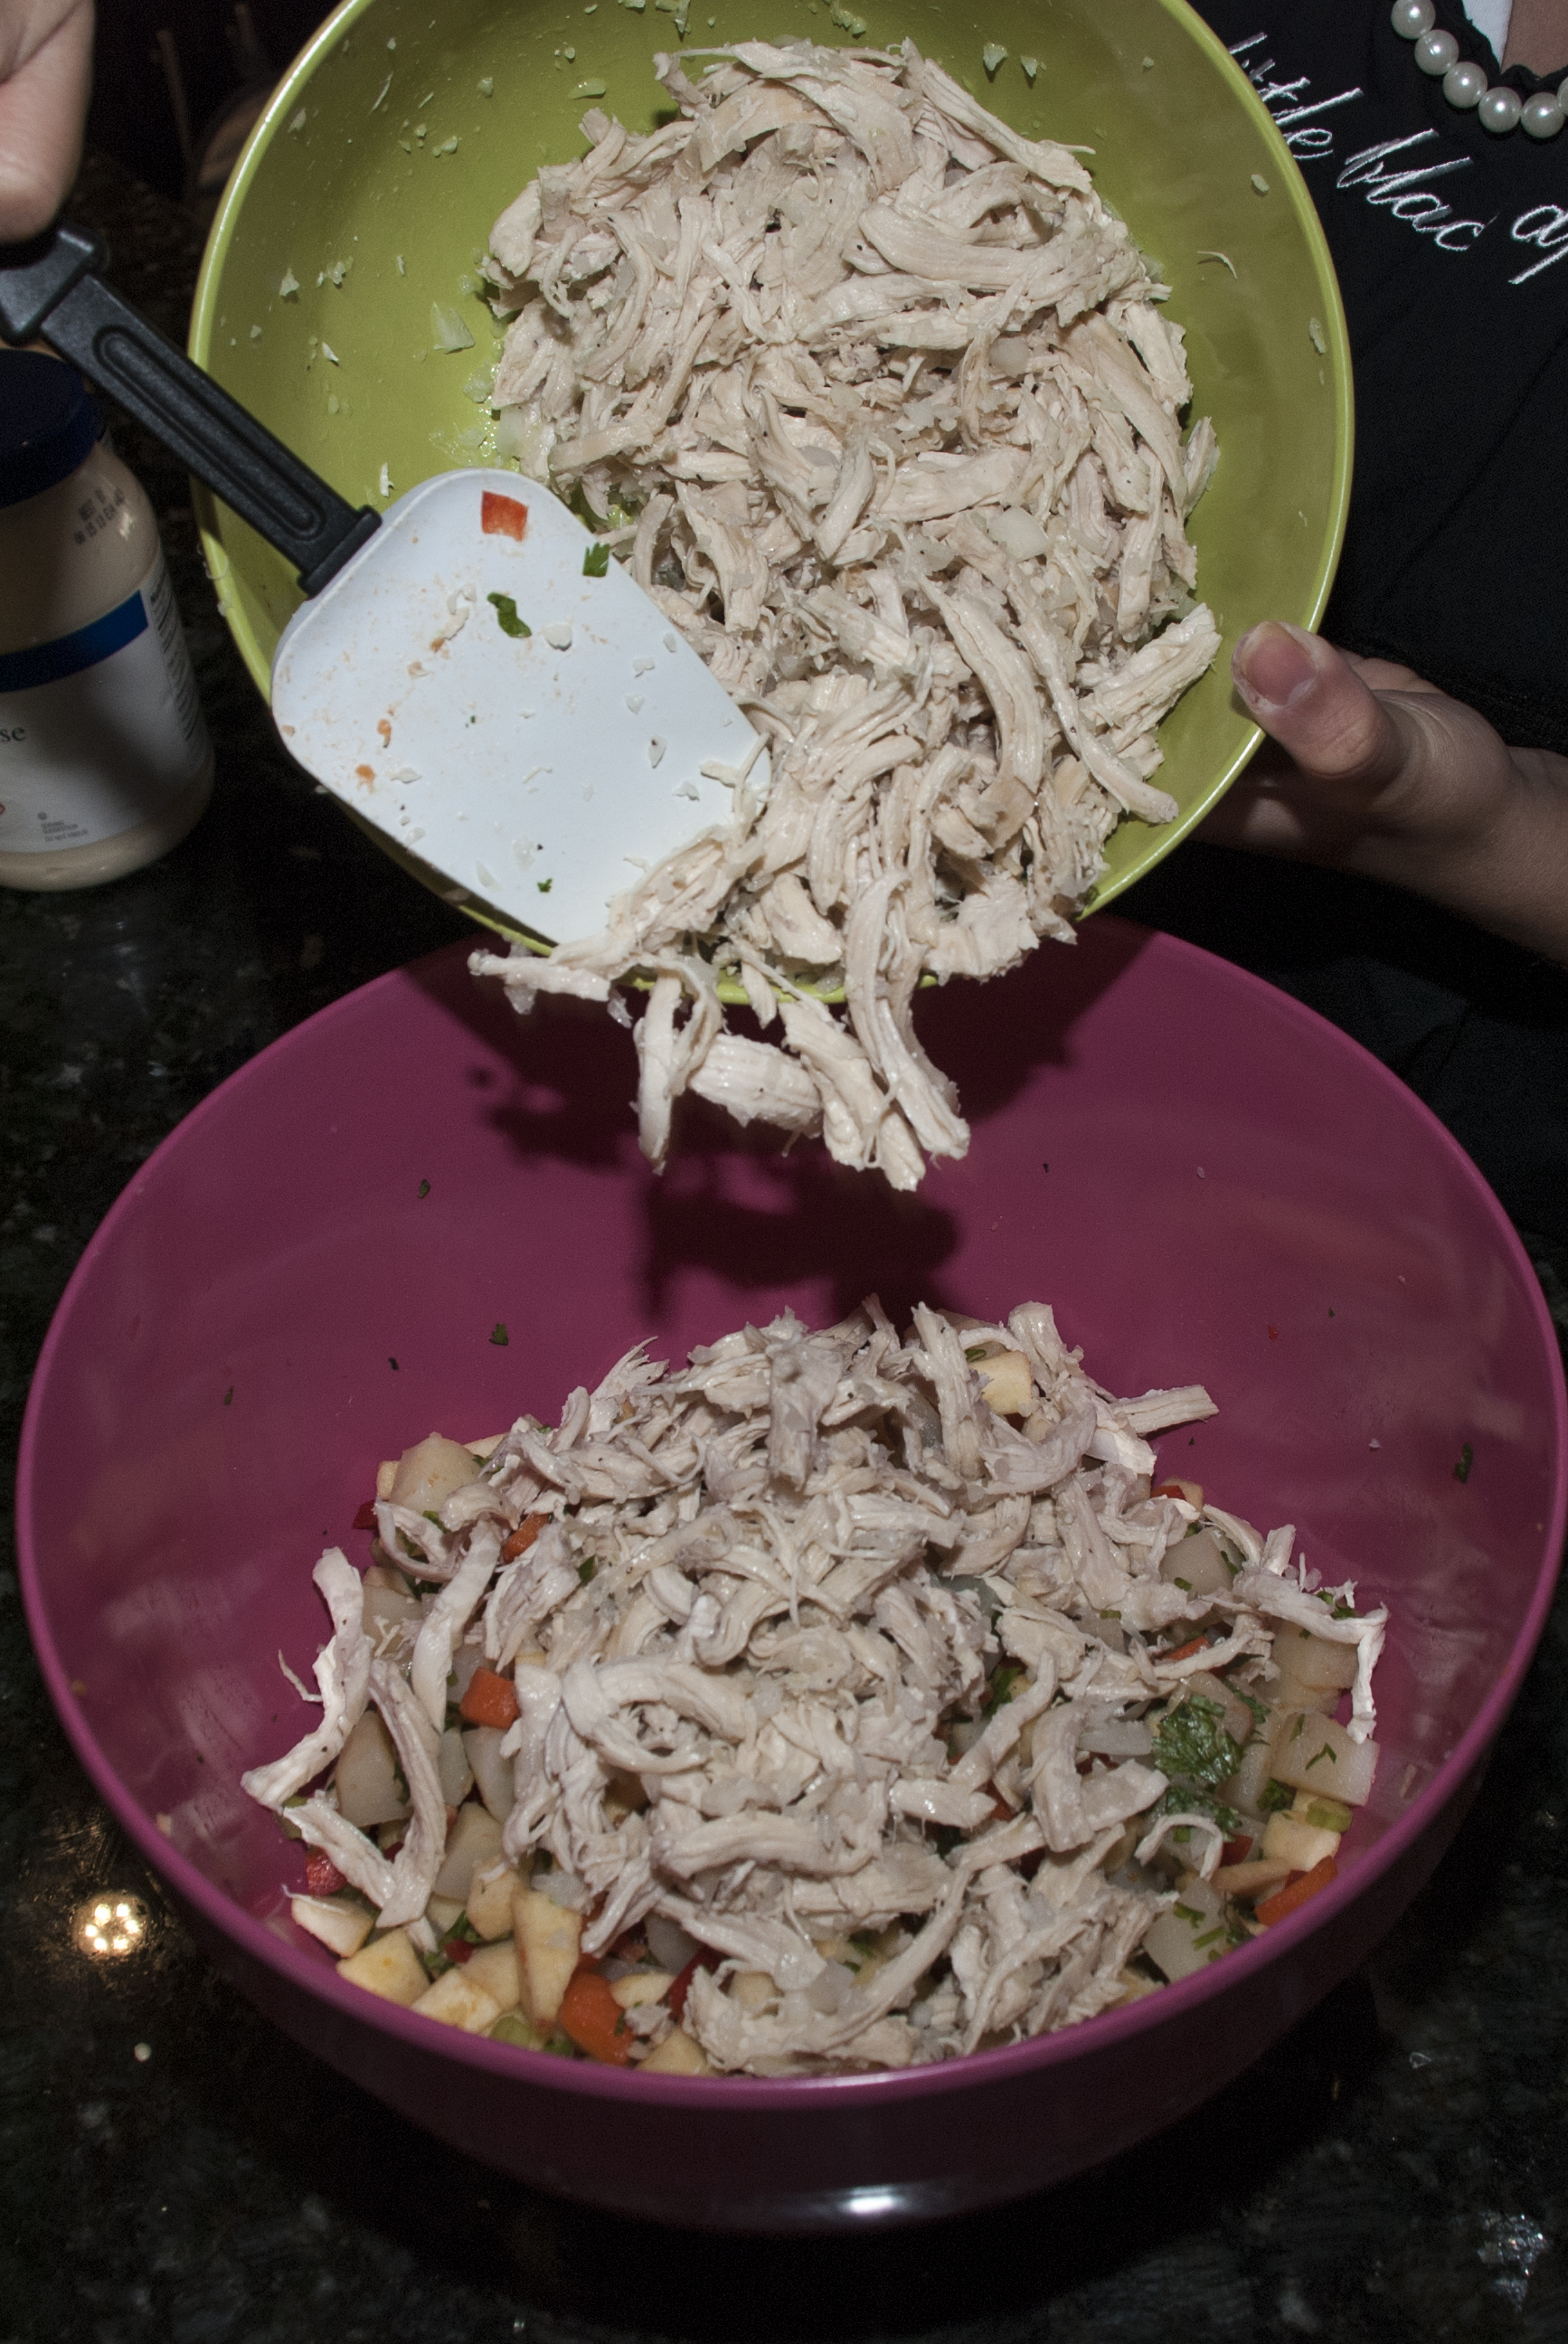
Combine
10. Add the mayo, mustard, vinegar, salt and pepper and mix all the ingredients together. Adjust the salt and mayo if necessary to taste.
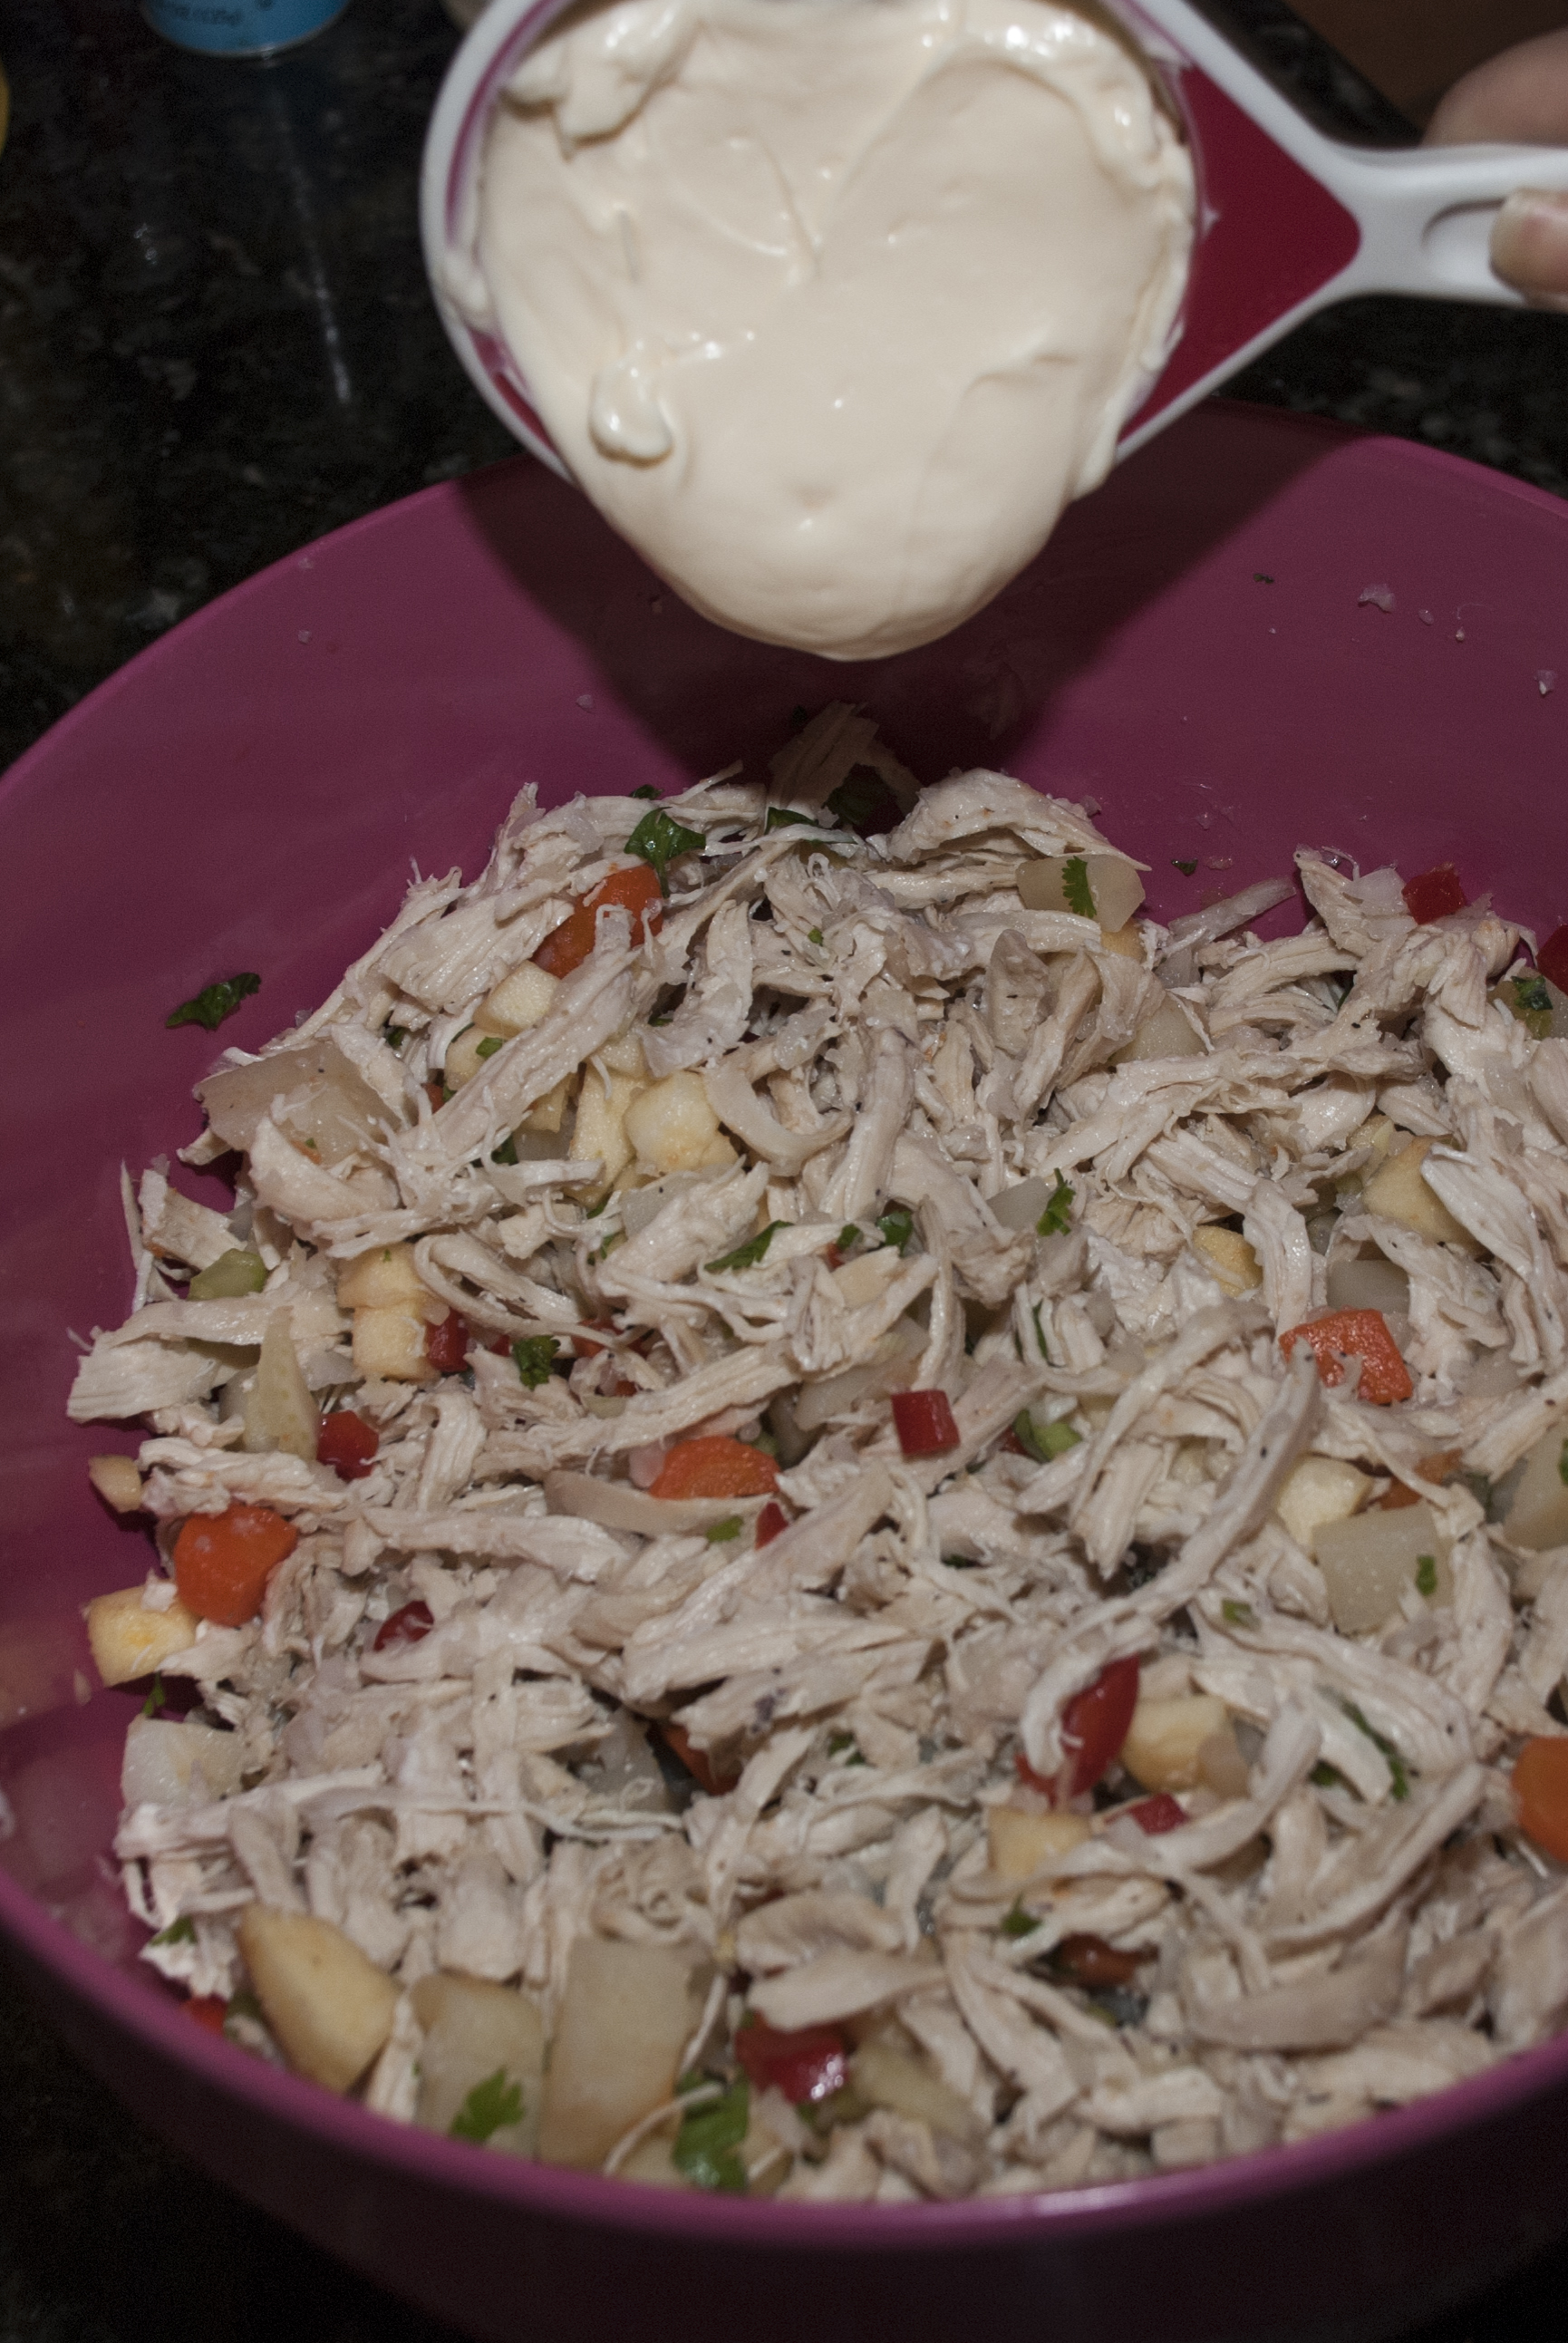
Add the sauce ingredients
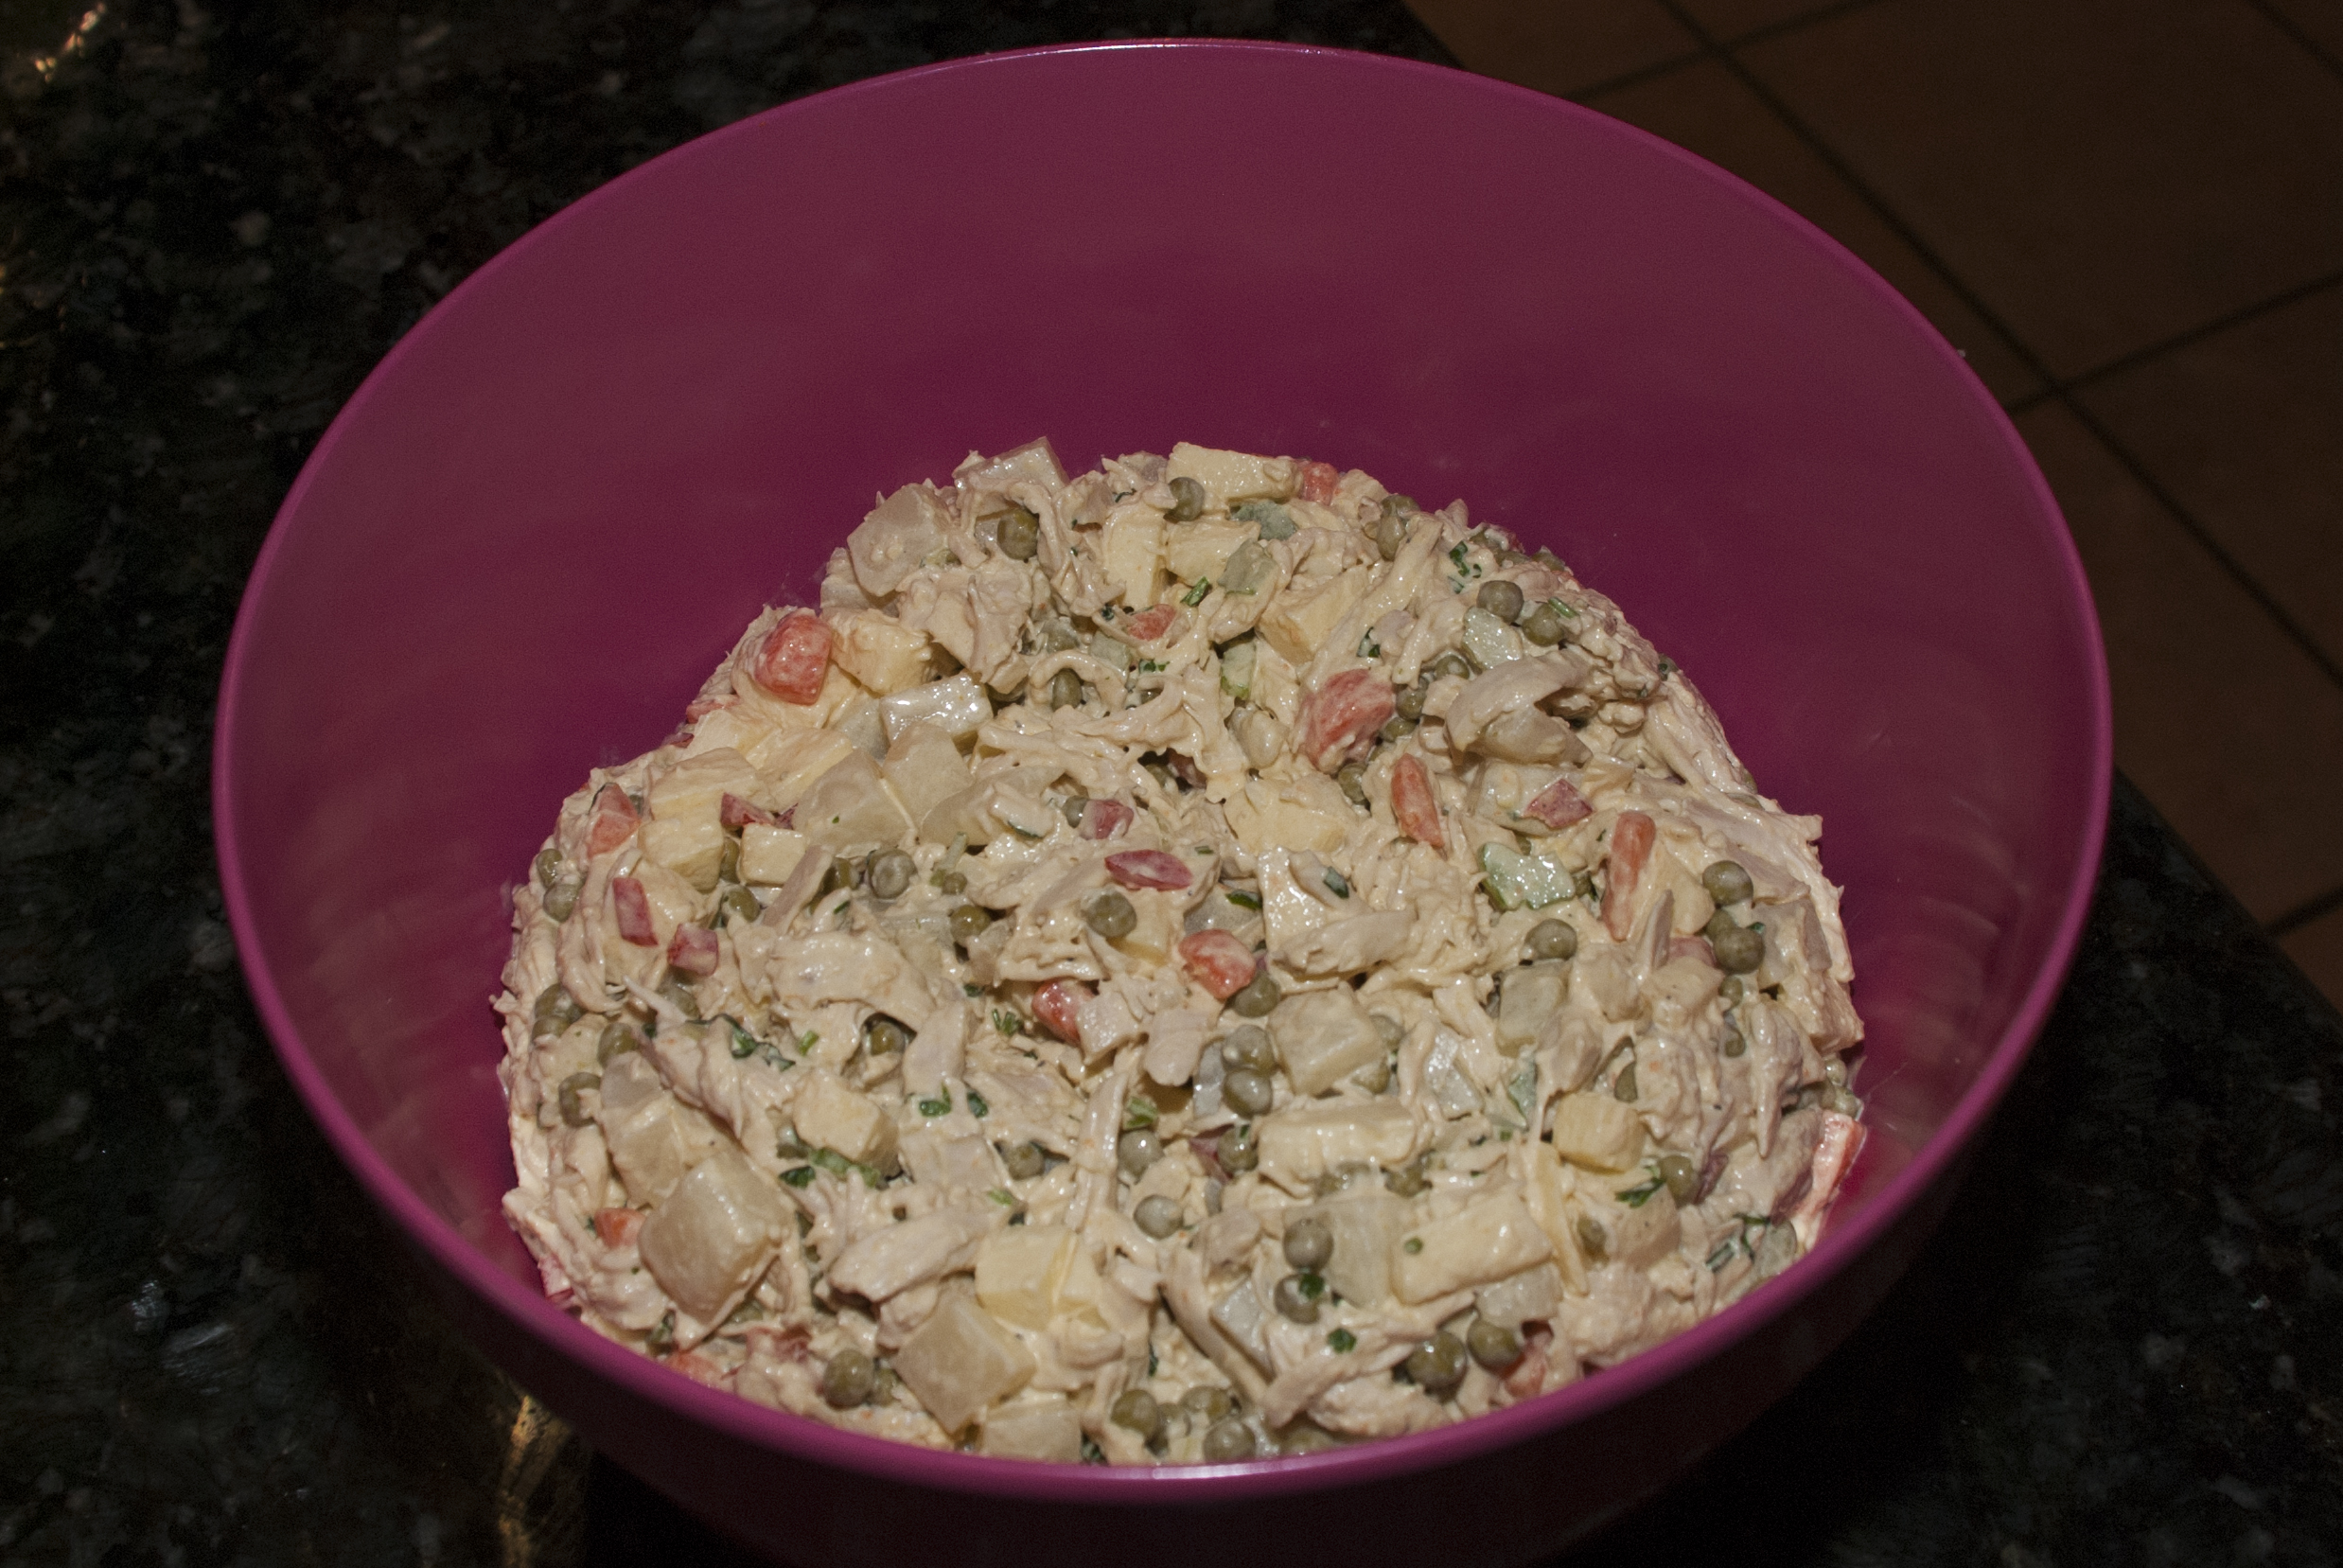
Mix well, but carefully
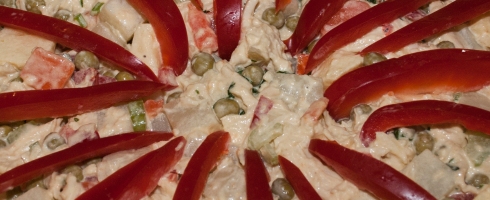
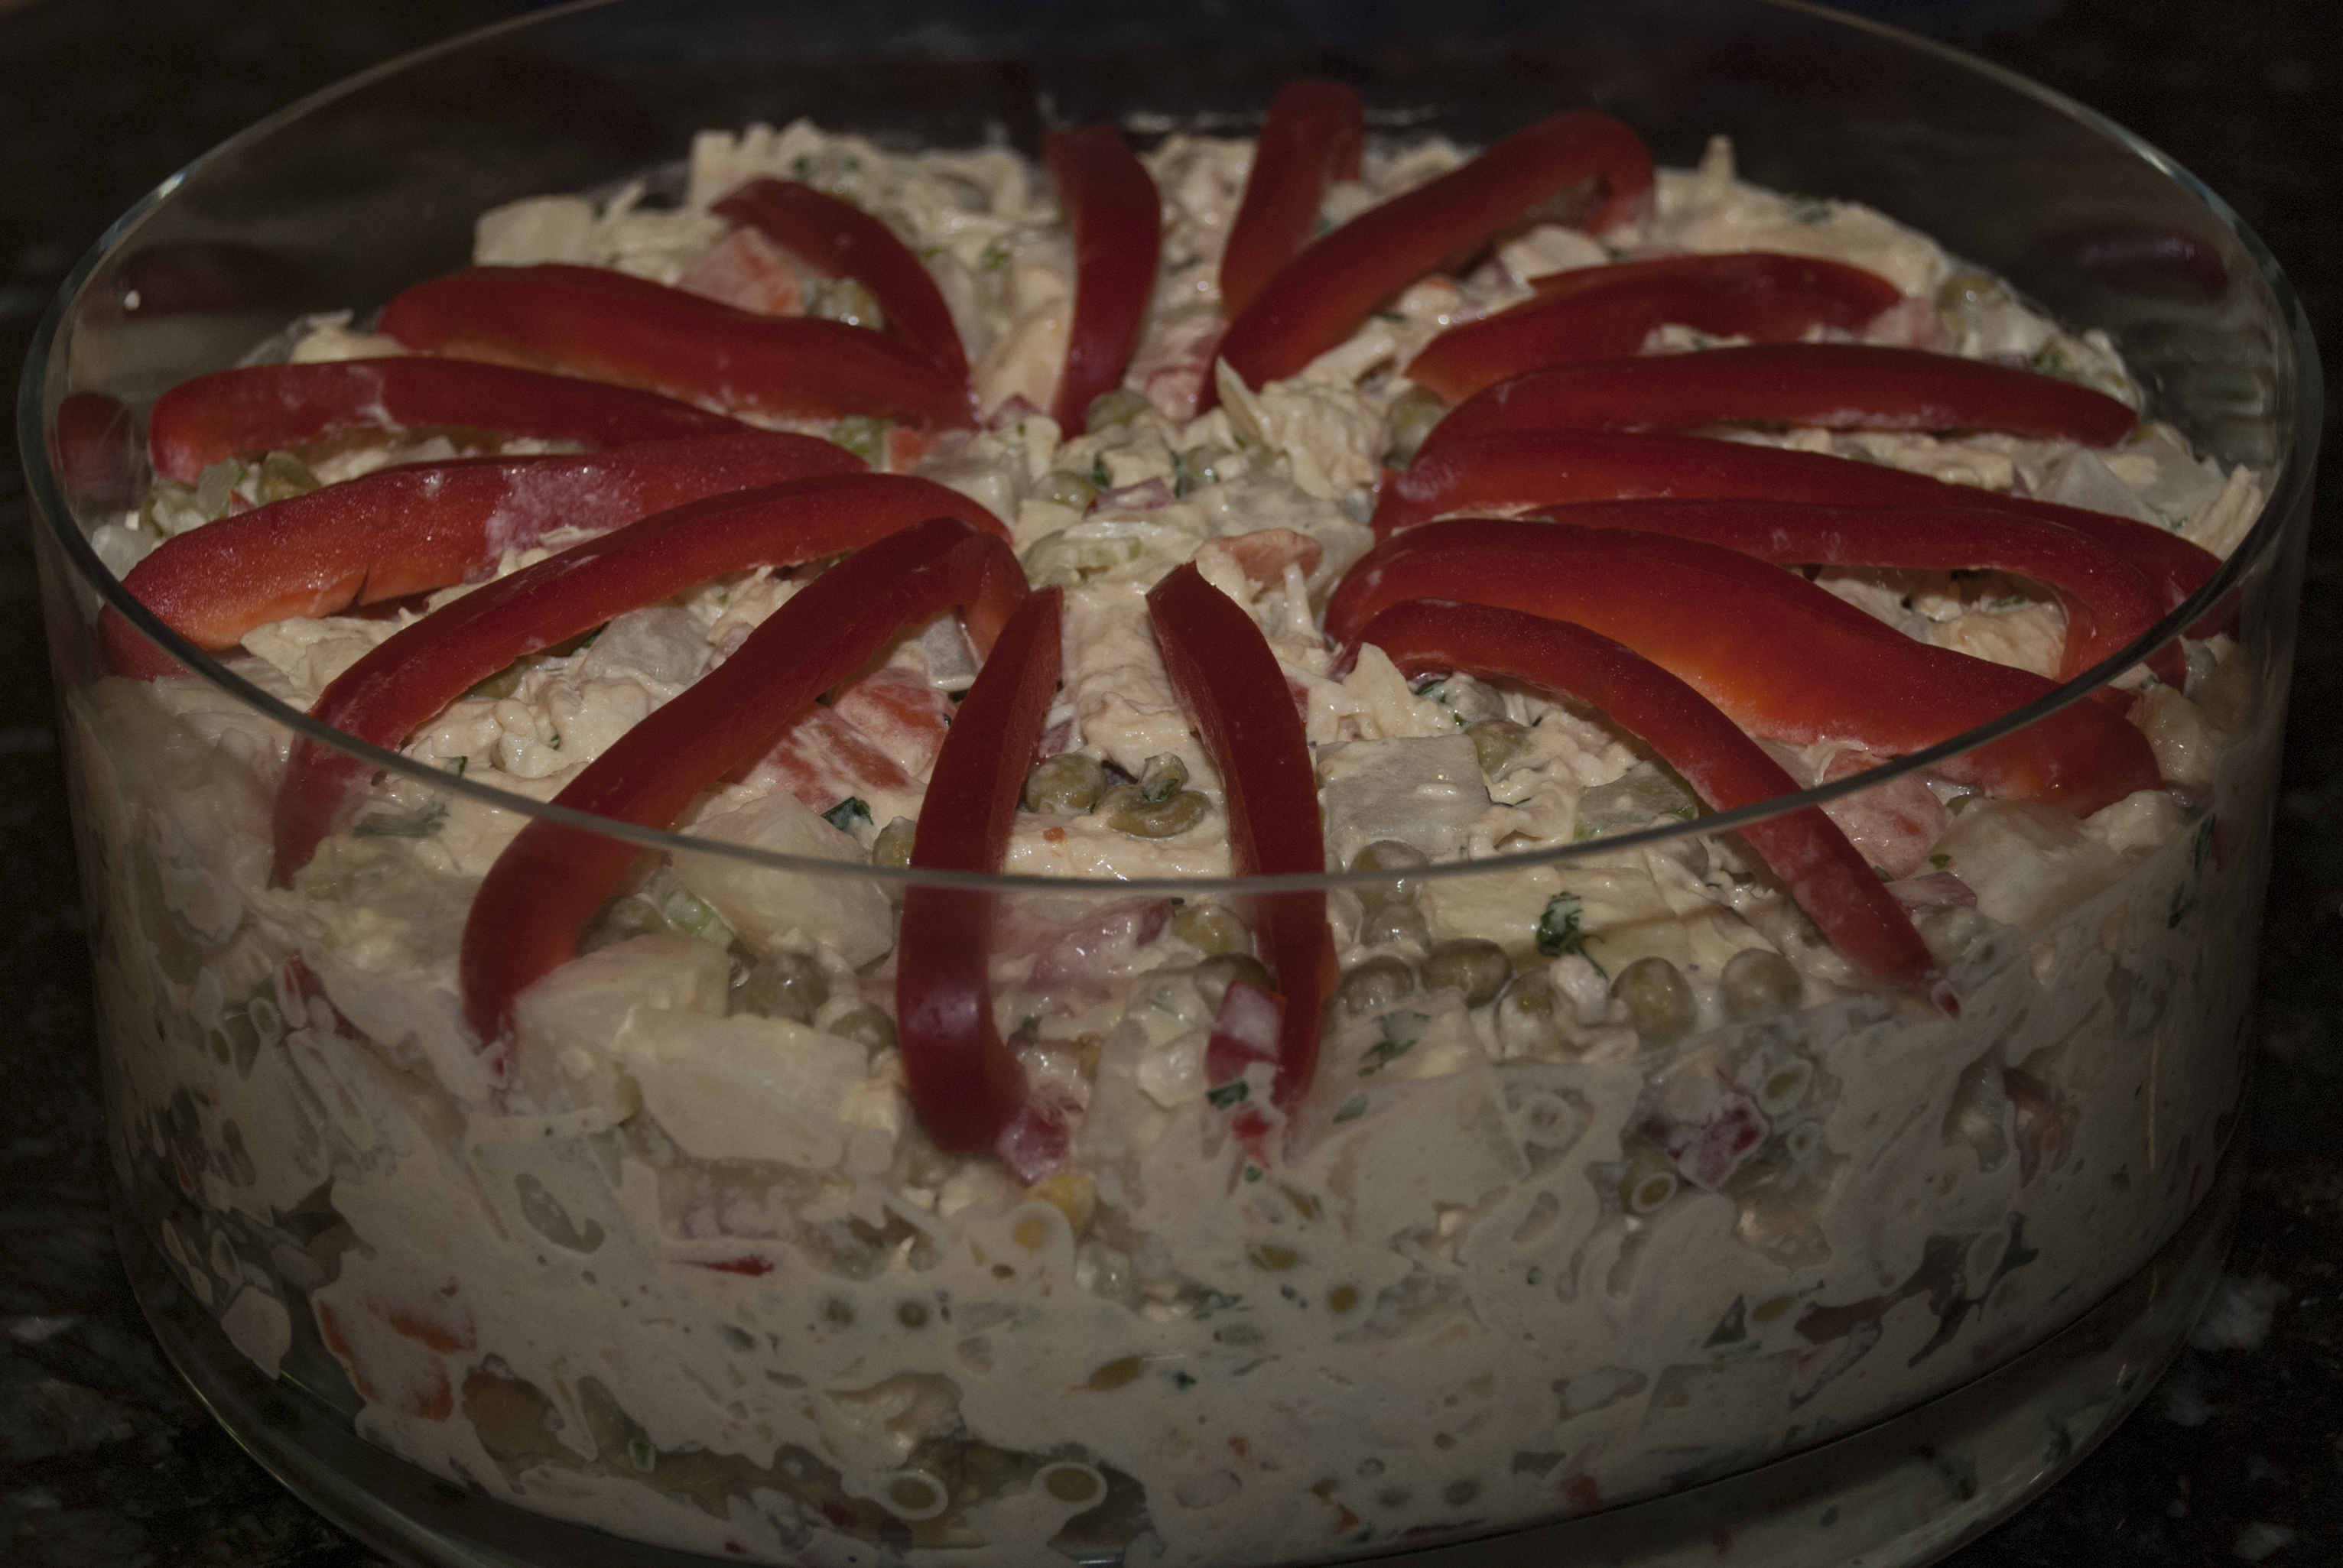
11. Decorate as you wish. Refrigerate for at least 2 hours before eating. Serve cold.
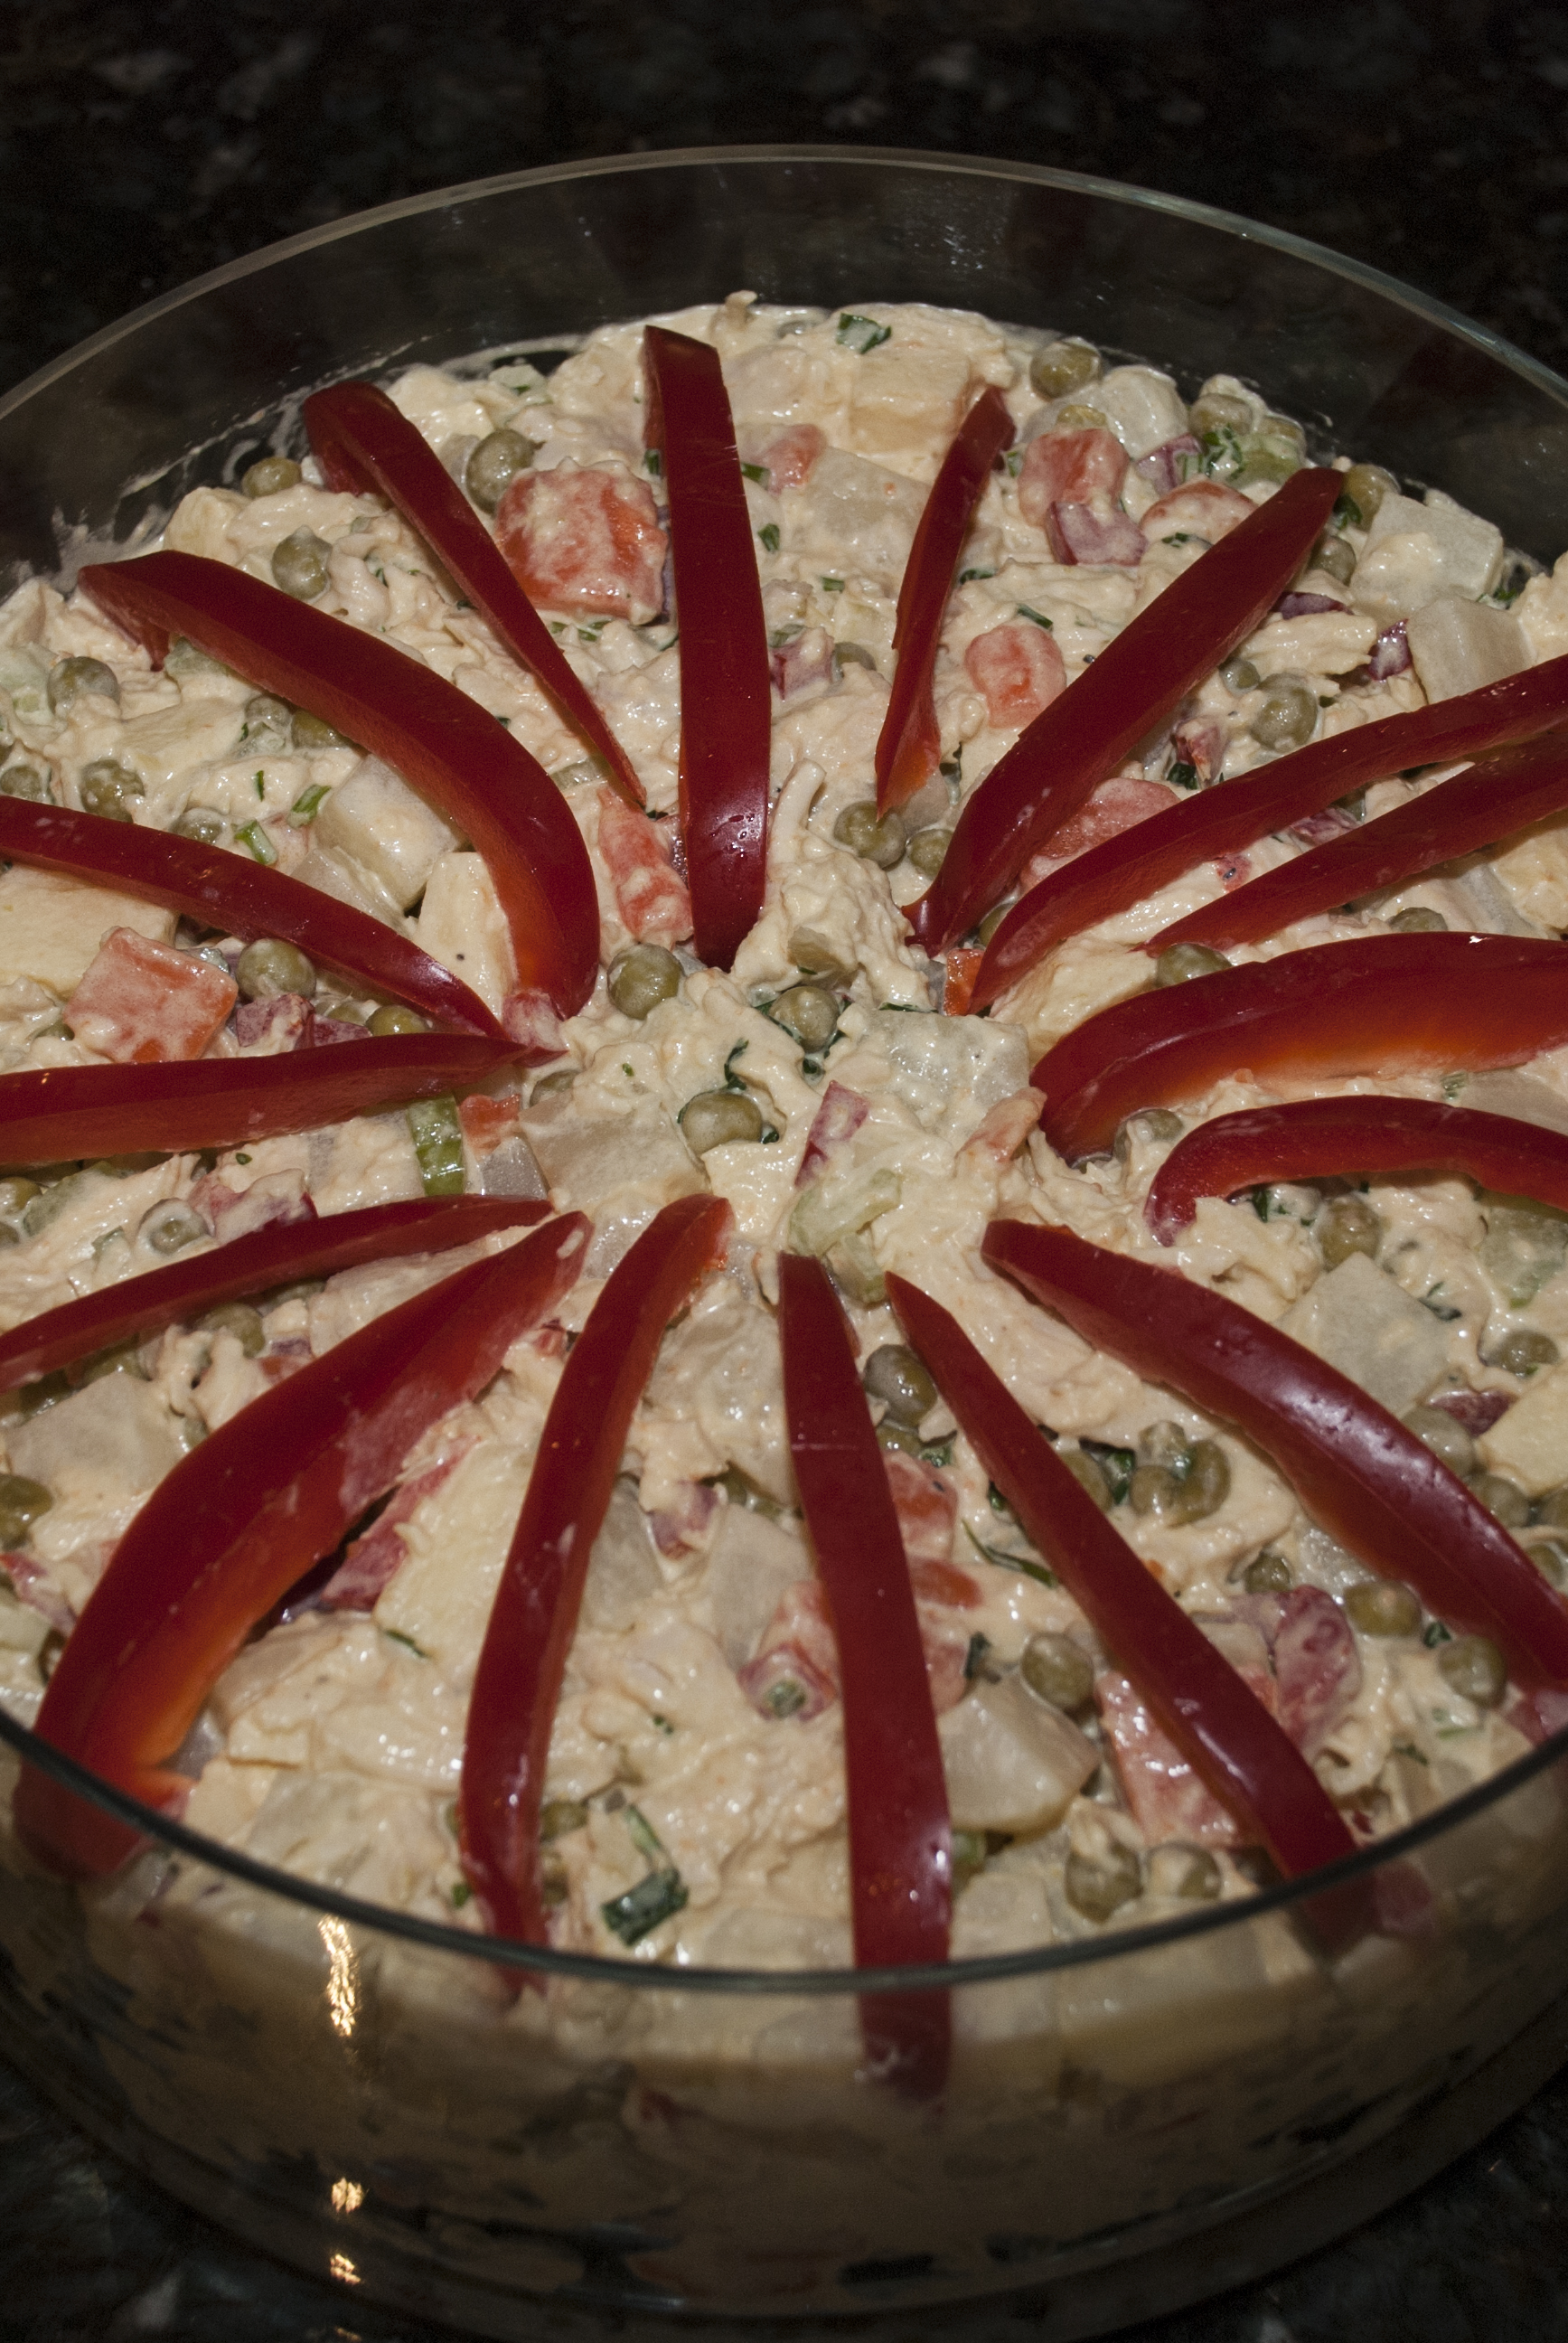
Recipe: Ensalada de Gallina | Venezuelan Christmas Dinner Chicken Salad
Recipe: Ensalada de Gallina | Venezuelan Christmas Dinner Chicken Salad
¡Buen Provecho!